Been having trouble with Darktable 3.4 and the new scene-referred workflow with the “modern” chromatic adaptations and reconstructing bokeh in the backgrounds of my images.
After much experimentation I realized it was the Highlights Reconstruction module defaulting to “clip” instead of “reconstruct in Lch” or “reconstruct in color”
That led to slightly better results. However, still not as nice as LR.
But next comes the Color Calibration module and Filmic.
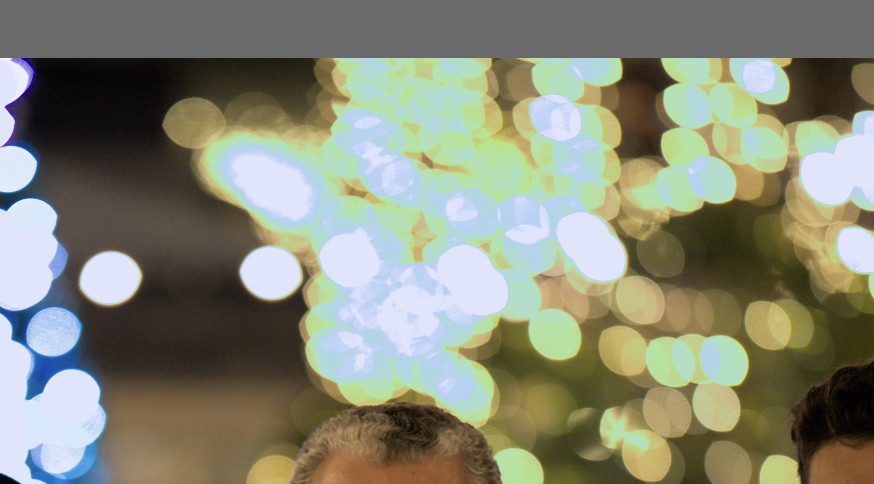
No matter what I tried, I could not get a result even remotely close to LR here. I could get the bokeh properly exposed by jacking up the “white relative exposure” in Filmic, but Color Calibration is adding these nasty white balls of clipping still.
Lightroom somehow exposes the people and the background bokeh balls perfectly. What wizardry is this?? I could not achieve a similar result with dt even with a second exposure module and drawn mask around the people to equalize the exposure.
If you turn on raw overexposed indication you will find that the bokeh balls are clipped in RAW. There is not so much you could do.
You really shouldn’t have taken this picture with exposure bias set to +1.3 EV, which has blown your highlights far off. Compensating +1.3 EV in exposure means “applying -1.3 EV”. Then you increased it by +1.5 EV, so the result is equal to just applying a 0.2 EV stop, which is not required for this image. You could disable exposure module here.
In scene-referred workflow you should really disable “Highlights Reconstruction” module as it is a relict from display-referred workflow. You can do so by creating a auto-applied preset from a disabled state.
Then you should play around with the white relative exposure slider in Filmic. Sometimes, especially with raw-overexposed areas, it is better to fade clipped highlights to white then to reconstruct them (by a lower value for this slider).
Here is a version you can do very fast, using the modules you mentioned: color calibration, filmic, highlight reconstruction. Not quite as much colour or detail in the bokeh, but no weird casts, and I would argue, given its a background element, too much saturation is undesirable.
BTW, you should put the ‘play raw’ tag on this post to see what others can come up with, and attribute it with a creative commons license. Check other play raws, which will link to the required license. Welcome to the forum!
better use reconstruct in LCH since the clipping doesn’t contain useful remaining color information
starting with default setting sfor scene referred workflow and ‘modern’ chromatic adaption
tweaked exposure focused on the people (might be even more)
filmic white relative exposure just auto based on picker (whole area)
Usually you should be careful with disabling “preserve chrominance” but I think in this case it works. You see more of the blue light but also get some purple light. But it looks like your Lightroom image.
This is my result:
(10.1 KB)
We ask for the original photographer to explicitly add a license to their image file so it is 100% clear that anyone, anywhere can download the file, edit it, and share the results. It covers the forum and our users.
Just because scene referred workflow is good for most images doesn’t mean it’s good for all images. If you start at the bottom of the history stack,i.e. original image, then you see what’s there before the “magic” happens. If you click the color calibration step in the history stack, then you have a nicely white balanced image. Turn off the exposure, and then the blown highlights overexposed and the people are fairly well exposed. Then you take highlight reconstruction, set to reconstruct in color and play with it until the bokeh is close to what you want. Then use color reconstruction to fix the weird colors caused by the missing data.
Well thanks for pointing that out! I have been quite unsure recently about the two methods to reconstruct highlights (the module, and the options contained in filmic rgb) and after reading your post I went to the new manual and I have “discovered” that in fact it’s better to deactivate the module if one wants filmic to work better in terms of hl reconstructions:
Wow! You all are fantastic! Thank you for all the suggestions and well thought out responses. I added a play raw tag and attributed the license to CC.
Hmm. I’ve generally followed the advice of ETTR and the first few shots I took in Aperture Priority mode were underexposed on the people so I was worried it’d be difficult recovering those details so I bumped up EV bias a bit. Idea in my head was not to worry about clipping parts of these bright bokeh if it meant not underexposing the people.
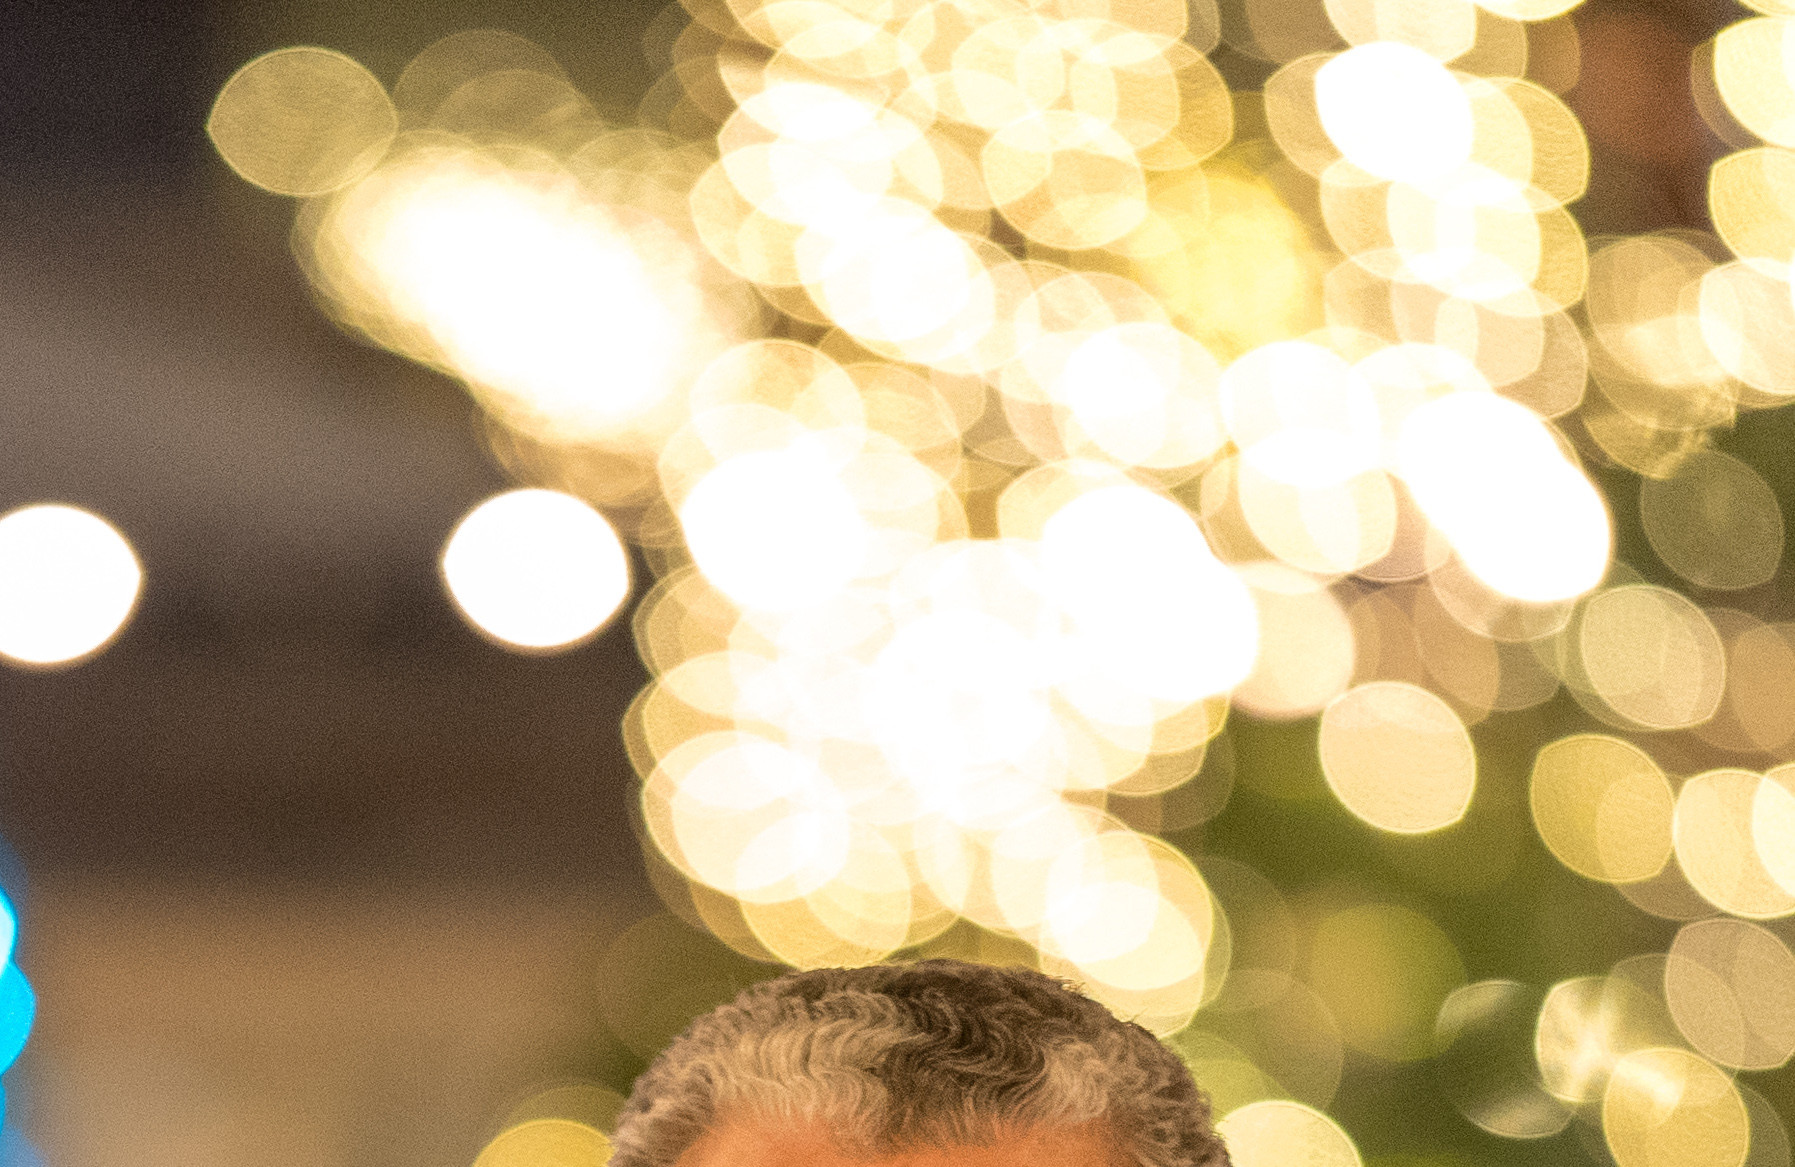
@wpferguson I think you sniffed out the big missing piece here! The Color Reconstruction module is not active by default in scene referred and this keeps the clipped bokeh centers to a more natural color than pure white. That’s a bit closer to the LR version, but I’m noticing some major issues with that combined with the Highlights Reconstruction in Color mode. Check out these details from your version:
Notice the strange vertical striping, noise, and artifacts. This only happens with method == “Reconstruct in Color”. Could this be an issue with the Highlights Reconstruction module?
@fireball I think your version is the most close to LR’s and is very pleasing. I’m also pleased to see that you also use Tone Equalizer and Local Contrast like I do! I’m always conflicted if Local Contrast is adding too much “pop” and making my develops look unnatural haha.
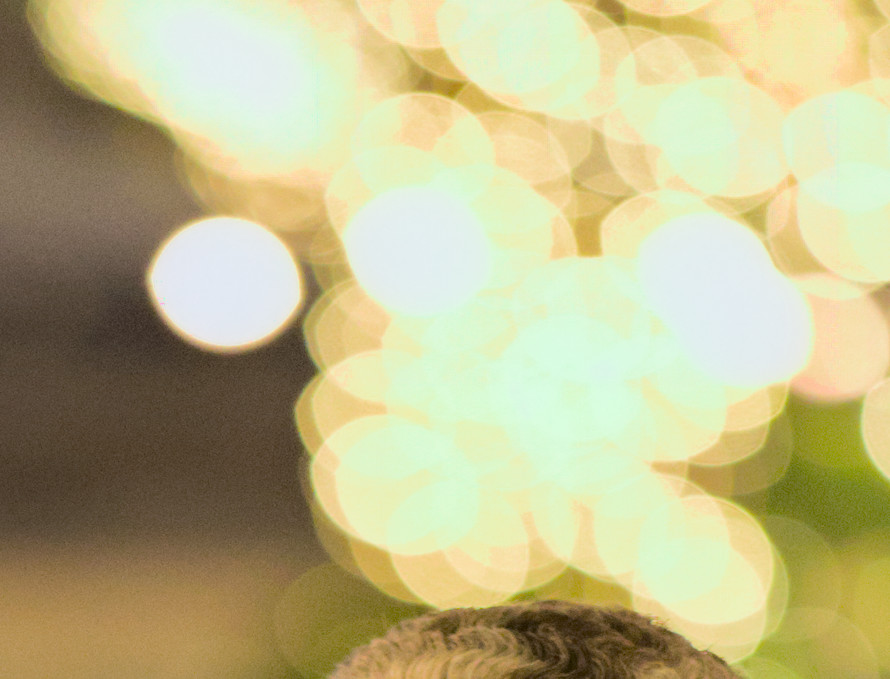
Finally, something very fascinating that I noticed is the “gamut clipping” setting of the Input Color Profile module. I don’t think I would ever normally touch this, but when I changed it from “off” to “Adobe RGB (compatible)” the opacity layering of the bokeh balls became very close to how Lightroom renders them!
Notice how there’s so much more detail because they aren’t all getting clipped. You can properly see where each ball and layer overlaps adding different colors.
This is what I was trying to achieve with filmic! In my head, choosing the appropriate scene-EV white point where clipping should start is how to achieve this the “correct” way, but for the life of me I could not abuse filmic to get what I wanted.
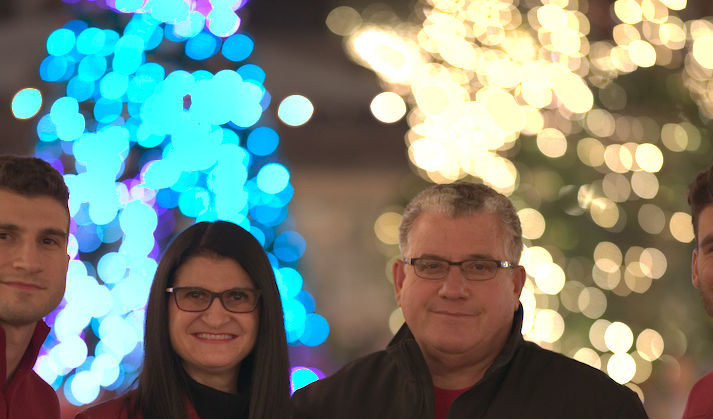
I gave it a try in freshly-released darktable 3.4.0 with the scene-referred (linear RGB) workflow & new-style color balance (using color calibration).
Scene color-balancing is done by the color balance module on white hair. (White balance is untouched, as it’s set to D65 default for relying on the color balance module’s magic.)
The background tree is wildly out of gamut thanks to blue LEDs. I compensated for this with a second color calibration module, simply to compress the gamut. It’s constrained with a mask in the blue hues and a drawn mask roughly around the tree area. (As it mainly compresses the edges of the color spectrum to bring colors back into gamut, it’s OK that the mask is a bit sloppy here.)
Highlight reconstruction module is off; I’m letting filmic rgb handle the highlights. I did bump up the # of iterations.
I added a bit of tone equalizer to make the faces “pop” a bit more. Same reason for the local contrast. (Both of these are really optional and don’t change the image all that much. In the way they’re used here, they’re intentionally subtle.)
Noise suppression is handled by the denoise (profiled) module in wavelet mode, mainly focusing on the color.
Should highlight reconstruction be used in conjunction with filmic rgb’s reconstruct tab? I’ve seen conflicting guidance on this. If so, are there only certain settings in highlight reconstruction that should be used?
It’s case-dependent. In clipping mode, it’s going to be damaging, that’s for sure. But the other modes may or may not help the filmic reconstruction, just try and look what it yields.