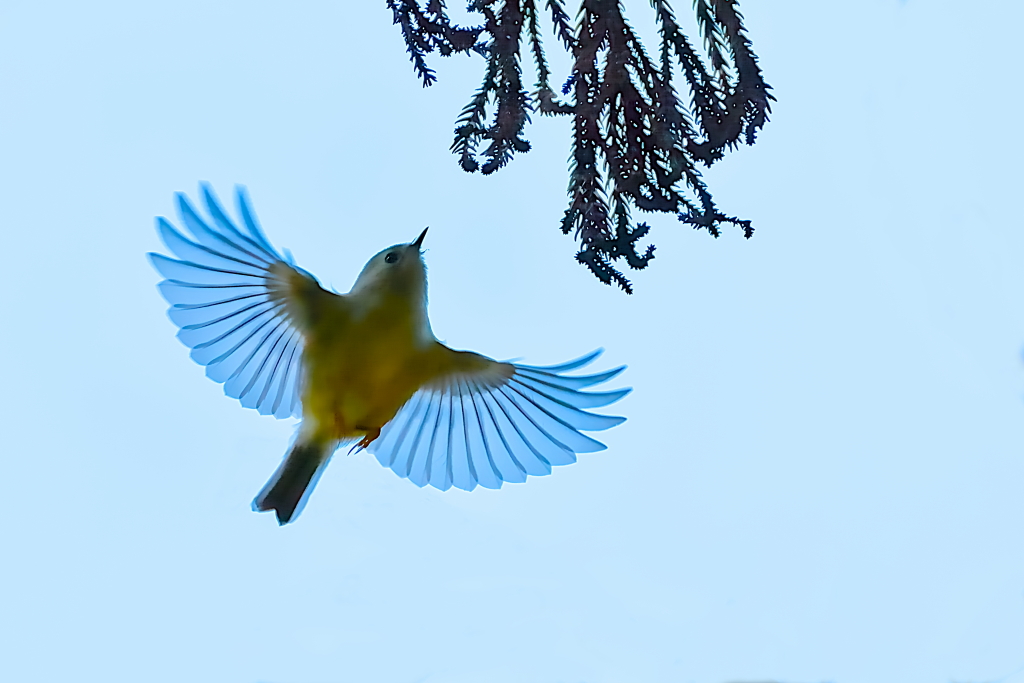
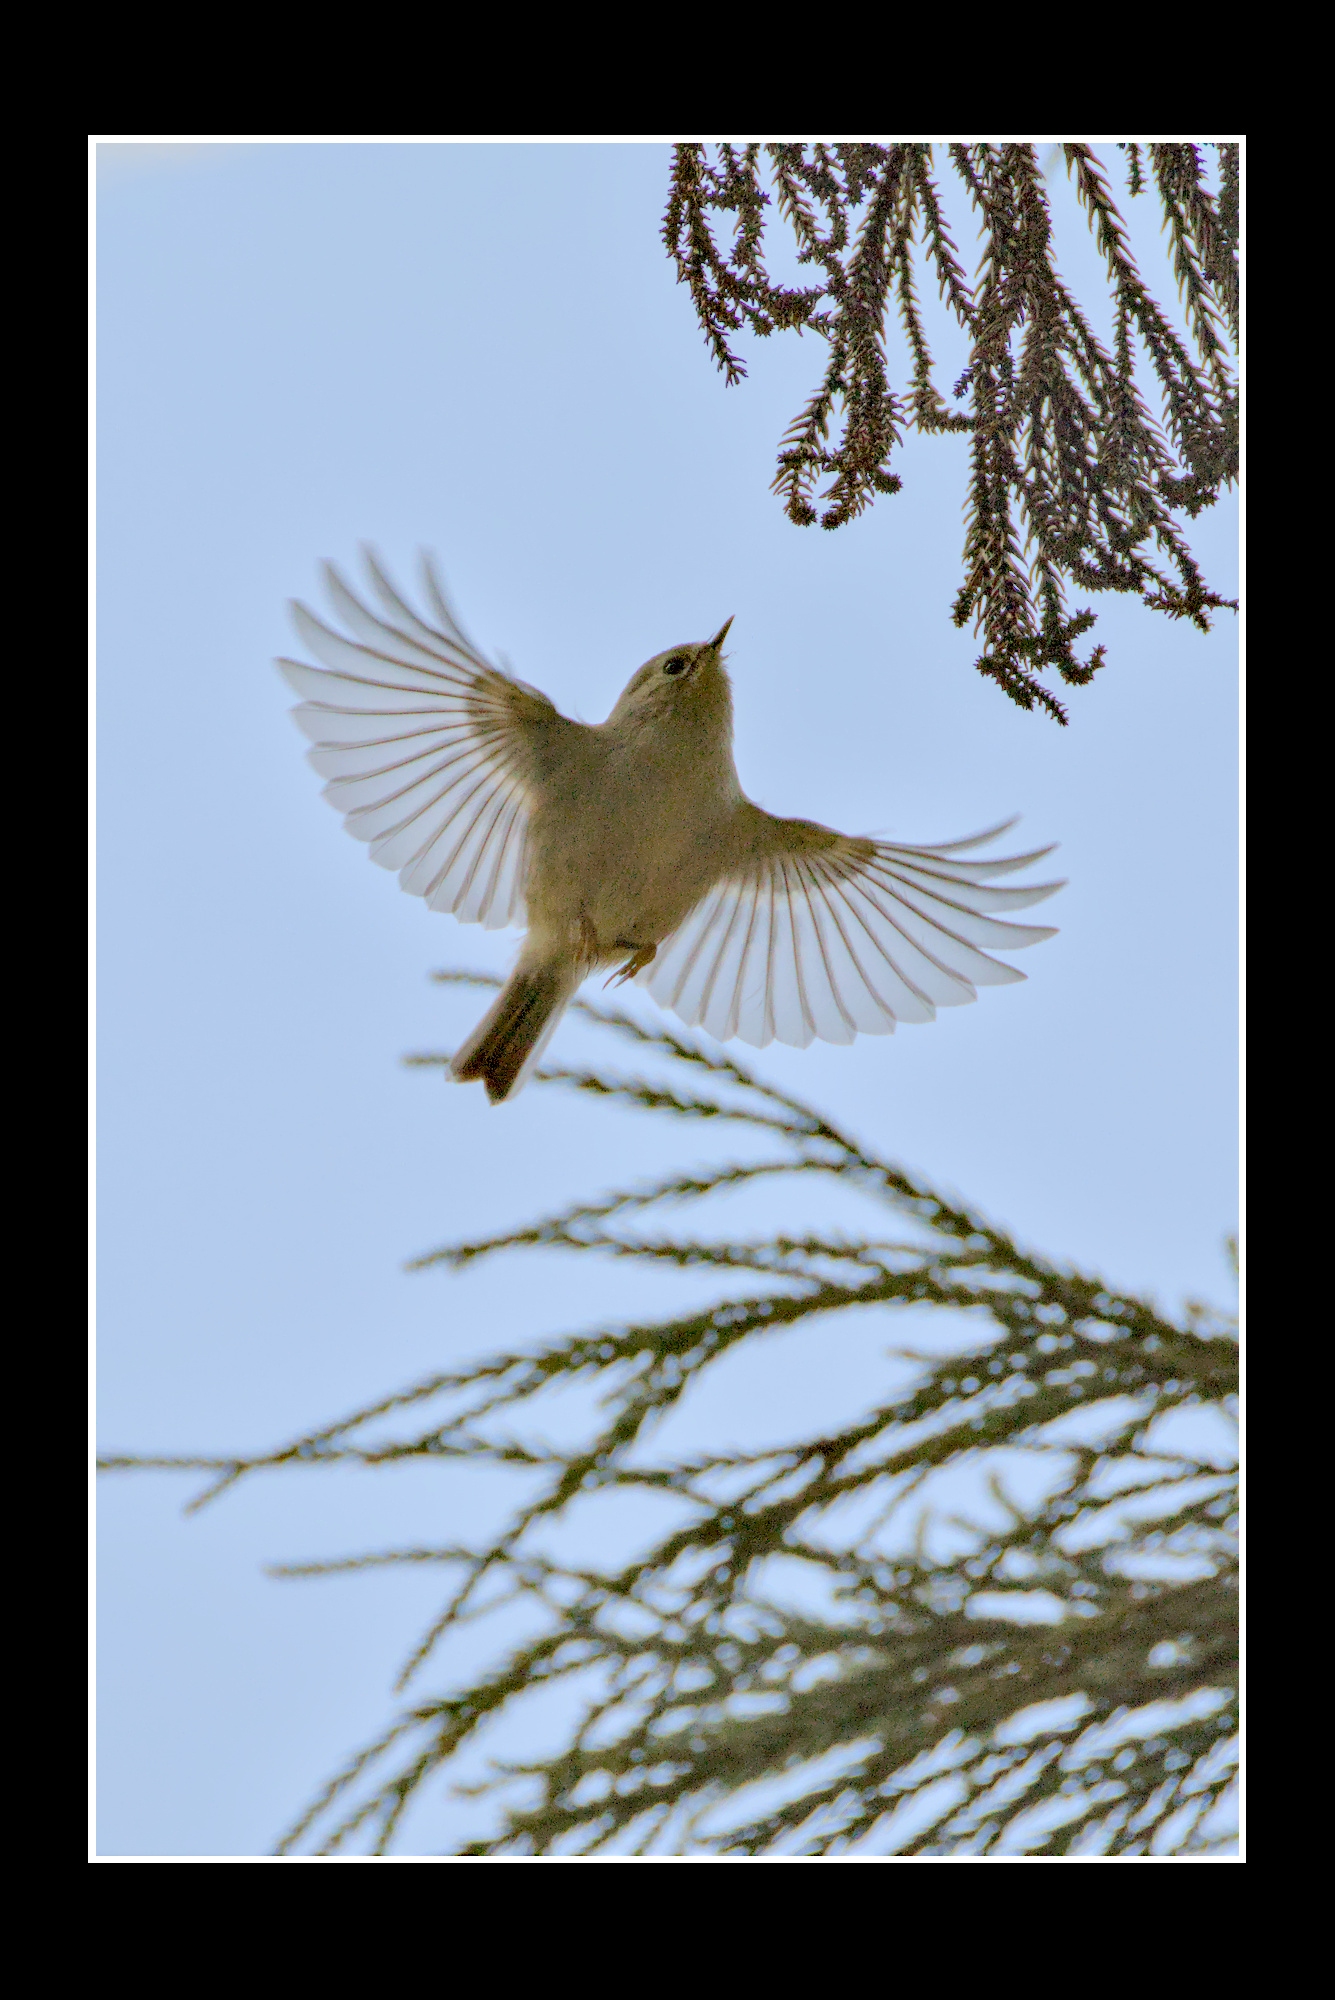
I found this photo quite hard to edit. Its backlit and despite 1/1250s shutter speed not very sharp. Chromatic aberrations also are an issue.
In addition to darktable I used GIMP for cleaning up the messy parts of the image. The bird seems to be a Goldcrest - Regulus regulus - キクイタダキ.
I criticize unquestioned, sorry for that.
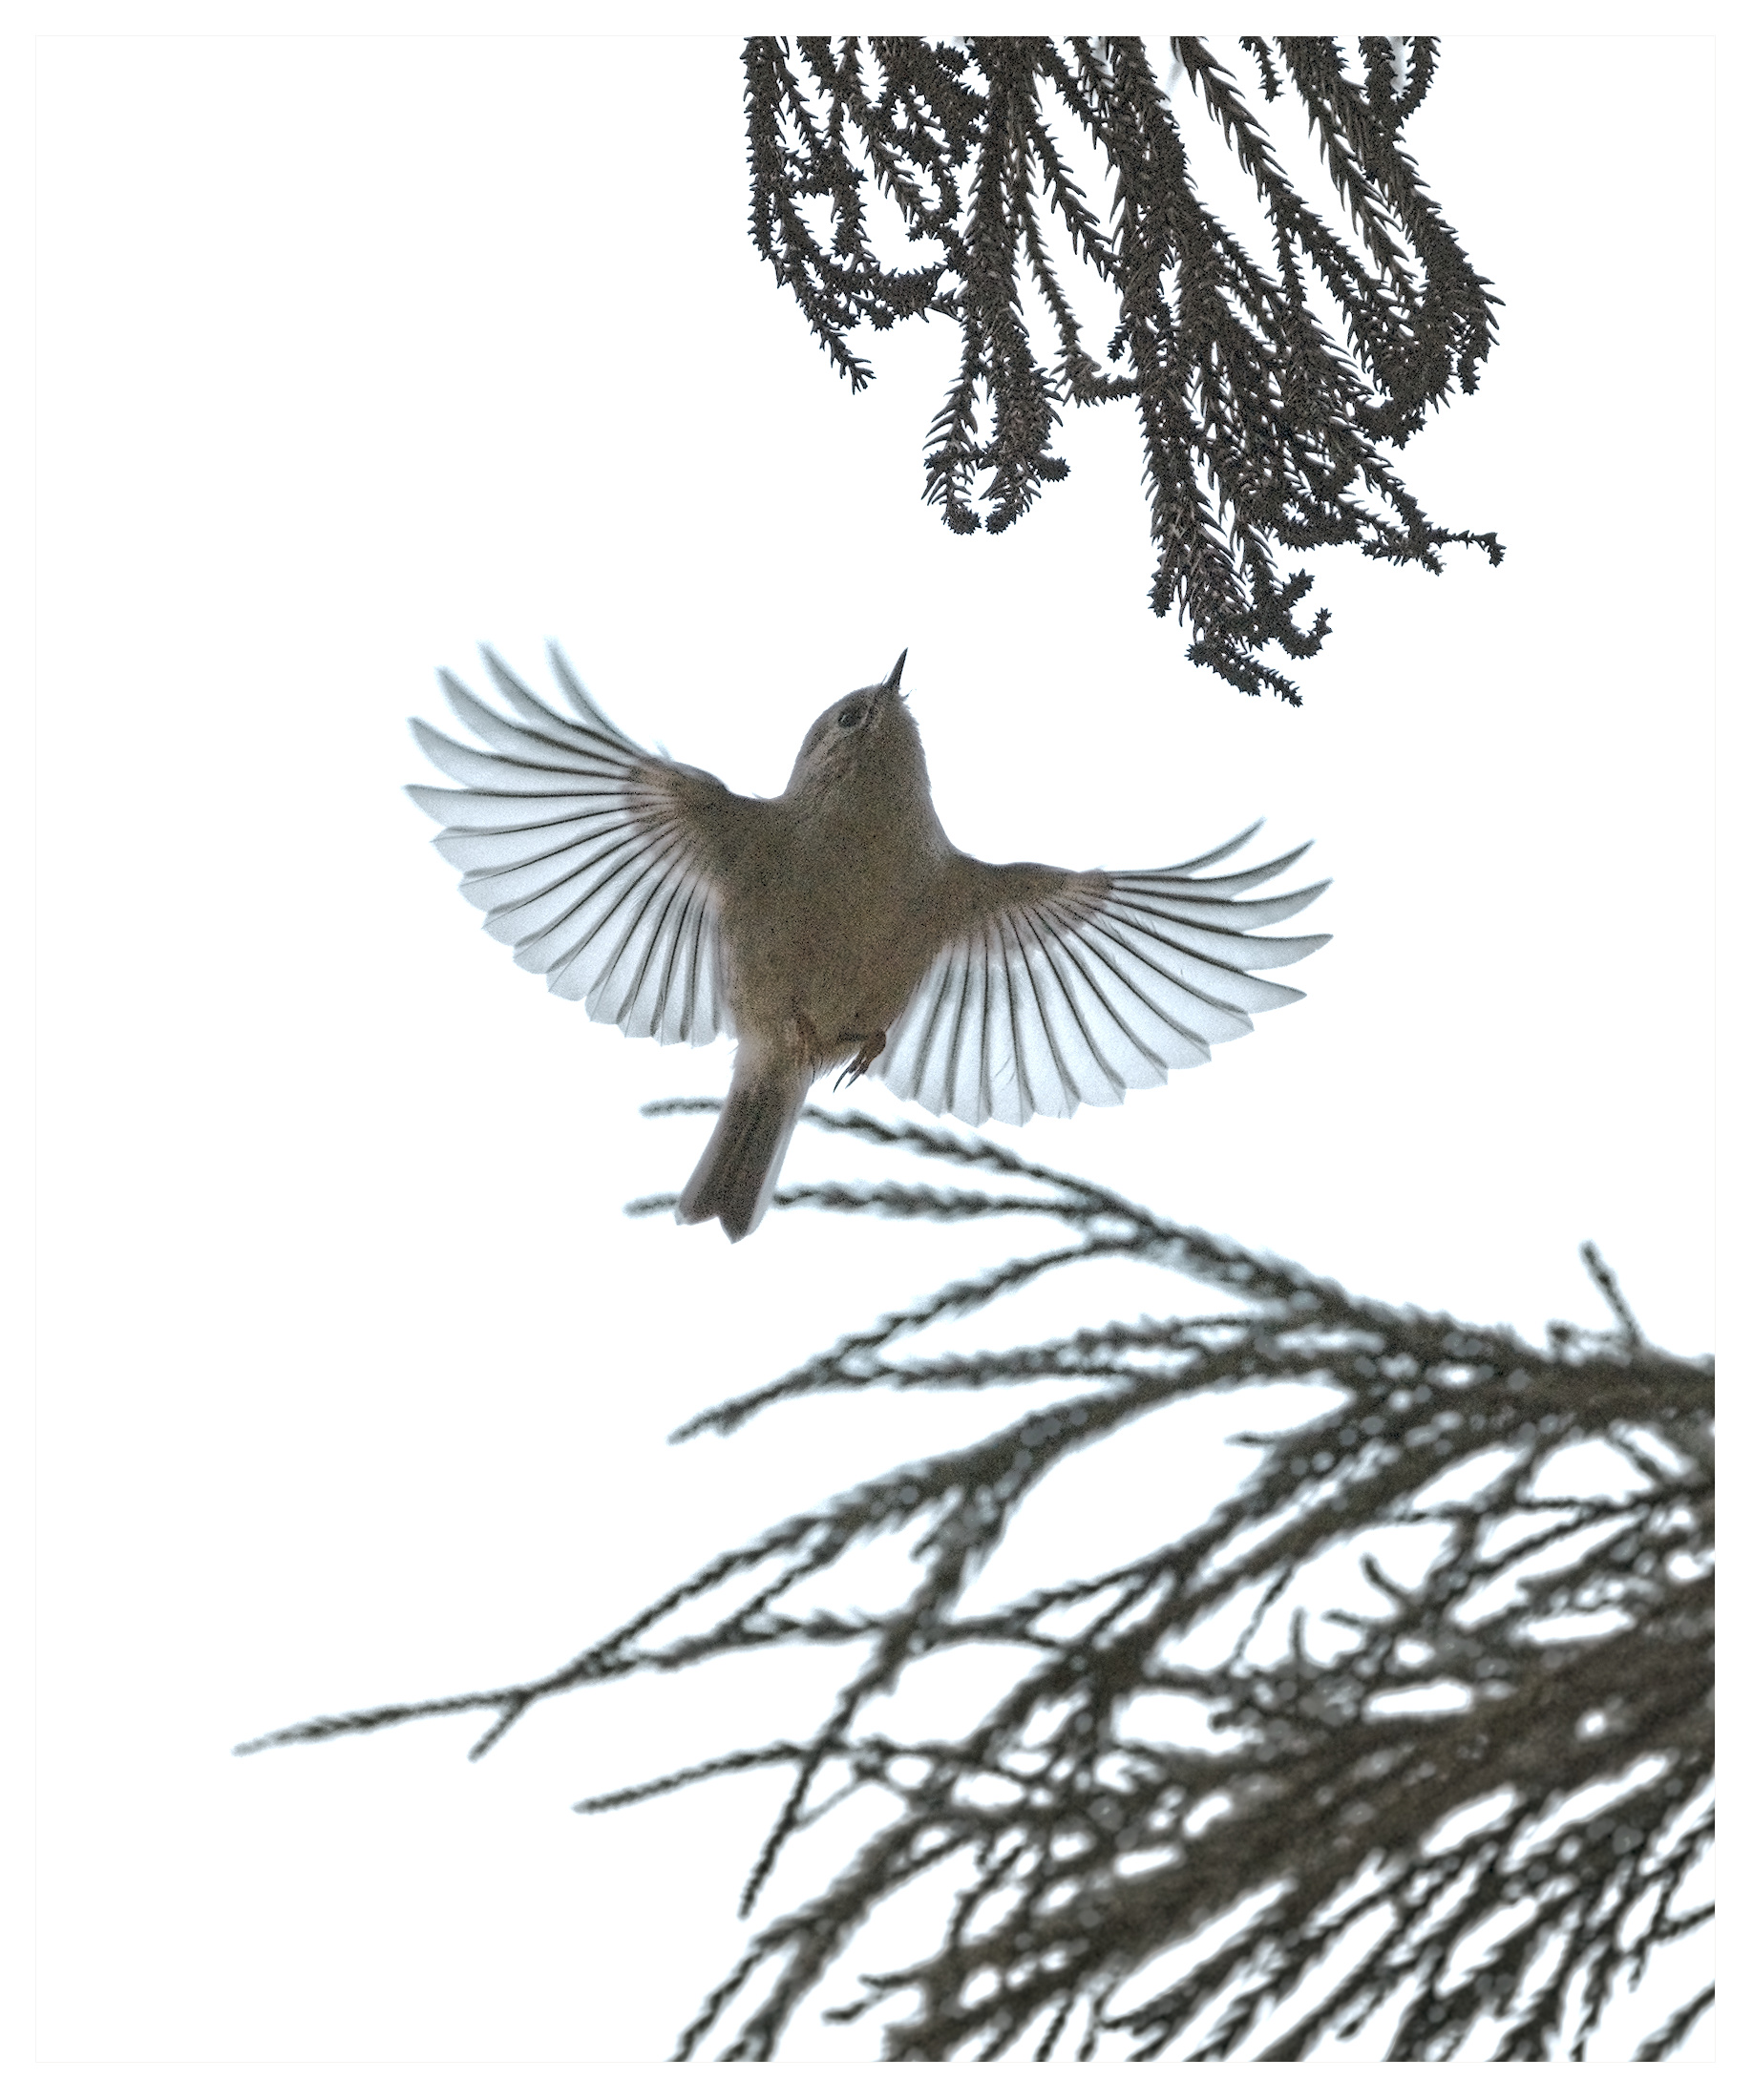
But in my opinion, you removed the wrong things and added the wrong:
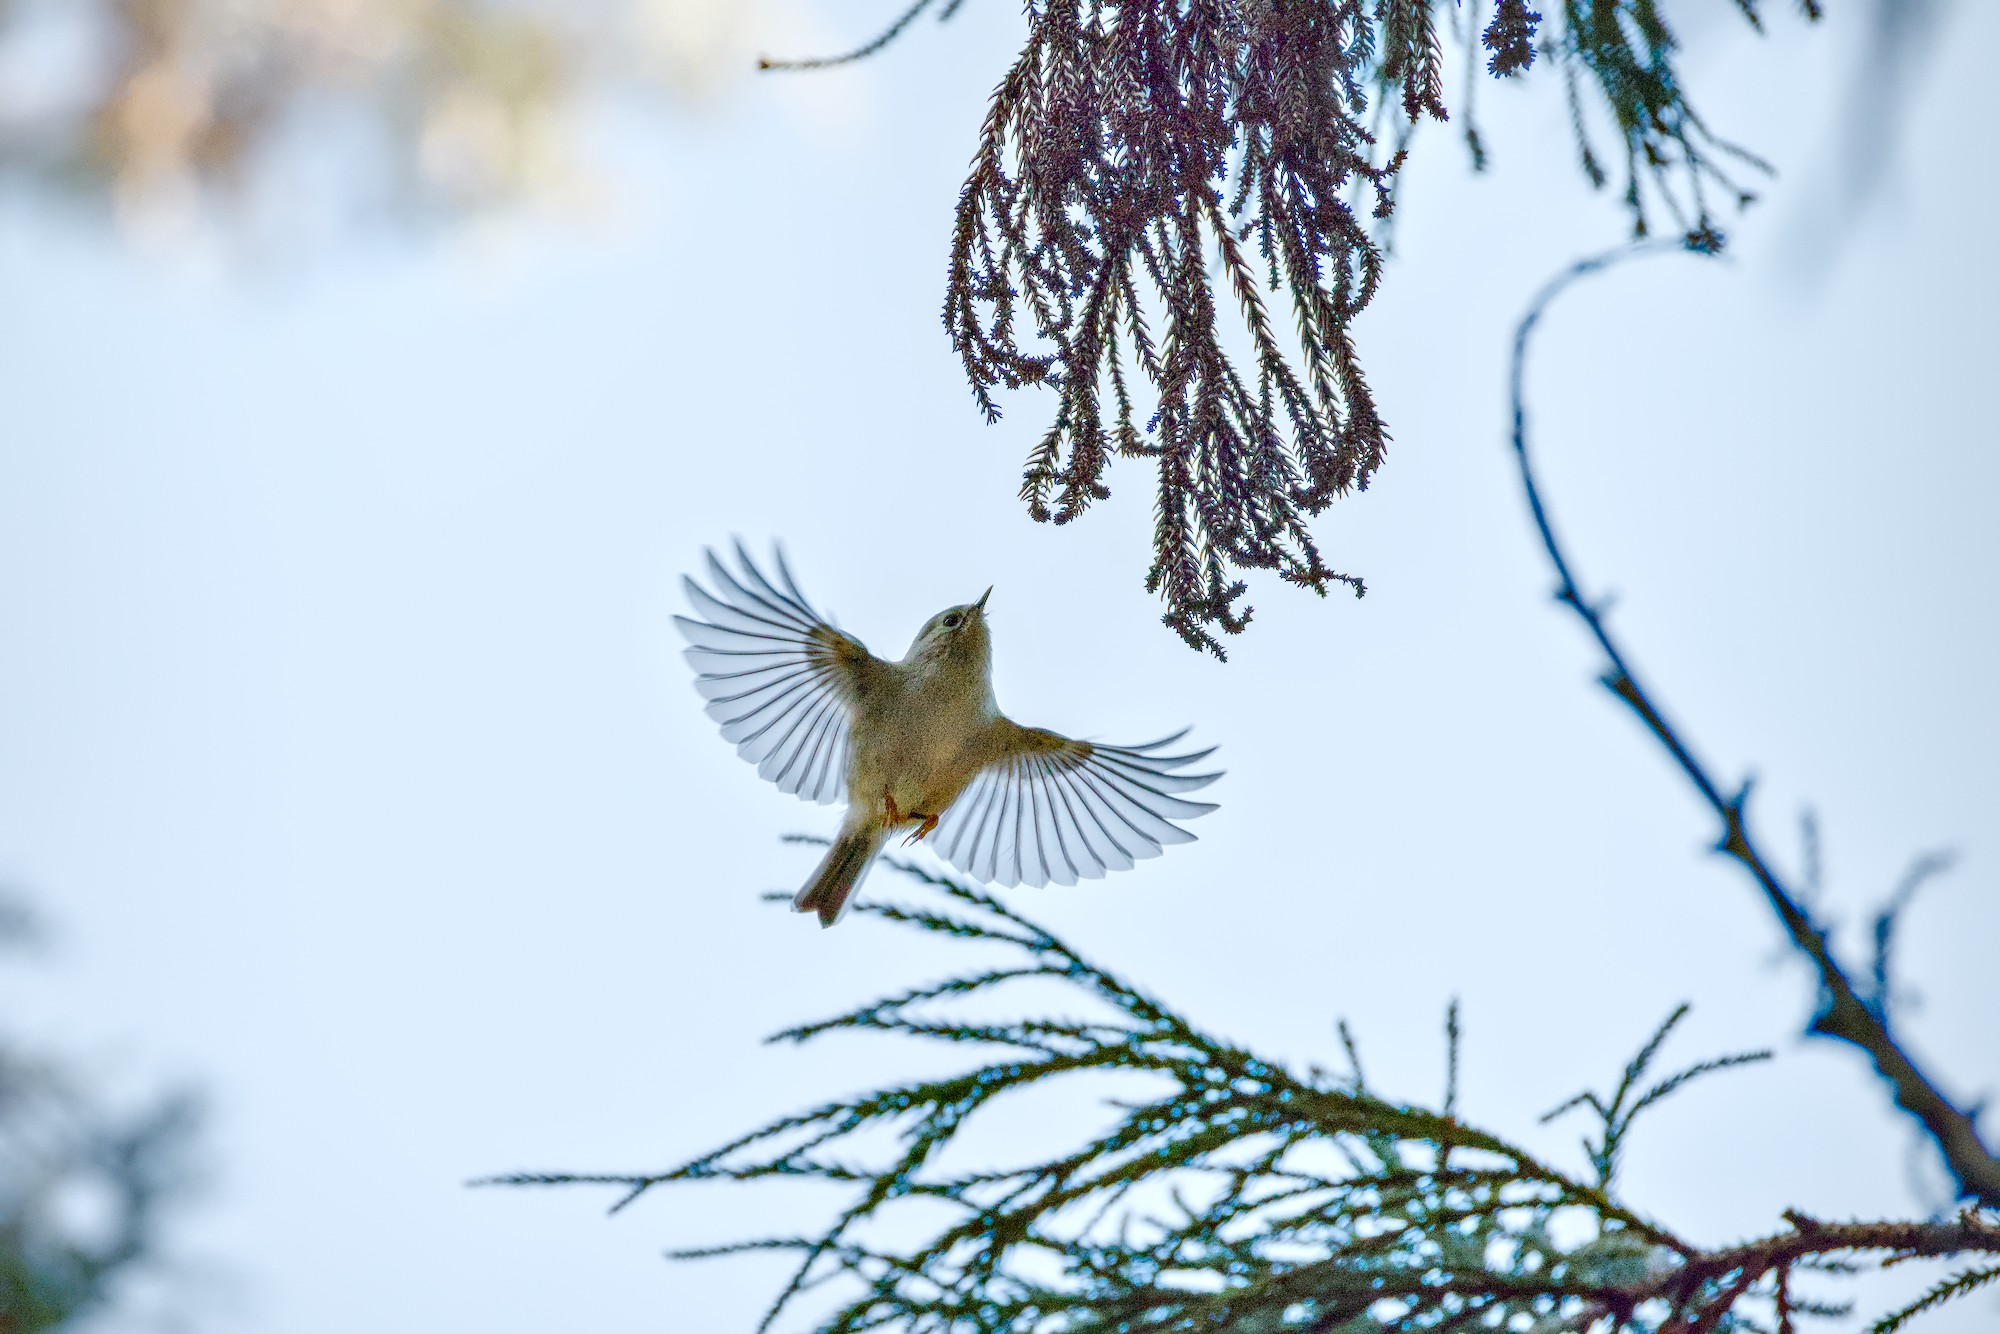
the branches are a nice framing, I would leave them in, but that’s a matter of taste.
a bit of noise is supporting the impression of sharpness, your denoising killed a lot of details. The picture is sharp enough for a high ISO shot, which it is because you have to brighten it a lot.
The blue of the wings is in my opinion too intense.
Thanks for your edit and for the critique.
I fully, agree with your 2nd and 3rd point.
Concerning the 1st point I only agree with the last part of the sentence
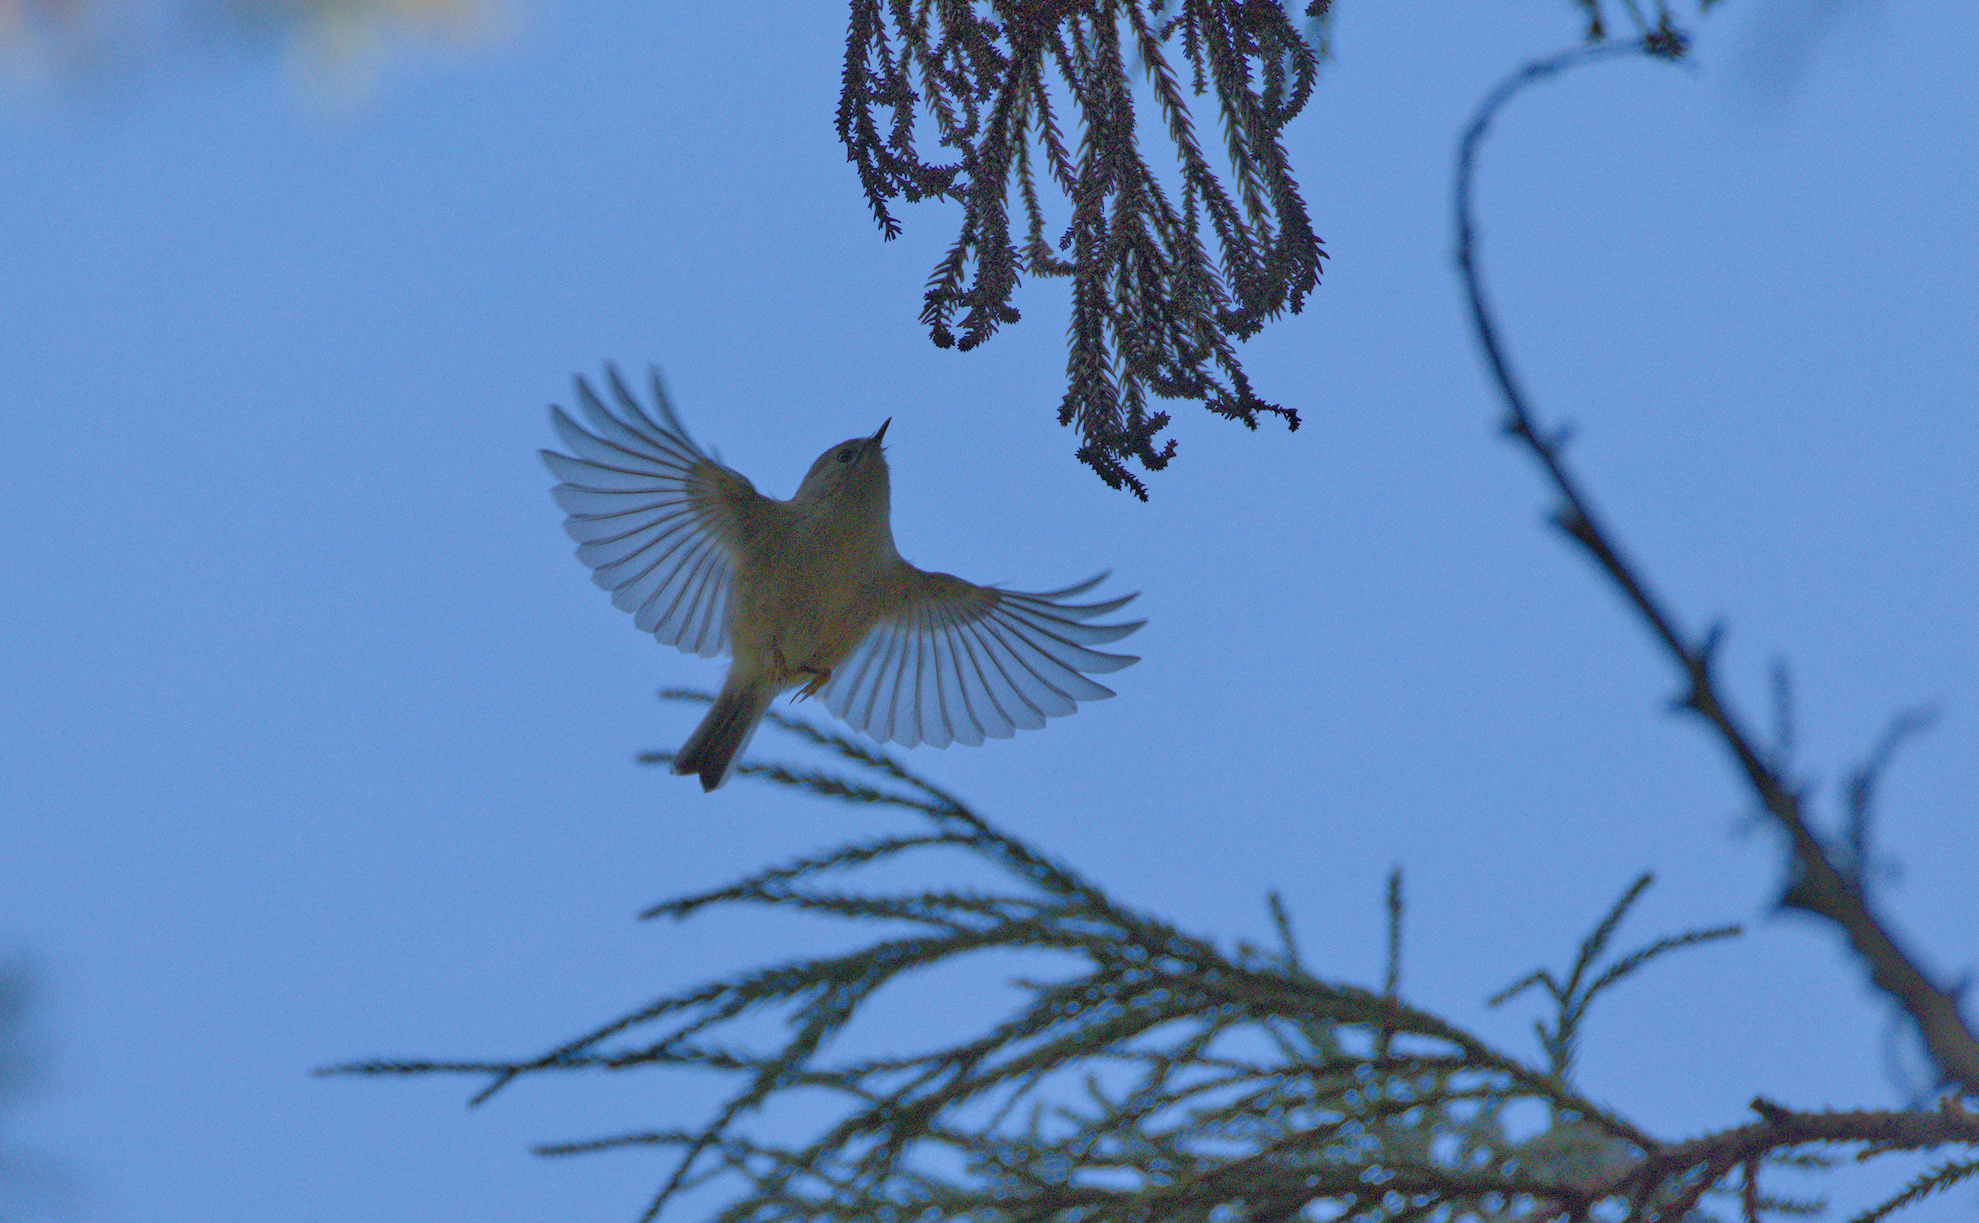
I agree this was a tough one. So many of my own bird shots are like this. However much I tinker with spot-weighted metering, I end up under exposing the subject against a bright sky; especially if it’s a fast-moving one like this.
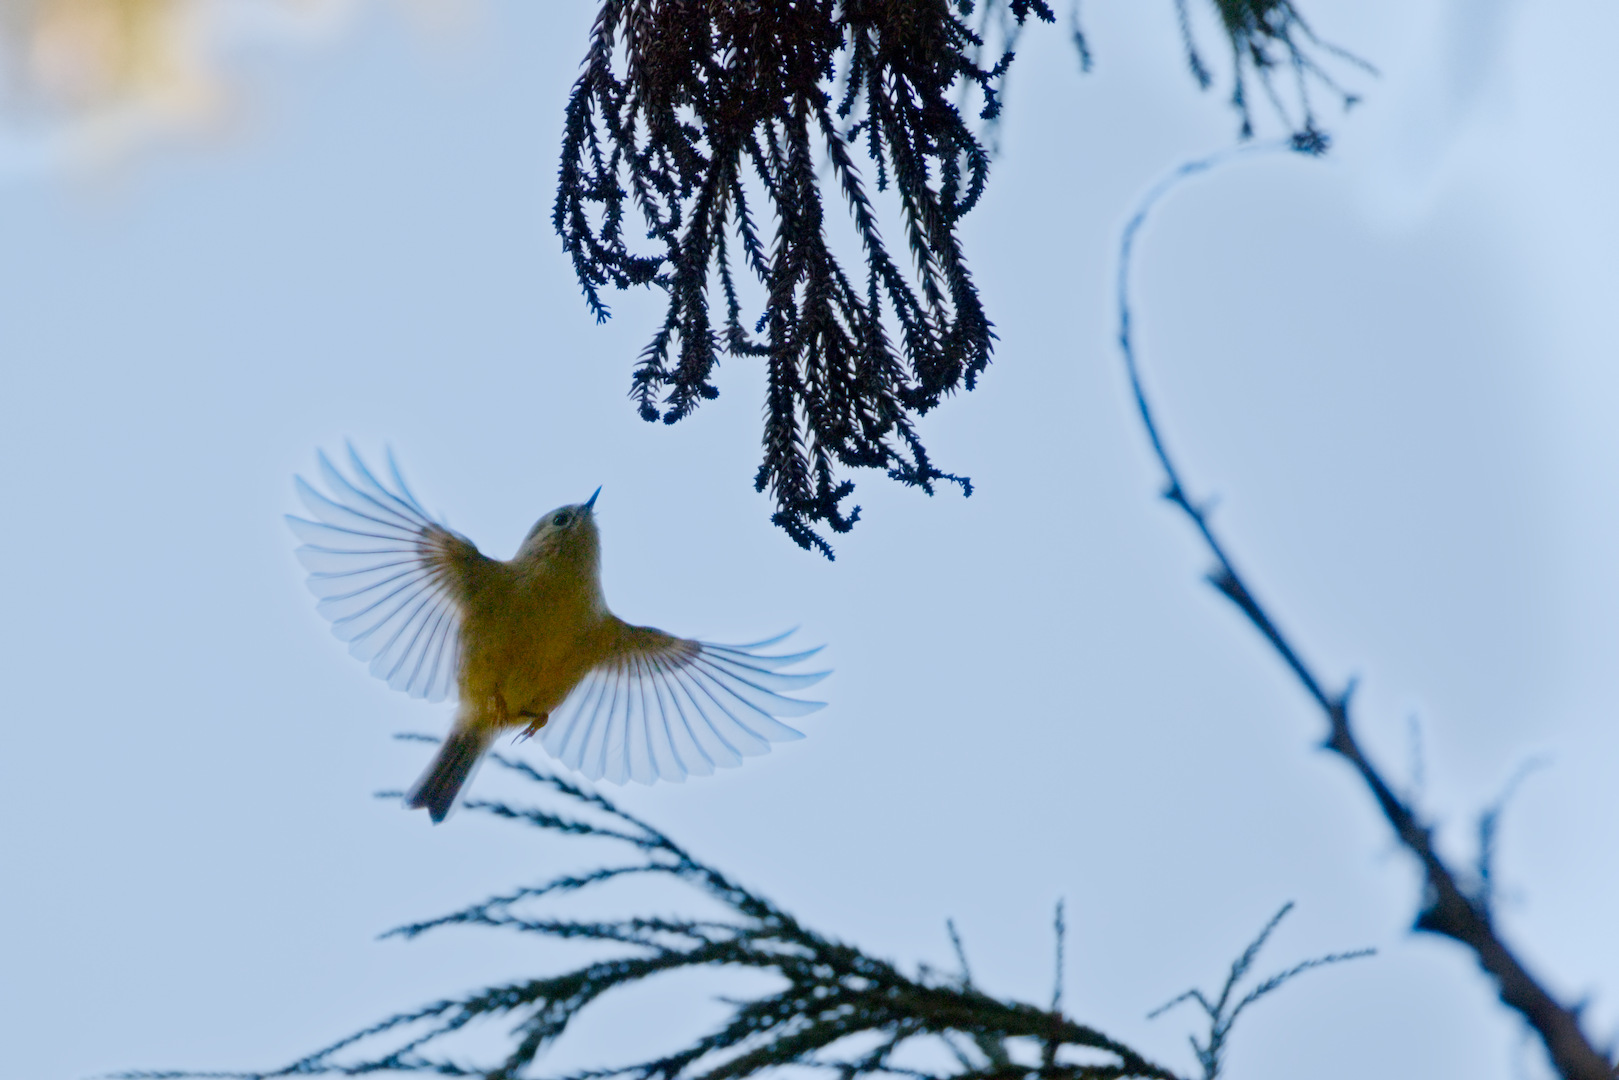
I used some judicious masking to bring up the bird without over-brightening the tree. Lots of tweaking with Contrast Equaliser in order to bring out the colours but mute - not wholly successfully - some of the blotchy chroma noise. It’s a powerful module, but I’m still trying to get the hang of it.
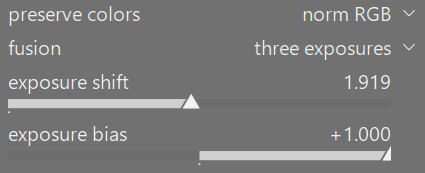
I used base curve fusion instead of AGX or Sigmoid to handle the extreme backlighting. I am amazed how much everyone is recovering with the underexposed bird. IMG_2026-01-12_12-17_0139.CR3.xmp (20.3 KB)
Just pushing the recovery too hard and not getting to fussy about the halos. I could probably avoid them with more care. Base curve fusion helps with backlit shots but this one was really pushing it.
I’m not the birds expert, maybe @Thomas_Do can tell us how he is doing his shots.
I for myself use manual mode for bird shots. This gives me most times better results and more control.
A very reasonable suggestion. The picture was taken with an Canon R5 and if exposure bracketing had been used a brighter exposure could have been selected. The bracketing on an R5 would be super quick as well. I use bracketing for most of my shots on my Canon R7 and that includes shots taken in manual mode.
I don’t even use exposure bracketing. I set a value where shutter speed is quick enough (for birds somewhere around 1/2000). Close the aperture a bit to have enough depth for the focus. With that values, I adjust ISO that high that the brighter parts of the sky are not burned out. And then I wait for my victims.
Probably a technique with potential for improvement but that’s how I do it. Or better to say did it with my Canon so far. Now I have to make experiments with the Sony highlight metering. Maybe this way I can use Auto ISO instead of a fixed value.
I do something similar. Most important to set the shutter speed to freeze the motion or allow some blurring in the wings if this is wanted. If there is enough light I might close the aperture a little. I have no high-end telephoto lens, so the aperture is in general mostly okay, even when “wide open”. Most likely, the available light is the limiting factor at this stage. So, I shoot in auto ISO mode. My camera is mostly ISO invariant, so the actual ISO does no really matter so much.
As stated above, I don’t care so much because the light is mostly the limiting factor and the raw file will come out similar no matter what ISO is used (invariance). So, I mostly use multi mode, sometimes in combination with manual exposure compensation. I especially try to avoid over exposure of parts of the image (e.g. sky). For this i use the Sony zebra indicator.
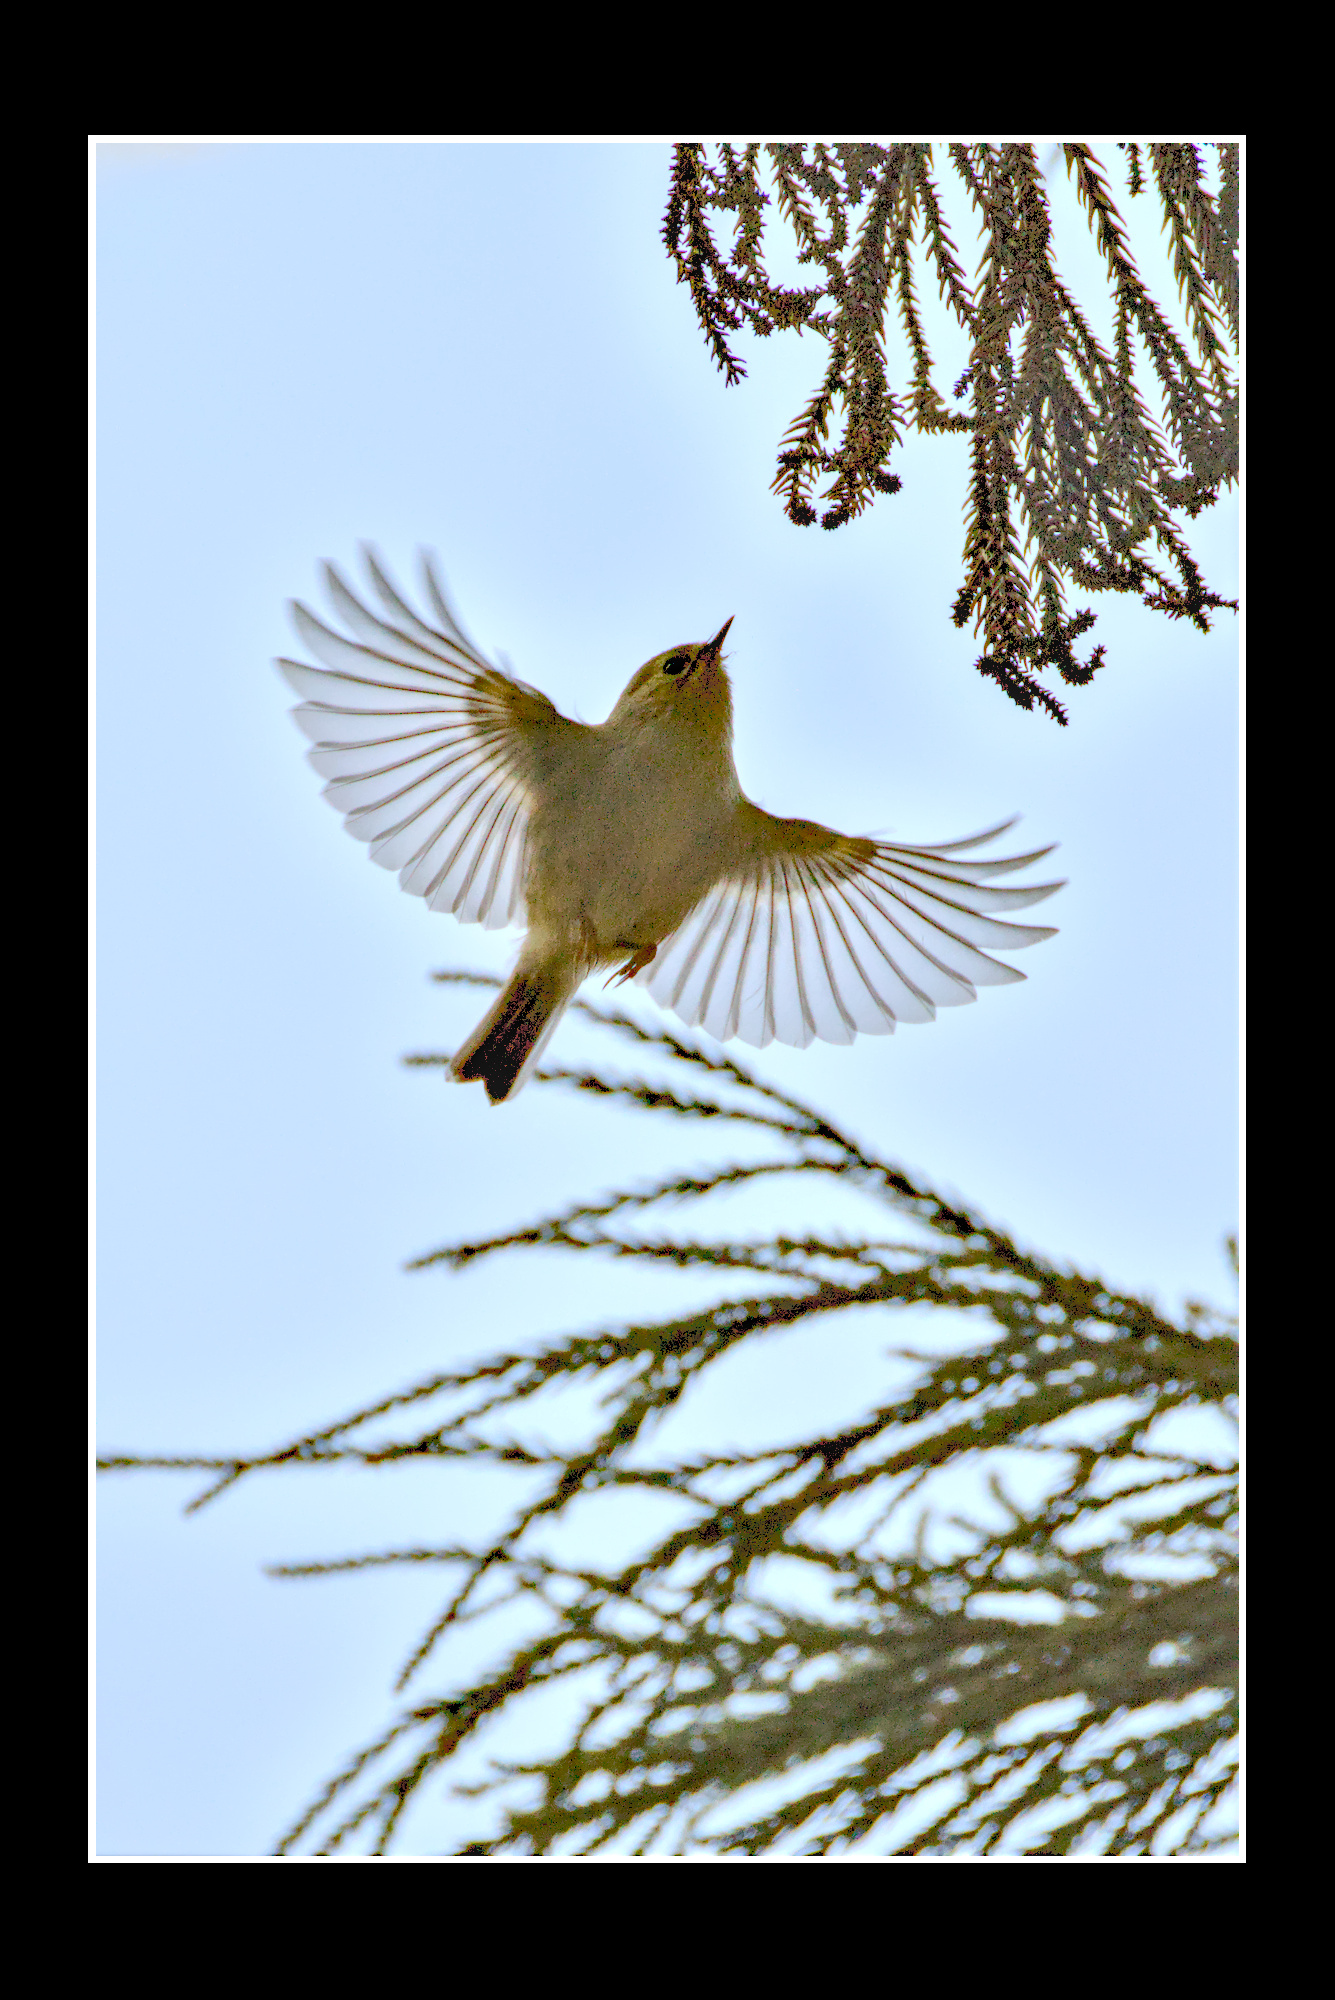
Yes, pretty difficult edit. I used FilmicRGB and two instances of Tone Equalizer. I didn’t feel like I could do much more to emphasize the bird without going wonky.