I’m in a learning phase silently lurking on these forums as well as watching lot of youtube videos for tutorials. Gathering/understanding the techniques demonstrated here by many contributors as well as on those youtube videos.
Just want to thank all of you, starting from developers who has developed such a powerful product. It seems like it’s my understanding is the only limitation, I’ll get there, some day. It feels almost like a magic.
I was especially impressed by changed in the attached photo captured 3 years ago. It was/is totally bad photo, most likely operators mistake and darktable was able do a very good job to make image more usable. I was very impressed by power of the tool as well as various ways techniques were demonstrated here.
These, what you call totally bad photos are a treasure of sorts and very good exercise material. They are also nice examples of what it is that modern day RAW editors can achieve even if the starting point isn’t all that perfect. Editing perfect RAW files isn’t all that much fun
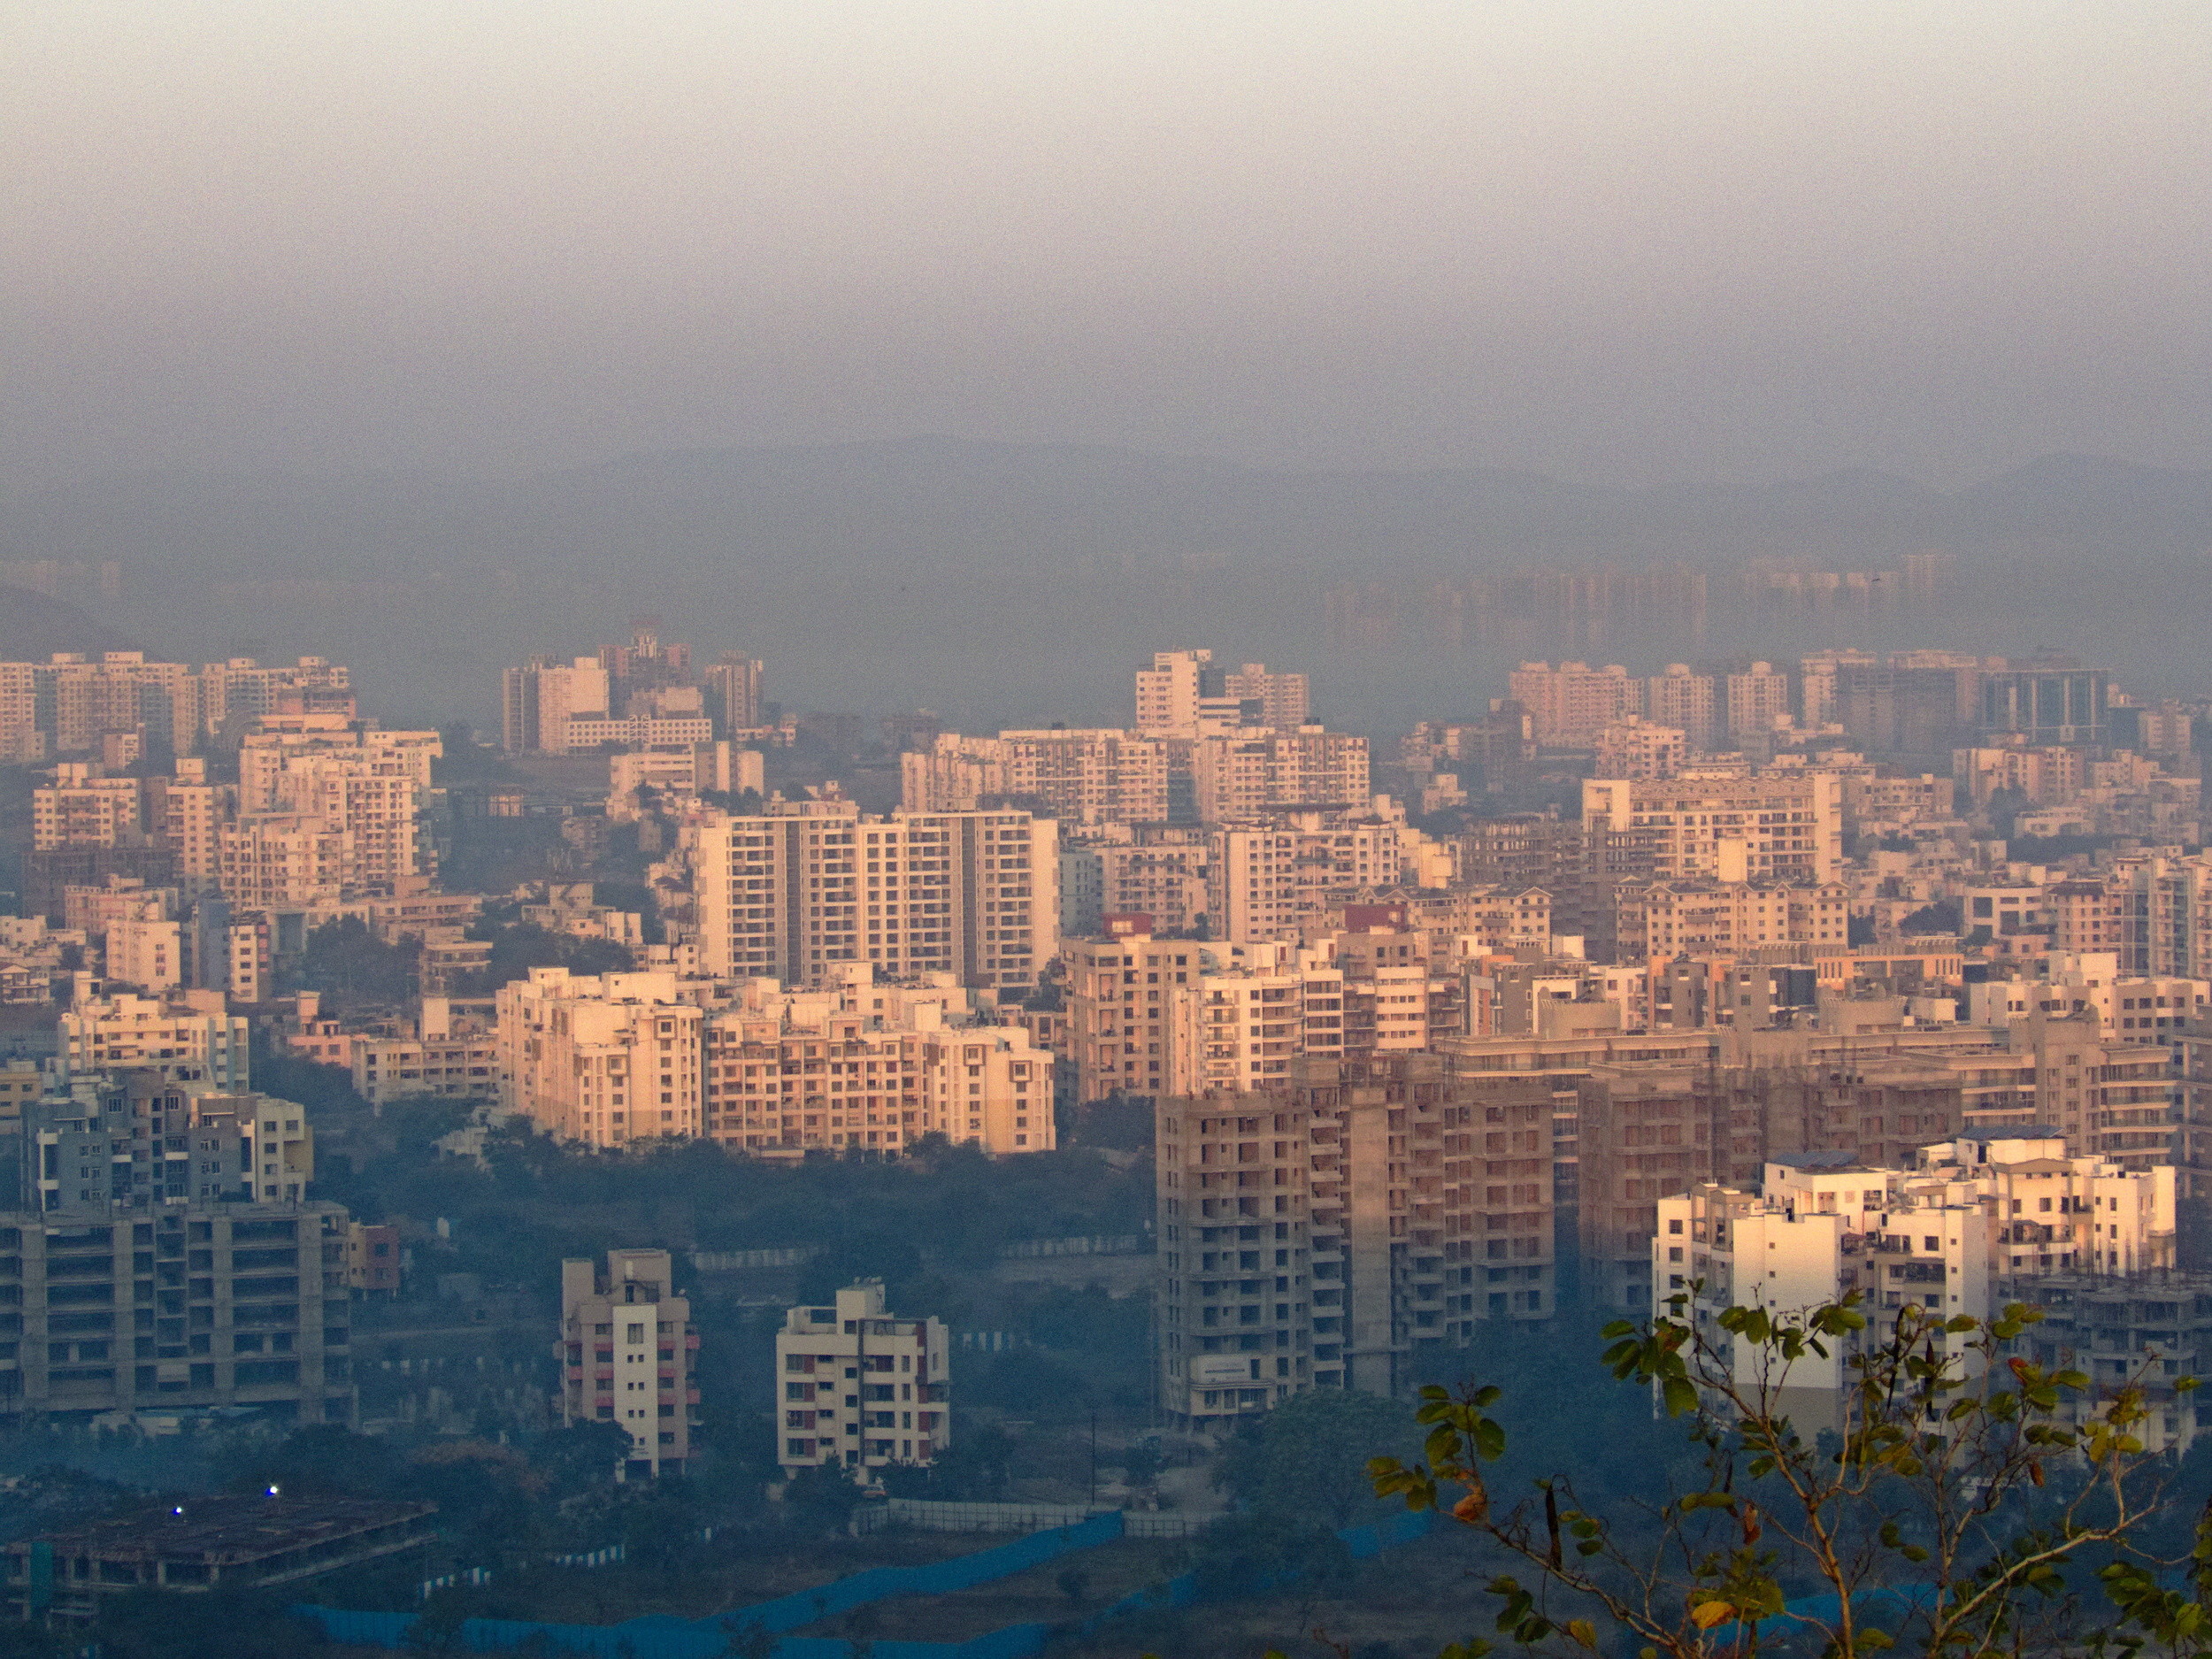
I used RawTherapee here but other RAW editors, definitely darktable, are also capable of producing very nice results.
Looks similar to samples from a hazy image data set.
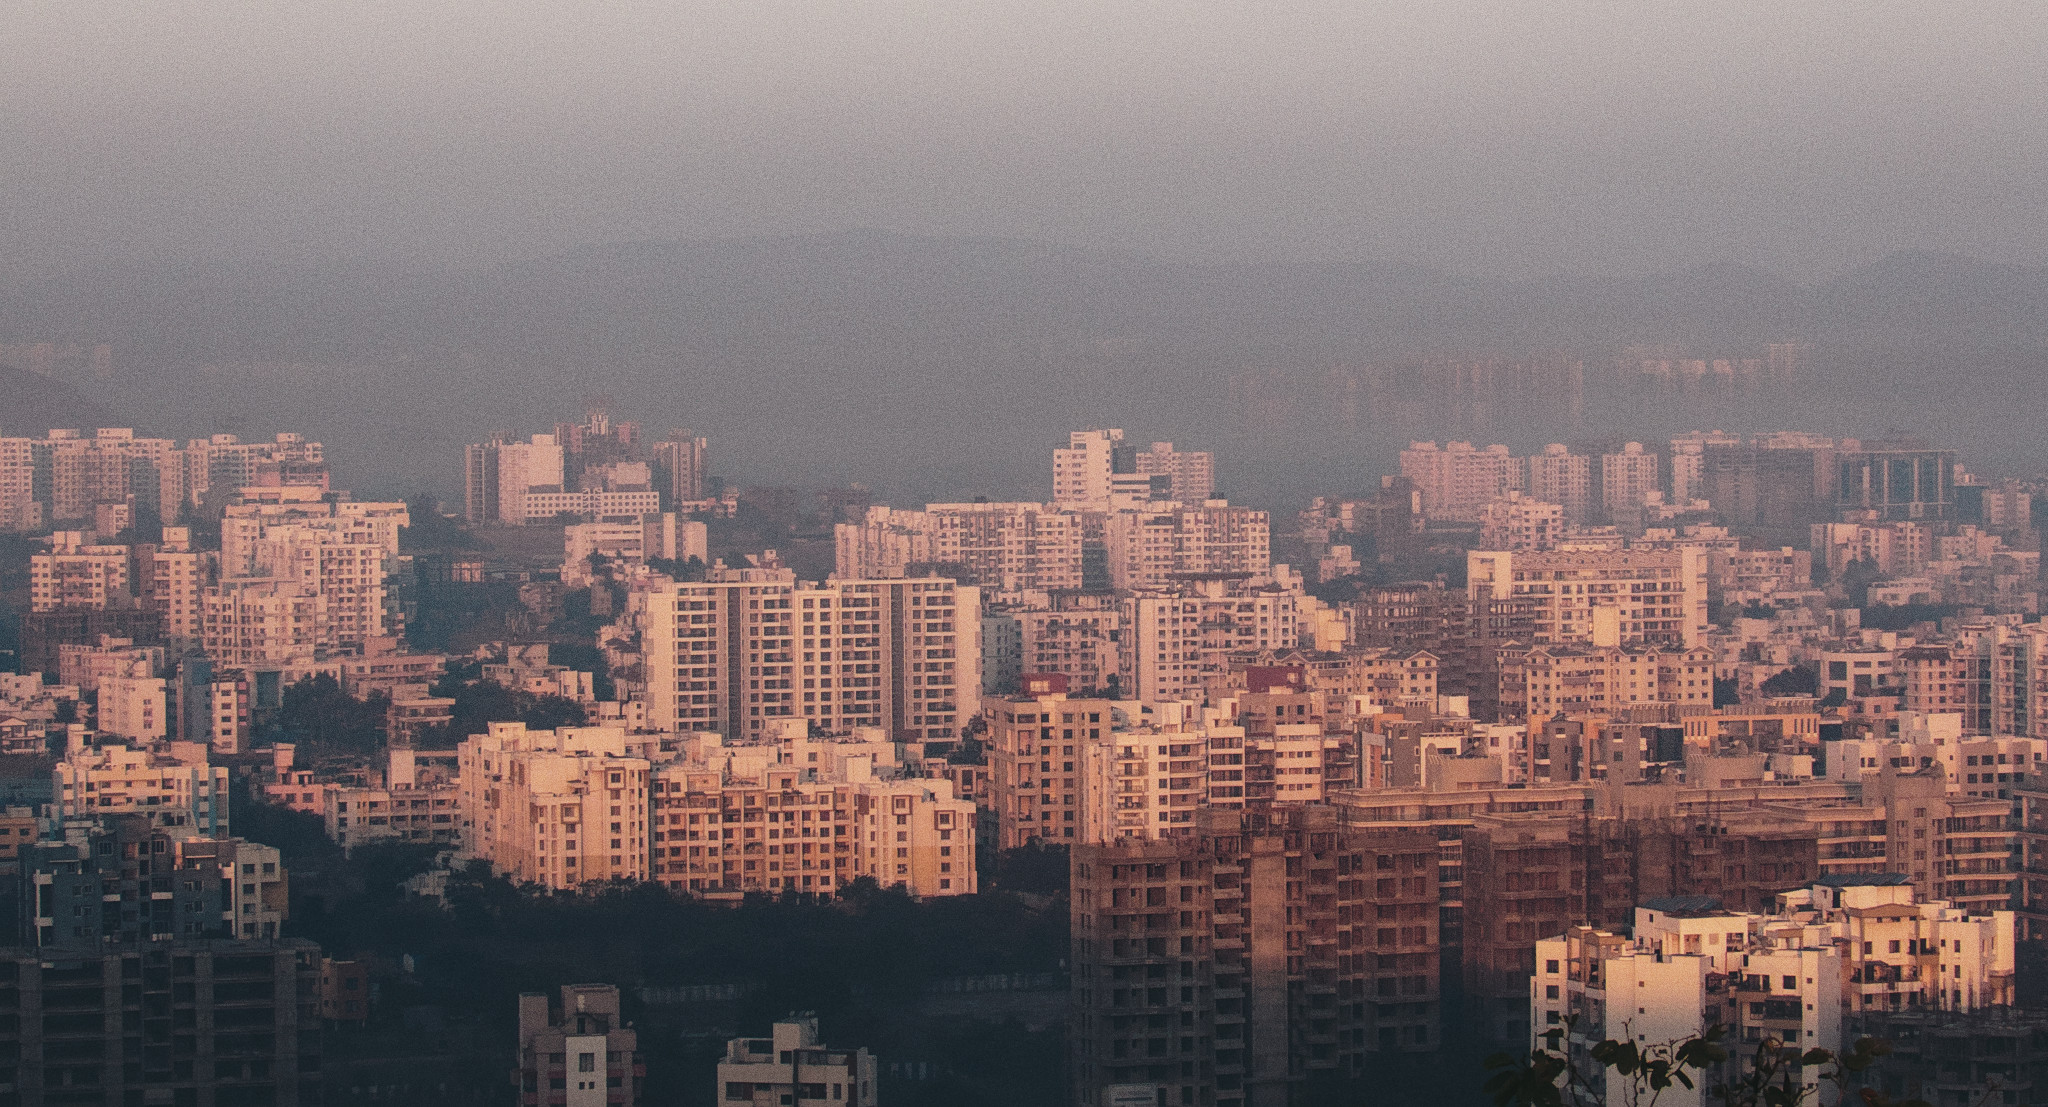
This is the one from the classic paper “Single Image Haze Removal Using Dark Channel Prior”, which is the algorithm that RT uses (unless it has been replaced by something better).
I used @heckflosse’s poor mans dehaze together with the soft light module, which is a rather nice combo. Not sure what algorithm Ingo used though, but I like it better then the default Haze Removal module when I’m able to use it.
This specific dehaze functionality hasn’t been merged into the dev tree as of yet, though. You need to pull and merge it locally and build RT yourself if you want to try it (and start RT from the terminal to get some info, there’s no GUI part as of yet).
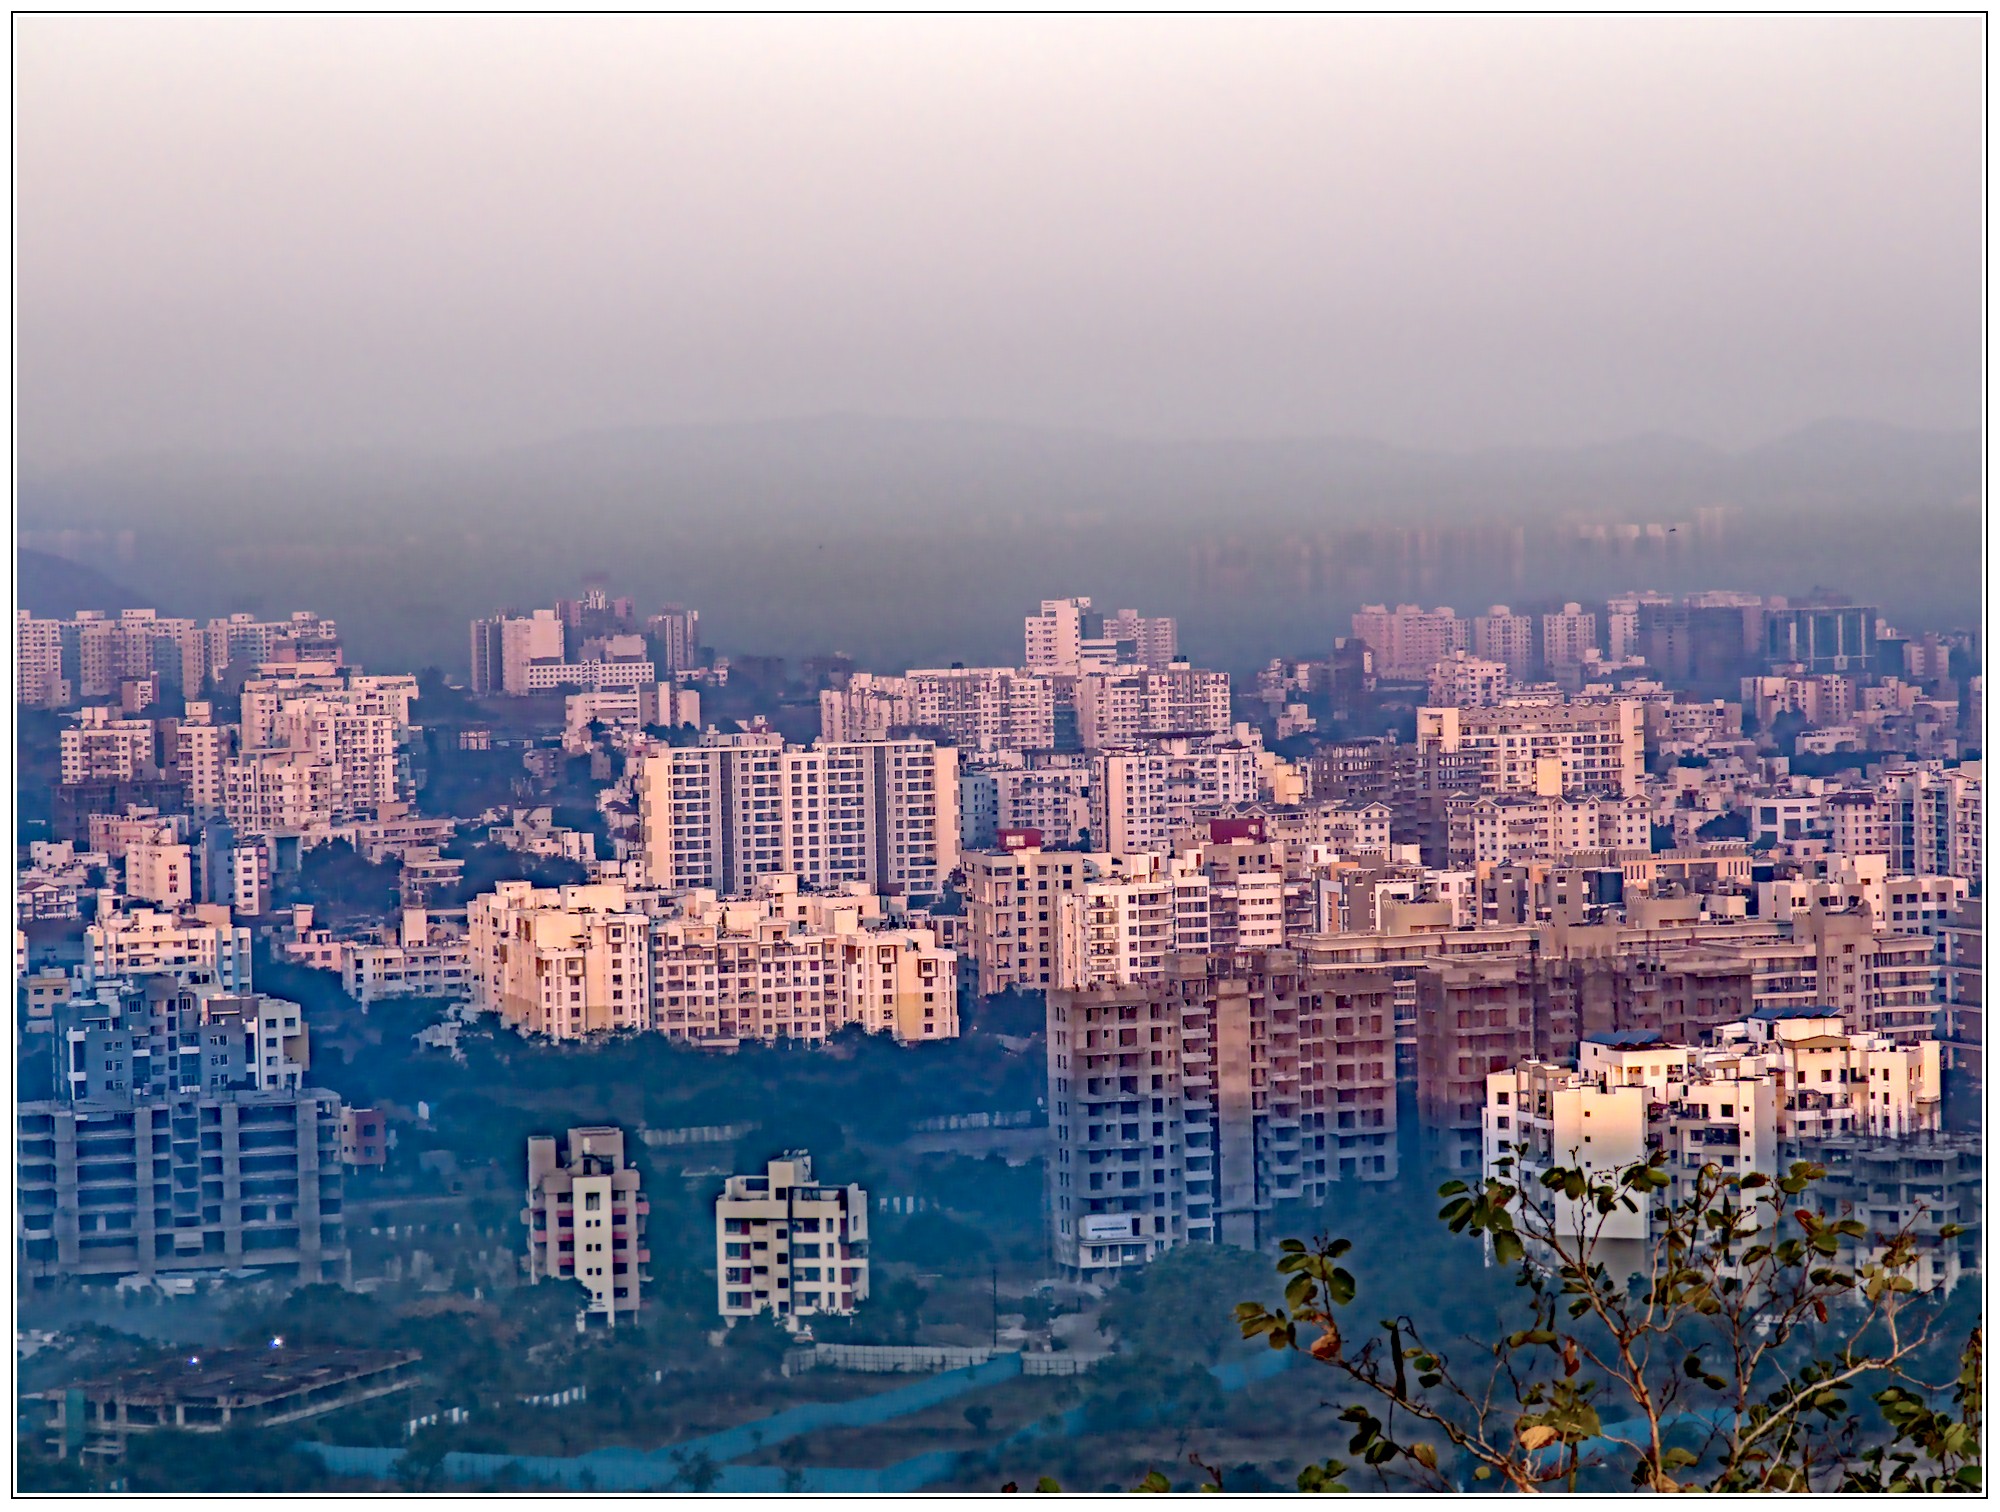
All done in GIMP. I added a desaturated layer in overlay mode to increase the contrast. Then, using luminosity masks, I increased the contrast in the foreground still further and reduced the blue content. Boosted the colours with the channel mixer.
I didn’t want to spoil the atmosphere of a hazy dawn, so I sharpened a layer using wavelet decompose and restricted its effect to the foreground with a gradient. Lots of noise, but I don’t think it detracts from the overall effect.
Glad you like the result. It is only one of the many possible interpretations. Others may prefer something very different!
No noise added. There was some noise in the original image and the processing only exaggerated it.
Yes, I meant to include that in the post but was too tired to edit it in. I have a faulty memory but I think it had to do with modifying the raw black point, which skews the colour balance. He has an auto method on the to-do list, which I have been waiting for since black point adjustments are unpredictable to me. In general, the biggest challenge of dehazing is not clarity or contrast but colour restoration.
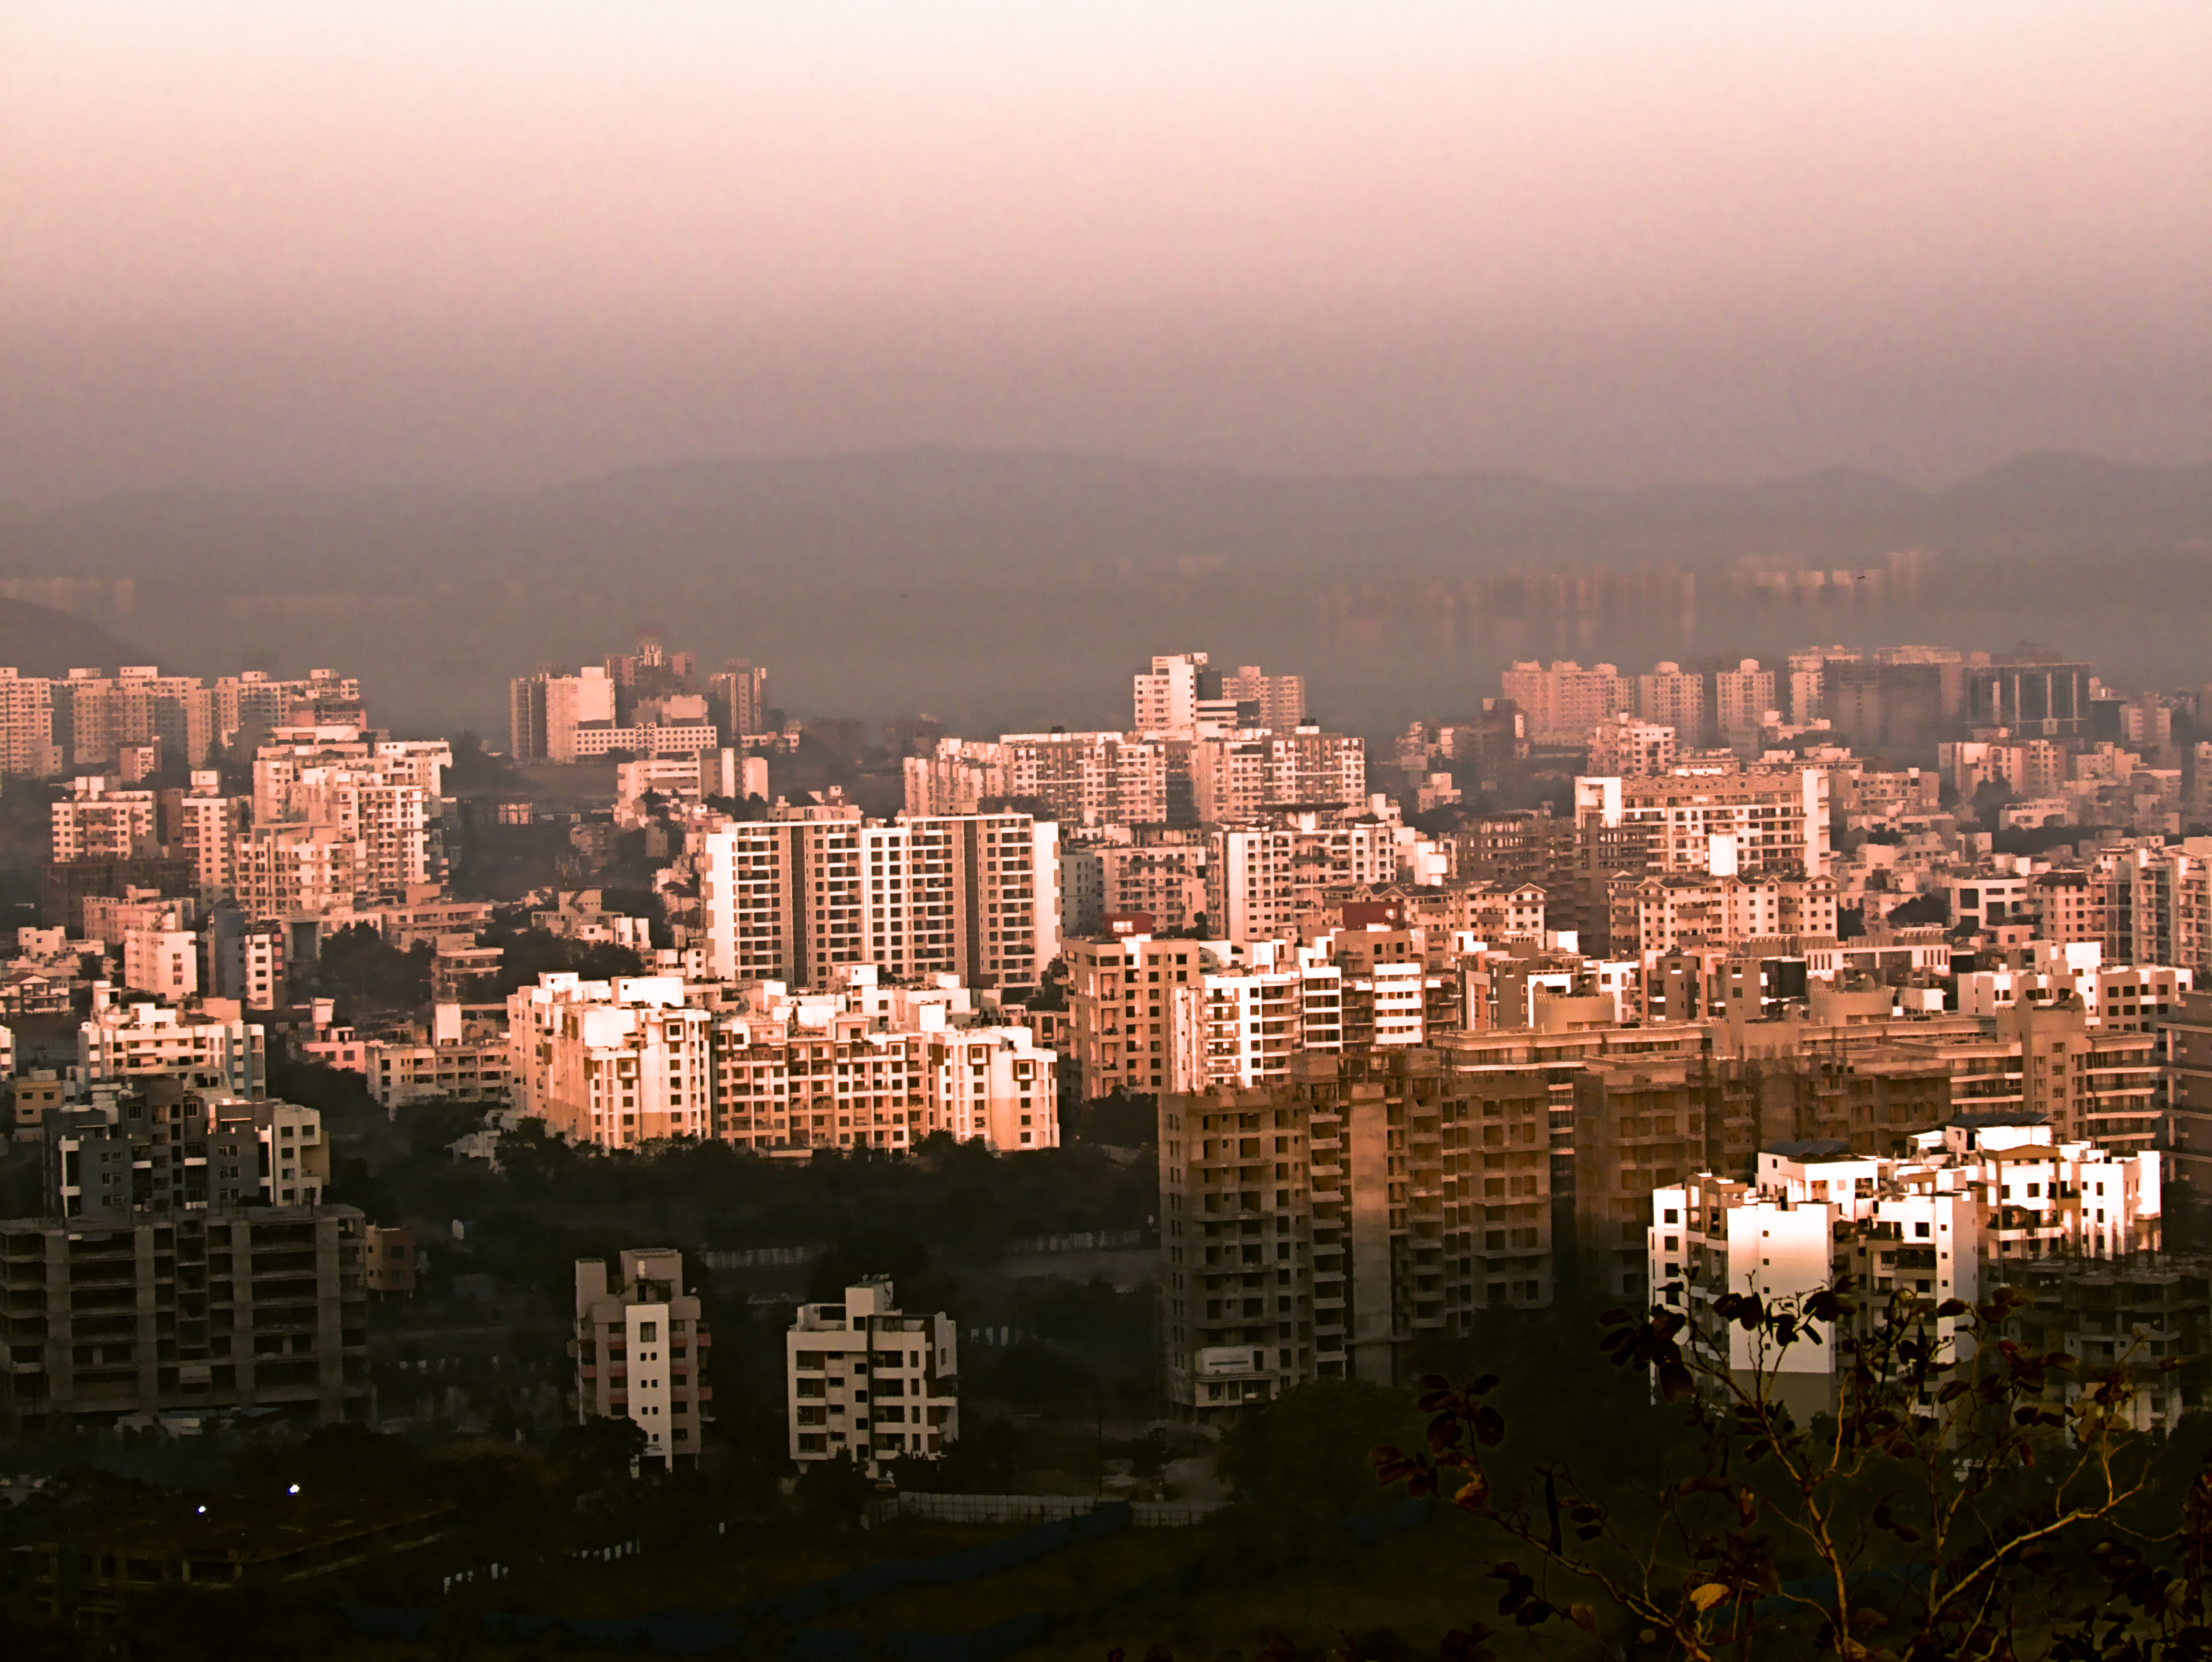


 . Its result of experimenting with camera dials as I’m learning about cause and effect.