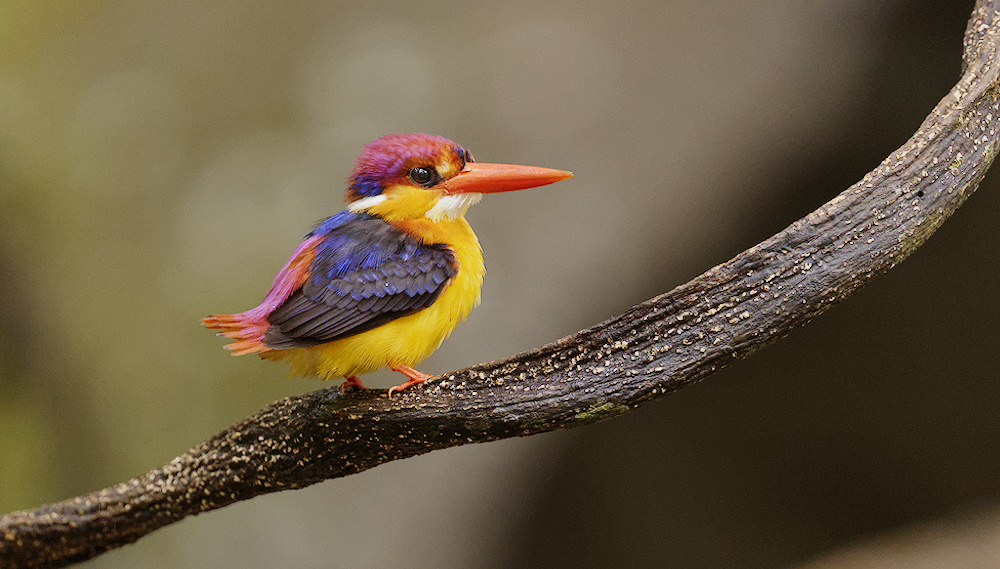
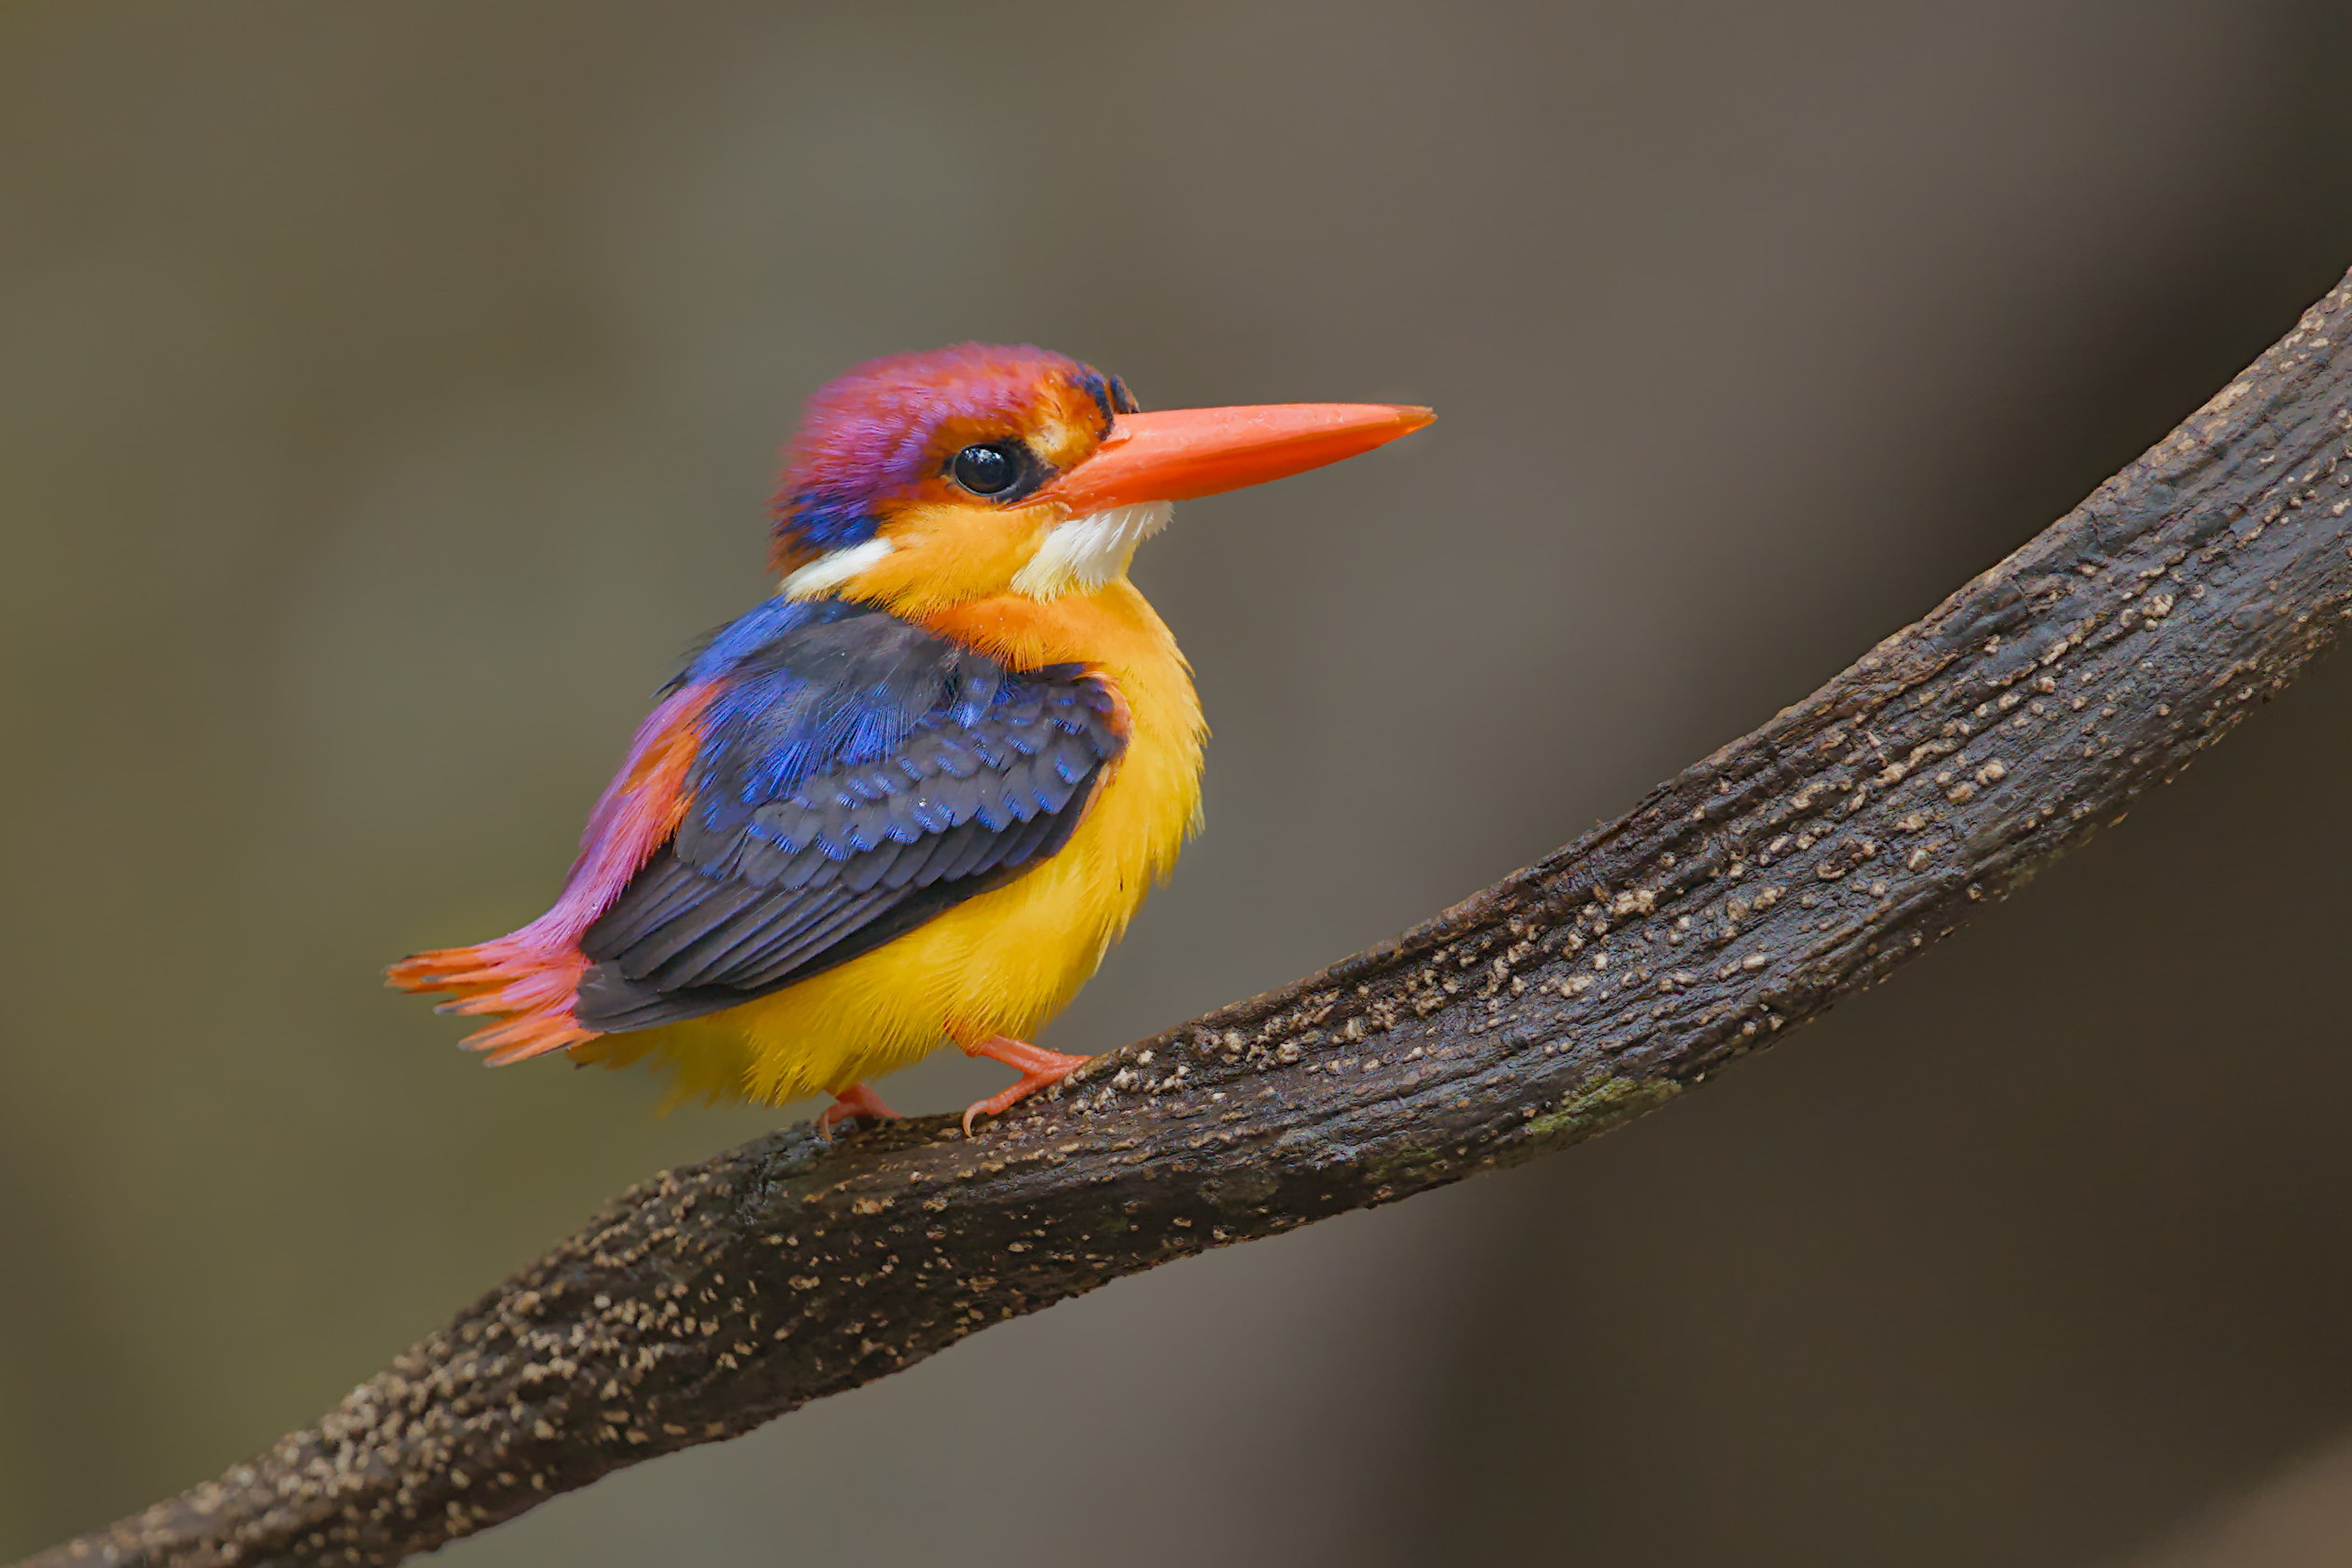
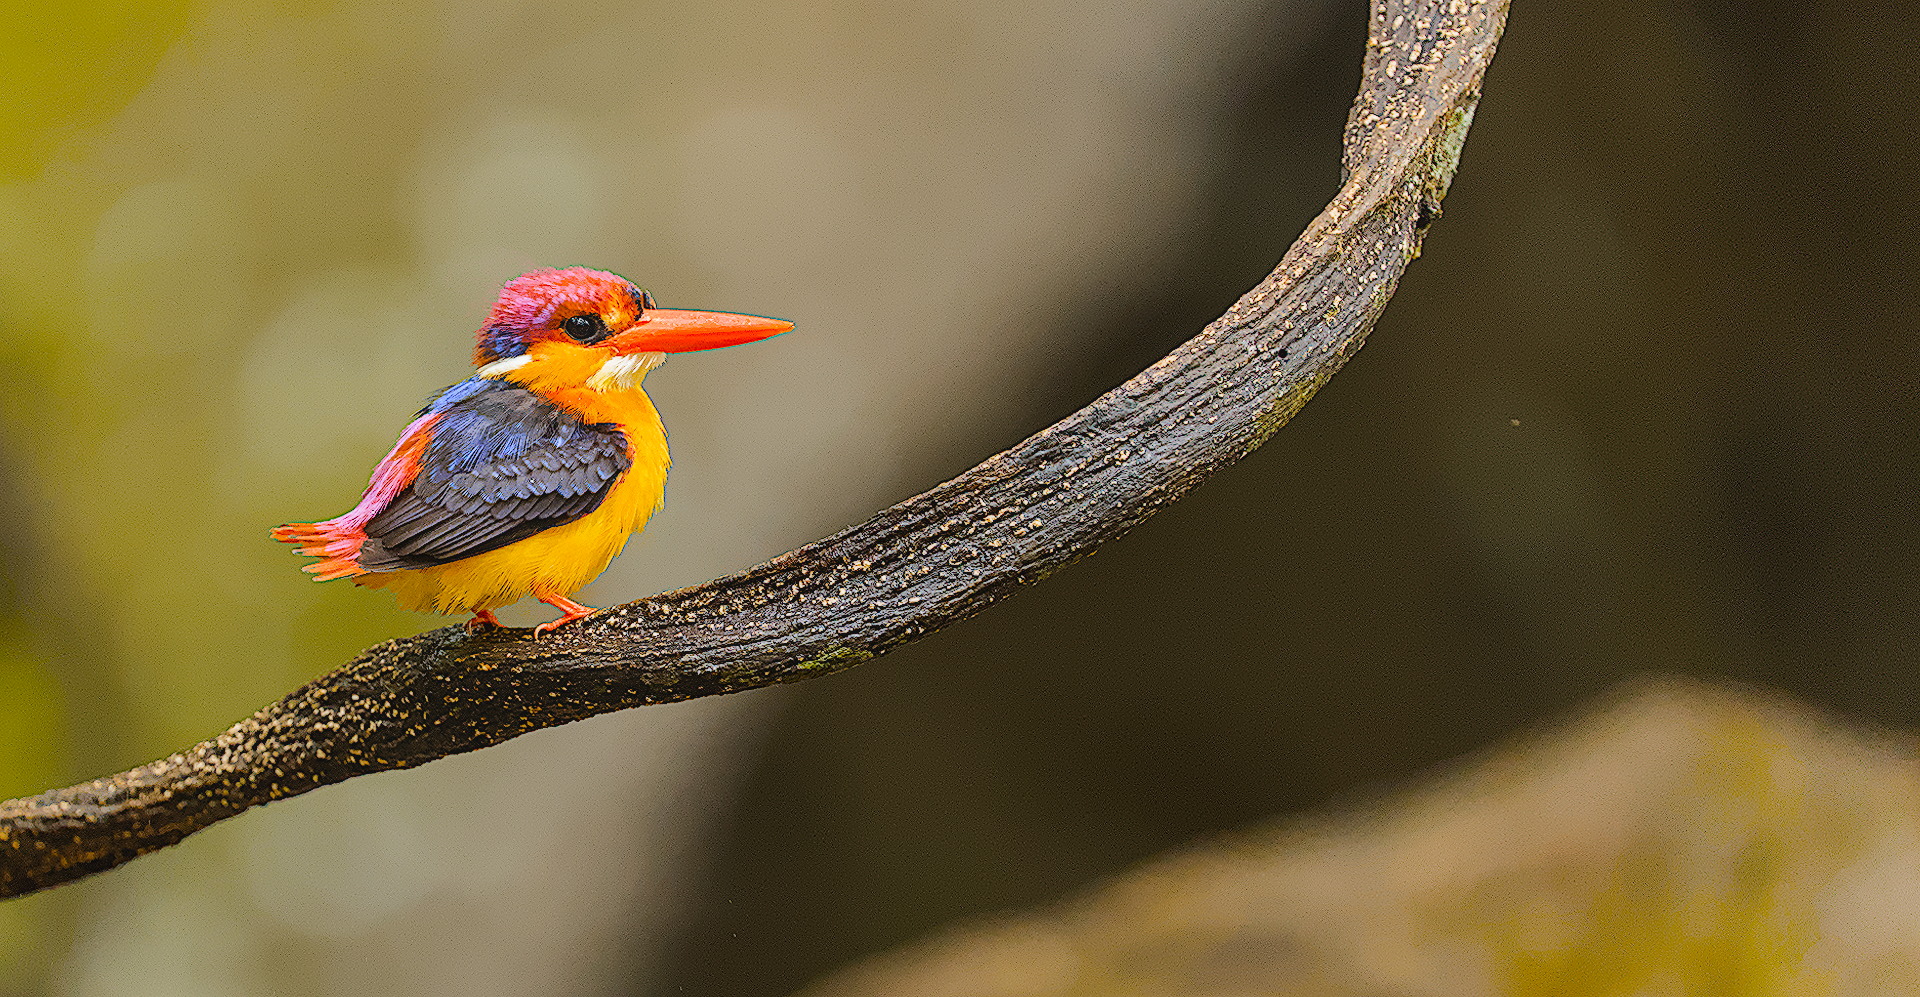
It took me a while to come up with something to my liking. The combination of fine detail, a bit of noise and strong colors I found hard to tame. I learned a few things on the way. And ‘stole’ @kofa DoS settings, thank you for that one (with the 45 iterations)!
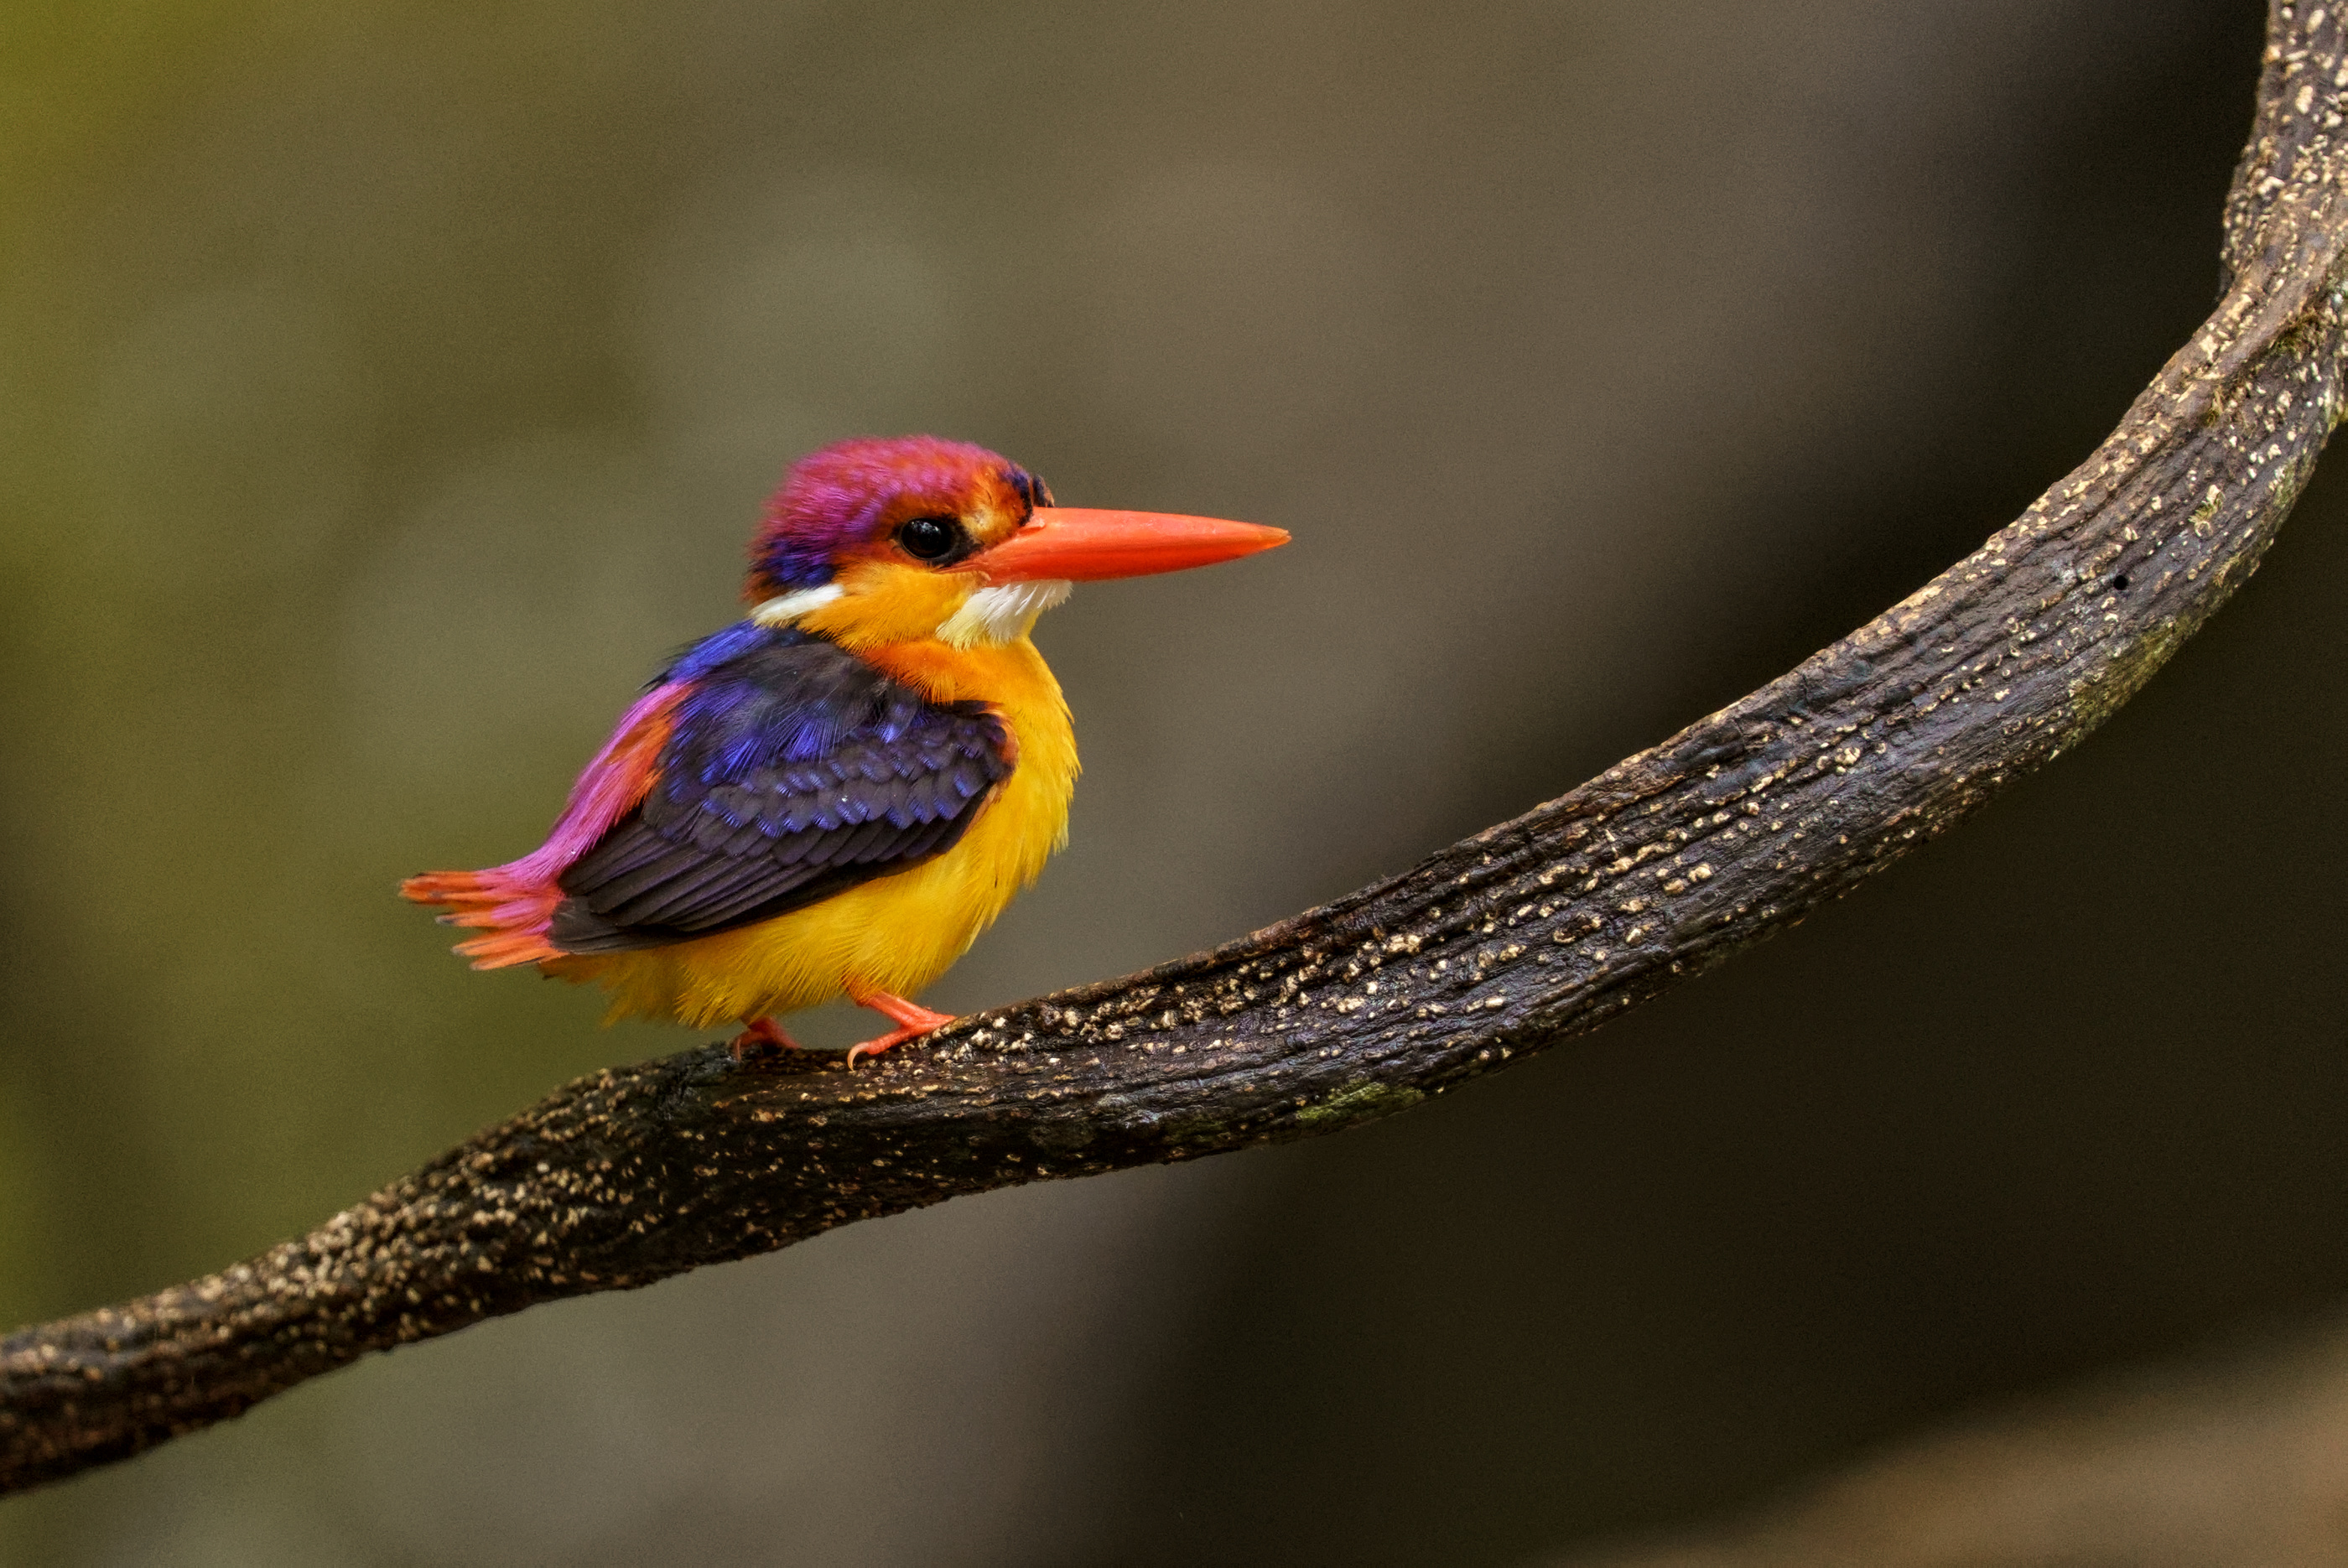
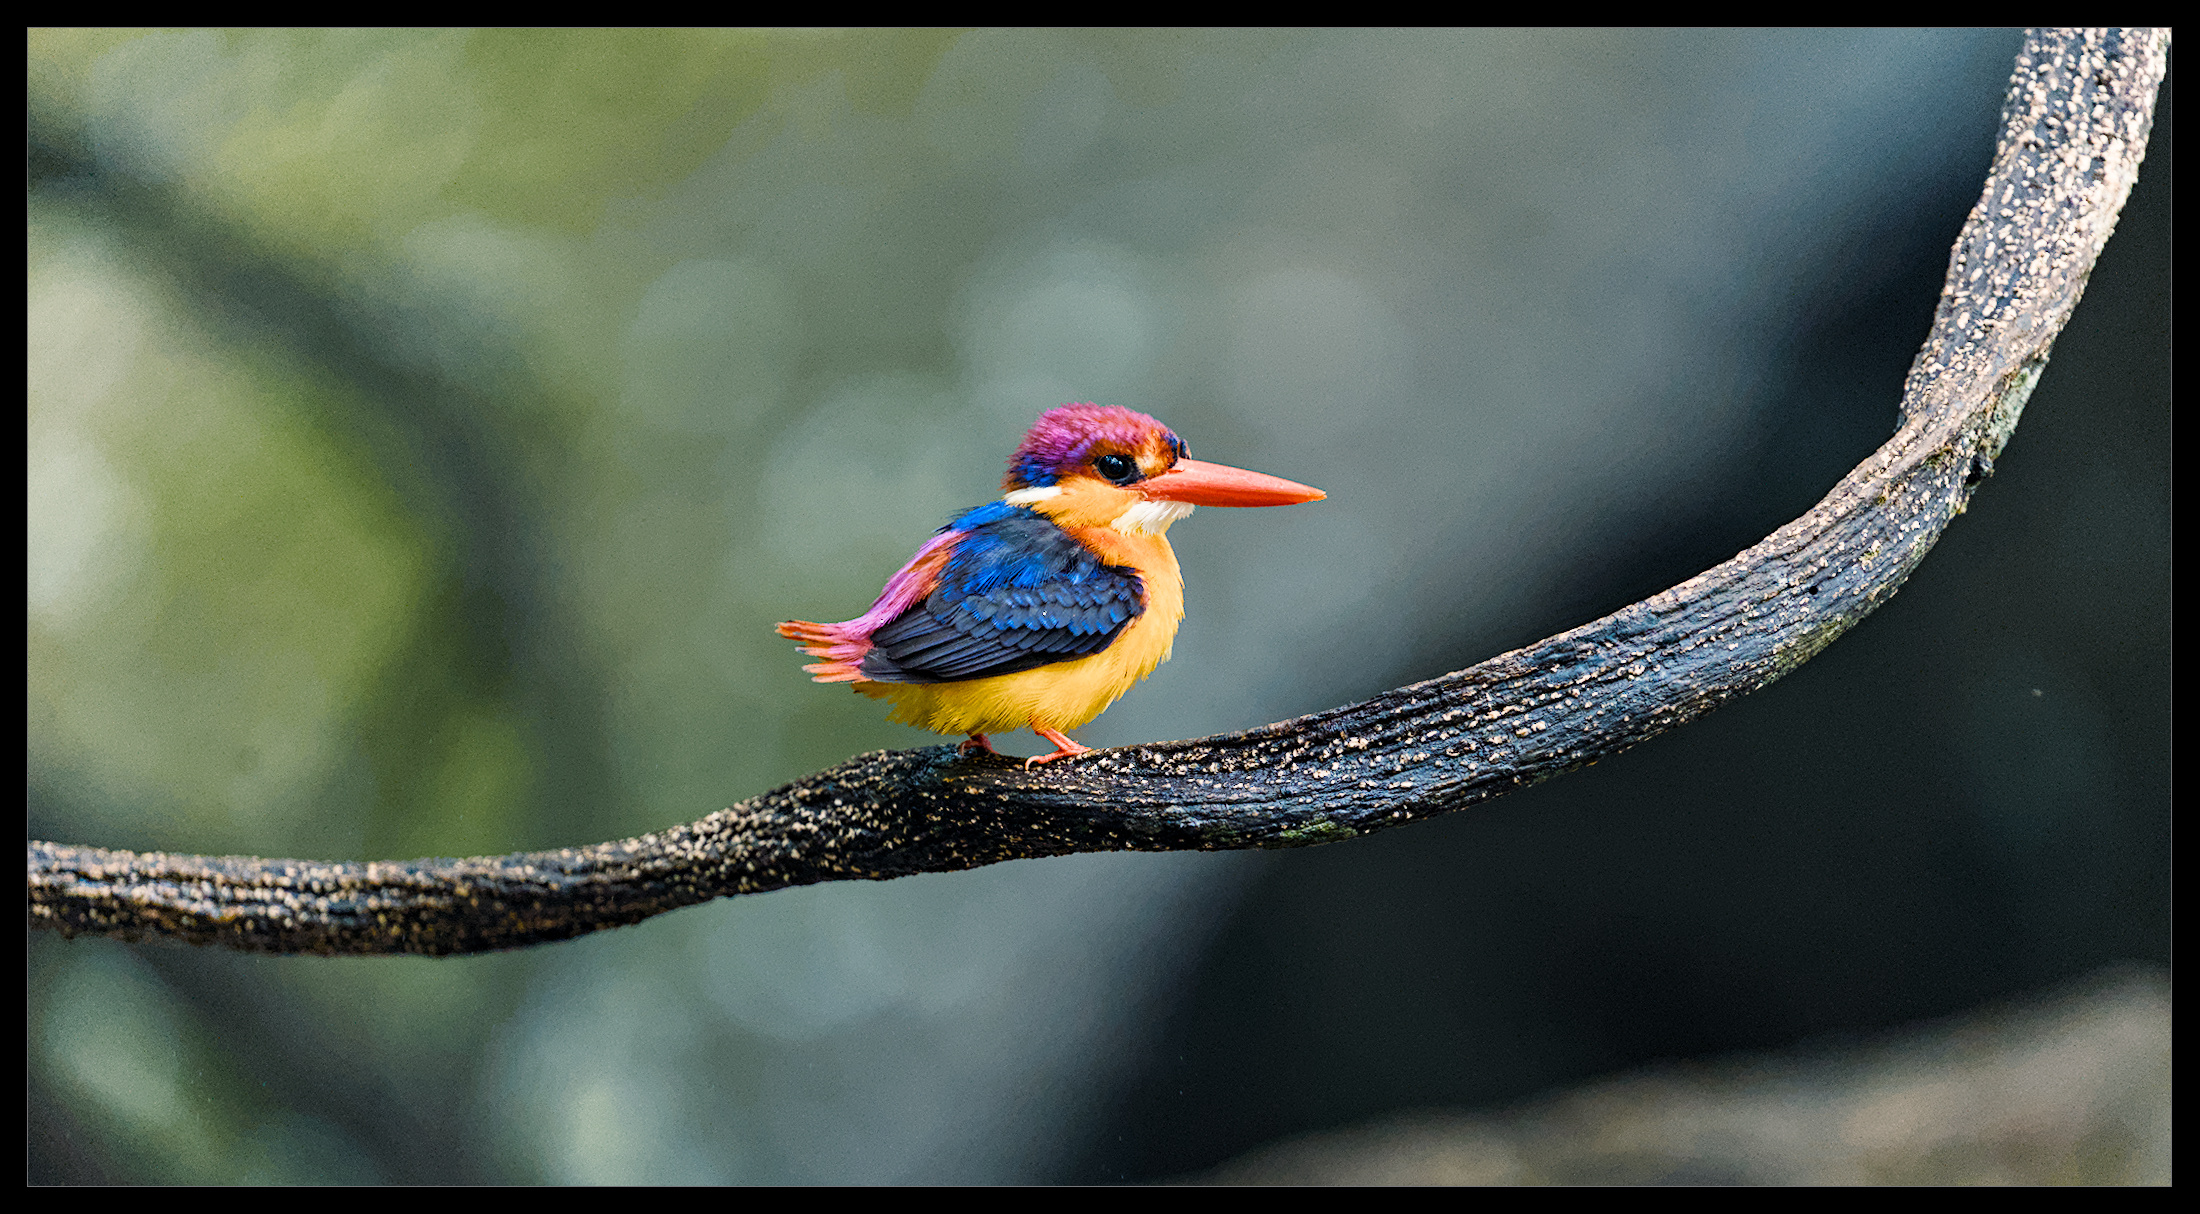
Here is my suggestion for this beautiful bird.
I used a noise-reduced version processed with Nind Denoise Raw.
I mainly used the “Contrast & Texture” and “3D Colorimetric Film” modules from my experimental branch.
I saw the comment on your edit so I grabbed it and was checking it out… I did the usual working through but didn’t notice that your DorS was using the contrast eq mask and you had that before DorS… So I was enabling and disabling your denoising instance and seeing this big change in sharpening and I was like how is is this happening…then I realized the sequence and relationship…but I have to admit just for a min I was what black magic is that…
I wasn’t even that smart to make the connection at first look. I did notice that @kofa had used a custom module order and I thought it was something to do with that, so I reset it and then when I saw the modules reorder and break the image it clued me in as to what was going on…
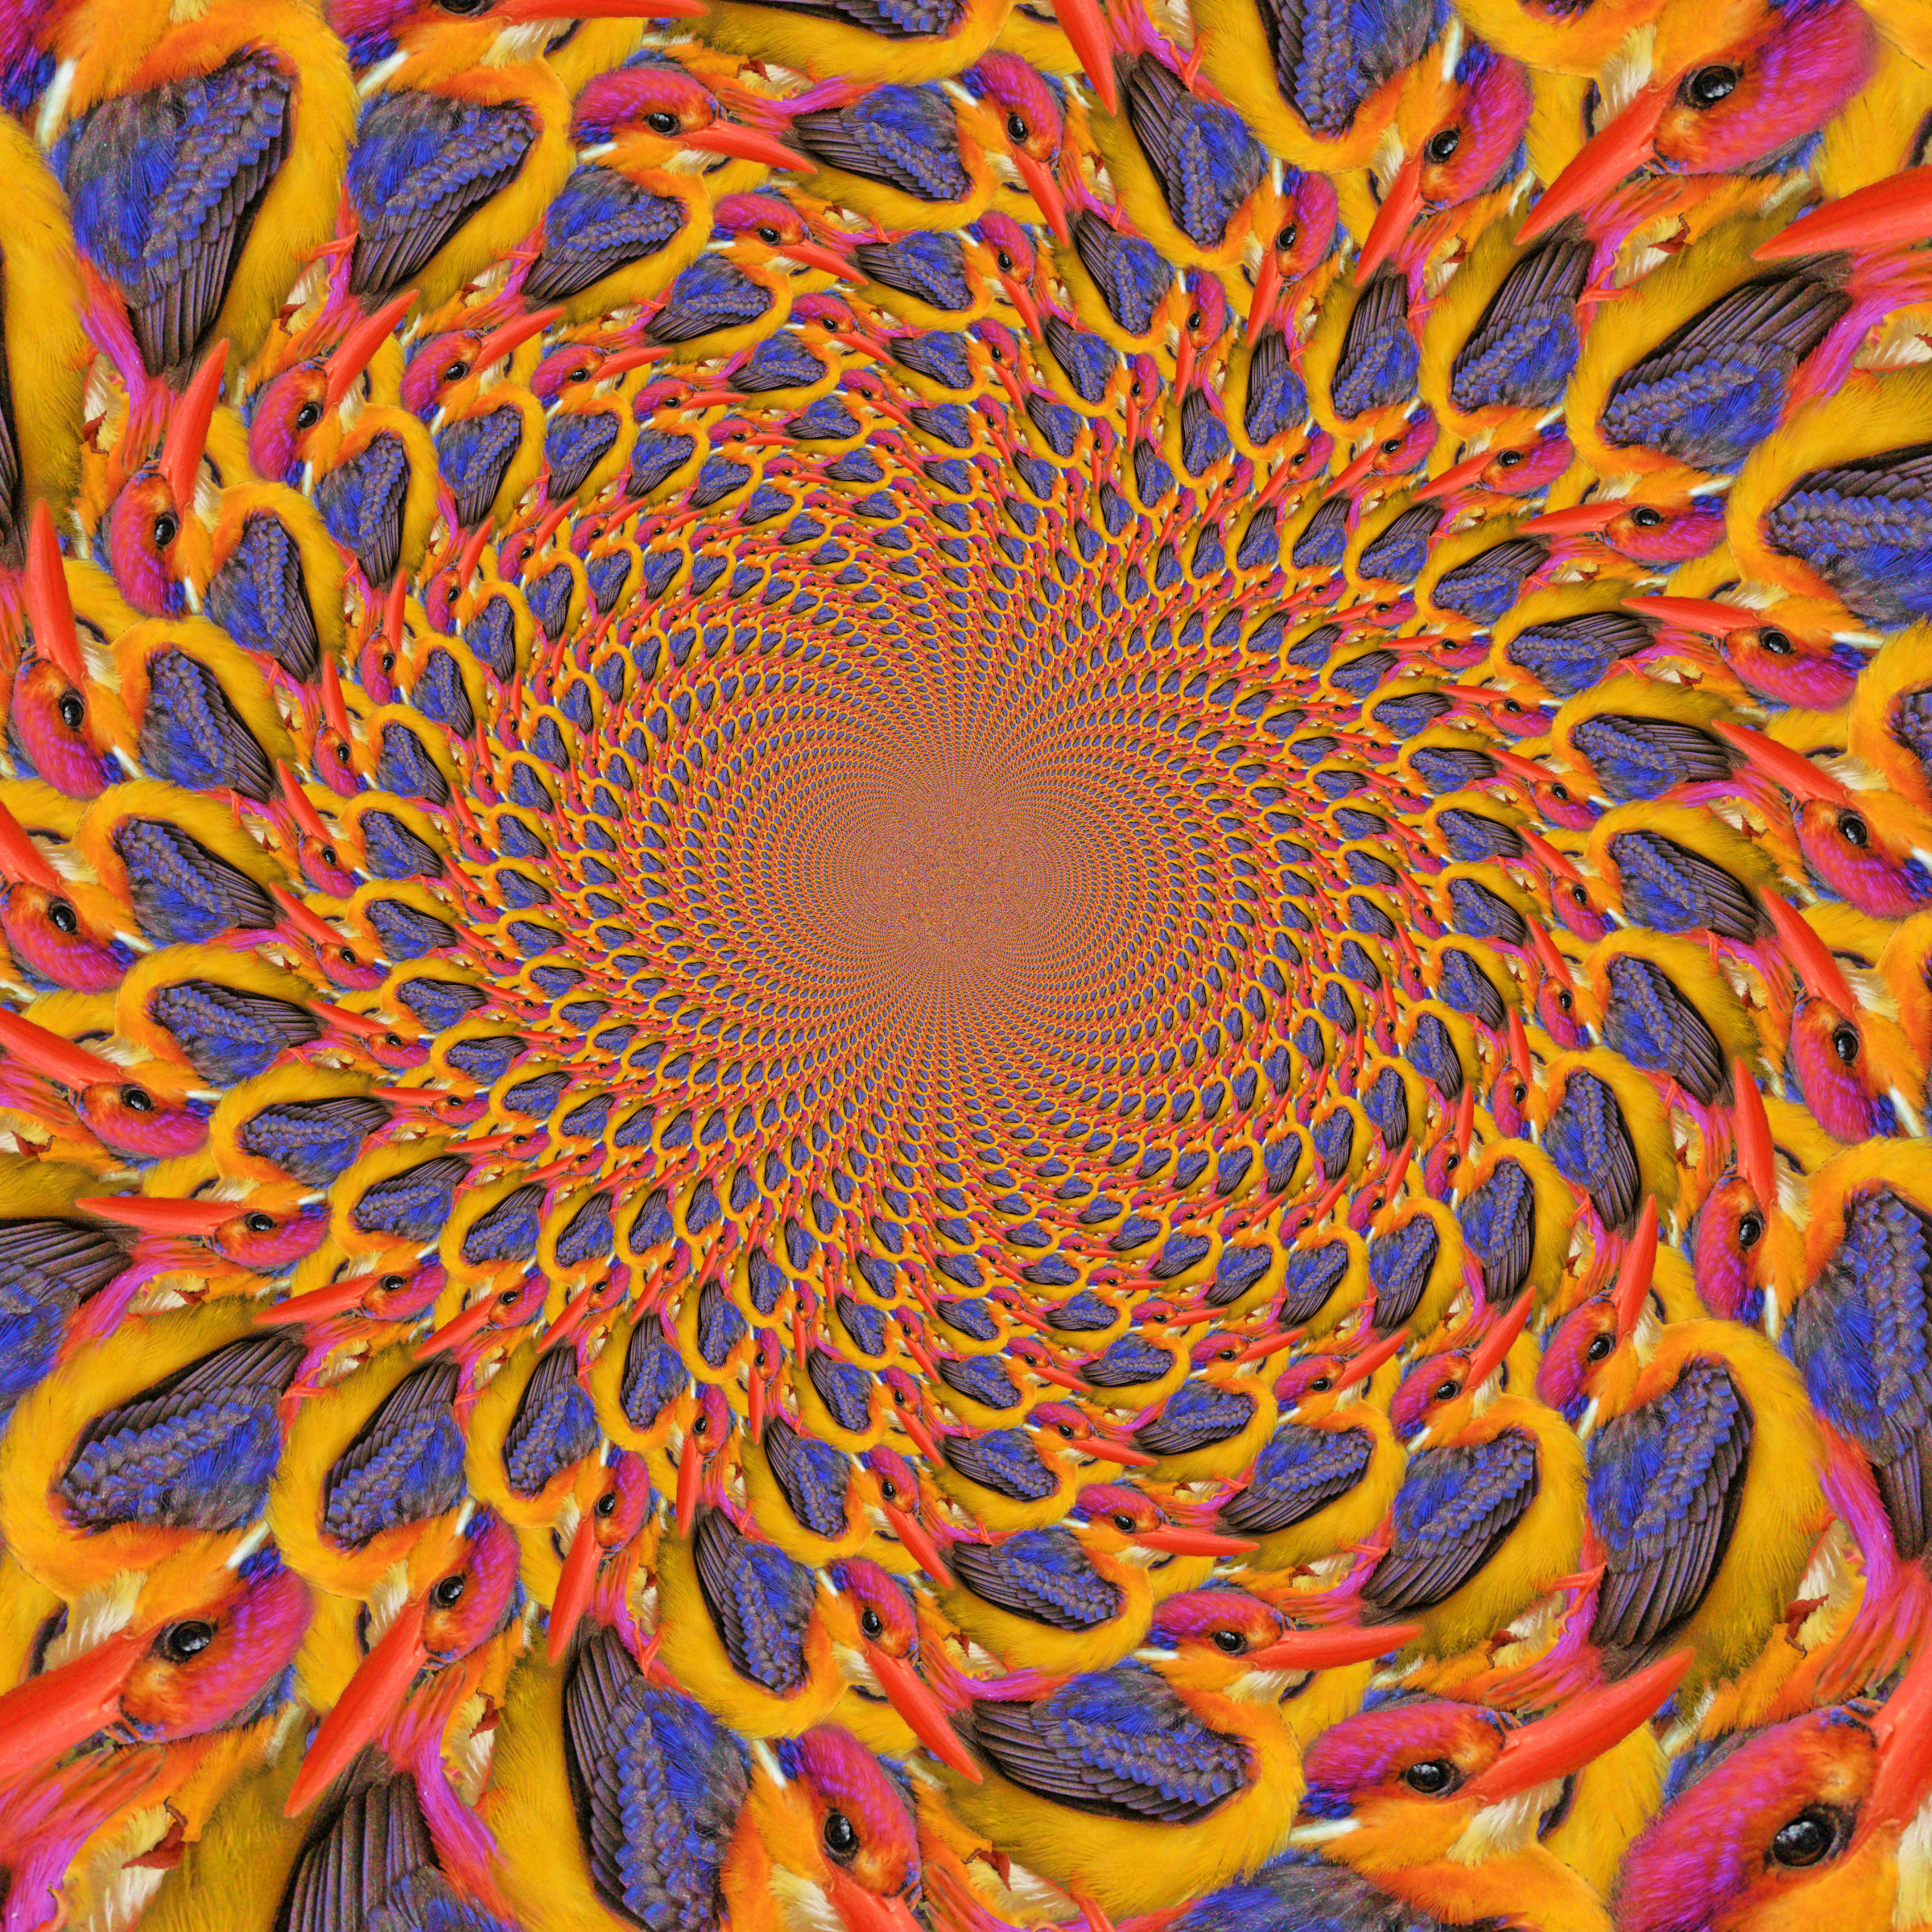
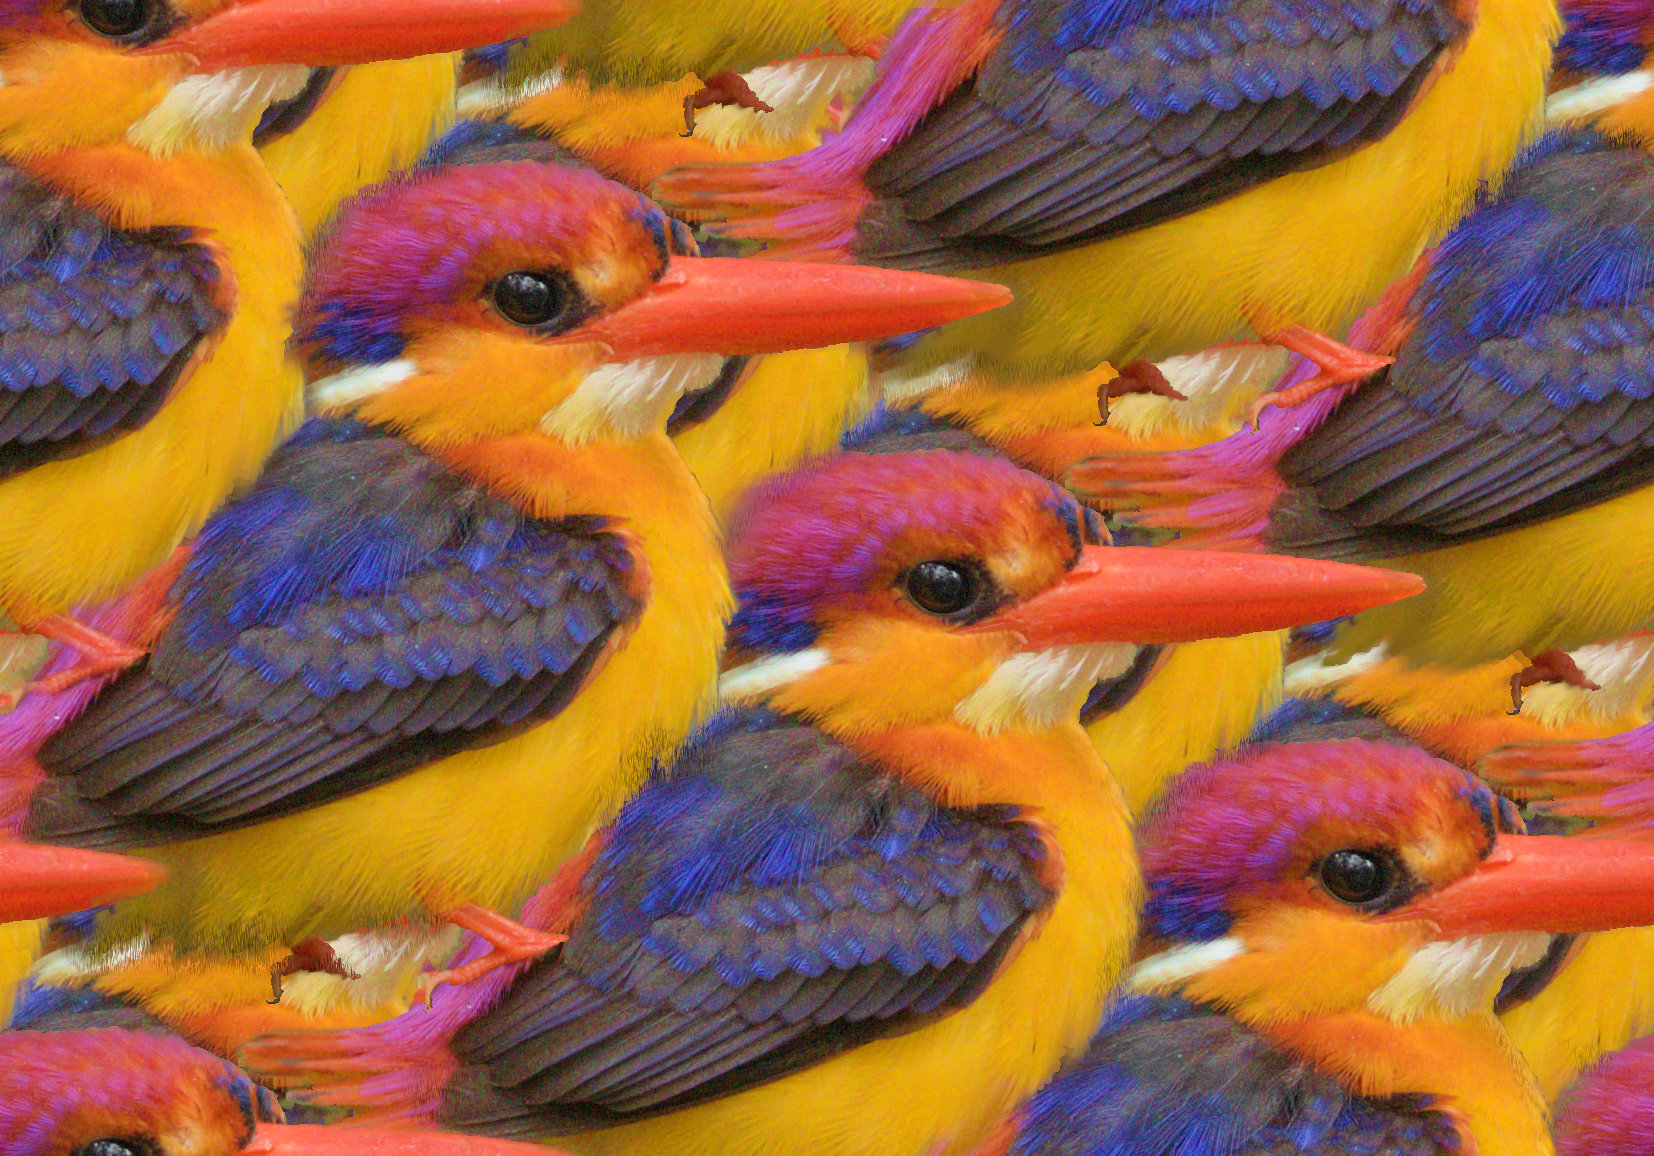
OK; created the seamless texture using a few GIMP/G’MIC tricks (won’t elaborate; see image below) which took the bulk of the time since extractions not really my thing (i.e., just lousy at doing them even with tools built into G’MIC, it still requires a lot of patience which I really don’t have). I then used a modified Mathmap preset based on Moon to Panarama. You can click here for that link (and read through the followup there as well using composer which is the modified M2P preset I nearly always use for these type renders).
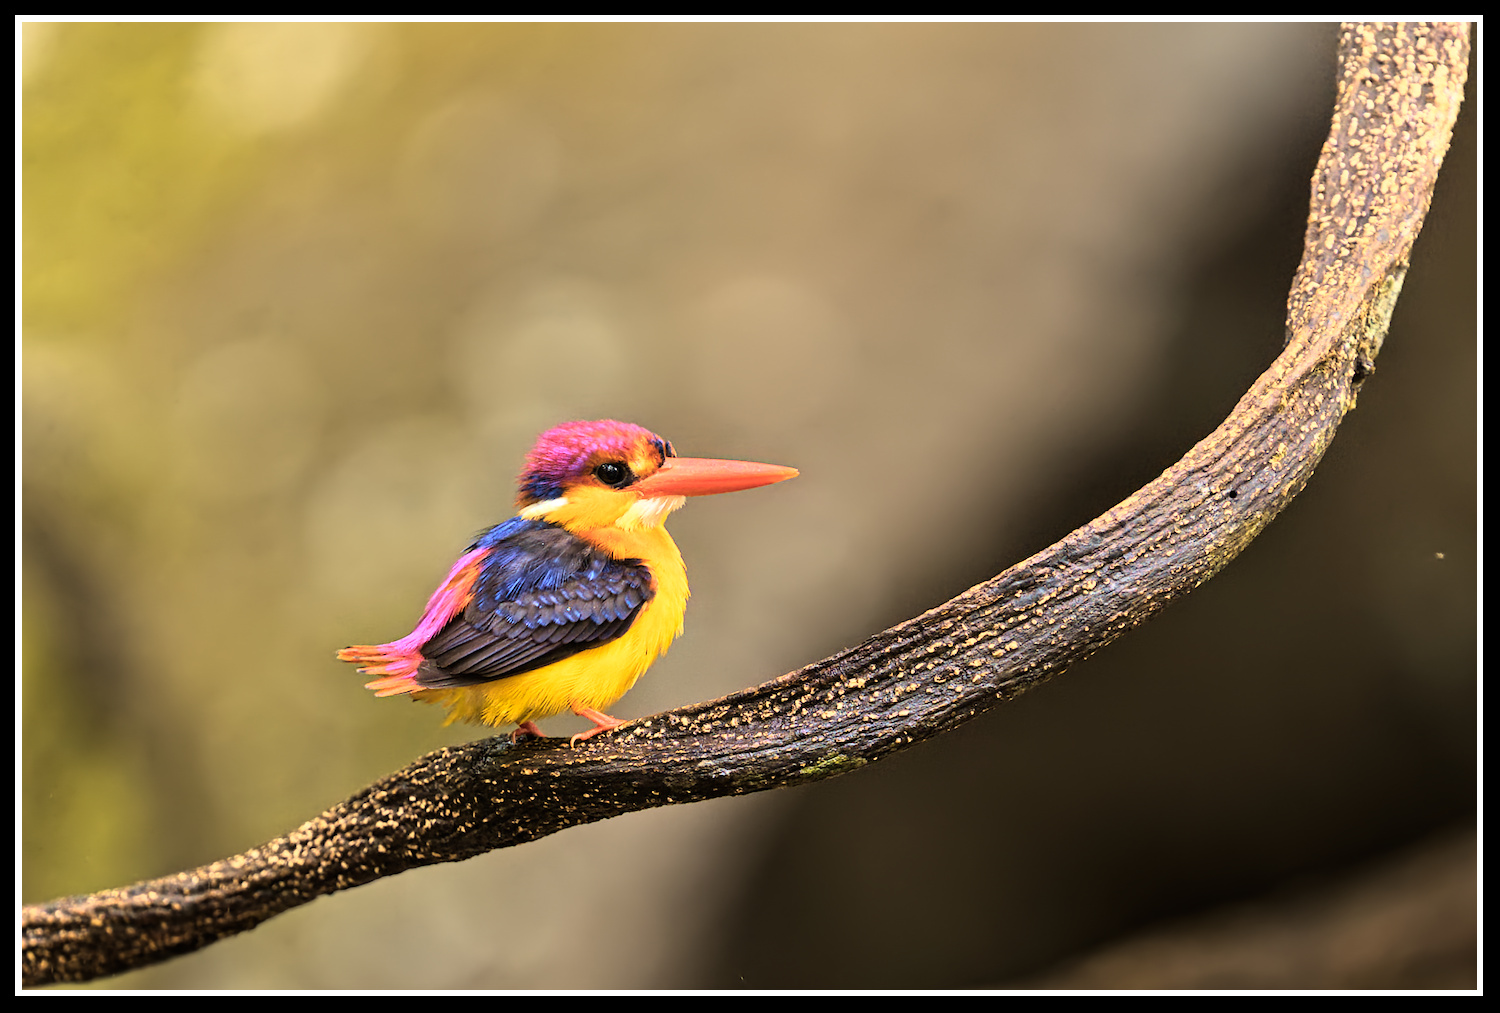
demosaic > capture sharpen with adapted contrast sensitivity to avoid sharpening of noise
denoise profiled > default (I don’t mind some minimal noise)
color calibration 1 > to remove color cast
color calibration 2 > correction of brightness rgb channels (reduce r, increase g+b)
diffuse or sharpen > demosaic nonAA 3 iterations to sharpen additionally
AgX > contrast, shoulder power and toe power to taste
exposure eye > make eye brighter (masked)
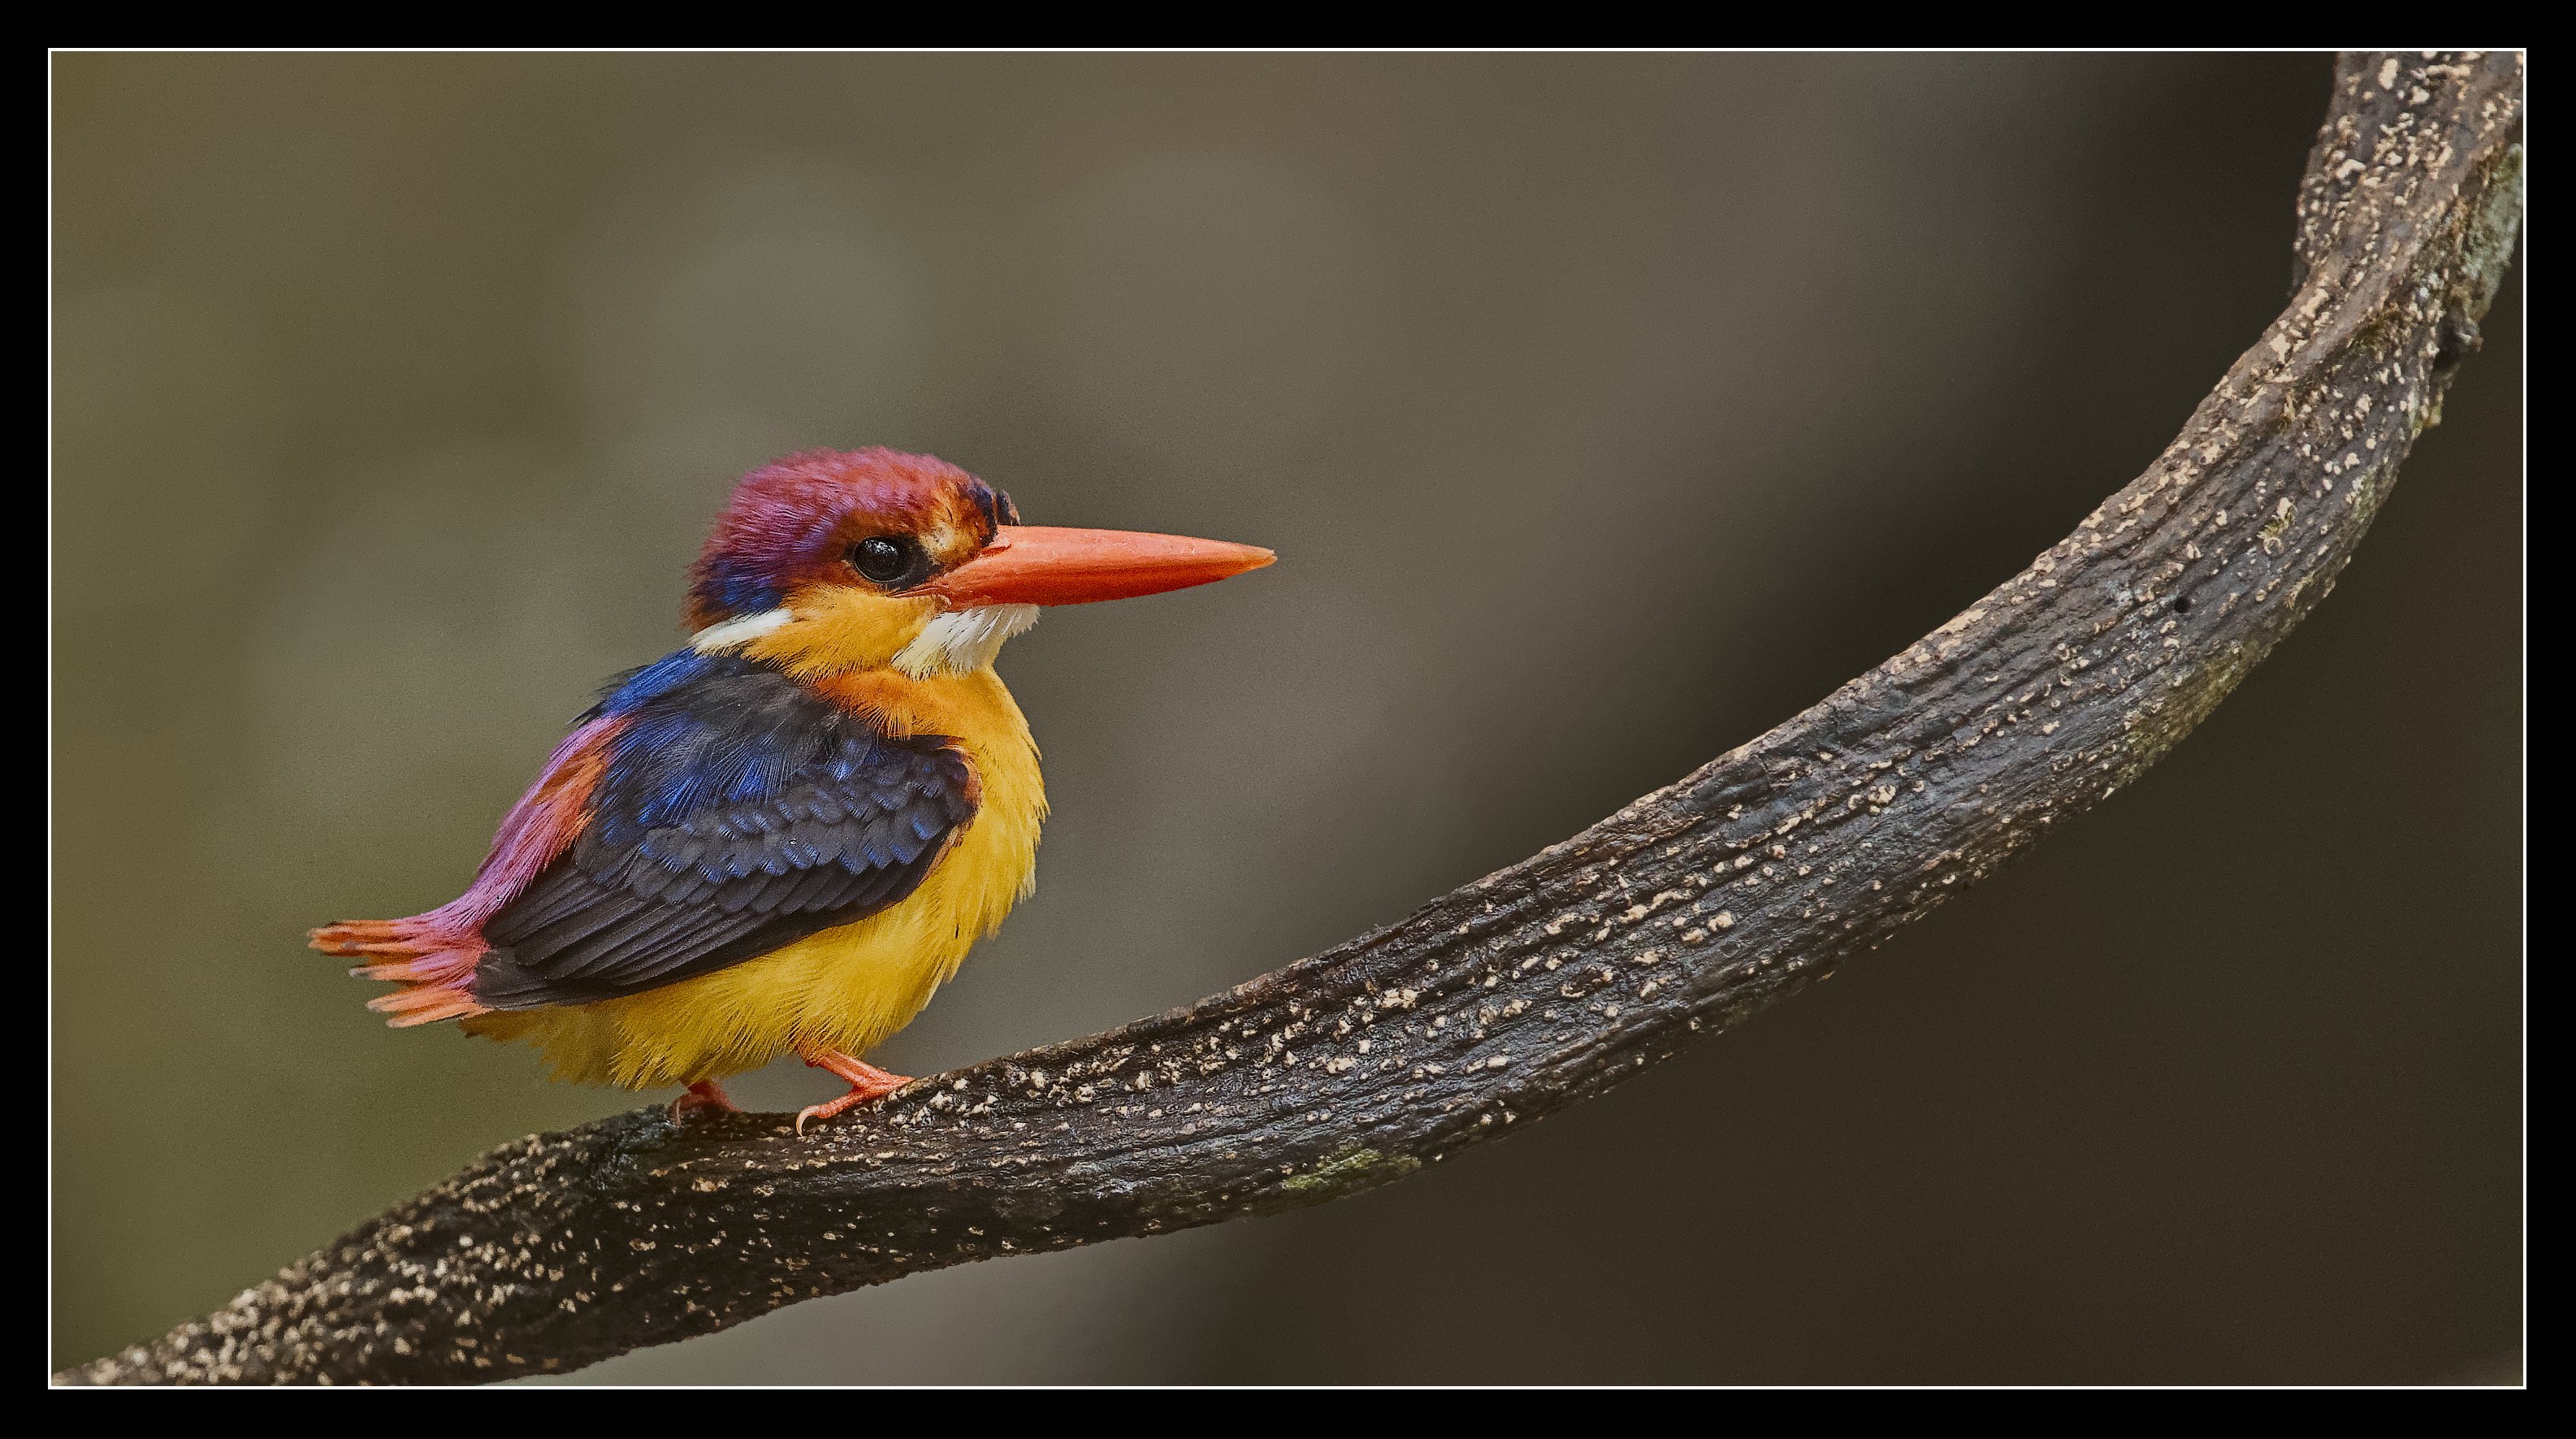
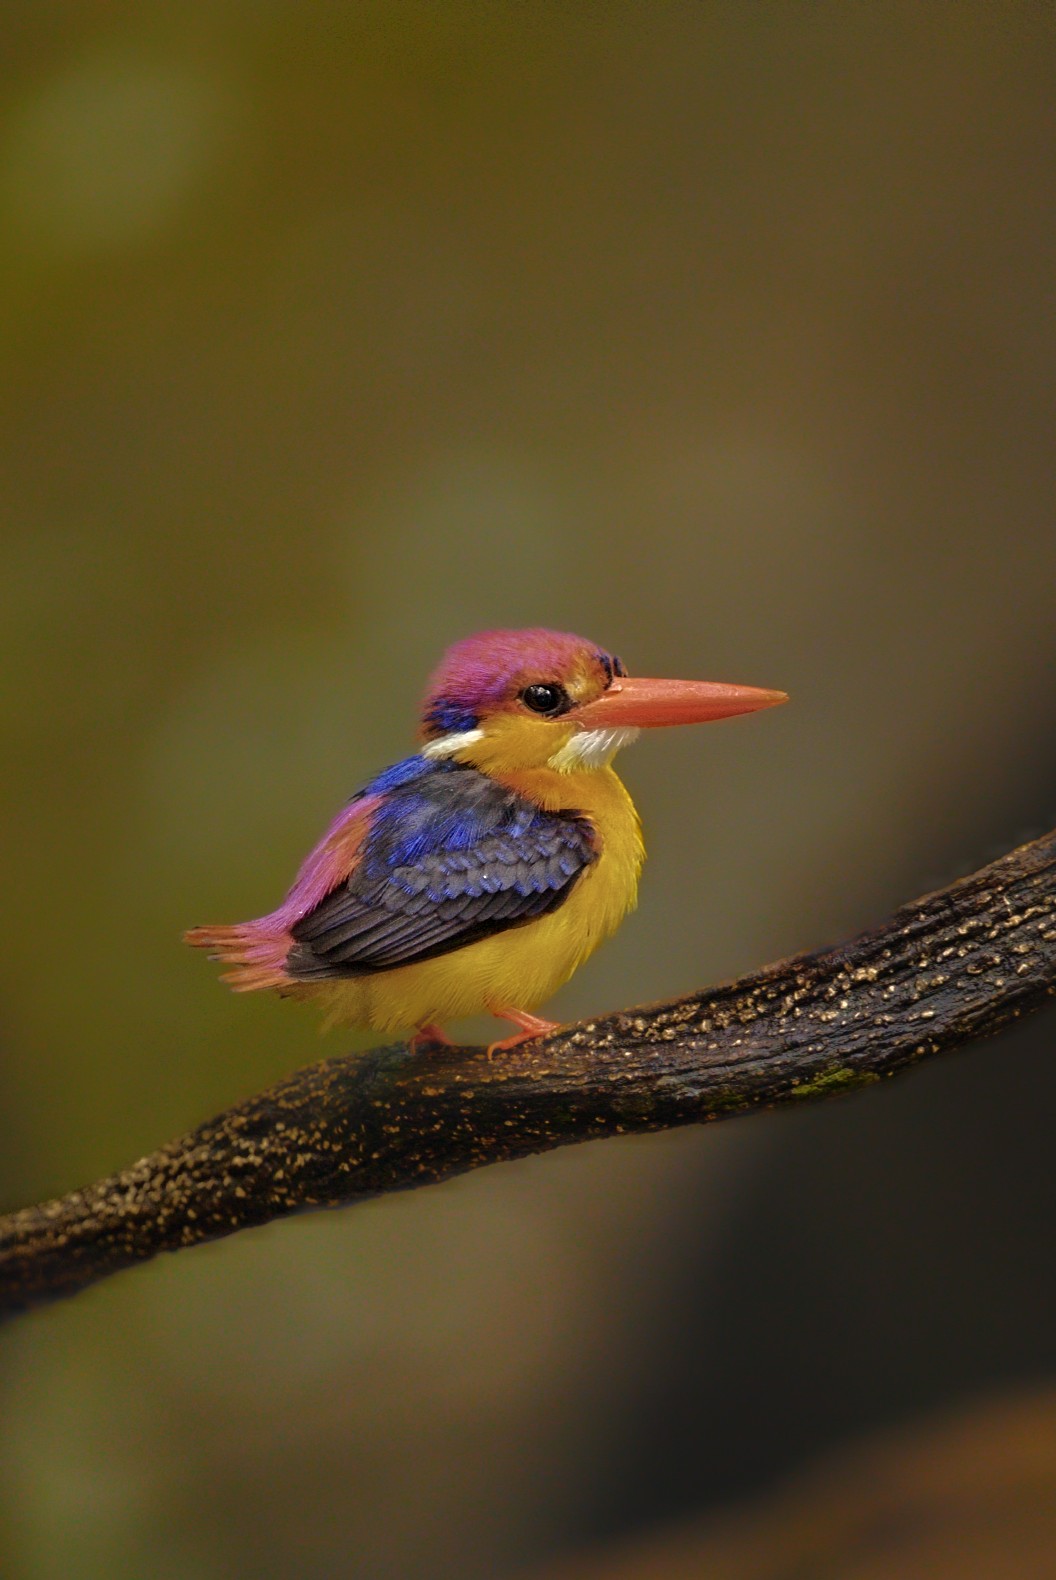
I had a go at this earlier using Darktable and scrolling back through the challenge I saw it came out oddly similair to Zbyma’s one using Raw Therapee and Gimp.
We must have seen the thing the same way in our minds but come at it from a different direction



 )
)