thanks for posting, bw

DSC03483_03.ARW.xmp (18.0 KB)
Great dog portrait!
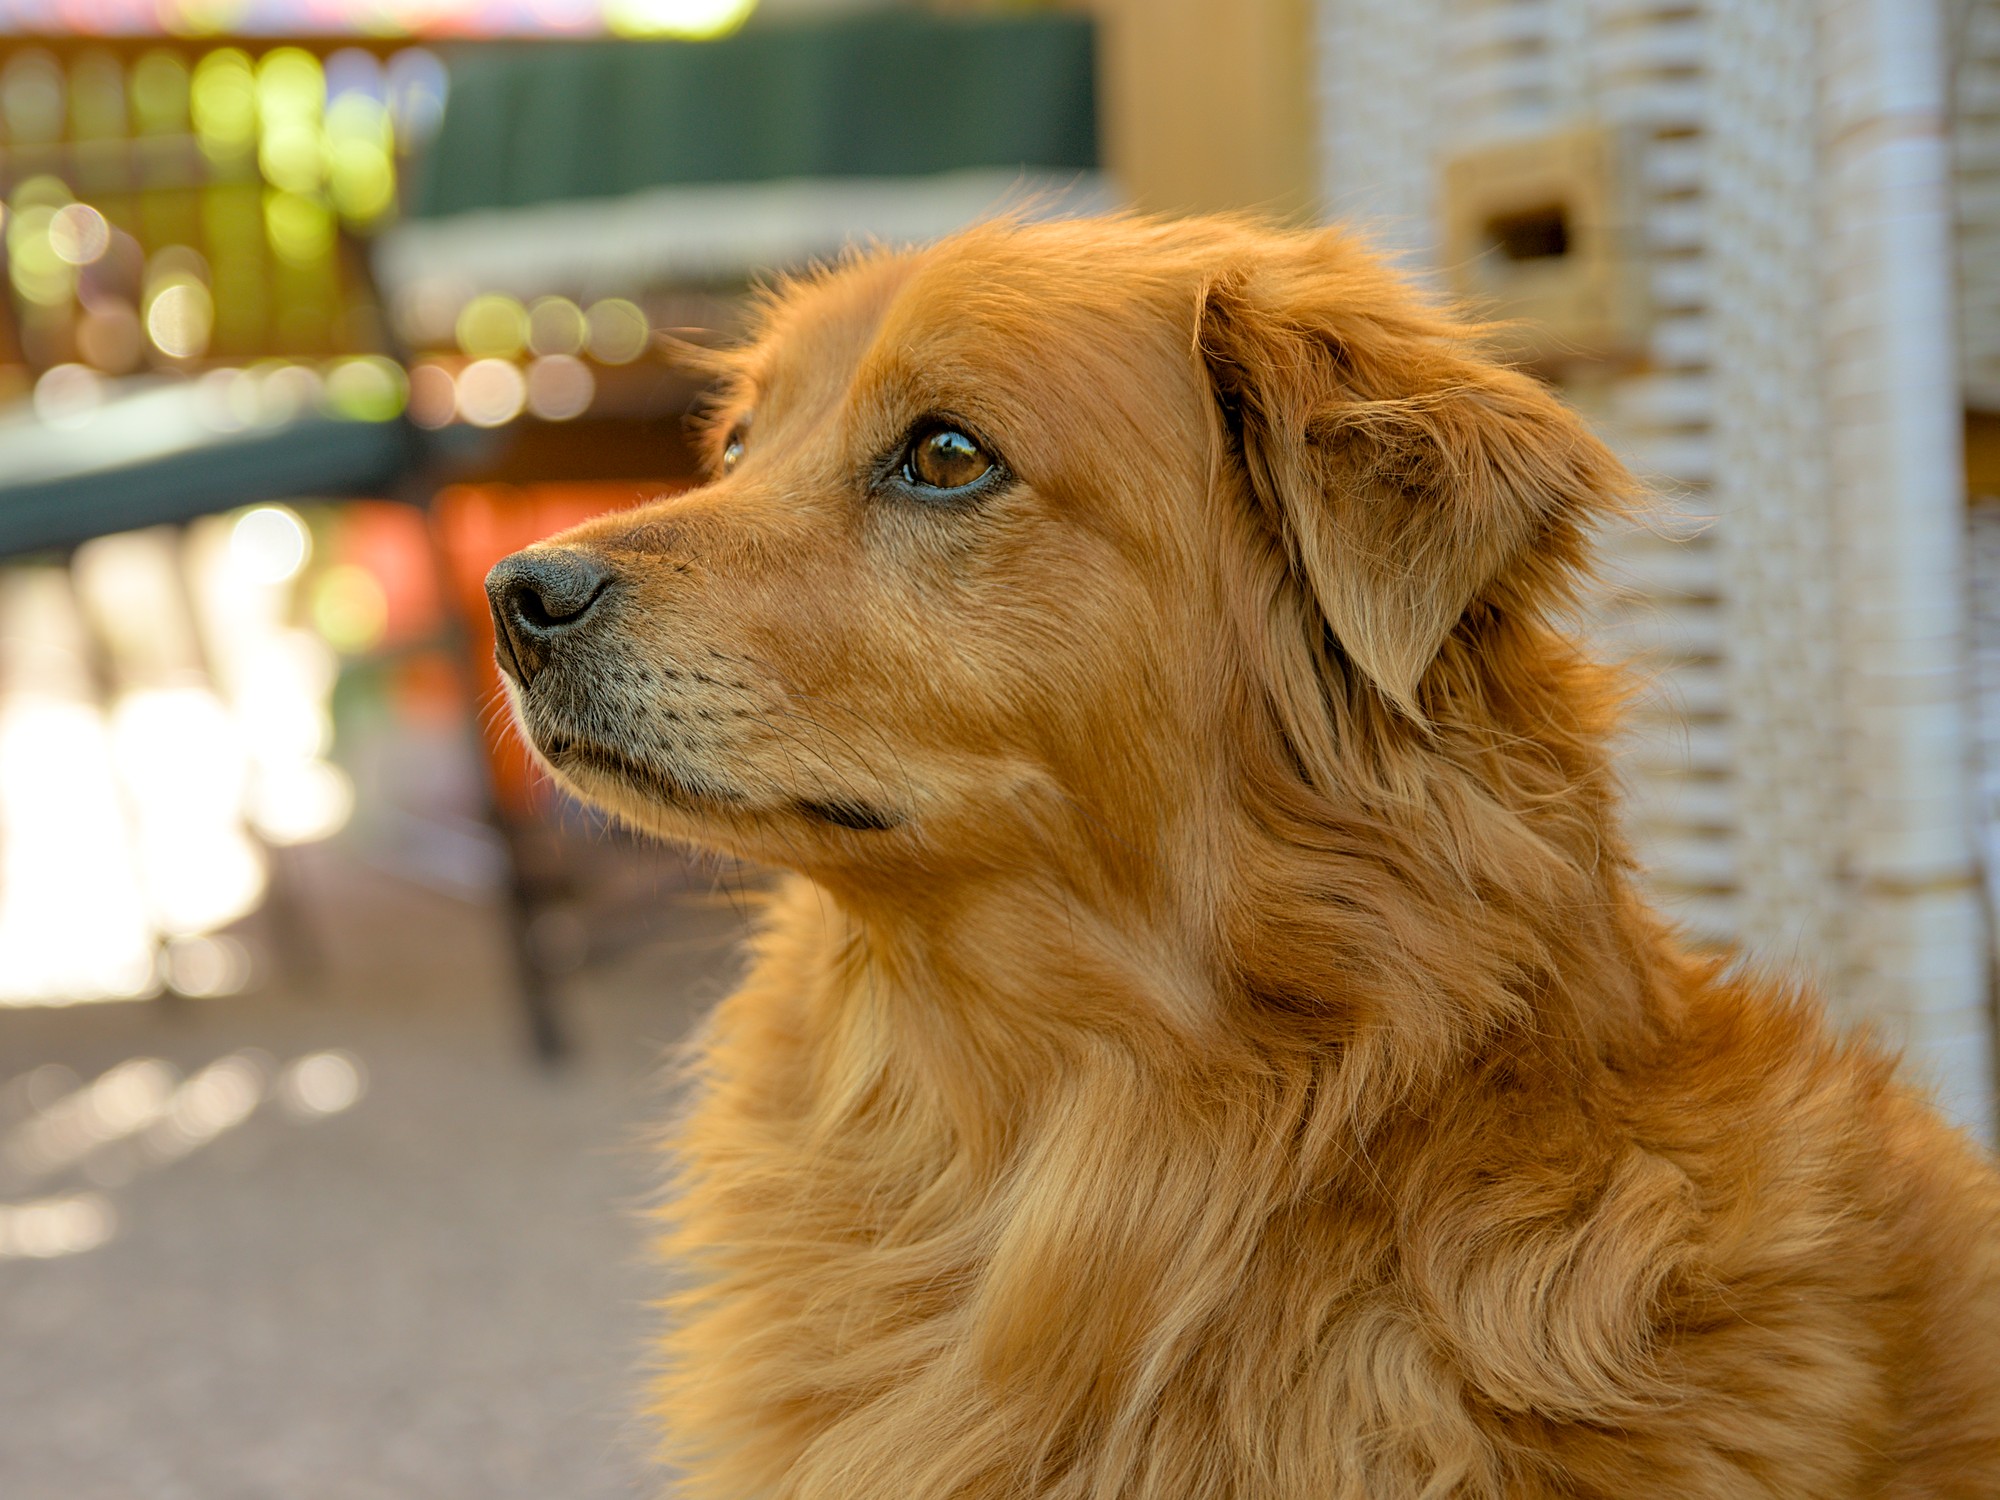
using DT 3.6 I have tried to find a natural balance for sharpening. White balance for the fur is very subjective because I have never seen the dog in reality.
Thanks for sharing!
If you are interessted: This is pretty accurate the color of doggy.
I know due to the light the picture is very hard to get doggy look natural and not flat and dark.
Hi, thanks. in this picture your dog looks more colorful. I have tried to match the colors, but it’s really hard.
DSC03483_02.ARW.xmp (17.4 KB)
I find your first version looks a little bit closer. The photos are hard to compare due to completely different lighting and contrasts.
I’m also not able to get good colors using standard-color-matrix or color-calibration for WB.
I reworked some saturation and contrast on my version to make it look more natural. This is the best I can get.
DSC03483.ARW.xmp (30.7 KB)
I gave ART a fast try. Must say, I like it way more than “original” RT.
Thanks for the image. Lately, I have been trying to create my own RawTherapee presets and it is always good to be able to try them out on various images. Sometimes they work great (but other times they completely flop  ) Here are some that seems to work well with this image. The only edits I did were loading my presets, enabling resize and saving.
(Presets require RawTherapee 5.8 dev version or higher)
Beautiful dog and picture. And I like your edition!
Mine is more “classical”… And a little flat, so that I’m seeing it again. Perhaps I’ll try to improve it later if find time. :-/
dt 3.6.1
DSC03483.ARW.xmp (13.9 KB)
I was not happy… and I’m still not, but don’t have much time just now. So, A fast retouch on this basis. But still not convinced with my edition, this is far too overdone to my taste, I think that’s not the way for me…
DSC03483.ARW_02.xmp (19.2 KB)
This one seemed a bit trickier than I thought… I’ll see if I can explain. I ended up ‘sort of quickly’ with this (dt 3.7.0+1077):
The start and basics were pretty simple. You overexposed the bokeh balls near the chair (and some other parts), but nowhere on the dog. Those balls will be blown out, but that is actually sort of nice.
So, basic exposure to get the dog properly exposed, activate filmic, turn up lattitude and hit auto. Tweak white till the bokeh balls are just about ‘pure white’. Filmic results ends up being a bit flat. I went to the tone-equalizer and tried the ‘contrast curve soft’ preset, then ‘curve medium’ and decided to stick with that. Tweaked the highlights (+ev) to be back at 0, and then made the curve a bit smoother:

This actually gave me the contrast I wanted, I felt no real need to add local contrast a lot or something.
I did add local contrast, bilateral almost 300% details, coarseness +/- 30 and contrast 3 to get some details to be more visible. Used a parametric + drawn mask to quickly select ‘only the dog’. (Parametric to select the luminance range the dog was in, then with a very big brush drawn over the dog, play with feathering + blur + opacity to get a somewhat nice mask. No need to be precise here).
Went to color-balance-rgb, add the ‘basic colorfullness’ preset, and start boosting vibrance + global saturation + global brilliance to a level I liked. Play a bit more with other parameters but in the end they don’t really contribute that much
At diffuse ‘aa filter’ preset, move it under ‘input profile’, add diffuse ‘medium lens blur’ preset.
Now, the issue…
the top of the head of the dog is then a bit flat. There is some nice contast in the shot there (turn everything off including the default exposure, and you see there is some highlight sheen in the hair on top). But filmic has squished that all down to preserve the highlights of the background.
I ended up adding another ‘tone equalizer’ Before the exposure module (under the exposure module). I messed a bit with the mask parameters to have some contrasty mask where the sheen on the top hairs where standing out, then I bumped that level up to be matching the highlights in the background. So I made it brighter to match the other highlights more. I bit of drawn masking to make sure I only apply it on the dog-region, and now filmic doesn’t squish it as much.
@jorismak
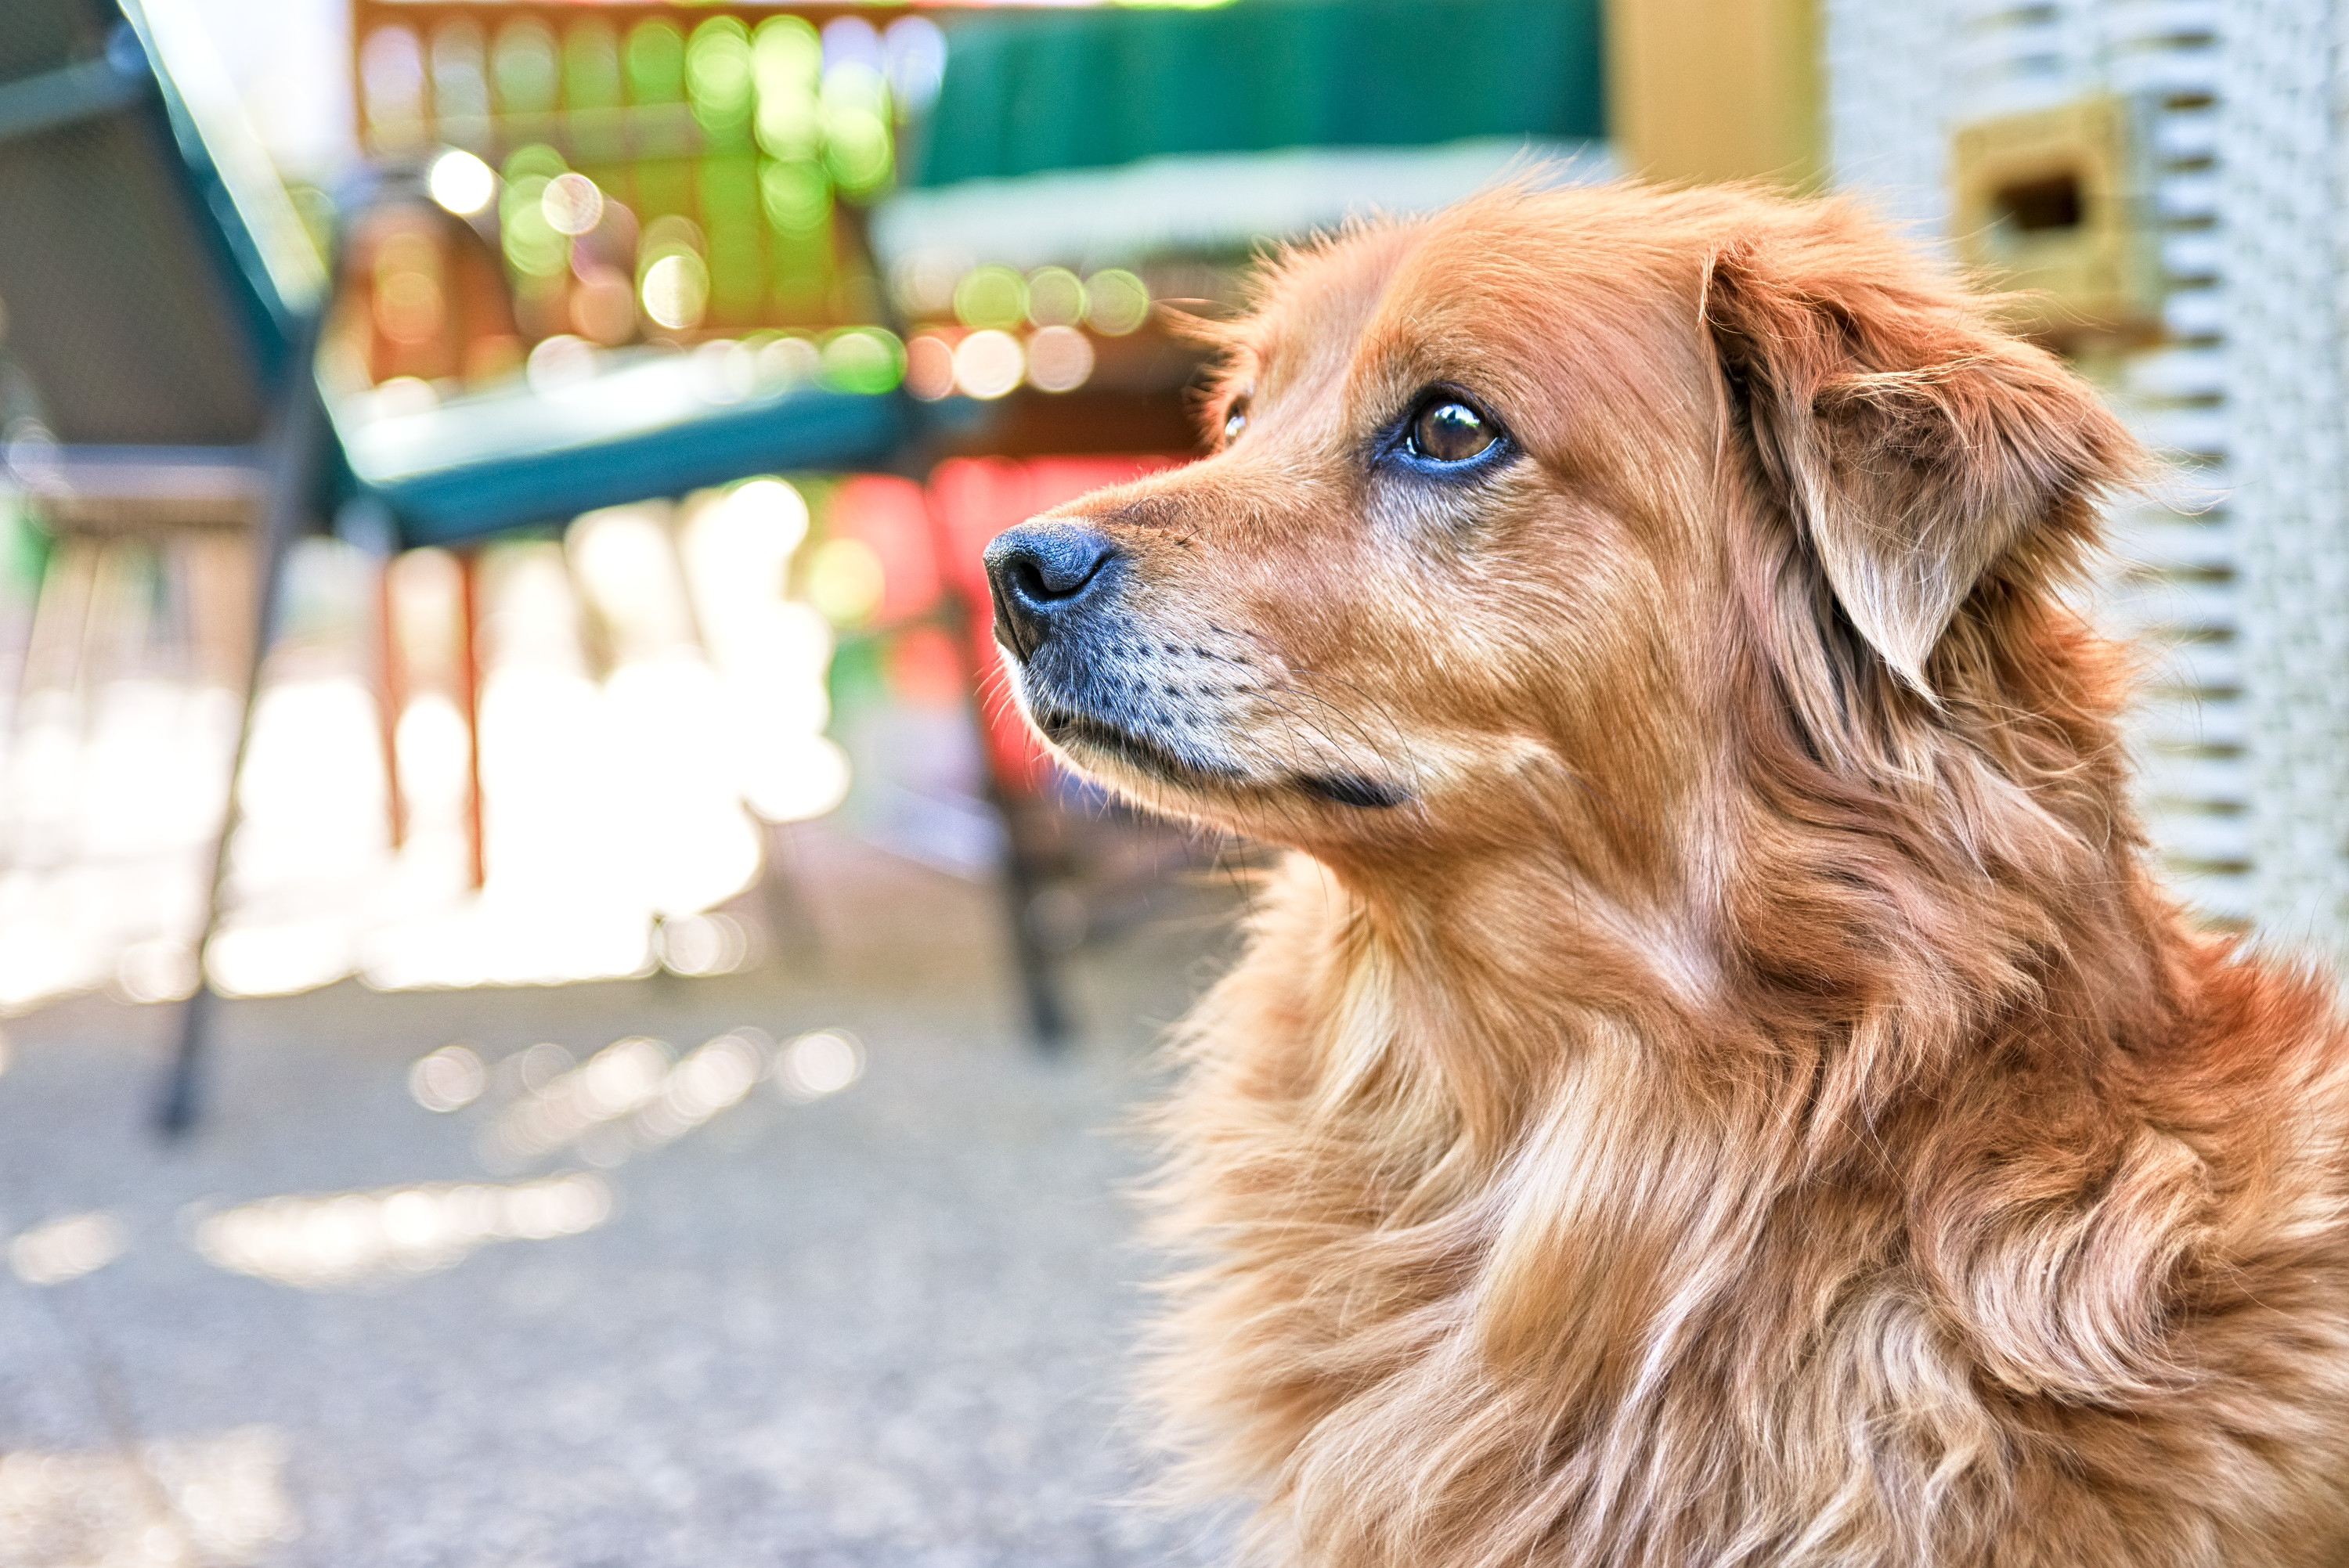
Good job. Your edit is pretty much spot on the natural look. Although the foreground was not directly in the sunlight, it was still much brighter than some edits here show.
I was thinking about posting an as natural as possible edit yesterday for comparison.
Starting from this point I like to add a little bit saturation and warmth. Unfortunately the saturation-slider in my main post freaked out pretty much.  I prefer my edit from Aug 11.
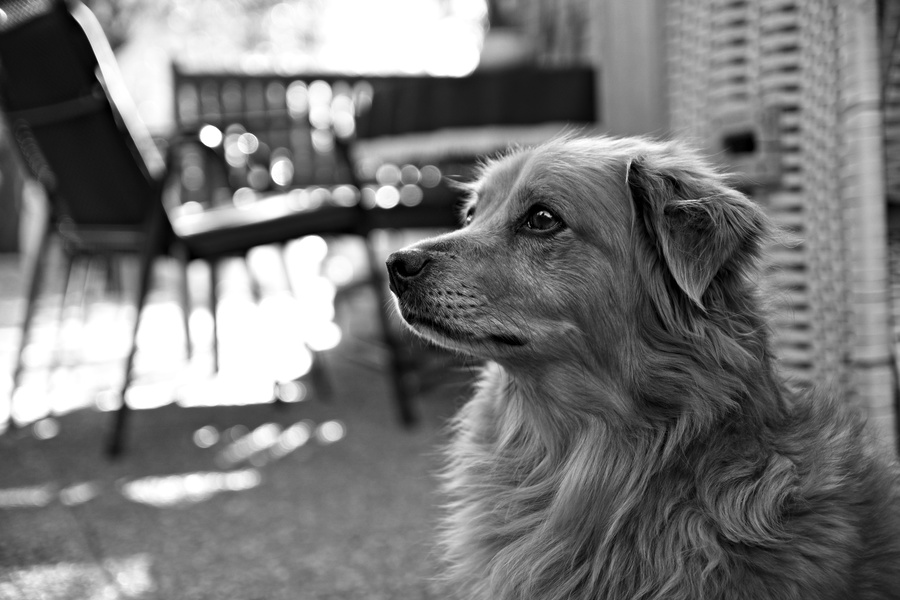
I was not happy… so I’ve tried again. Just looking for the more realistic I can get (it’s my more usual style…). So, I got this. Nothing very special. More a remembrance than artistic. And starting to trying dt 3.7.0-beta (I could resist to experiment with it).
DSC03483.ARW.xmp (10.8 KB)
If you turn everything off , including the default exposure, you get this:
I find (so, personal opinion) those little sheens of the light hitting the dog from behind very important to preserve. And this isn’t easily done while preserving something of the background as well.
Just boosting exposure (nothing else enabled) shows that there is a very easy natural look to the dog:
So I started messing with the tone equalizer, but how do others do something like this? Specially curious if someone of the Rawtherapee crowd can describe the approach :).
RT5.8 dev
@jorismak sorry I’m not sure what you’re asking. Can you clarify? 
If someone can describe step by step what they do in rawtherapee and why.
I read sometimes that darktable is too complicated, but when I then take a look at rawtherapee it must seem like the dark arts to most :).
I’m hoping someone can do a simple edit (like this playraw) with all the new toys in recent rawtherapee with step by step explanation, so I get more of a feel for cause and effect :).
Unrelated : all RT posts in this playraw seem so warm and colorful, the dark is way more ‘dark golden’ then most DT edits. Is that the color profile in RT for this camera? Or is this DTs color science at work?
Neither.
I can only talk about my own edit but I did not like the camera WB at 4500K and warmed up the image to 5800+. This, primarily, gives it its dark golden glow. At the time I knew that @apostel338 liked a warmer image, so I went for that look. Mine does not reflect a natural look, I’m aware of that. This is what it looks like when I reset WB to its default camera setting and leave all the other settings:
I’m not so sure if either of them are that complicated to be honest. RawTherapee has many, many tools it can use and that can be a bit overwhelming at first, that is for sure. The current darktable, talking about scene referred here, is simpler in that regard. Without going into which one is better: Both have a somewhat steep learning curve.
About doing a step-by-step: The way I learned is by bisecting pp3s from other people to find out what module/setting influenced which part and experimenting with all the (sub)modules. No RAW is the same, though, each needs its own approach.
I do have a initial approach to my way of editing, but at a certain point (after the technical part of the edit) I let the image and/or my imagination lead me and pick a tool that I think I need to manipulate some part. This doesn’t always work though, but this is why I like RT: There’s at least 1 other tool that can do something similar.
Can’t offer you a RT edit, but I tried my hand at preserving the bright part on the head.
I first tried Tone EQ and Exposure with masks, but then this area just looked like flat mud.
Then I tried Color Balance RGB with mask, this seems to work fine for me. I think you are right with preserving some detail in this area, it looks better to me too. But I wouldn’t darken it too much.
DSC03483.ARW.xmp (16.8 KB)