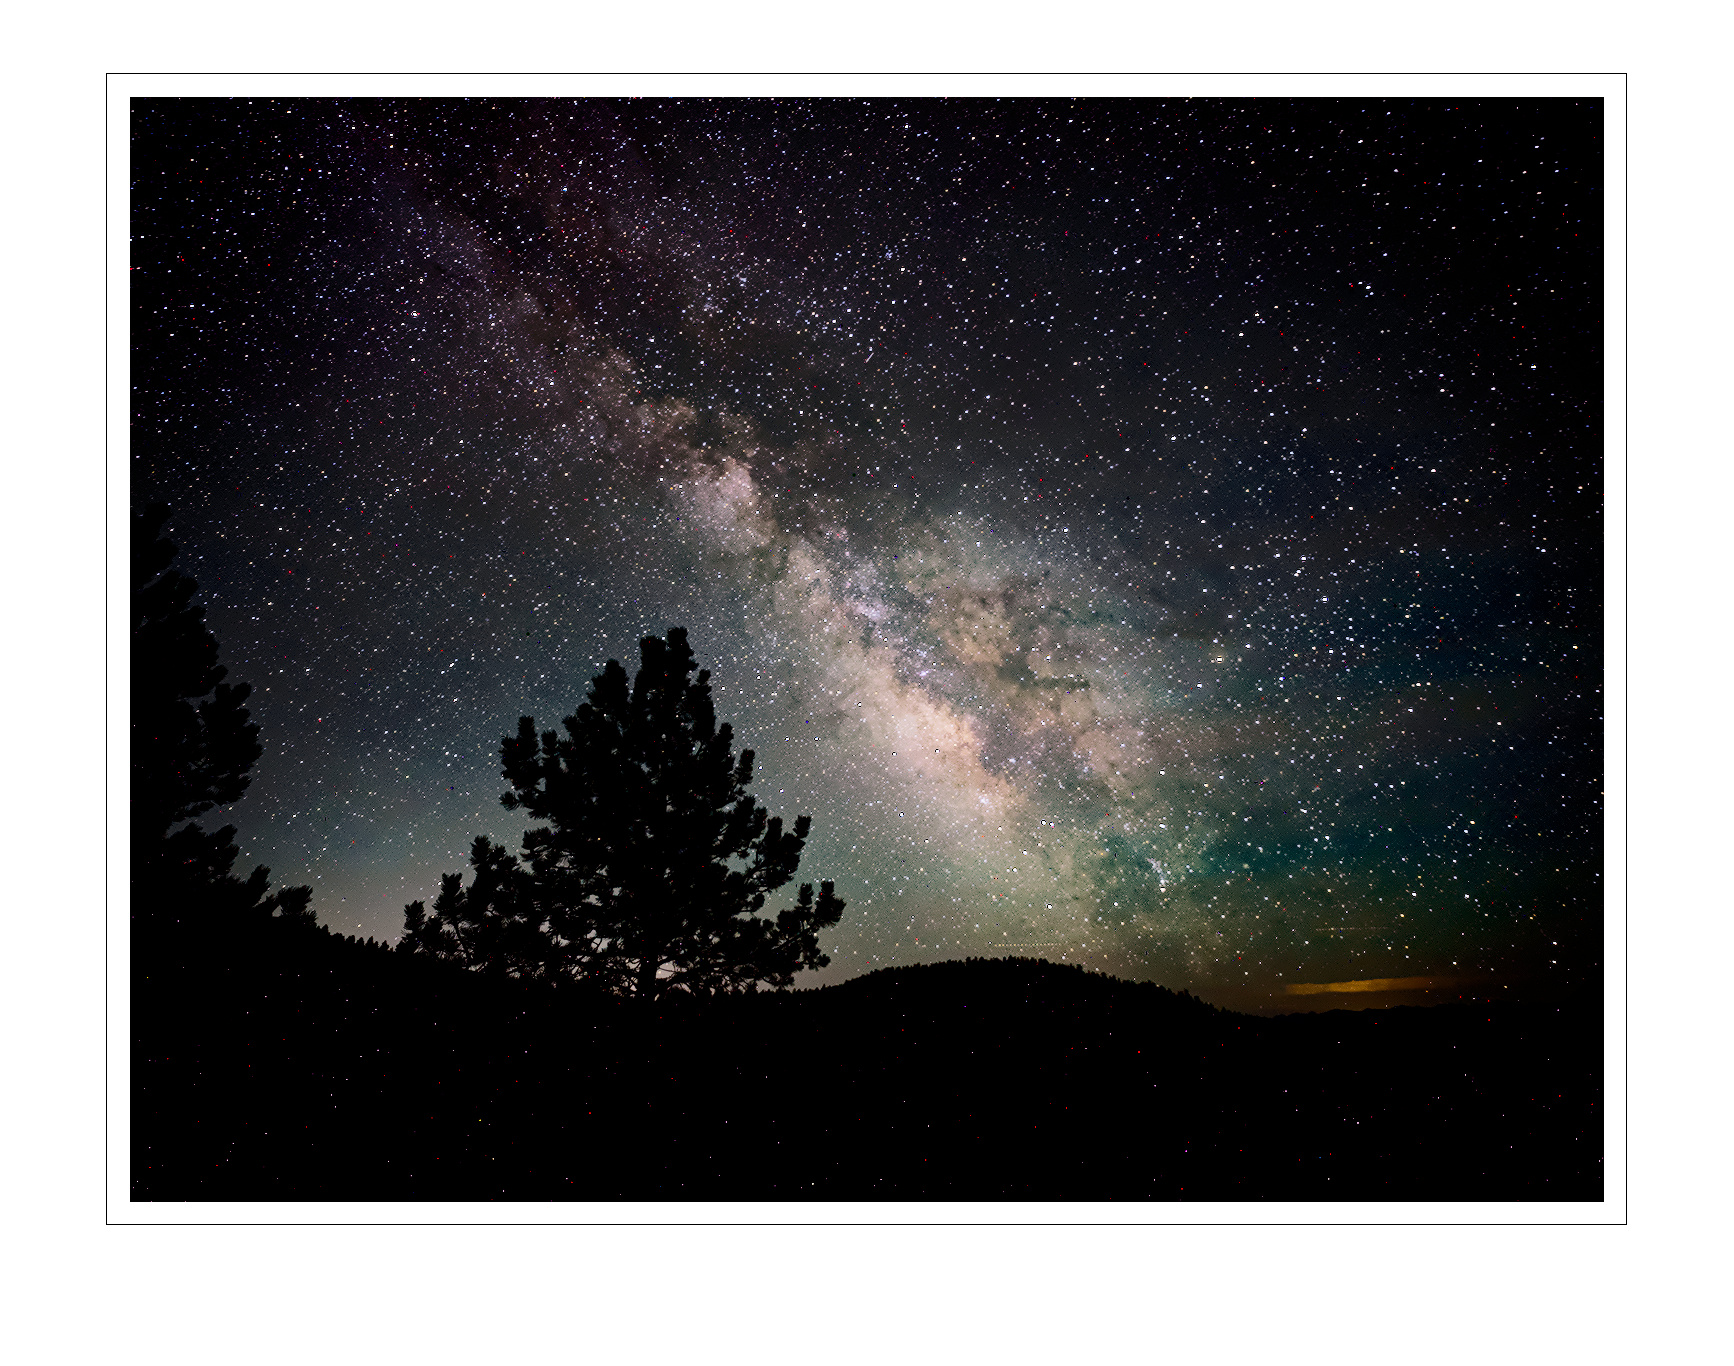
Hi Pixl Community! This past weekend I hauled by gear up to our mountain and shot the milky way. Tried all my usual recipe’s but this one just doesn’t quite look right. Shot this with a Hasselblad XCD 100C and a 21mm F/4 lens.
Any feedback / darktable edit suggestions are appreciated, see the attached zipped B0001721.3FR.zip (135.9 MB)
RAW file.
Thanks in advance, the attached image is licensed as CC0 public domain
This is similar to what I often see as a starting point, at least with respect to while balance, the sky is more of a blue-ish black upm there and I always have a tough time with the white balance, plus when I am processing in DT I always see an error something about white balance applied twice.
I usually endup using a white balance around 4400K
Started working on this one, man I’ve not yet encountered such a beastly big file.
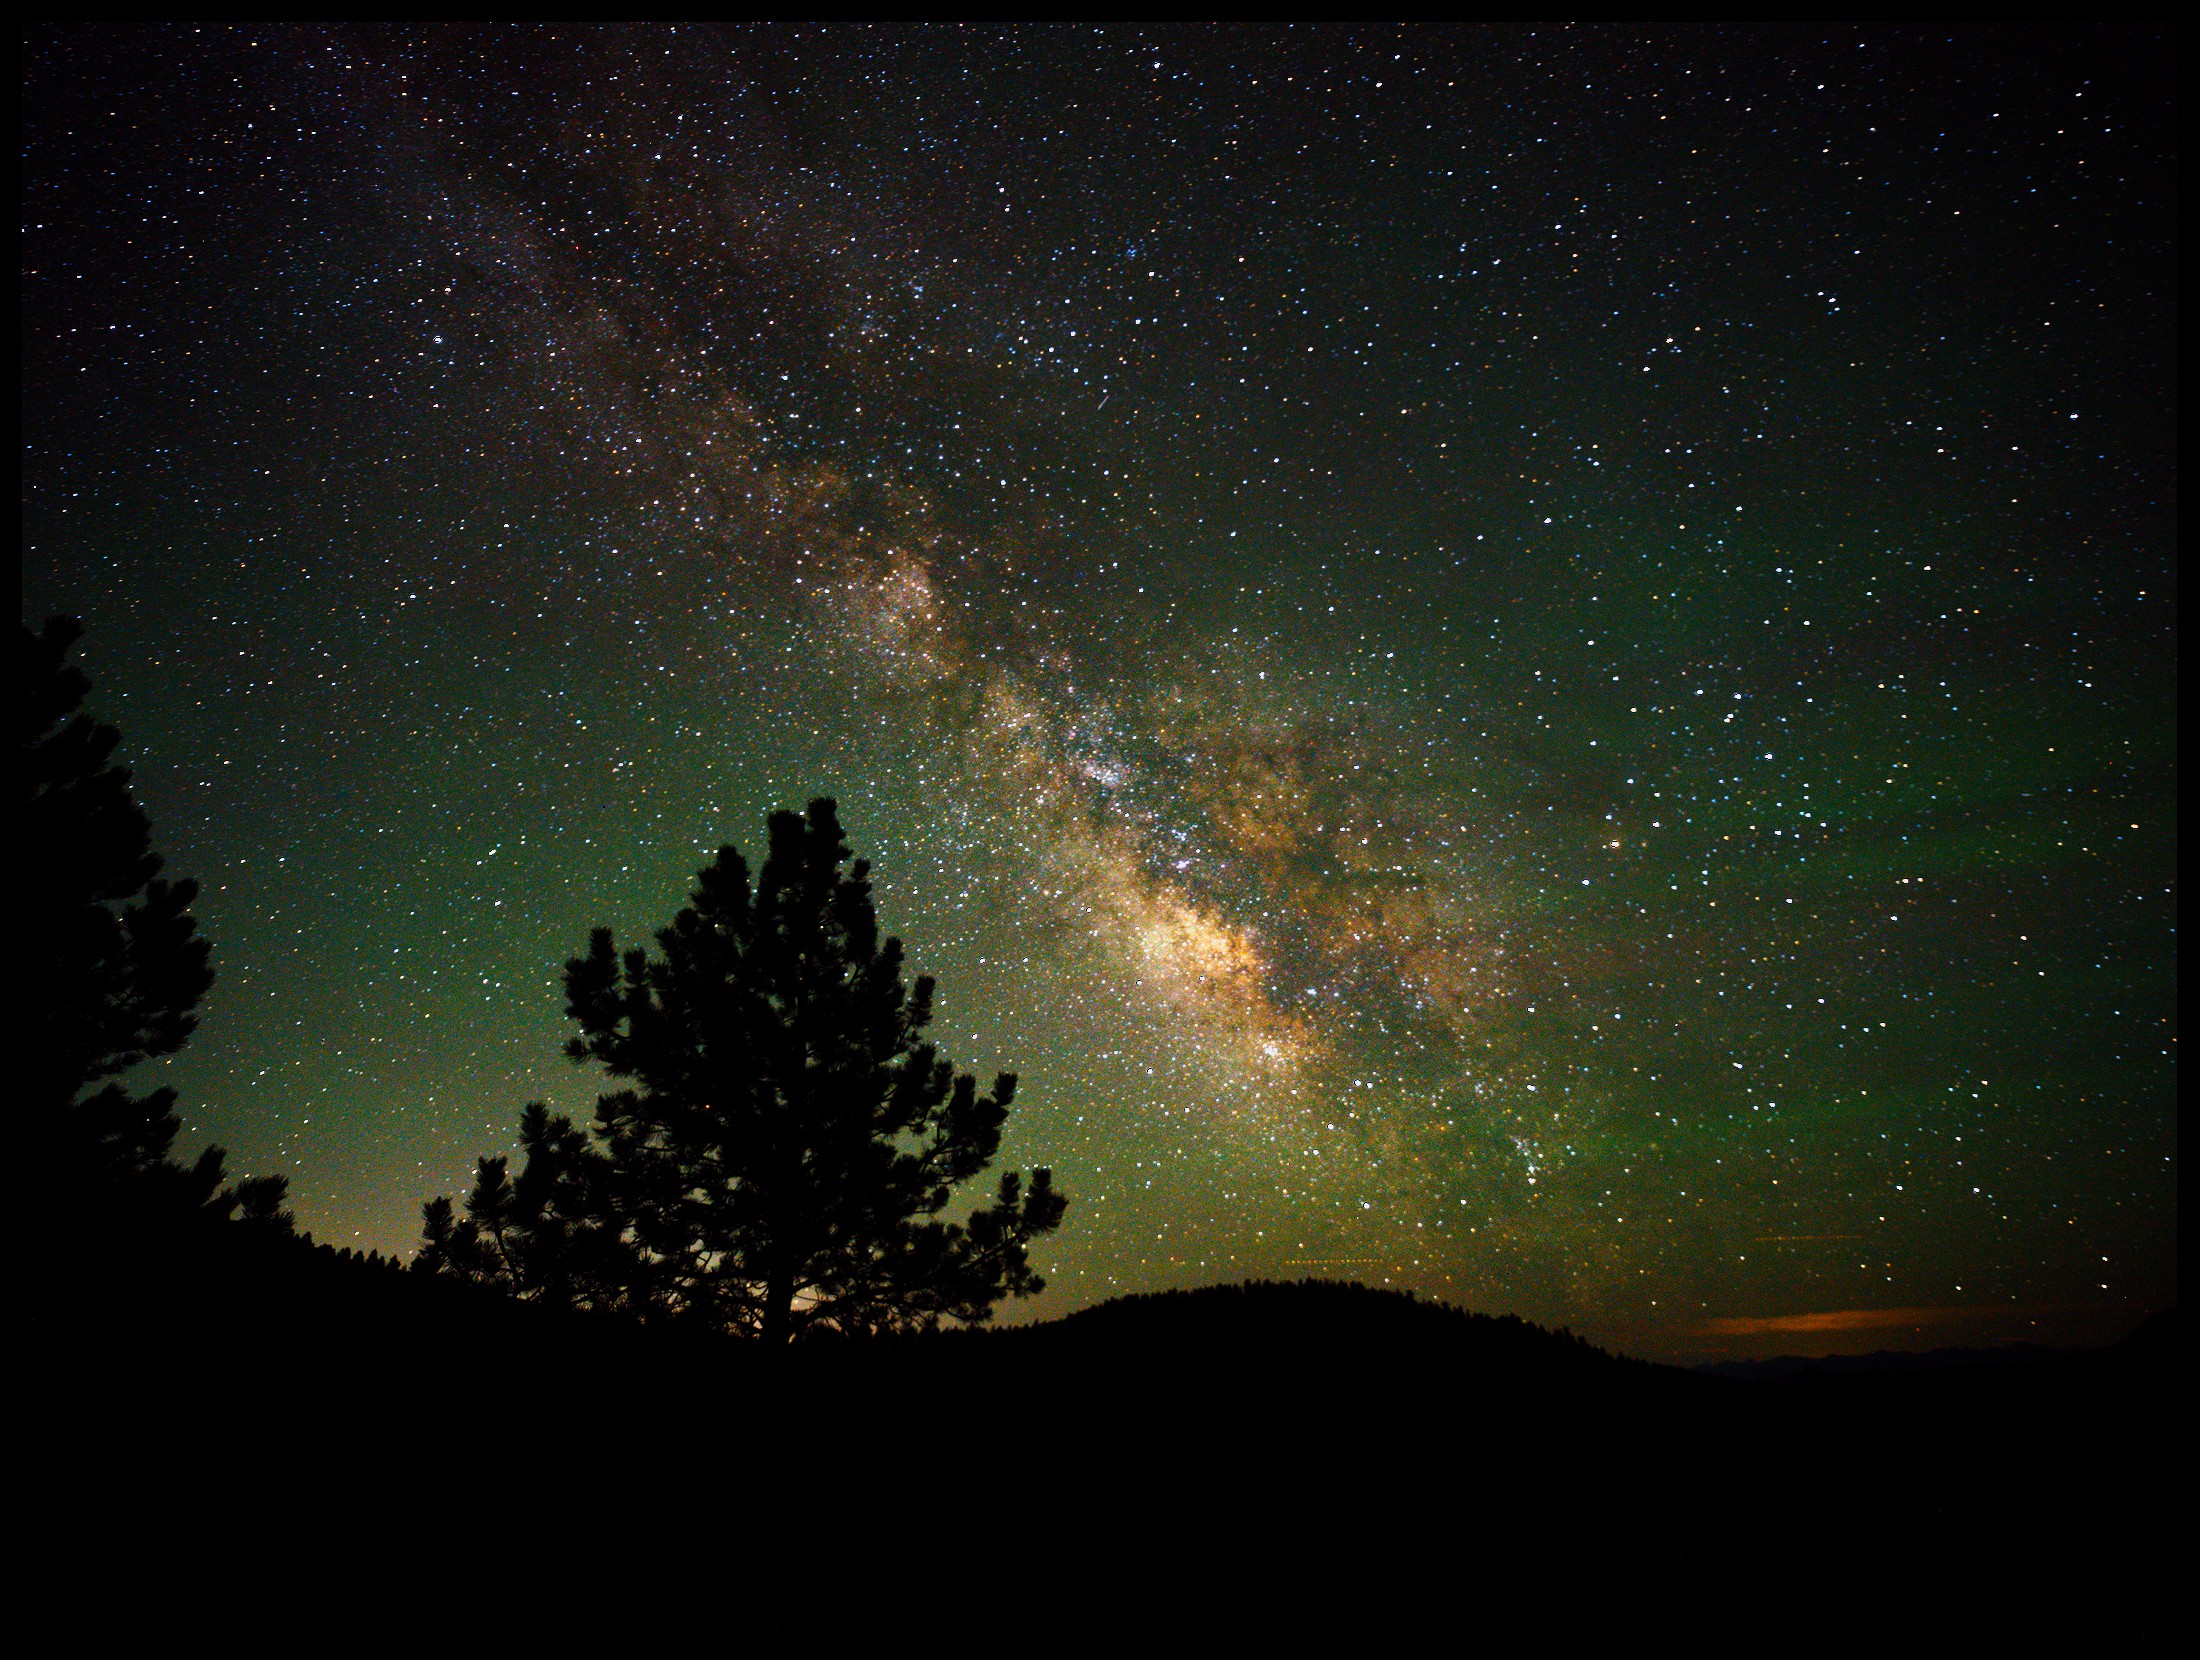
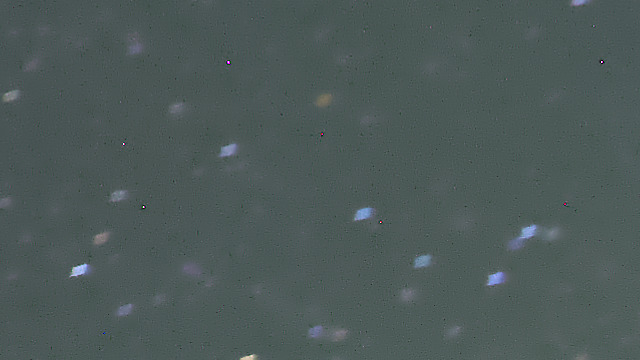
Nevertheless there is a nice sky-glow directly present with so called ‘gravity ripples’ in them. Nice! (I mean these green ripples in the sky on the right hand side)
What technique did you use taking this picture. The file states 25" exposure. Did you have a tracking mount or so? Tripod?
Deliberately processed quite softly to get out the greens - which are natural - and to keep the browns - dust - of the milky way.
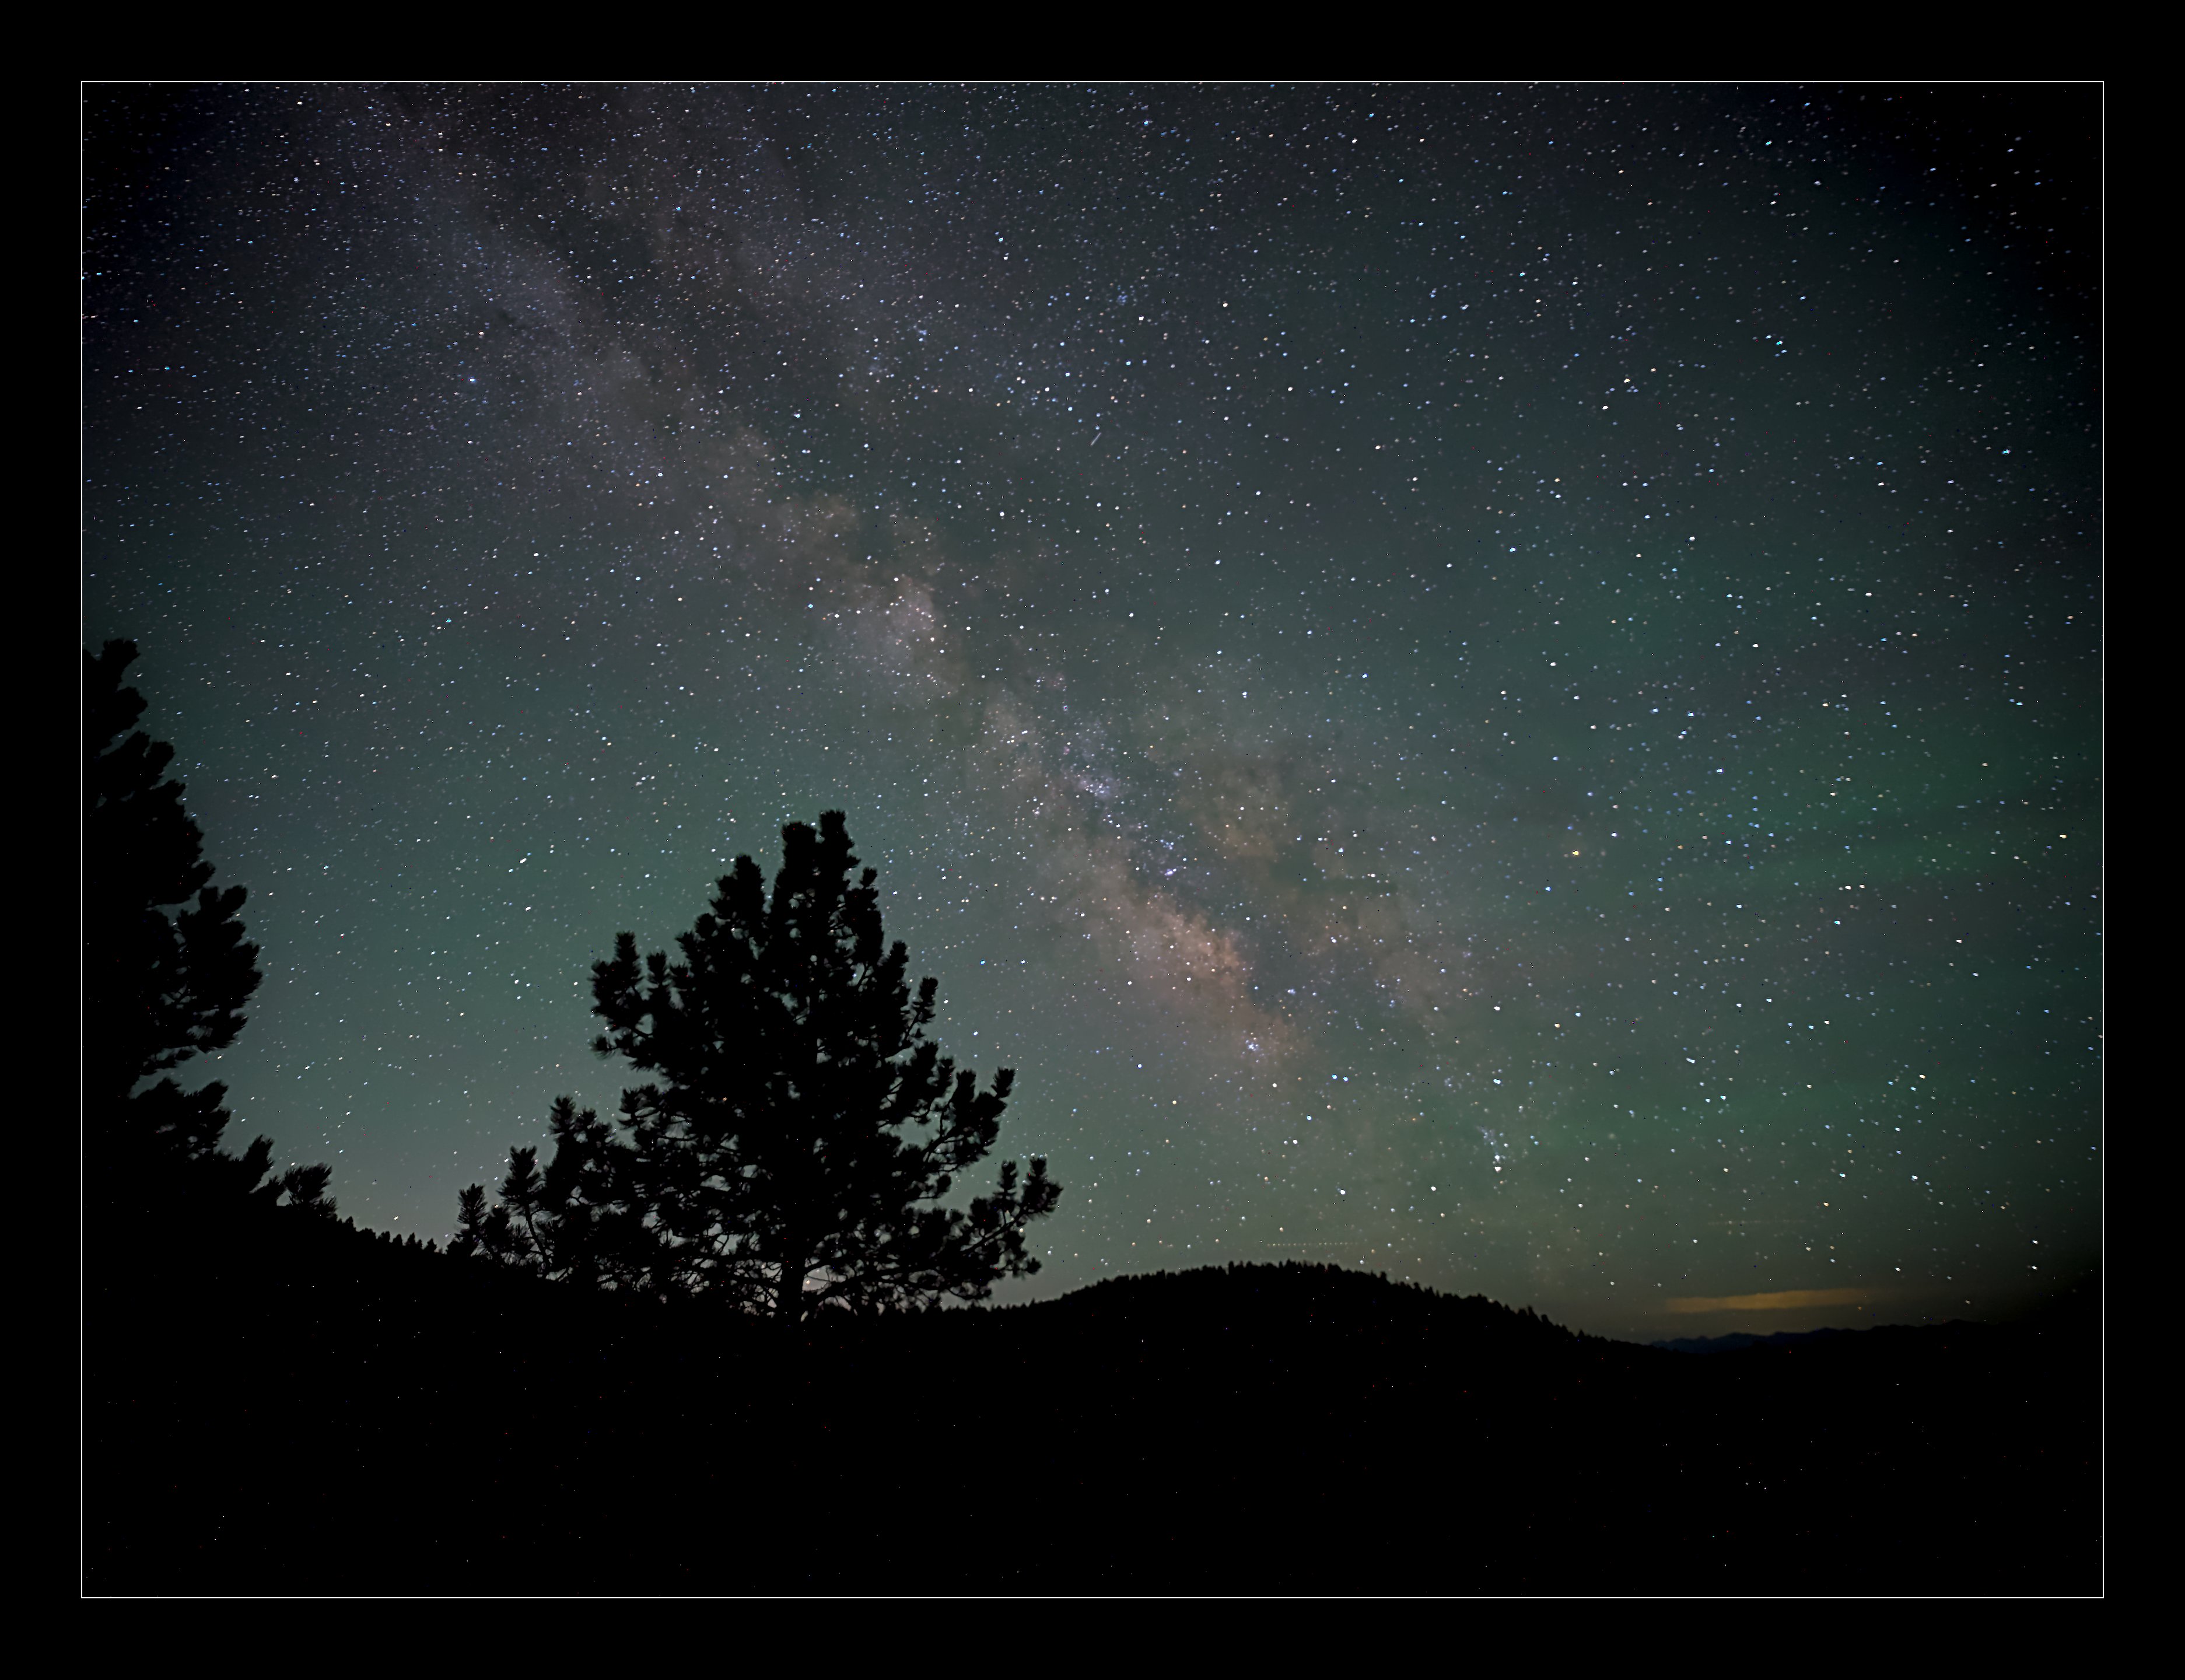
If you do have a chance to remake this picture try to find a way to find optimal focus a bit better, in the center of the images the stars can be nearly pinpoints. And whenever possible see for a bit more sturdier tripod - or soil…
I say these as I think you’ll be able to catch more stars even and have them close to pinpoints, at least in the center of the image.
Another possible way to get a better picture is making multiple pictures, aperture a bit further closed, up the ISO a bit and stack these images…
I do not have a tracker, I shoot on a tripod and I keep the exposure to about 25sec or less to avoid trails, I focus the lens at something in the distance (like the mountain peaks in the distance) and then use that focus when I go out at night to shoot. I always use the aperature as open as the lens will go, I’ll try the stack idea and see how that works
Thanks for replying! I was afraid to be a bit rude…
Somehow there has been a little bit of motion in your tripod. The stars show this by being a bit double in a vertical direction. I do not know what caused this. It may be the soil was too weak, it may be a glitch in the ballhead or similar. Now you know this you may find a way to avoid it.
The second one not too difficult to improve is focusing. I presume your camera has live view and it has the possibility to enlarge a small part of the image. The best thing is to focus at night on the faintest star you’ll be able to see in live view. So start to focus on a bright star, till you think it is in focus. Then zoom in in live view, find a dimmer star and repeat, till you think you’ve found the best possible focus being zoomed in to the max. You’ll notice that when getting out of focus dim stars will disappear… And you’ll find this to be extremely finicky…
Thirdly you may wish to experiment with shorter exposures. This will make your stars rounder and more concentrated. By doing this you’ll not lose - much - of the faintest stars as the light is not gathered on the same sensor pixels.
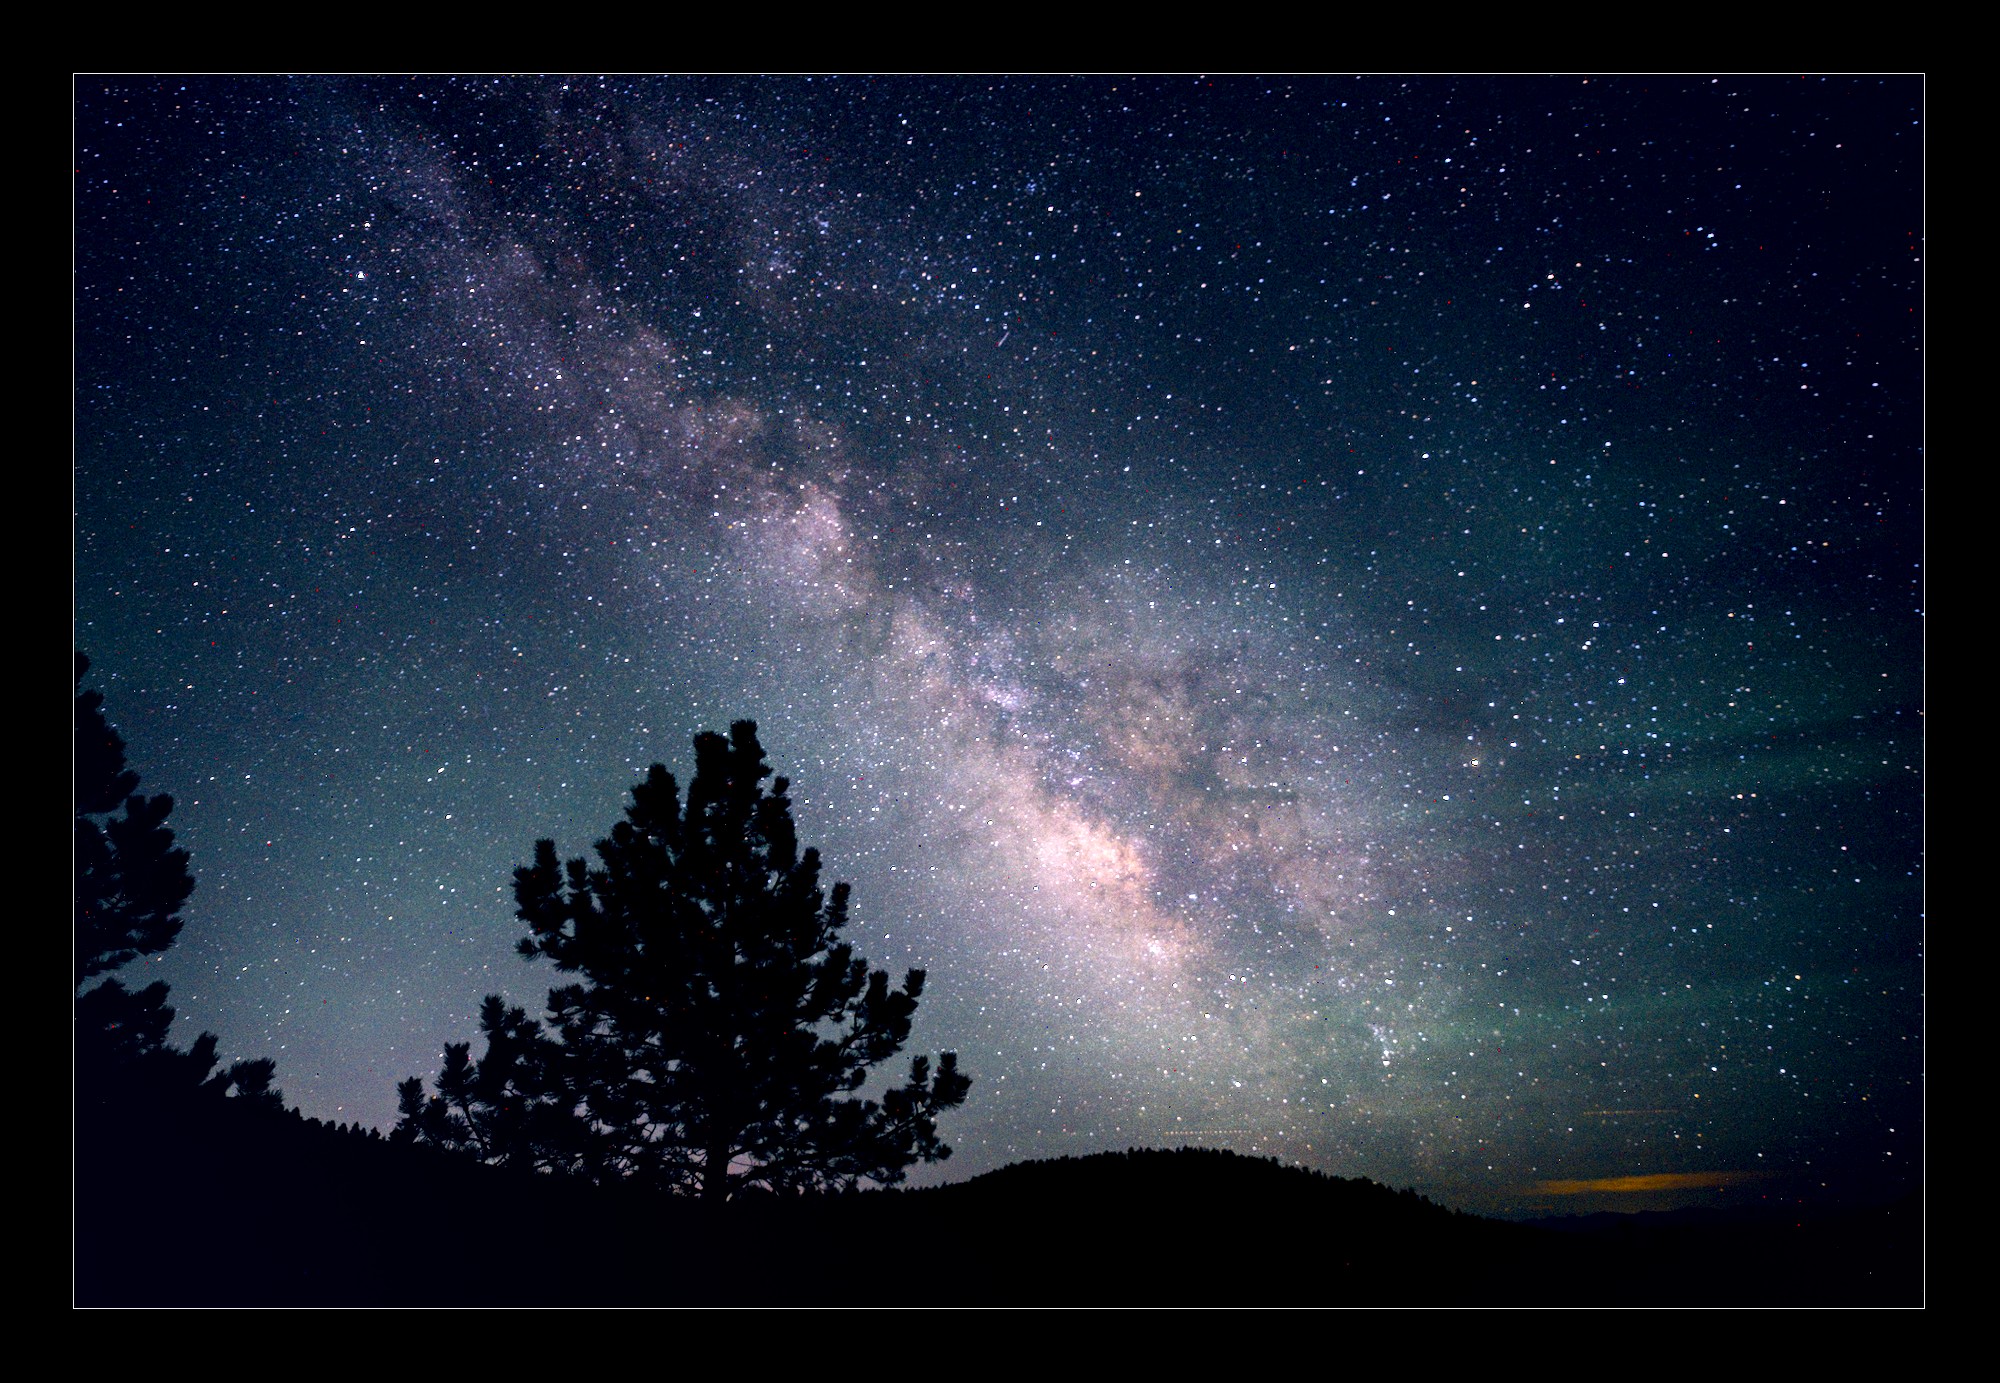
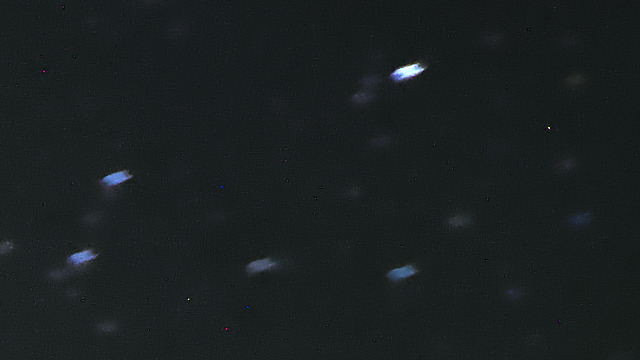
Fourth thing in your picture is that stars in the corners are not rounded but elongated:
This may be as well - partly? - a consequence of the long exposure.But might as well be geometric distortion. I think - but you’ll have to experiment - this effect will be reduced setting your aperture at say F5.6 or even F8.
Another notice. It might not even be necessary to up the ISO very much, as it does not get you more light per pixel. It might be better to experiment in the editing phase to get out the weakest stars…
I hope after a good start - this will help you for an even better next result.