I’ve created a modular film emulation system designed to replicate the complete photochemical process of shooting on a camera negative and finishing on a print stock. It’s broken down into four distinct stages, or “pillars”:
Pillar 1: Camera Film Matrix: Simulates the camera film’s unique color science and channel crosstalk, setting the foundational color palette (e.g., skin tones, blues, greens).
Pillar 2: Camera Film Hue Shifts: Models the camera film’s dynamic highlight behavior, creating organic hue shifts as colors approach overexposure.
Pillar 3: Camera Film Saturation & Tone: Controls the camera film’s tonal character, managing saturation roll-off in the shadows and highlights (“toe” and “shoulder”) and any neutral color cast.
Pillar 4: Print Film Emulation: Applies the final print film look, adding the signature color grade and saturation “pop” of a finished cinema print on top of the “camera negative” created by the first three pillars.
I’ve created a lengthy guide with the philosophy behind the pillars, the CTL code, a few presets derived from negative and positive scans, as well as the methodology to extract the data from the scans into data-driven preset values.
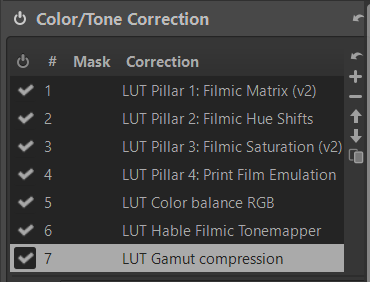
I’ve also chained after the pillar CTLs the Color Balance RGB CTL (link), combined with the Hable TMO (link) and the Gamut Compression CTL script (link).
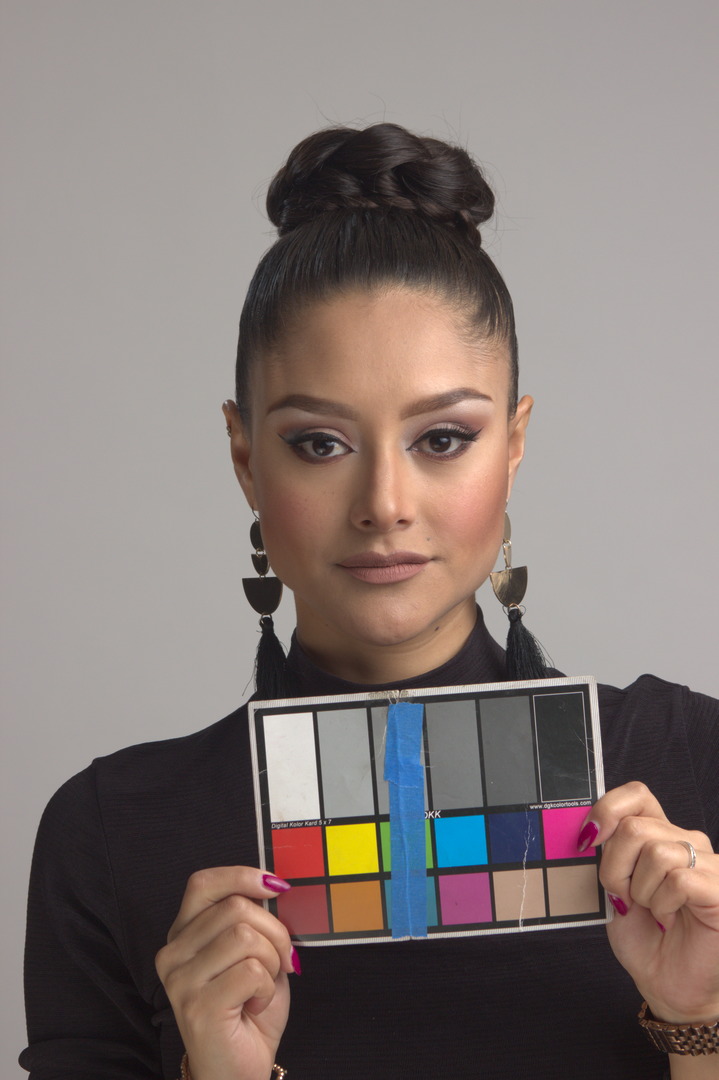
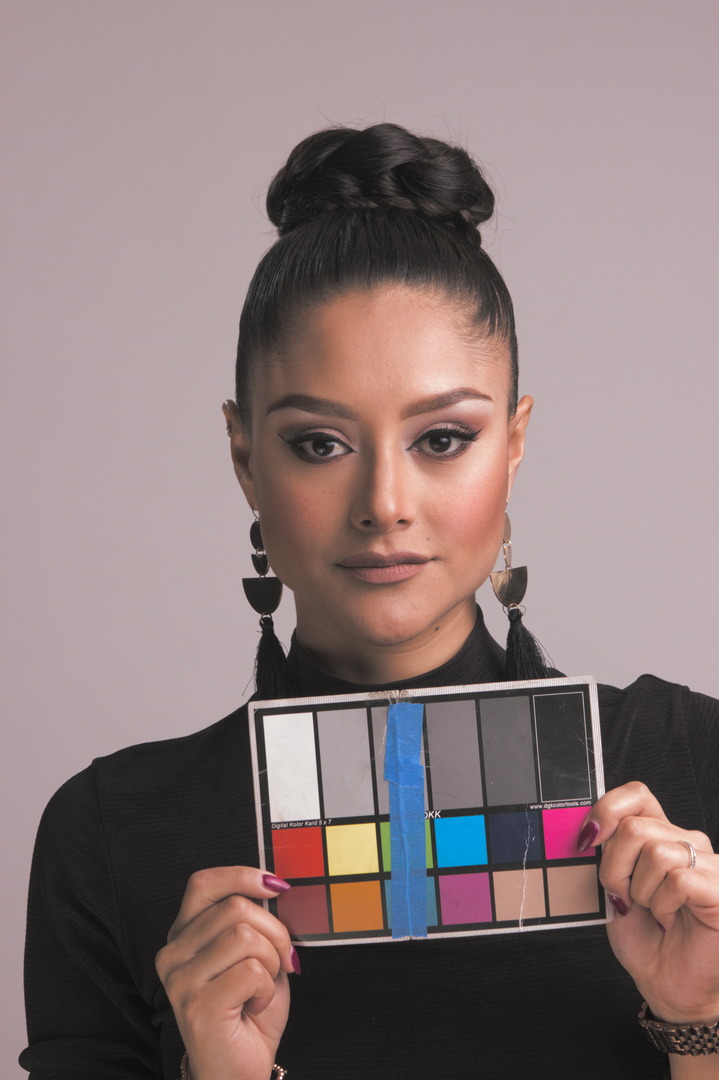
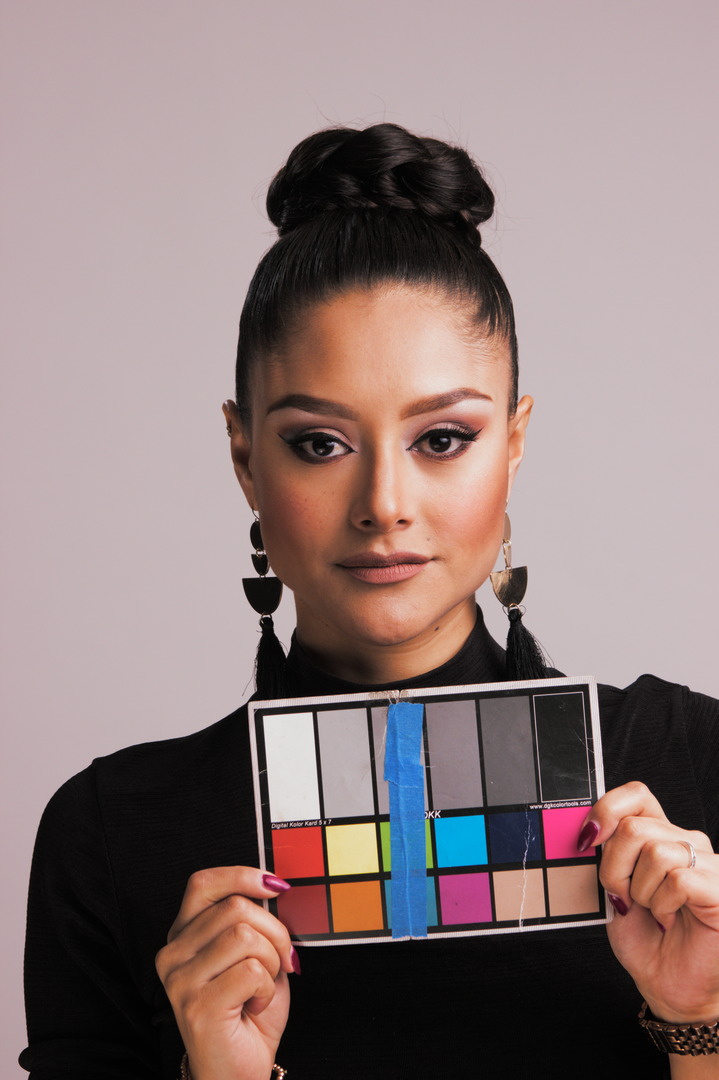
For Hable, a good starting point are the following values (tested with Nikon D810 and Sony a7IV bodies RAW ColorChecker grey ramps):
Shoulder Strength: 0.60 (0.8 for dreamy bright highlights)
Linear Strength: 0.35
Linear Angle: 0.10
Toe Strength: 0.20
Toe Numerator: 0.04
Toe Denominator: 0.45
White Point: 1.6
When I activate Pillar 2, ART throws a “can’t read file” error, the other three work.
I haven’t read your (extensive) documentation yet, but how can I “chain” your CTL scripts? I mean I can open Pillar 1 and make some changes, but when I move on to Pillar 3 or 4 (2 doesn’t work for now), the image goes back to its original state…
EDIT. So I started reading the documentation and there I saw the answer to my question :
To use the toolkit, you must add four separate instances of the “Color/Tone Correction” module.
Good catch. Formatting gremlins snuck themselves and stole the // from the declarations. I’ve updated the original post. Pillar 2 - Filmic Hue Shifts.txt (2.2 KB)
The changes may be subtle with the default settings, additional presets are in the .md file from the post.
What I suspect is happening is that you haven’t enabled a tone mapper for your image, Hable in this case. You would see a linear image that doesn’t have much of anything change significantly.
I have tried @arctic’s solution and it’s awesome. It is not a replacement for it. Arctic approaches film emulation from the datasheet standpoint, i.e. derive pixel behavior based on characteristic curves, dye coupling densities and print paper curves. It’s a valid approach, most likely DxO and Dehancer have followed the same path in deriving their emulation tools.
I took a different route and acknowledged that my past direct mathematical emulations were a suboptimal solution, given film’s non-linear behavior on multiple key fronts. As such, I broke down the problem into how and why film behaves that way, in a way I could alter with common, intuitive controls, segregated by area of concern. LUT solutions are very powerful, but can be brittle in edge cases and opaque. The CTL scripts are an elegant and computationally efficient solution to emulating the behavior of a film stock, as opposed to mathematically trying to perfectly fit the color patches between a digital and an analog scan, if it makes sense. It’s essentially a glass box decomposition of a 3D LUT into layers that recreate a similar behavior, with the intent on emulating film behavior and allowing you to change each layer at will, mix and match, enable/disable if desired.
The methodology in the guide goes a bit into that detail, how the CIE matrices are compared, but not with a 100% mathematical matching goal, rather getting the look and feel of the stock, without bending the controls to their limits. It’s similar to how LMTs work in DaVinci resolve, but on a much leaner basis in ART. The pillars provide a gentle shaping of the linear digital negative, while the Color Balance RGB, Hable and the gamut compressor grade the digital print, so to speak.
The documentation talks about Presets for Kodak Portra 400 and shows the values to create “High contrast, crushed blacks, soft highlights, and a characteristic warm/yellow cast.”
Am I supposed to change the relevant sliders in Pillar 1 to the values you mention in the documentation, like :
| Pillar 1 | Red -> Red | 1.05 | Boosts the red channel for richness and saturation. |
| | Green -> Red | 0.12 | Key Change: Pushes reds strongly toward orange/yellow, creating the signature warm Portra skin tones. |
| | Blue -> Red | 0.0 | No change. |
Etc.
I would expect to see presets for Kodak Portra 400, Kodak Portra 160NC and Kodak Ektachrome E100 in the interface, so that I can choose which film to emulate.
Yes, that is correct. You would match the values in the table. The explanations on the right column are rationale why the value was chosen. Good point on the drop-down preset, it will be a future enhancement.
I installed ART just last week because I got fed up with my Adobe subscription. For me it is just a bit of fun.
I tried to follow your guide and I renamed the pilars ctl and added them in the correct order. Pillar 1 and 2 resulted in a subtle change to my test picture. However, pillar 3 massively desaturated my test picture and made an unnatural colorshift.
I am sure I missed something important in your guide but I can not figure out what.
I just used your first recipe (portra 400).
I am sorry that I am a bit dense when it comes to reading guides but what do you think I did wrong?
While it’s a nice little creative chain, I have moved on to the AgX CTL (totm) in ART, AgX in darktable or if you want something fresh, I just love AgX in RapidRAW (full GPU accelerated processing.)
RapidRAW is probably the closest to a Lightroom/ACR replacement from a workflow perspective.