I founded something strange, the test image is from this playraw Beneath Giants - How to make it look good.
(darktable’s xmp DSCF9876.RAF.xmp (15.5 KB))
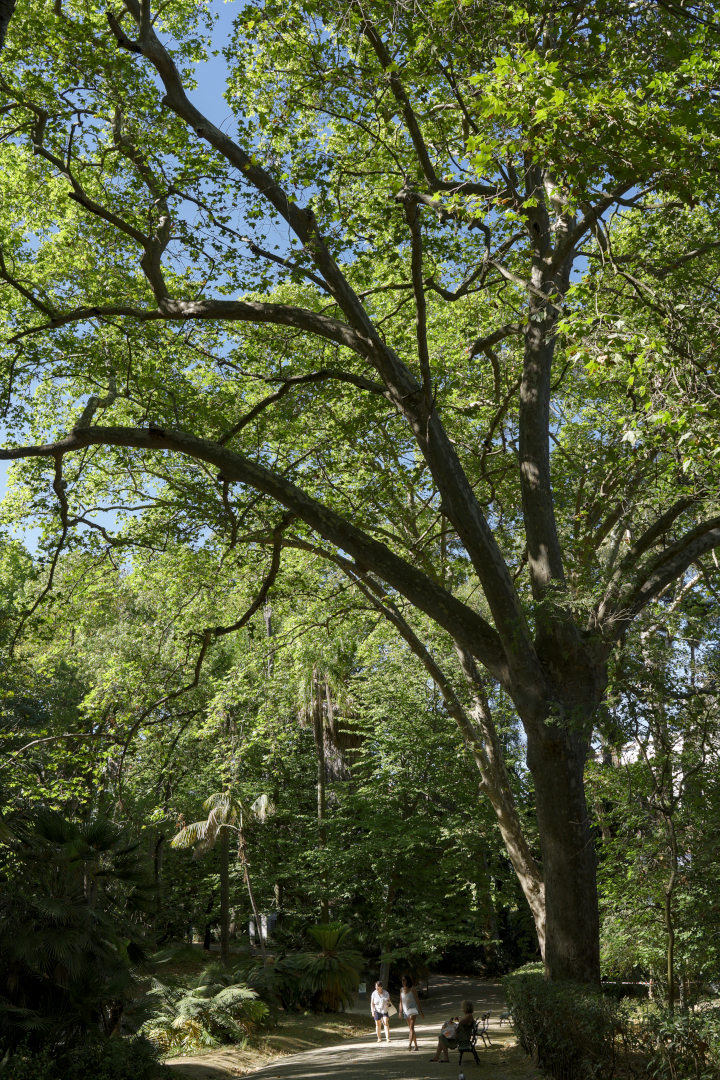
Linear downscaled
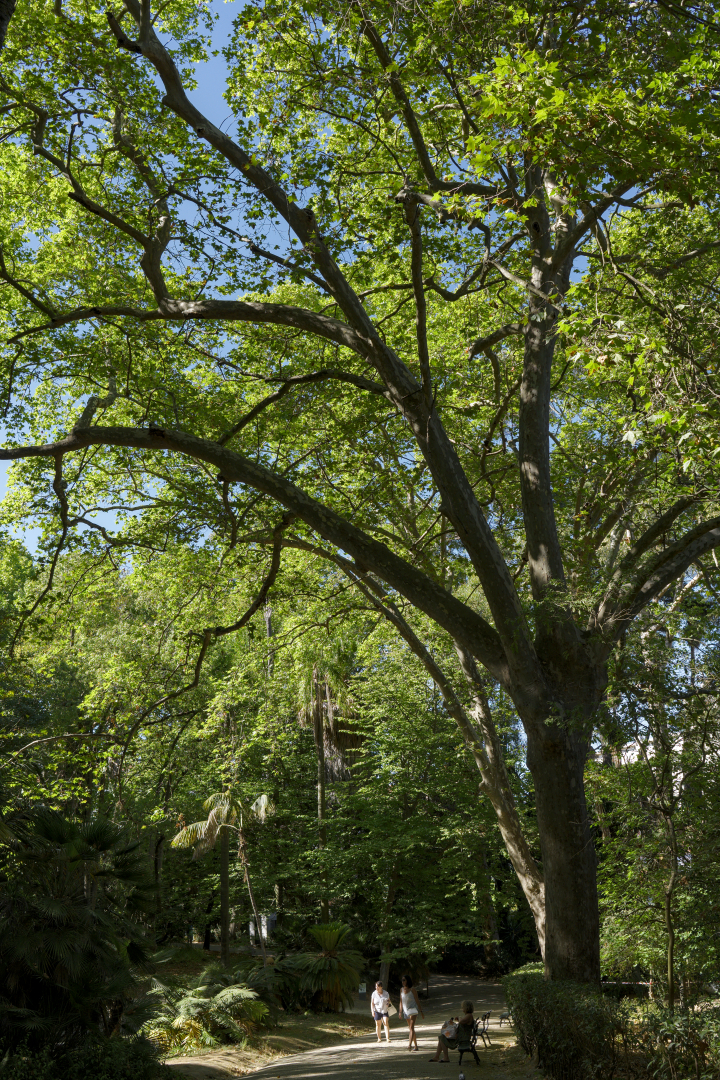
gamma downscaled
crop 1:1

The image downscaled in linear gamma looks too much desaturated on my monitor