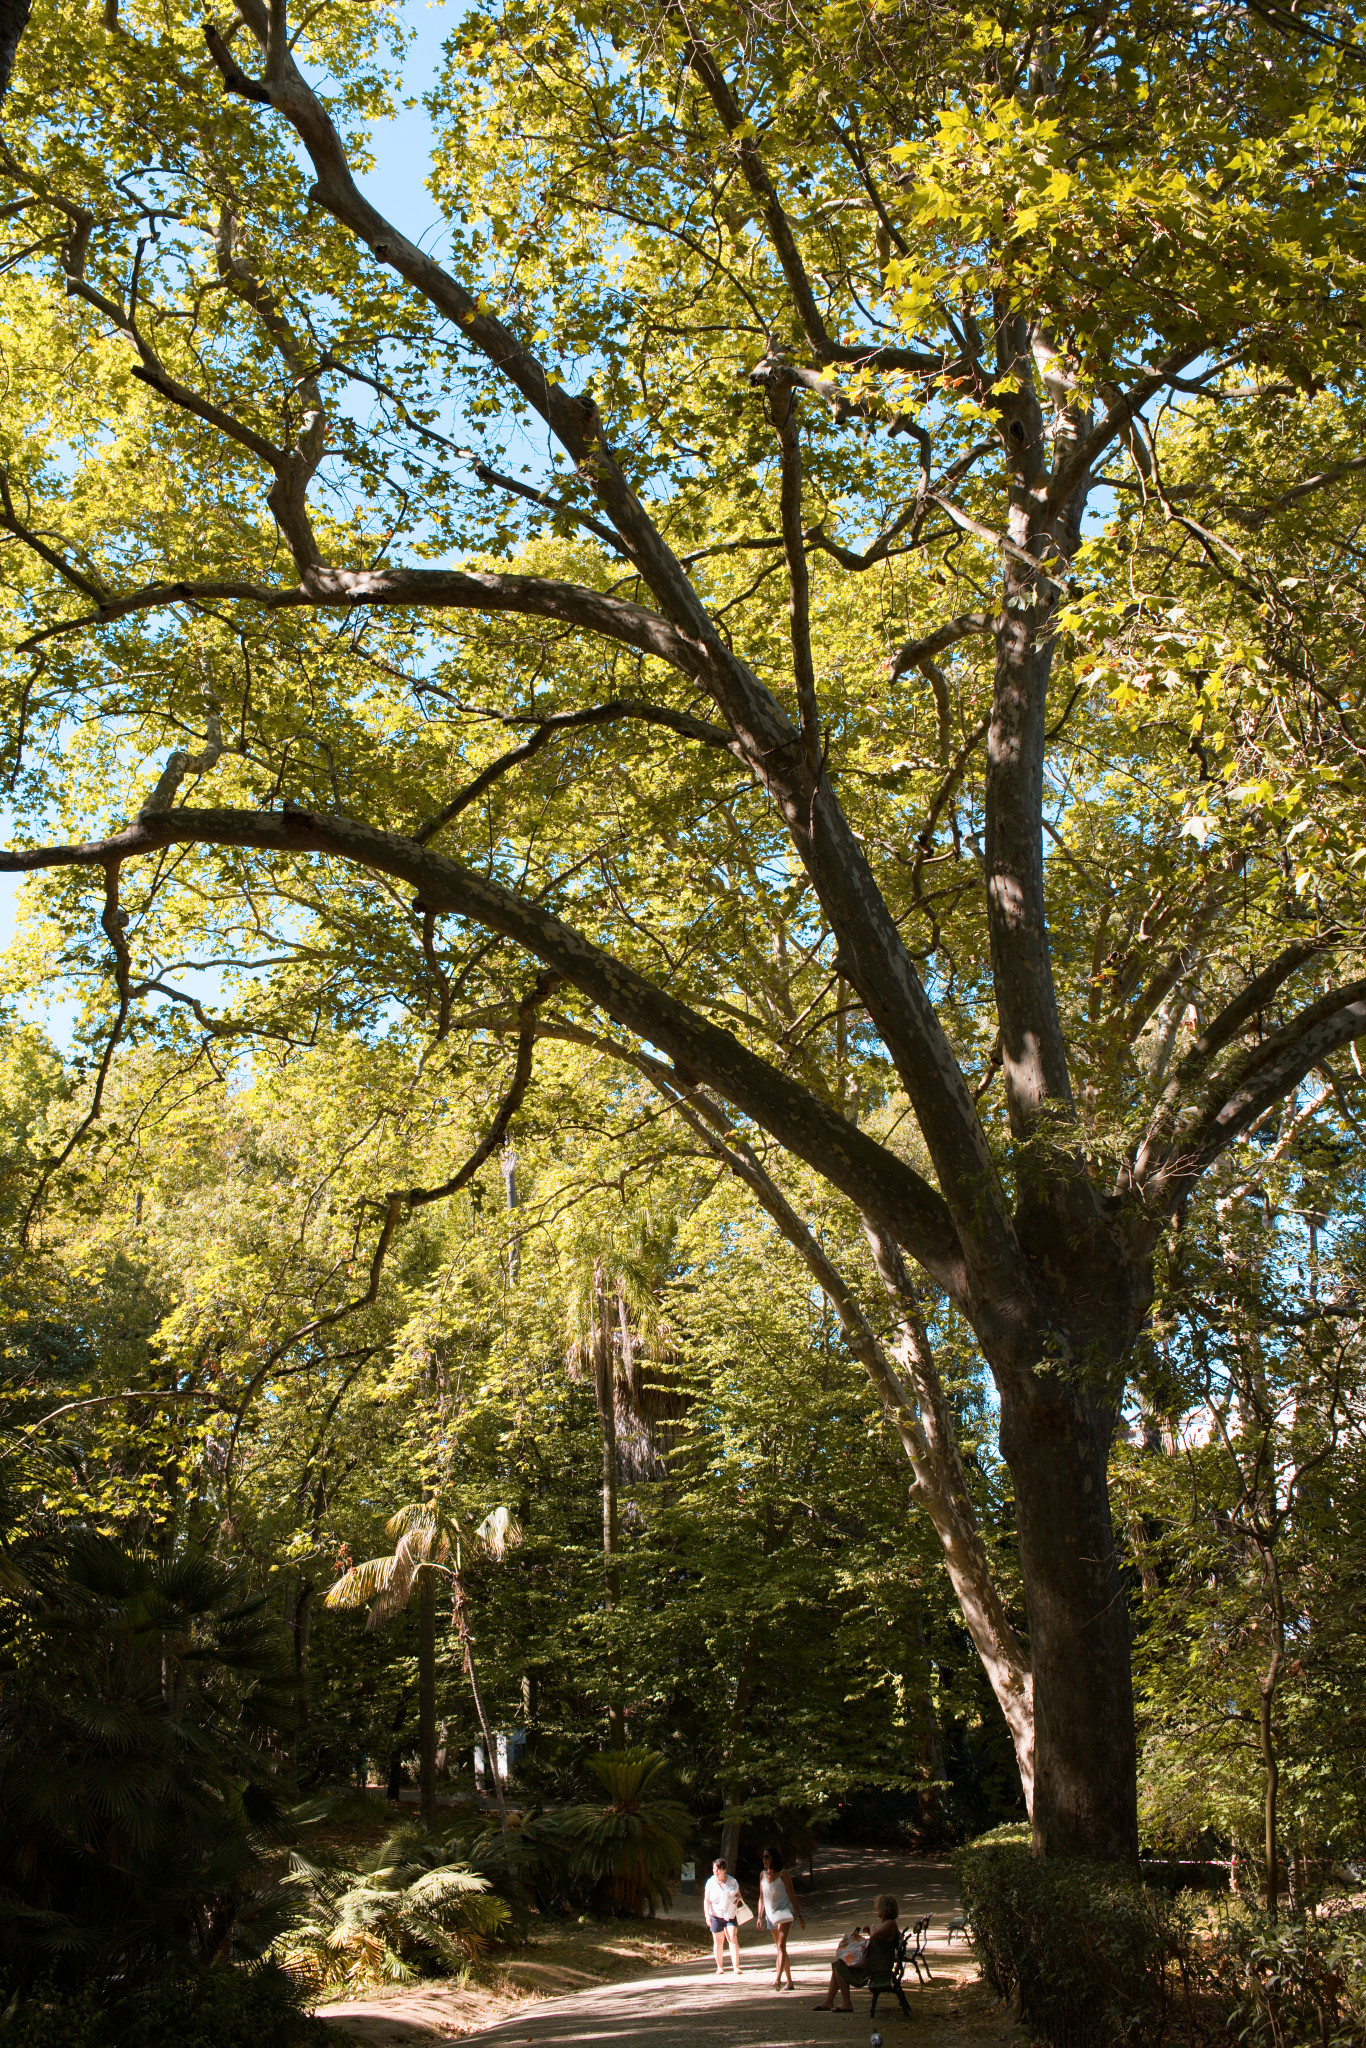
Hello! Ever since I got my first camera three years ago, I’ve struggled photographing scenes like this one. I find it difficult to manage the huge dynamic range created by the shade, together with the bits of visible skies. I mostly end up shooting B&W since it’s easier in my opinion, which is a shame because IRL these scenes look beautiful, and I’m unable to do them justice.
Can somebody give me some tips? Is the issue related to the exposure? Are screens just not a good medium for scenes with huge DR like this one? I notice that when I zoom in, things look a lot better, so maybe it would work in a big print?
The clipping indicator also highlights almost the full image.
In my opinion, the main problem here is not technical, but the subject itself.
Here are a couple of comments in this regard:
The photo has been taken in the midday sun, which has very strong contrasts. The whole scene - especially when it is as detailed as the trees with leaves - looks very turbulent due to very strong local contrasts. It’s just very texture rich. It draws too much attention away from the subject. It’s a bit like photographing so to say “a needle in a straw pile”.
The two important elements of the scene, the tree and the people walking, fight each other for the viewer’s attention. It doesn’t mean that the crop itself is badly chosen, it just means that it was taken in an unfavorable time of day or weather. So, when editing, you have to try to clarify the main focus of the scene and calm down too strong texture.
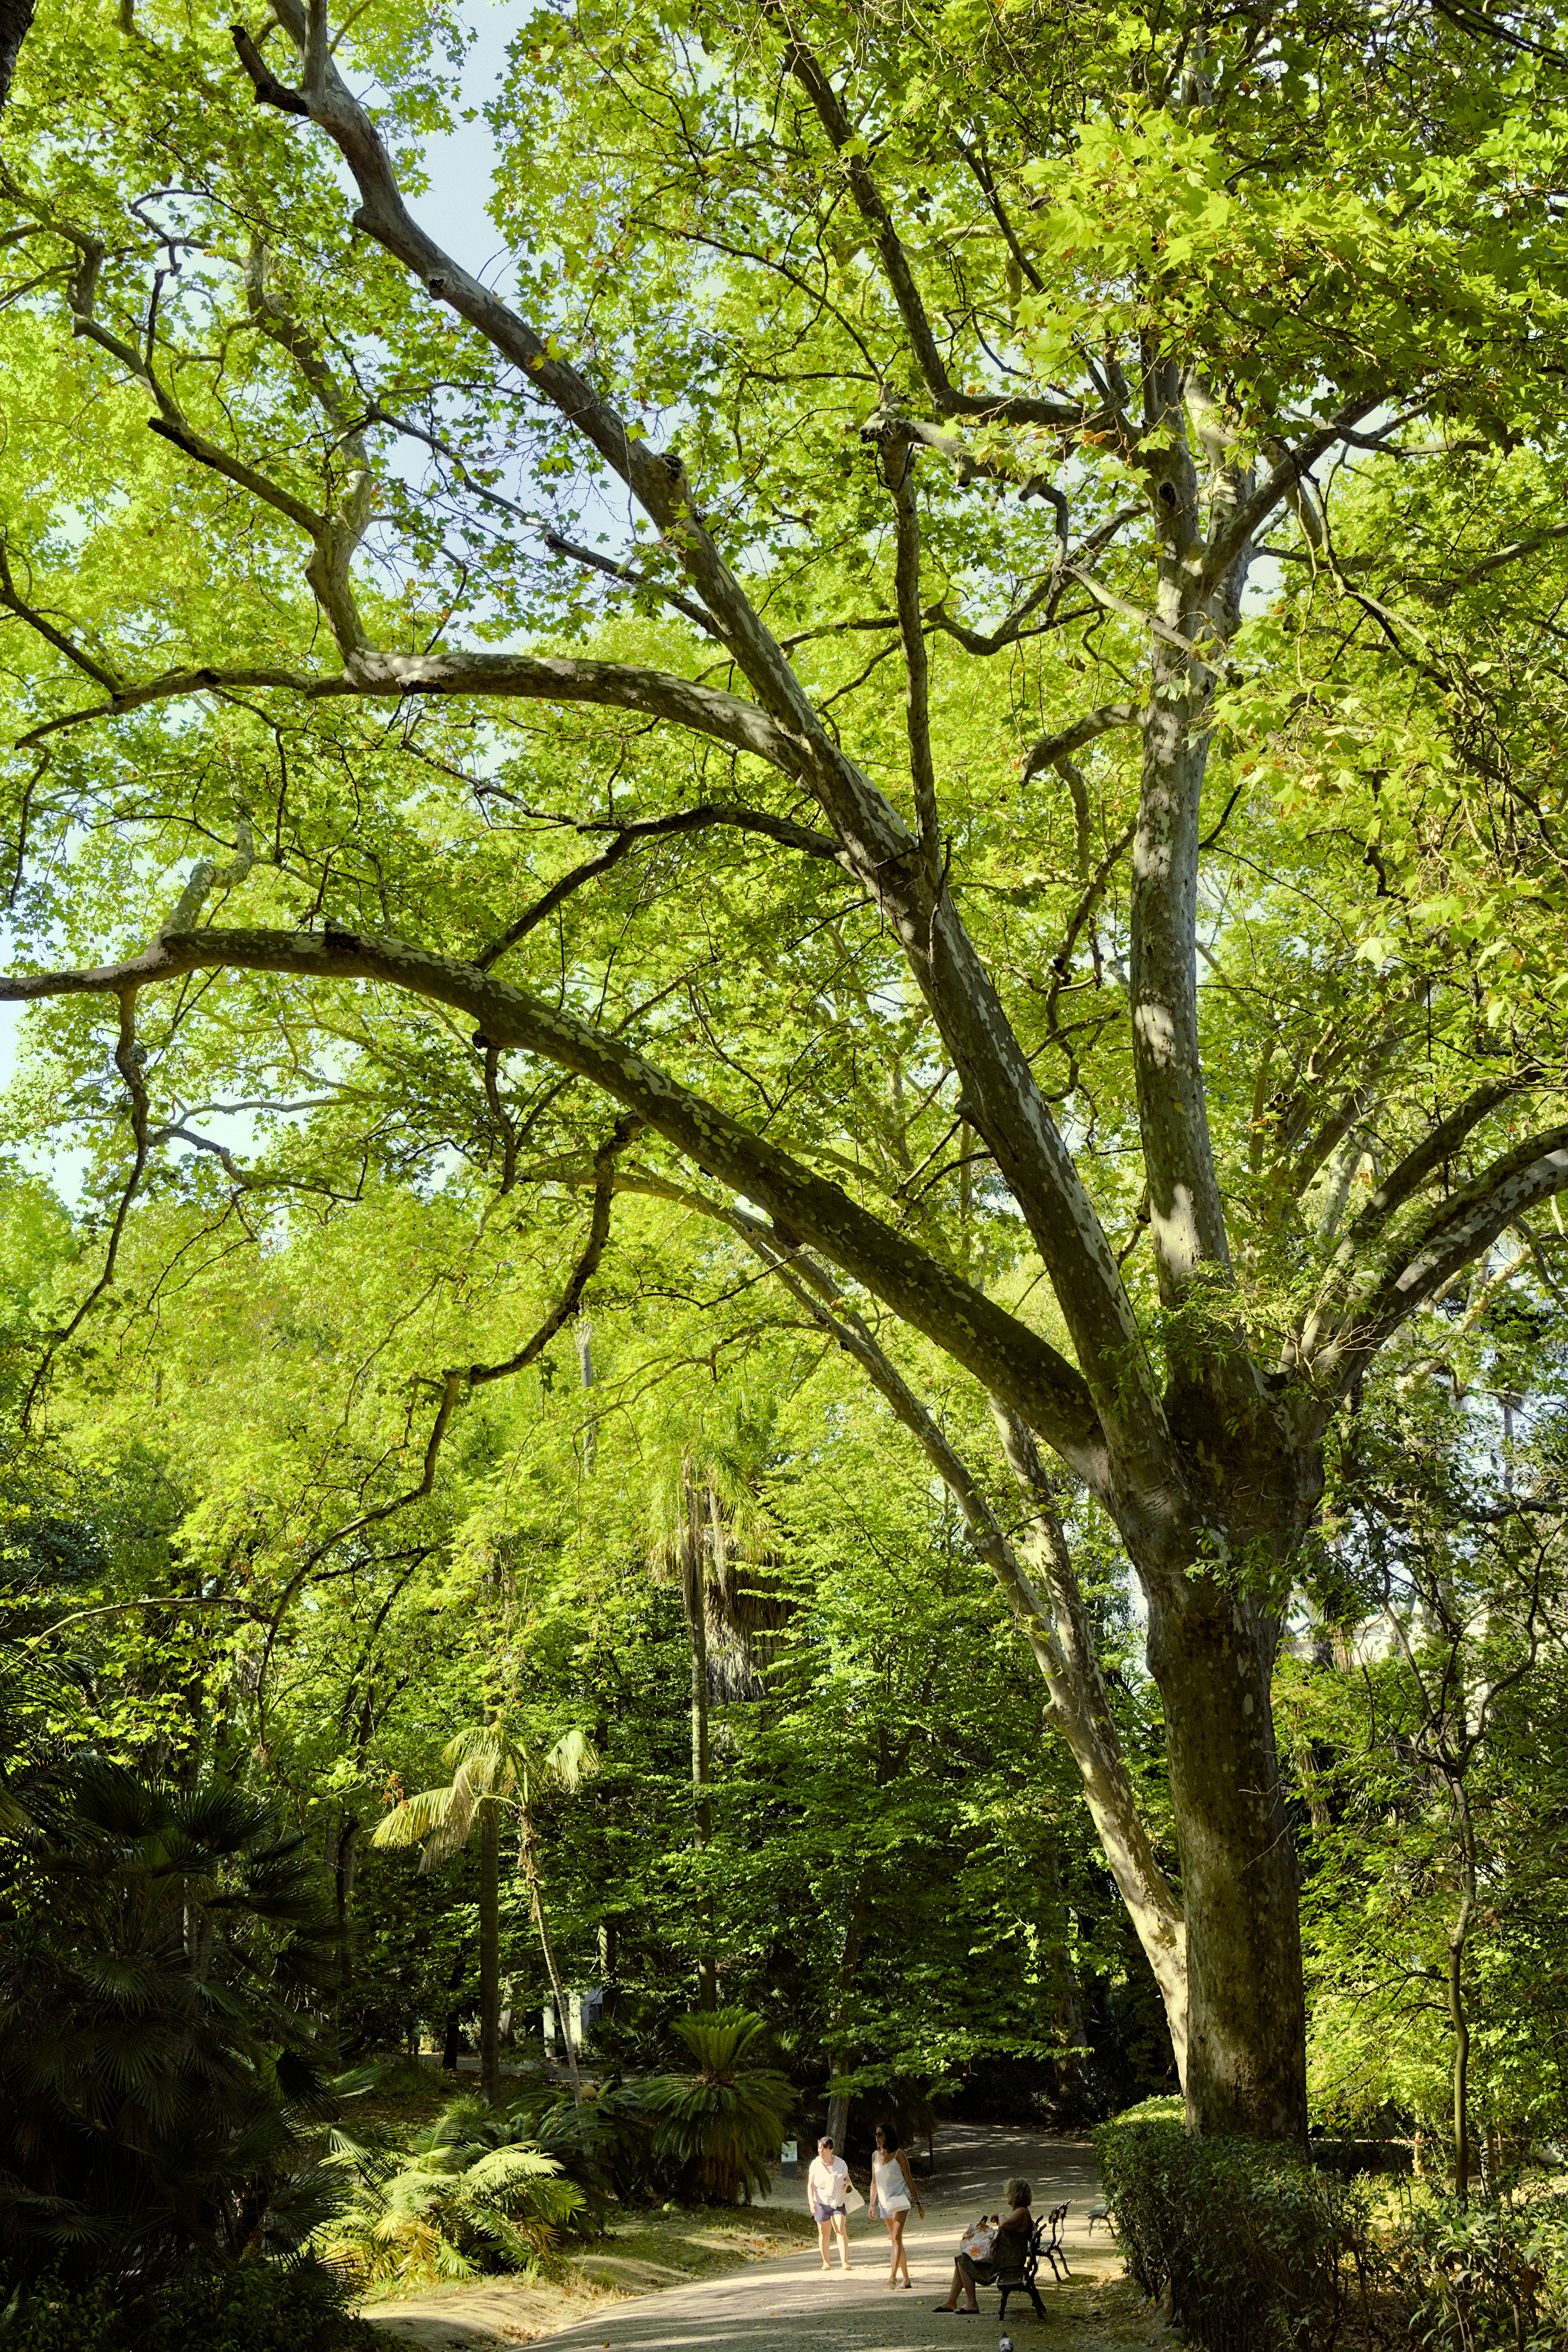
I have tried here - as far as possible - to direct the focus of the viewer to the people walking.
That looks good, I like how soft it is, going to take a look at your edits.
Completely agree with both your points. Unfortunately I was only there for a moment so couldn’t really control the time of day I shot it. The second point was completely my oversight, I should’ve waited for the people to move out of the frame, because my subject was the giant tree and how it over powered everything in there. I was so focused on the tree, I didn’t pay attention to the people
Thanks for sharing the photograph.
To tame the dynamic range, I produced four .tiffs from Filmulator (-1, 0, +1 and +2 EV) I blended these with enfuse and put the result into GIMP. Using my luminosity mask plug-in I made a slight lightening of zones 2, 3, and 4. A slight reduction in zone 10 (the glare of the girls white shirt).
I don’t necessarily find that they are fighting each other. Rather, it looks to me that the figures under the tree function well as staffage. (But anyway I really like your edit.)
I find the versions with less saturated, brighter sky more natural and believable. I’m on a phone now, so colour reproduction is probably far from accurate.
The (way too) simple tip is that scenes with lots of dynamic range (as you said it ) require you to shoot the scene darker so that your camera can then capture all the light information.
(Modern) camera’s are good at capturing shadows , so I’d you want to be safe , rather capture too dark than too bright.
Then while editing , raise the exposure back up, then bring the (too) bright parts down . You now at least captured all the information.
In Darktable, that means raising exposure and letting filmic handle the highlights . If you didn’t overload your sensor (by capturing the scene dark enough ) you don’t have any purple/magenta /weird colors .
You could also raise exposure , and use the tone equalizer to bring down the bright parts. Or use just the tone equalizer to bring up the dark parts … Test around.
While I agree the tree is full of detail, to me it is the subject – not the people. I very much like your edit, but I guess I’m just not a “people person” when it comes to photography. LOL
Filmulator is a fantastic piece of software, although I have yet to explore it’s subtleties properly.
(Incidentally I have not seen anything recently from CarVac on the forum - I hope he is OK.)
When the dynamic range of a raw exceeds the range that can be converted without clipping, I experiment with producing multiple exposures which are then blended. This compresses parts of that range. I need to make more experiments to find which parts of that range are compressed by blending various combinations of exposures.