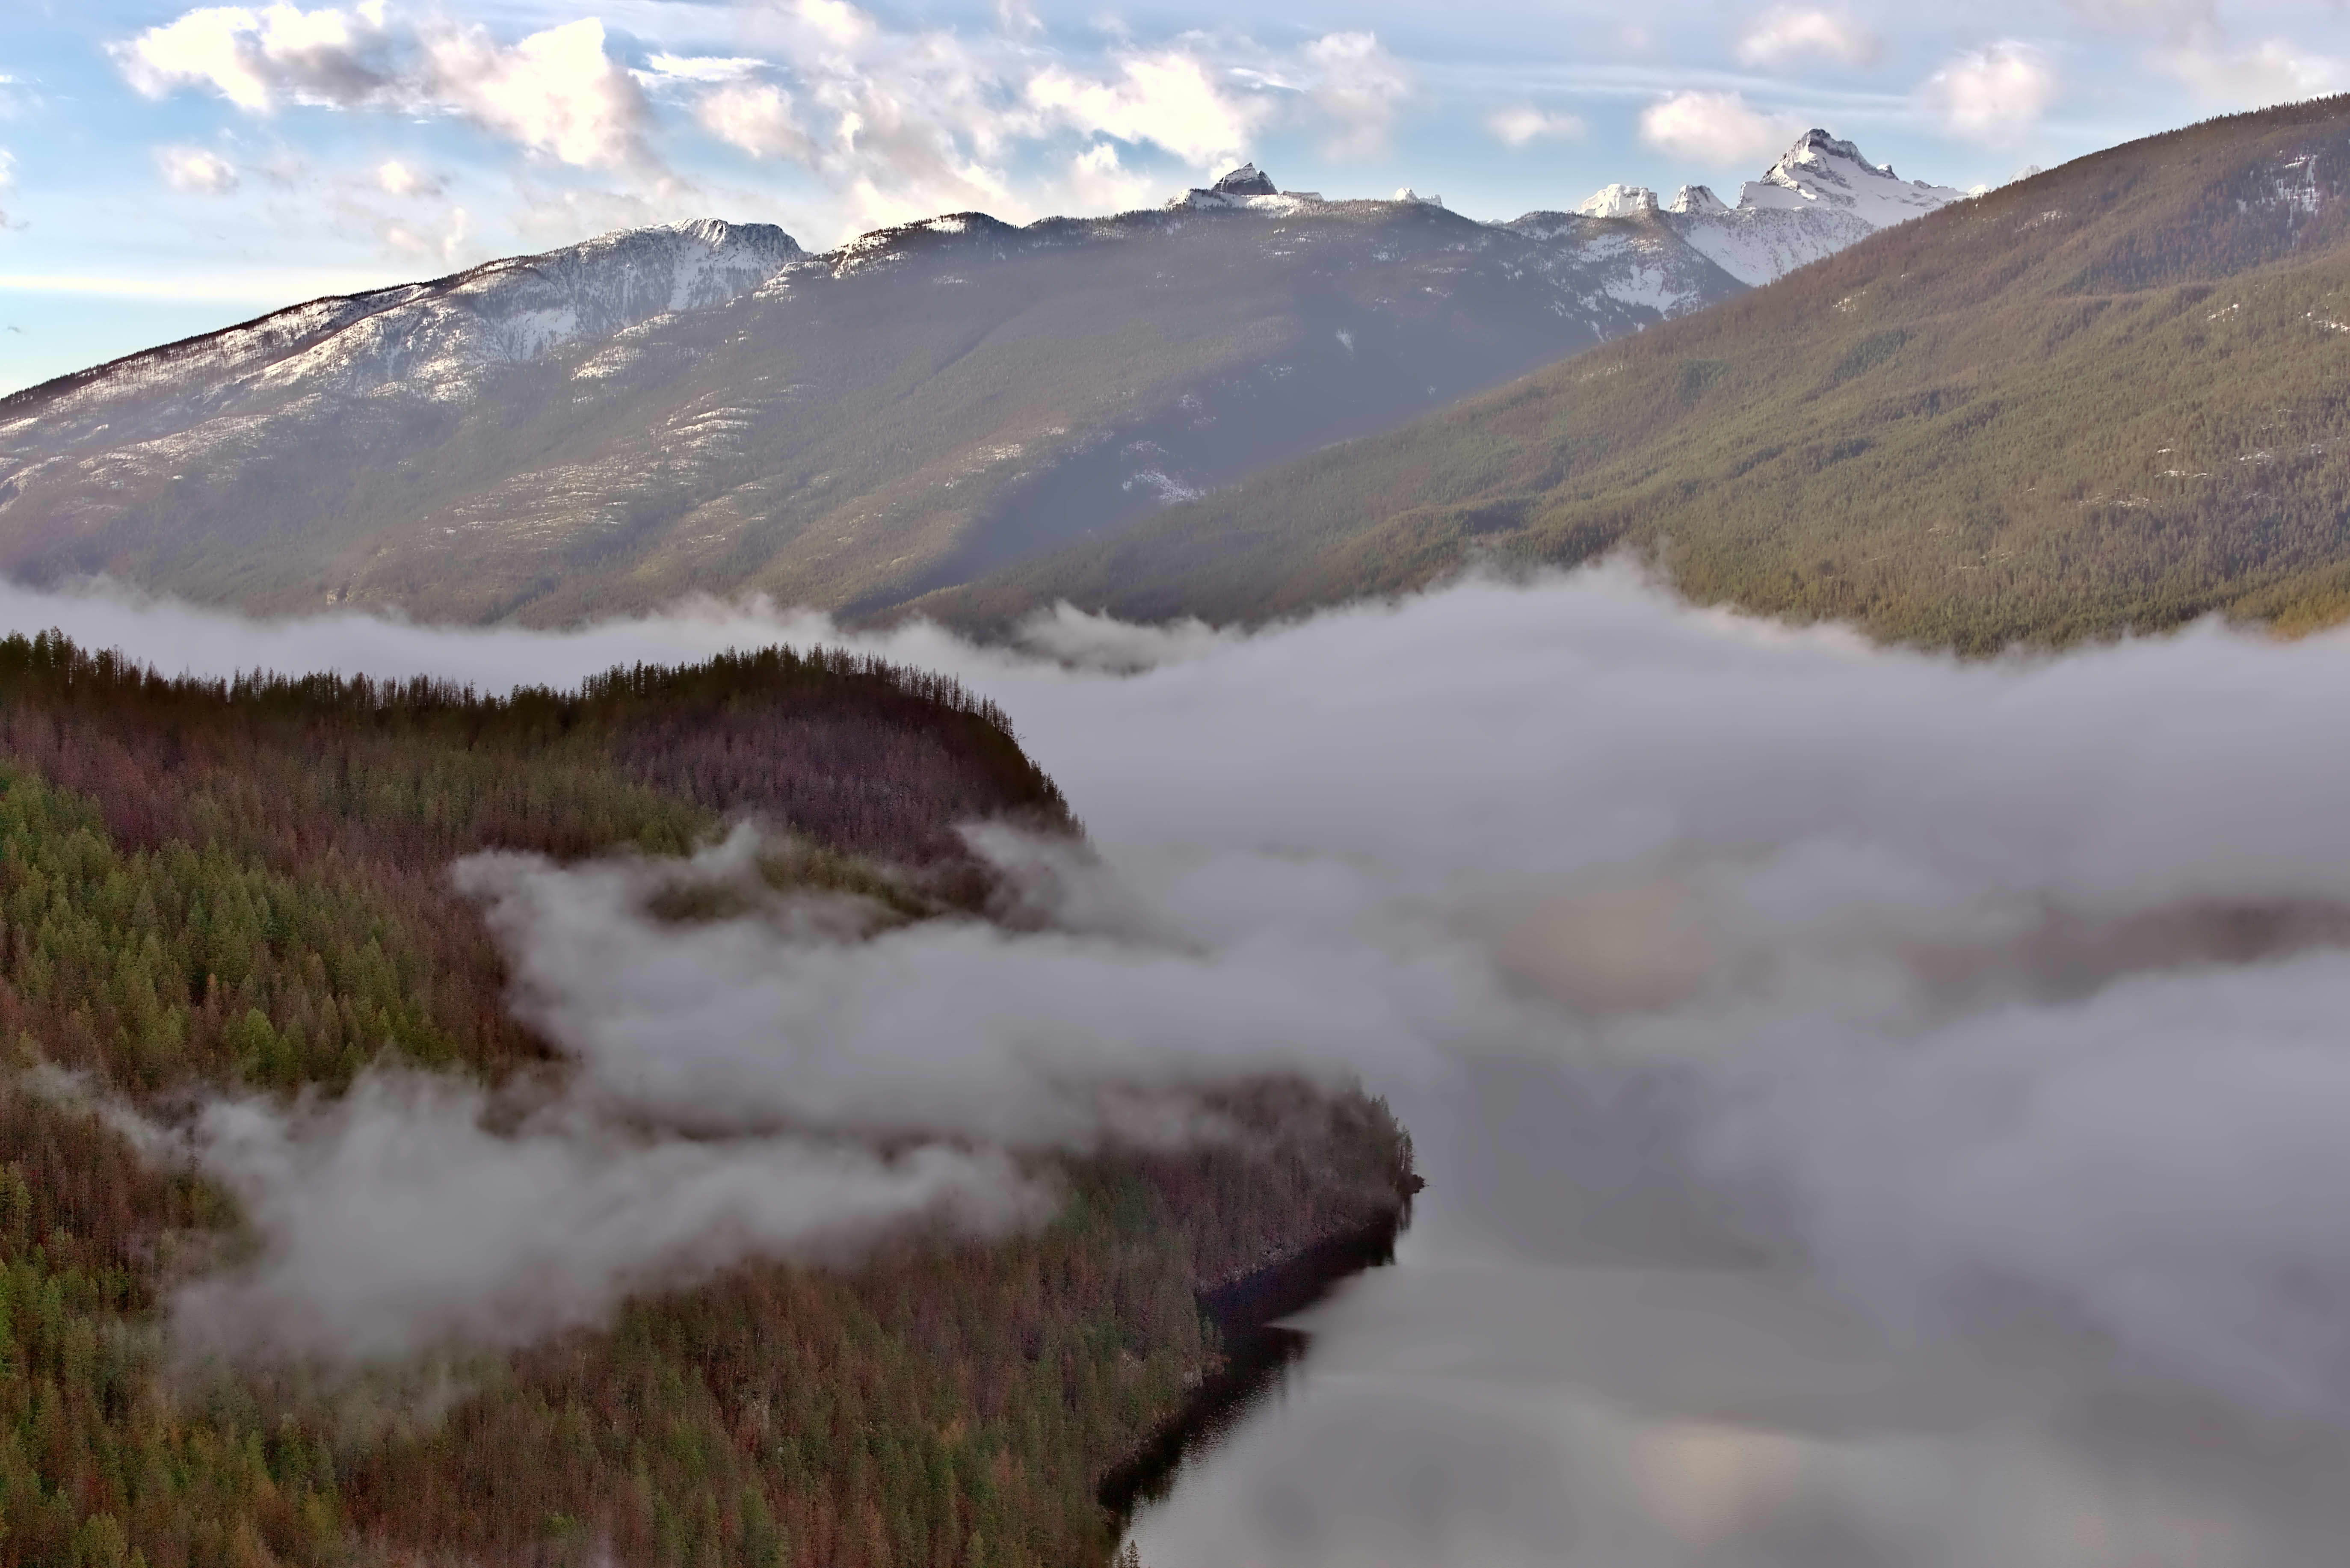
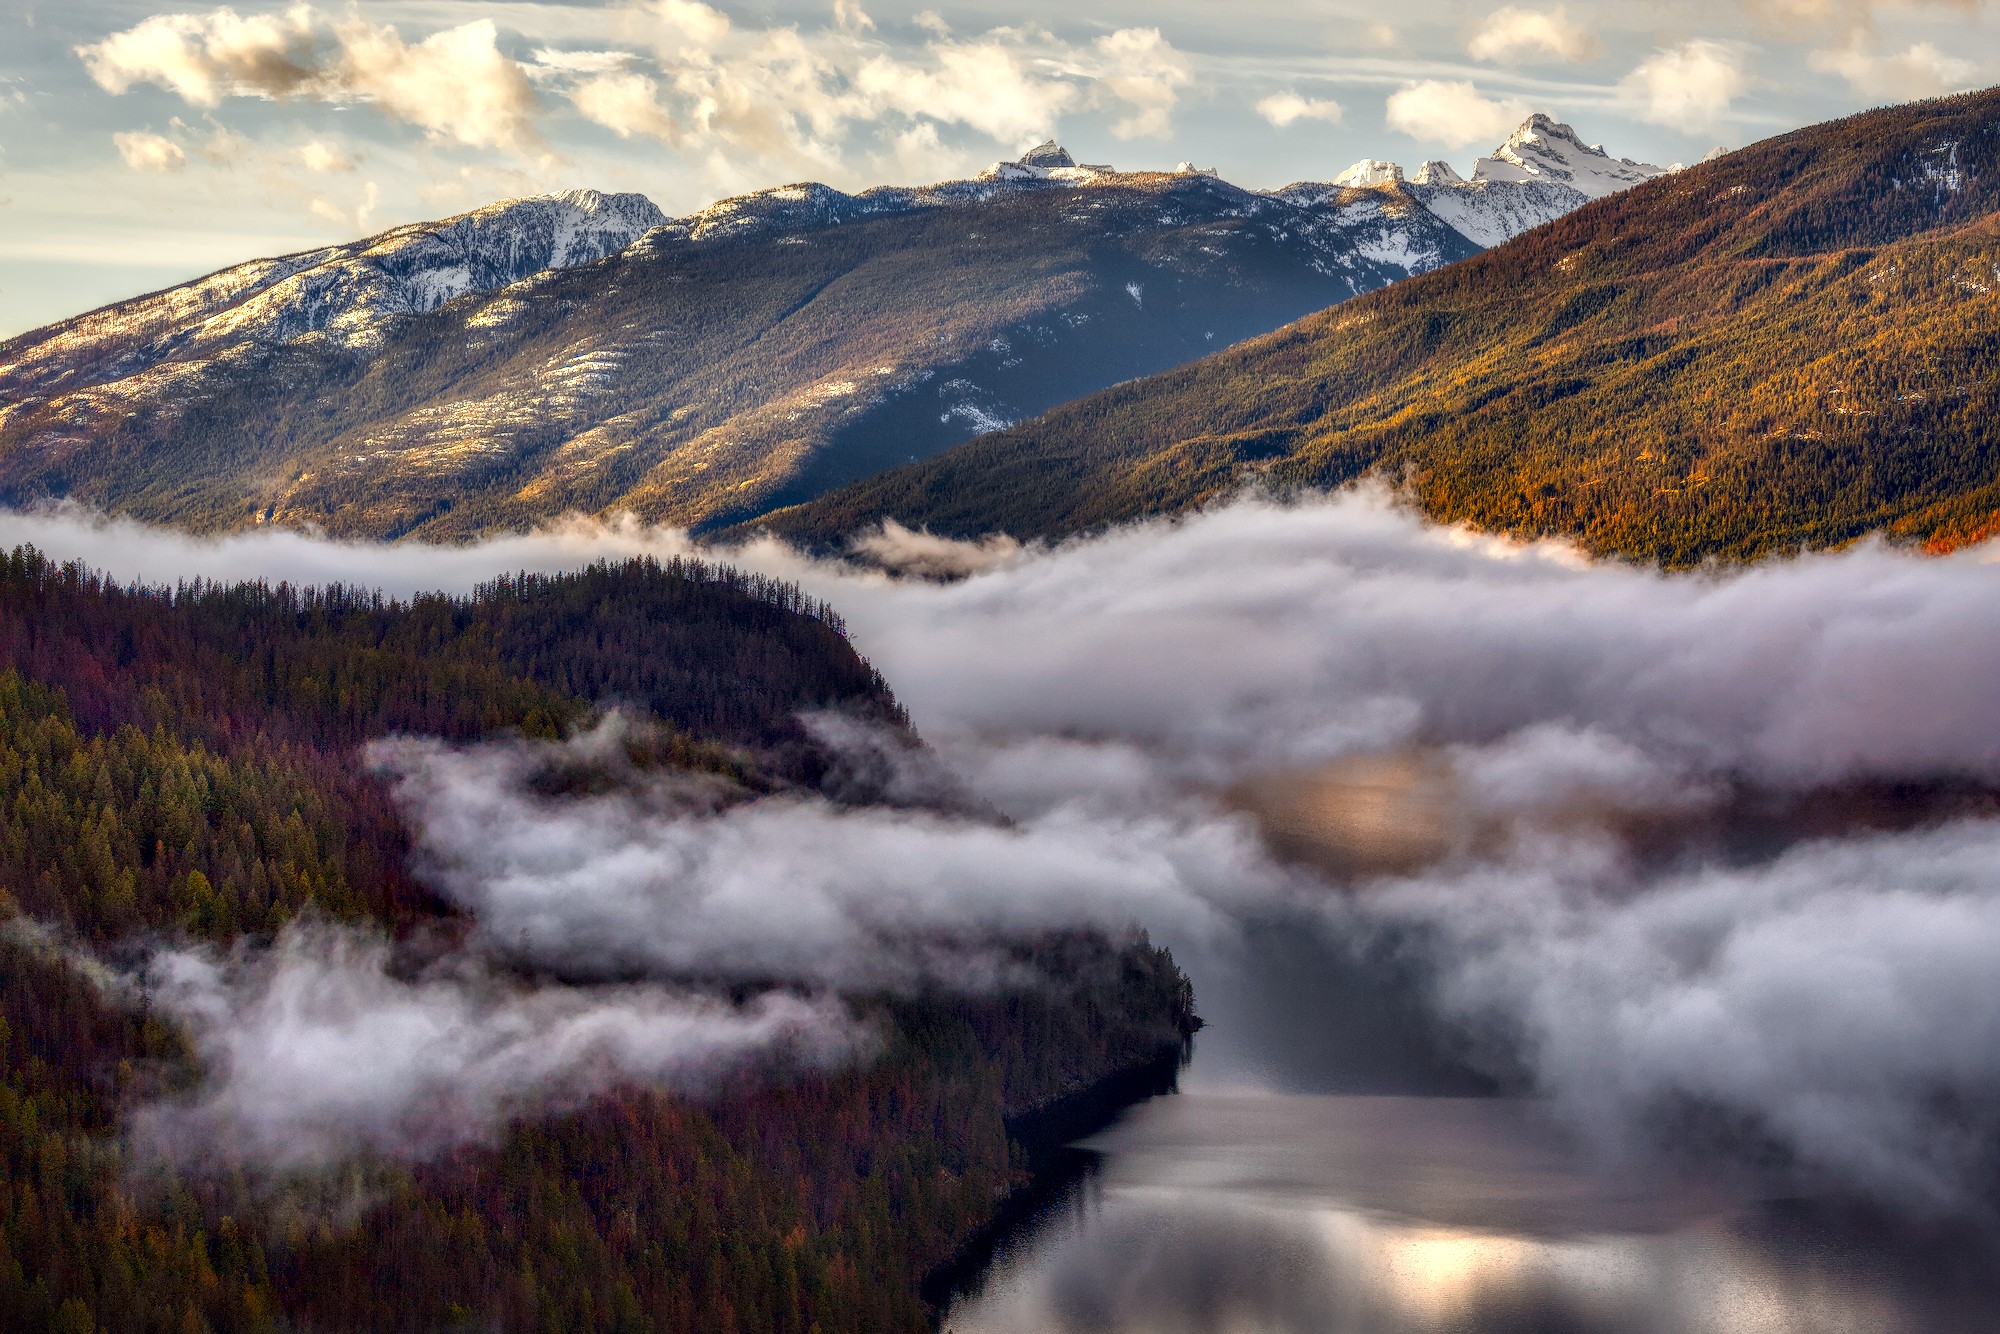
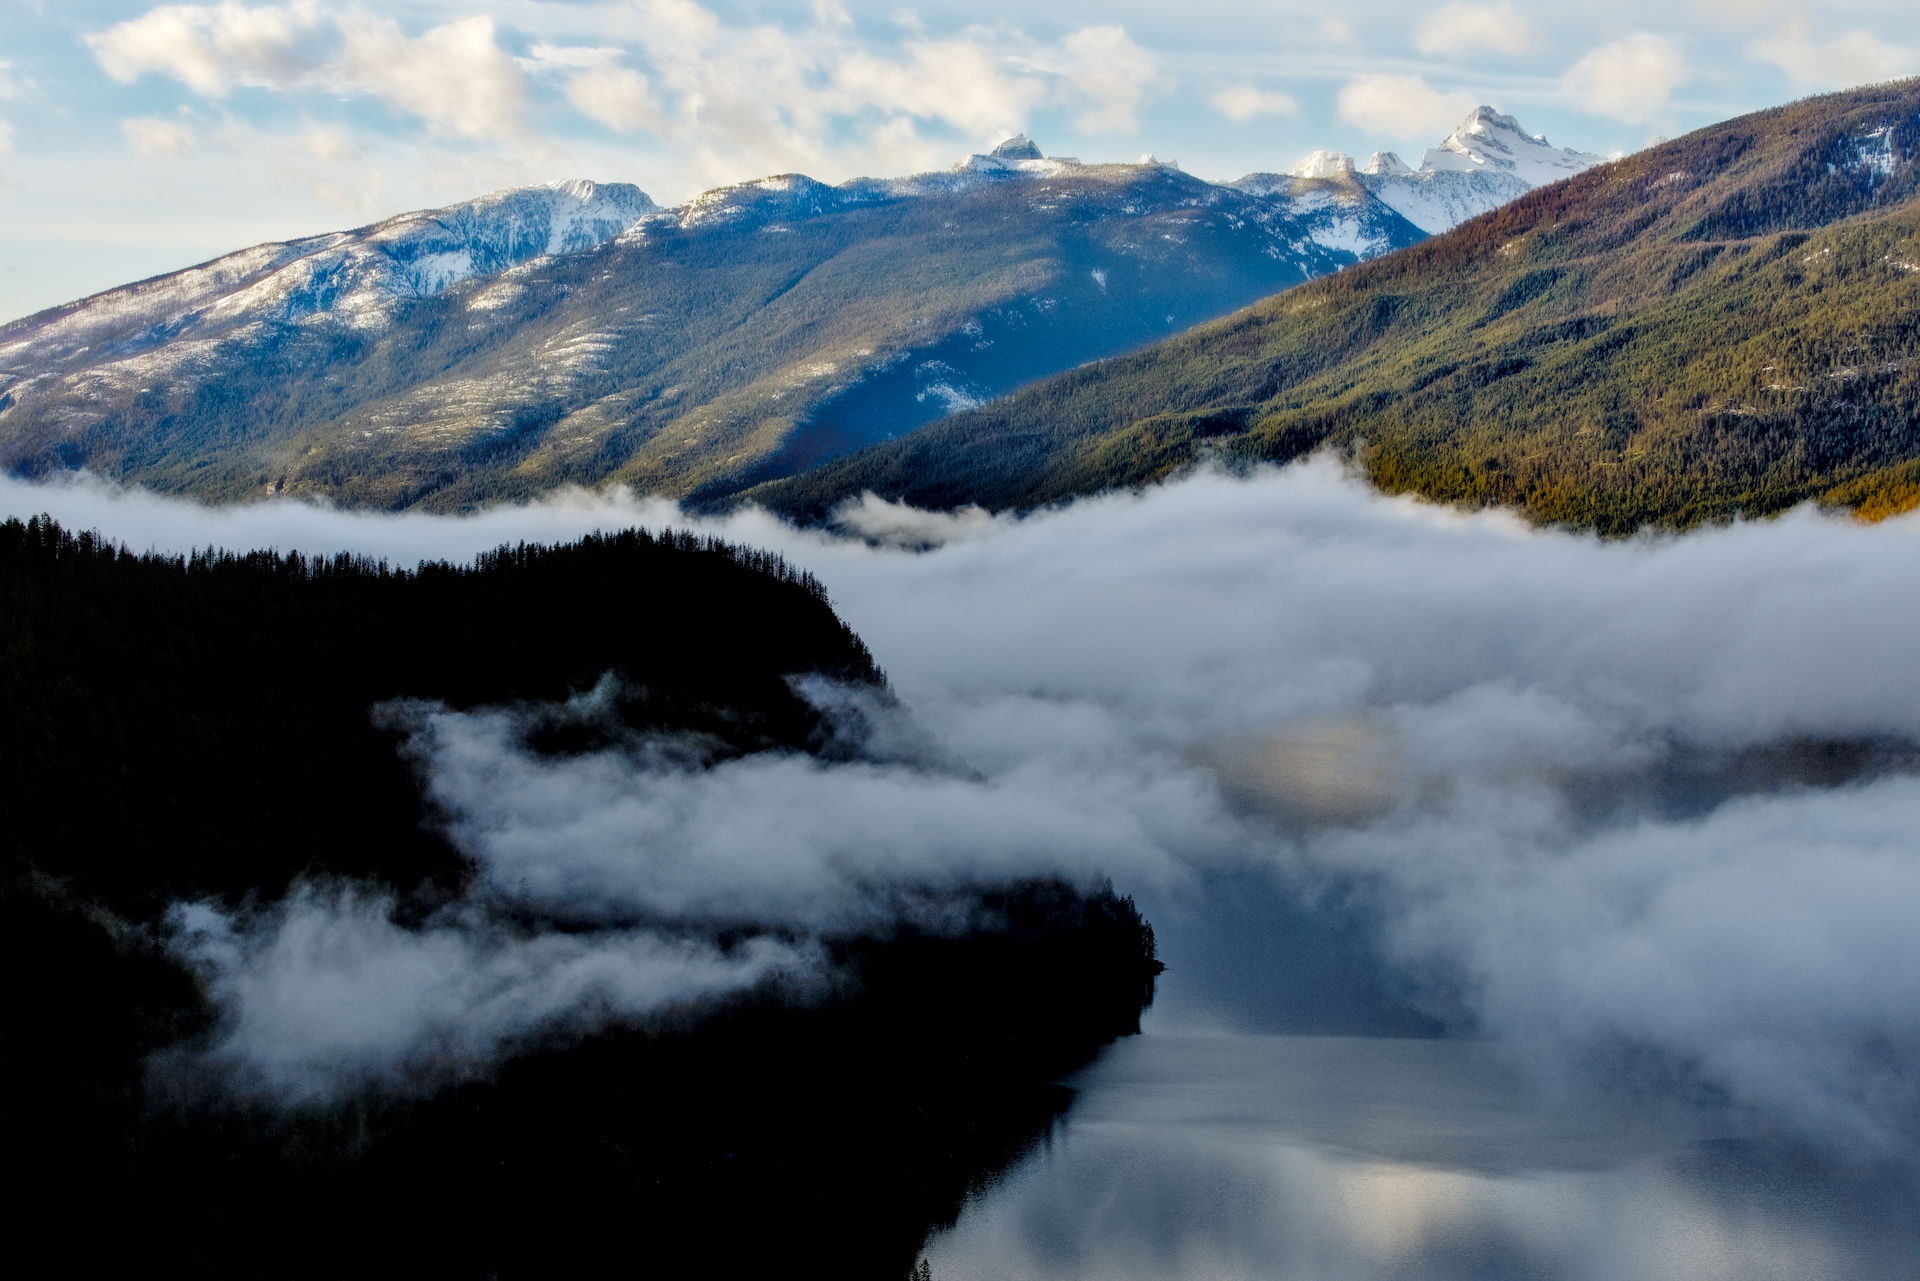
Hello everyone, I’m excited to work with AgX in the 5.4 release of darktable and am revisiting a lot of photos. I figure I’ll share some of them here if people want to experiment. Here is a play raw that I found fun to work with.
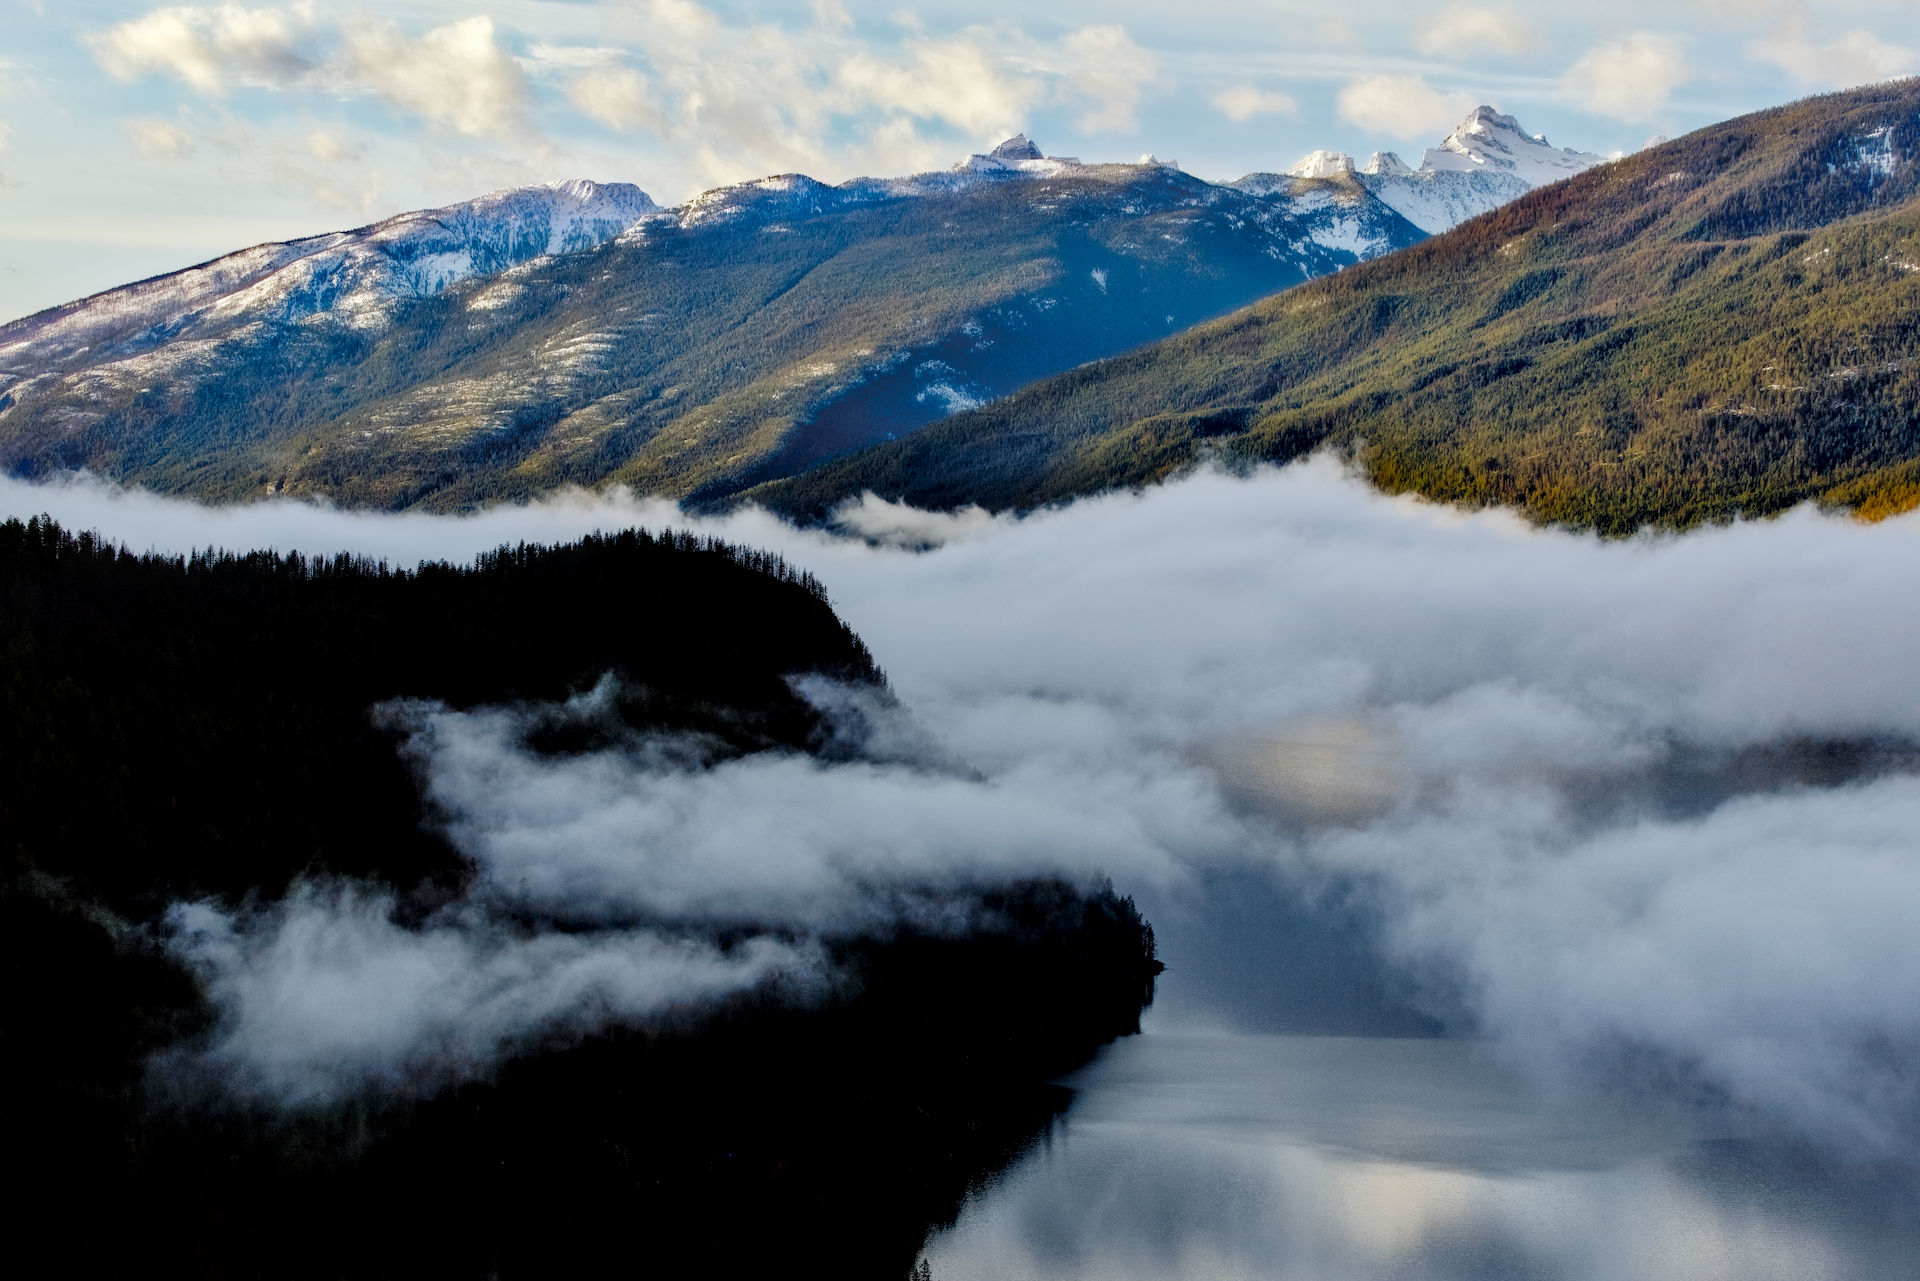
A very tranquil atmosphere, which is why I kept the haze. Great photo . Processed with DT 5.5 +AgX. The decision was whether to go towards blue or yellow shift. Opted for blue. Rest were technical corrections
It is always so fun looking at all of the different takes and learning from them - thanks everyone! I’ll keep digging in to the sidecars. Below I’ve made some comments so far on what I’ve learned or want to learn from the sidecars. Merry Christmas!
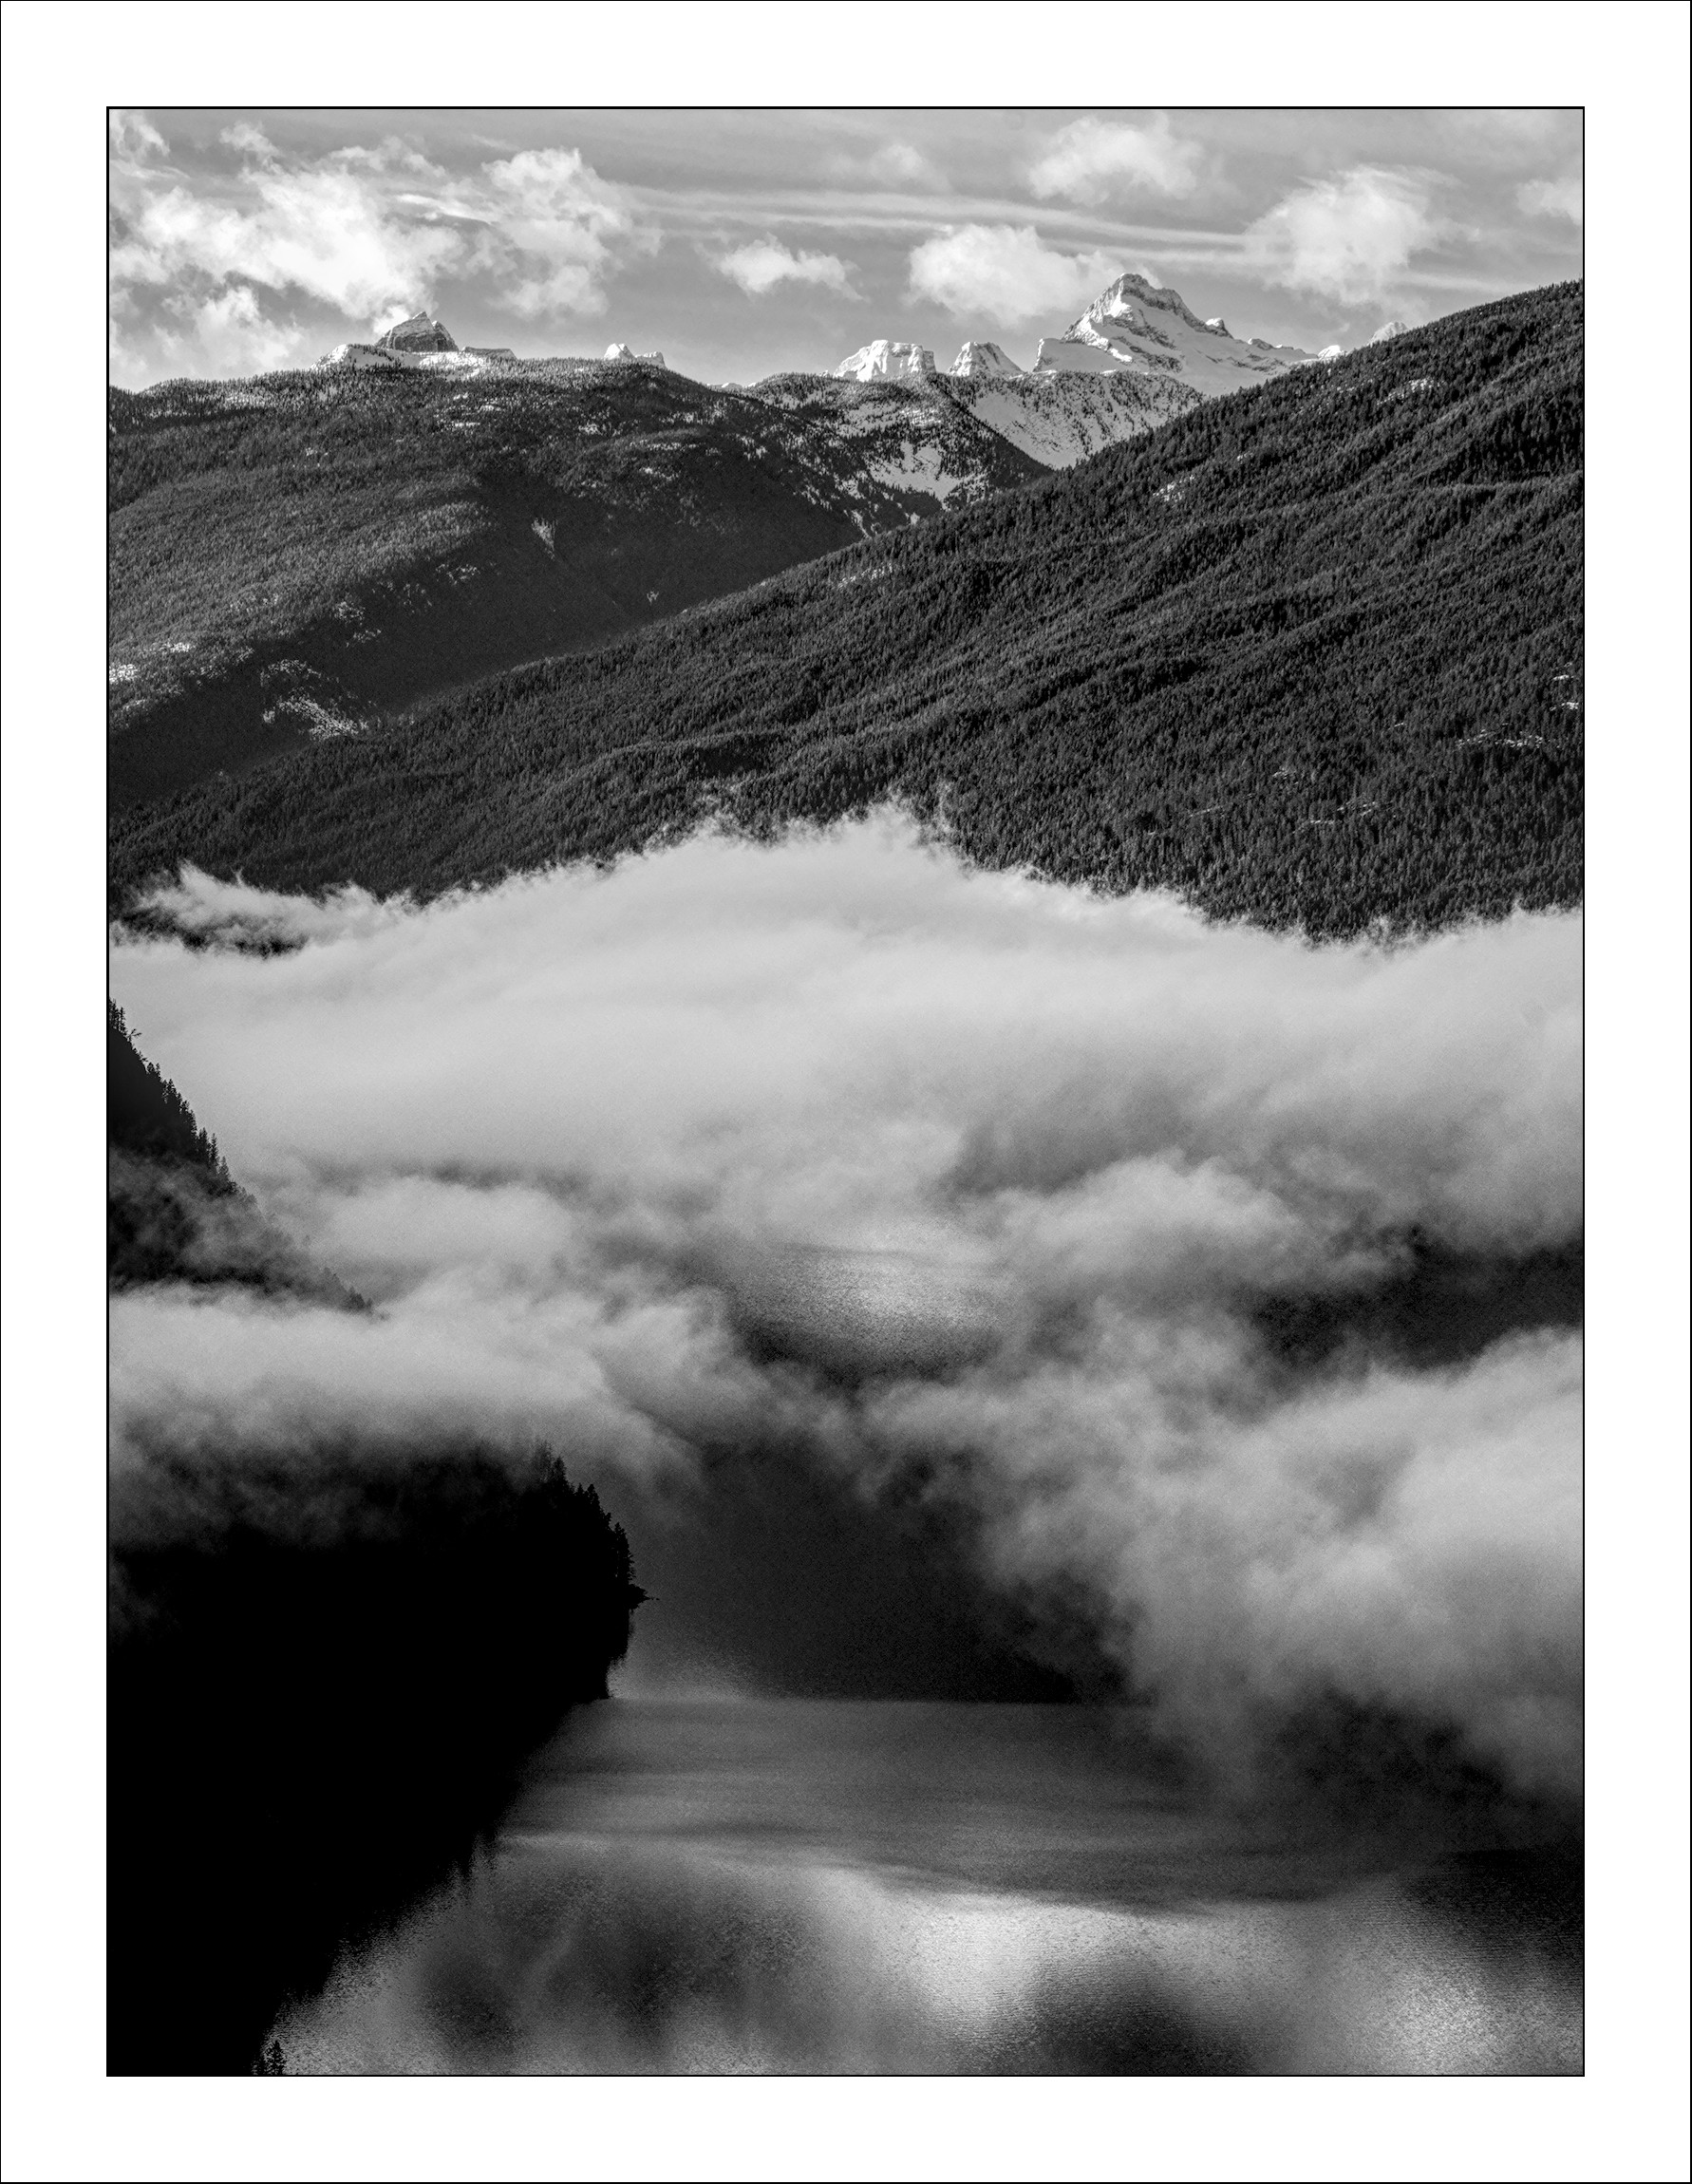
@EmerS Scott this is really stunning - beautiful work! The crop is perfect. I dug into the sidecar. If you don’t mind a couple of questions:
Do you apply the monochrome at the end of the edit or the beginning?
Did you move the masked “local contrast” modules earlier in the pixel pipe, and if so, why?
I really like the use of CB RGB for some “dodging and burning” - I have always used exposure. What is the benefit of using this instead of exposure?
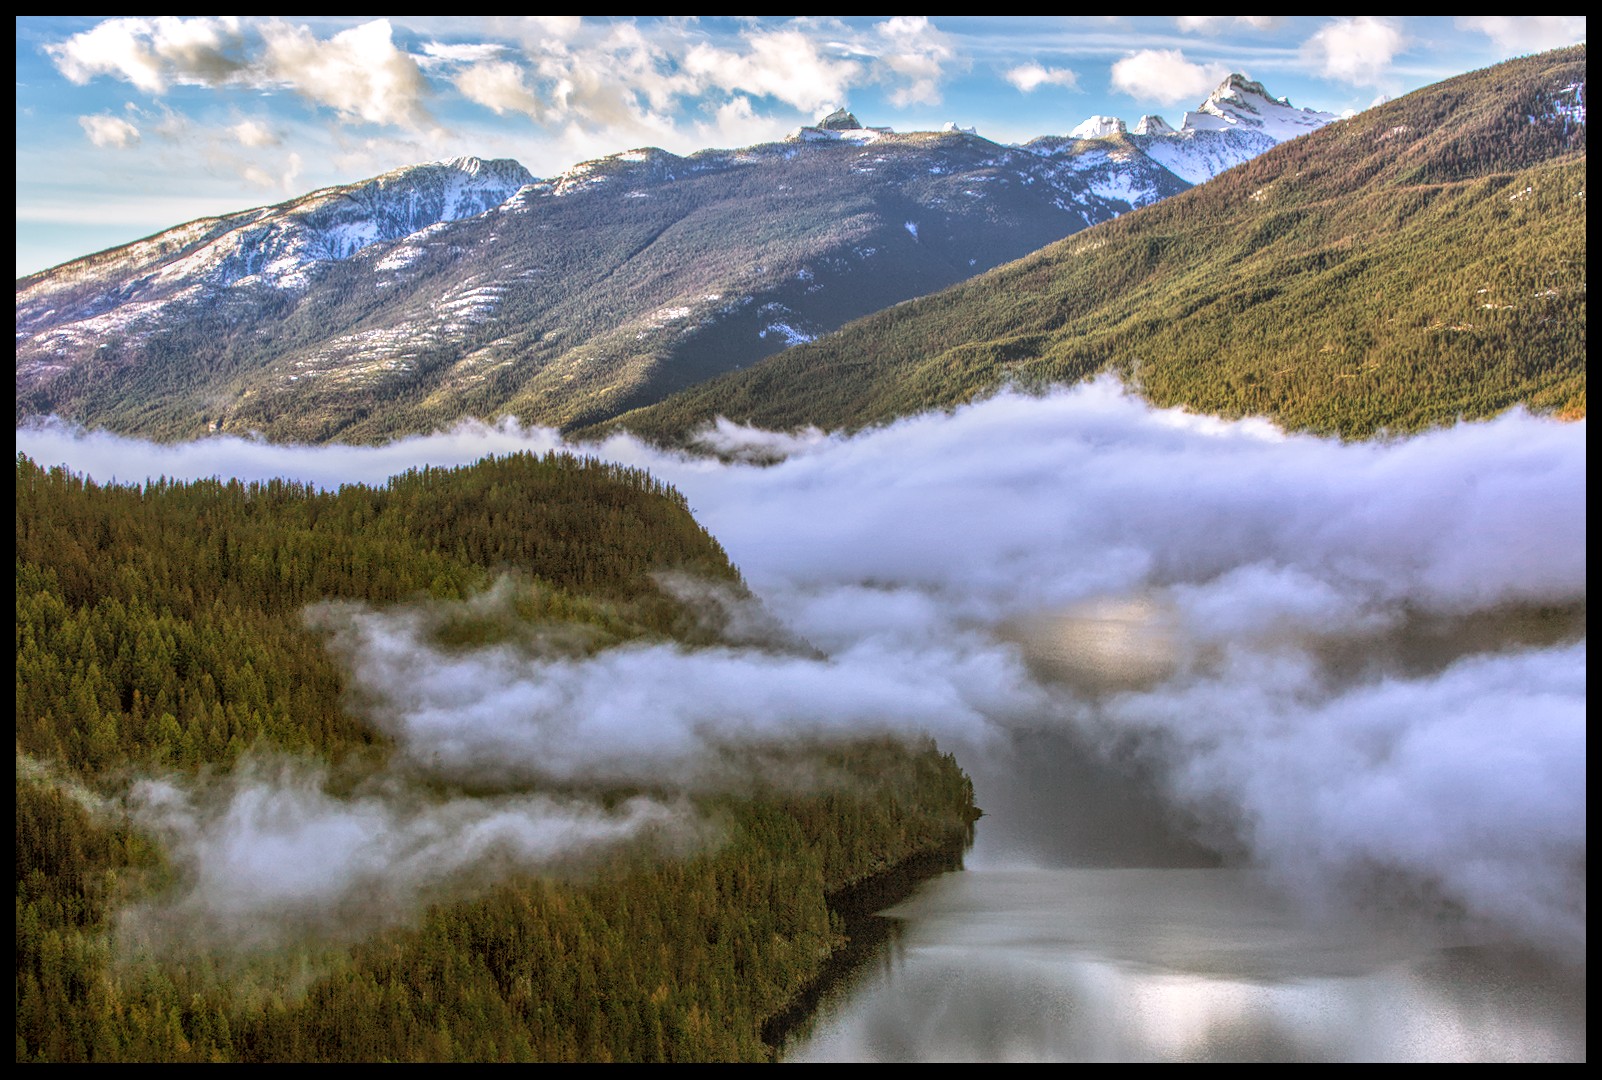
@Popanz This is so cool, I’m amazed this came from my camera sensor What gave you the idea to use a mask on the vignette? I would never have thought to do that, but now that I turn it on and off and look at the effect, it’s brilliant.
@Dito_Budi and @Terry neat to see the clean and simple process with minimal modules and masks.
Scott this is really stunning - beautiful work! The crop is perfect.
Thank you!
Do you apply the monochrome at the end of the edit or the beginning?
Since most of my work is in monochrome, and I could see right off that this would make a nice monochrome image, I converted it pretty early. I cropped, adjusted exposure, adjusted AgX, converted to monochrome. (I should really leave the history alone for these play raw edits, but it’s an old habit to constantly compress the history (I’m a bit of a neat freak). So in the current history you can’t see when I did the initial exposure and AgX because I made subsequent adjustments and then compressed the history.)
Did you move the masked “local contrast” modules earlier in the pixel pipe, and if so, why?
I did not. However, I did move the location of the color calibration and tone equalizer modules - if you get into my edits and drag those two modules back to their default locations you can see the impact moving them has on the image. I have a keyboard shortcut that applies a style that converts the image to monochrome and rearranges the pipeline order.
I really like the use of CB RGB for some “dodging and burning” - I have always used exposure. What is the benefit of using this instead of exposure?
I like the control that CB RGB gives to manipulate the contrast a bit more than just exposure. I’ve probably used every tool that has a parametric mask as a dodge and burn tool at some point in time.
Really helpful, thanks for the reply. I’ve gone through a few of these sidecars and tried to reproduce similar results as an exercise in learning.
It is very slow going, but I feel I’ve learned a lot by doing it.
One common thing I see with other edits is the use of local contrast, and I’m convinced it’s a useful tool for landscapes in particular. I’m about a year in to learning darktable, and up until now assumed if it’s display referred, don’t use it. But that was a false assumption. So many modules have a place, and knowing when to use them is the difficult part.
I was looking at the pixel pipe incorrectly - I see that local contrast is after tone mapping which makes sense.
It is very slow going, but I feel I’ve learned a lot by doing it.
It was, and still is, a useful way of learning. I’ve learned more by looking at other’s edits than I have YouTube tutorials. Keep at it, it’s well worth the time.
This is a bad assumption. Display referred modules are often more prone to artifacts if you push the settings too much, but are still useful. As with everything in darktable, learn what they do, be curious, ask questions. Every module has its use.