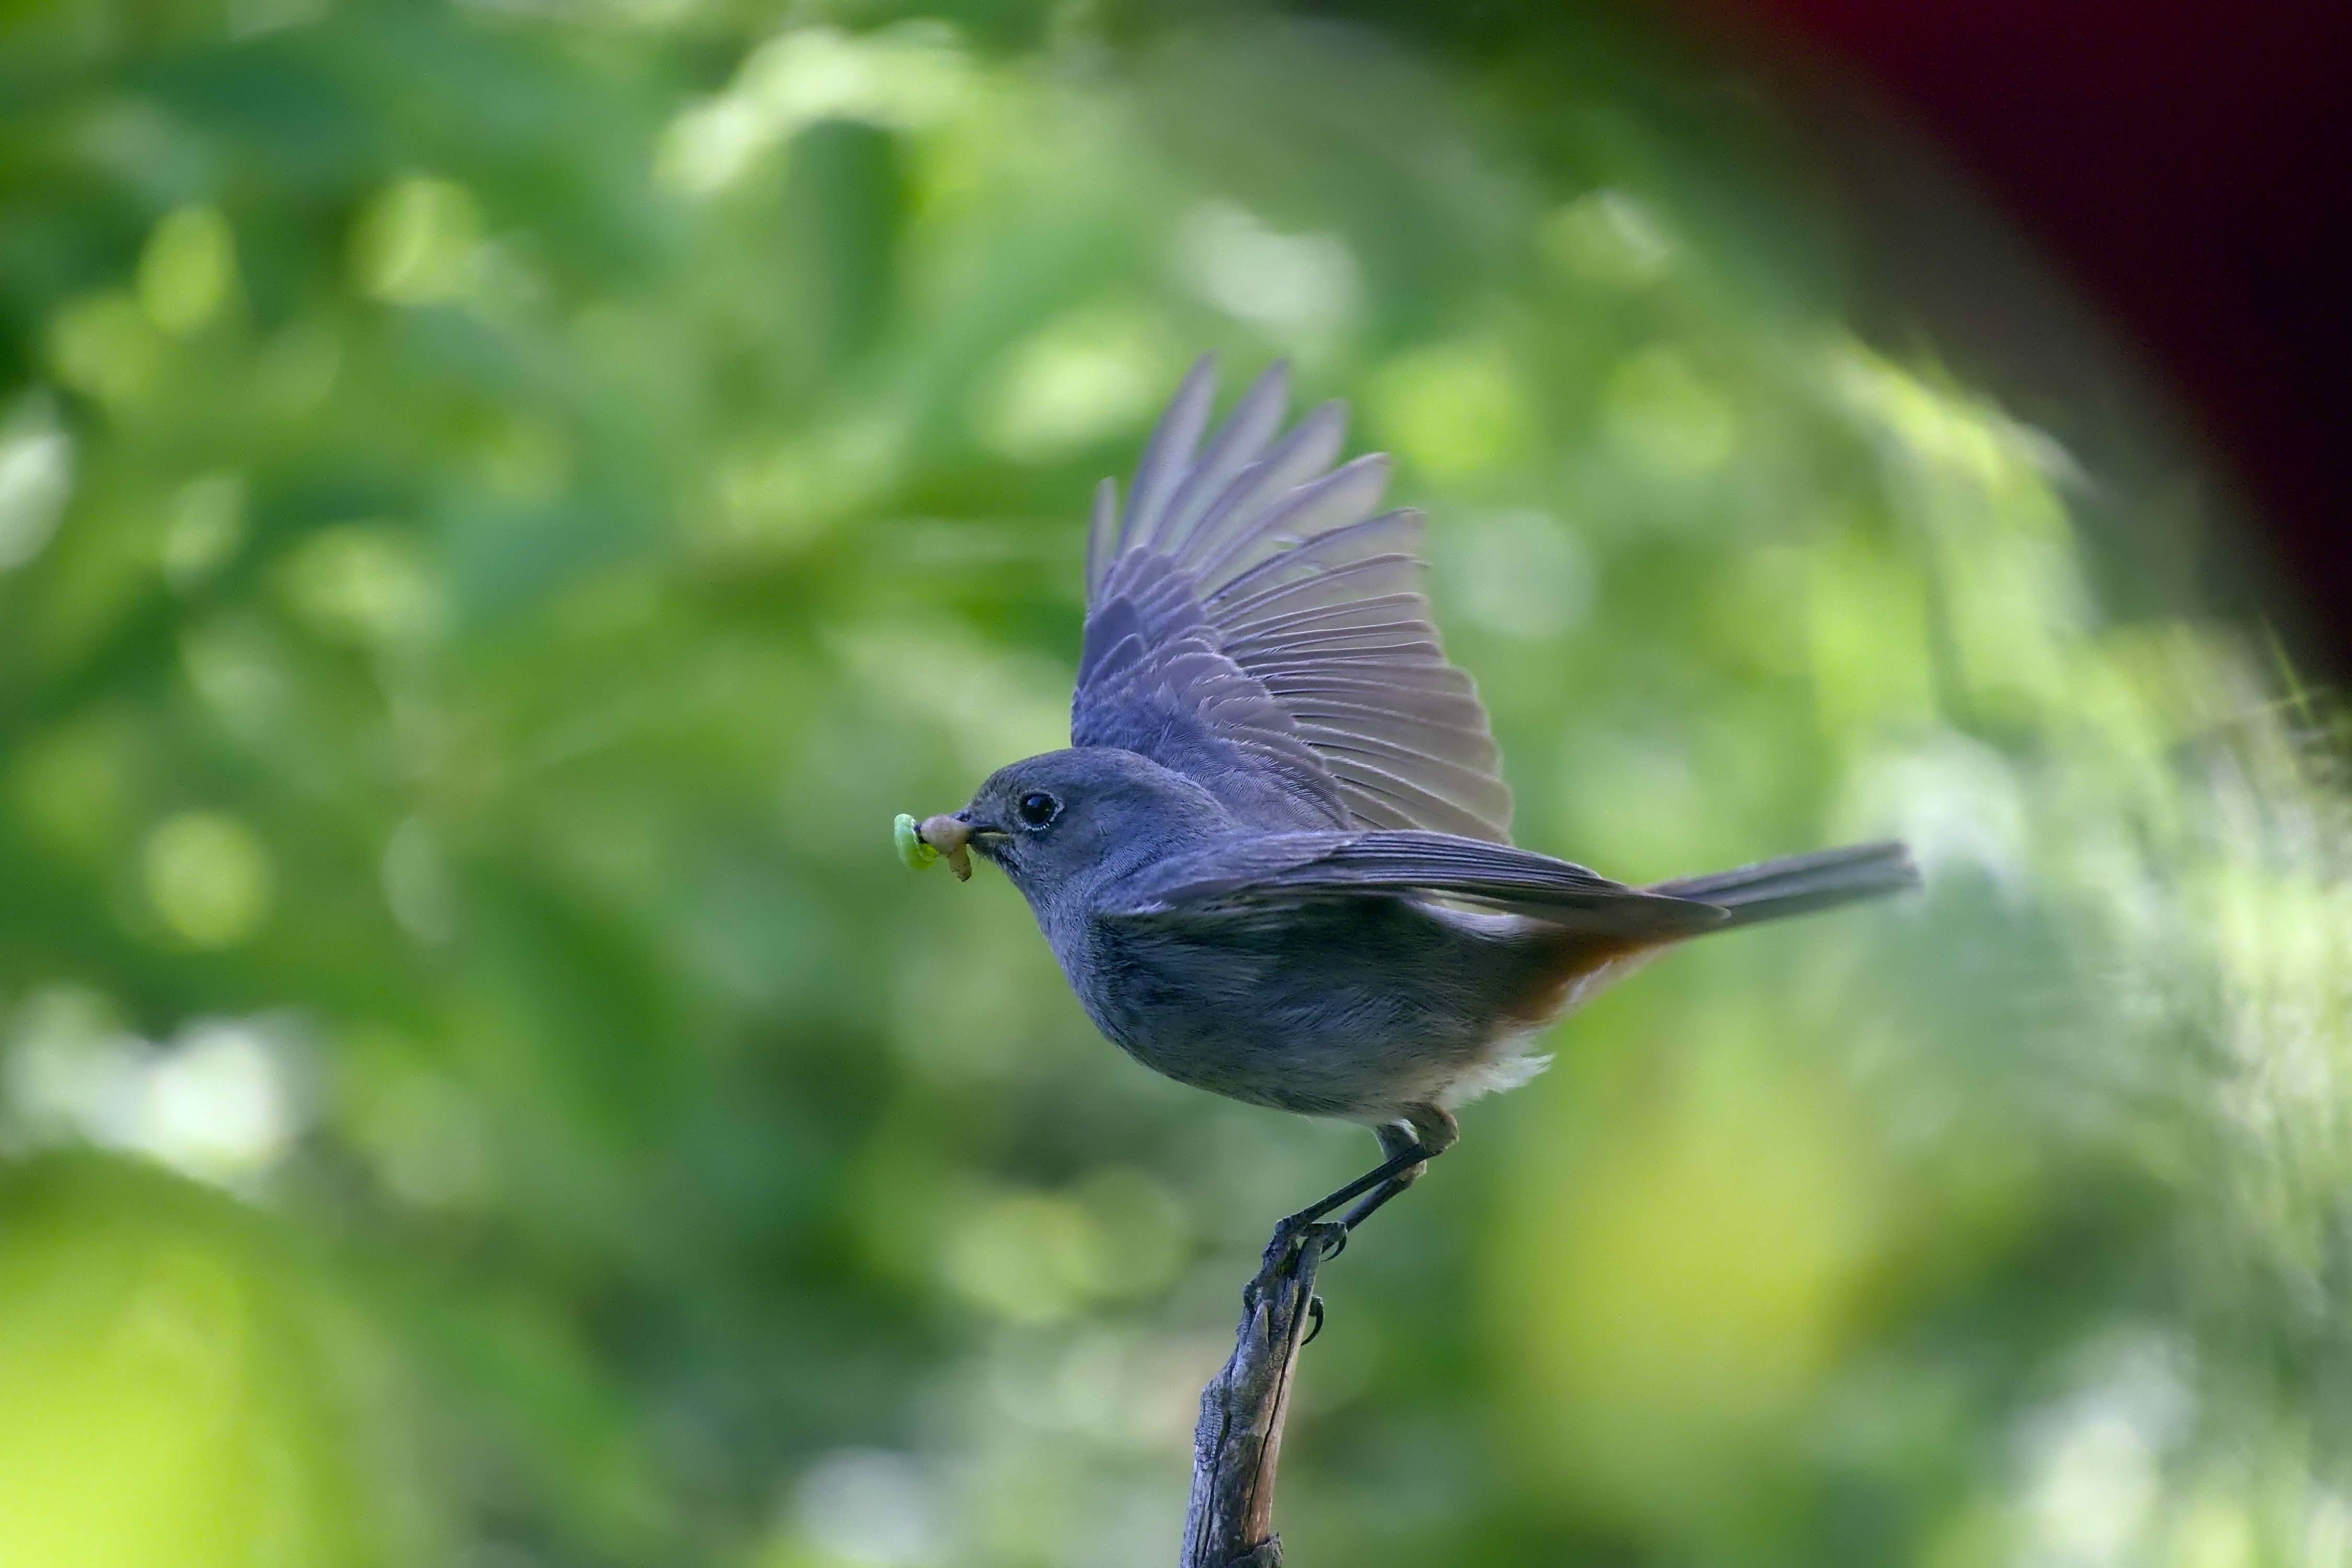
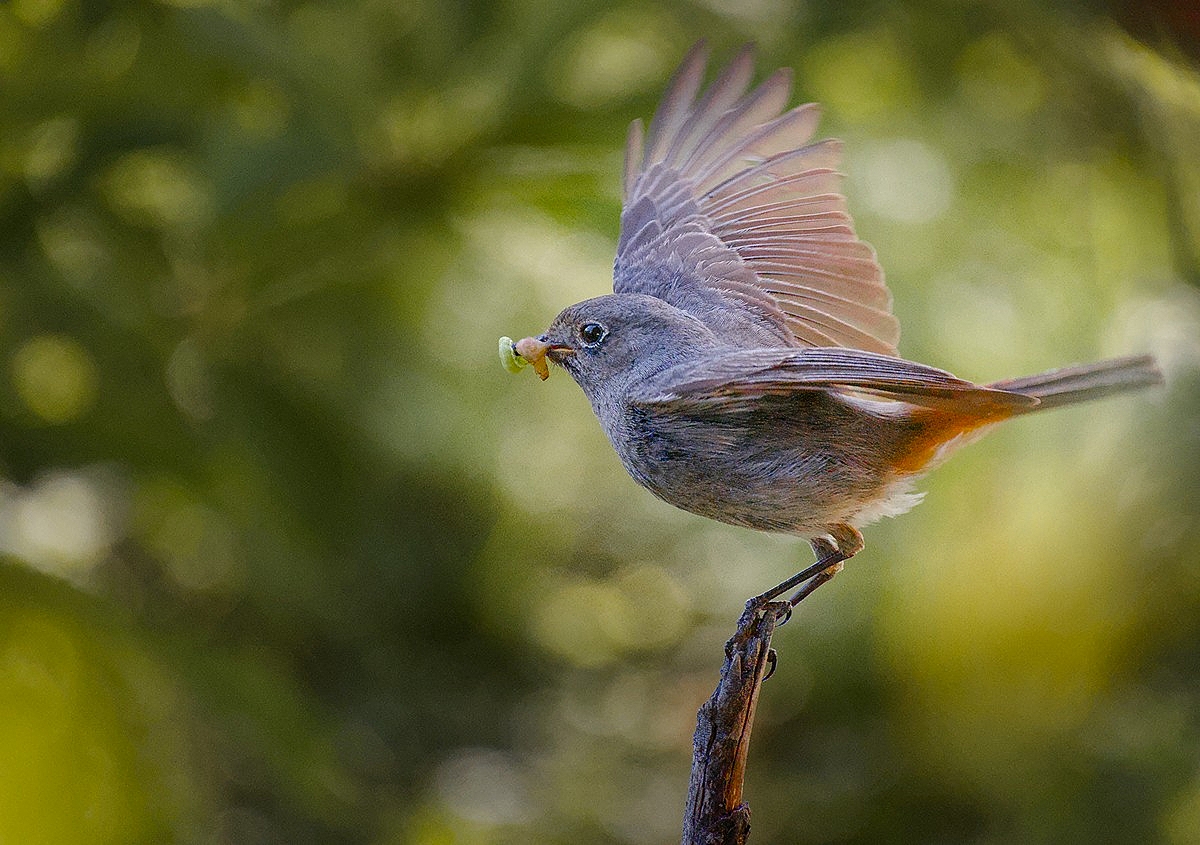
I bought a camera, then proceeded with barely using it. When I use it, I shoot subjects of convenience, of which I’m lucky to count a Hausrotschwanz (Black Redstart) among them - a somewhat common and lovely bird in our area. Because I’m not a birder, I’m unsure about the identification, mostly about which exact type of Rotschwanz it is, but I’m certain it is a bird.
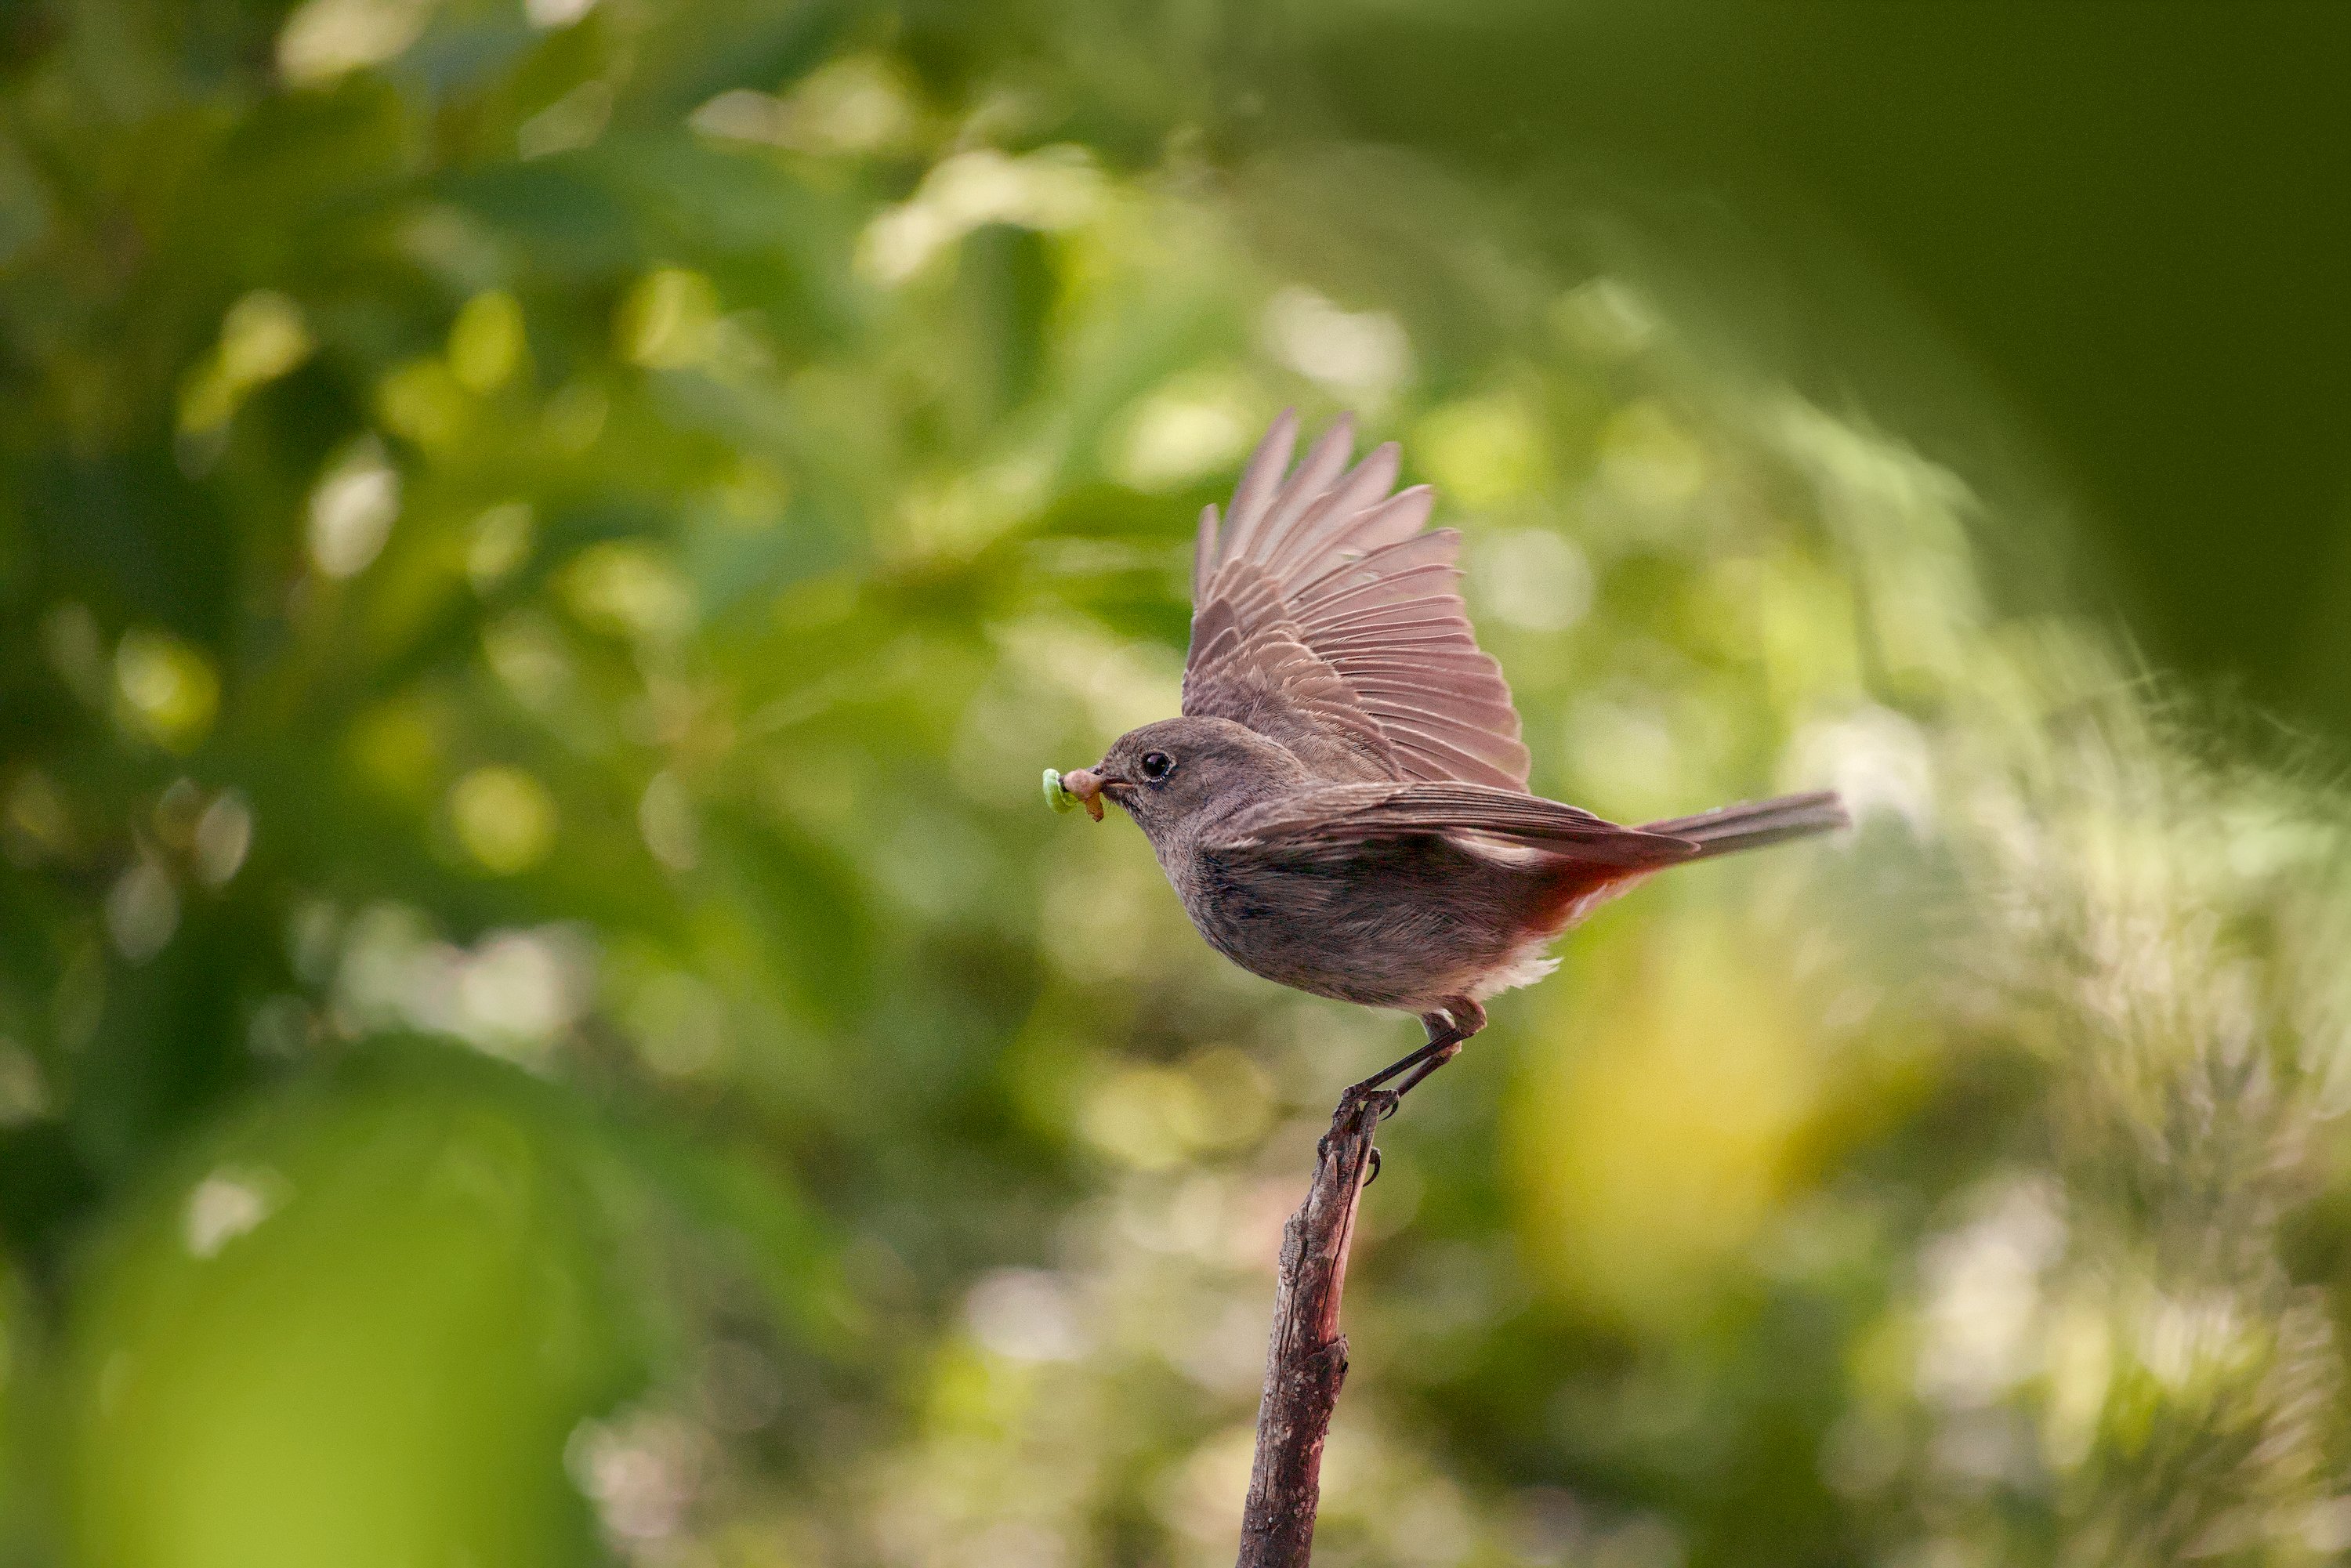
Of those subjects of convenience I’ve got only a few photos that euphemistically I could call “mediocre”, and this lucky shot is among the nicest:
Processing the photo was both very easy and tricky. It’s easy because I don’t set my bar absurdly high: I’m happy to shoot for “pleasing documentation” rather than any specific artistic impression. Using darktable and applying the AgX defaults would be just fine. But the bird came out too blue, and for some reason that I cannot fathom anymore, setting the color calibration on the whole scene did not satisfy me – and so I traced the subject and used separate color calibration instances for subject and background. Sadly I collapsed the darktable history once or twice while editing, so the sidecar information doesn’t reflect the true scope of the problem. But what followed was a way too long process of modifying paths and feathering, color calibration, exposure, AgX settings, around and around, lather, rinse, repeat.
A process that, after the fact, seems totally unnecessary. I myself made a few alternative edits, some of which I liked. Maybe I can learn a bit about efficient processing from somebody on pixls.us.
I’m happy for all directions, but will be especially thankful for edits with few necessary interactions (modules, settings, masks).
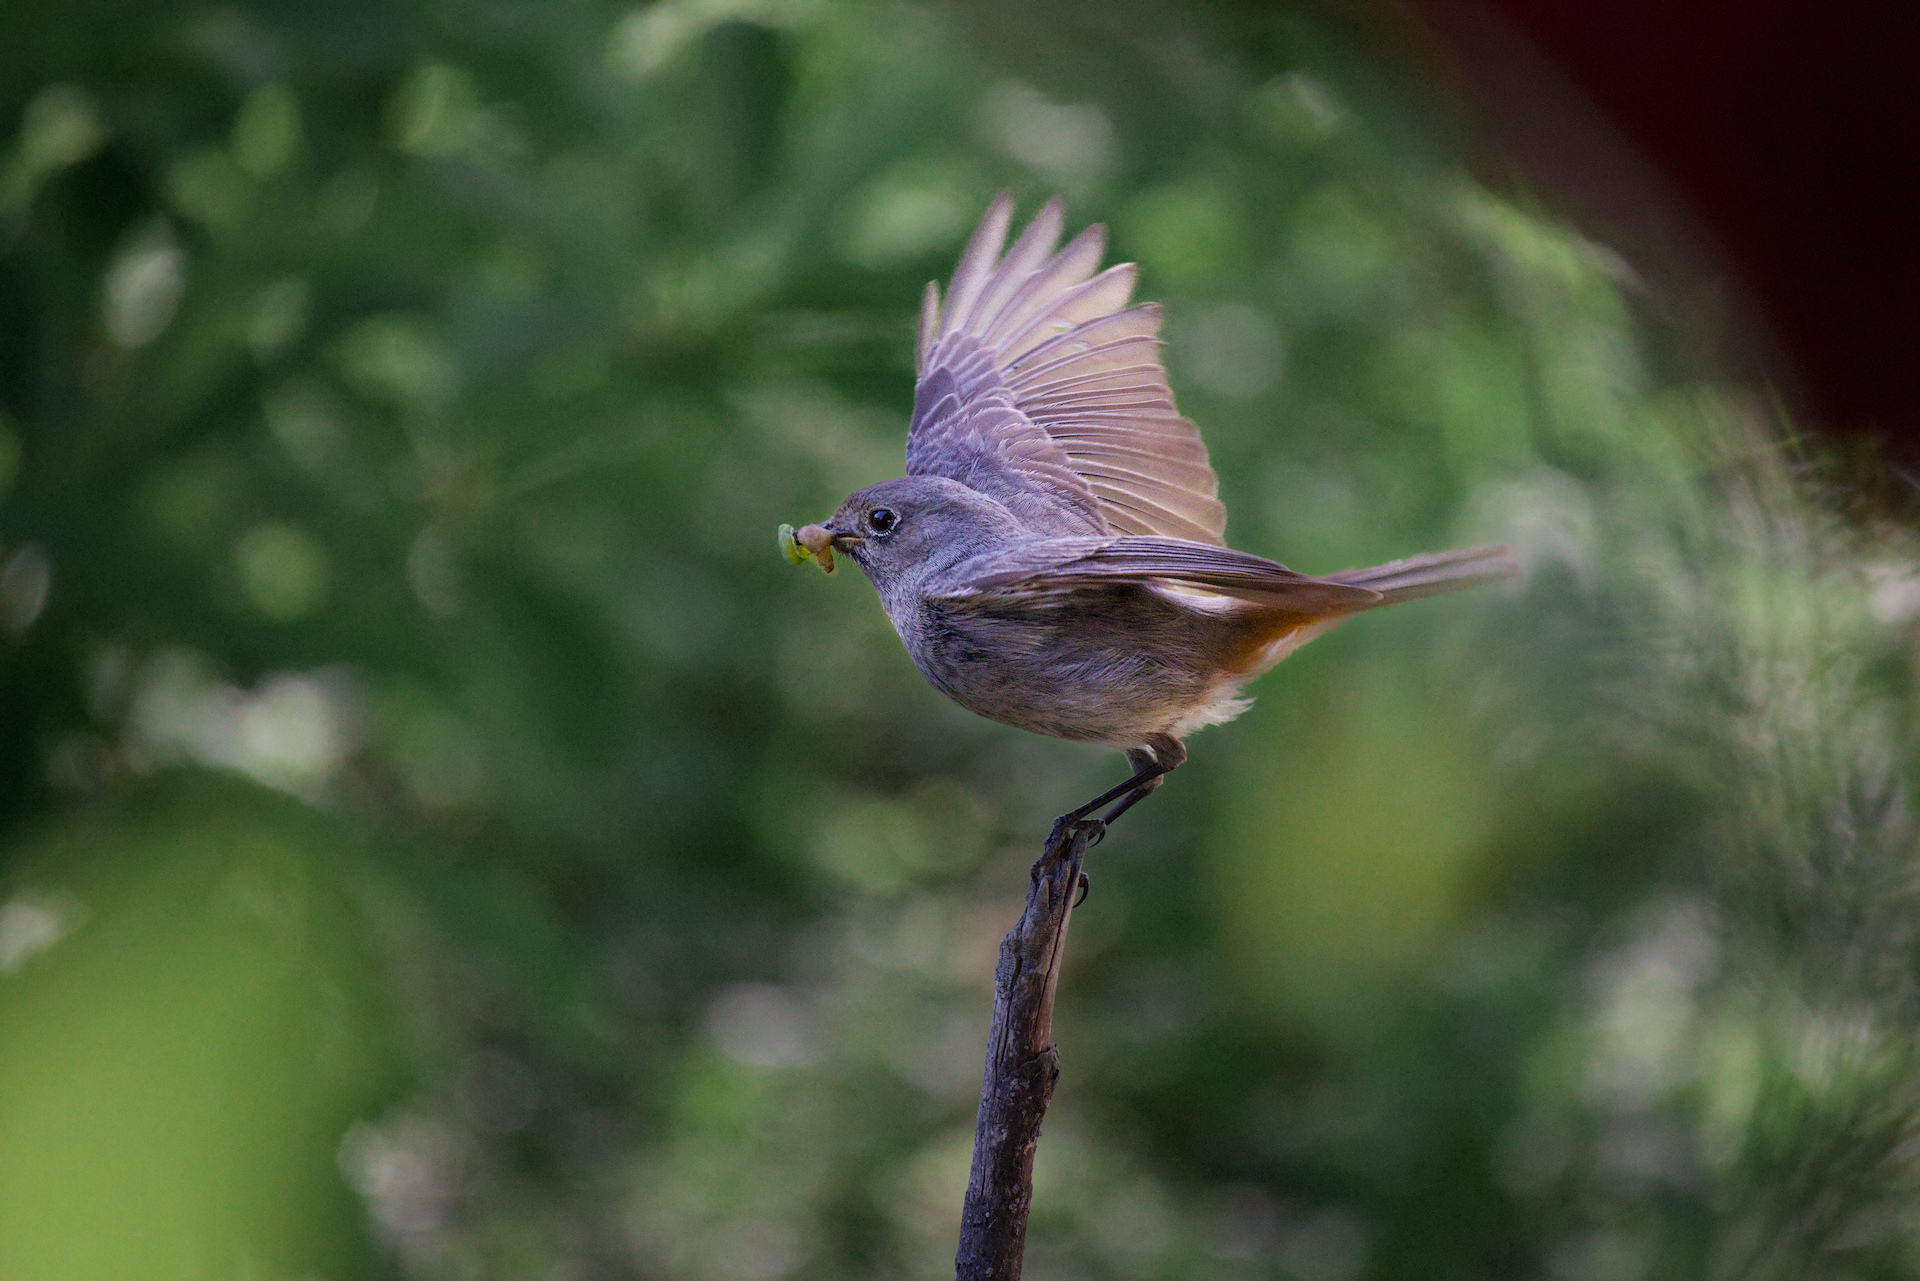
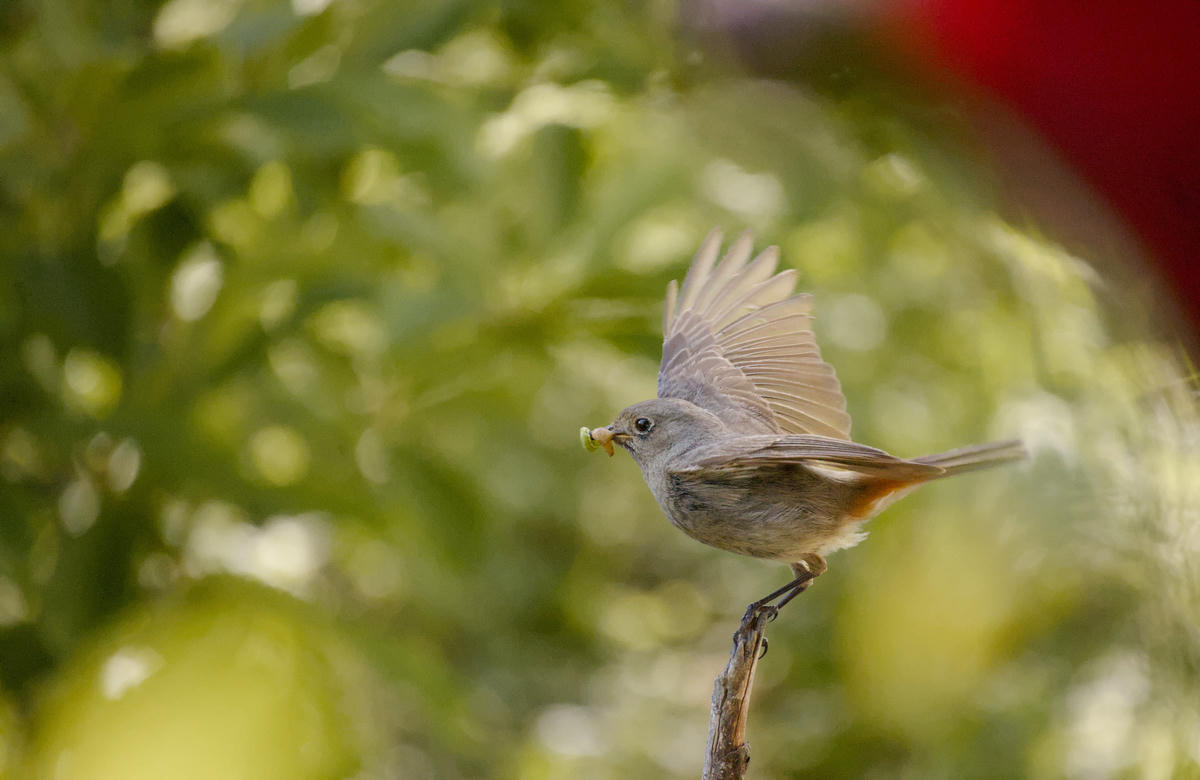
Did some relatively simple steps: turned off AGX, used tone equalizer to manage contrast to my liking, for color calibration I used the picker over de birds right wing, did some local contrast with contrast equalizer and local contrast applying a mask made in the lower exposure module (used hue channel’s color picker to select the bird and removed additional parts with a circle).
I you’d like to enhance the red part in the tail that would not be too difficult…
2nd version light vignette and emphasized the red tail feather a little bit…
Sorry for the slight digression but what does it mean sidecar in jpeg? Does it mean all dakrtable parameters are in the jpeg file itself?
How can I check your jpegs sidecar - do I have to load it into darktable, or some other way? Does dakrtable always include by default all the edit steps when I export my own images?
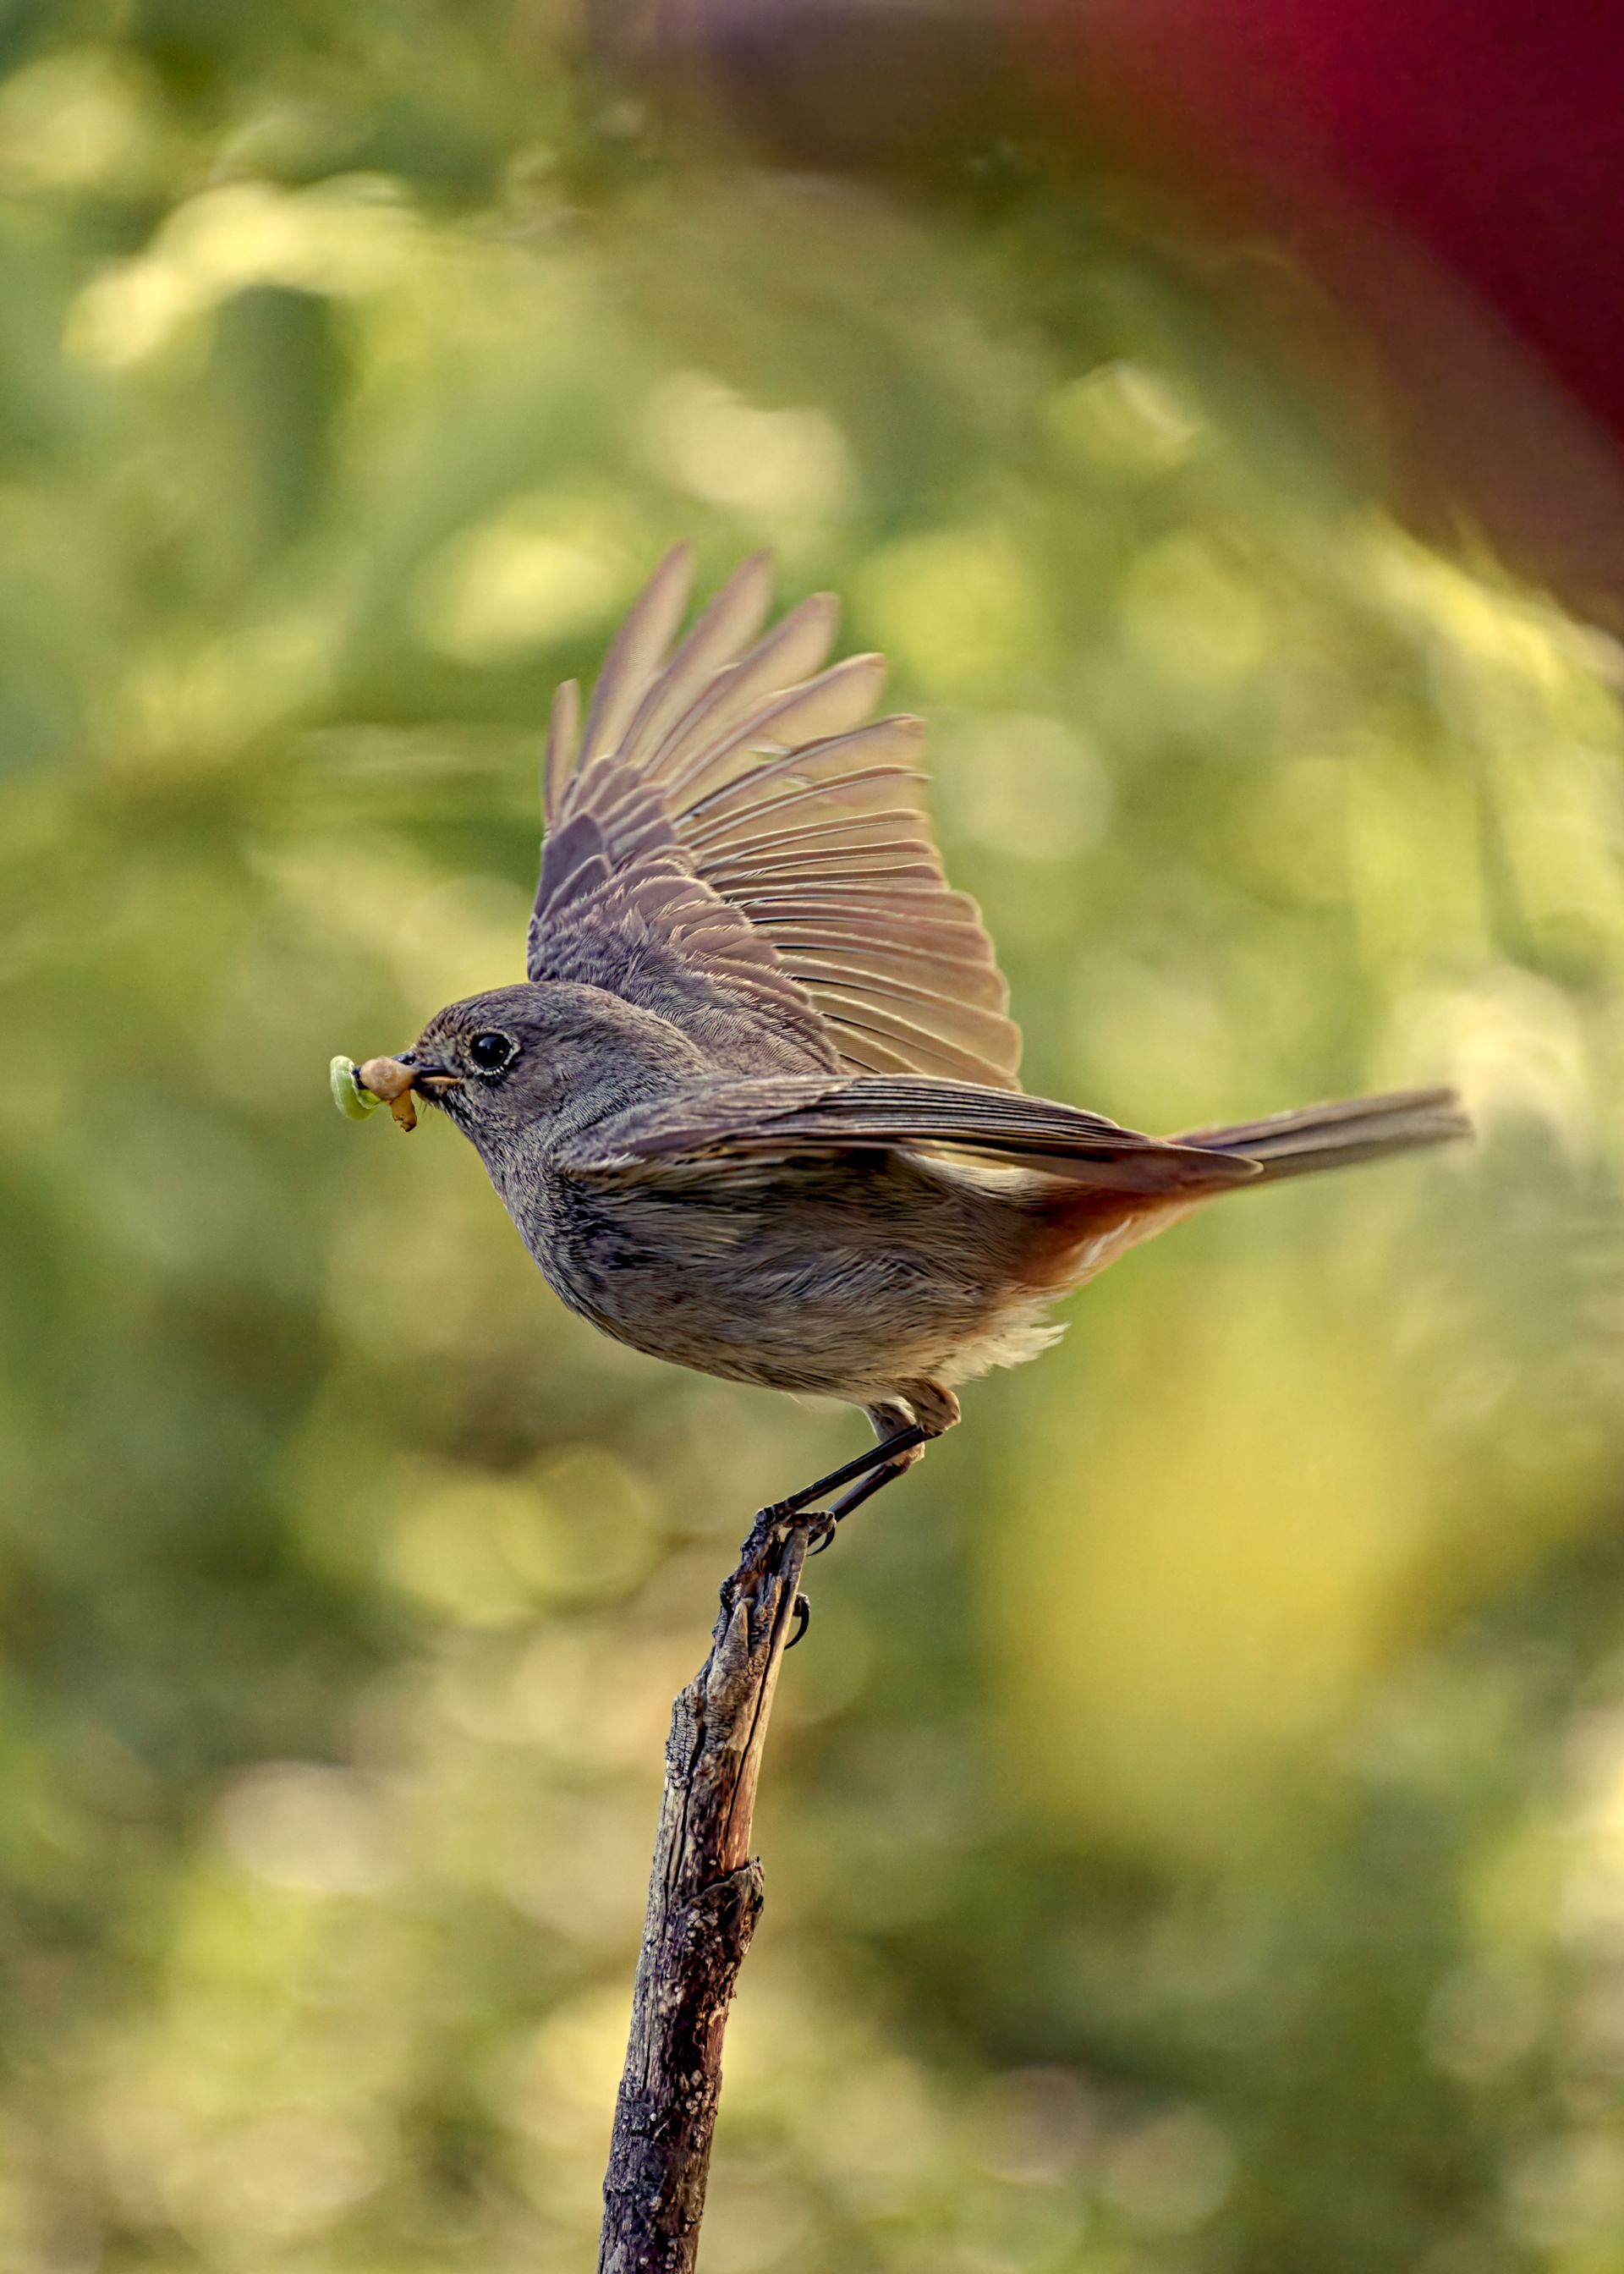
Not an easy one - easy to endlessly fiddle with that one. That red patch in the upper right is a bit distracting and I didn’t like that amorphous blob in the lower left, hence I opted for a rather tight crop. But then noise starts to become apparent…
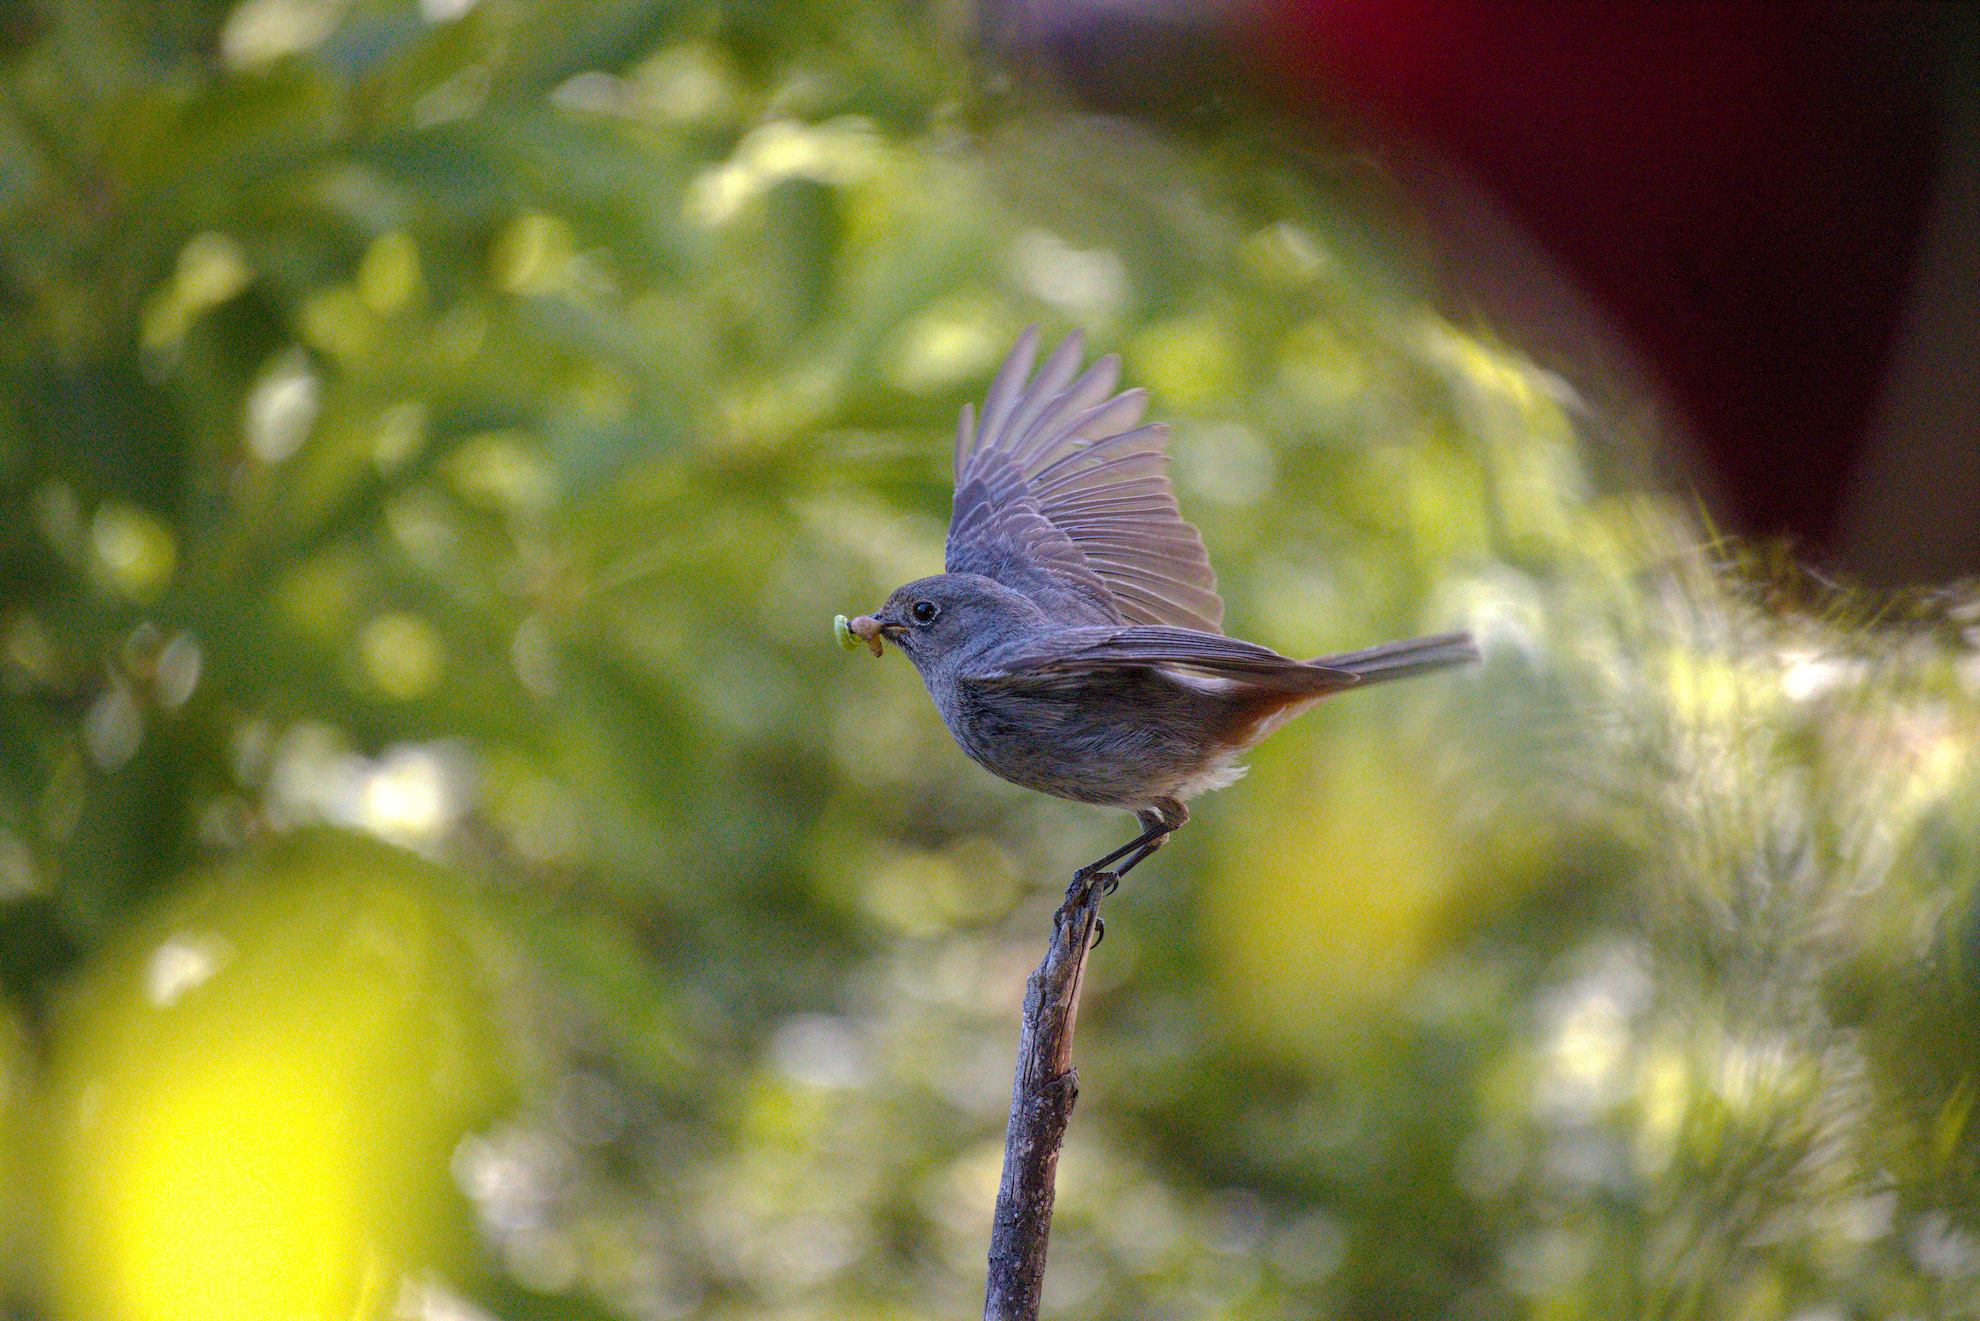
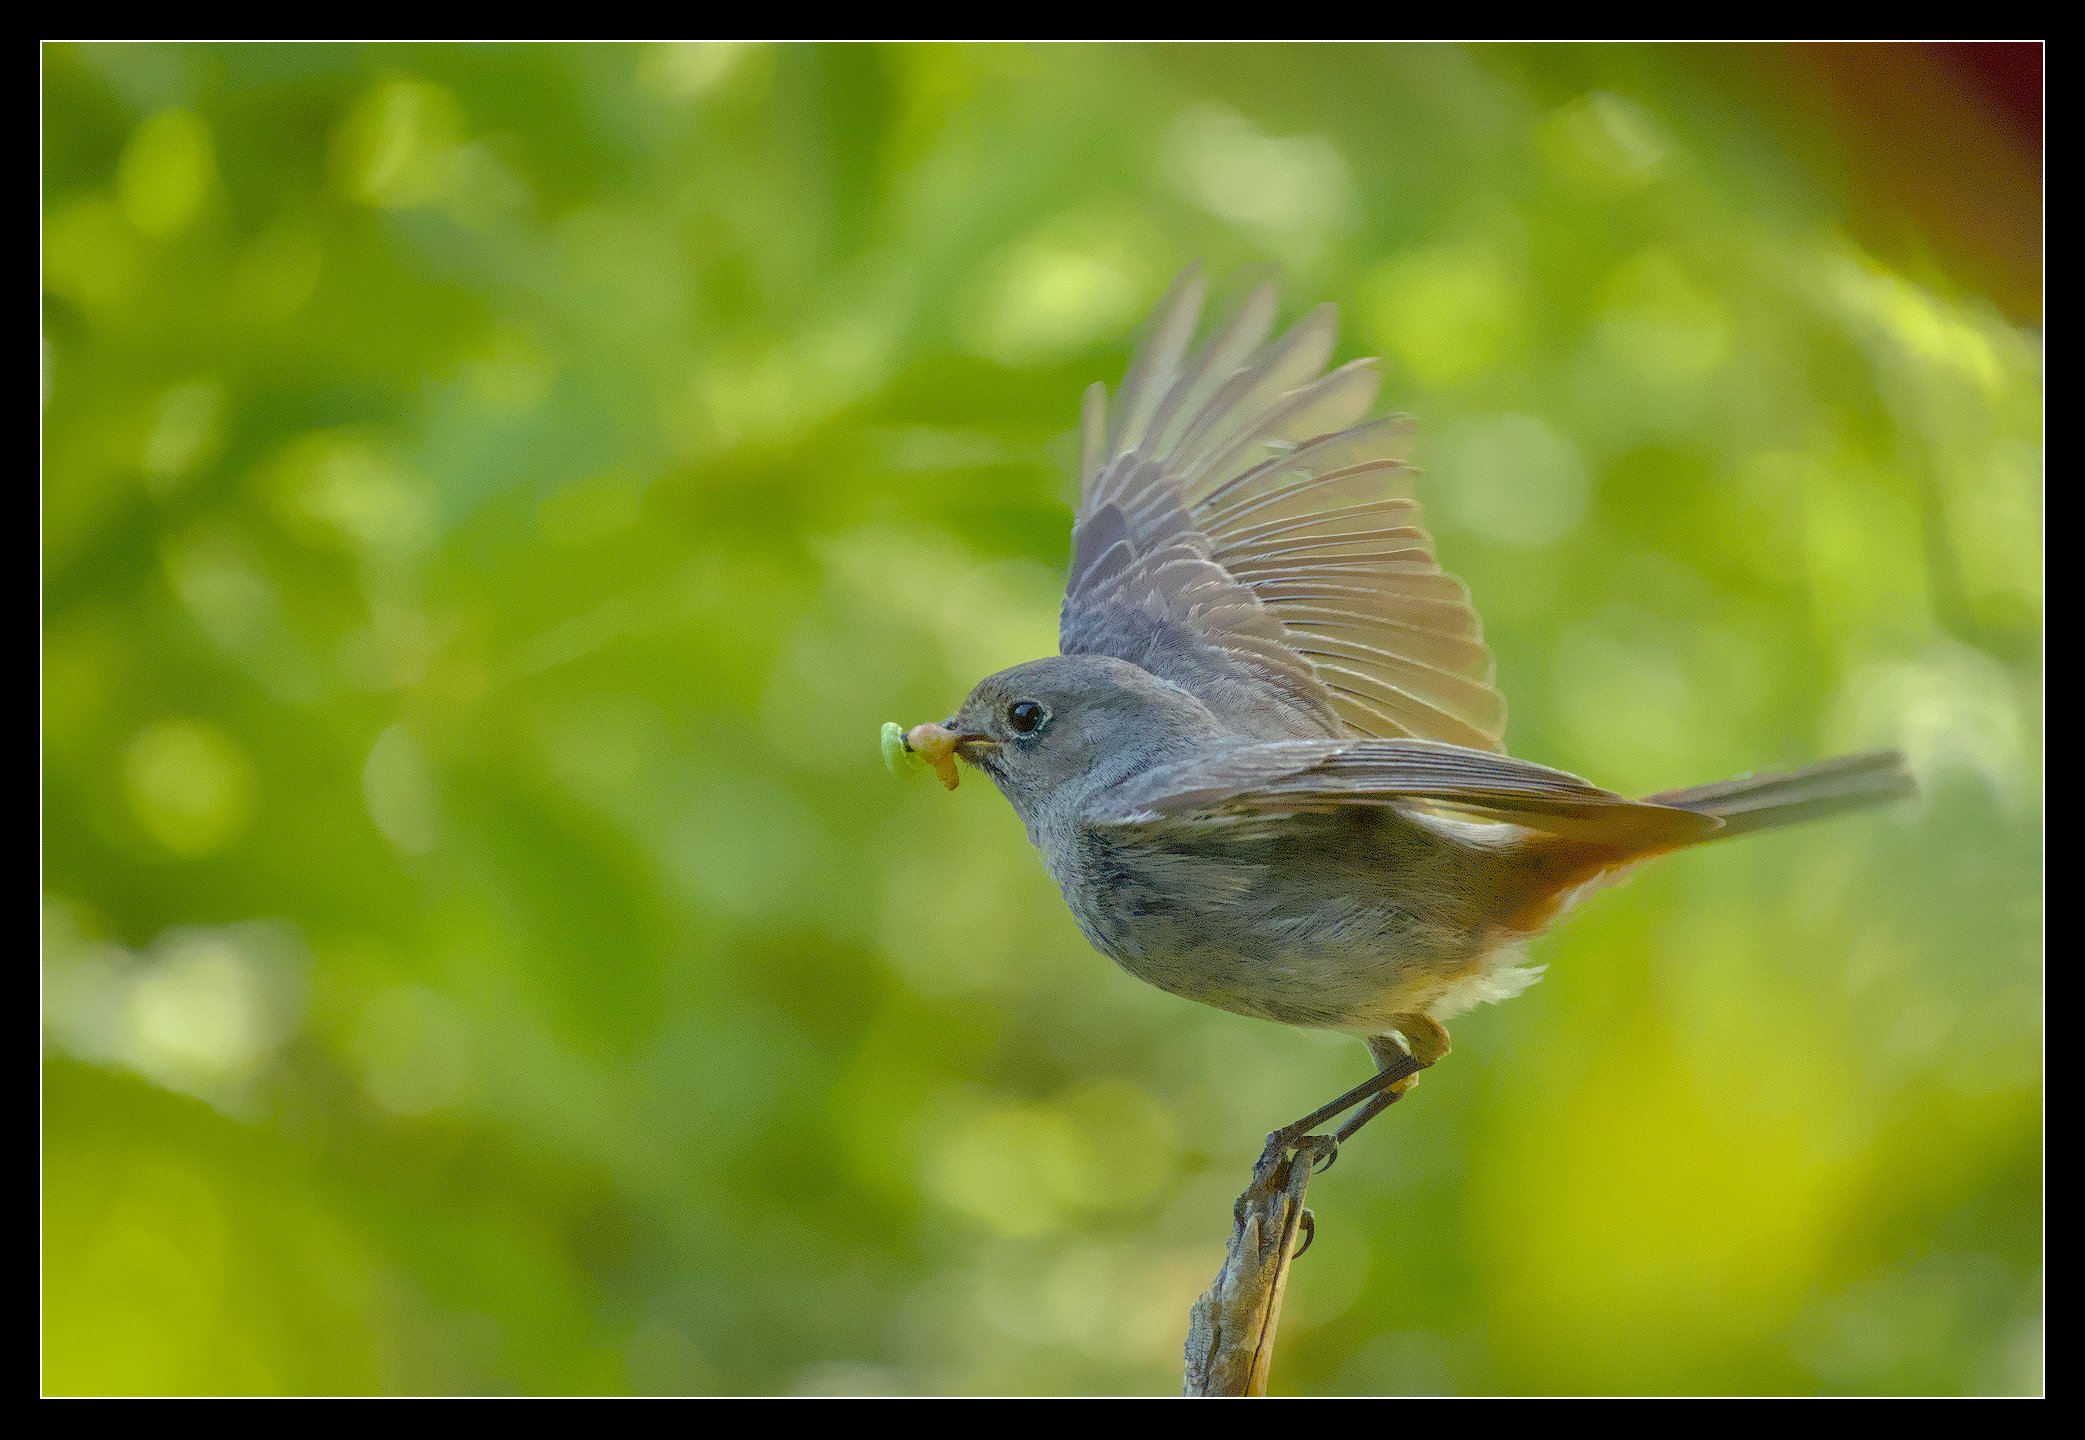
Warmed it up a bit and tamed the blue with color calibration and the rest of the heavy lifting was done with the color equalizer.
Here is my edit. I used only capture sharpening to avoid sharpening noise. I used two different types of denoise profiled to control the noise.
With the color I created a duplicate instance of color calibration and used the auto picker on the bird itself. This resulted is over correction so I tamed that down by using the opacity slider in one of the masking tabs.
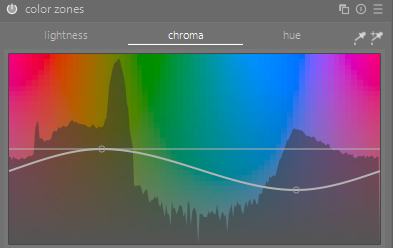
However, I felt the bird still had some excessive blue so I went to color zones and dropped chroma of the blue zone. I sometime use this technique to control blue shadows that can occur.
A very simple edit in my view. I started with a style I call generic AgX which has basic sharpening, denoising and some local contrast applied. Your excellent capture made the rest very easy. Your R100 images are probably similar to my R7 images as well.
What does “sidecar in jpeg” mean: Yes, it means the development history is stored in the metadata block of the jpeg, just as Exif data like title, capture time, etc.
Sorry for my less then careful use of words: it’s not that the sidecar is in the jpeg, it’s the development history. For darktable the sidecar file always means another file in the same directory named <filename>.xmp.
To load the development history from the jpeg, you use the same steps as with an XMP file. As an example, starting from the lighttable:
select base version
actions on selection > duplicate
select the freshly created duplicate
actions on selection > load sidecar file…
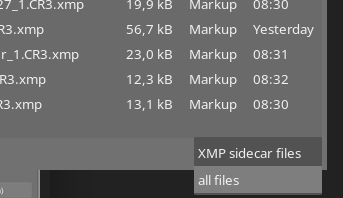
By default, only XMP files will be shown in the file dialog, so you need to switch to show all files in the lower right corner of the dialog:
Now that I see that again, I’ll go back to making available the XMP files again. This really is not a great experience.
Finally, about including the development history in the jpeg on export: This is a separate setting; some people use it as a backup of last resort, I use it to have one less file to copy around for play-raws. Configuration is part of the export preferences: In the “export” module, click the hamburger menu > preferences… > “development history” in the lower left corner.
(even though I left Adobe behind and AI is a plague upon humanity: That blob in the upper right and lower left would probably clean up beautifully with some of lightrooms gen-AI…)
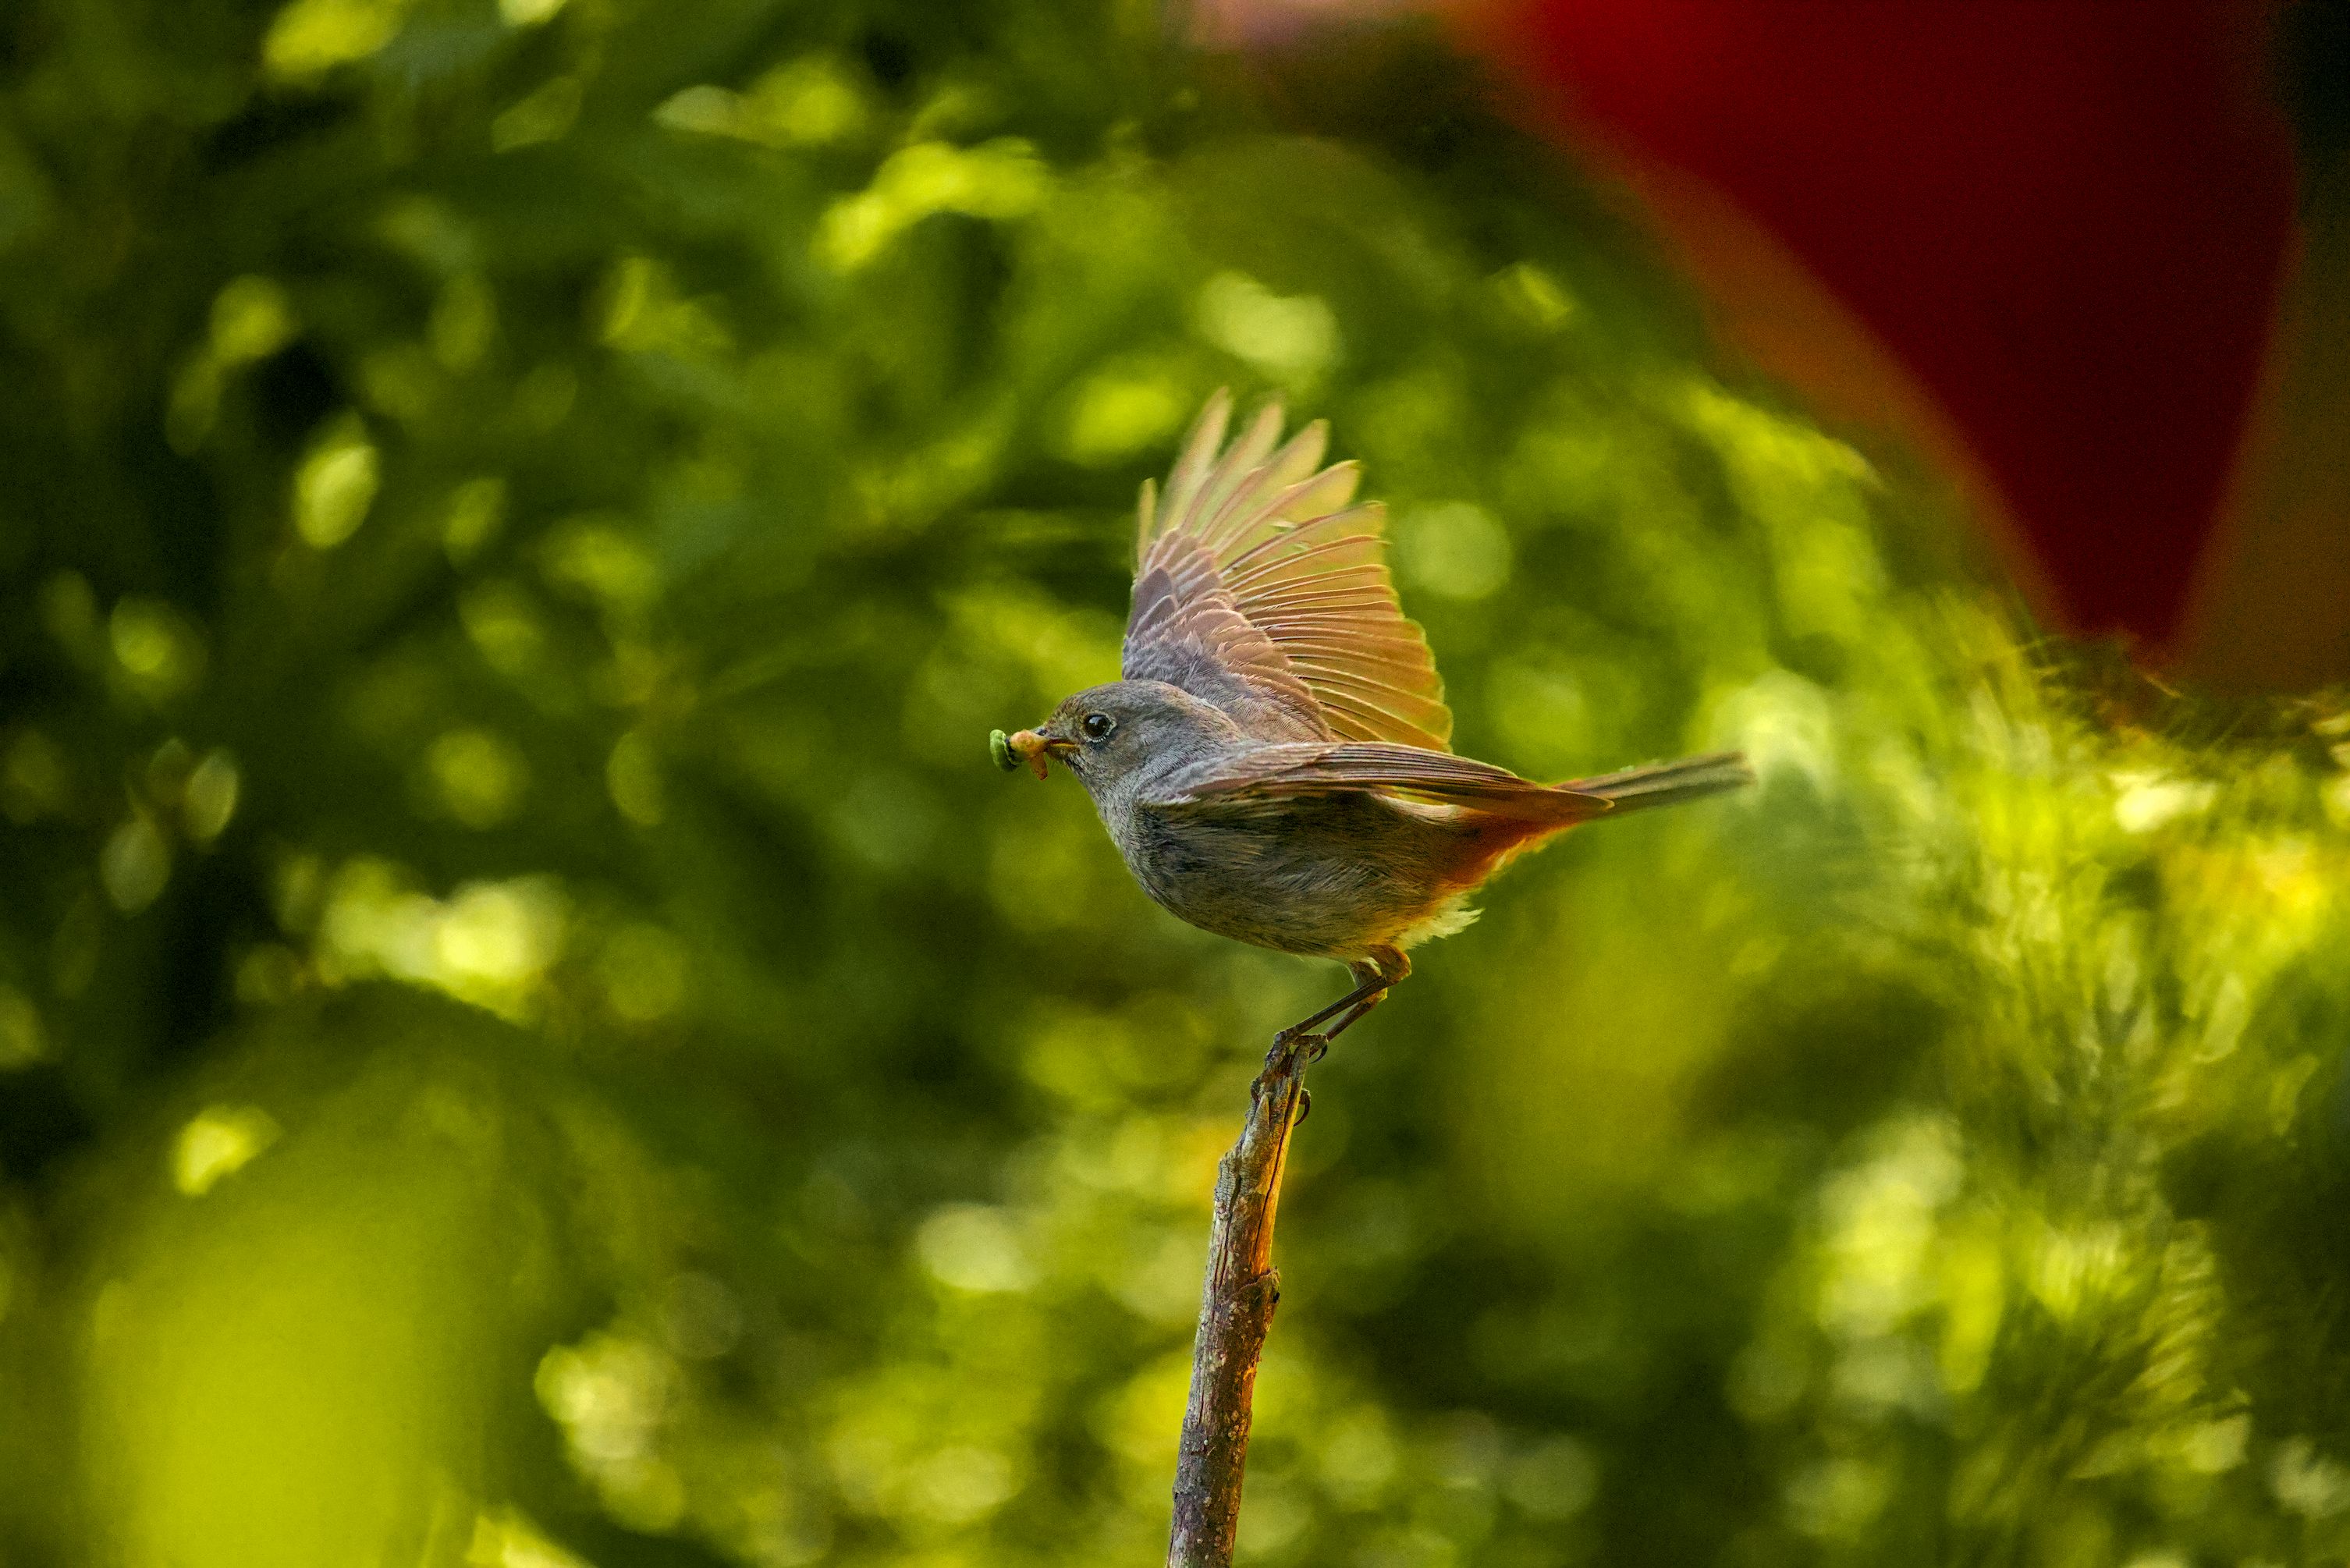
First attempt, AI object mask (dt 5.5). Totally unhappy with this, and the large number of nodes makes adjustment just too much work. So I scrapped the maslk.
Second attempt, I just drew a mask. I didn’t bother with the branch.
CB-RGB to adjust subject/backround
Colour Equaliser to move the yellowish leaves towards green.
Vignette with an elliptical mask in a second instance of exposure.
For the record, here it is, although I don’t like it much!


 from
from