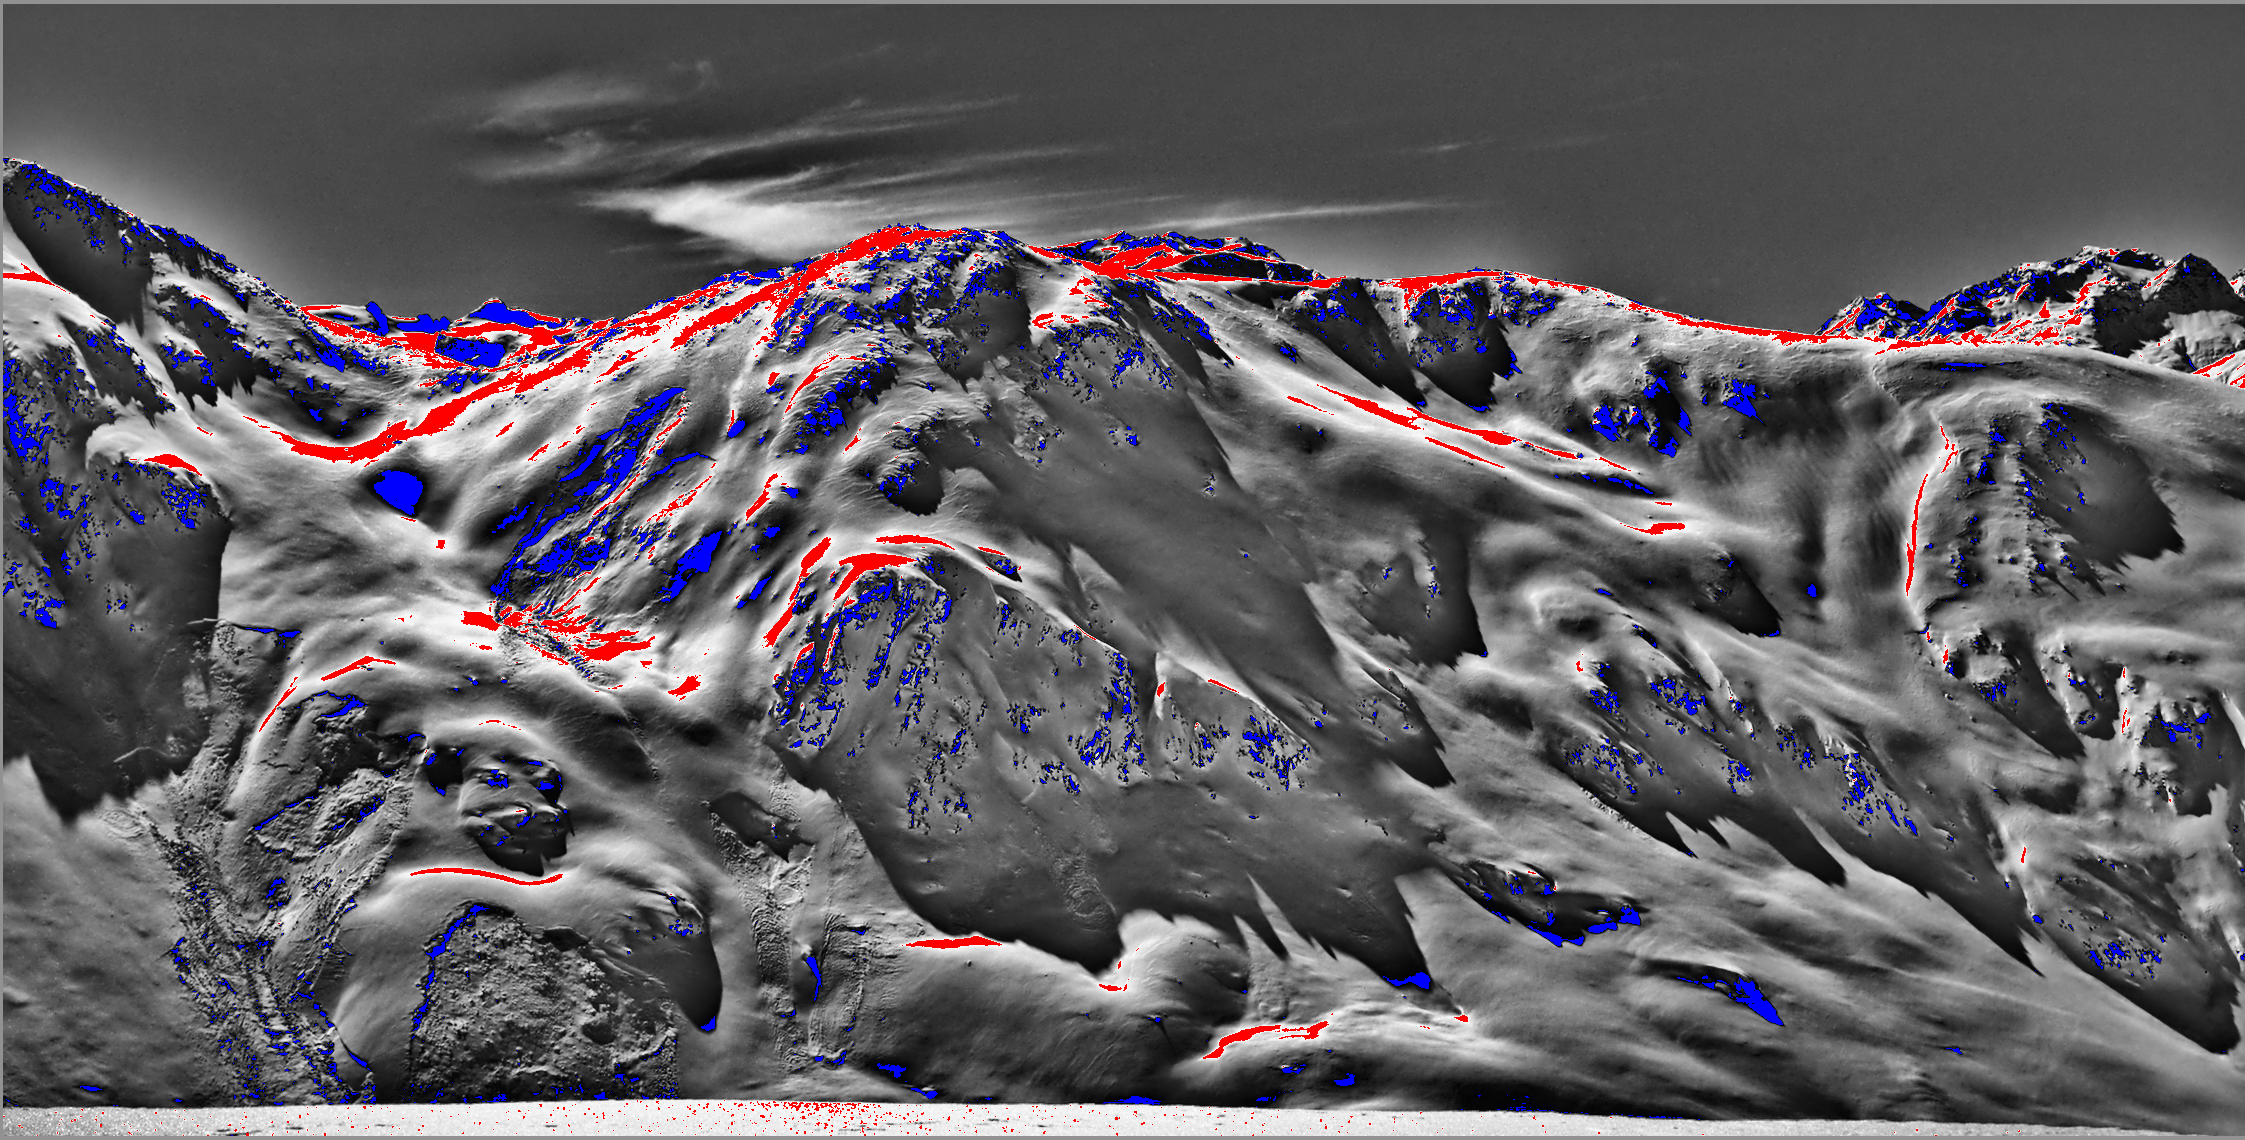
This is an older image that I decided to rework using filmic-rgb and then print. The image has quite strong contrasts and the over/under exposure indicators show just that. I managed to get fairly close but when I ran a test print I found that the blacks were very weak. After turning on the over/under indicators as well as the print softproofing toggle I found that I was totally unable to get a black indicator to show. I would appreciate somebody else seeing what they find. Maybe there is an indicator problem when combined with the softproofing.
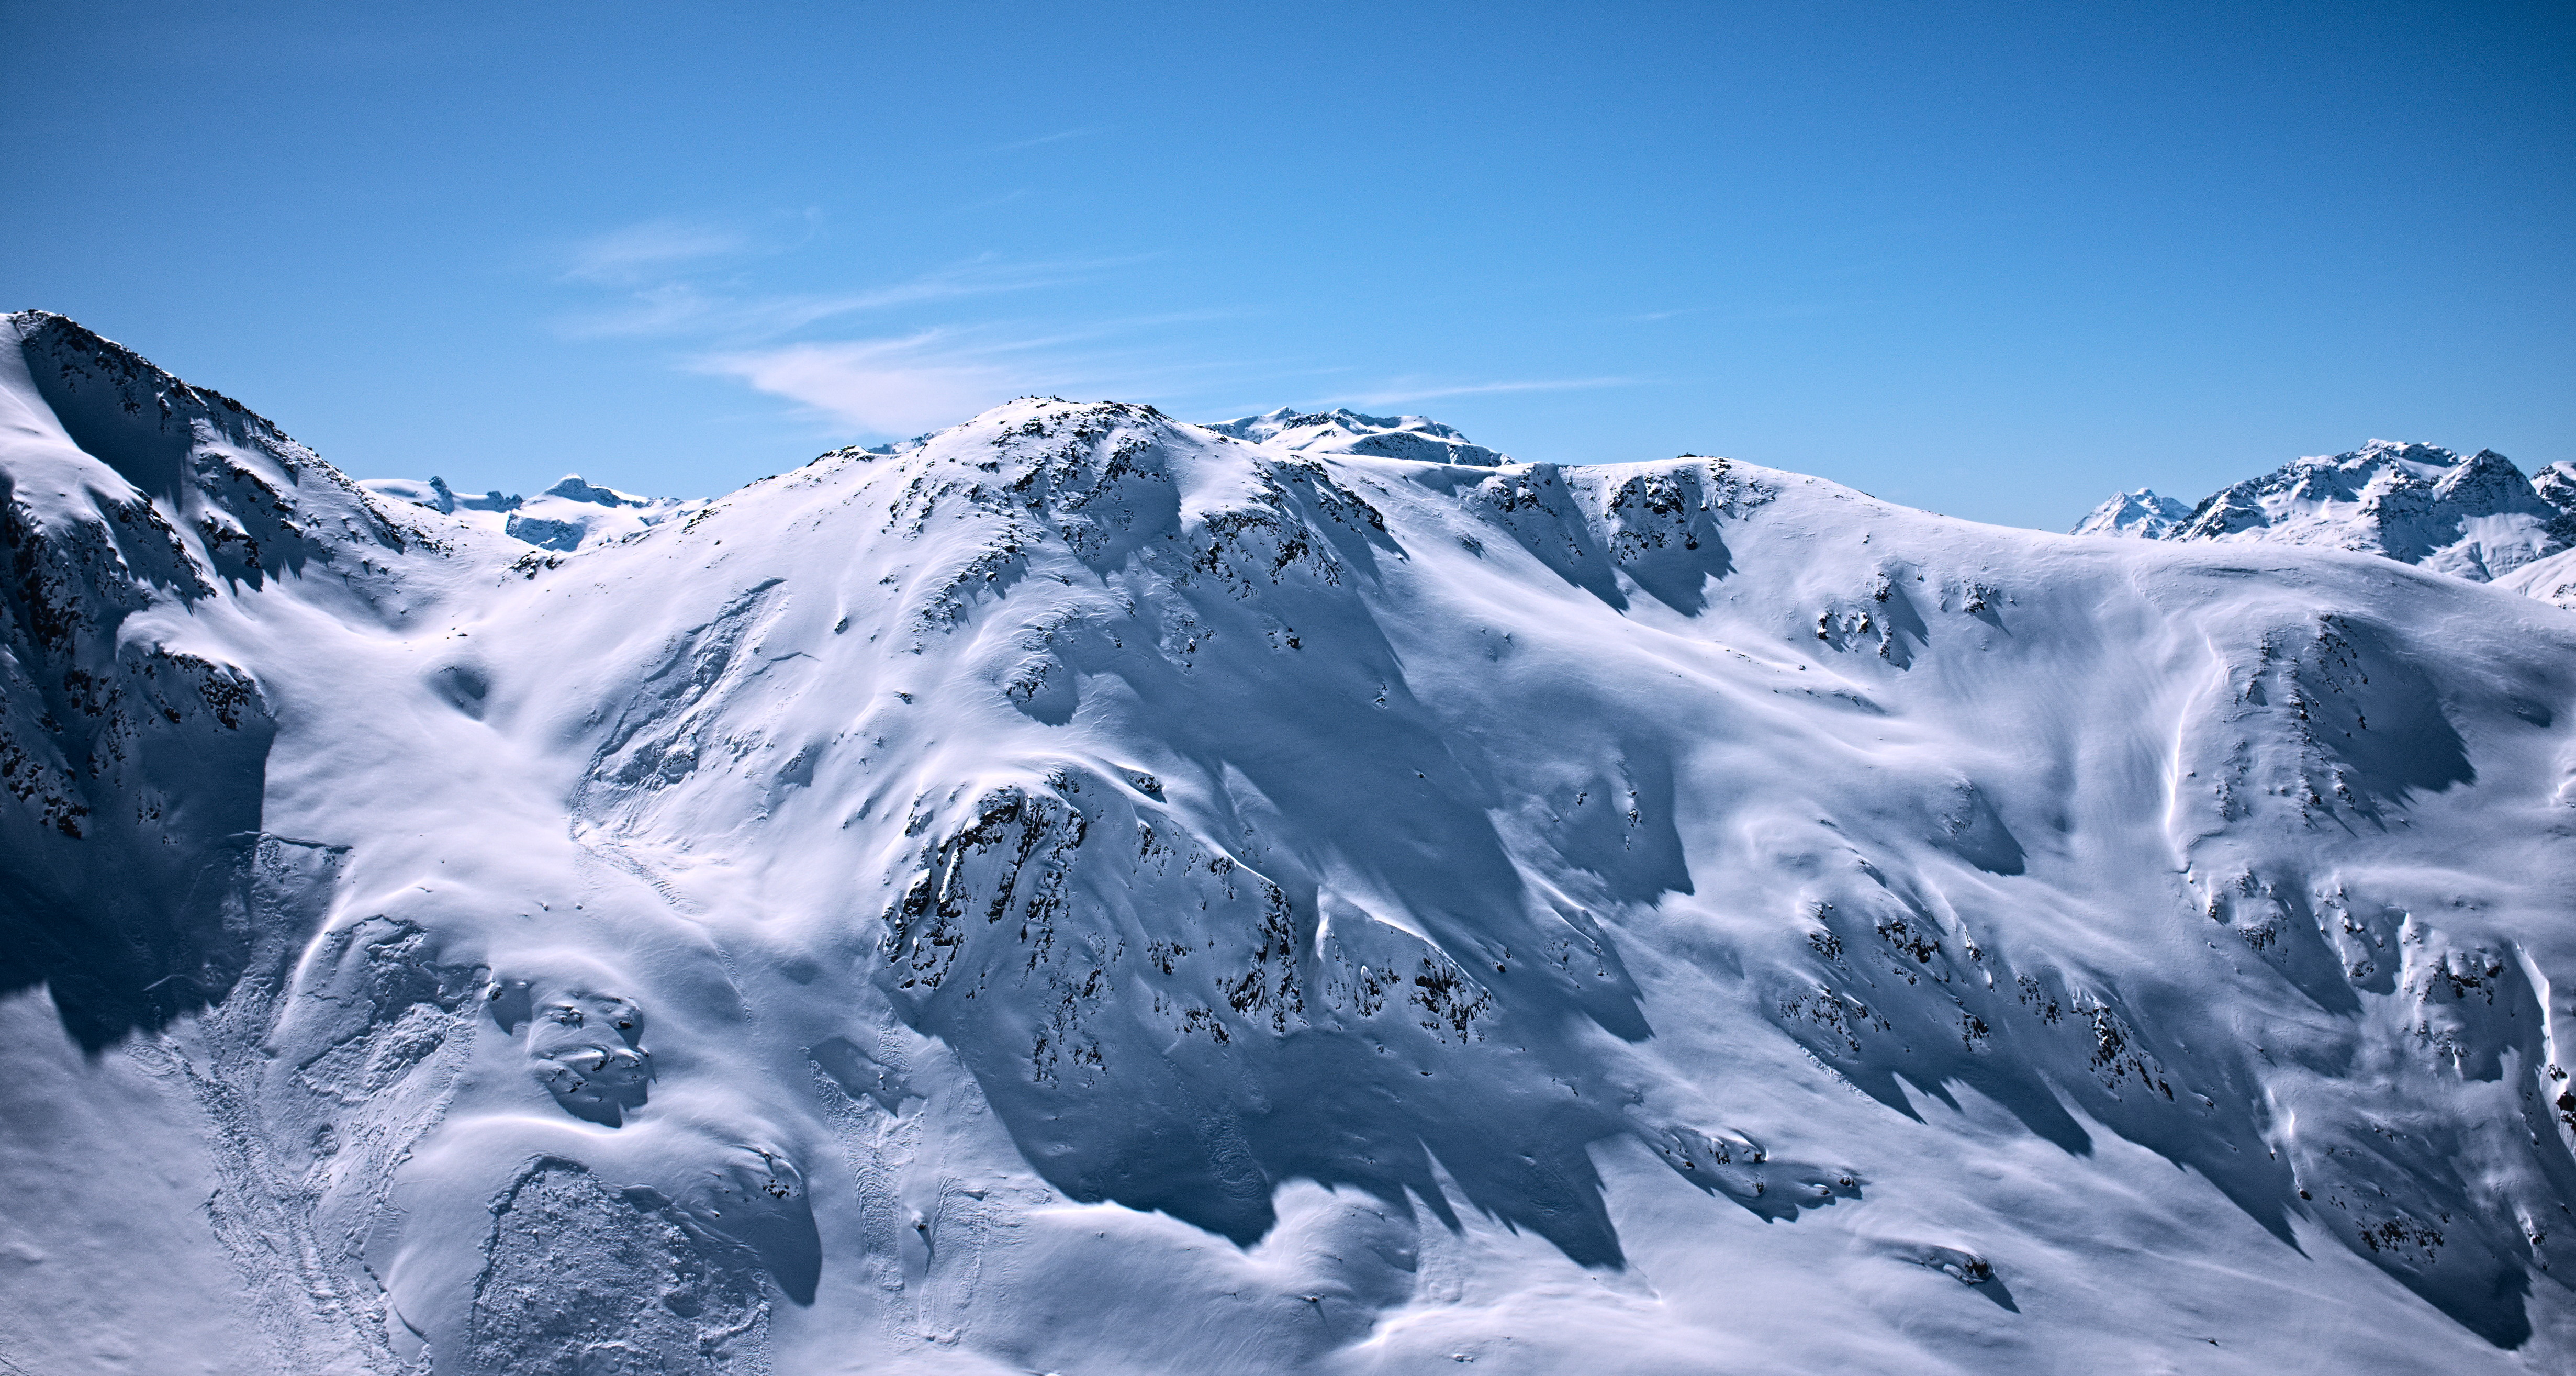
I would really like to see somebody’s version using filmic-rgb.
This is the basic edit shot showing the indicators.
I’m not sure if I fully understand what you’re trying to accomplish. You already have the result you wanted without the filmic-rgb. What would be the advantage of using filmic-rgb?
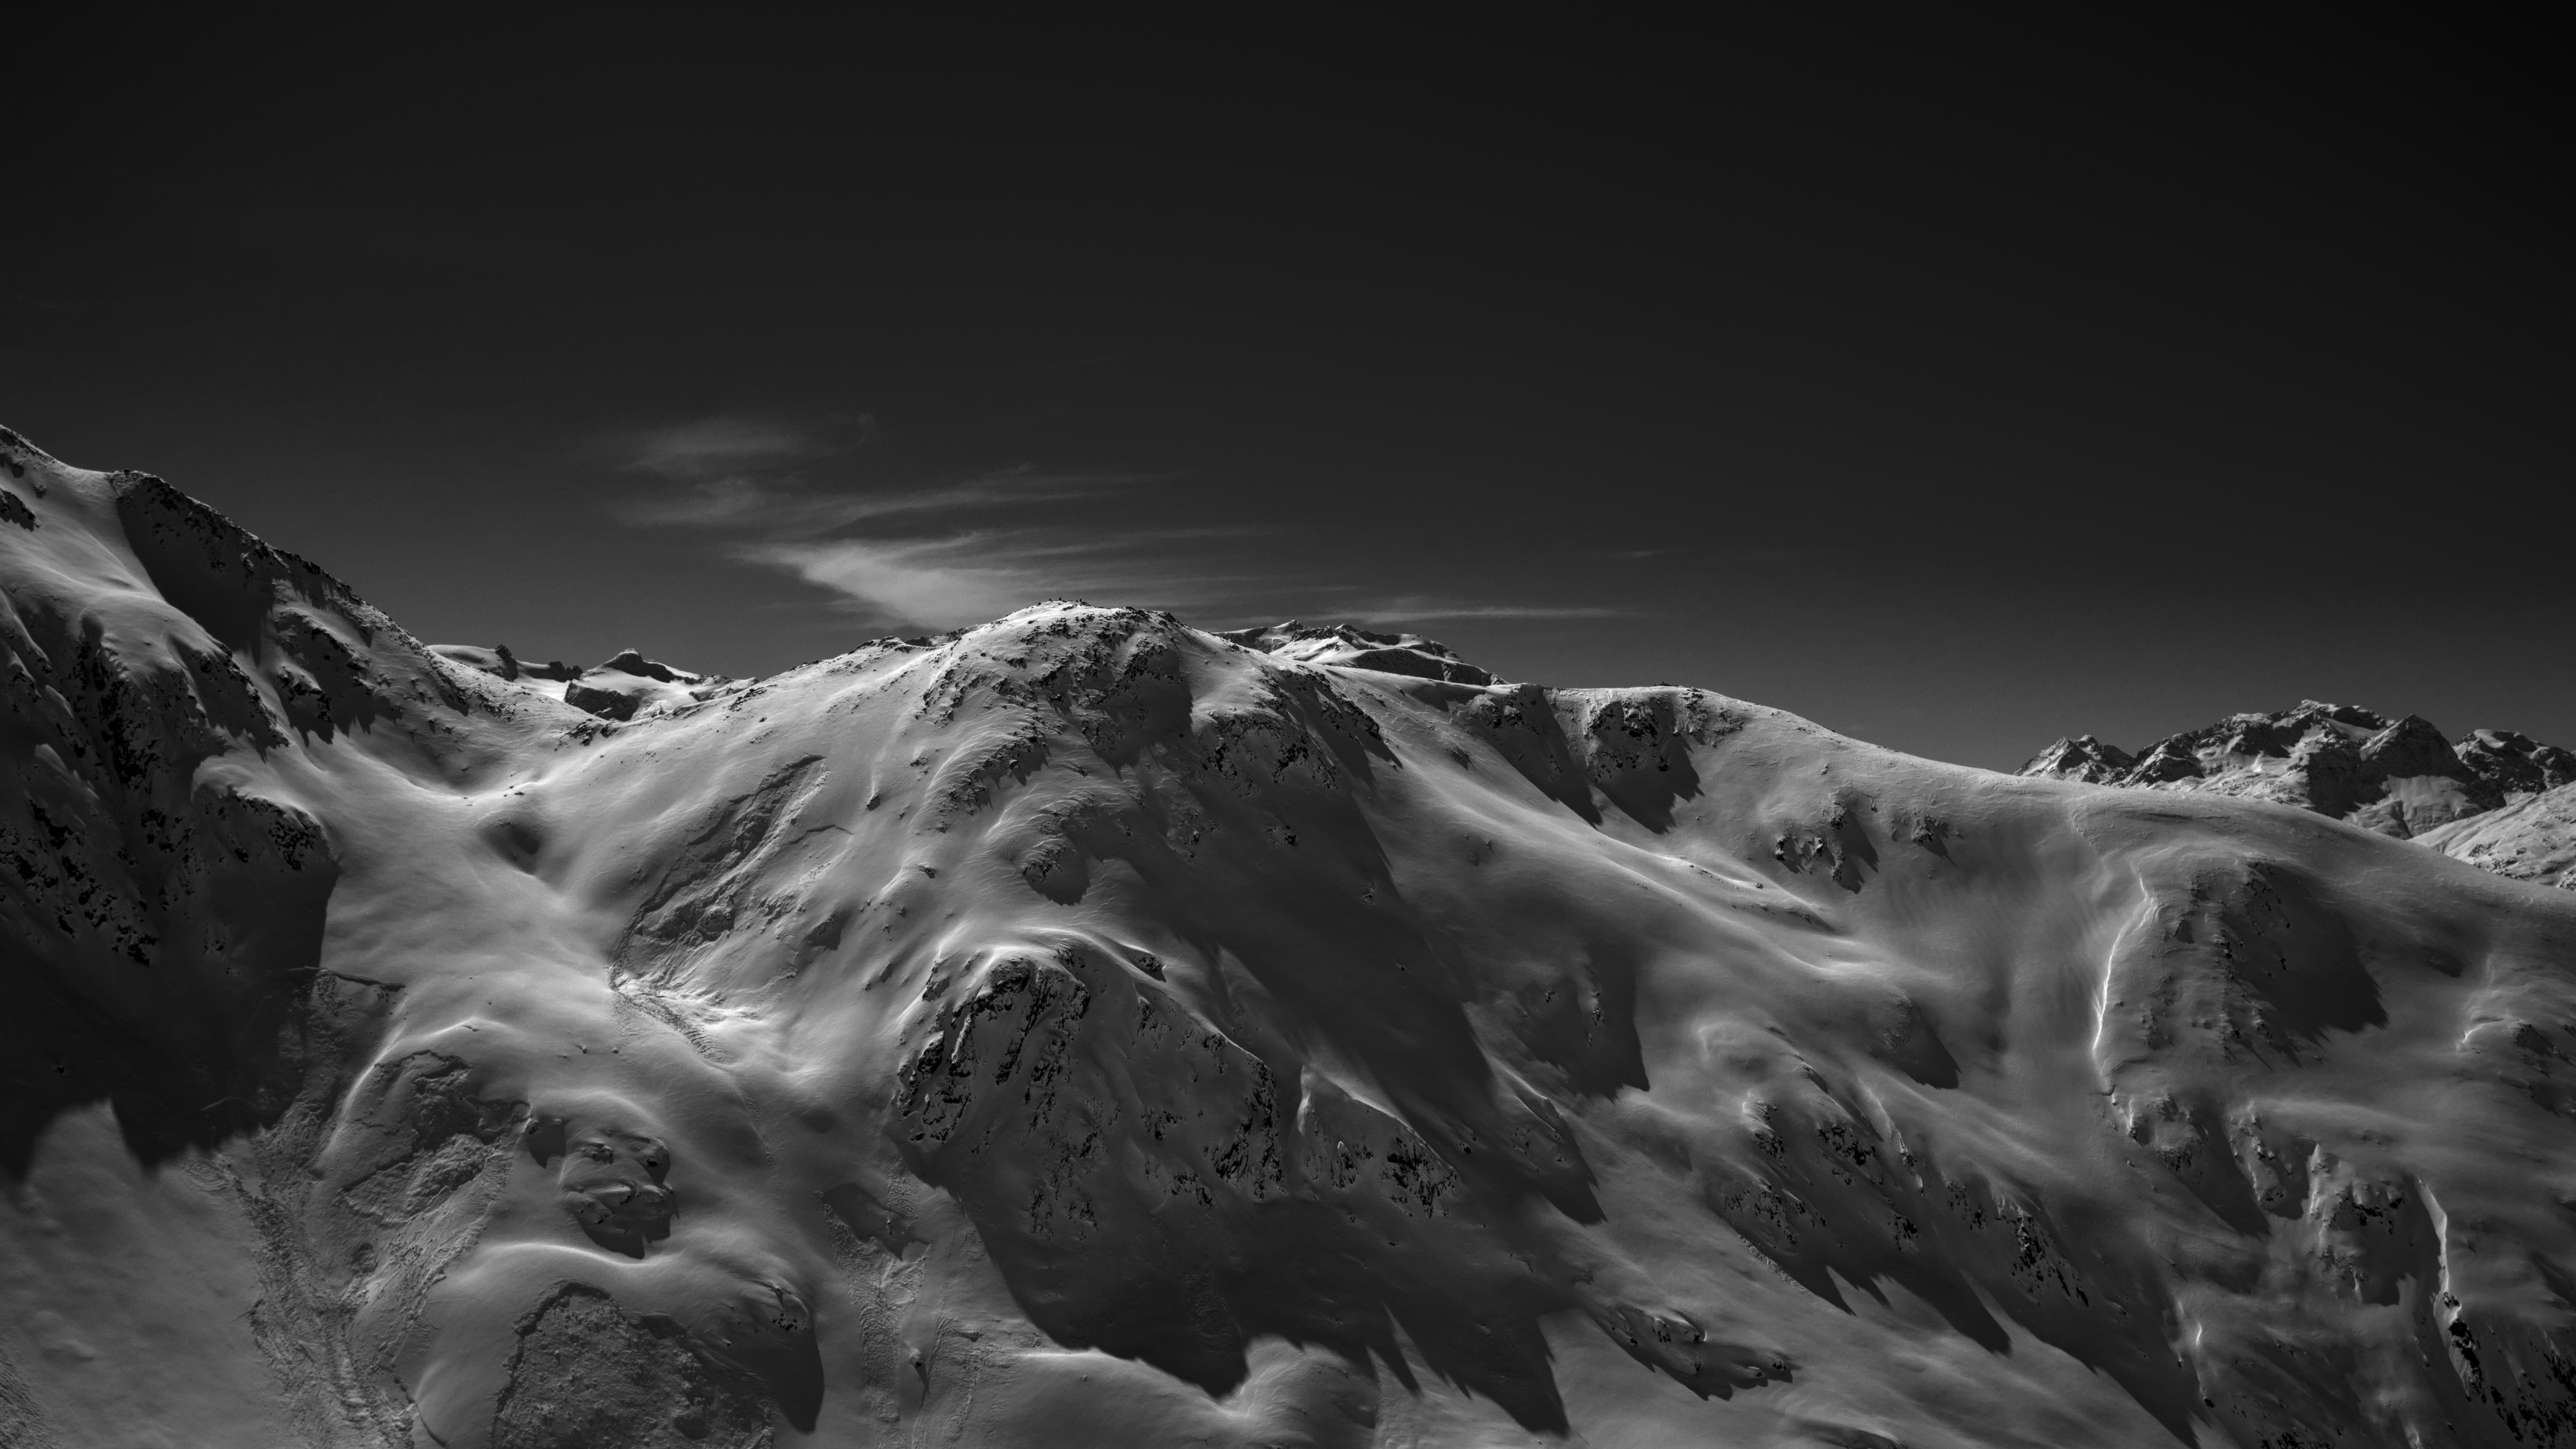
This is the “moon-like” version of me, which is close to yours, without the HDRish look (with exposure indicator enabled and black a little bit underexposed to show indexing):
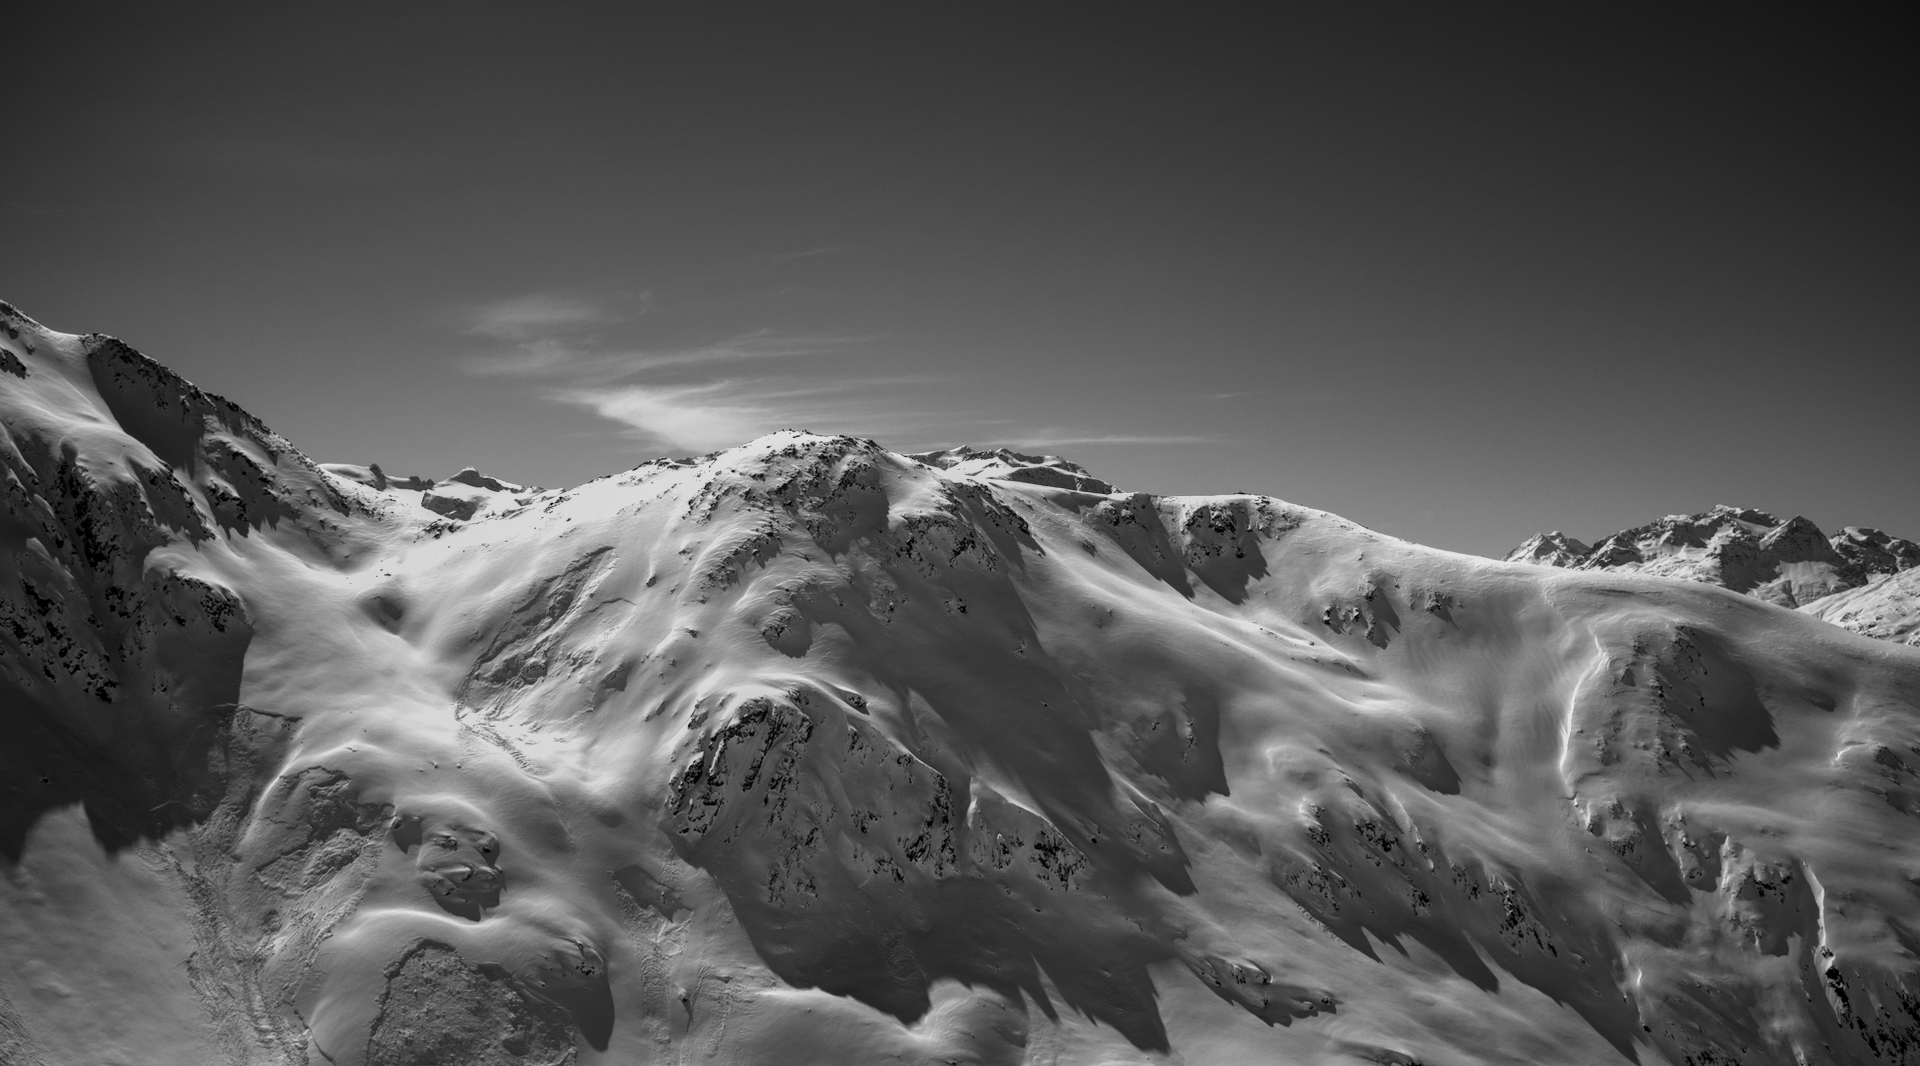
I am using Windows build darktable3.1.0+2418.g37b463627. I believe I have every setting matching yours, but there is considerable difference between my result and yours. Can you find a difference or account for the different results? If not, could this be a dt issue?
Depending on what you want to do. In this case, Channel Mixer is used to create a black and white version by combining three color channels in a specific way to achieve a dramatic result. When Filmic comes after that, that contrast is lost.
Also, as I understand it, Filmic comes at the end of the “correction series” of the modules and is therefore at the beginning of what I will call the “creative development” of the image. For me, black and white belongs to the “creative” part.
However, the question what is still correction and what is already creative approach is very diffuse and varies from case to case.
It is not recommended because mistakes can be made quickly if you don’t know what you are doing (for example, an unfortunate combination of modules working in the linear RGB color space and LAB modules which can lead to unwanted results) but it is still possible and in my experience often necessary to achieve certain goals.
Basically you should take care that - among other things - the LAB modules come only after modules that work in linear RGB color space.
Back to your question, yes, when it comes to color correction (e.g. white balance) it might make sense to put channel mixer before Filmic, for all other purposes, I will almost always use it after Filmic.
I think you are referring to History, which shows the order of access of the modules, but not the processing sequence, i.e., the order of modules in the pixel pipeline. @clind has it correct.
You use another instance of the module. It is probably a good idea when you are going to move a module to make a new instance and move it, leaving the original, unused, in its original place.
I have a tiff I am working on made from a jpeg from my daughter. There is a cloud-covered sky with a big sun close to the horizon. I used filmic v4 with several adjustments on the reconstruction tab. My daughter wanted it BW. I created a new instance of channel mixer with the intention of moving it next. The new instance, however, turned itself on, and immediately, the sun blew up. After I moved CM , the sun returned to the state it was in before CM turned on. So, that happened with no adjustment to CM whatsoever. From that experience, I wonder if CM can be used at all before filmic v4.