If this is the case maybe you can use the rgb primaries (and or other color tools) for your secondary artistic grading and just use what you need in agx for the “technical” grade
1 Like
Tone mapping Plato’s cave. Happens a lot with halos as well
2 Likes
OK, thanks.
First, real congratulations for your work !
I don’t really understand the need for the “set from above” button. I suppose that if you tick “reverse all” , the afetr_tone_mapping sliders are set to the desired values the hidden ?
So If you untick “reverse all” , sliders reappear with the “reverse all” fixed values and you can adjust them ?
Oh, and a question : I compile from master branch, so with agx. When I double the primaries sliders they don’t revert to their default value ( zero ).
In my opinion, the checkbox shouldn’t automatically override the post-curve values, so I sort of understand the need for the different botton.
From a UX stand point, it’s weird if unchecking the checkbox won’t undo the action of checking it. If the user is simply trying things out, try to see what would happen if you tick the checkbox, they see a change in the image when they do, and then when they uncheck it, nothing would change this time. It would be like they have unintentionally done something that cannot be easily reverted, without even knowing what they have changed.
The default value is not 0. You should only set it to 0 when you are adjusting things looking at the image, and you decide 0 makes your particular picture look good. “Resetting it to 0” shouldn’t be a requirement, I think.
3 Likes
The sliders are hidden, but unchanged; only the processing parameters are set according to the pre-tonemapping values. However, if you uncheck the checkbox, the sliders reappear, and they will still have the previous values. This way, if you want to see what ‘applying pre to post’ would look, you can check the checkbox and return to the previous state if you don’t like it. If you liked the effect, but want to make small tweaks, you uncheck the checkbox and click the button. That’s why I suggested keeping the button visible, and if it is clicked, it would copy the pre sliders to post, and show the sliders.
That’s the effect of using the scene-referred default values when the module is simply enabled or reset, something that @Eary_Chow suggested (so you don’t start with a simple tone curve, and have the AgX primaries processing applied). We can’t have it both ways, I’m afraid.
Understood !
I’m used to filmicRGB and now I’m trying Agx, which appears to me like a super sigmoid ( far more controls ).
Comparing to filmic, as a non-scientific opinion, Agx seems better to handle shadows and midtones , but I’m always struggling with highlights, especially blue skies. Filmic recover / find more blue in the sky. So I’m trying to use after tone primaries to boost it ( blue purity boost and a little of blue reverse rotation).
Nota: I use a standard non calibrated screen.
You could also try raising the white relative exposure. The sky may be the brightest part of the image (save for the sun and other light sources), but it’s not white.
It may be unorthadox but what I sometimes do for a sky is to use the tone eq and blend in the blue channel…raising the curve adds blue and lowering it adds yellow/removes blue… you can drag the extreme right part of the curve up or down to land in the right range and then just use opacity for fine control. It can be a very effective way to warm or add a bit of blue to the sky… often you won’t even need to mask it…
Im sure you can land on something in AGX but with the overall role of the module being a global image adjustment you might want to use a tool for a local impact on the sky rather than trying to get a set of adjustments in AGX that work for the sky yet doesn’t alter the rest of the image in a negative way…You could try the punchy preset and just dial it back to taste to see if that gives you more in the sky…
2 Likes
This evening I plan to remove the ‘sections’ (the UI boxes / section headers remain, this is only an internal structure), so we’ll have no structure on the keyboard shortcuts editing screen (everything will be directly under the agx module), to remove the long prefixes on the QAP. Any objections?
Proposed terminology change: keep pivot on the identity line → keep pivot on the diagonal, keep pivot on the graph’s diagonal, keep pivot on the chart’s diagonal, keep pivot on the the y = x diagonal, ensure pivot y = x.
I prefer the first option.
4 Likes
FWIW my opinion is that “keep pivot on the diagonal”, is the simplest and an improvement.
3 Likes
With these changes, we’d have a structure like this; I’m showing the shortcuts below, but the section names are also shown on the QAP:
- I combined basic and advanced curve params under curve
- kept look.
- the long input exposure range is gone, its controls appear at the root level;
- primaries was short, but the controls themselves have long names like master rotation reversal and green reverse rotation, so I moved them all under the root, too.
- I’ve renamed contrast around the pivot to contrast: it’s next to the other pivot controls, and tooltips + docs can be used to explain that, if needed.
This way, all the controls fit within a reasonably-sized right sidebar. I’ve added everything to the QAP to show how each of the controls would look (this is not a suggestion to populate your QAP this way ![]() ).
).
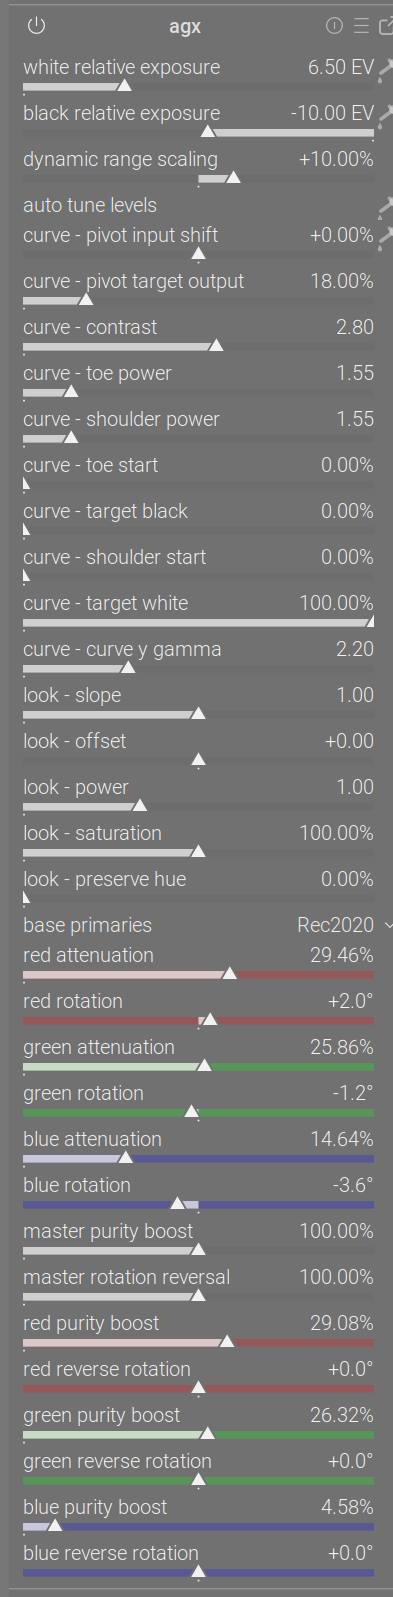
You may note that the checkboxes and reload primaries button are missing; I don’t know how they could be added, but I think we can live without them. Maybe it’s a common limitation, because I’m also unable to add filmic rgb’s auto adjust hardness checkbox to the QAP.
1 Like
Let me show you something interesting.
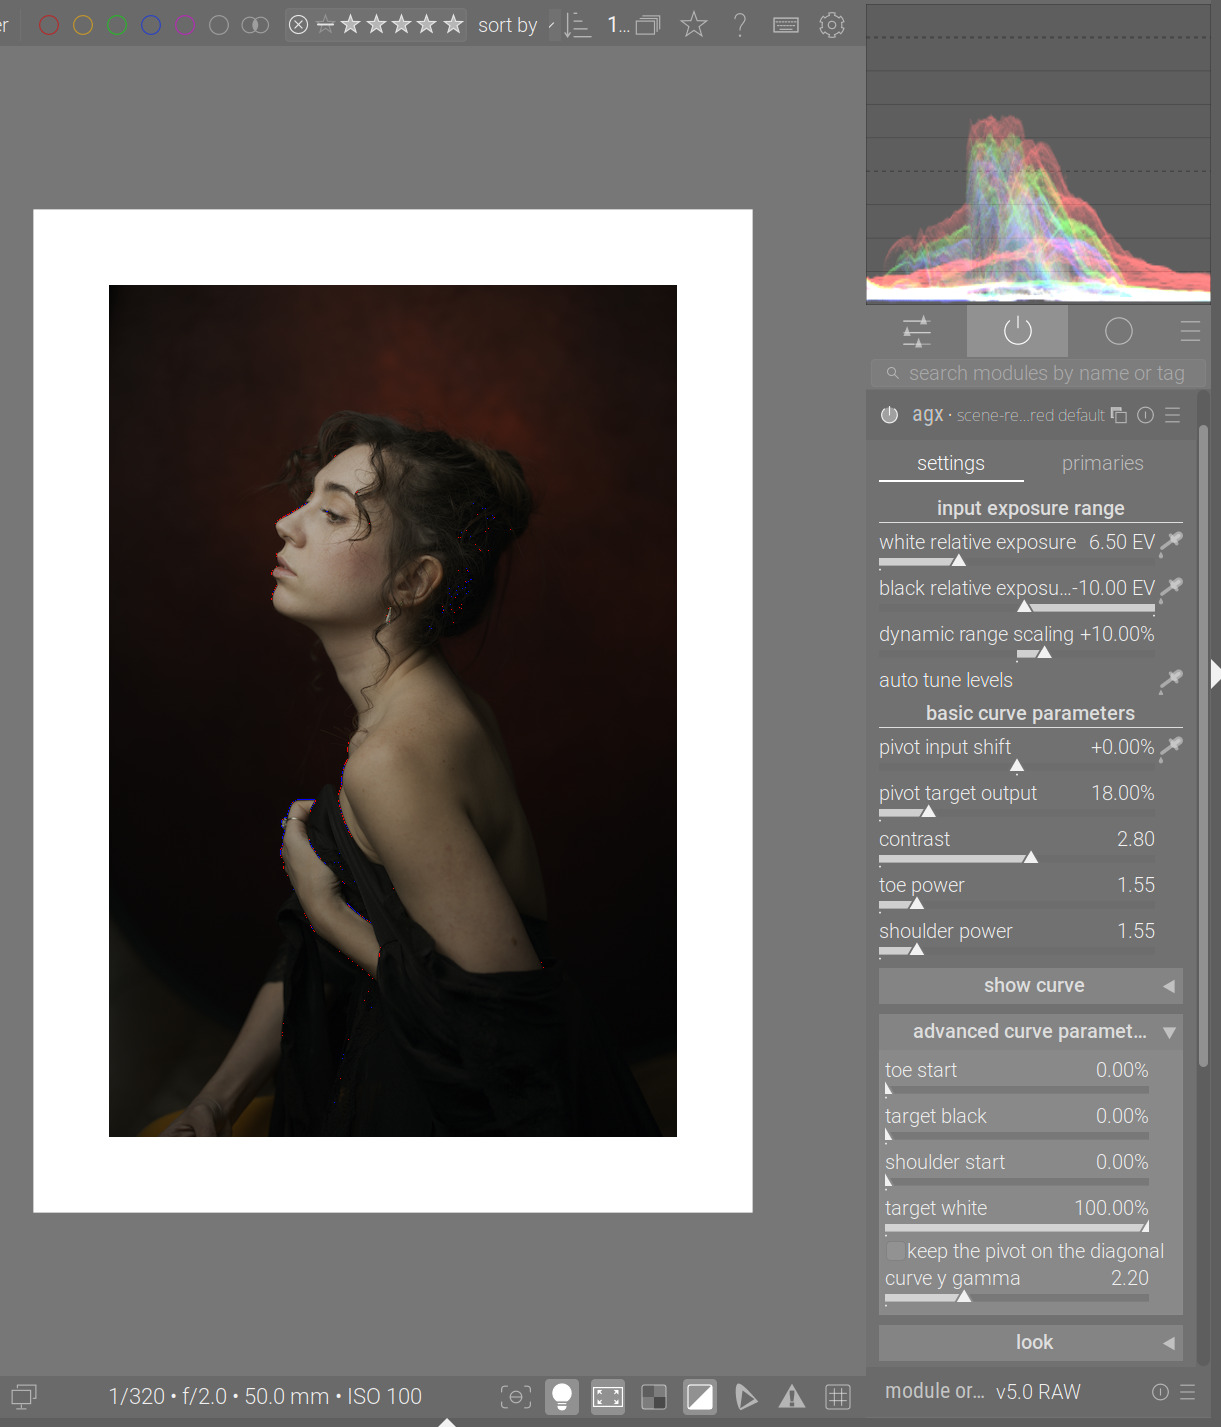
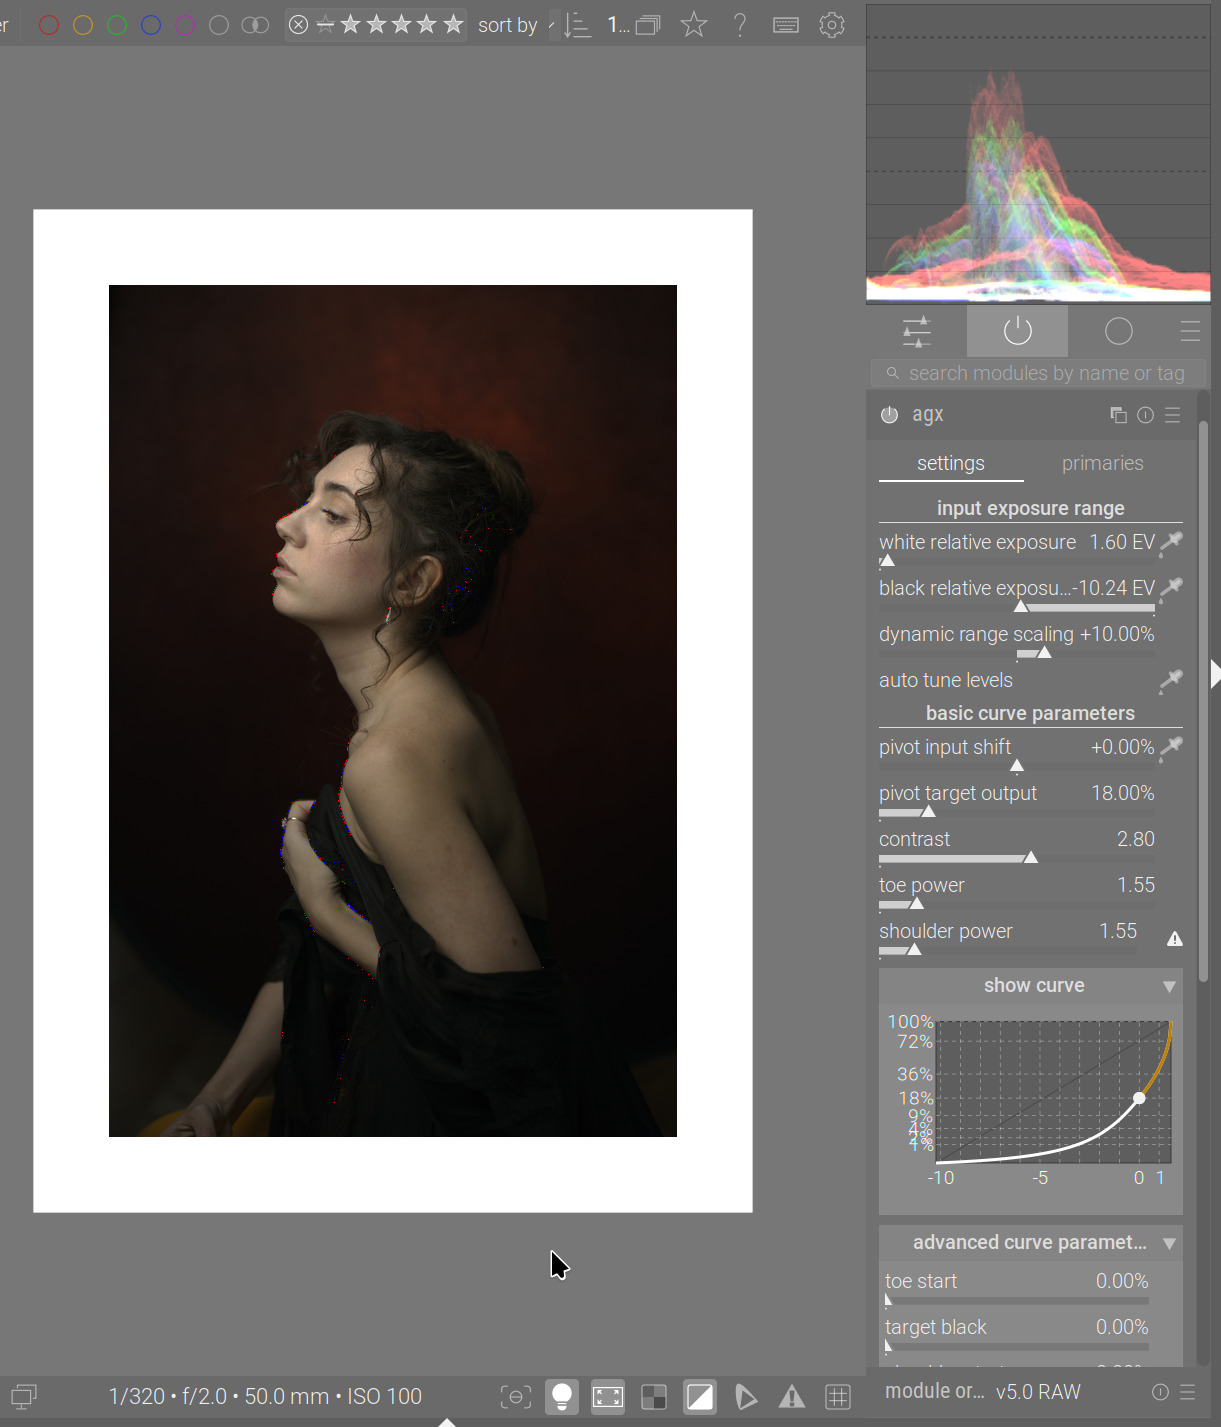
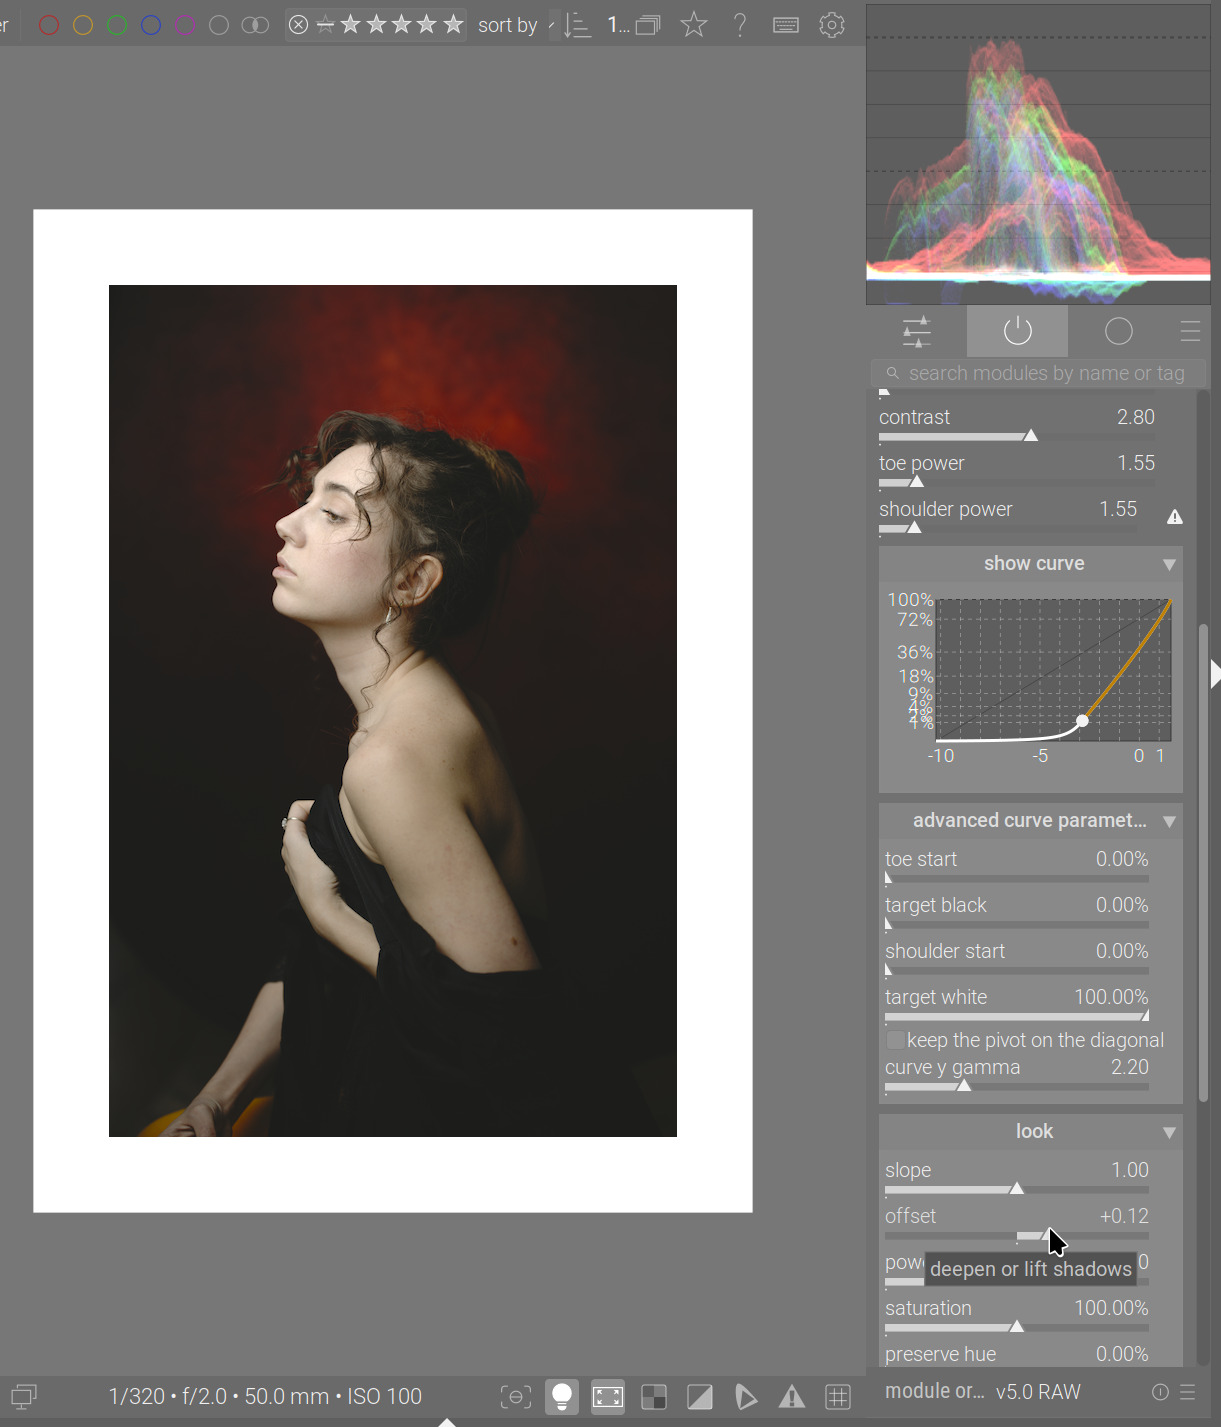
This is the lovely lady whose photo we’ve used a few times. I just opened the photo in darktable, and what we see is the default (exposure module’s scene-referred default +0.7 EV boost + agx also with the scene-referred default preset – the image would more exposure boost, but for the sake of this experiment, let’s leave it as it is). We get hardly any gamut warnings (there are a few red spots). The waveform is slightly above black.
Picking exposure from the whole frame, still no gamut warnings:

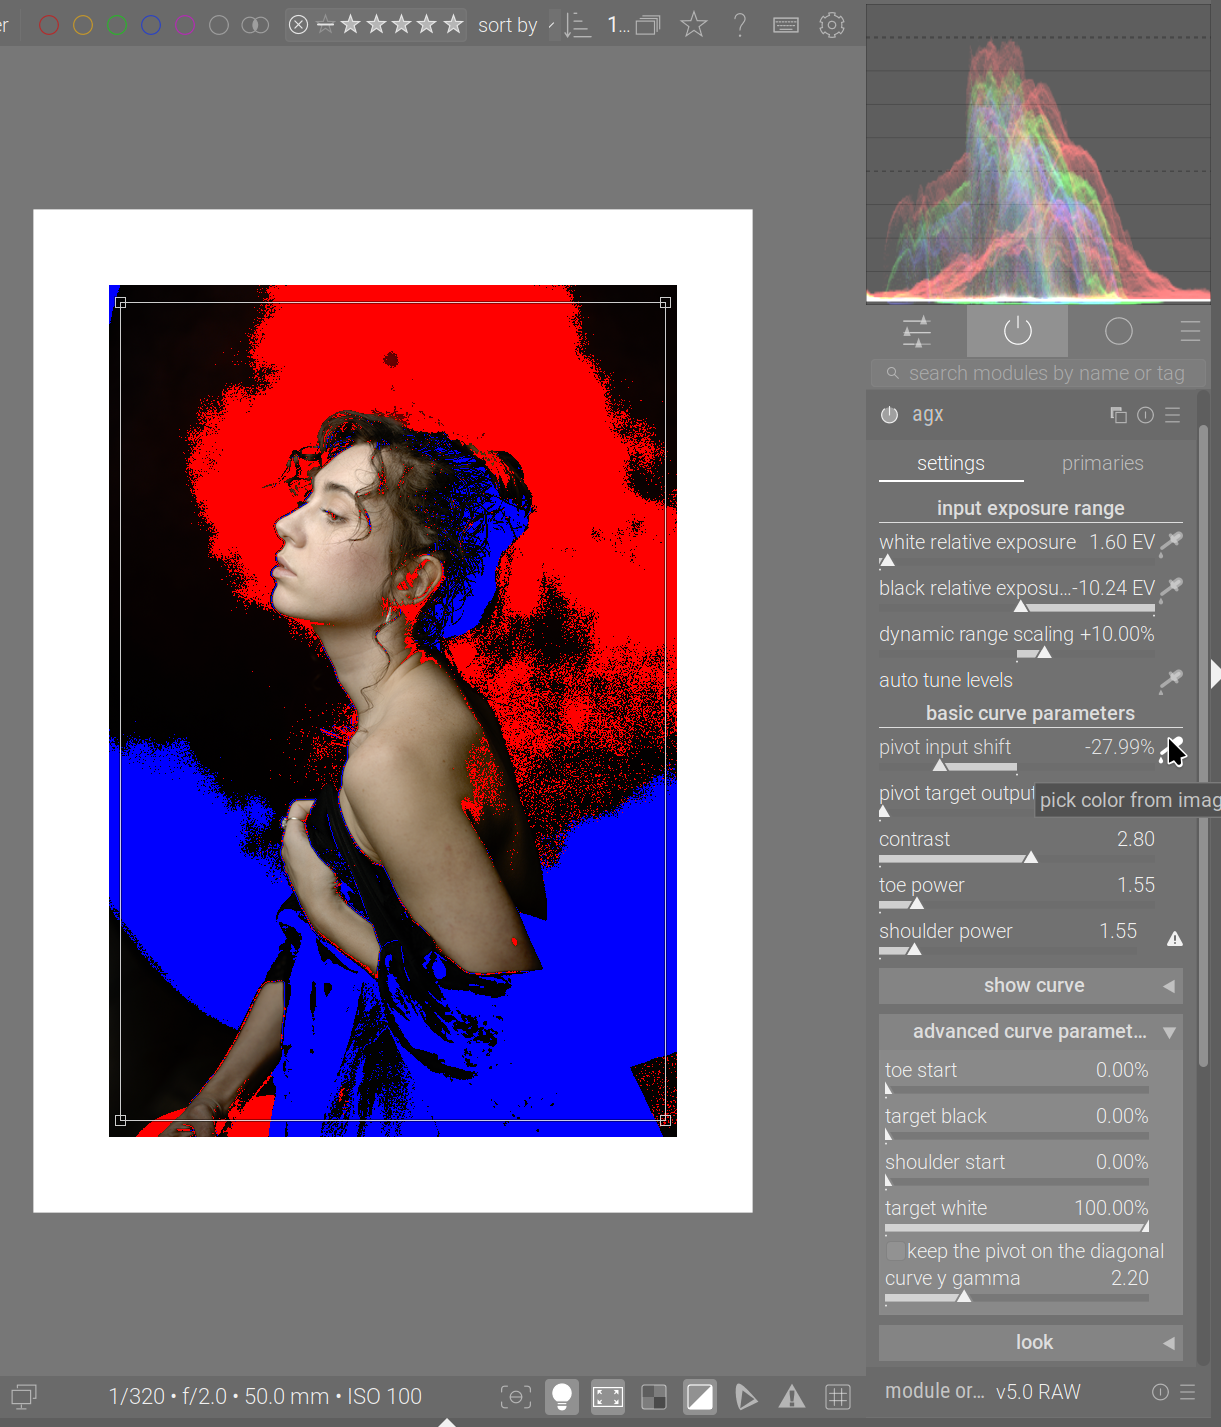
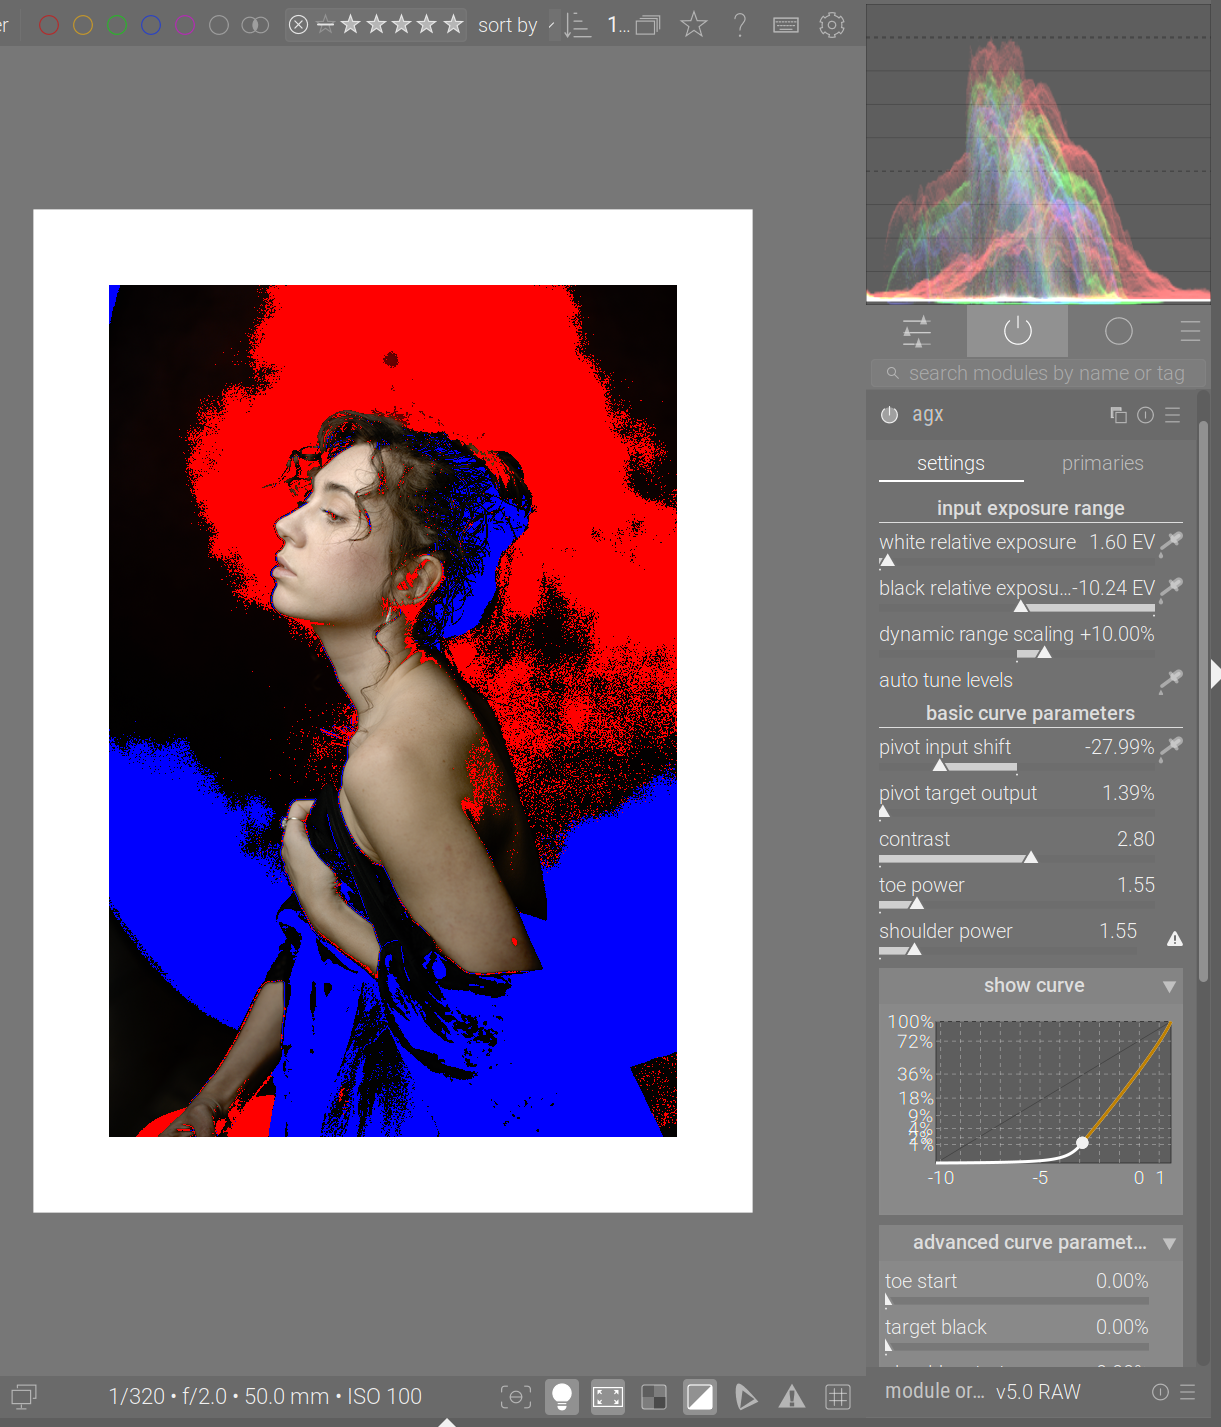
Picking the pivot (again, from the whole image), a lot of the image area is highlighted:
The curve, before picking the pivot:
And after – we can see that the pivot is too low, pushing the darker areas into the deep shadows (but only reaching 0 if the input is 0):
However, look what happens if I raise the the target black:
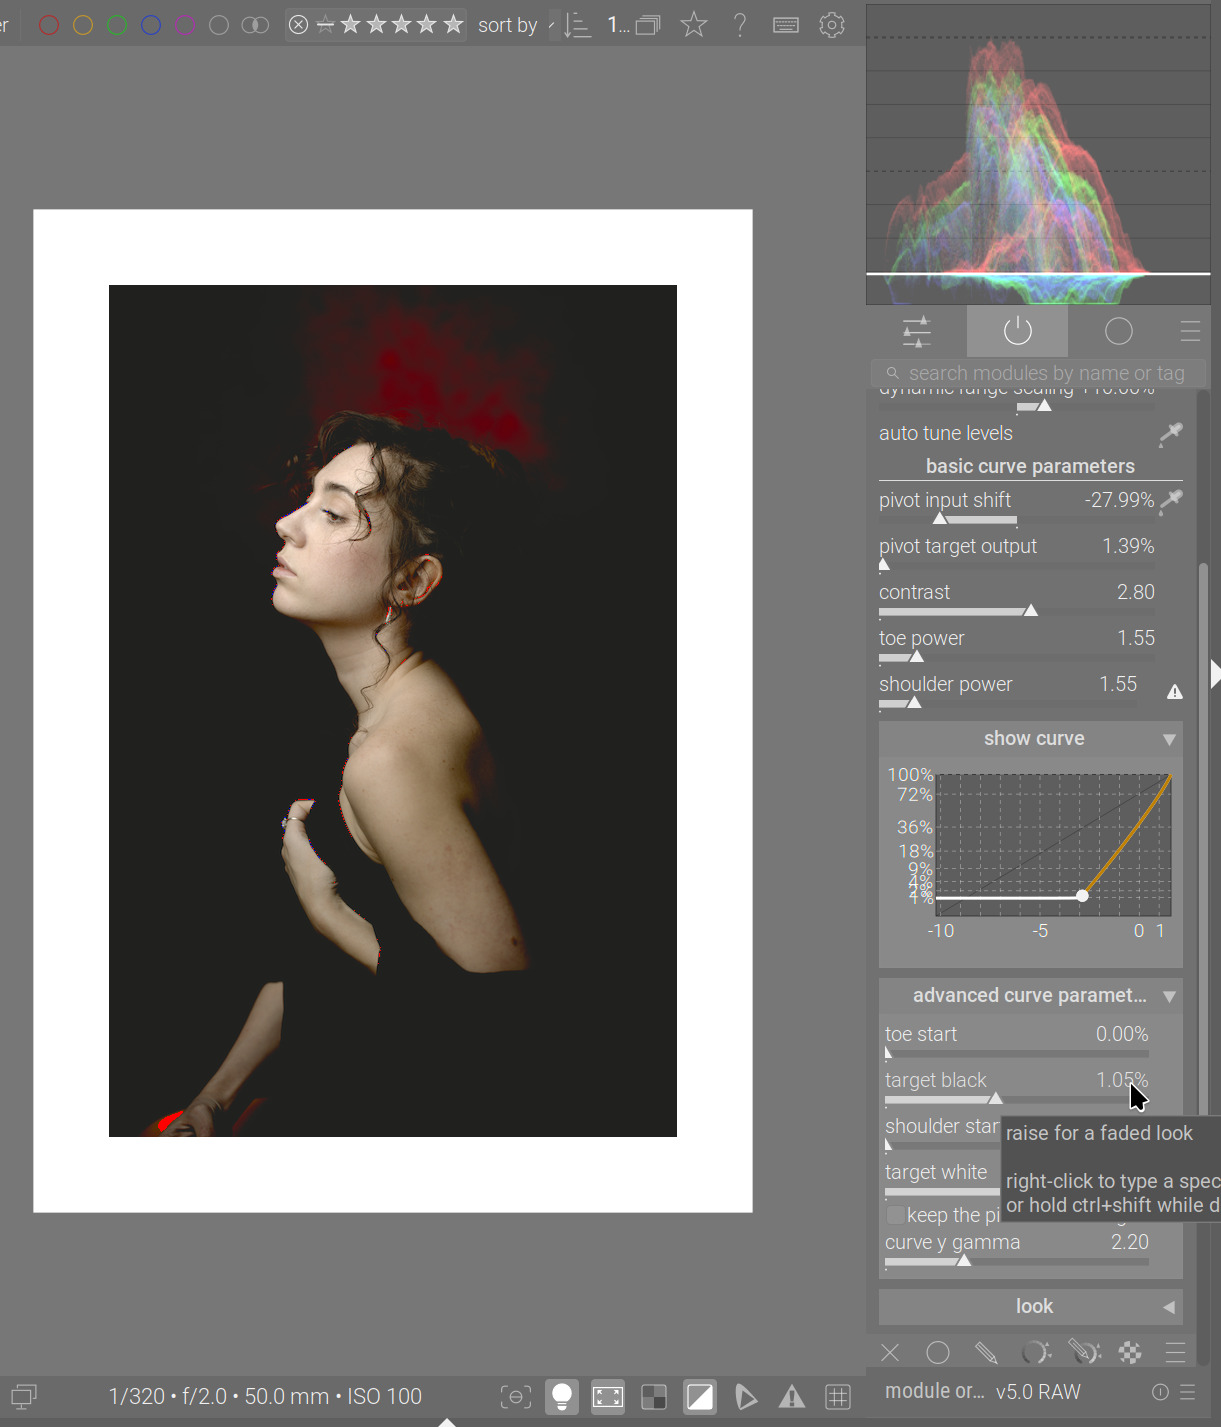
We can clearly see that the general “black” level of the image increased, but, for a large area, slightly to the right of the centre, green and blue are below that. I think that means they are negative if we don’t raise the target black. What pushes pixels into a negative range? Saturation. The channel values were pushed close to 0 by the curve, and increasing saturation (purity boost) increases the difference between channels, increasing some, decreasing others – and pushing those close-to-zero values into the negative range.
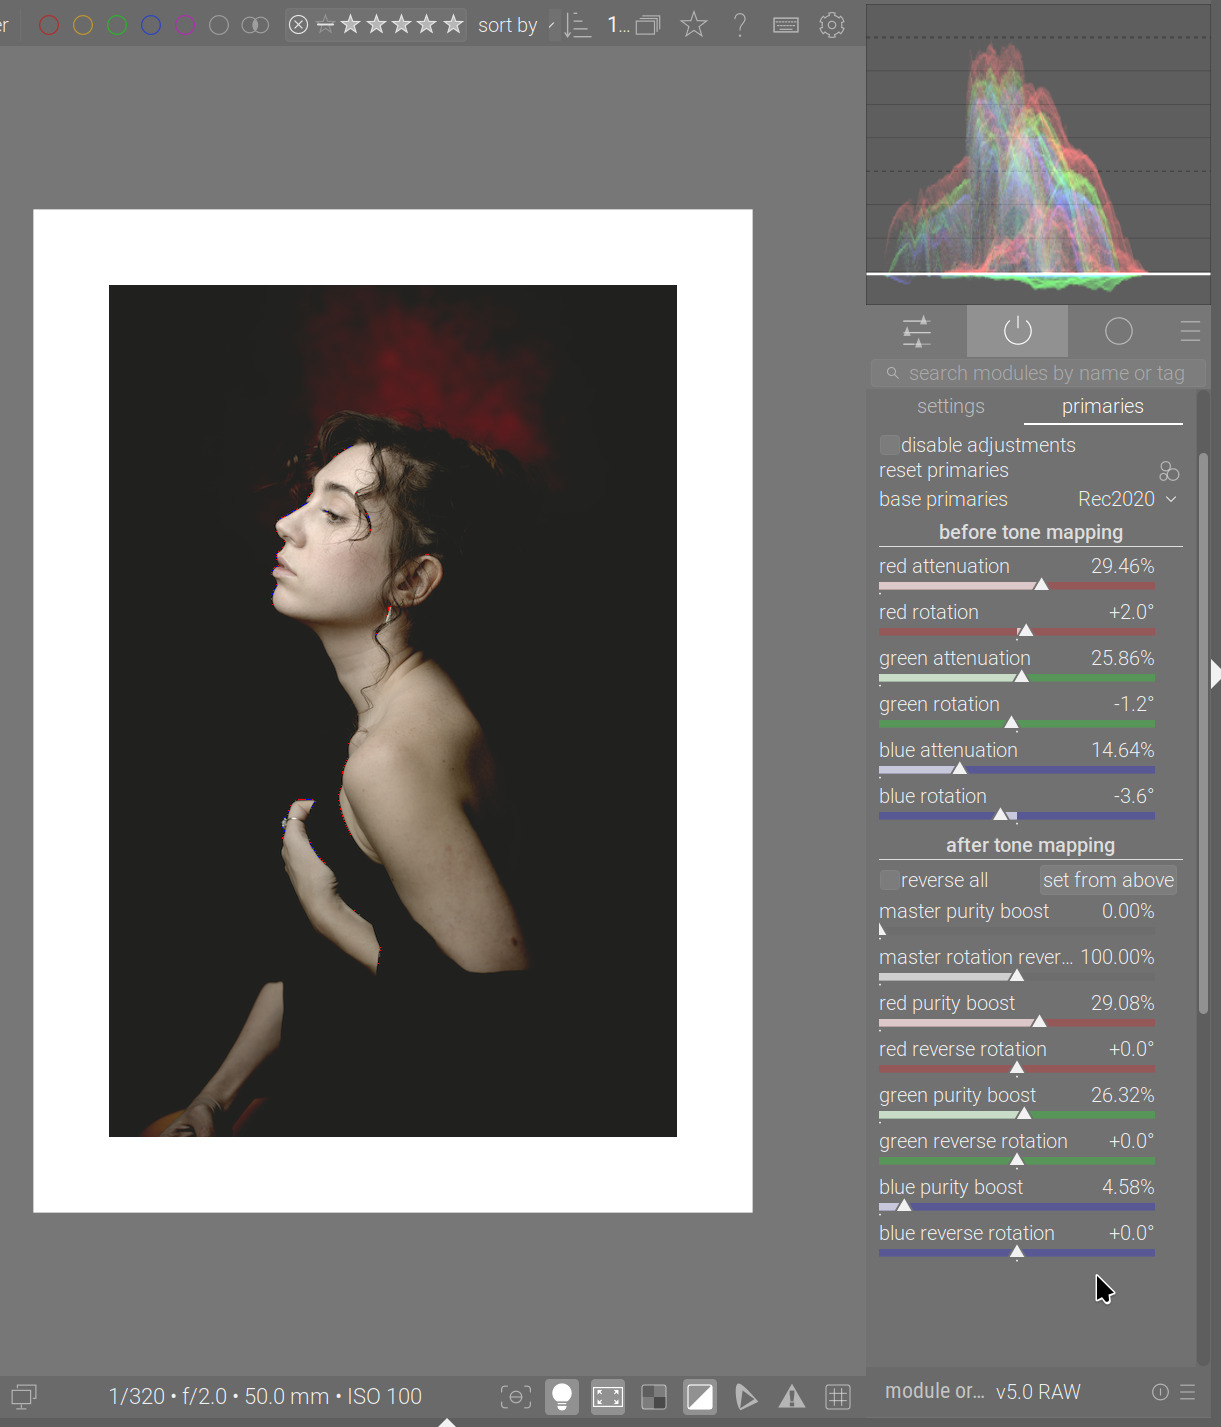
Let’s set the master purity boost to 0 – the ‘underwater’ part of the waveform is mostly gone:
A similar thing can be done using the look (this is after resetting the controls, so saturation is back):
With agx, we only have gamut compression at the input; I did not port Blender’s output-specific target transformation; out-of-gamut colours are simply clipped.
I’m not saying this is crucial, just something to be aware of. As long as the visible result does not change, that clipping is not really important.
6 Likes
![]()
   103.9504 [dev_pixelpipe] took 1.282 secs (13.457 CPU) [full] processed `agx' on CPU, blended on CPU
   162.6006 [dev_pixelpipe] took 0.110 secs (0.125 CPU) [full] processed `agx' on GPU, blended on GPU
@hannoschwalm : this is just blindly copy-pasting Gemini’s output. Would you like to have a look?
Do you have an opencl branch?
Not yet a branch, but yes, an OpenCL implementation, tested exactly once on exactly one image, so…
1 Like
so it is ready for production ![]()
3 Likes
Thanks for your very detailed observations!
Why did you choose not to port the output-specific target transformation? (Genuine question, I don’t know very much yet about the whole way darktable’s pipeline works).
I has been a while without an experimental build. If no one complains by end of the weekend, I’ll raise a PR.
If you try this, be sure to isolate it from your normal DB + XMPs, because it updates agx with a new parameter and therefore updates the internal version number to 5. Migrated parameters, processing stacks and presets will not be compatible with v4 from the master branch.
- This version has the “reverse all” checkbox. When the checkbox is ticked, the ‘master reversal’ sliders, as well as the individual post-tonemapping (post-curve) RGB sliders are hidden. The post-curve adjustments will automatically completely reverse the pre-curve ones, behaving as if the ‘master’ sliders were set to 100%, and the individual post-curve RGB sliders were set to the values of the corresponding pre-curve sliders. If the checkbox is subsequently unticked, the controls will be restored, and the sliders will show the same values as before.
- to complement that functionality, an additional button has been added, labelled “set from above”. When clicked, the button will set the post-curve RGB sliders to the pre-curve values and reset the master controls to 100%, allowing you to start from the ‘complete reversal’ look, but alter parameters
- additionally, some simplification of terminology, like “identity line” to “diagonal” and “contrast around the pivot” to simple “contrast”, relying on the tooltip + documentation to explain that the contrast is meant around the pivot
- a bugfix, where the toe/shoulder “inversion” warnings were not visible immediately after using colour pickers that alter the curve (exposure, pivot shift)
- a restructuring of the logical (not the on-screen) arrangement (grouping) of controls. We used to have almost all controls in ‘sections’, but the QAP displays the names of controls prefixed with the name of the section. Certain section names were rather long, and combined with the name of the control, would not properly fit on the screen. Therefore, the logical sections “basic curve parameters” and “advanced curve parameters” have been combined into one, with a shorter name: “curve”. The exposure and primaries controls have been moved directly under the root of the module (not placed in sections) so they would fit on the screen. Your existing agx-related QAP and keyboard shortcut settings will be invalid with this code.
(sorry, accidentally clicked ‘save’, so post is incomplete) I’ll upload the AppImage and provide the name of the branch
The code has been update from master. It includes all upstream changes up to and including:
commit f552cf75c6b0dba298e04bba071a99daaa3951d0 (origin/master, origin/HEAD)
Author: gth-42 <15081488+gth-42@users.noreply.github.com>
Date:   Thu Sep 25 17:13:58 2025 +0000

    Fix: Avoid jobs in darktable-cli folder import (#19358)

    * Fix: Avoid job usage in folder import - darktable-cli

    Import files directly using logic from dt_pathlist_import_create in control/jobs/film_jobs.c
    Fixes blank result from a queued job.

    Align folder import method with that used for individual files.
So, it is up to date with master build gf552cf75.
The name of the branch is agx-curve-warnings-and-primaries-reloading.
The AppImage is available at https://tech.kovacs-telekes.org/dt-agx/Darktable-5.3.0%2B476~g95327b15ea-x86_64.AppImage
@priort , @Dave22152 , @MStraeten , please update your builds if you can find the time.
6 Likes
Blender’s pipeline is, as I understand it, more rigid. In darktable, we always return to the pipeline’s working space, so even if I gamut-compressed everything, subsequent modules that affect contrast / colour may push colour out of gamut again.
Quoting Eary_Chow, one of the original Blender AgX contributors:
We may revisit this at some point. Have you, @elbe , run into artefacts?
1 Like