the increased default upper limit for saturation, slope and power makes it harder to do more subtle changes. (steps are now .1 instead of .01)
The former soft limits felt more reasonable - I doubt using slope up to 10 or power 10 is used very often, so this can be done by overriding soft limits
Thanks for the feedback. Played around a bit, and I found myself using relatively high numbers, that’s why I increased them. I’ll create another build either tonight or during the weekend. For now, you could try Ctrl+scroll.
I’ve been seeing this too in my weekly builds. I haven’t had time to chase it down. The error is that windows doesn’t know how to run the shell script. I tried telling it to use bash to execute it, but that was a miserable failure. For now I let it open the file in wordpad, then close wordpad and it finishes building. I’ll pull latest master and see if I can build.
One more note, I have to build using ninja. Msys makefiles gives a huge amount of errors about accessing nodes, IIRC.
I’ve been able to create builds from your page, but it only goes to Version string 5.1.0+483~gab5cdbd3c6. I don’t know a lot about Github and am only following instructions. If someone could tell me how to get the last version, I can give it another try.
You may have to refresh your local workspace. This assumes you reference my repo with as ‘kofa’ (it’s possible to keep references to several repos in the same workspace).
To list references:
git remote -v

# may answer with something like
$ git remote -v
origin  https://github.com/kofa73/darktable.git (fetch)
origin  https://github.com/kofa73/darktable.git (push)
The first word (in my case, ‘origin’) is the one you’ll have to use.
E.g.
# could be e.g. 'origin' instead of 'kofa', see above
git fetch kofa
# again, could be 'origin' or something else
git checkout -f kofa/blender-agx-poc
git submodule update --init
git clean -fdx
git reset --hard
Those should allow you to have an exact replica of my files, and remove all local changes, files from previous builds, etc. Then you can start your build.
@kofa I made the changes necessary to get a scene-referred (agx) workflow in preferences that works, if you’re interested. However, my git expertise doesn’t extend to pushing changes to a branch on someone else’s repository, so I may have to just send you the files (4).
@wpferguson has sent me files that make it possible to set an ‘agx’ workflow in preferences (thanks!)
all calculations that can be done outside the main processing loop are now done only once (I hope)
no more NaN and blackened image areas (I hope)
I’ve aligned the order of operations (inset, record hue, log, sigmoid, linearise, restore hue, outset) with EaryChow’s code
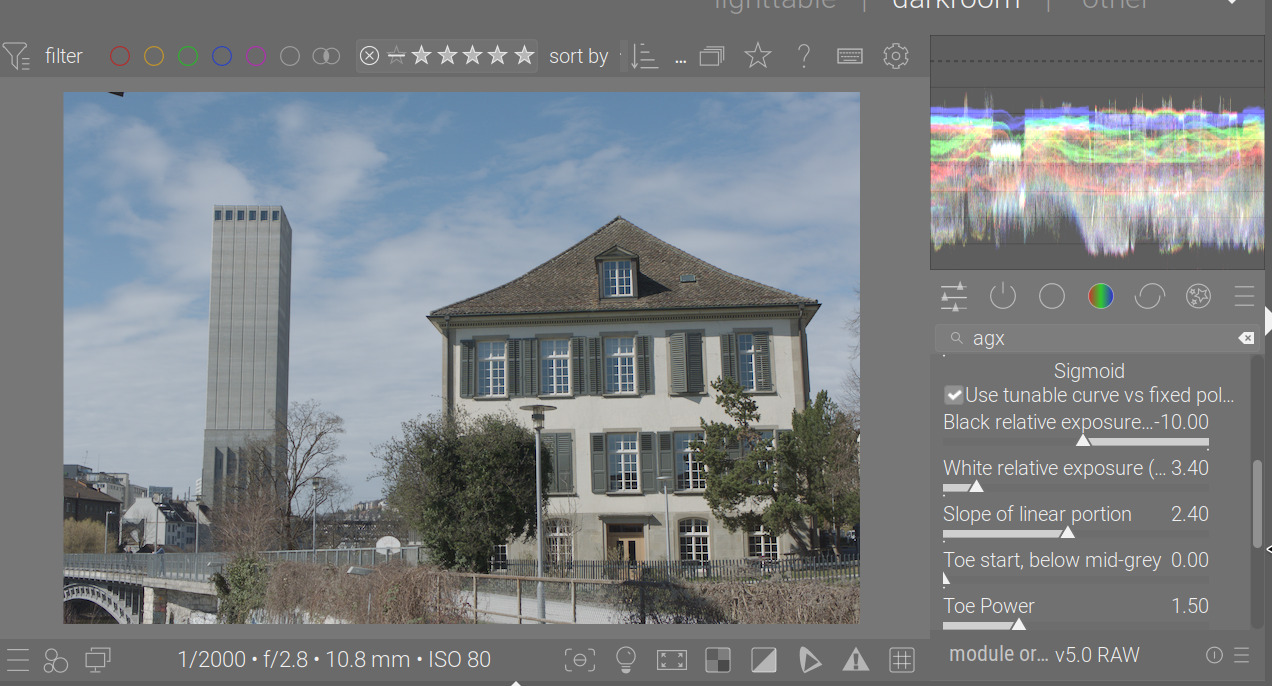
One would expect that reducing the white (black) relative exposure too much would lead to bright burnt-out whites (crushed blacks, respectively), but it happens in a weird way, leading to burnt-out whites becoming light grey (crushed blacks becoming dark grey) instead. I’ll look into that.
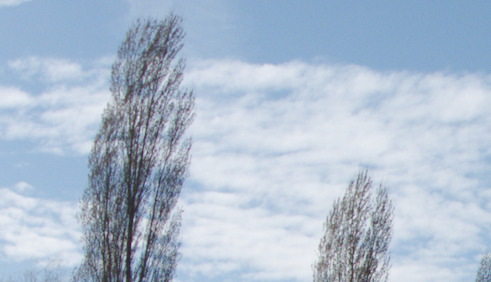
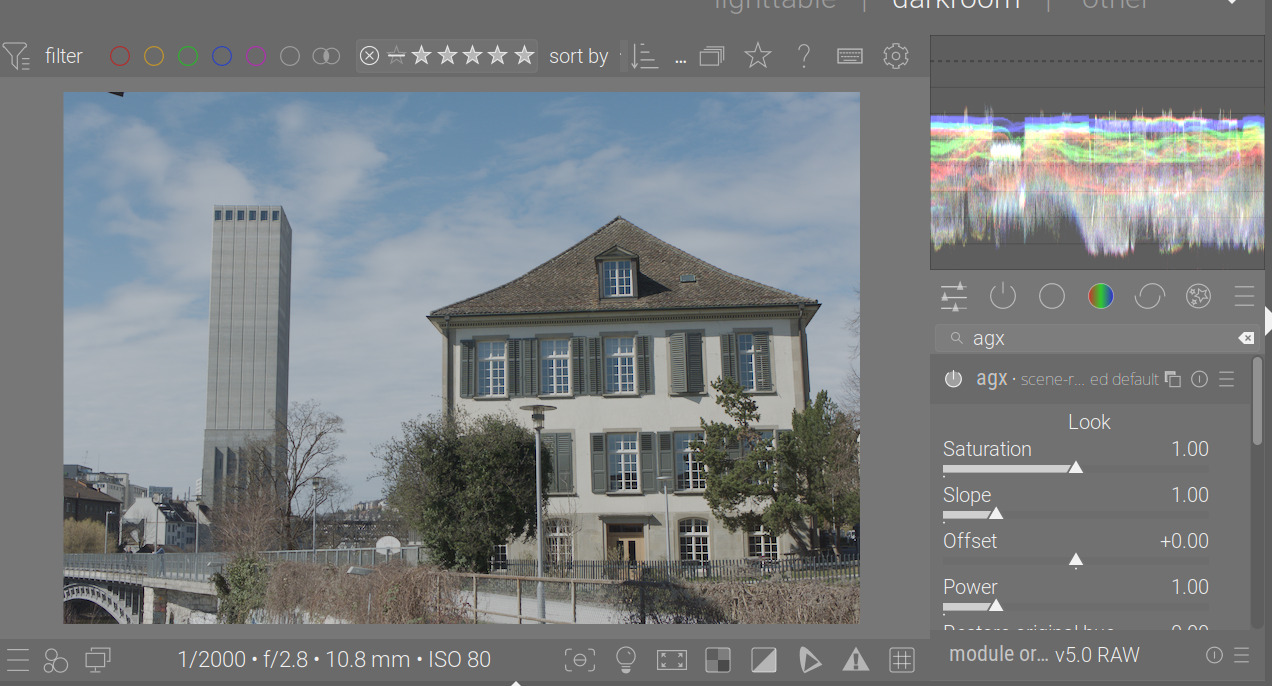
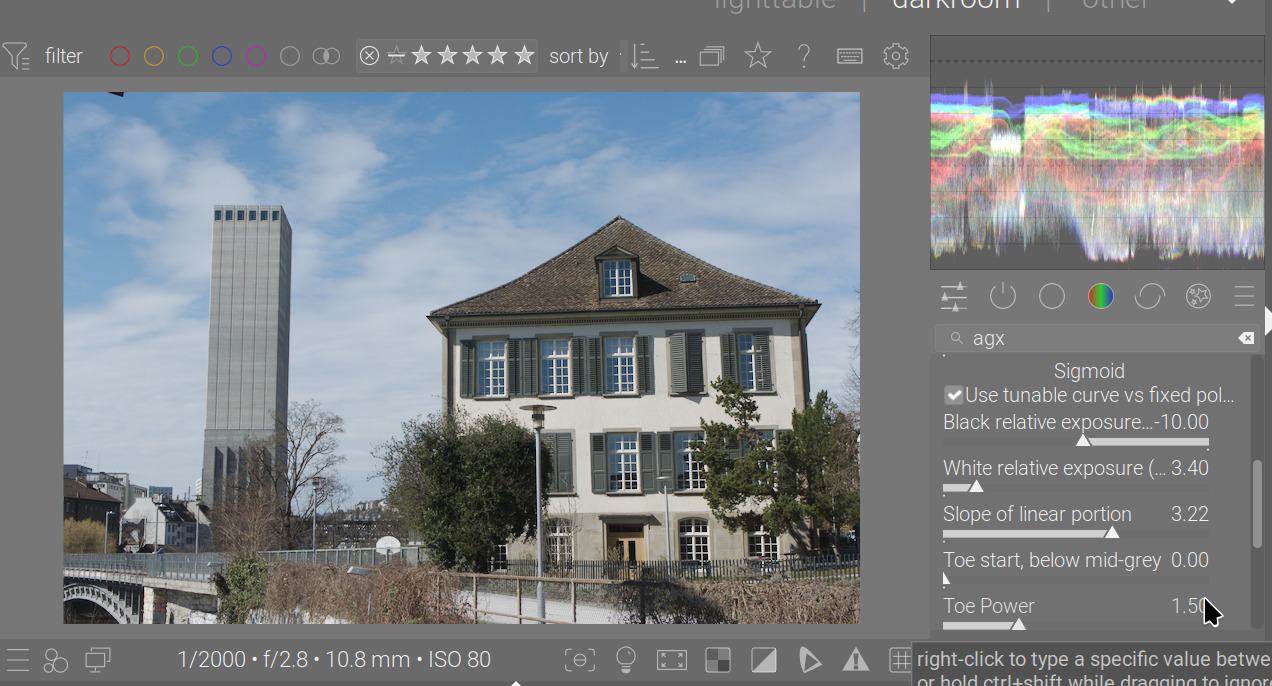
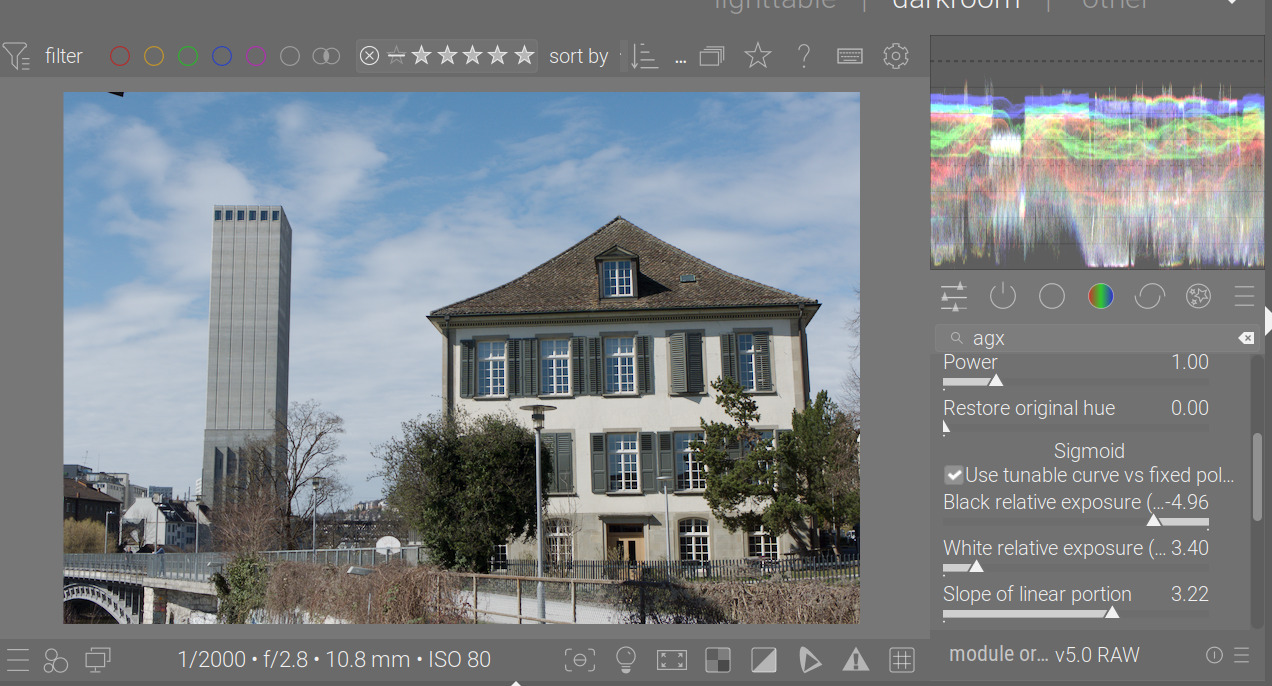
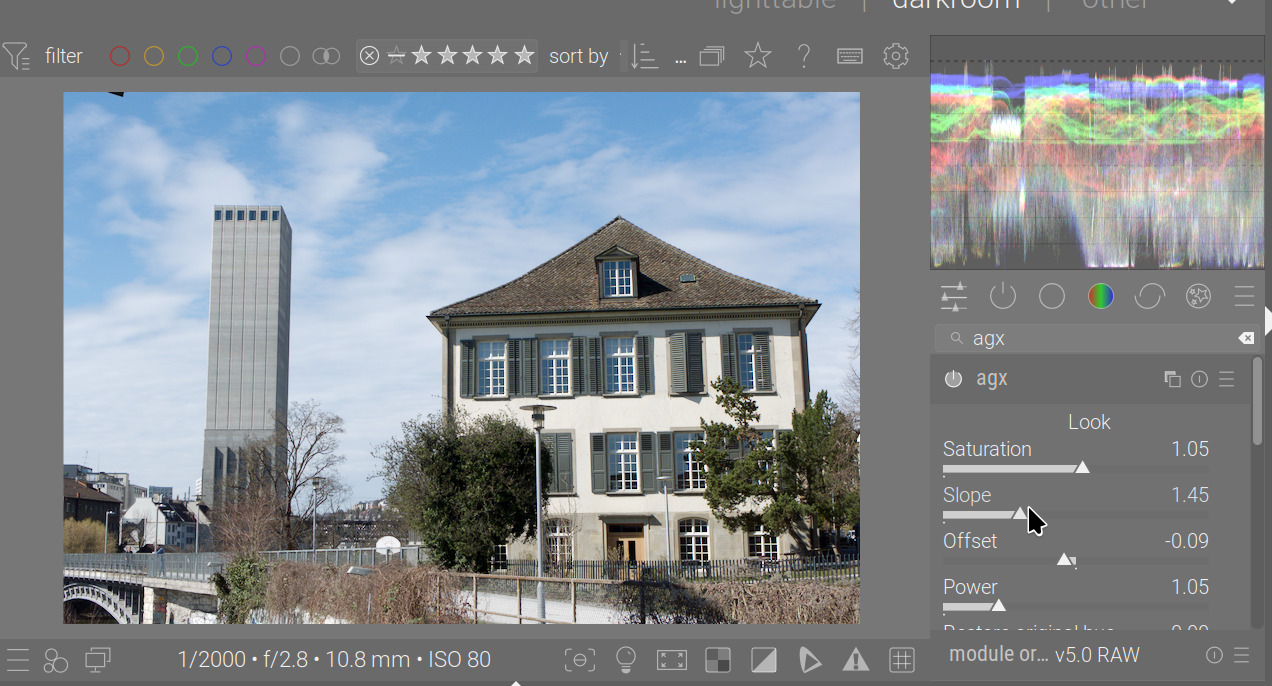
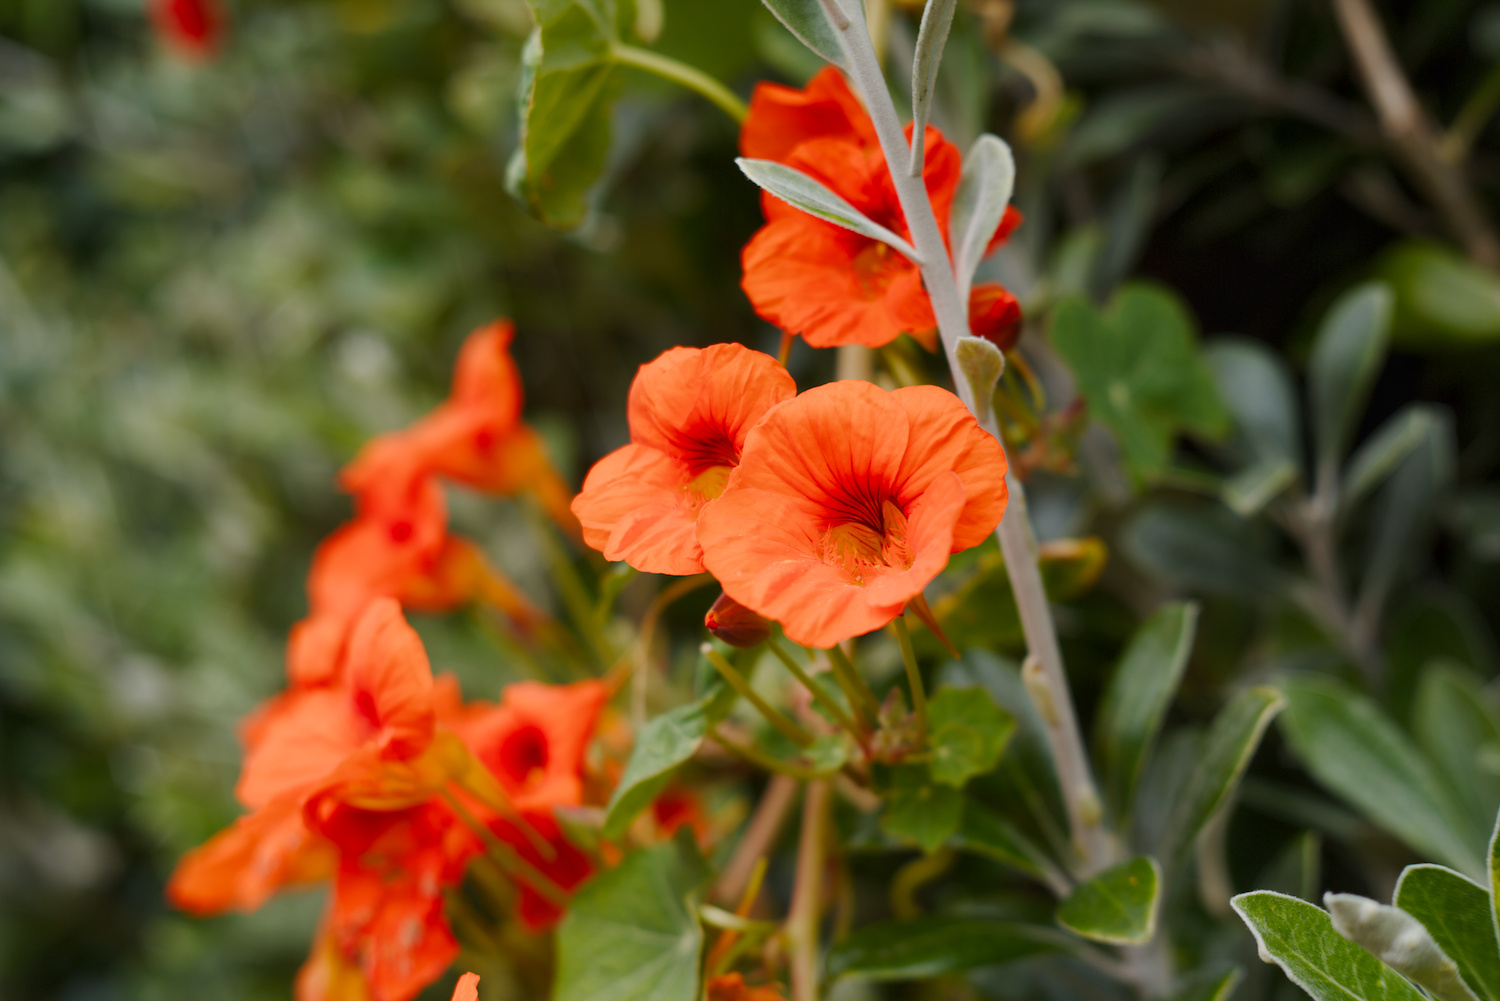
A bit on processing experiences: I’ve found that increased toe power controls can produce crispier highlights / deeper shadows without burning / crushing them. This works best if the white/black relative exposures have not been moved too close to mid-grey. An example:
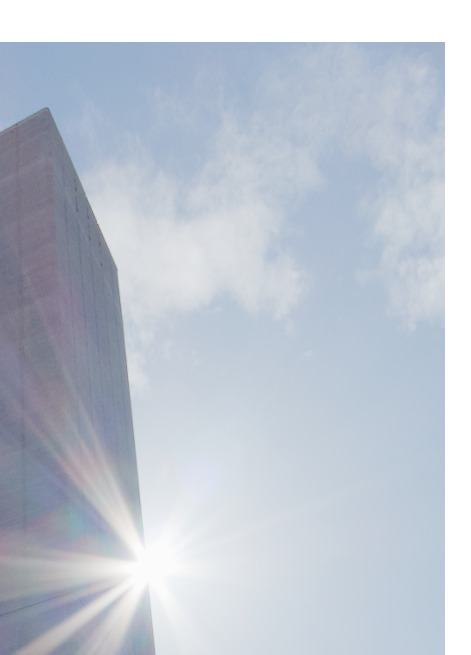
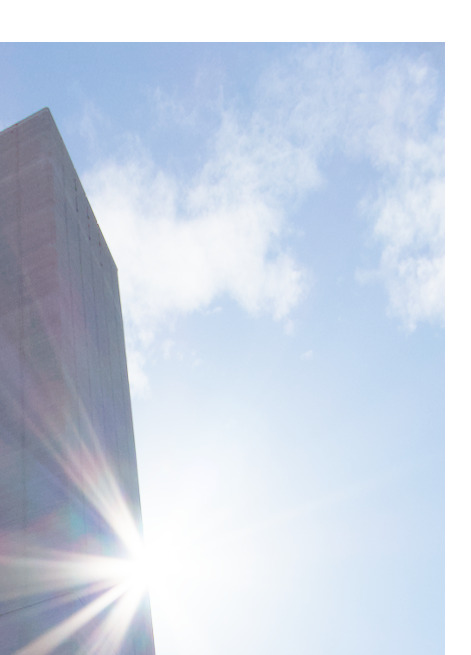
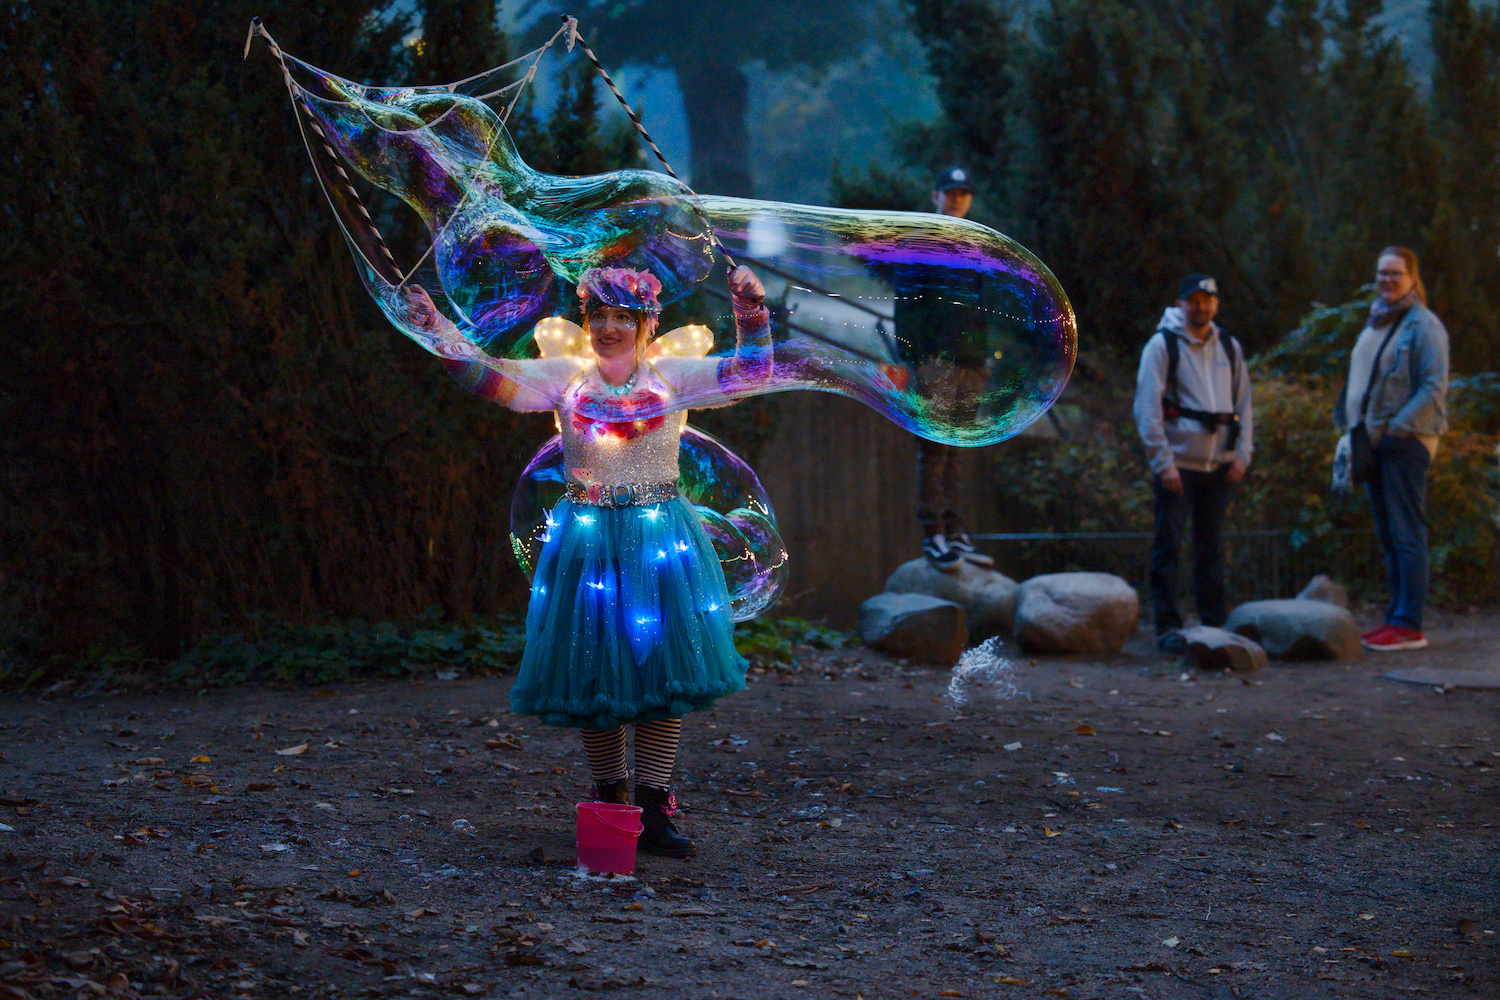
Another example (I had the Sun in the frame, and I increased the white relative exposure to 7.7 EV, which made the effect stronger):
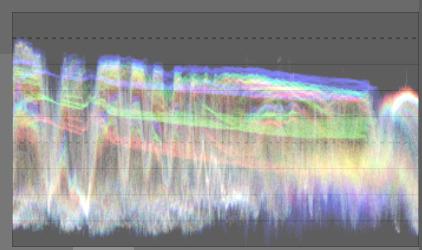
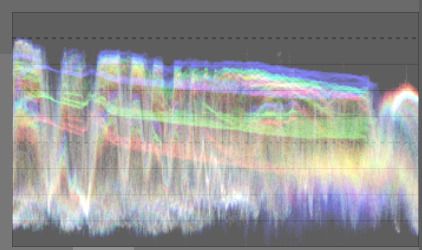
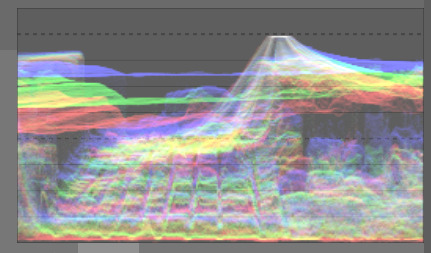
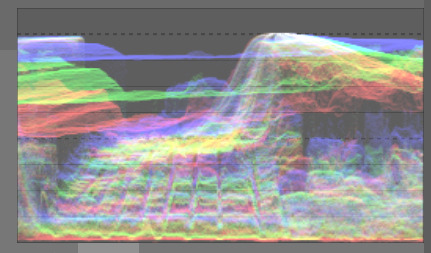
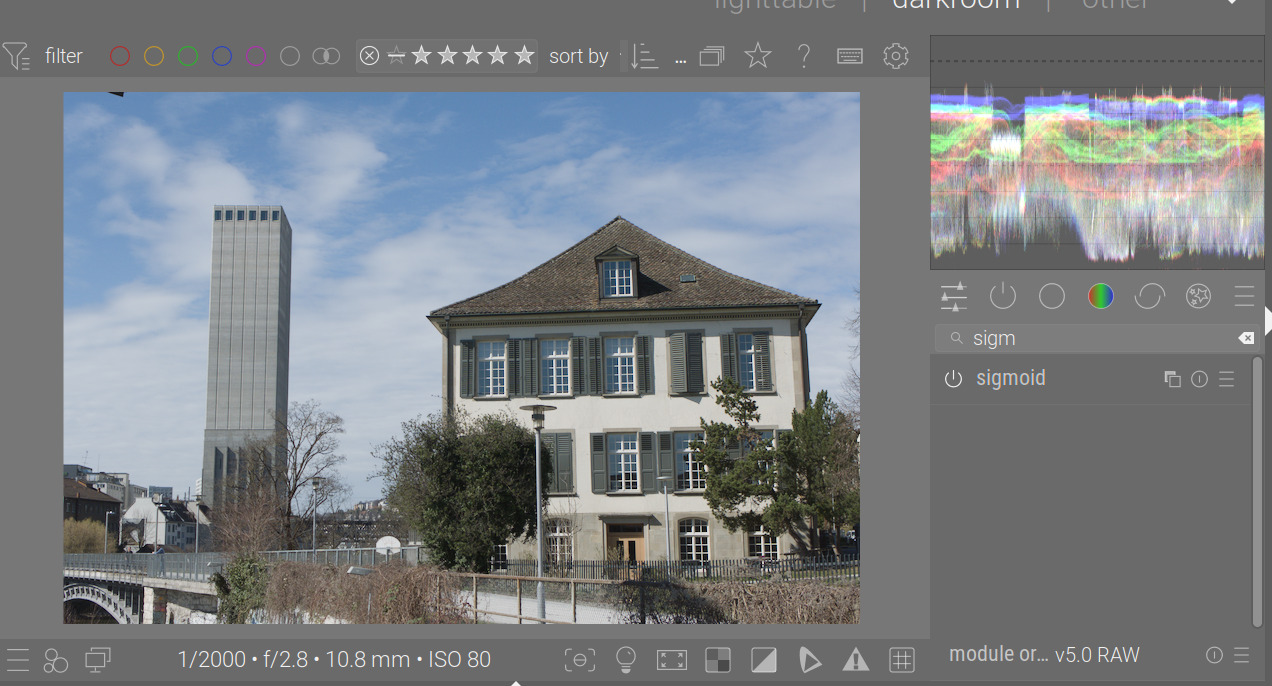
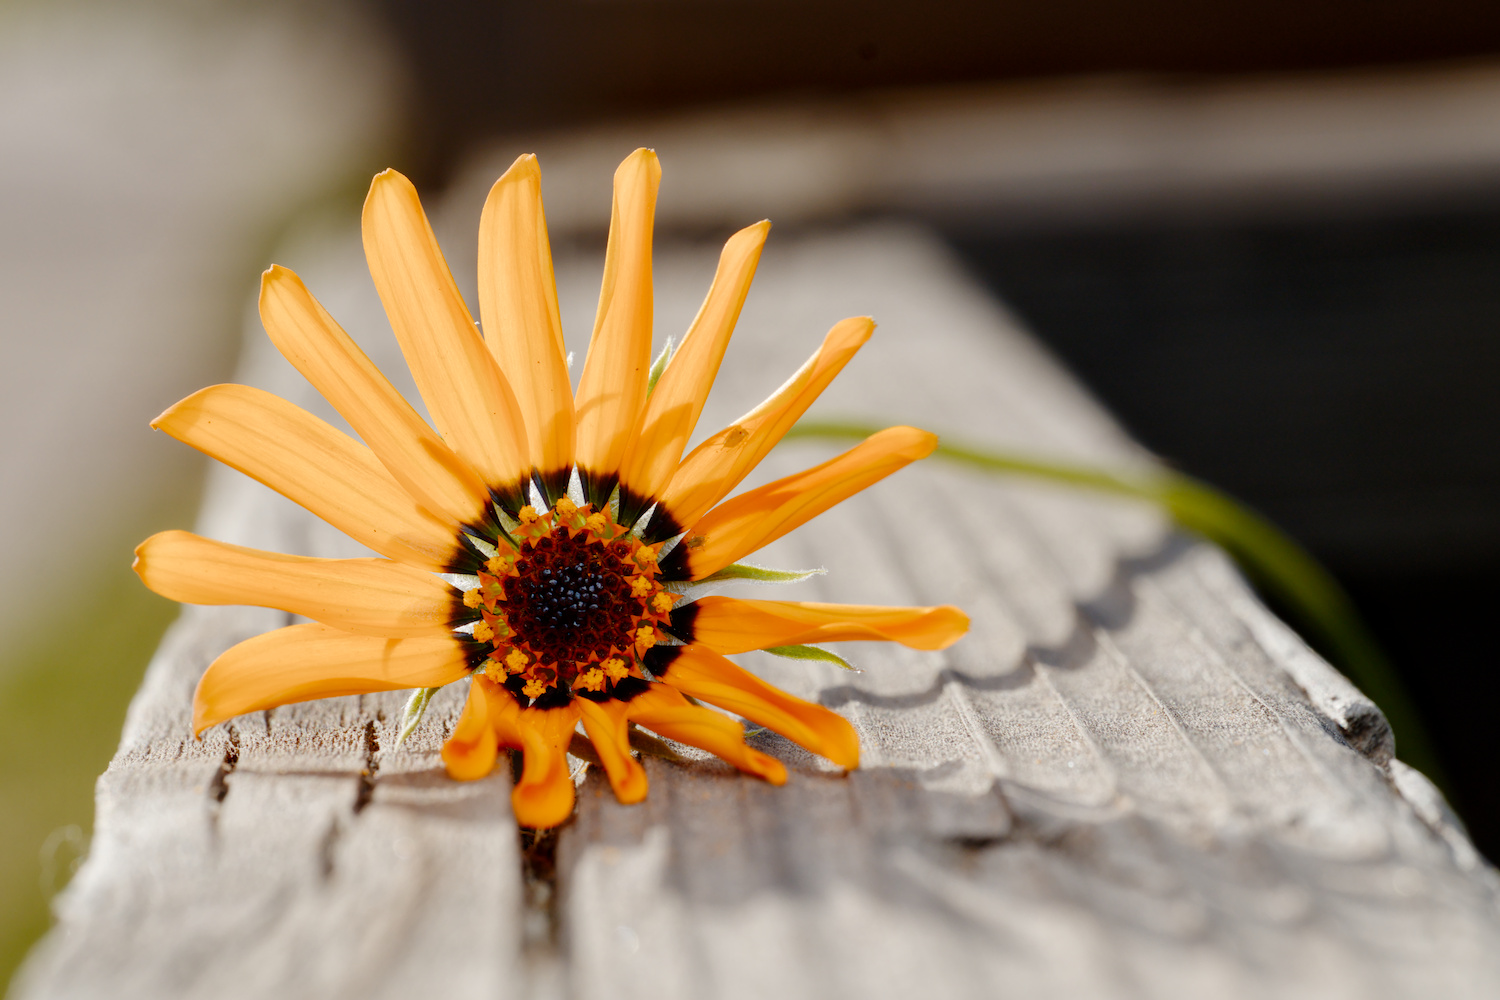
Shoulder power = 1.5 vs 5.0:
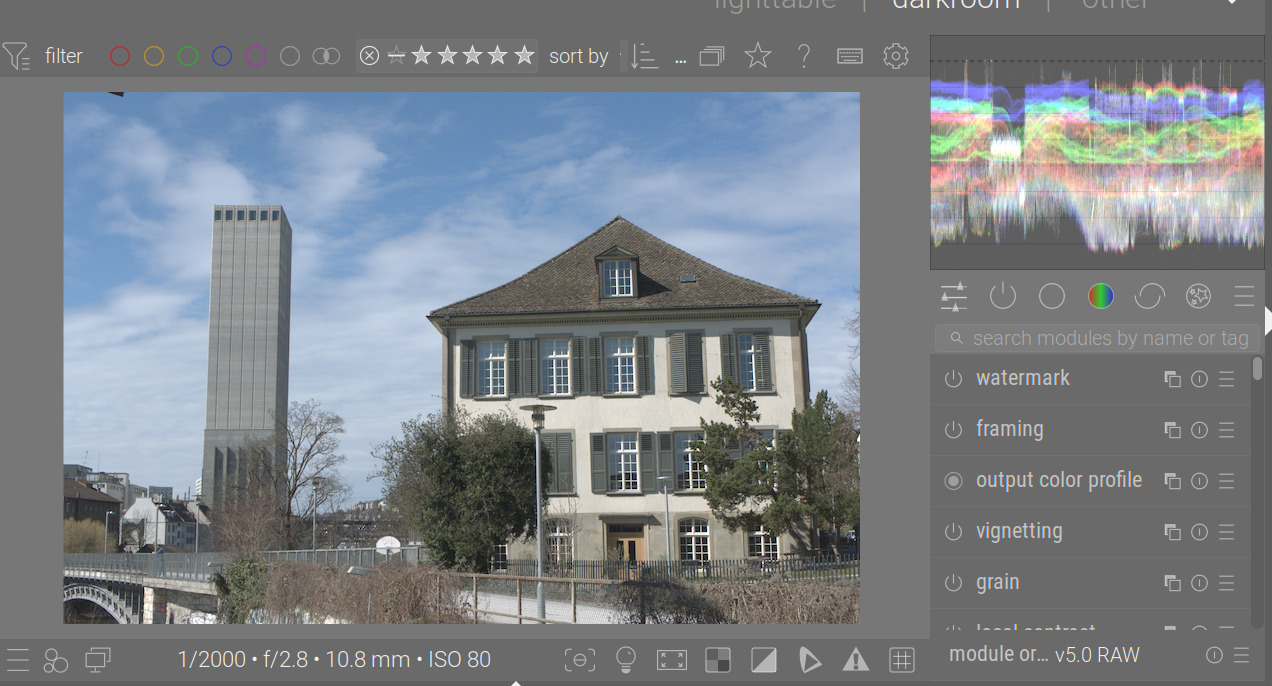
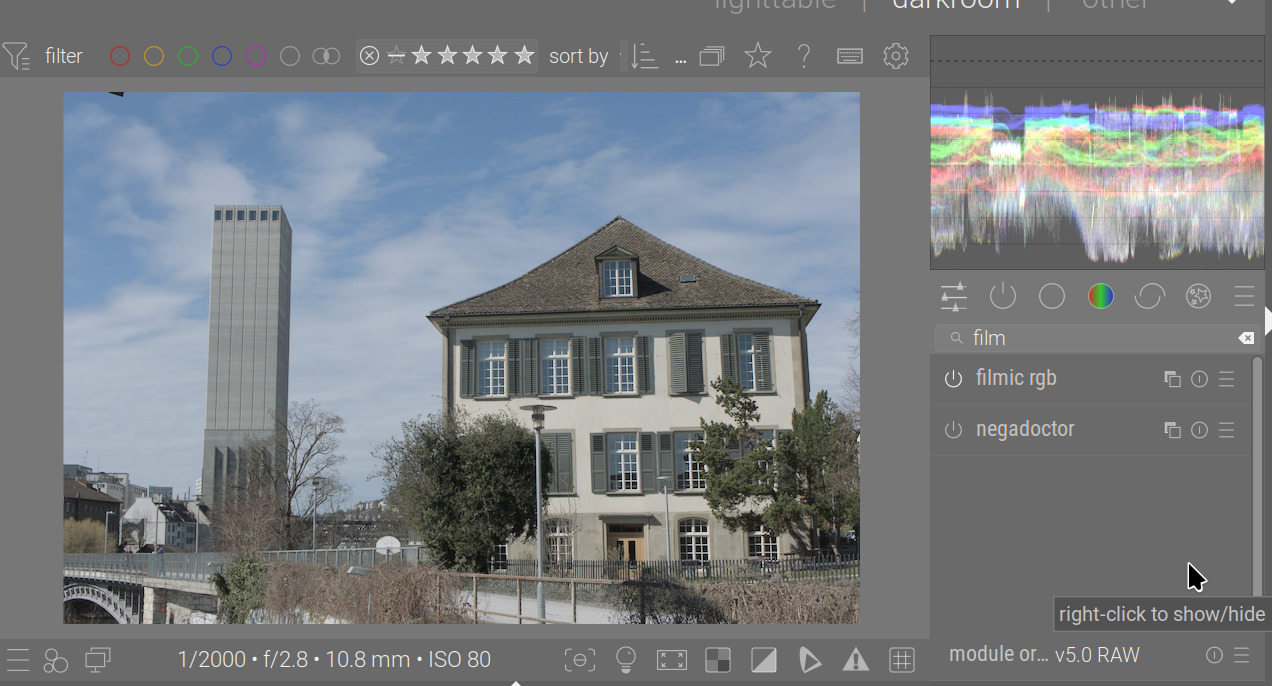
The white point is quite close to mid-grey (I mean much closer than +6.5EV). I get the brightest whites at 3.4 EV, and a further increase leads to the bland grey highlights I mentioned above:
Feedback request: did you find the slope scaling (so changing the black and white relative exposure does not affect midtone contrast and each-other) useful?
Here are the results of my tests, I tried to make a style to start processing more easily.
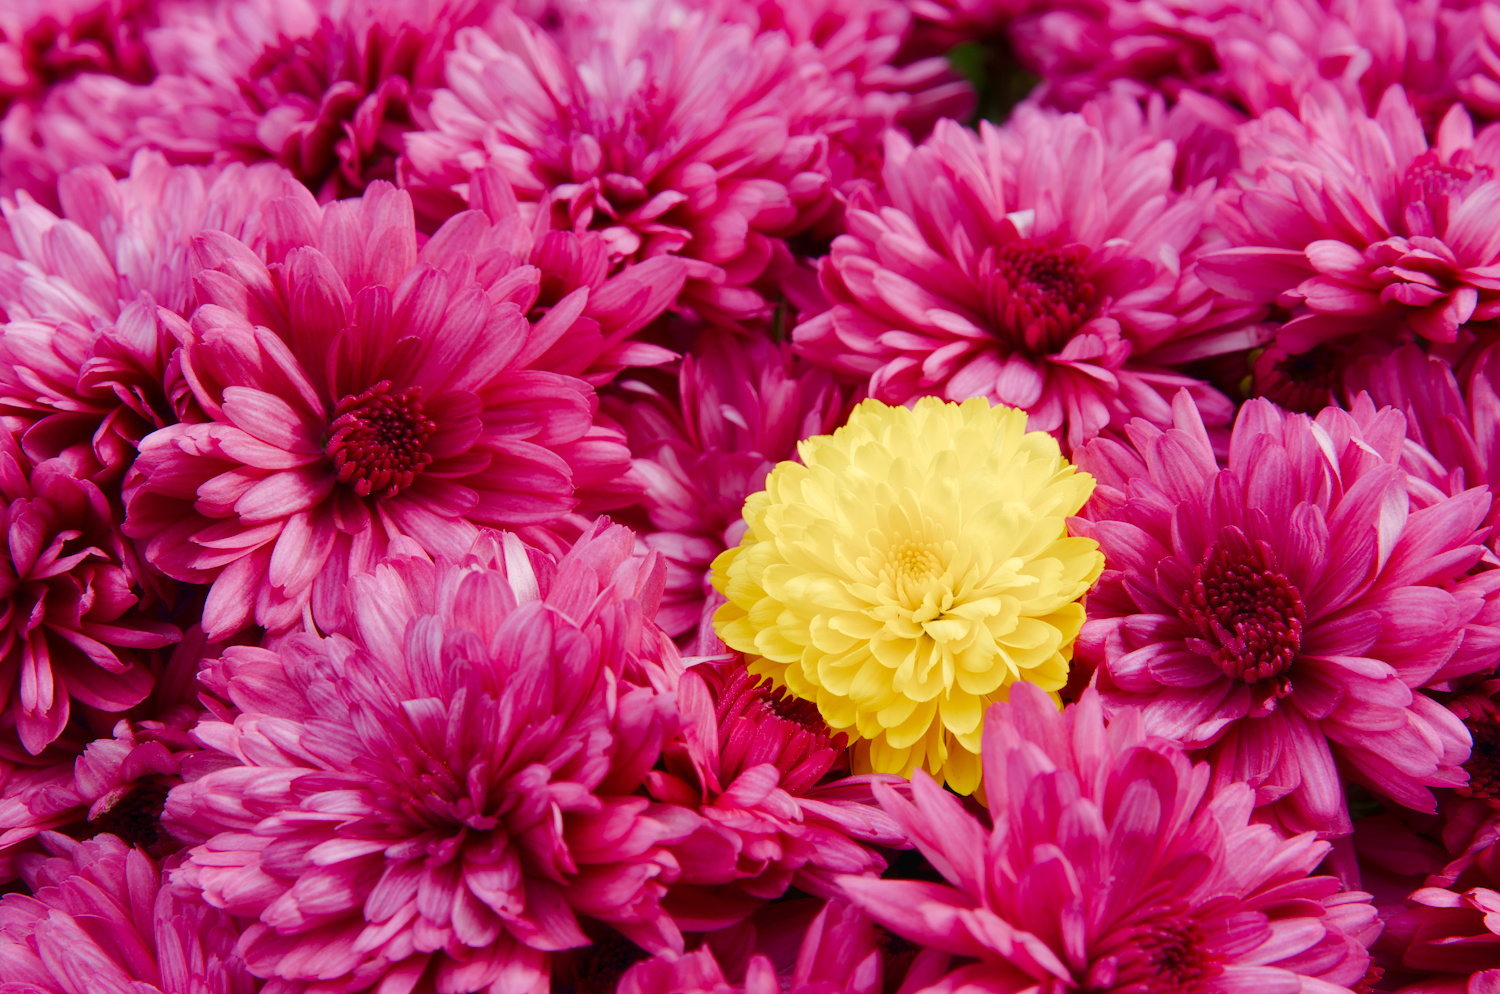
I found that agx lacked a bit of clarity and texture, I used two instances of contrast equalizer to remedy this, I also used my usual preset to recover detail in the highlights.
As for color, I used the primaries module to obtain more natural red tones (strawberry, raspberry), but I’m still not satisfied with the yellow tones (lemon), which are too orange for me.
I also used a second instance of the exposure module to add 0.3 EV just before the AGX module.
Here’s the style Agx.dtstyle (6.8 KB)
a short video illustrating my tests with photos from play raw and two “sweet” photos and the photos