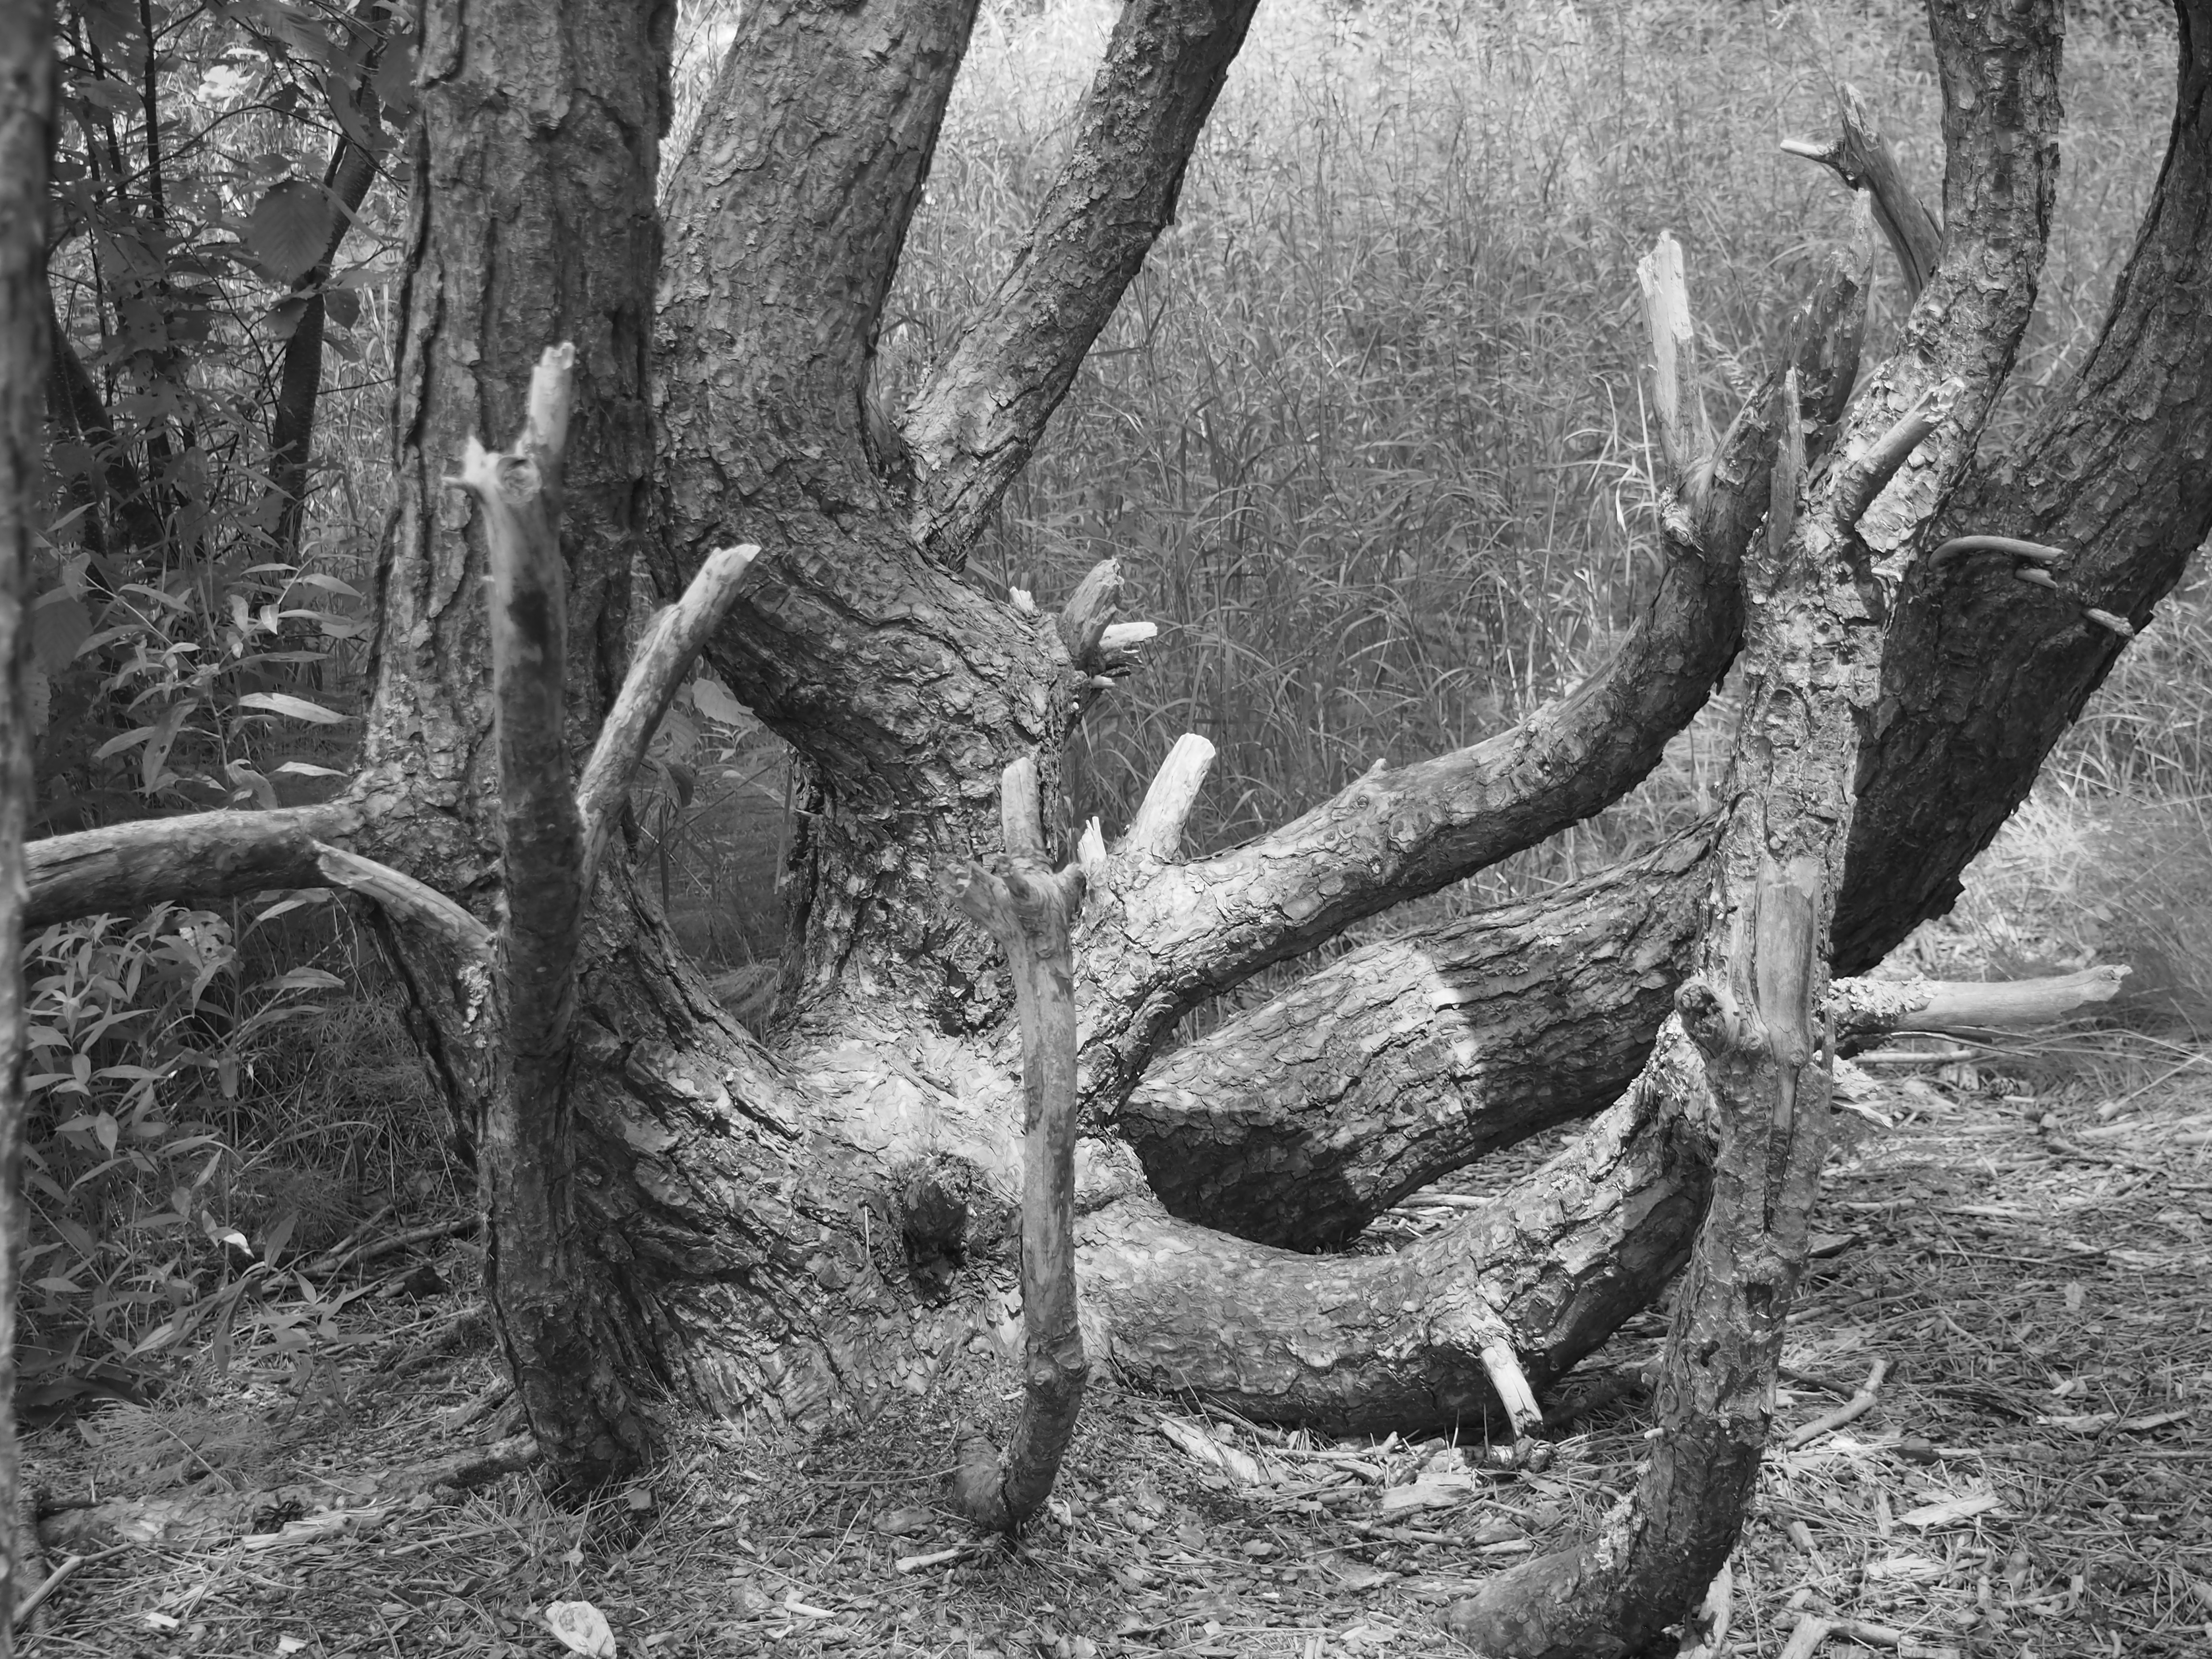
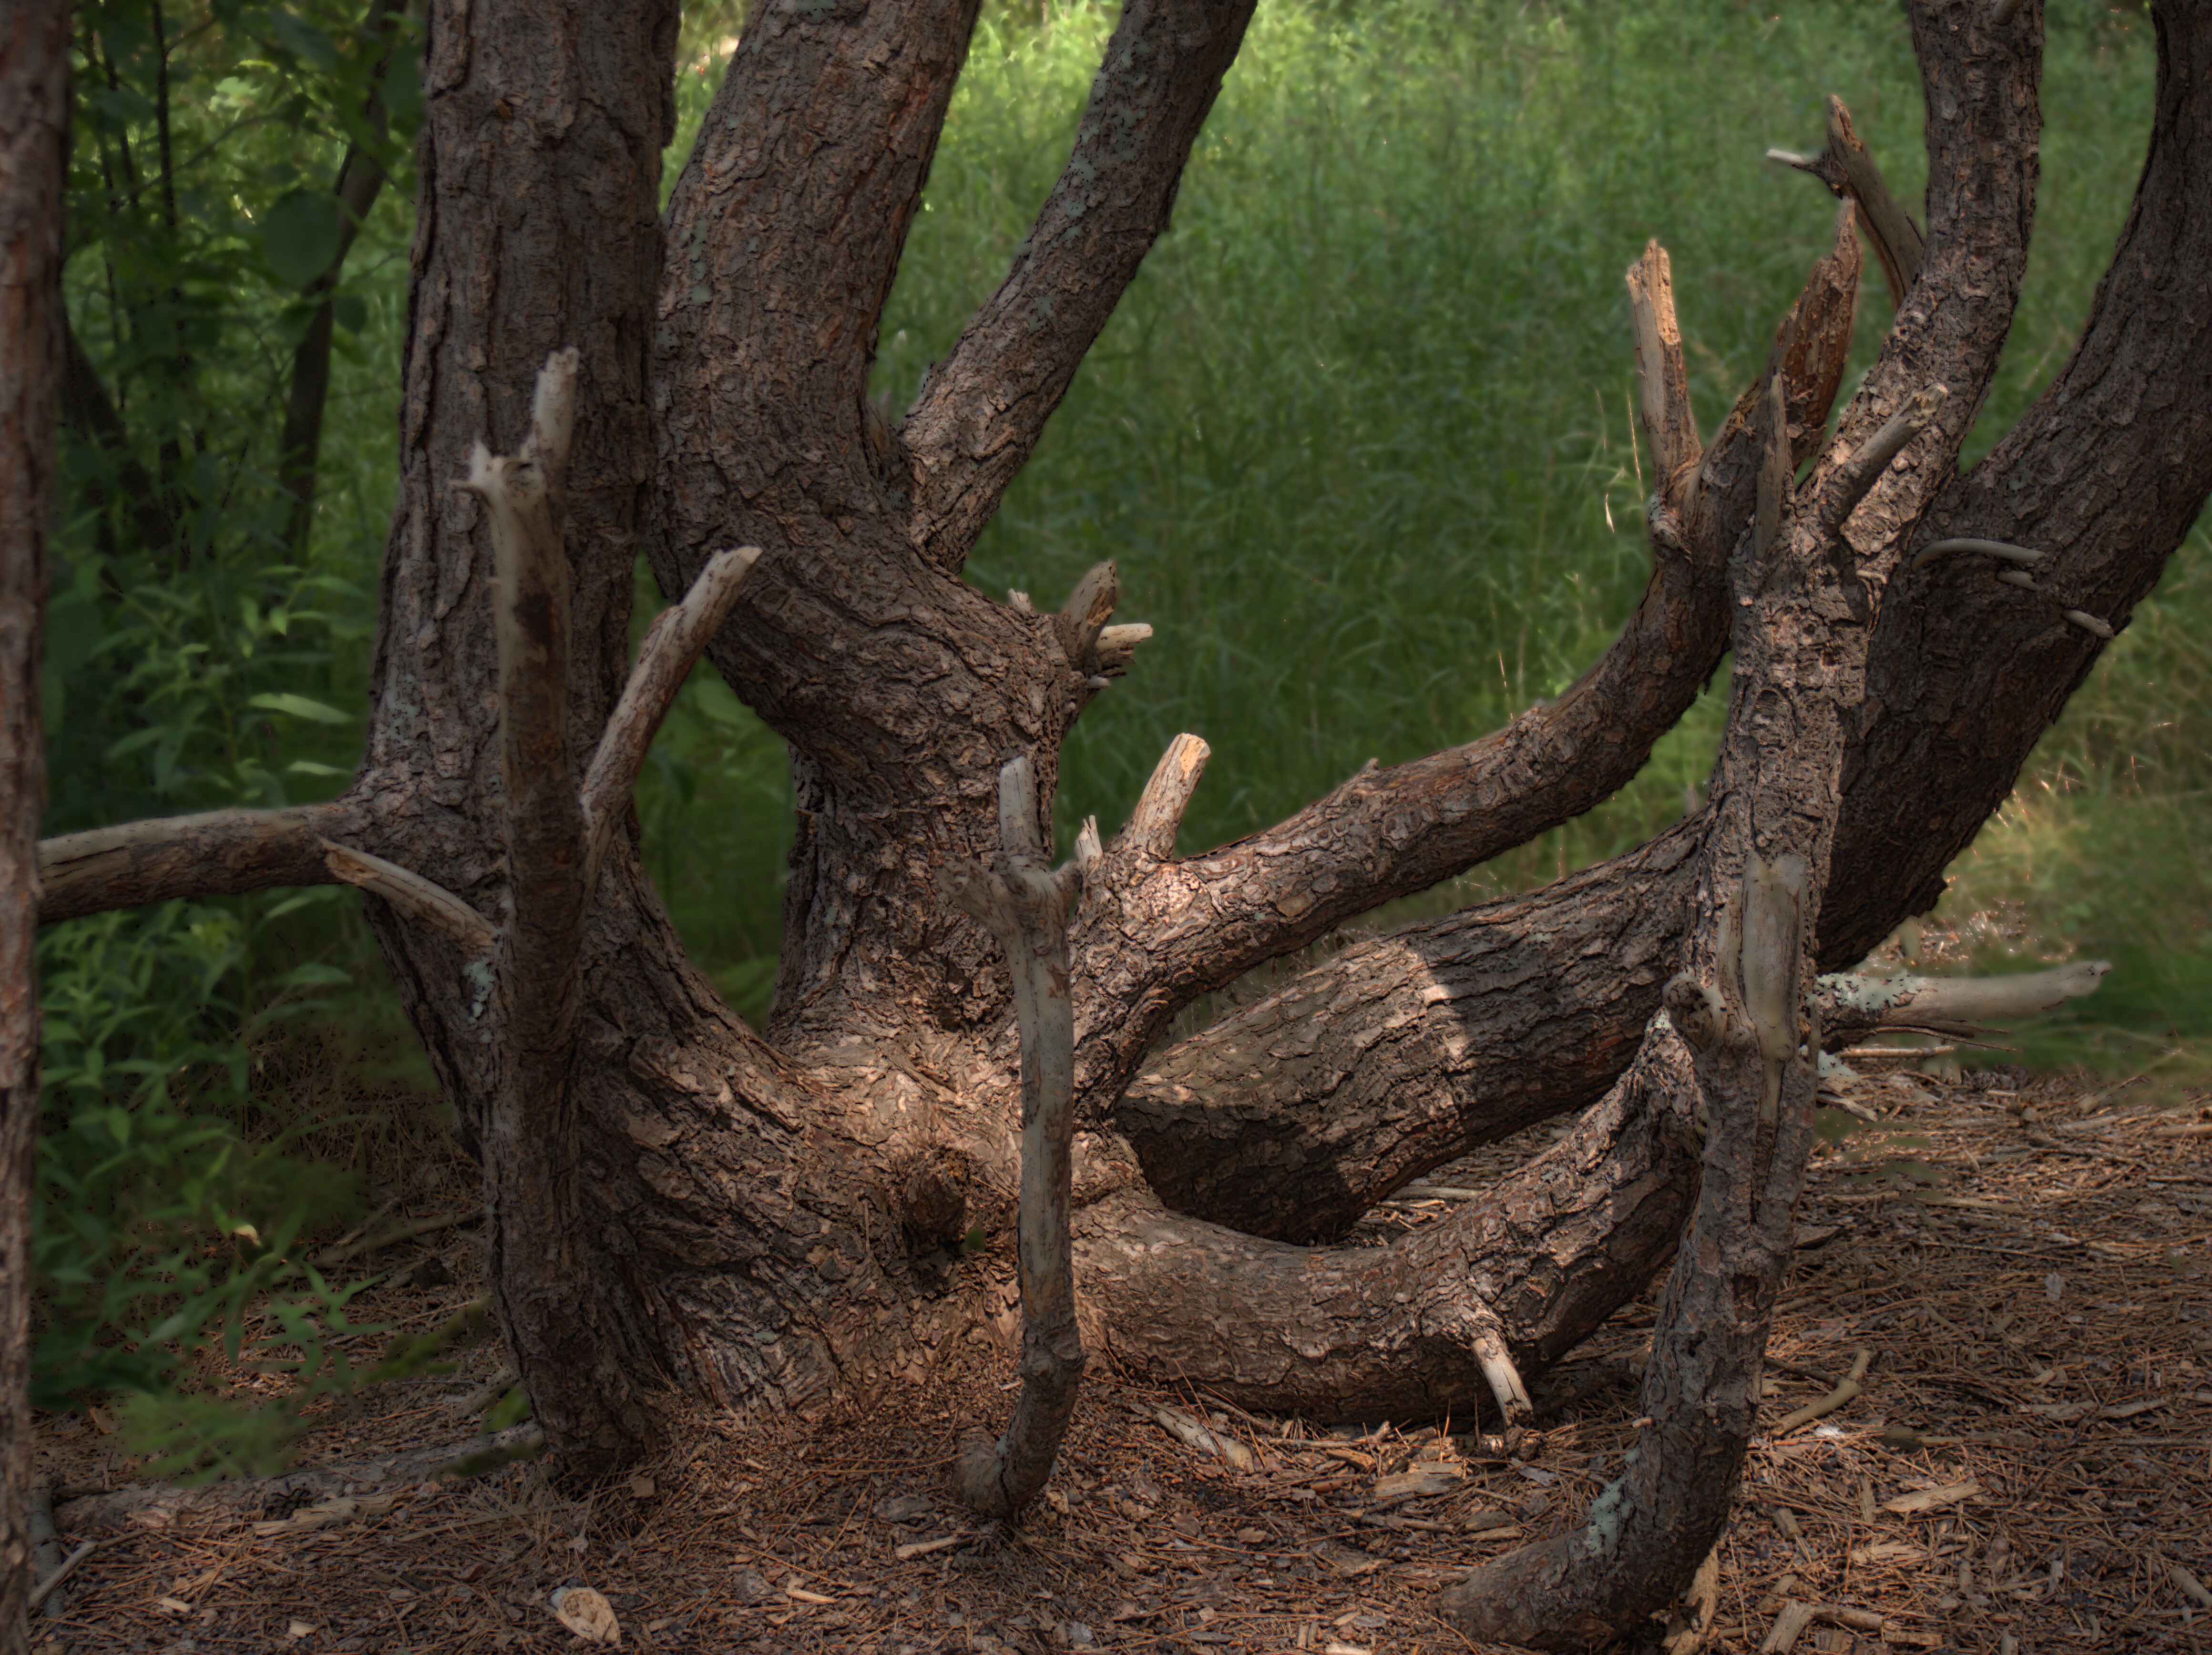
First of all, there may be some focus issues, please don’t worry about that, this tree is nearby and I can easily reshoot (and plan to do so).
I’m trying to separate the tree from the background. My Olympus lens is a kit lens, 14-42 f/4.0-5.6, so the depth of focus is deeper than a pro lens at f/2.8 and so, it is difficult to use focus to separate the tree in from the background by that means. Another problem has been that when there is light on the tree, there also is light in the background (and visa versa) so it’s difficult to use that to separate them. Using darktable, I’ve tried using the green in the background (there also is a bit of green on lichen on a couple of the branches so both a parametric and drawn mask was necessary) but I haven’t got that to work very well either.
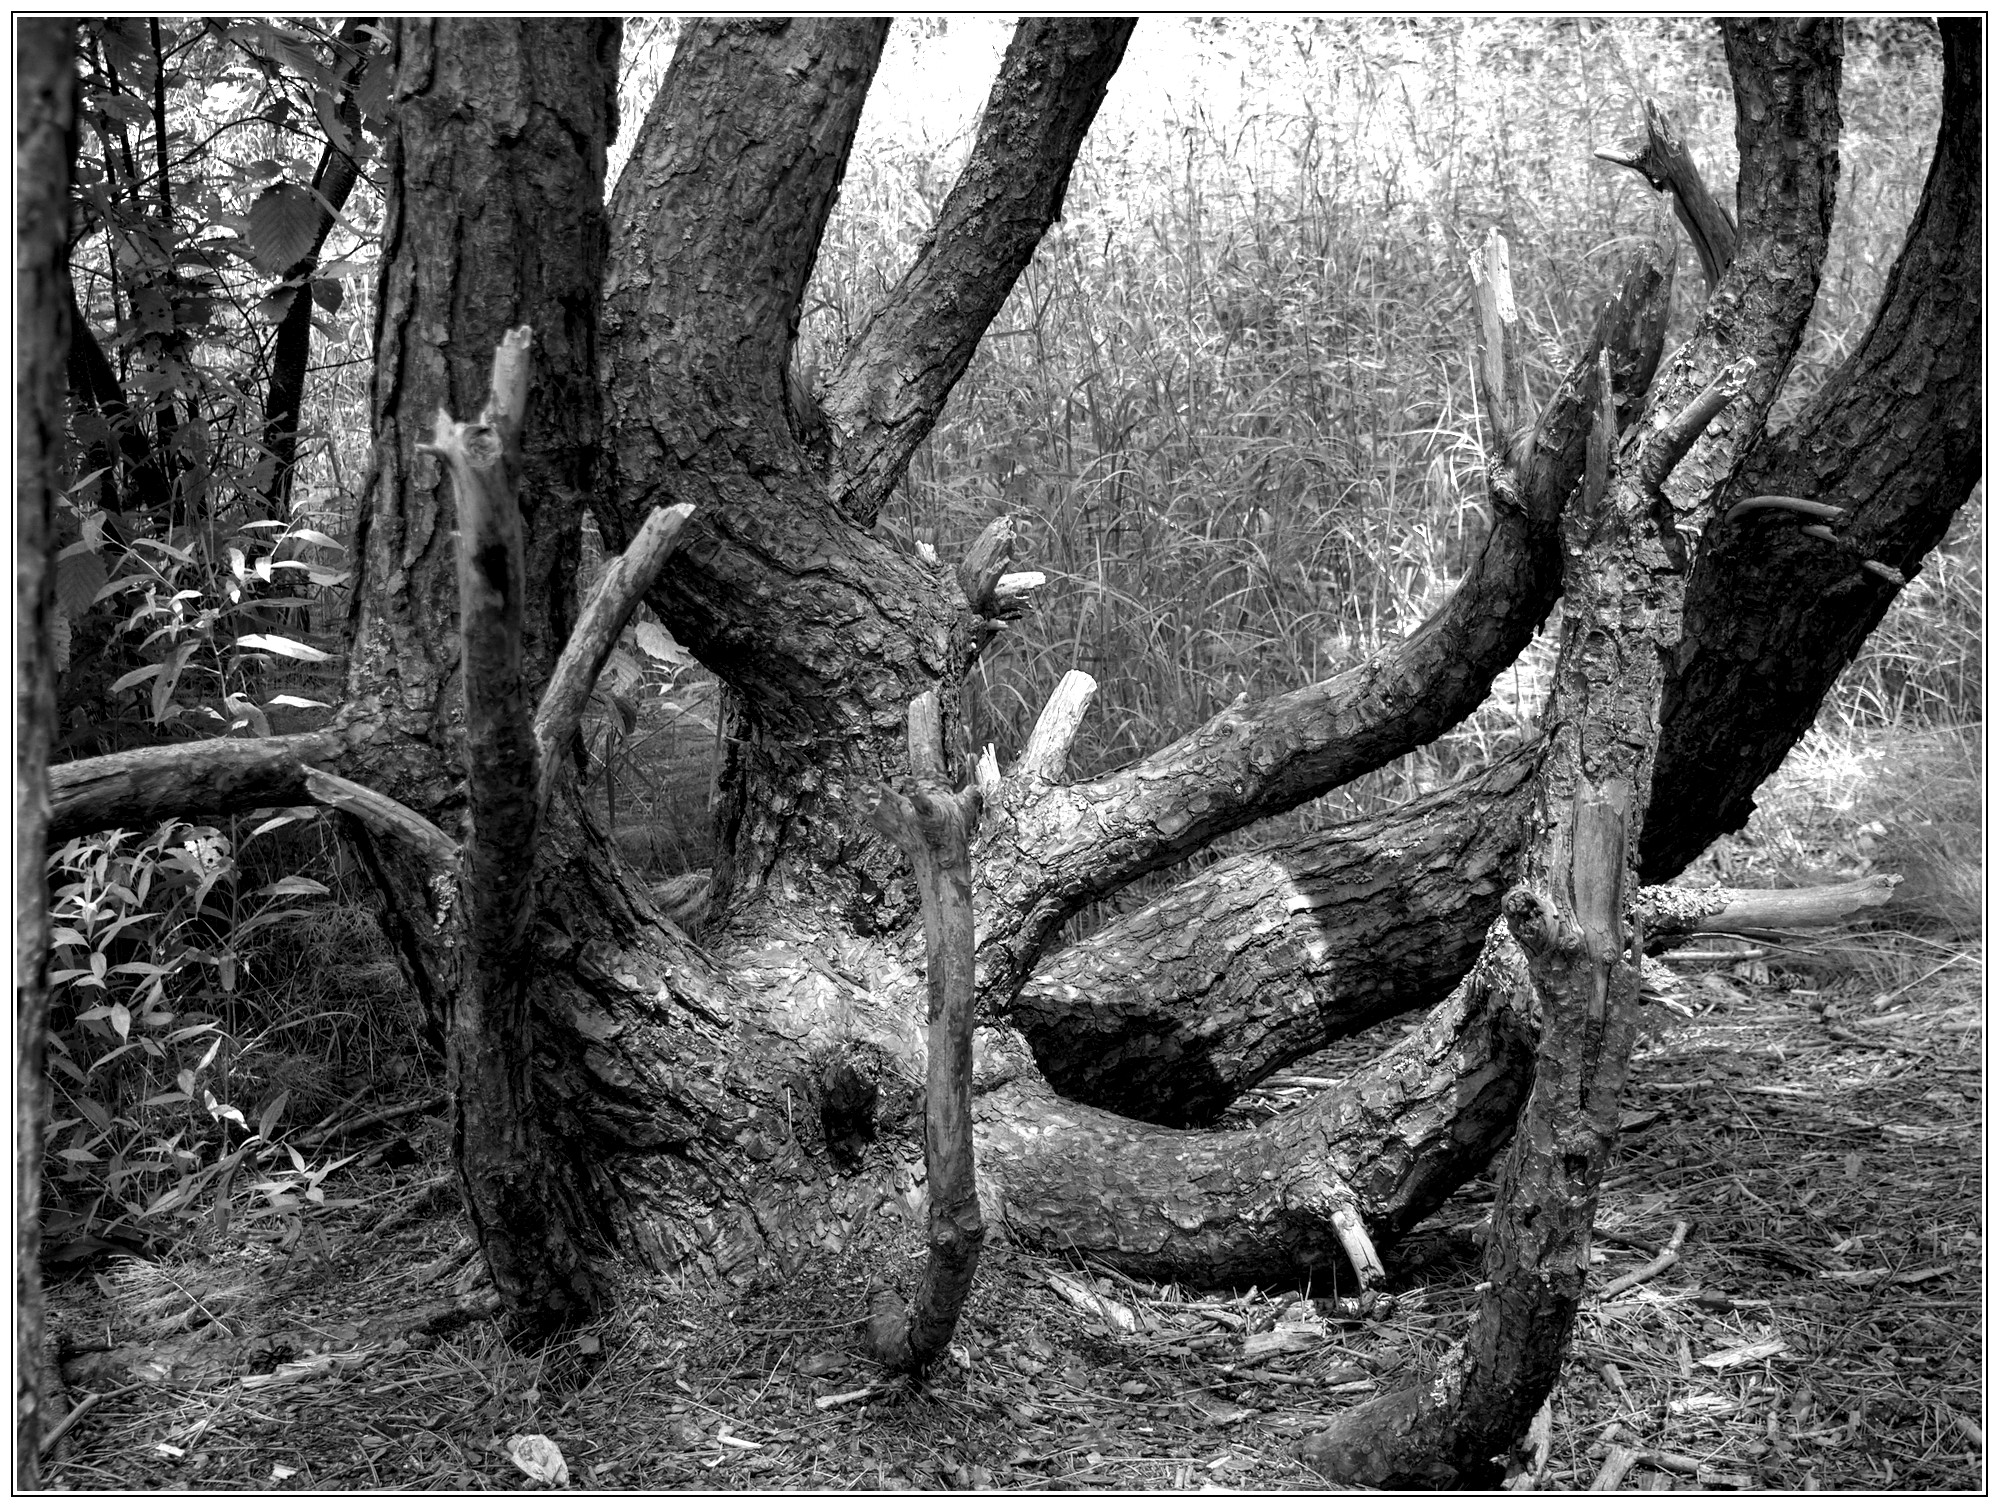
My wish for this image is (1) black and white, (2) highlight the shape and texture of the tree while diminishing the background but I don’t mind the texture of the leaf litter on the ground in front of it, that can be kept as well.
Maybe I need to photograph it differently and that is open for discussion as well.
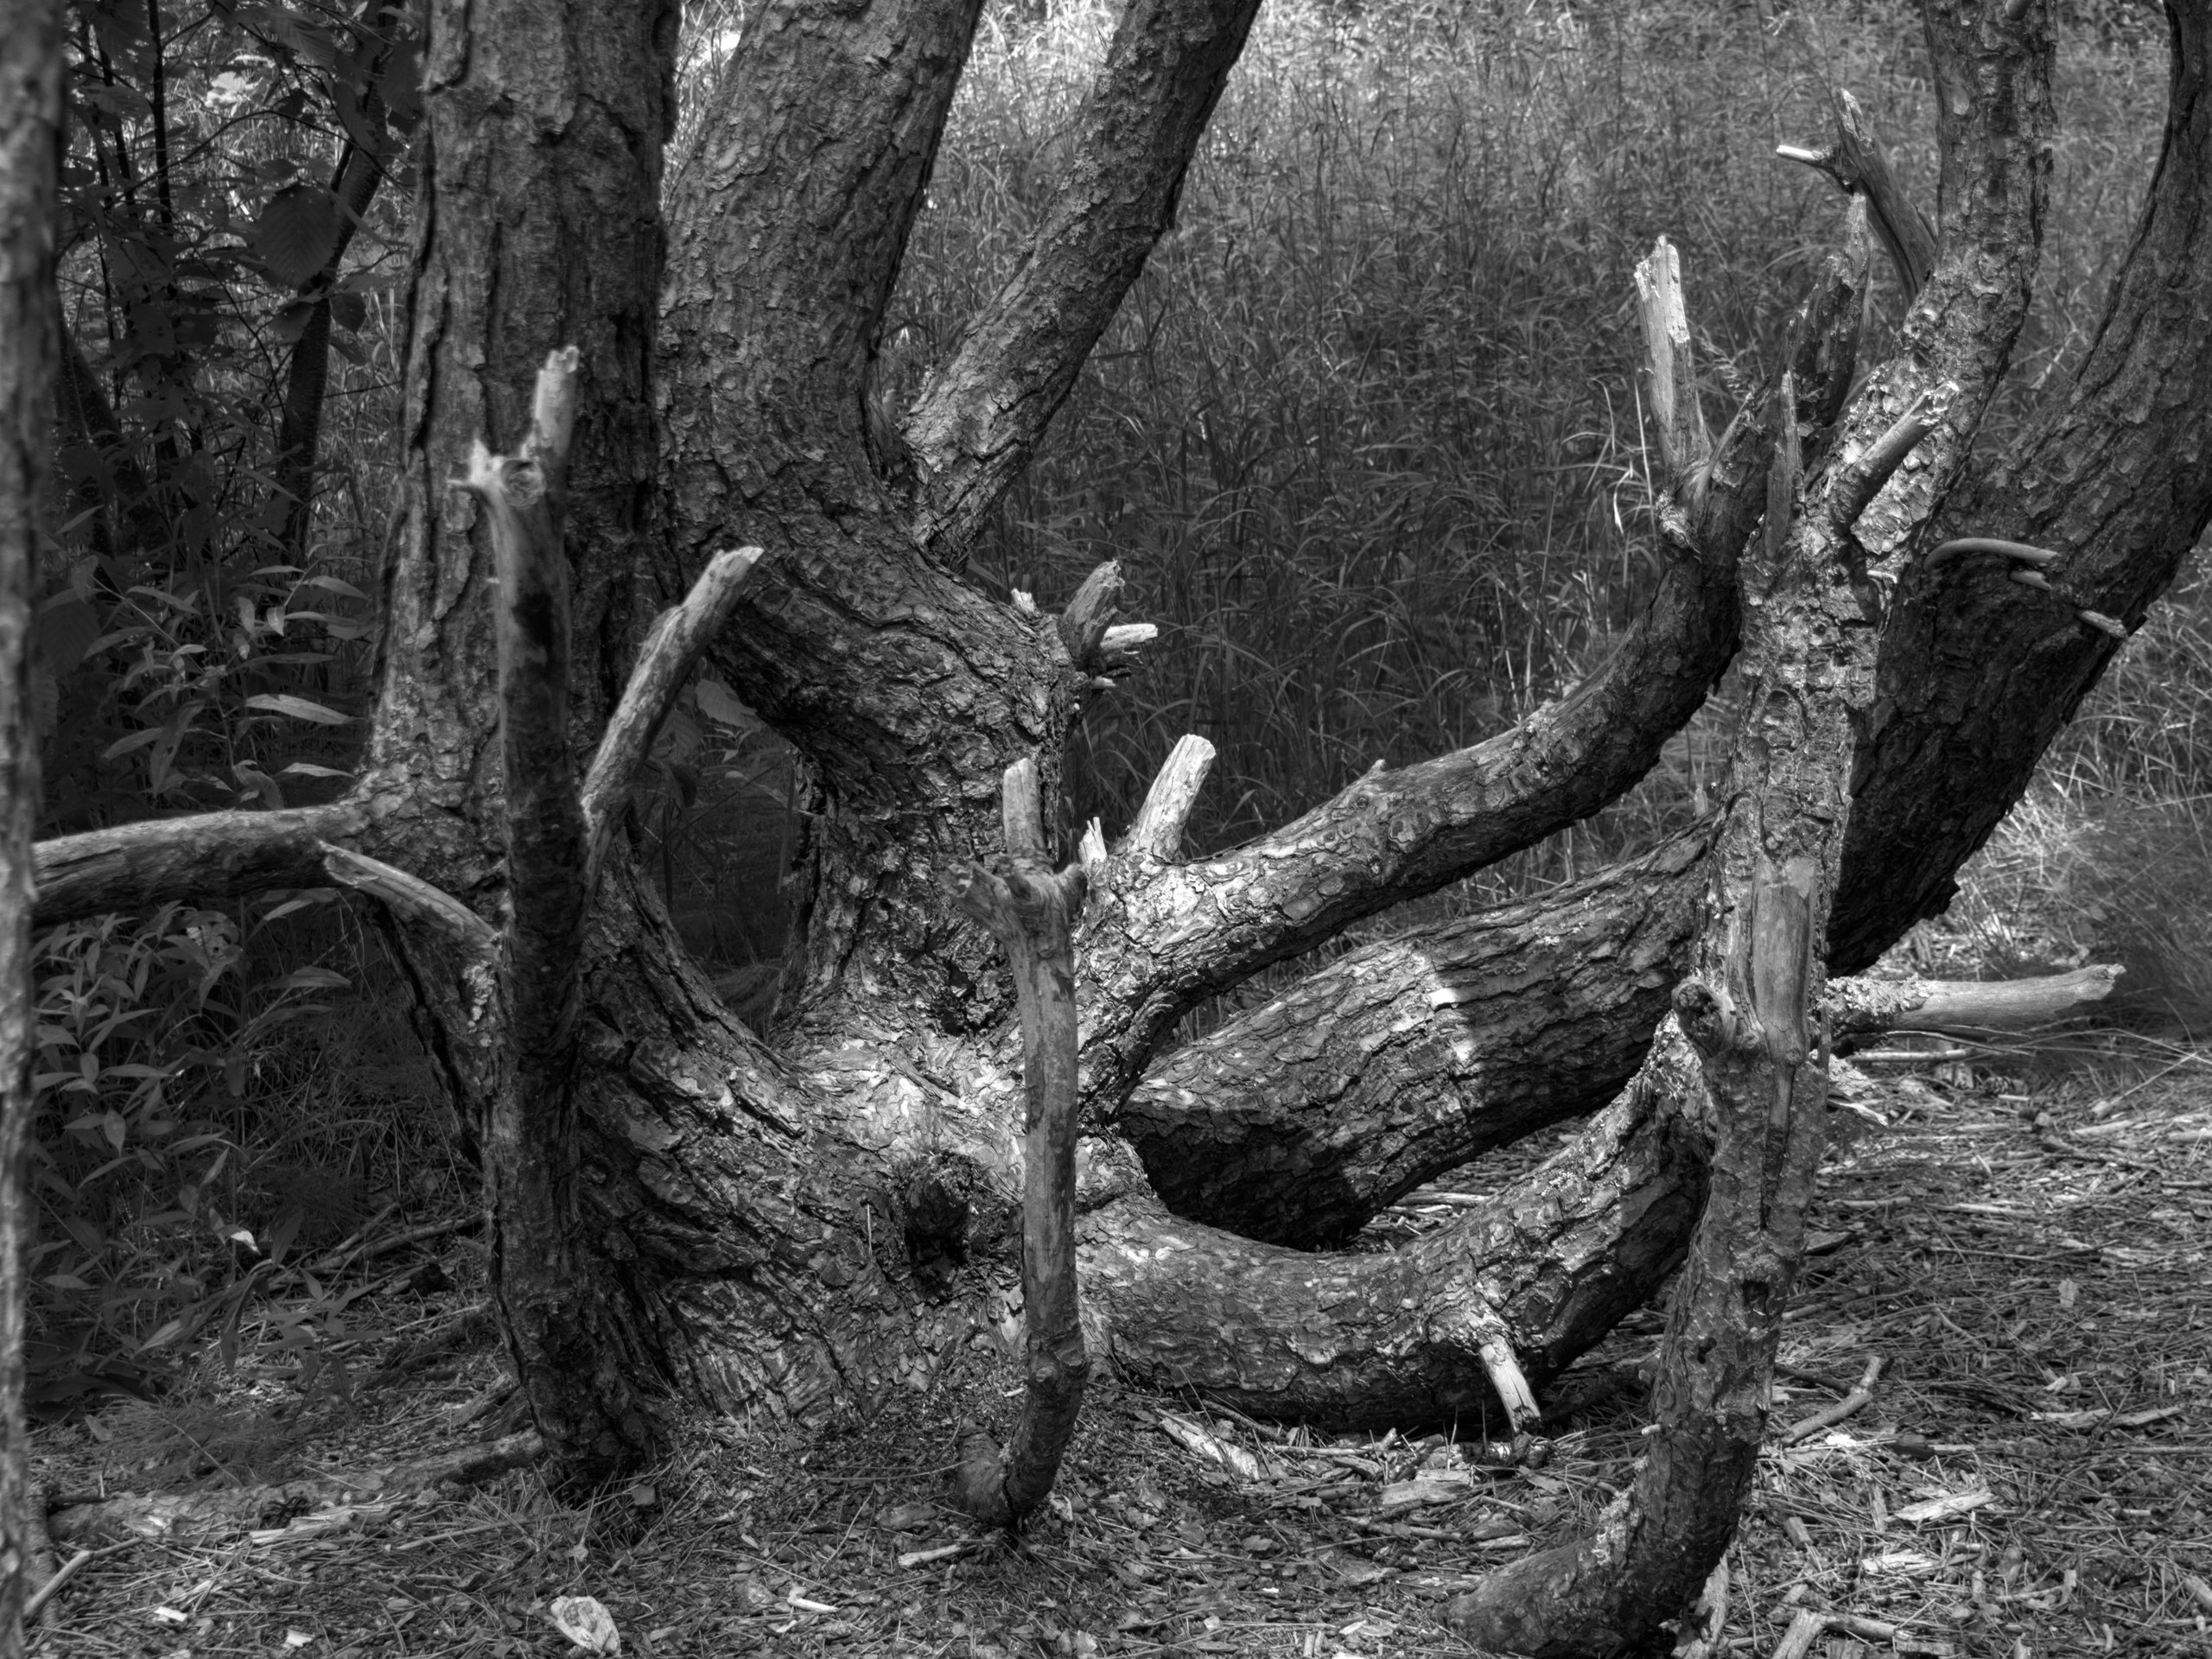
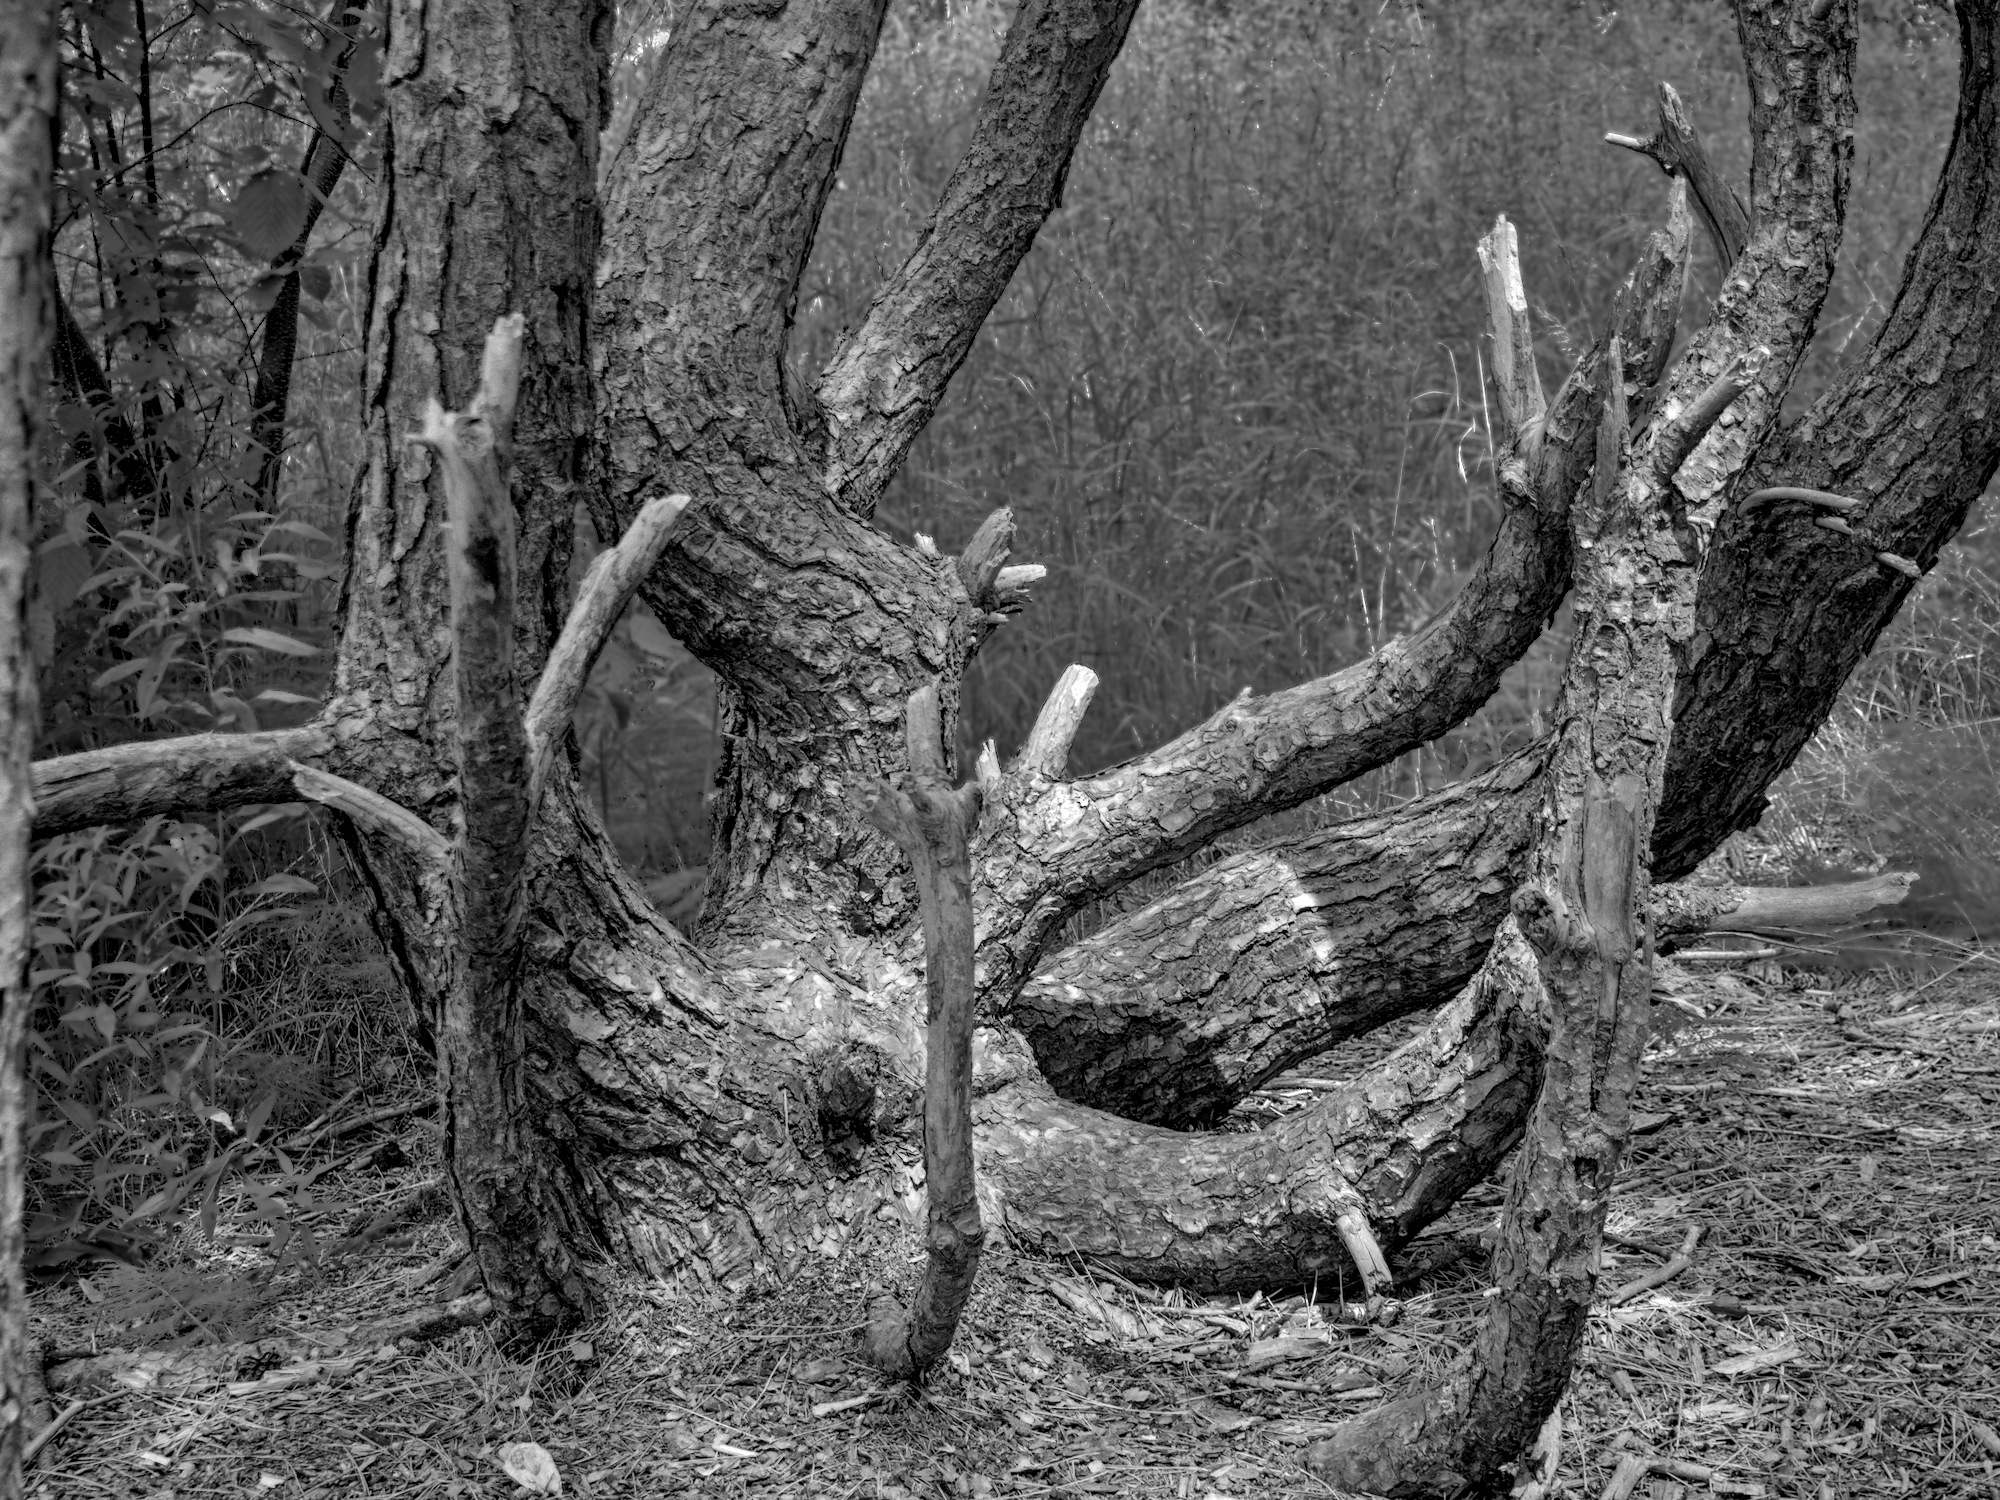
I think your friend here are masks. There’s enough colour separation (greens vs browns) to set up masks to work on the background (pushing it back) and work on the foreground (for highlight, shape and texture).
The above edit I made is a rather fast one to show you what I mean. I didn’t fine-tune this, also using drawn masks would probably help with the trouble areas.
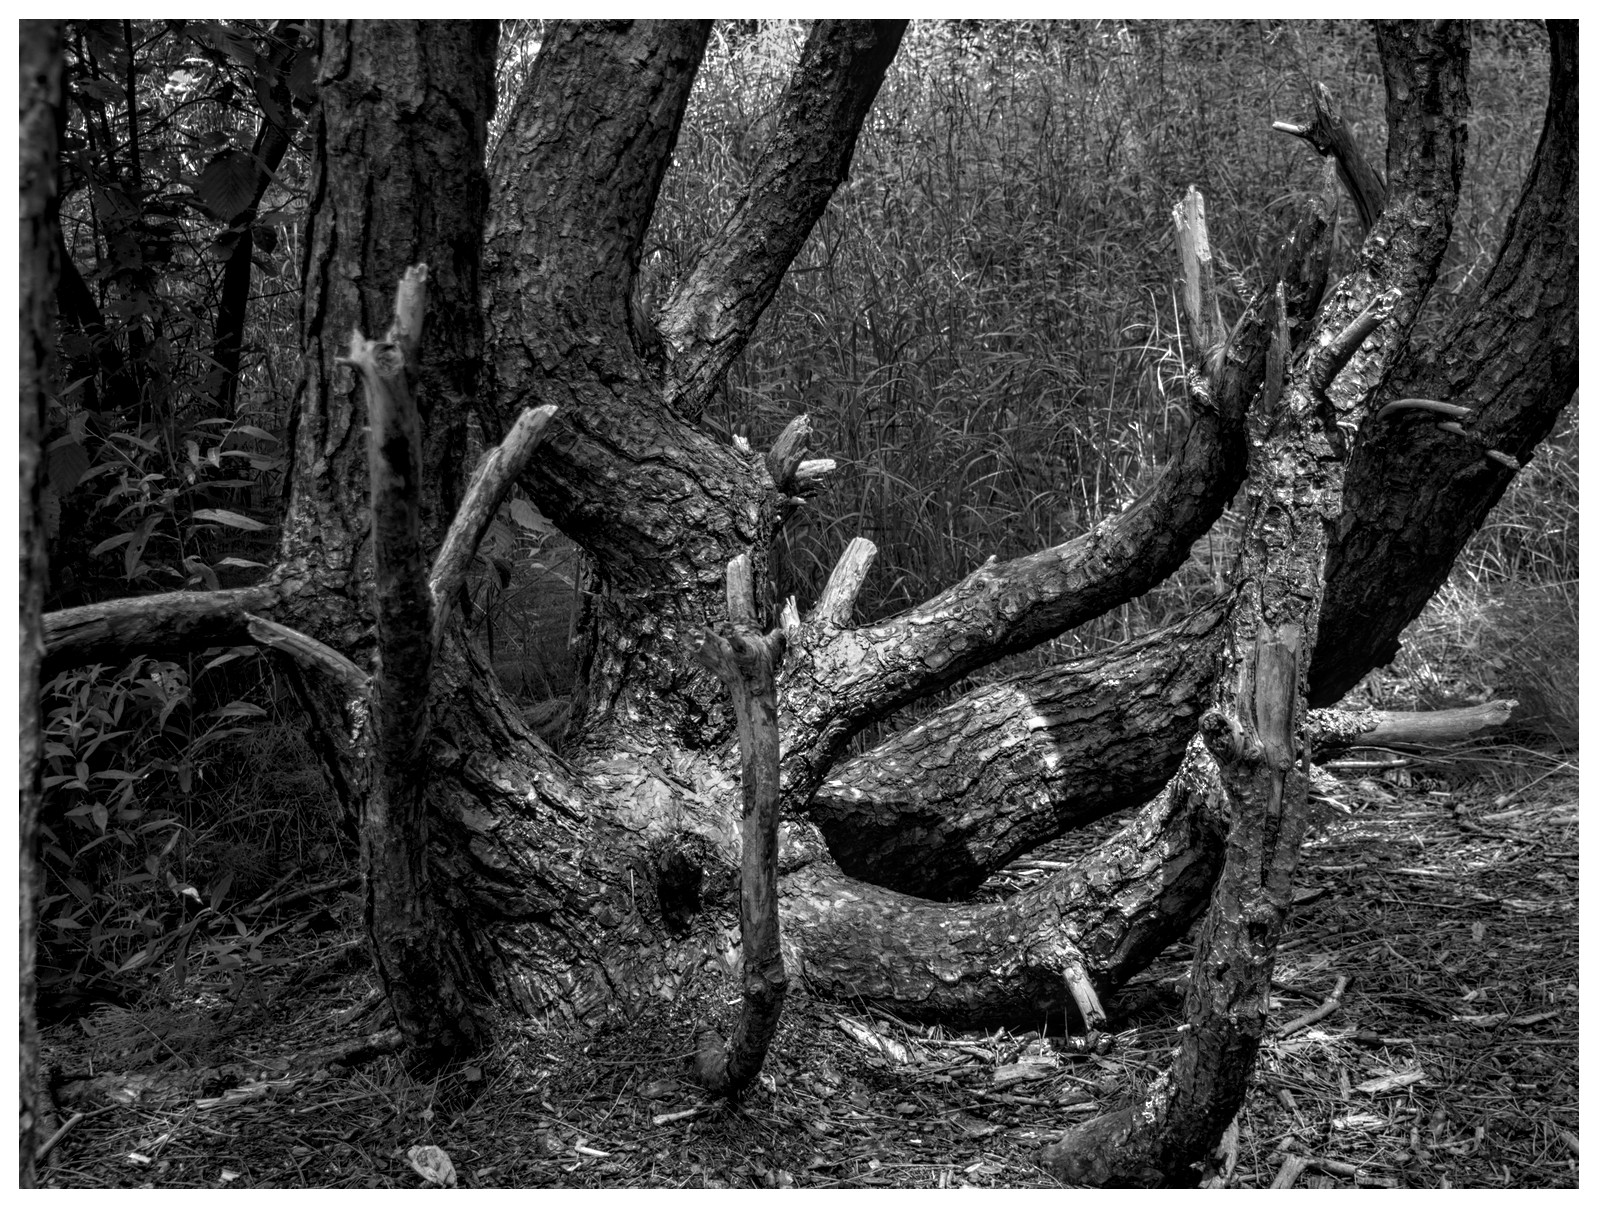
Using RawTherapee Dev, I started with one of my generic custom profiles. Pop.pp3 (16.3 KB) (Note: this requires the Dev version)
I then applied a whole image spot to mask out the greens and applied negative dehaze and positive exposure compensation. In the Black and White tool, I used the channel mixer method and a green filter to further lighten the background. Finally I further tweaked the contrast with a variety of tools. 2021_07_27_P7276024-1.jpg.out.pp3 (19.5 KB)
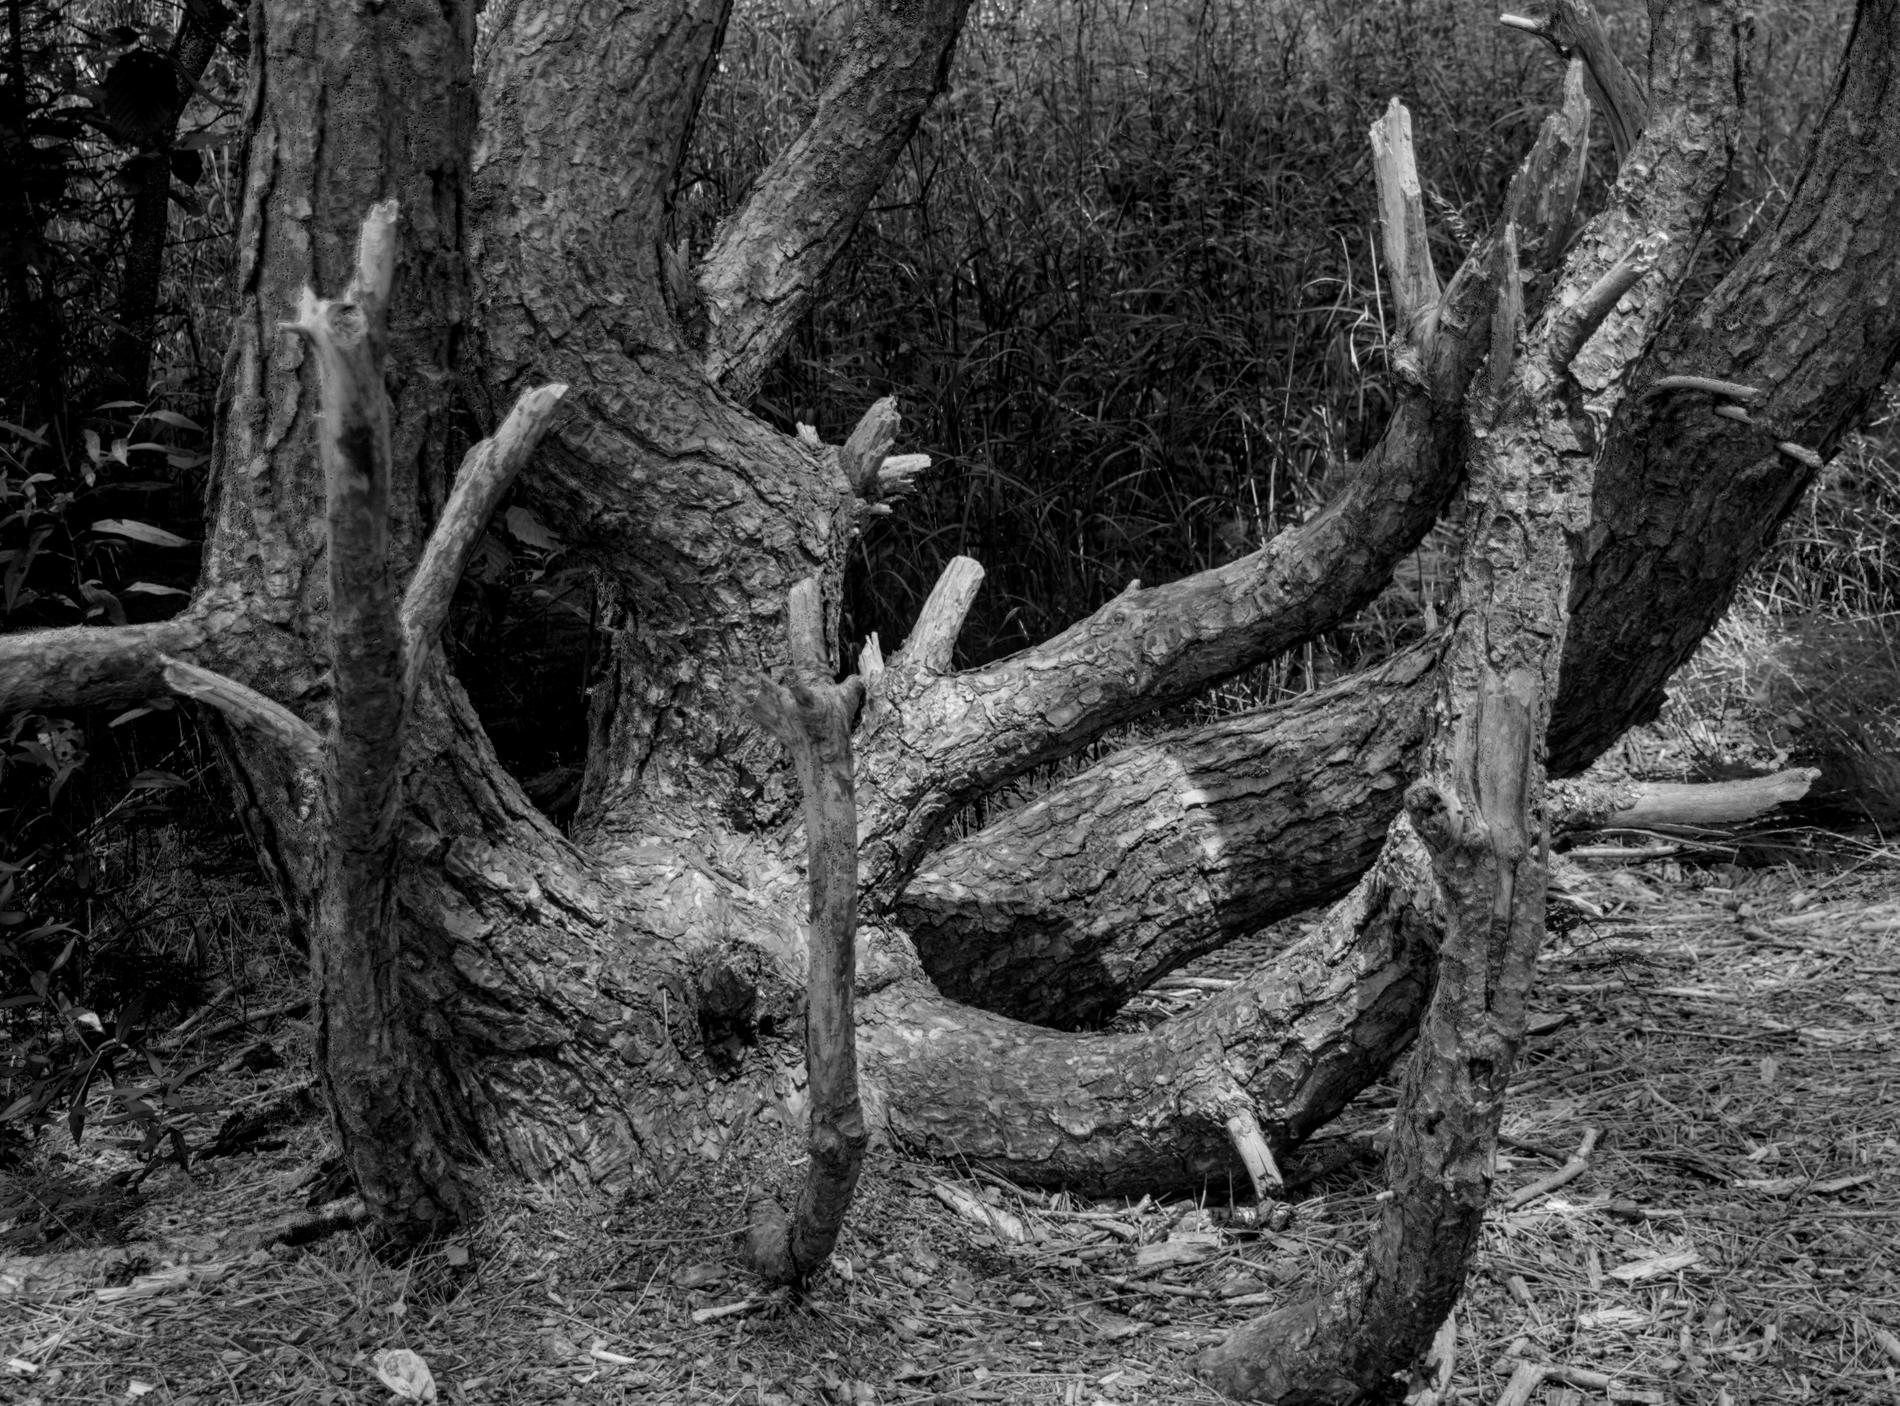
This is much harder than I thought it to be, yet I still feel like the tree is not the main star, maybe using para mask is the right thing in this case.
About shooting it differently, how about including more prominent leading lines to direct viewer attention, and let more light shaft passing through. I think that deep focus and composition will work well together.
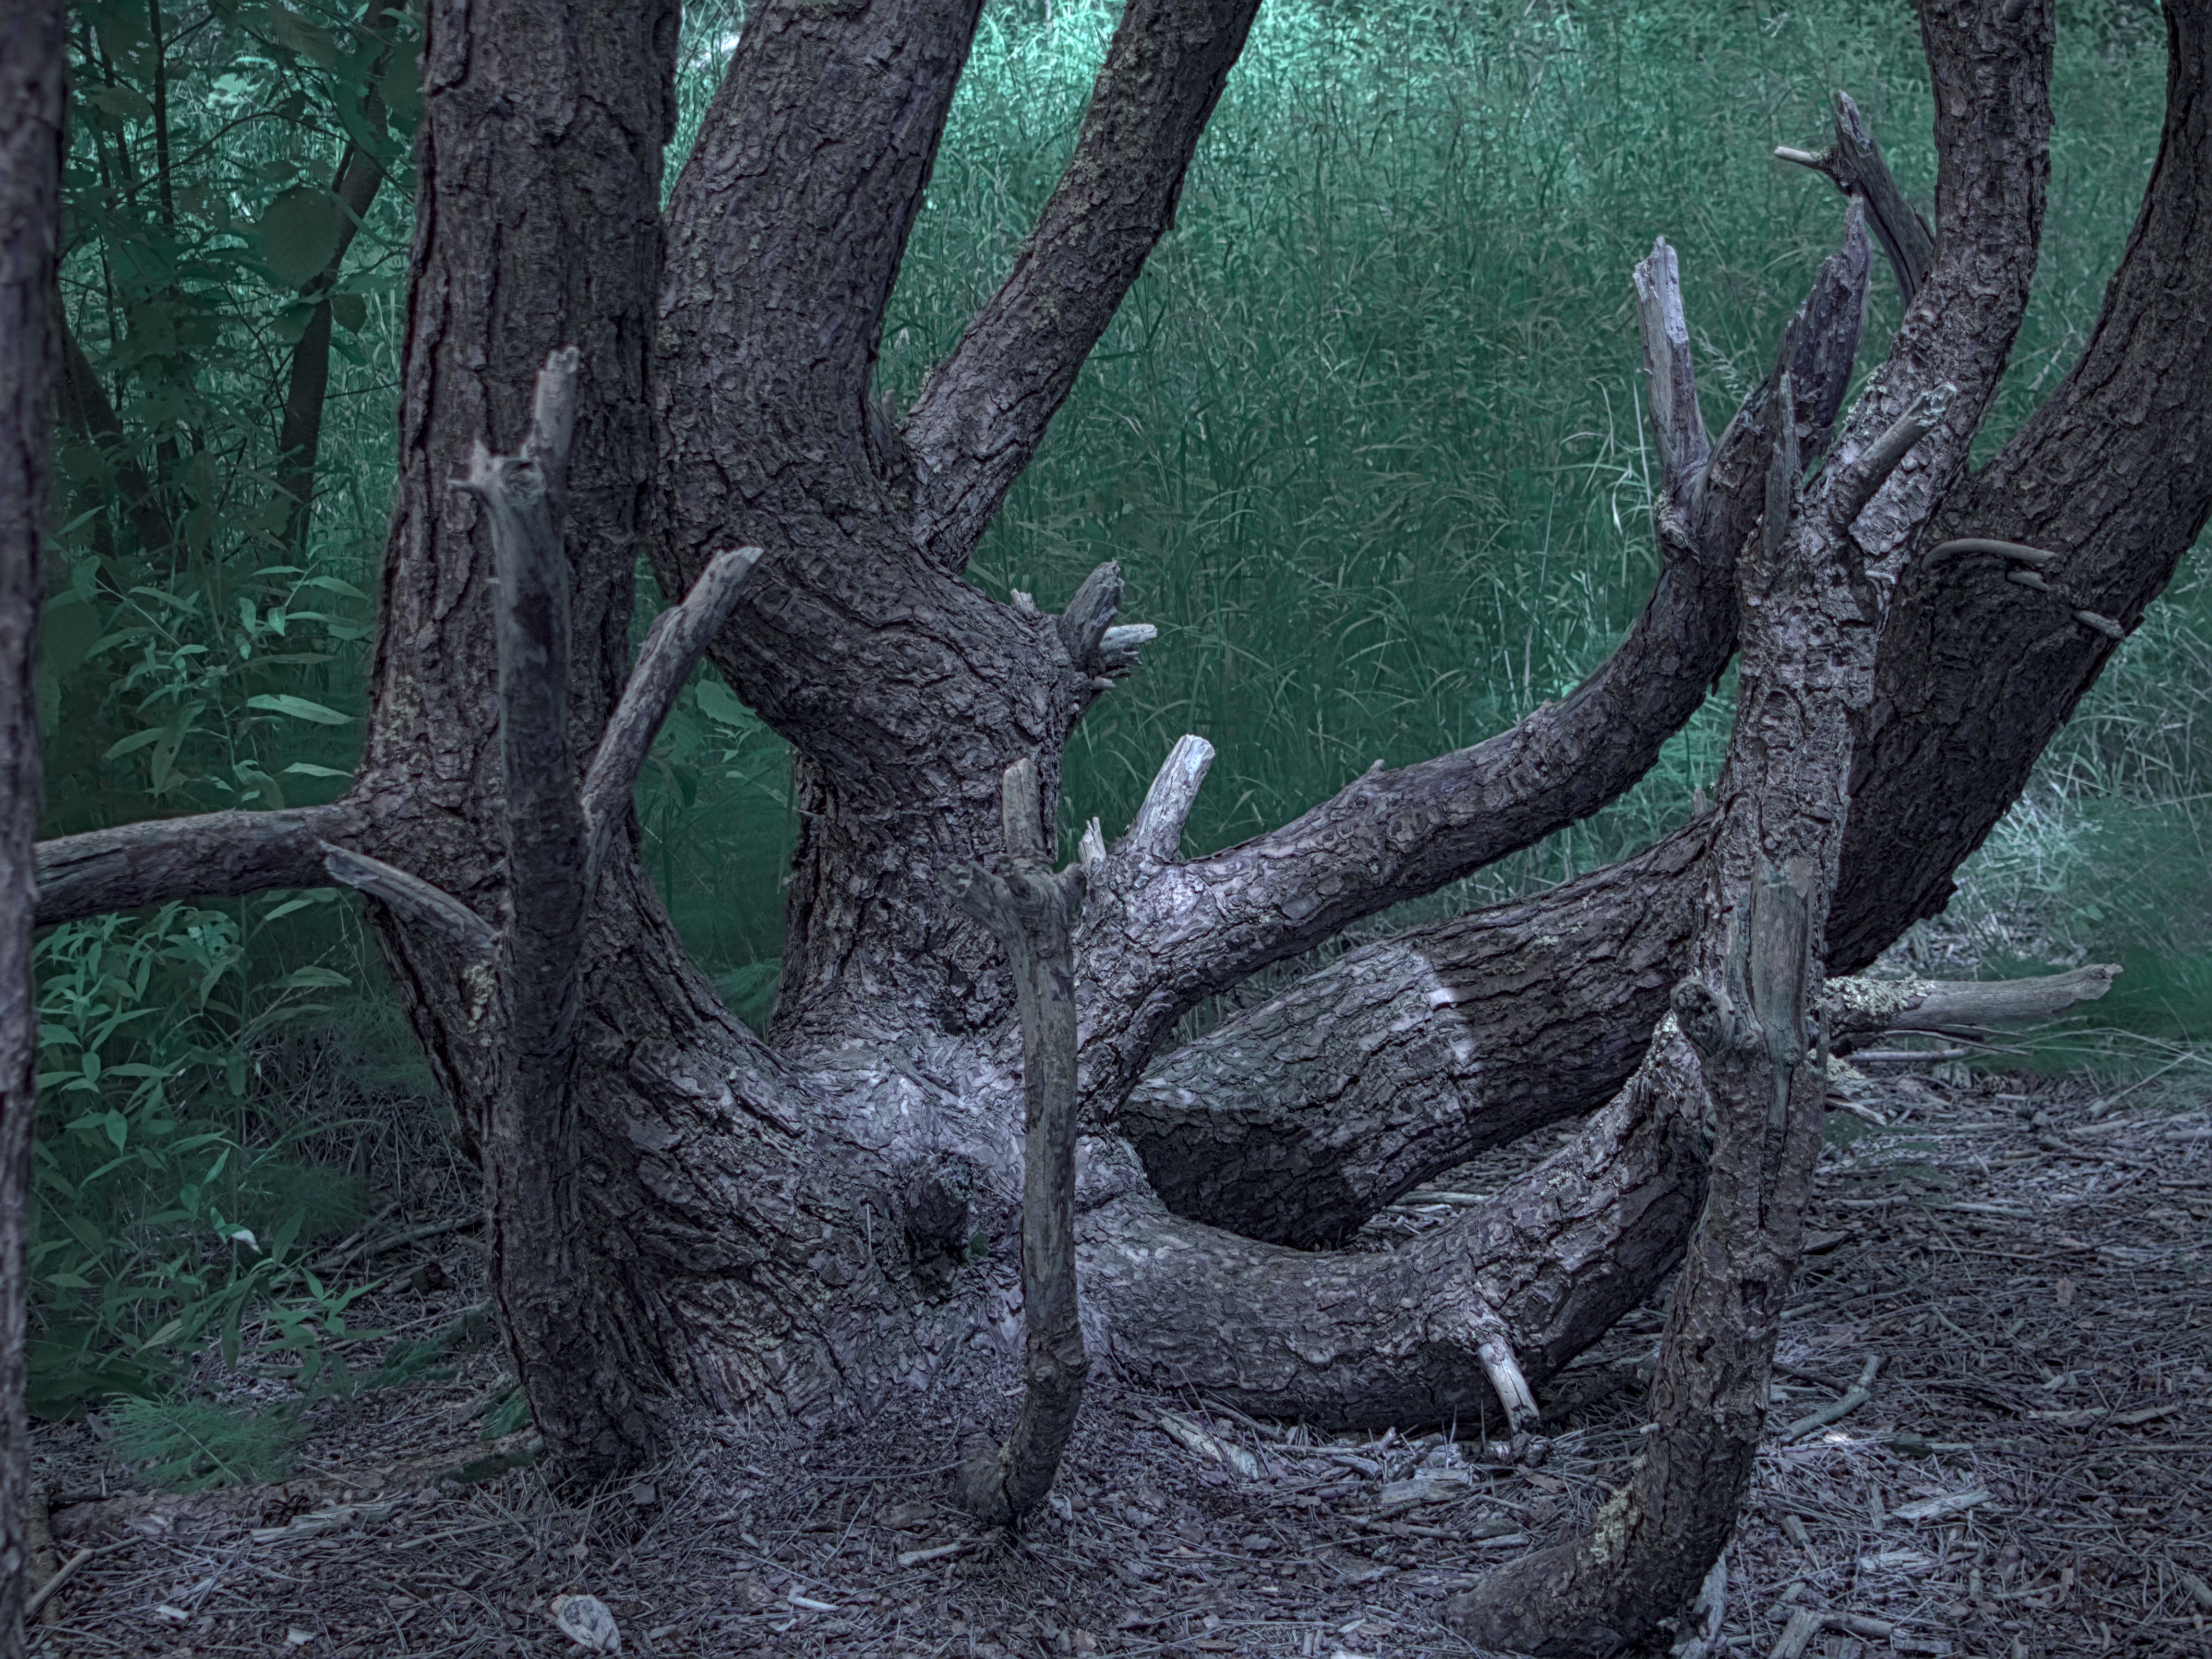
thanks for posting , I didn’t use masks but instead I desatured the green background and play with lighness using Color Zone module + and color calibration module
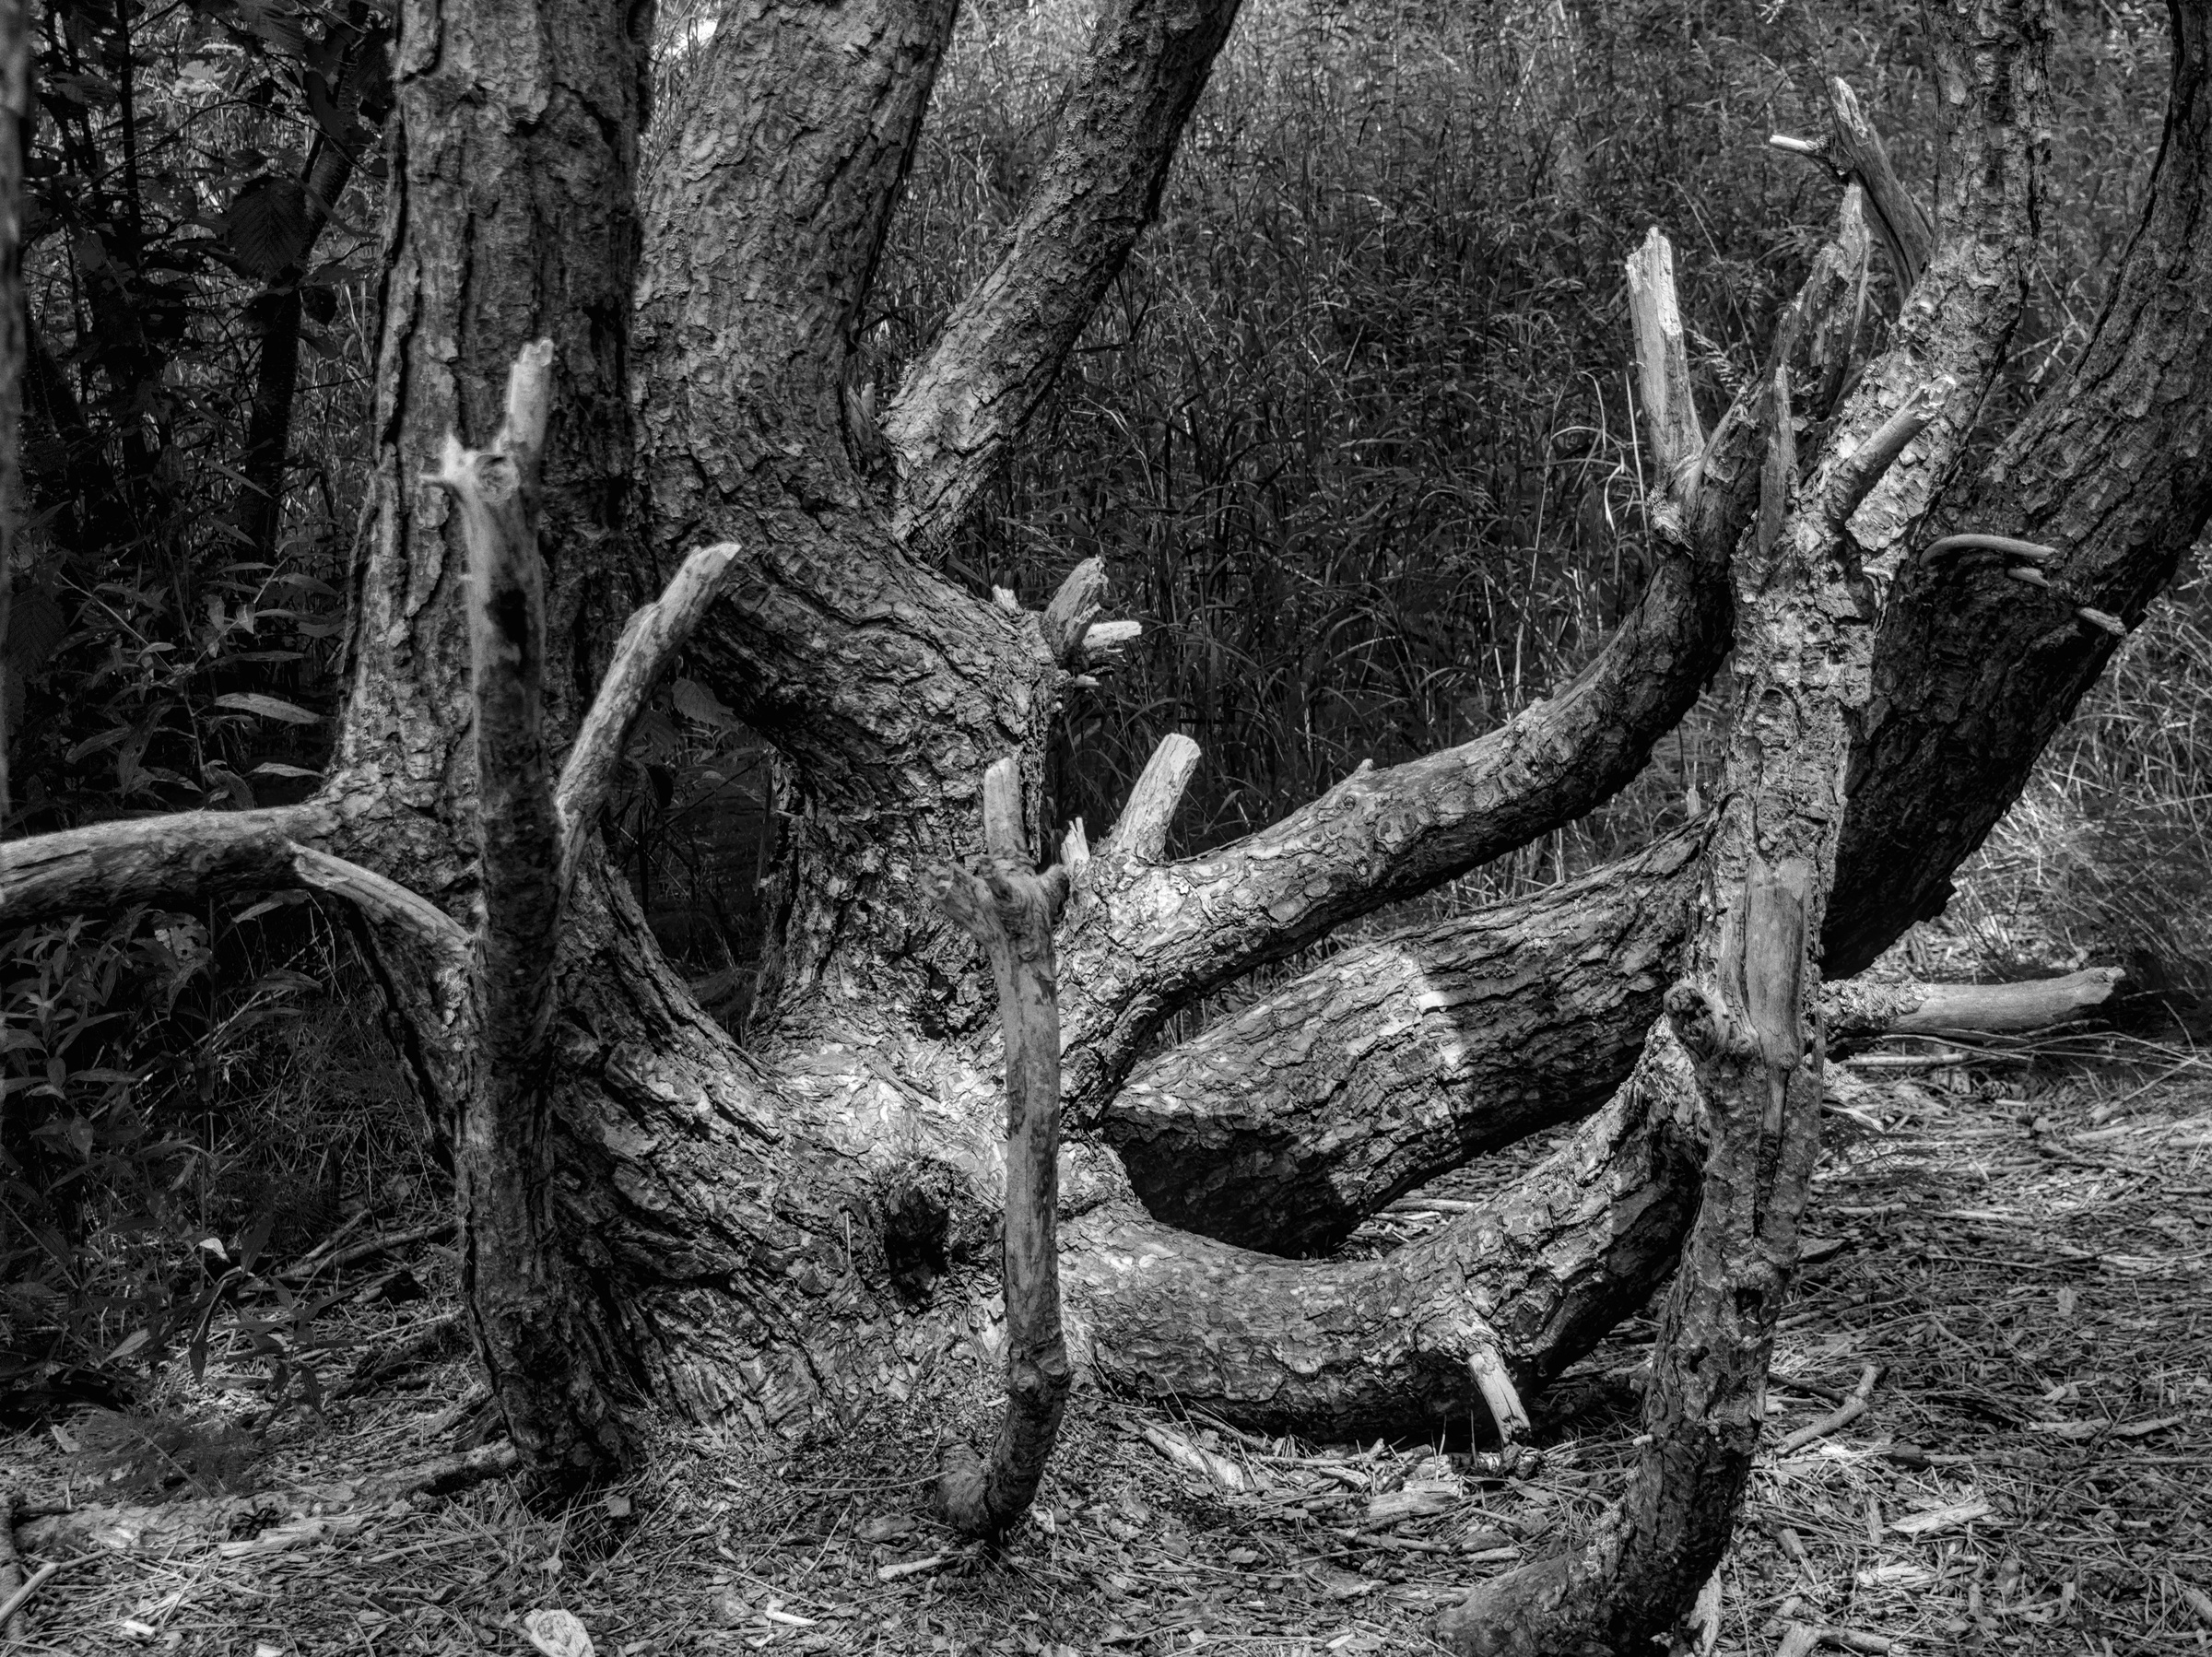
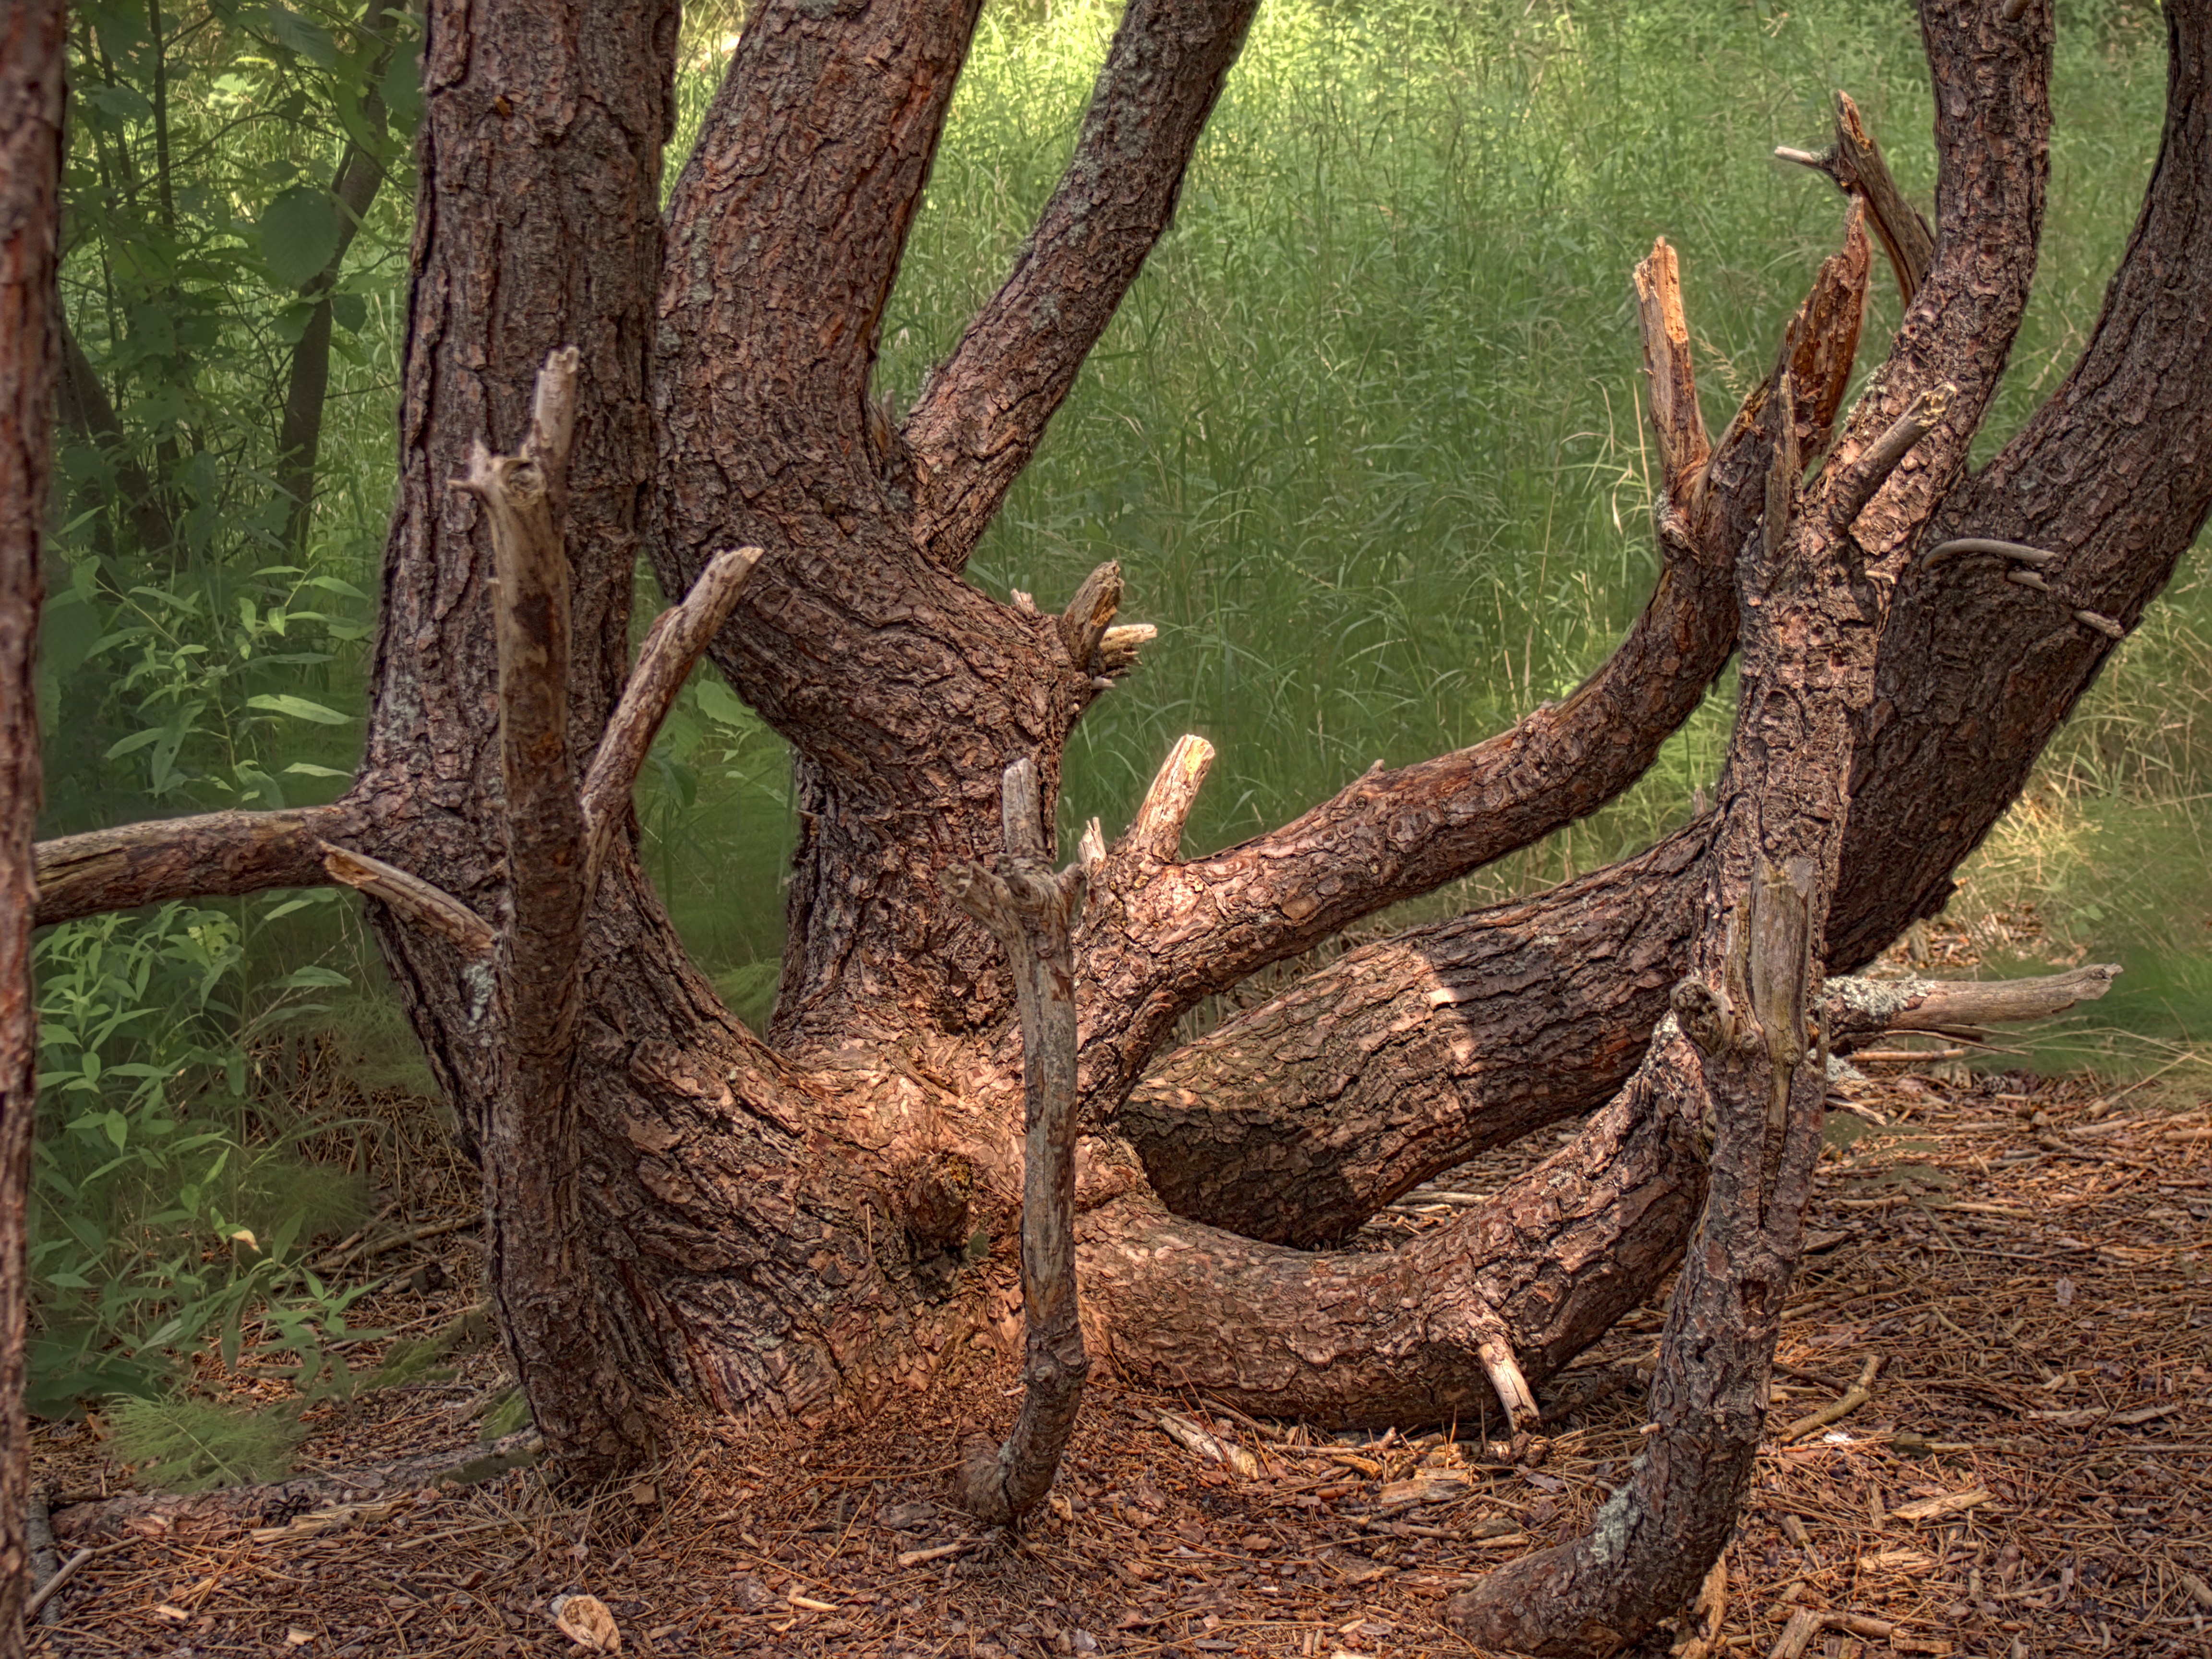
I like this one. Instead of the more stark “foreground/background” that was asked for, you instead created many more degrees of depth. The “separation” is a consequence of that action, not the first thing you see.
Said differently, you have a scene where the eye sees a tree as part of a continuum, not “TREE” and “everything else”.
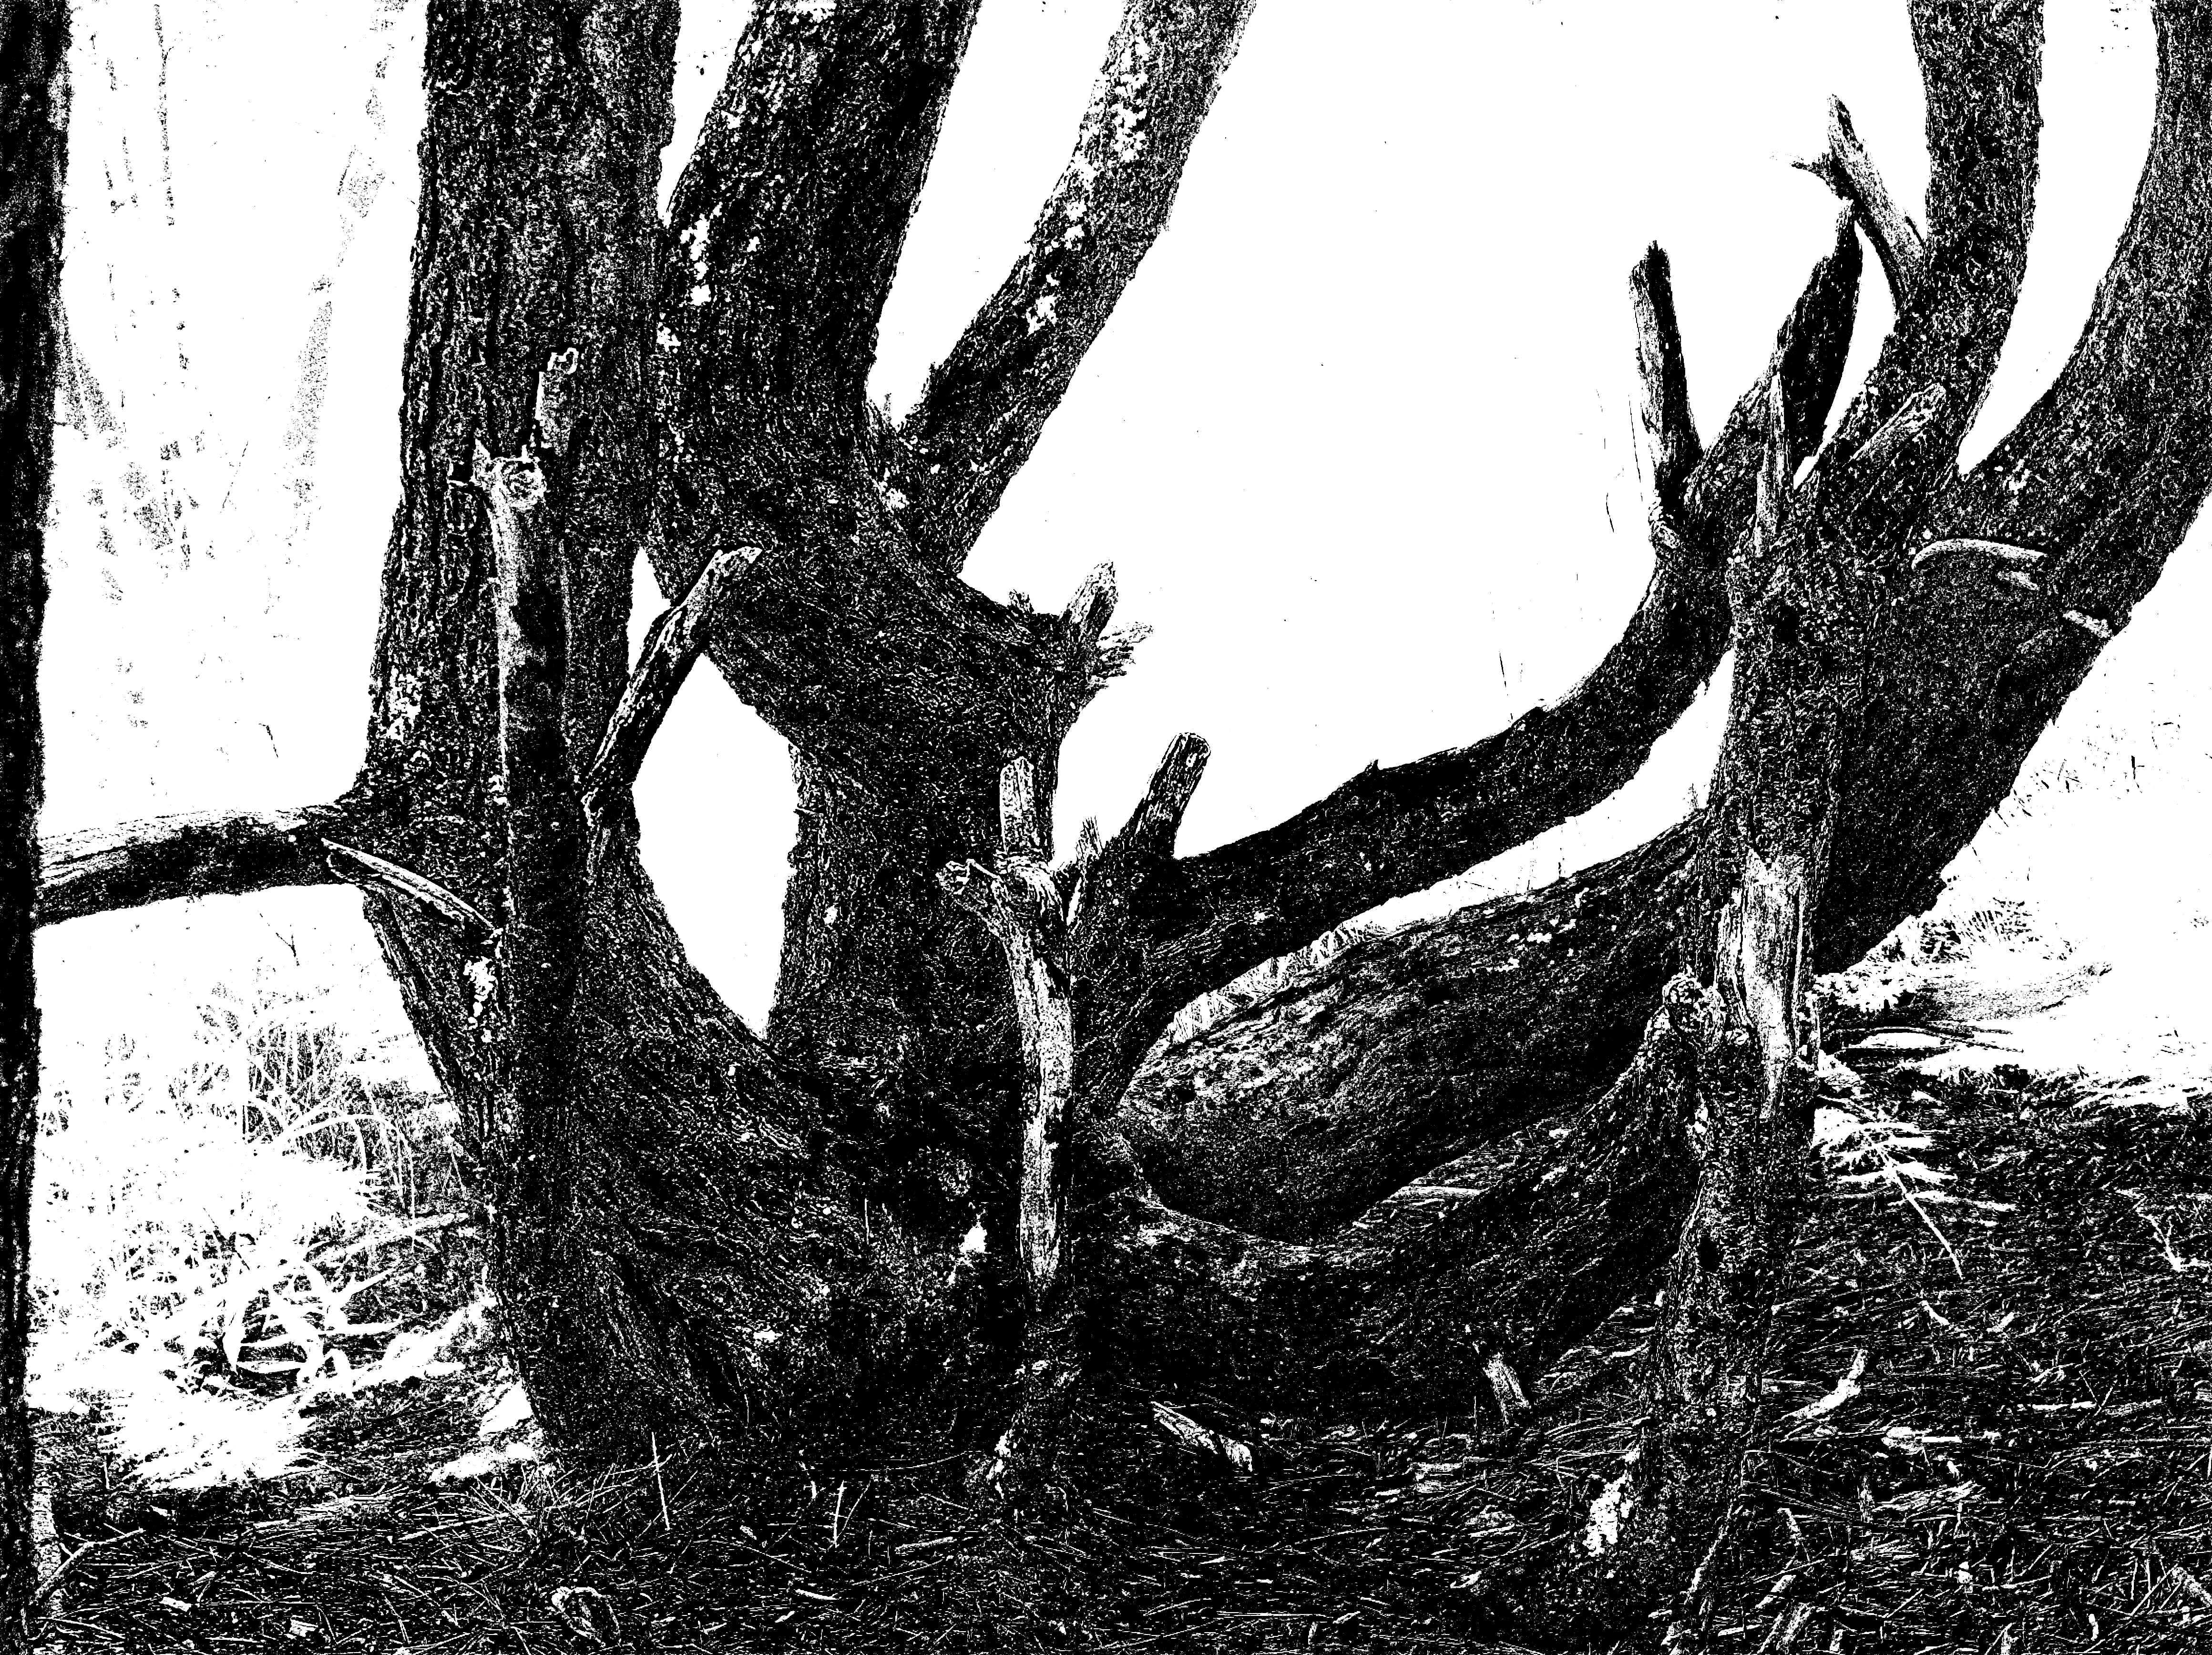
My soot-and-snow version above, x4.tiff, can be used as a mask to blur the background (where the mask is white) and sharpen the foreground (where the mask is black).
For the blur, we use IM’s “-bilateral-blur”, an implementation of bilateral filter.
For the sharpen, we use that blur as an unsharp mask: sharp = 2 * input -1 * blur.
You are right. Seems to be one of the rare cases when the development history won’t be stored as XMP tags within the output file (see manual darktable 3.6 user manual - export near “develop history”.) Didn’t check this.
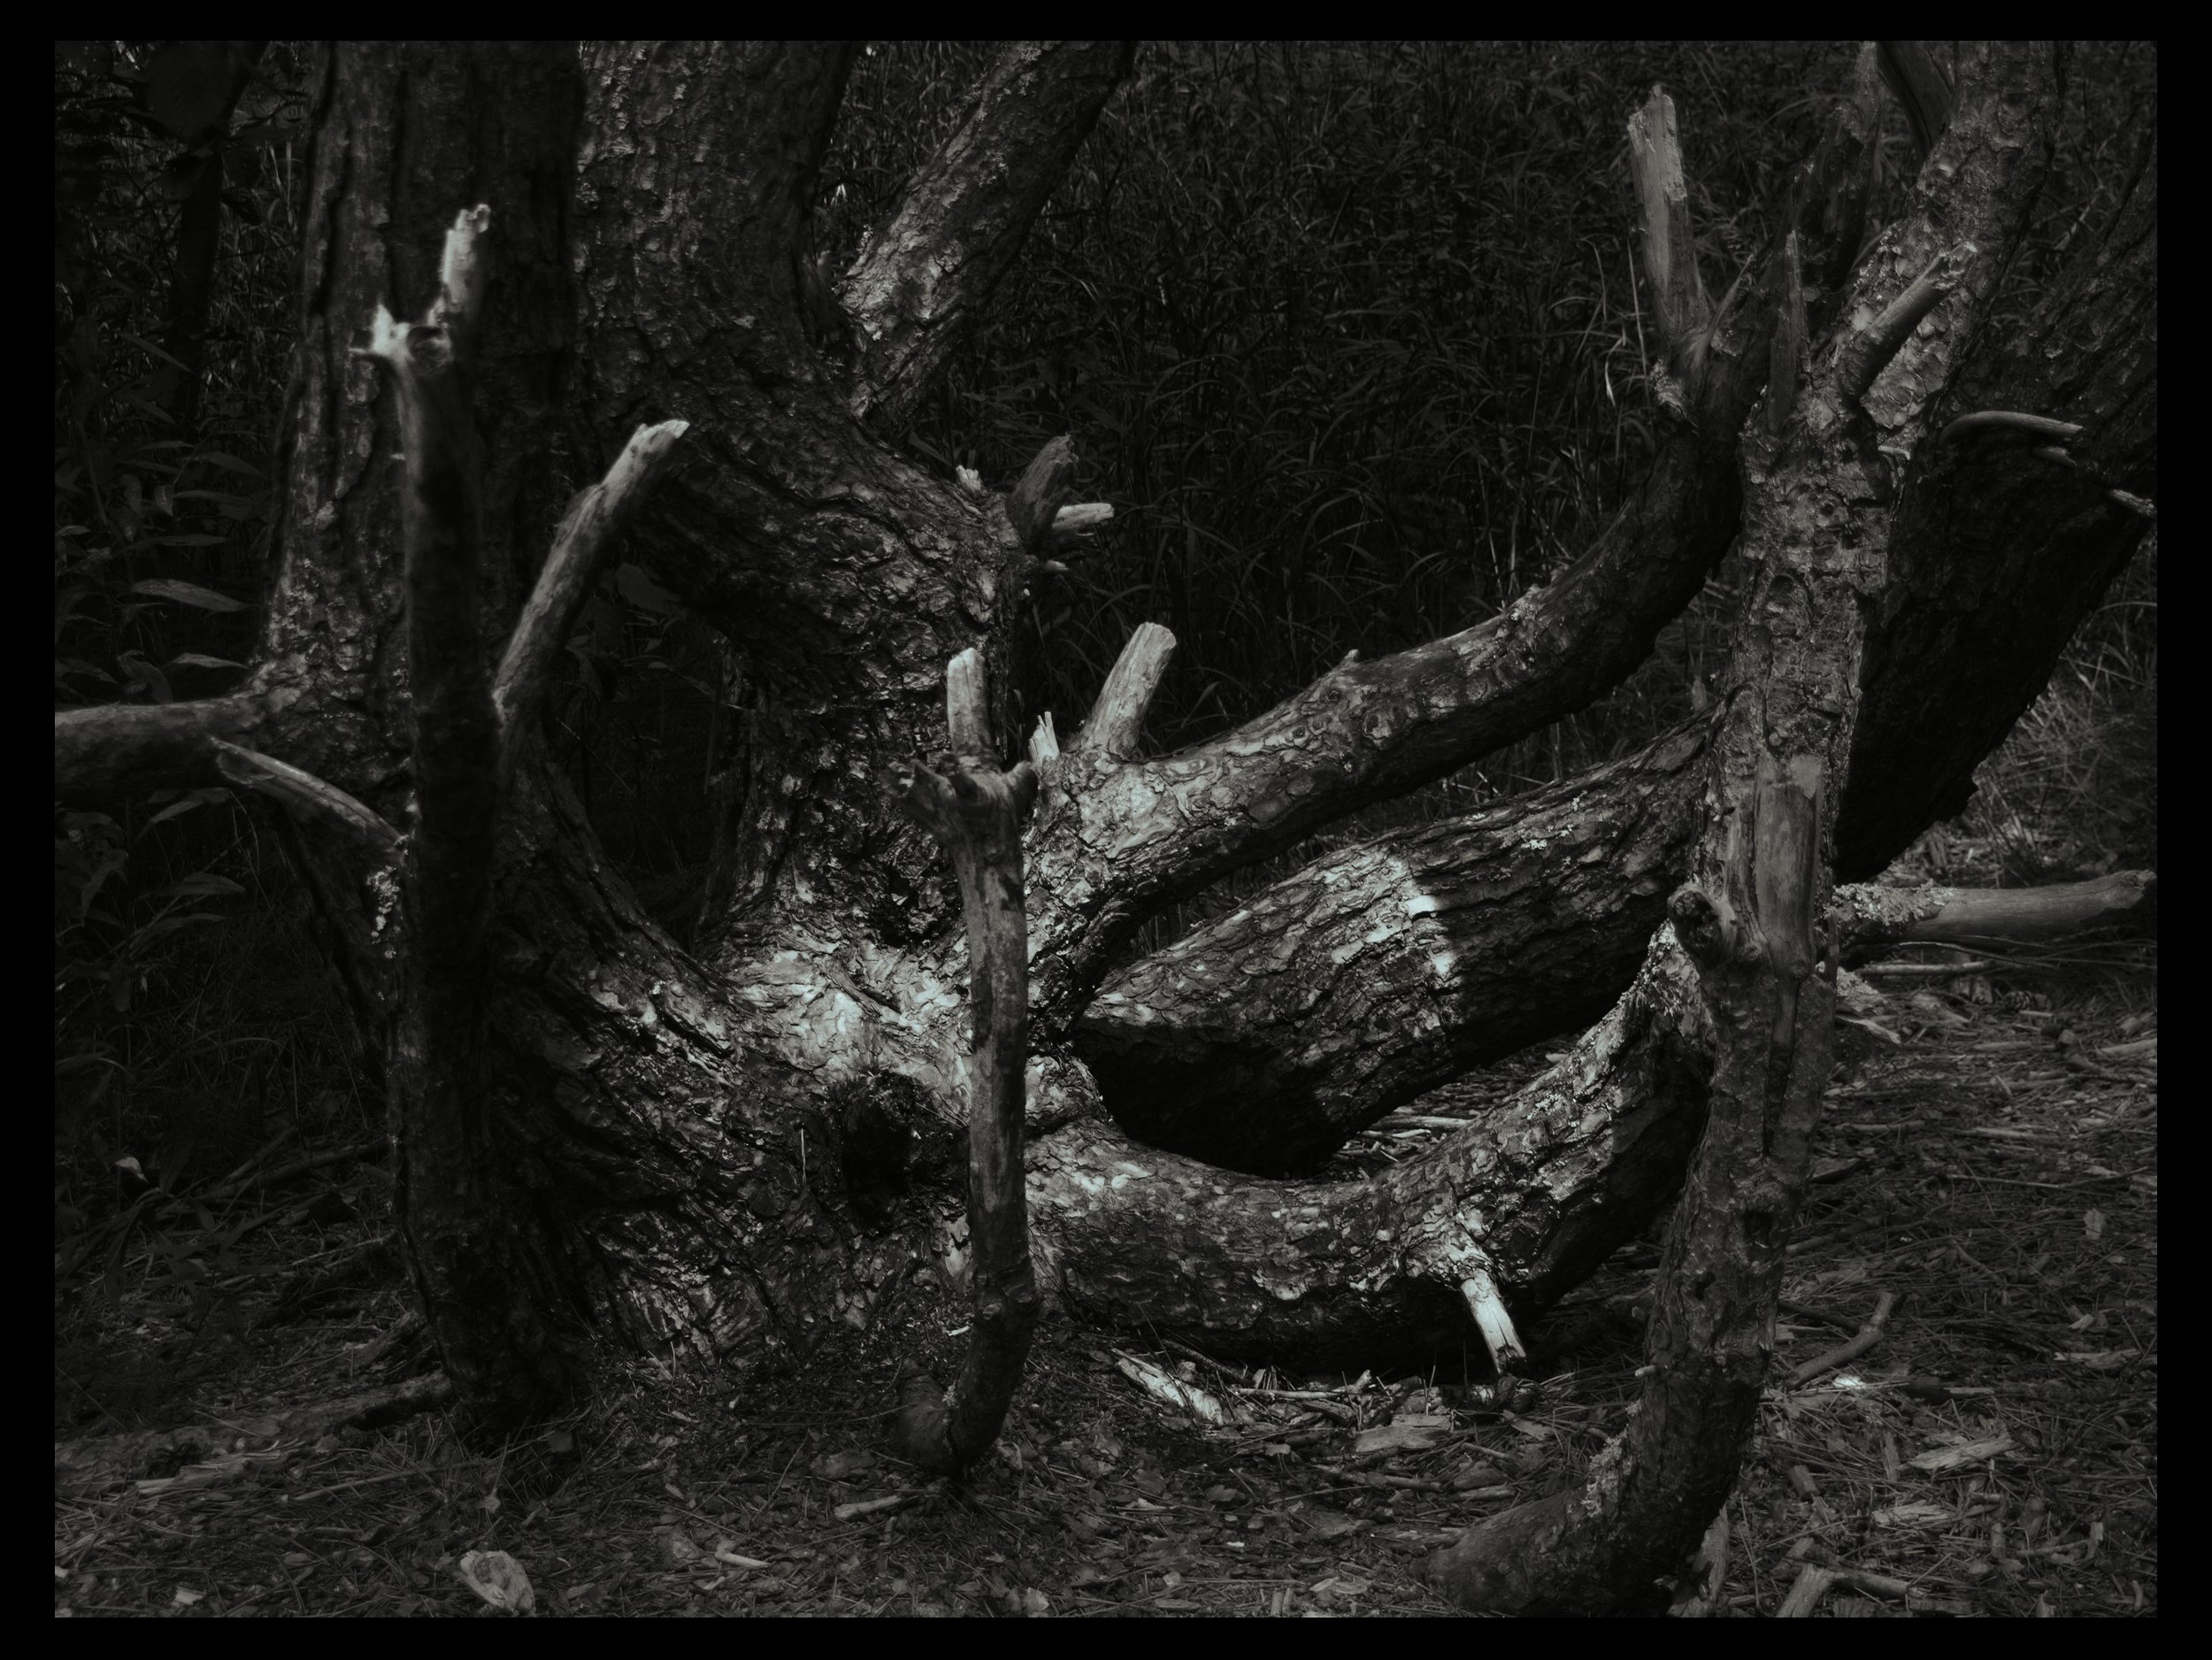
This would be my proposal.
Bearing in mind that shadows without relevant details can accept a deep black. The medium tones should be highlighted and the lighter parts more, because they are where all eyes will go.