Isn’t this done (mostly) via the embedded data? lens reports CA correction done with my fuji test images i have. Unfortunately raw CA correction doesn’t work for xtrans and i don’t see a solution on this.
About the xtrans sharpness. The way we do the xtrans demosaicing: it can very well be that markje approximates over a slightly greater radius thus leading to slightly more “blurred” result. (VNG & FDC have slightly more artefacts at strong transitions …)
If the demosaiced output on xtrans is “less sharp” in general, that would be an almost perfect situation for CS. That would mean we should likely use (in the correction algo) a larger radius than the calculated one.
I will do this testing here
Autocalculate radius, increase it manually by 0.3 and watch out for artefacts. Unfortunately my collection of xtrans images is pretty limited, most of them have a lot of blown highlights as thats what i was interested in mostly.
Those of you with lots of xtrans images, would you also test and report?
Yes, I marked “auto apply this preset to matching images” and entered 1000 as the maximum ISO value. All other parameters are at their default values. the ISO of the image is 900.
After entering the darkroom view, this preset has the little check mark in front of the name, and the name appears in the header.
no
I think so. No busy indicator is shown.
I noticed that sometimes when I reset the history in the darkroom, the calculation seems to work but not always. Also, switching off and on of another module may trigger the calculation, but again not always.
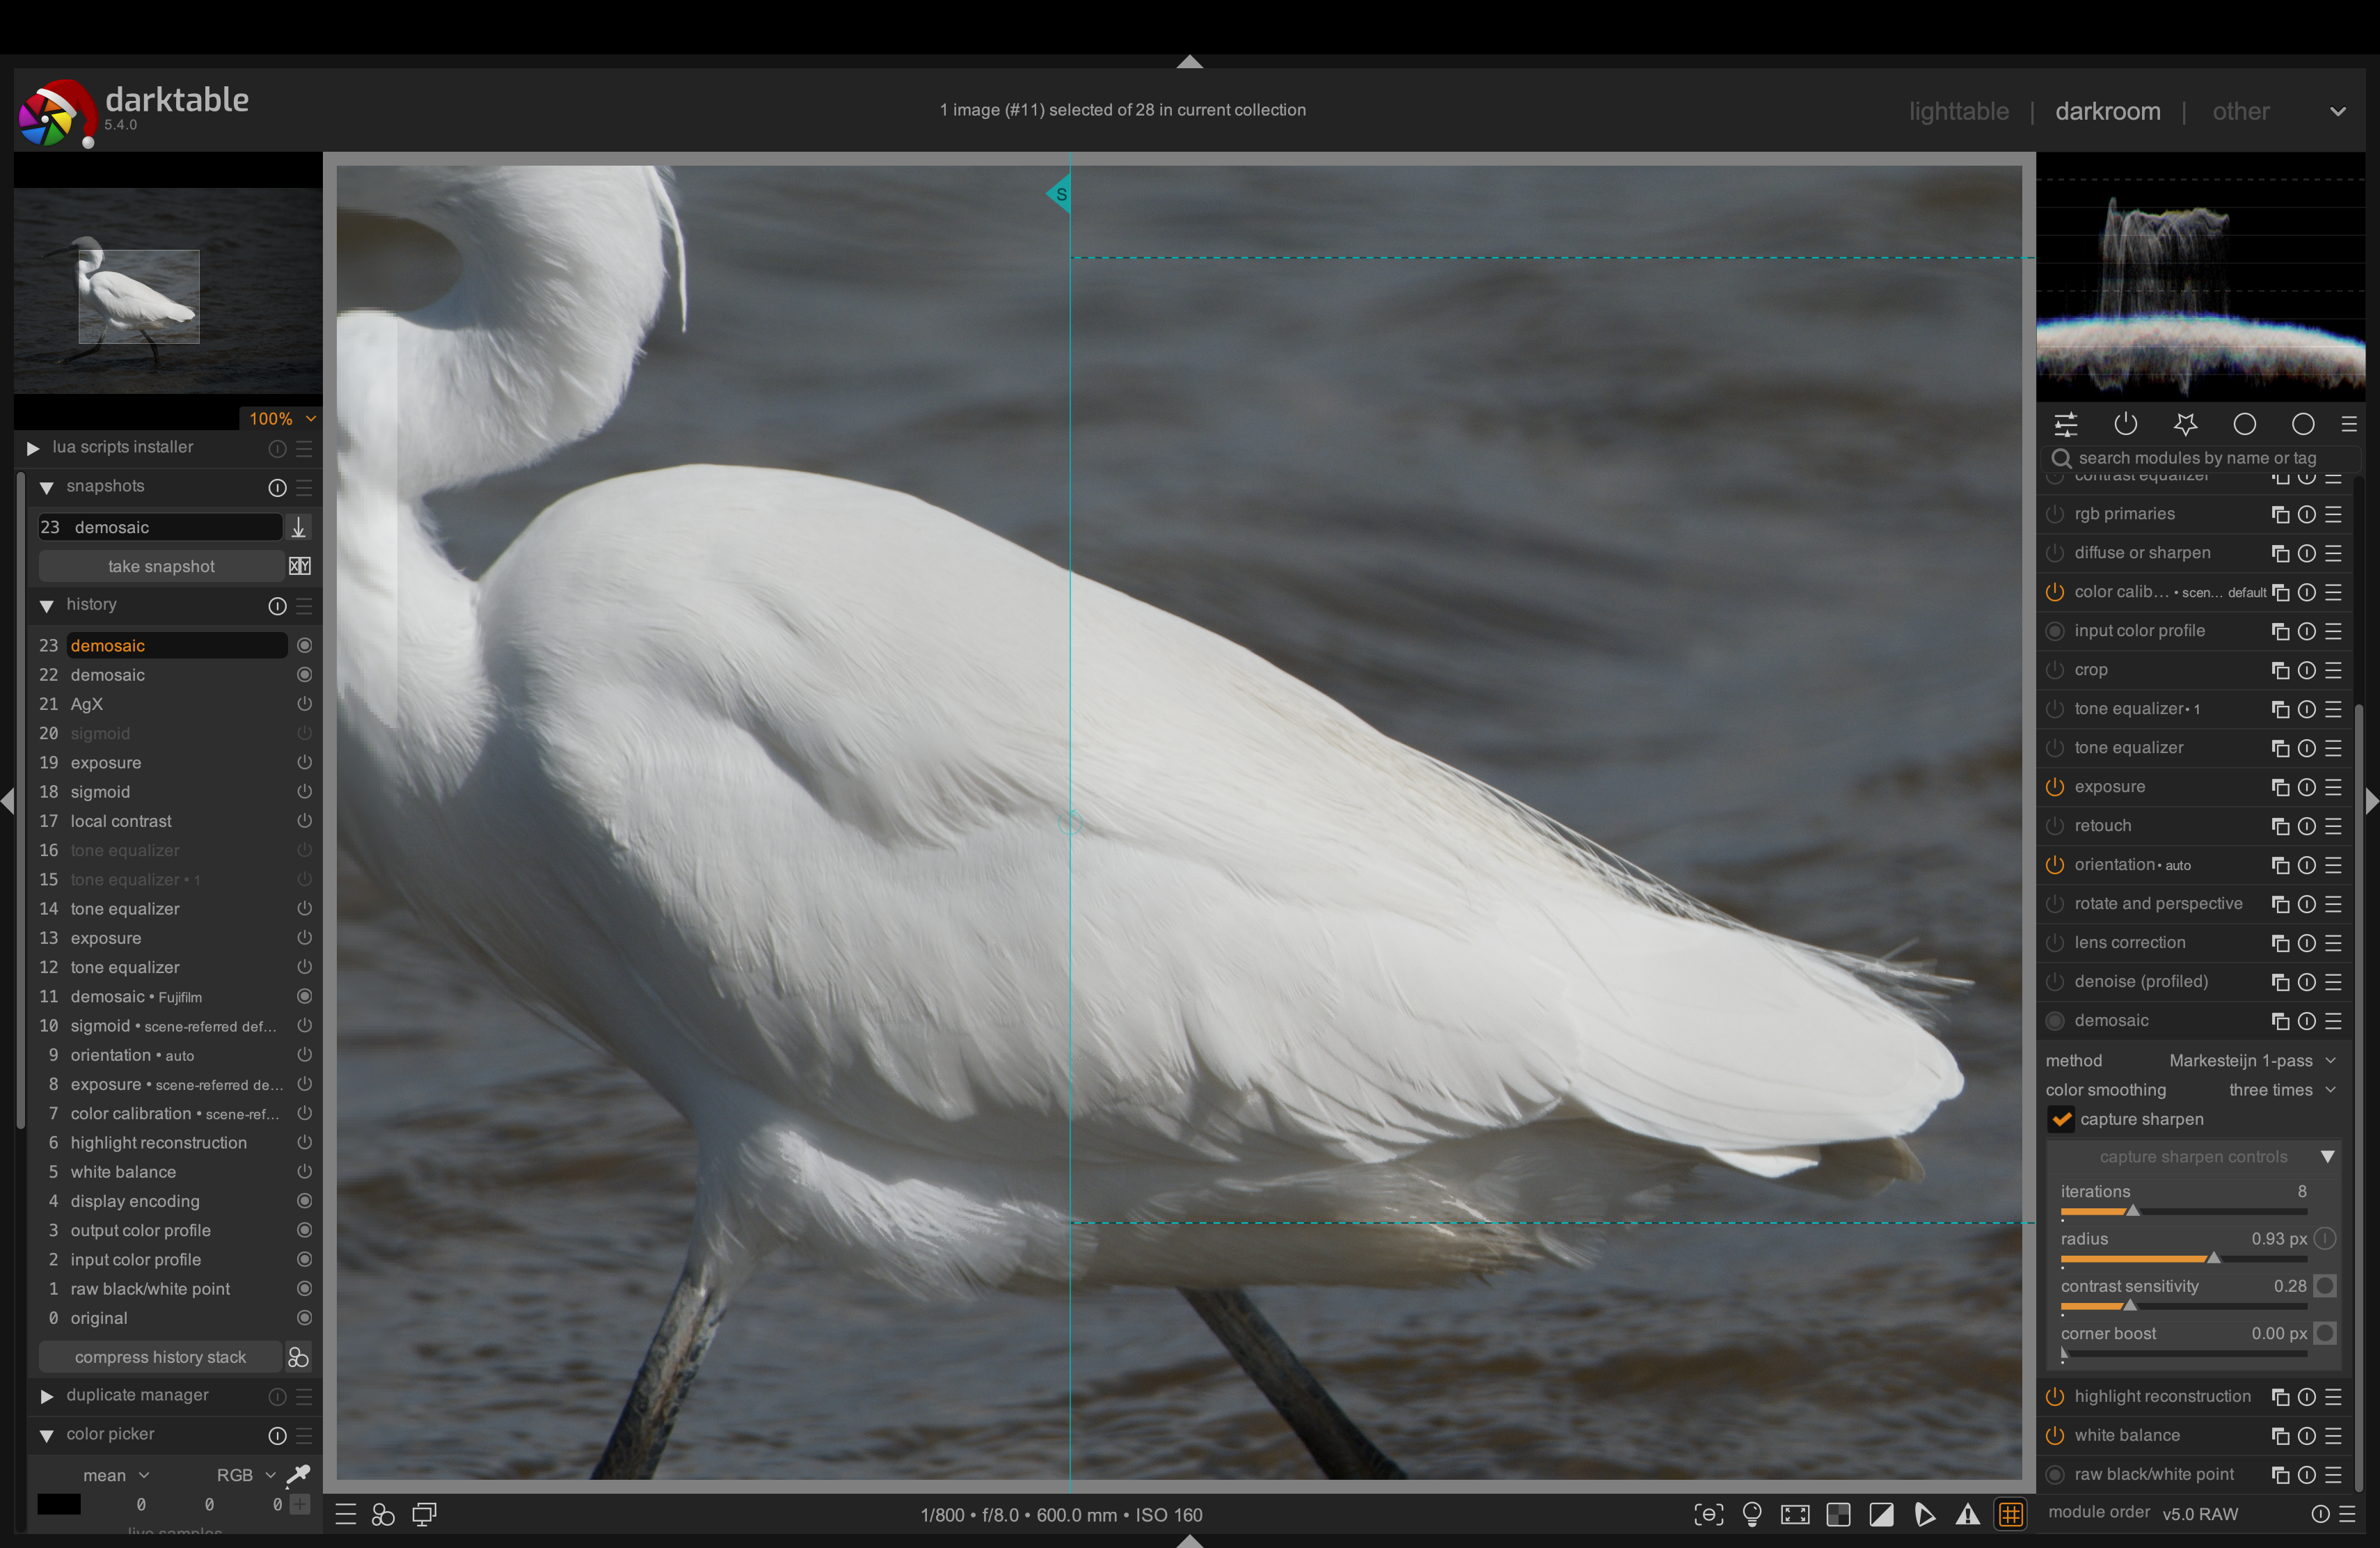
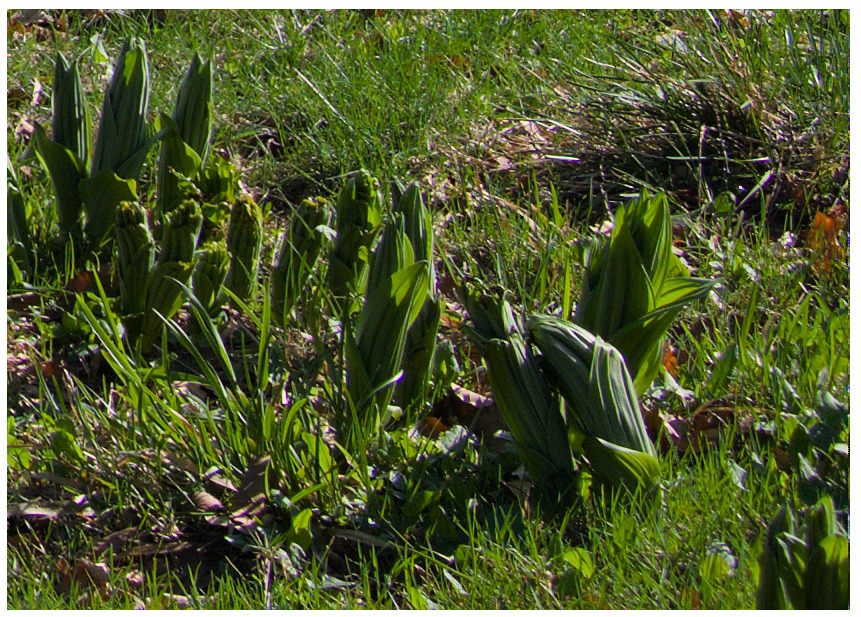
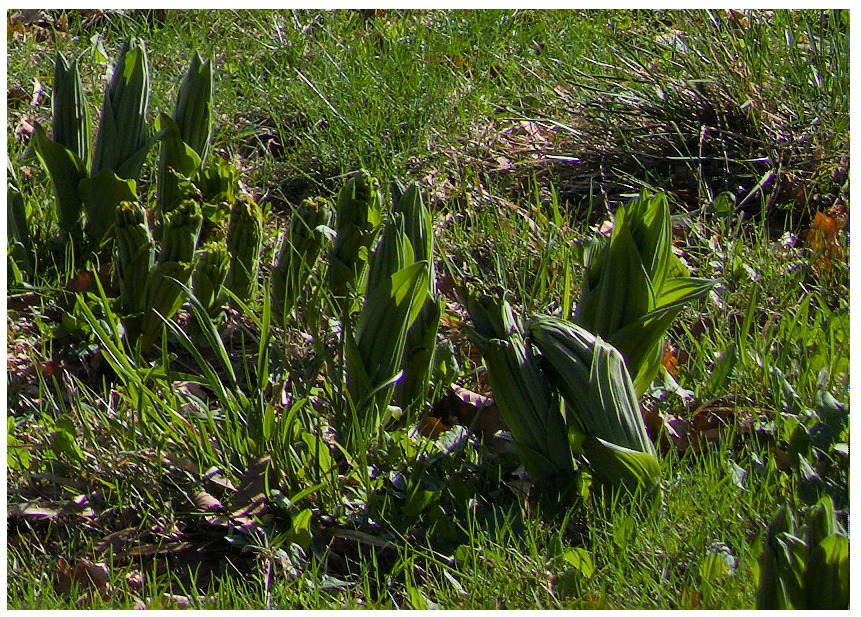
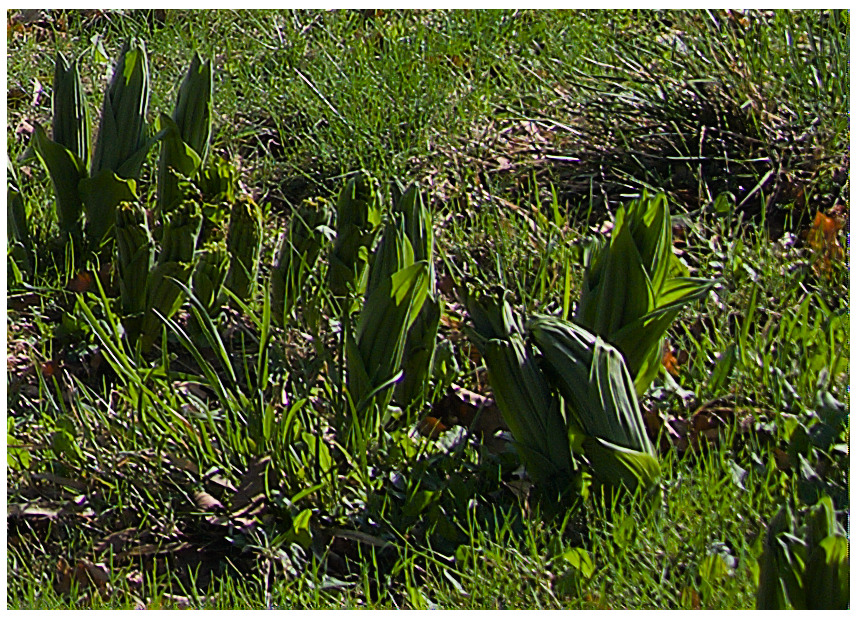
A quick test, but I’m not sure if it’s really what you want?? A couple of screenshots: in both cases default capture sharpen is left, increased radius is right.
My default demosiac is Markesteijn 1 pass colour smoothing 3x.
I have quite a few Fujfifilm files, from XTrans 3 (X-H1) and XTrans 5 (X-H2S), low and high ISO. Let me know if any other combinations / types of subject would be helpful. Or I could post RAF files somewhere.
Thank you very much for Capture Sharpening!
If I understand correctly, opencl should also be supported. When I look at the debug logs, demosaic with CS seems to be processed on my CPU, with the process taking ~2.8 seconds from 3.4 seconds for pixelpipe full on a 6000x4000 image.
Even without CS, demosaic is processed on CPU (but faster, ~1.2 from 1.4 sec.)
OpenCL is active and is used by other modules.
Ubuntu 24.04.3
Intel Core I7-6700k, 32 GiB
NVIDIA GeForce GTX 1070, 8 GiB, processing pixelpipe full
NVIDIA GeForce GTX 960, 4 GiB, processing pixelpipe preview
Have I missed something?
I can provide the log and opencl-config parameters etc.
Ahh, thank you for clarification. AMaZE seems to have no opencl-support but RCD does. That seems to be the point. Now pixelpipe finishes with thunder and lightning again.
And of course, rtfm helps: “Note: The performance of the demosaic algorithms differs significantly, AMaZE being by far the slowest”
Maybe I was misled by the mask because when I changed the corner boost value, the mask was being changed as well.
It seems, in fact, that with this scroll I am not changing the mask, but only adding additional amount of sharpness, while the mask is changed by the sharp center scroll.
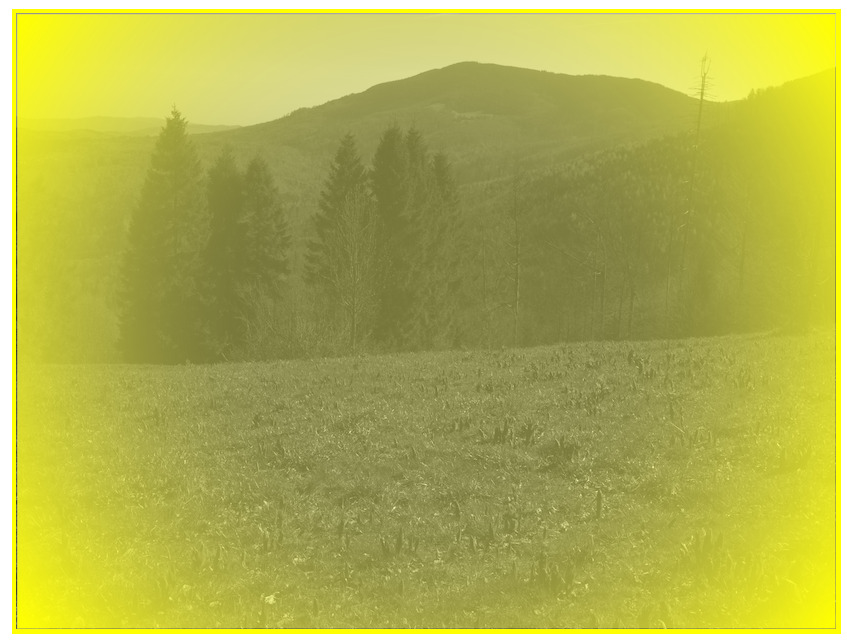
I’m pretty new to the Capture Sharpening tool myself. Others would be more qualified to say whether you are correct. I was just observing that, in your examples with corner boost increased, the effect looked more like artifacts than lack of sharpness. What caught my eyes right away was the texture of the grass near the top of the images.
I do see that, when the mask for corner boost is activated, increasing the value for corner boost shows that the area affected by corner boost grows. Increasing the sharp center can push the extent of the corner boost mask back. So it looks like you can orchestrate a little battle between those two sliders to control the affected area and its strength.
I re-read the doc for Capture Sharpening, and unfortunately I am no further ahead regarding corner boost and sharp center.
That page does say (and I think I’ve seen it repeated elsewhere):
CS is not intended to be used as a general sharpening / local contrast enhancing tool, it should be understood as a way to increase micro-contrast in structures with lots of detail and leads to better results for further processing. Excellent examples would be details of surfaces like wood, brick walls, hair …
Based on that, I would plan to do heavy duty sharpening with other existing modules.