I’m much more used to post-processing digital scans of colour negatives , which handle this kind of scene better (dynamic range compression, highlights, …), in my experience.
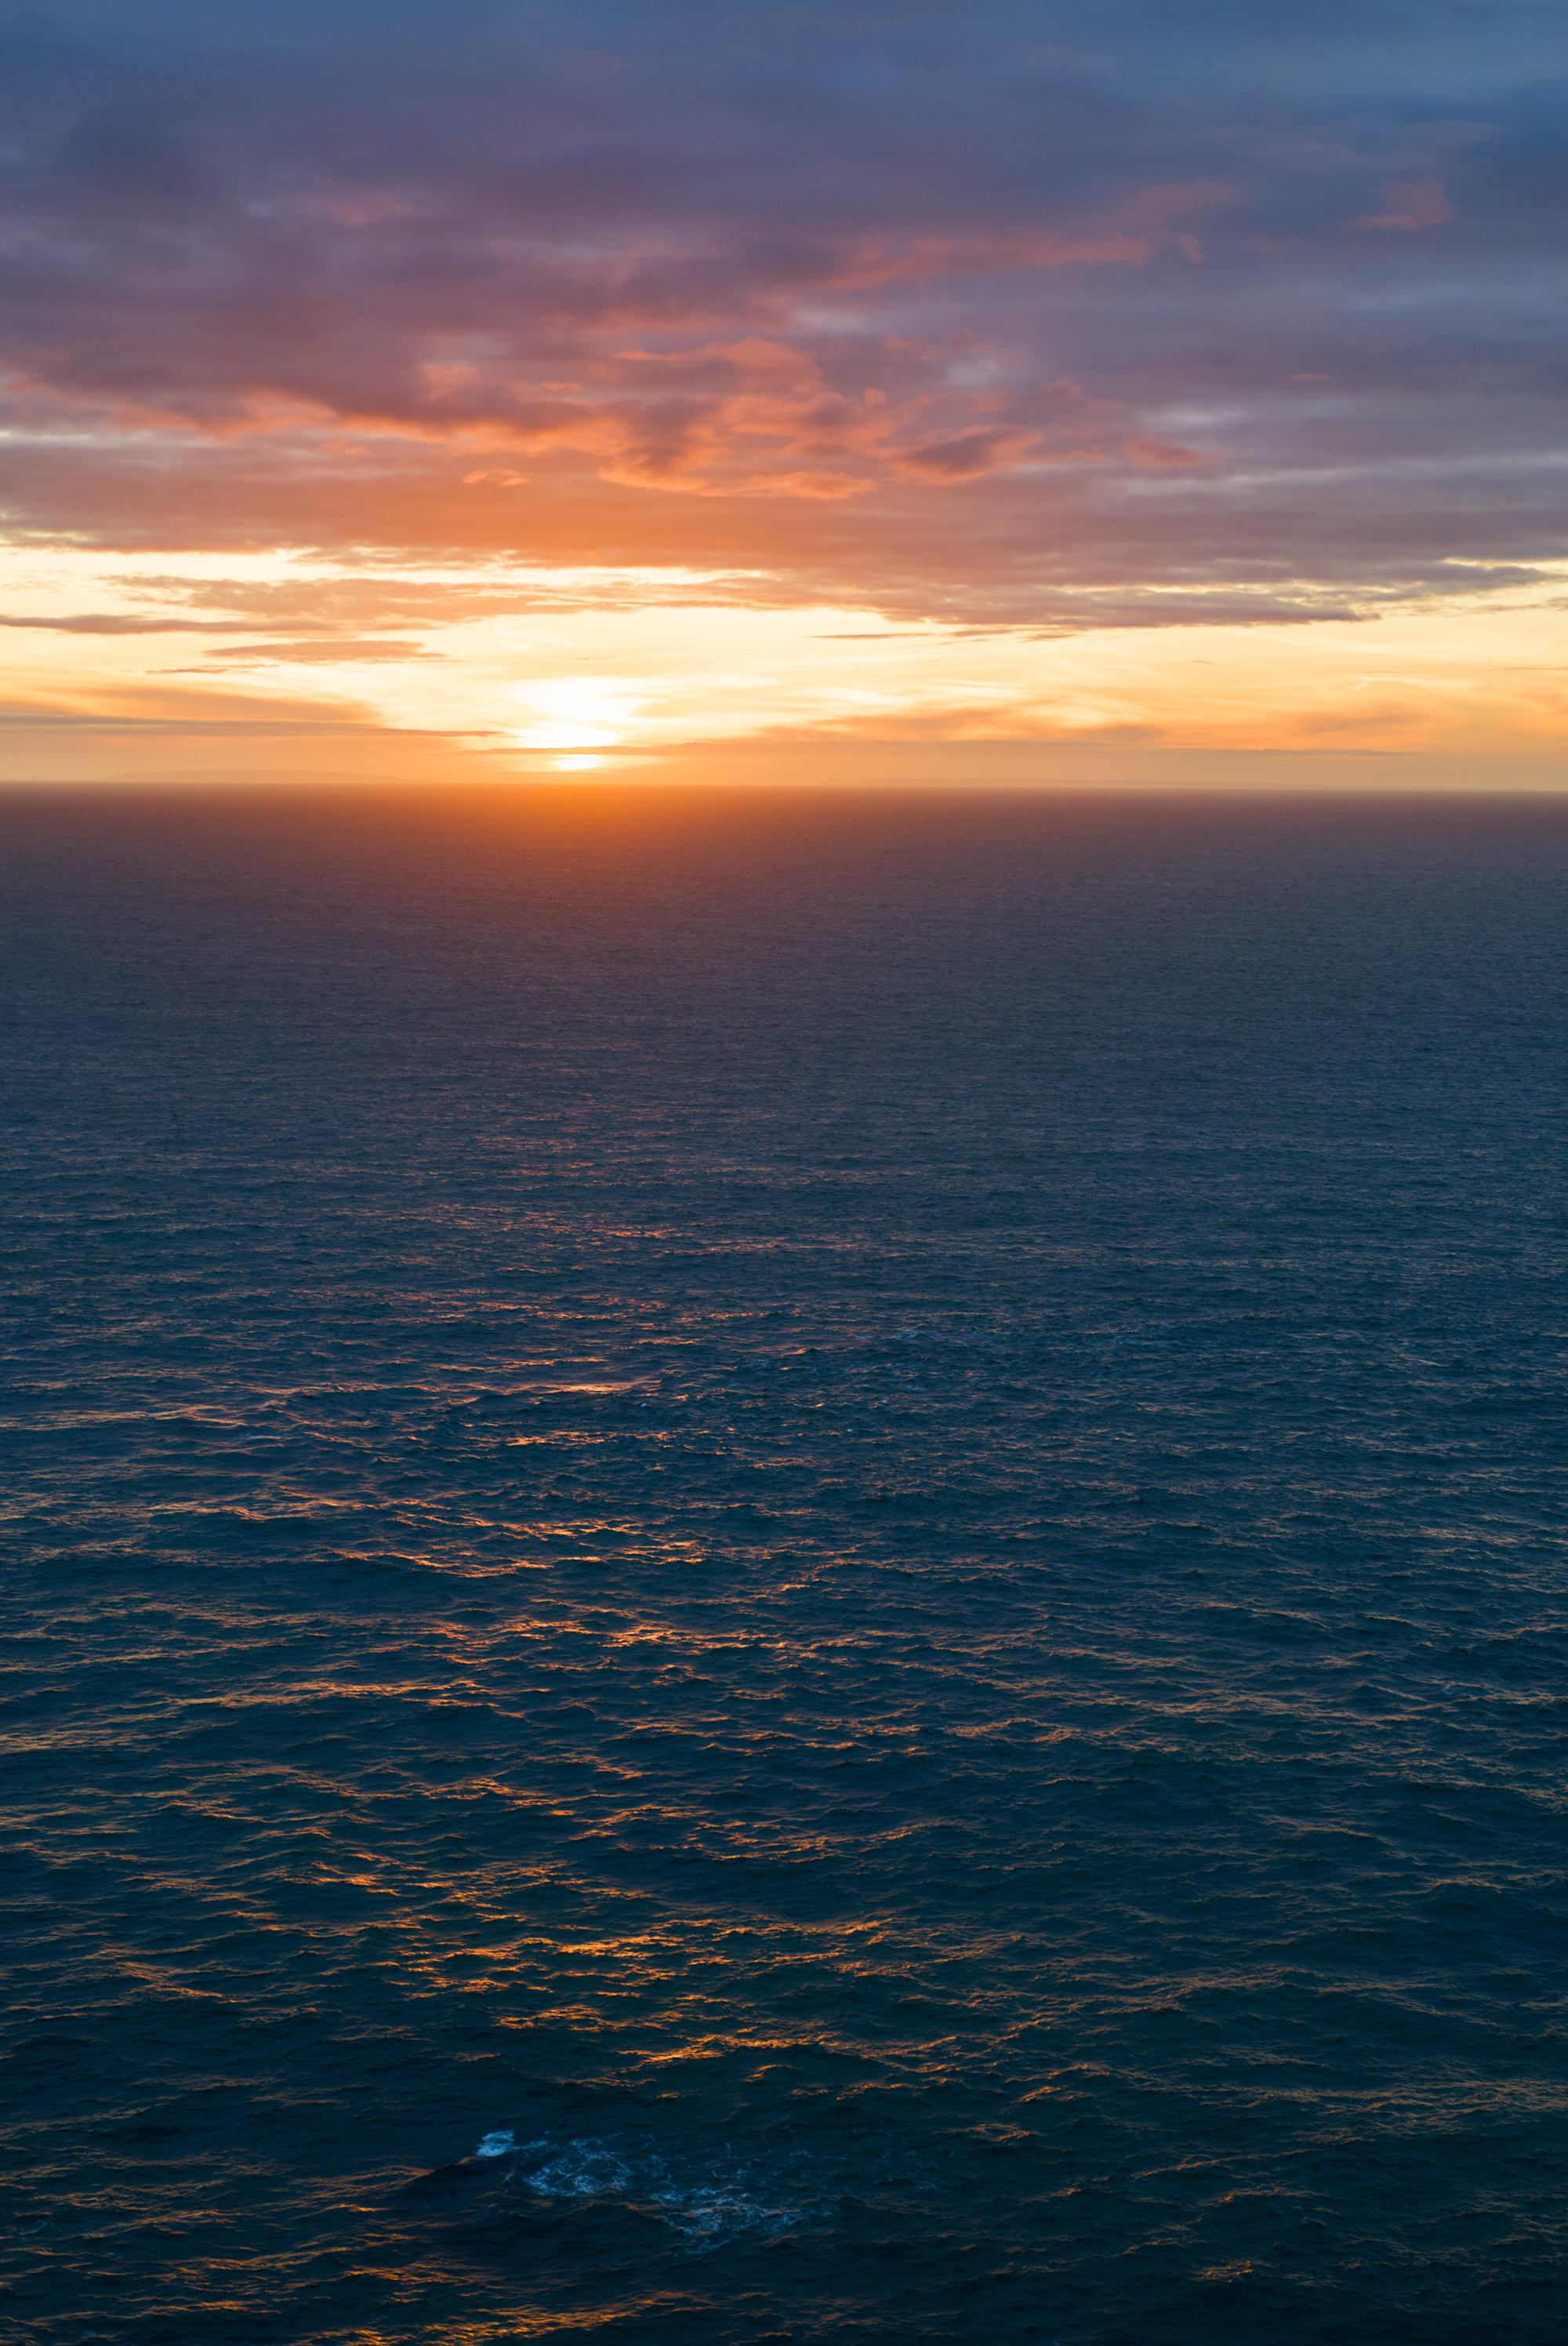
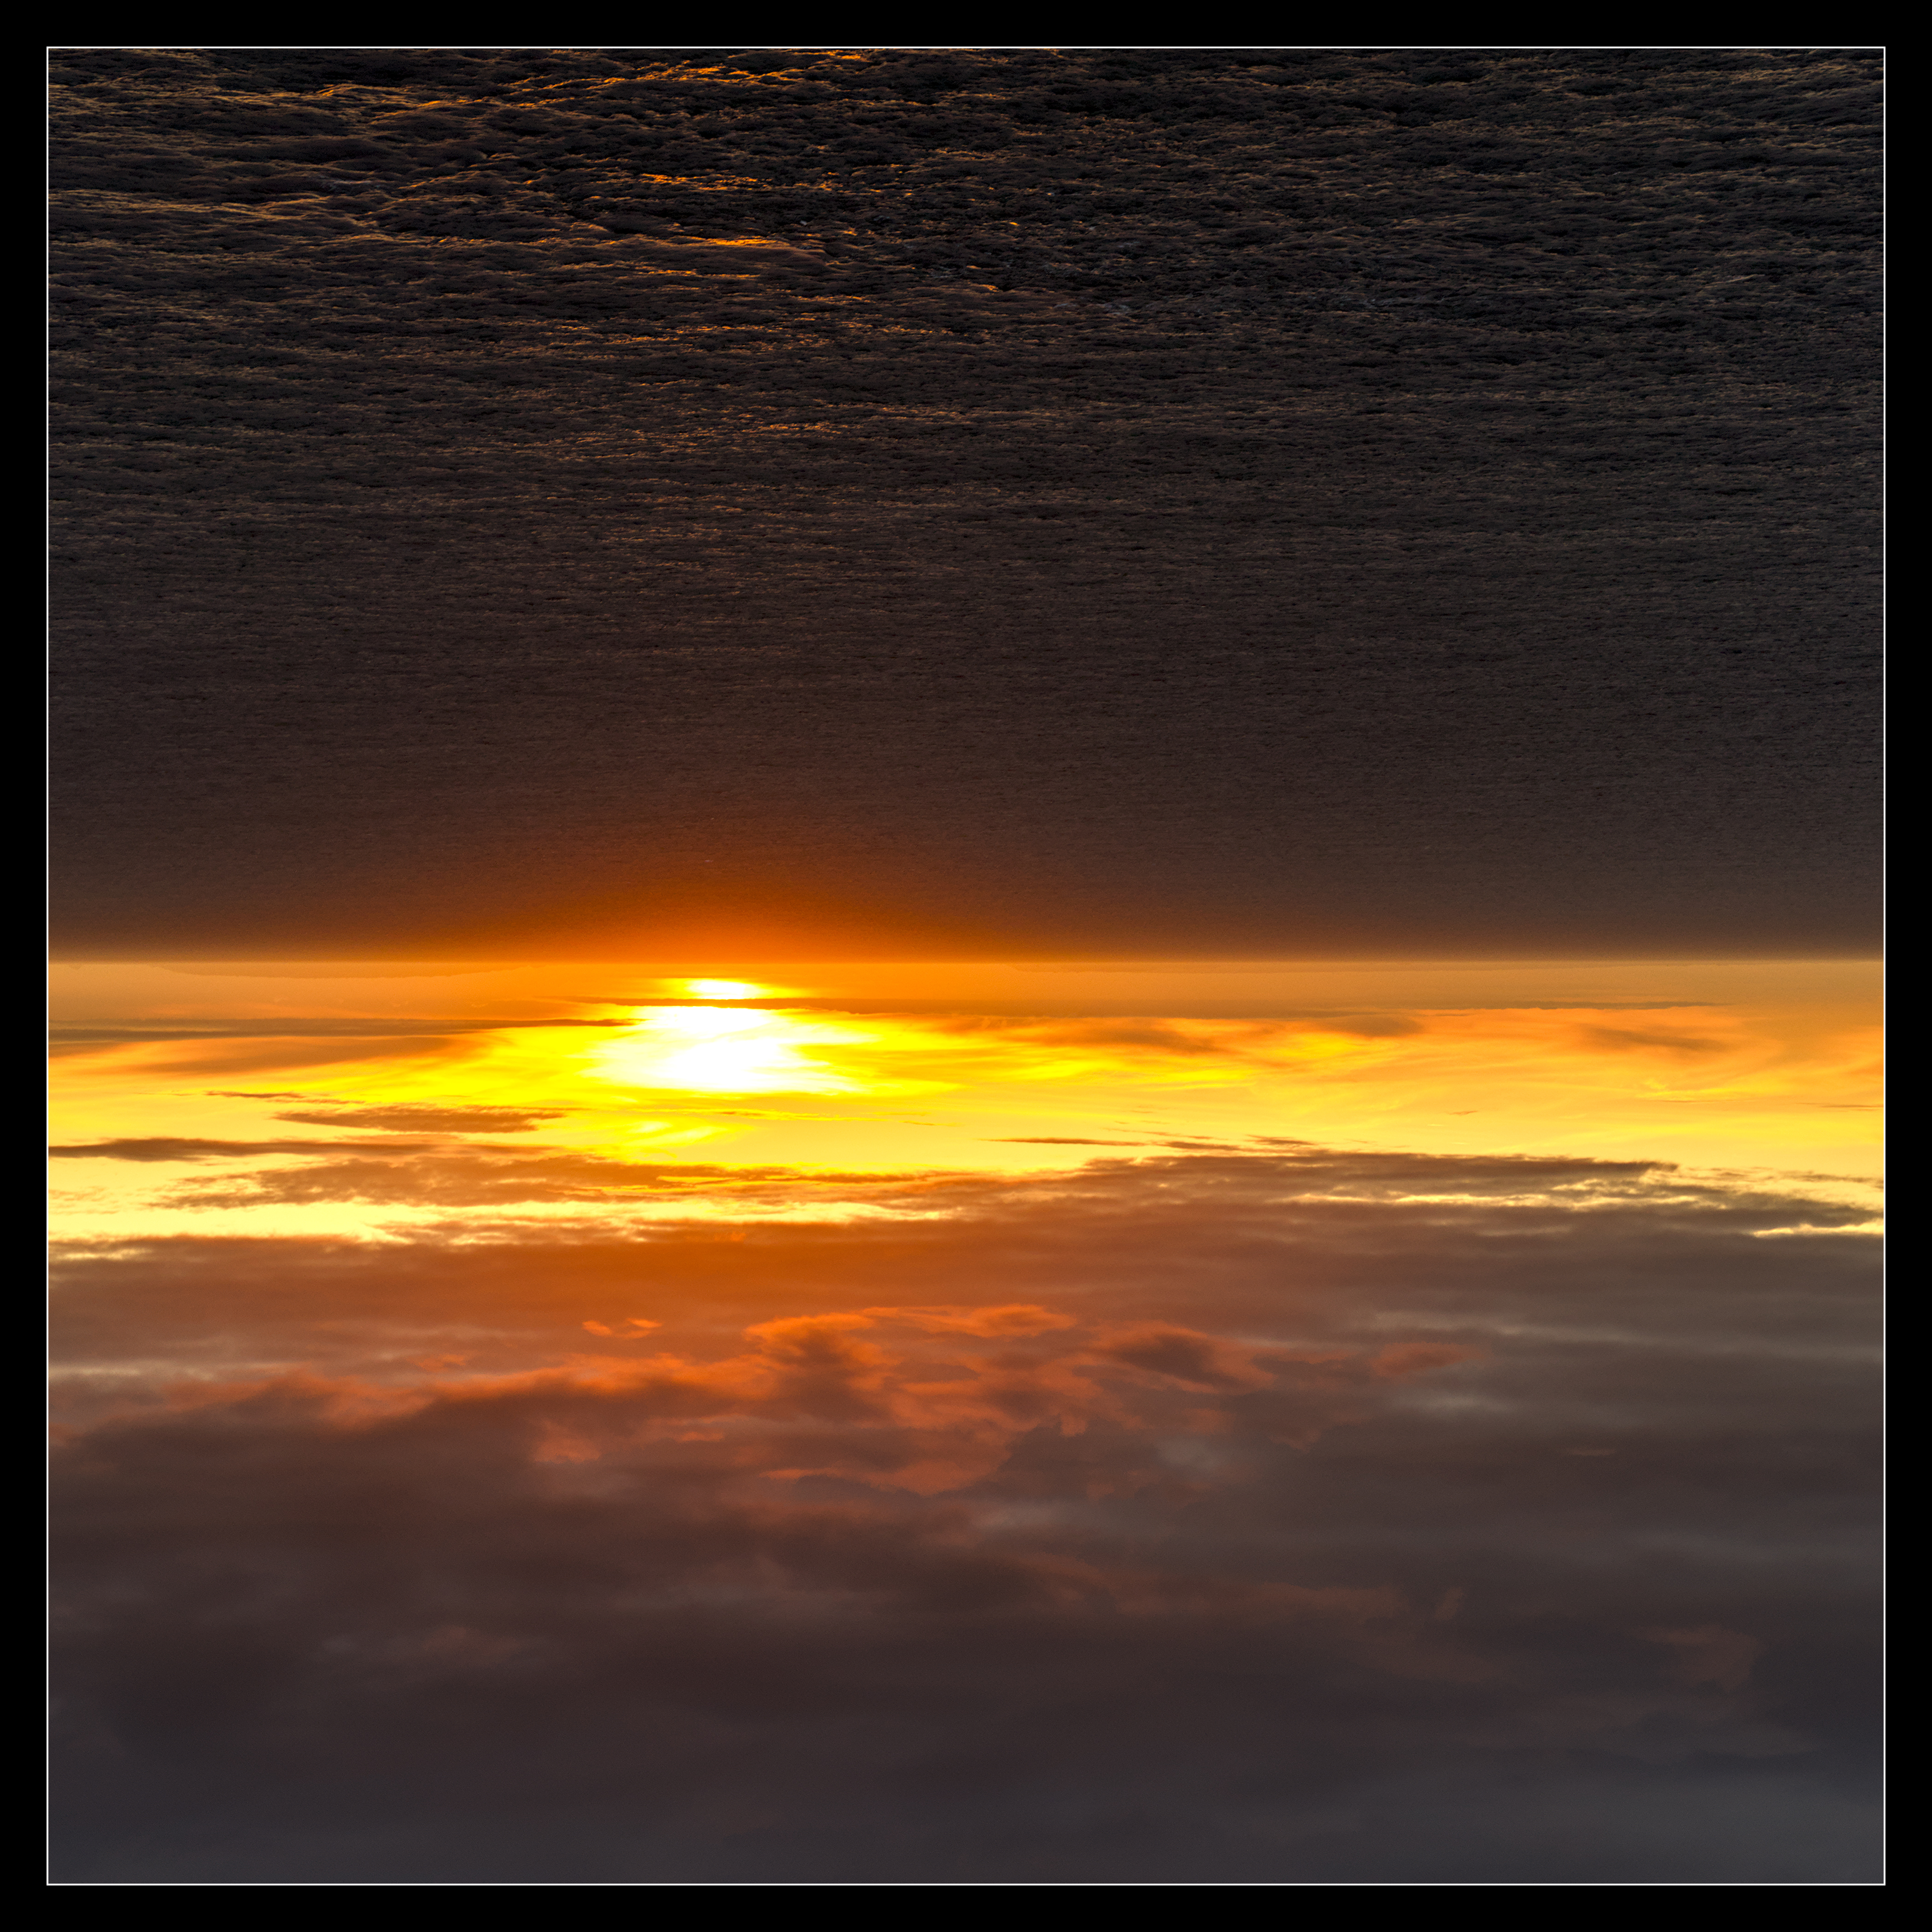
I’m almost happy with the colour temperature of the scene on the lower half. It was not a warm sunset, if I can put it that way, so those purples and blues suit me well.
I’m not happy with the colour temperature of the sun and sky. It’s too neutral. So I guess I need some warmth, there.
Let me know how you’d process this — my own psychological inertia drives me towards compression (maybe I should try some opensource HDR software for that purpose, as a place to start?).
There’s something about the texture and almost complementary hues of the sea that I want to show, without compromising the look of the sky and sun (note: I have additional shots where the sun is almost hidden a few minutes later).
To start with, I’m not familiar with RT, so although I did attempt it, I didn’t get anything much good, and resorted to my usual darktable. Let me know if it’s too much off topic!
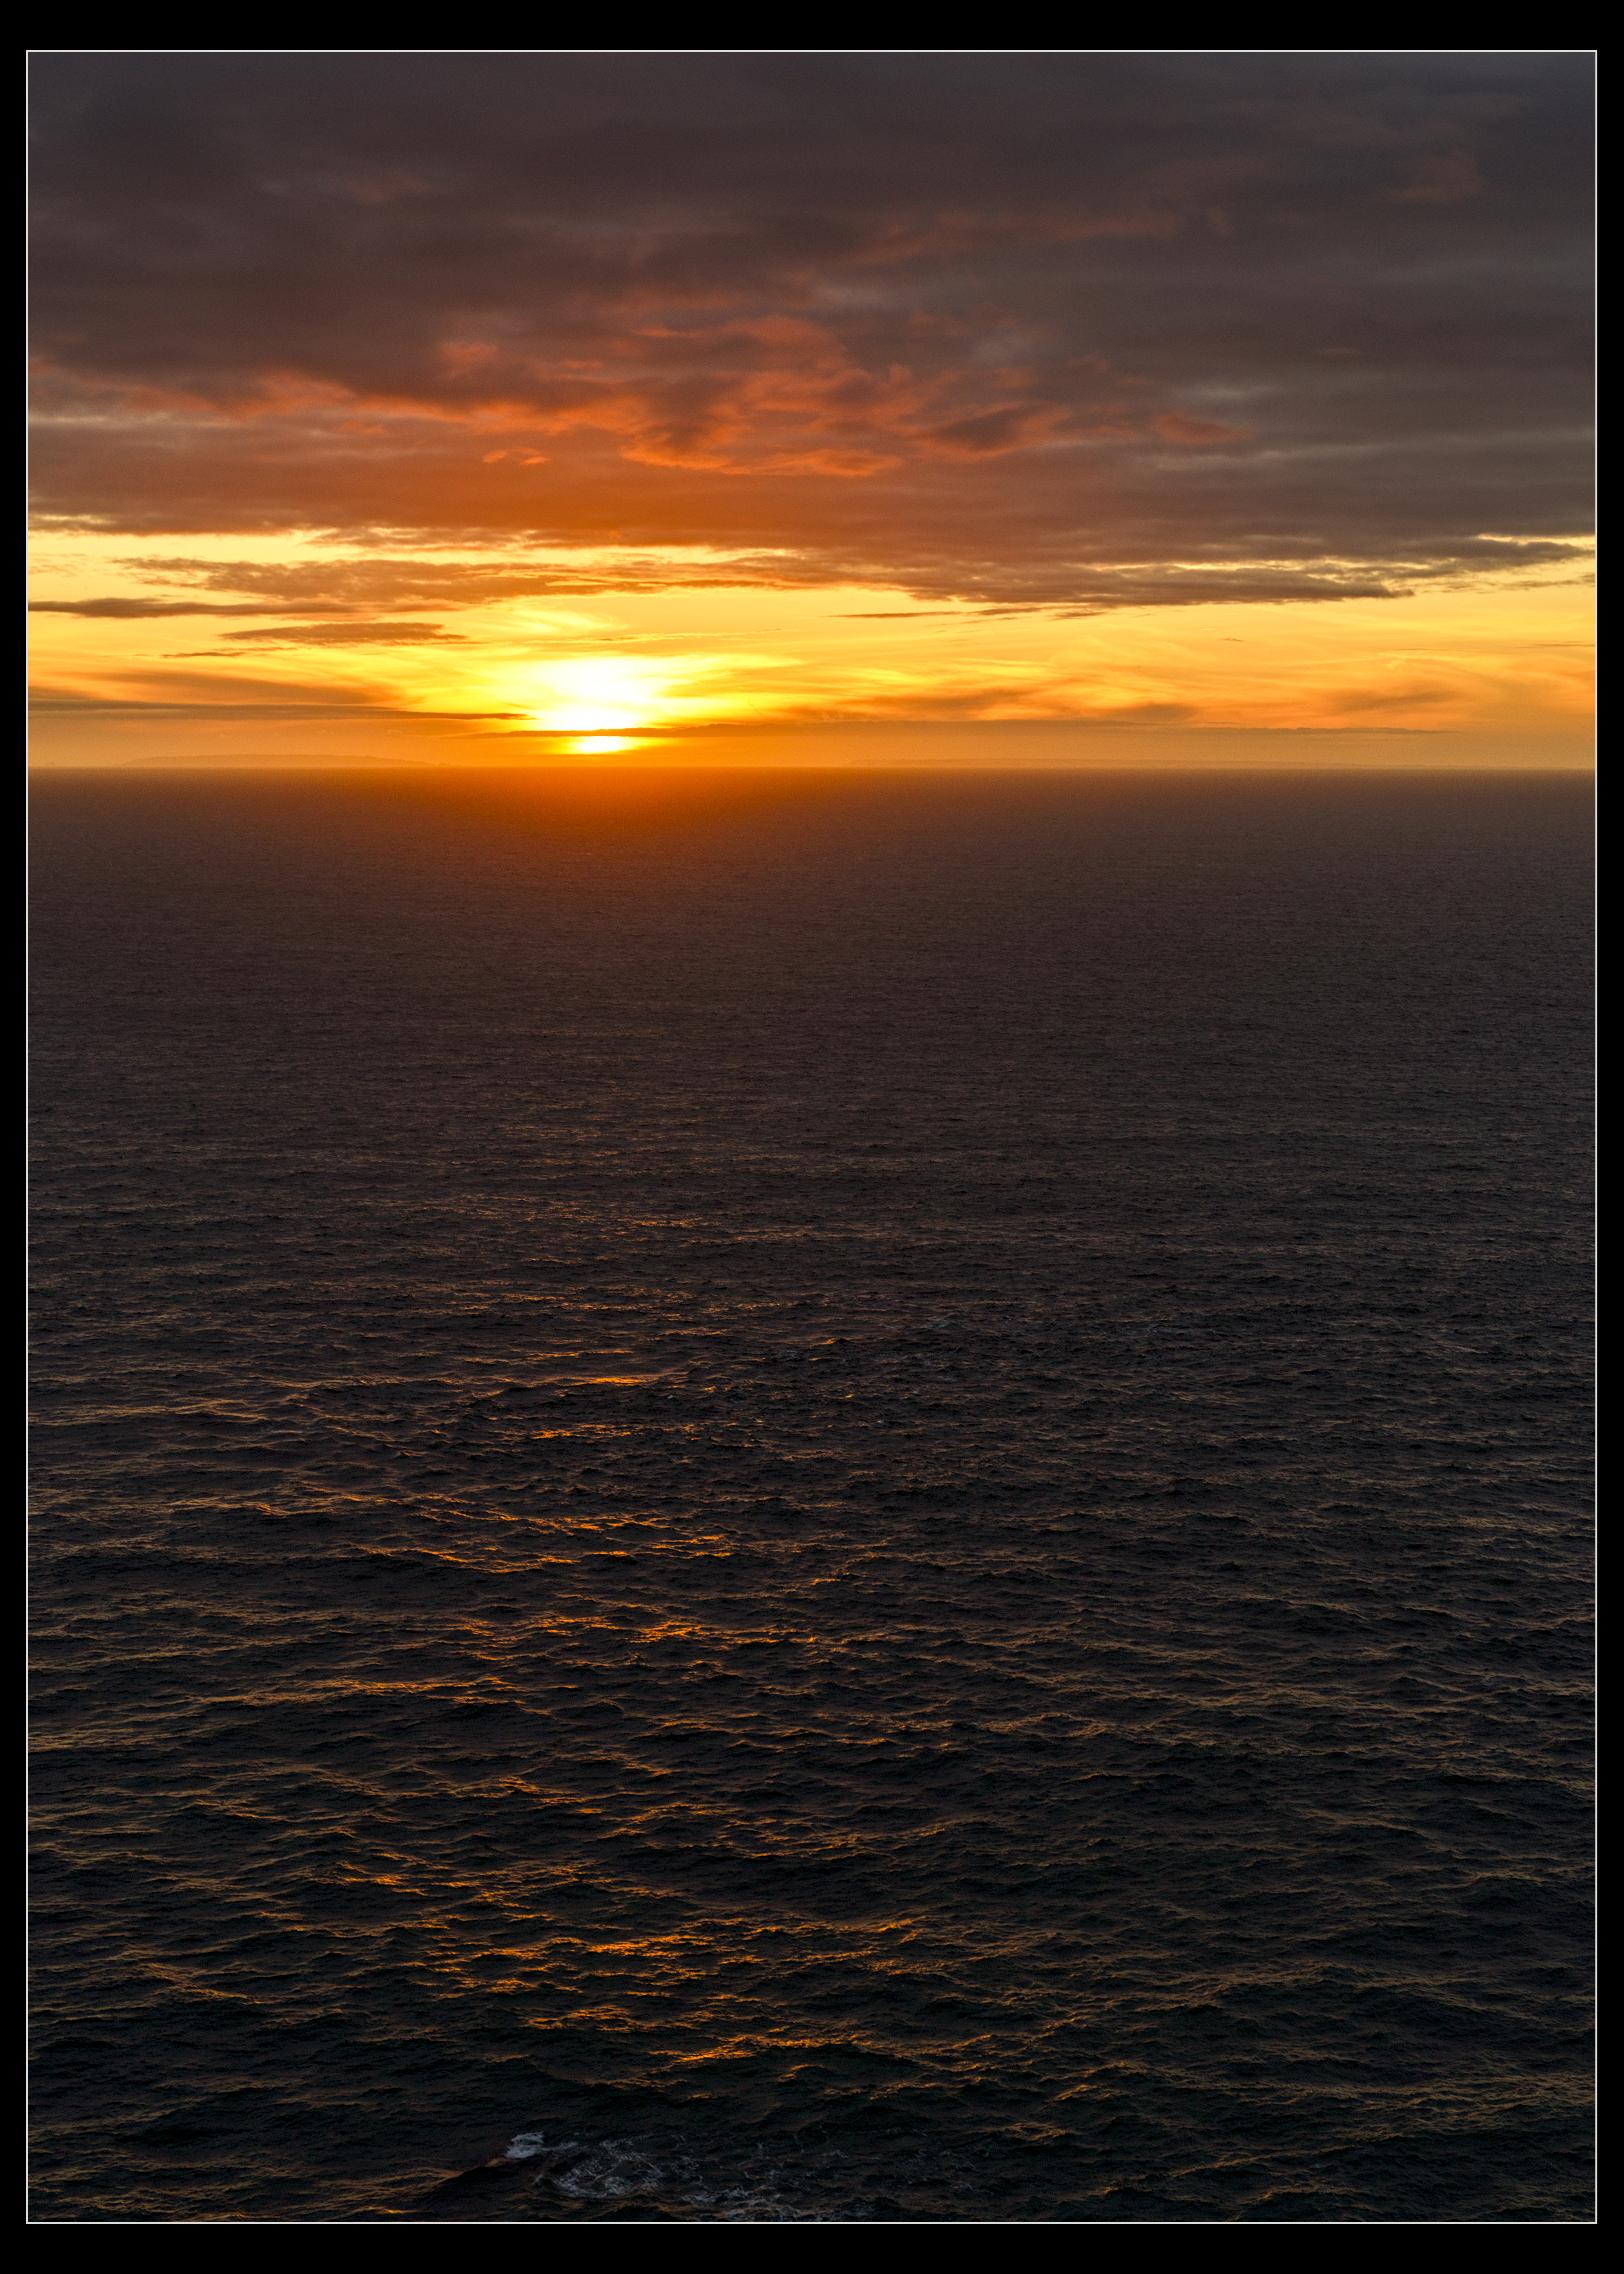
I don’t know if this is really what you wanted - I tried to follow the brief more or less. I used sigmoid as the tonemapper/curve, tone EQ for conpression, a fairly subtle exposure gradient, diffuse and sharpen for local contrast enhancement and a surprising mount of fiddling with chroma and saturation in color balance rgb to get the sky how I wanted. Suffice to say I found this image more difficult than I expected D75_4689.NEF.xmp (18.2 KB)
Struggled with the highlights, I used color toning & a local adjustment to blend it in. There’s also a Warm/Cool module in LA to adjust the white balance locally, might work better than Color & Light.
With this image I used Darktable and I found base curve produced colours similar to the embedded jpg and more natural looking to me than the results I got from both Filmic and Sigmoid.
Thanks everyone for this feedback.
About DT vs RT: I honestly don’t have a favourite tool just yet, though I’m much more used to RT than DT (principal reason being I use RT to invert colour negs).
I’ll take some time to review your takes on this picture.
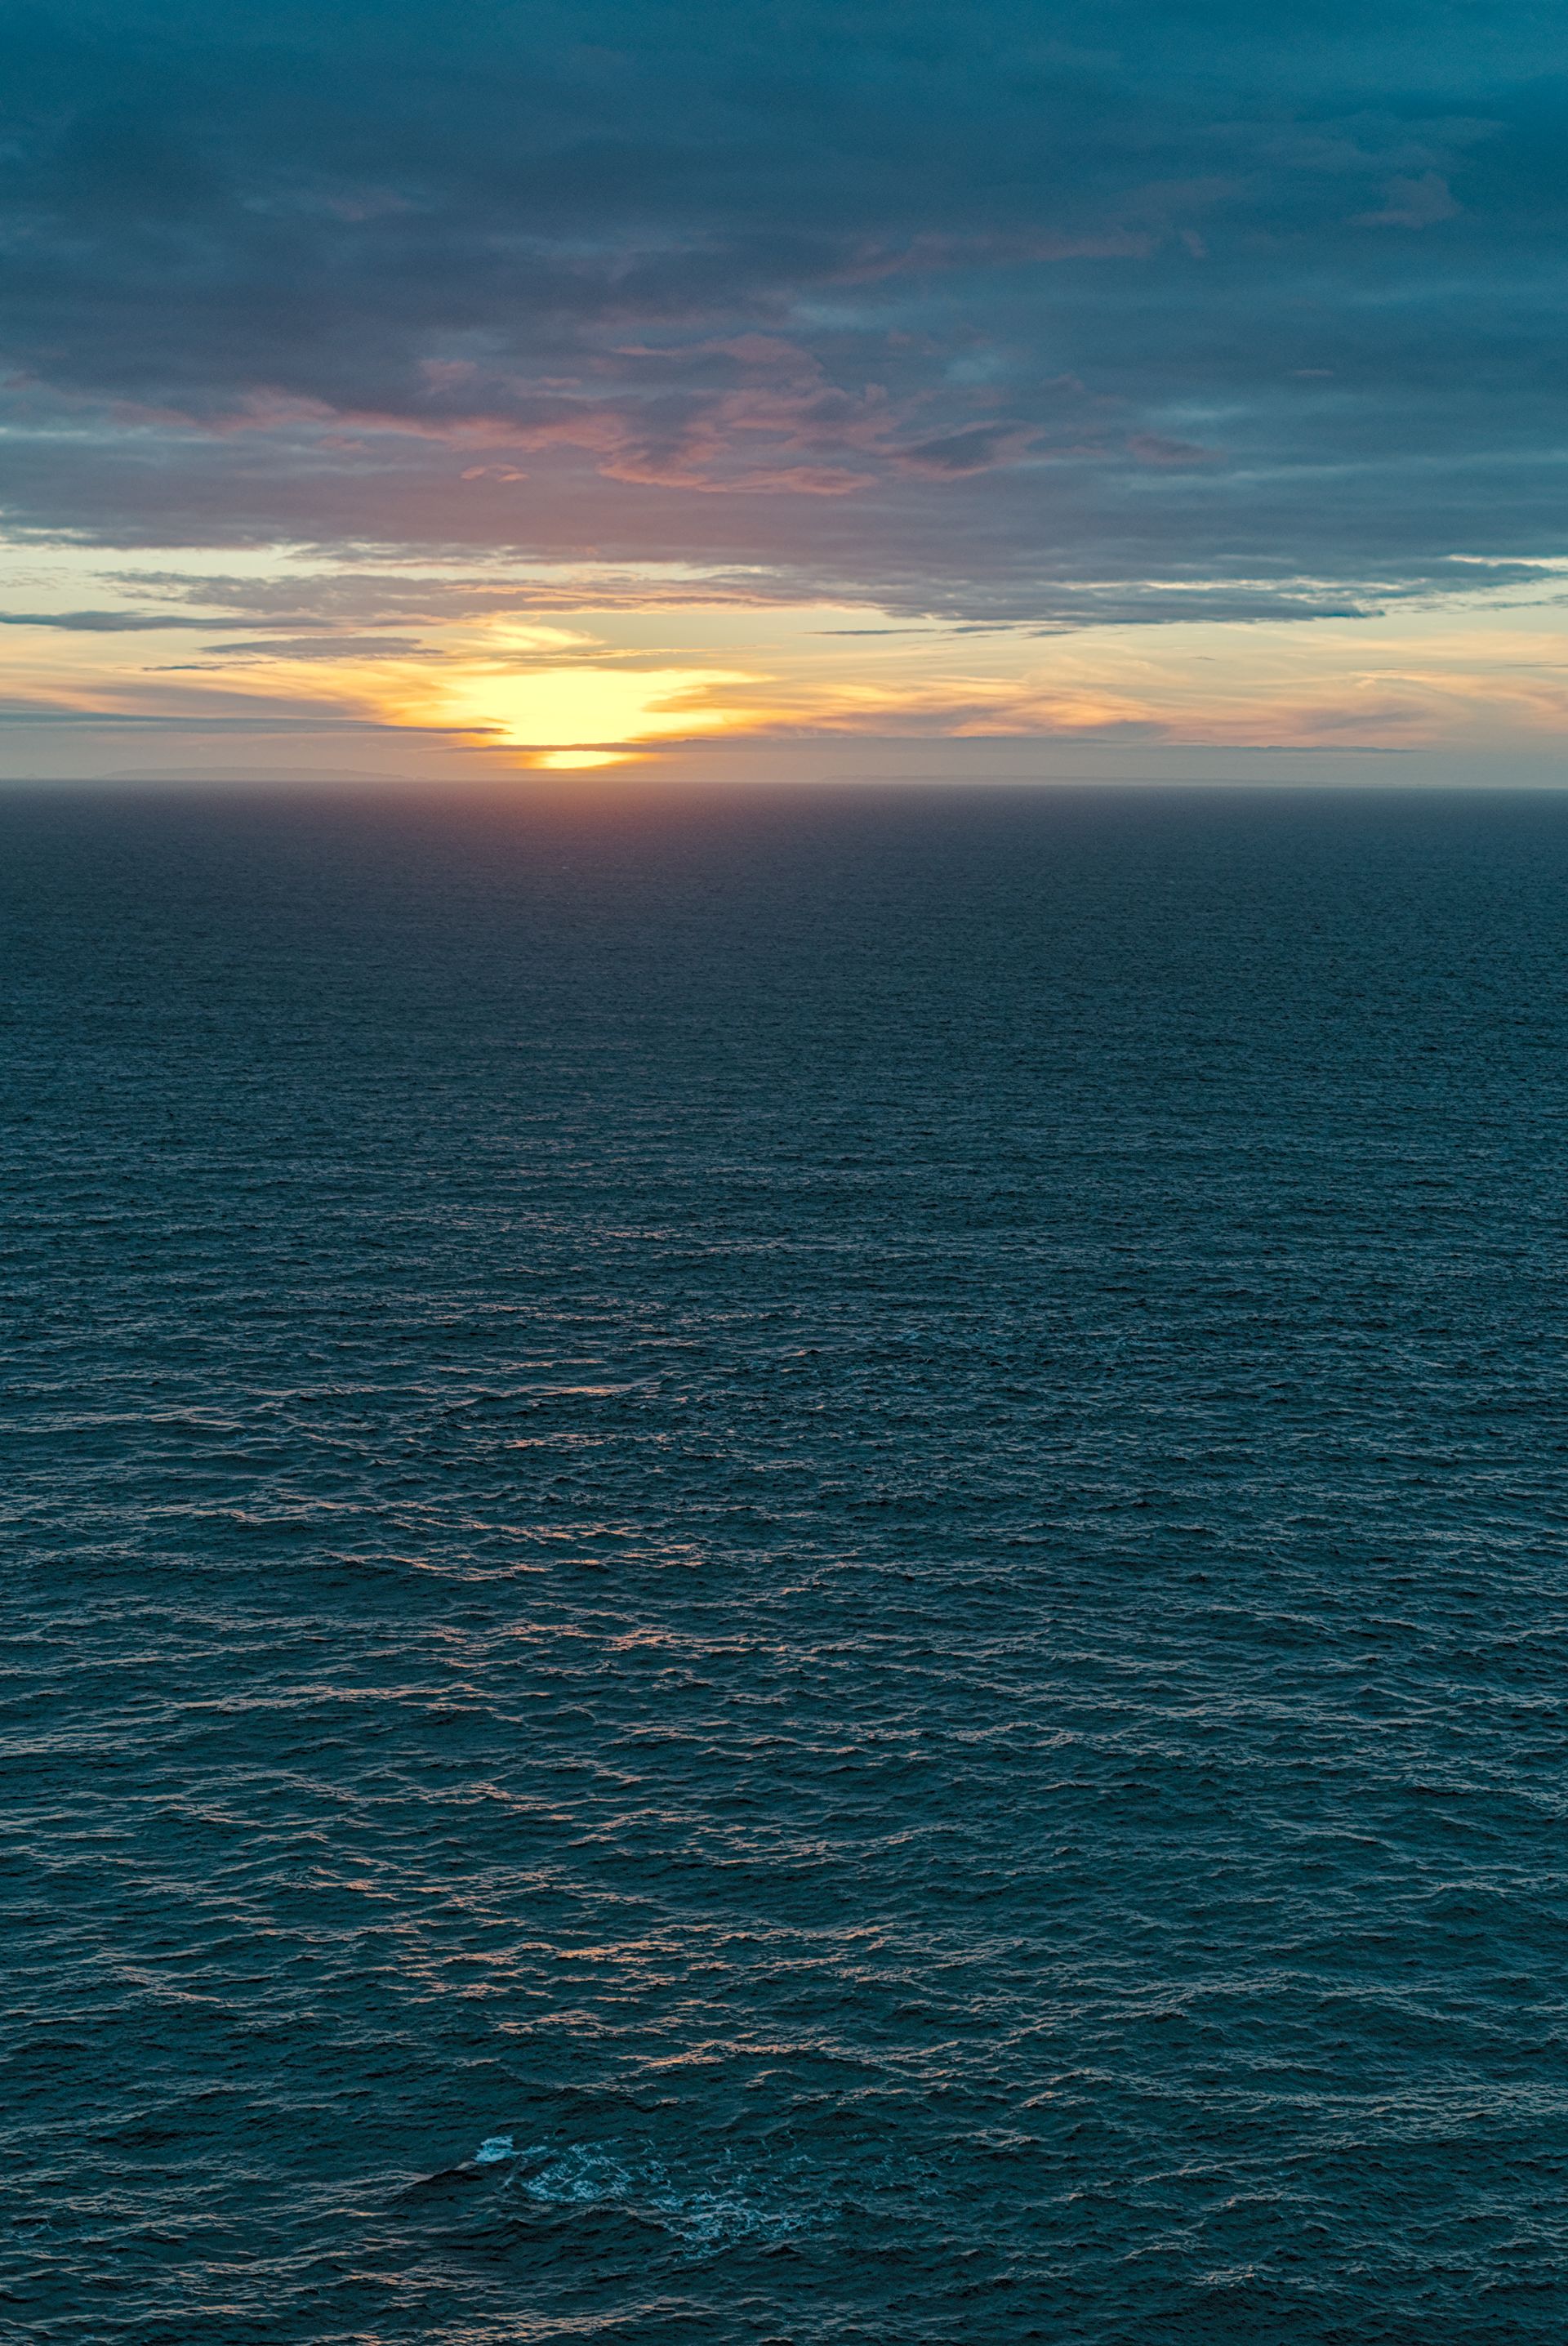
Meanwhile, I’ll share another one for you to play with, with the sun almost set, and slightly hidden behind clouds. The conditions are exactly the same; light had not changed much — it was just a bit darker and exposed for the highlights, to get the best possible canvas for smooth gradients in the brightest parts of the image. I don’t have an edit I like of it, just yet…
[same licensing] D75_4701.NEF (25.5 MB)
perhaps something like this, but I’m not too convinced, and I have really yet to play with RT’s local adjustments and Color Appearance & Lighting
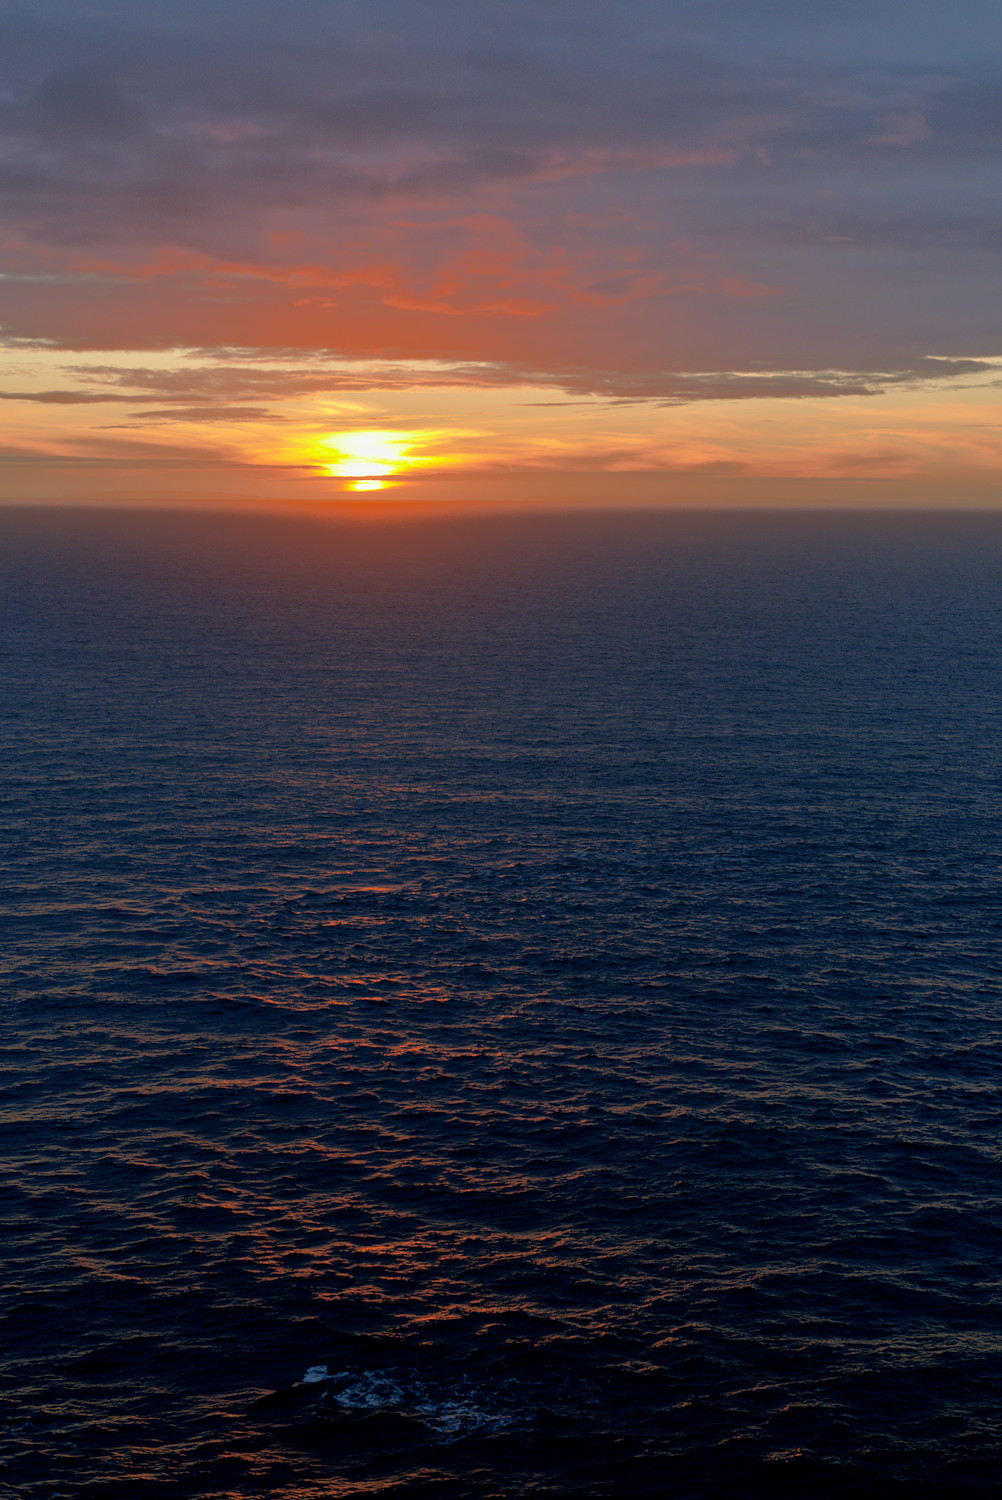
After your comment i took a quick look at the basecurve sigmoid and filmic starting points… I though well I would always use v5 filmic for these but lets see what I come up with using filmic v6… I don’t really like the partially blown fun in many of the edits. I like to have the sun desaturated and diffuse in a shot like this or some sort of color recovered if possible so I tried for that… so many possibilities with a shot like this one…
Now that is interesting as I do a lot of neg scanning. I will see what RT does with them. I have an Epson 850 scanner and the supplied software including silverfast is pretty ordinary in the colours
@priort inspired by your praise of filmic V5 I had a quick play with this image using filmic V5 and tone equalizer to recover the bright parts of the sunset. I am actually impressed with how well this combination worked together. What I like is that I feel I can see the shape of the sun through the clouds. This to me is very natural and the softer tones are more pleasing than my previous base curve edit, but that could also be from contrast adjustments which I haven’t played with here.
So now I see four options for tone mapping. We have base curve, sigmoid, filmic V6 and we should never overlooked filmic V5 as a viable option.
Without the extra gamut control and the ability to use the latitude and midtone saturation you can get a really nice range of color in those types of images without working hard to fight and correct the salmon hues…
I just had a quick go using the sigmoid module. The default settings produced horrible salmon color which was easily mitigated by turning down the value of the preserve hue slider. I keep learning something new every day with DT (well most days at least).

 , which handle this kind of scene better (dynamic range compression, highlights, …), in my experience.