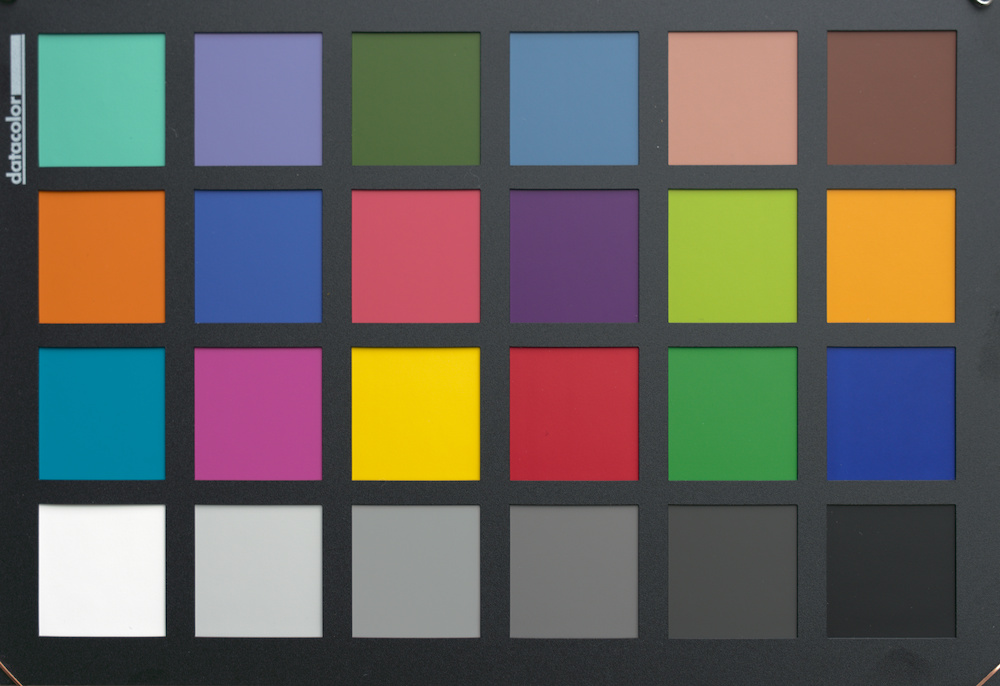
Color Calibration, icc, real colors

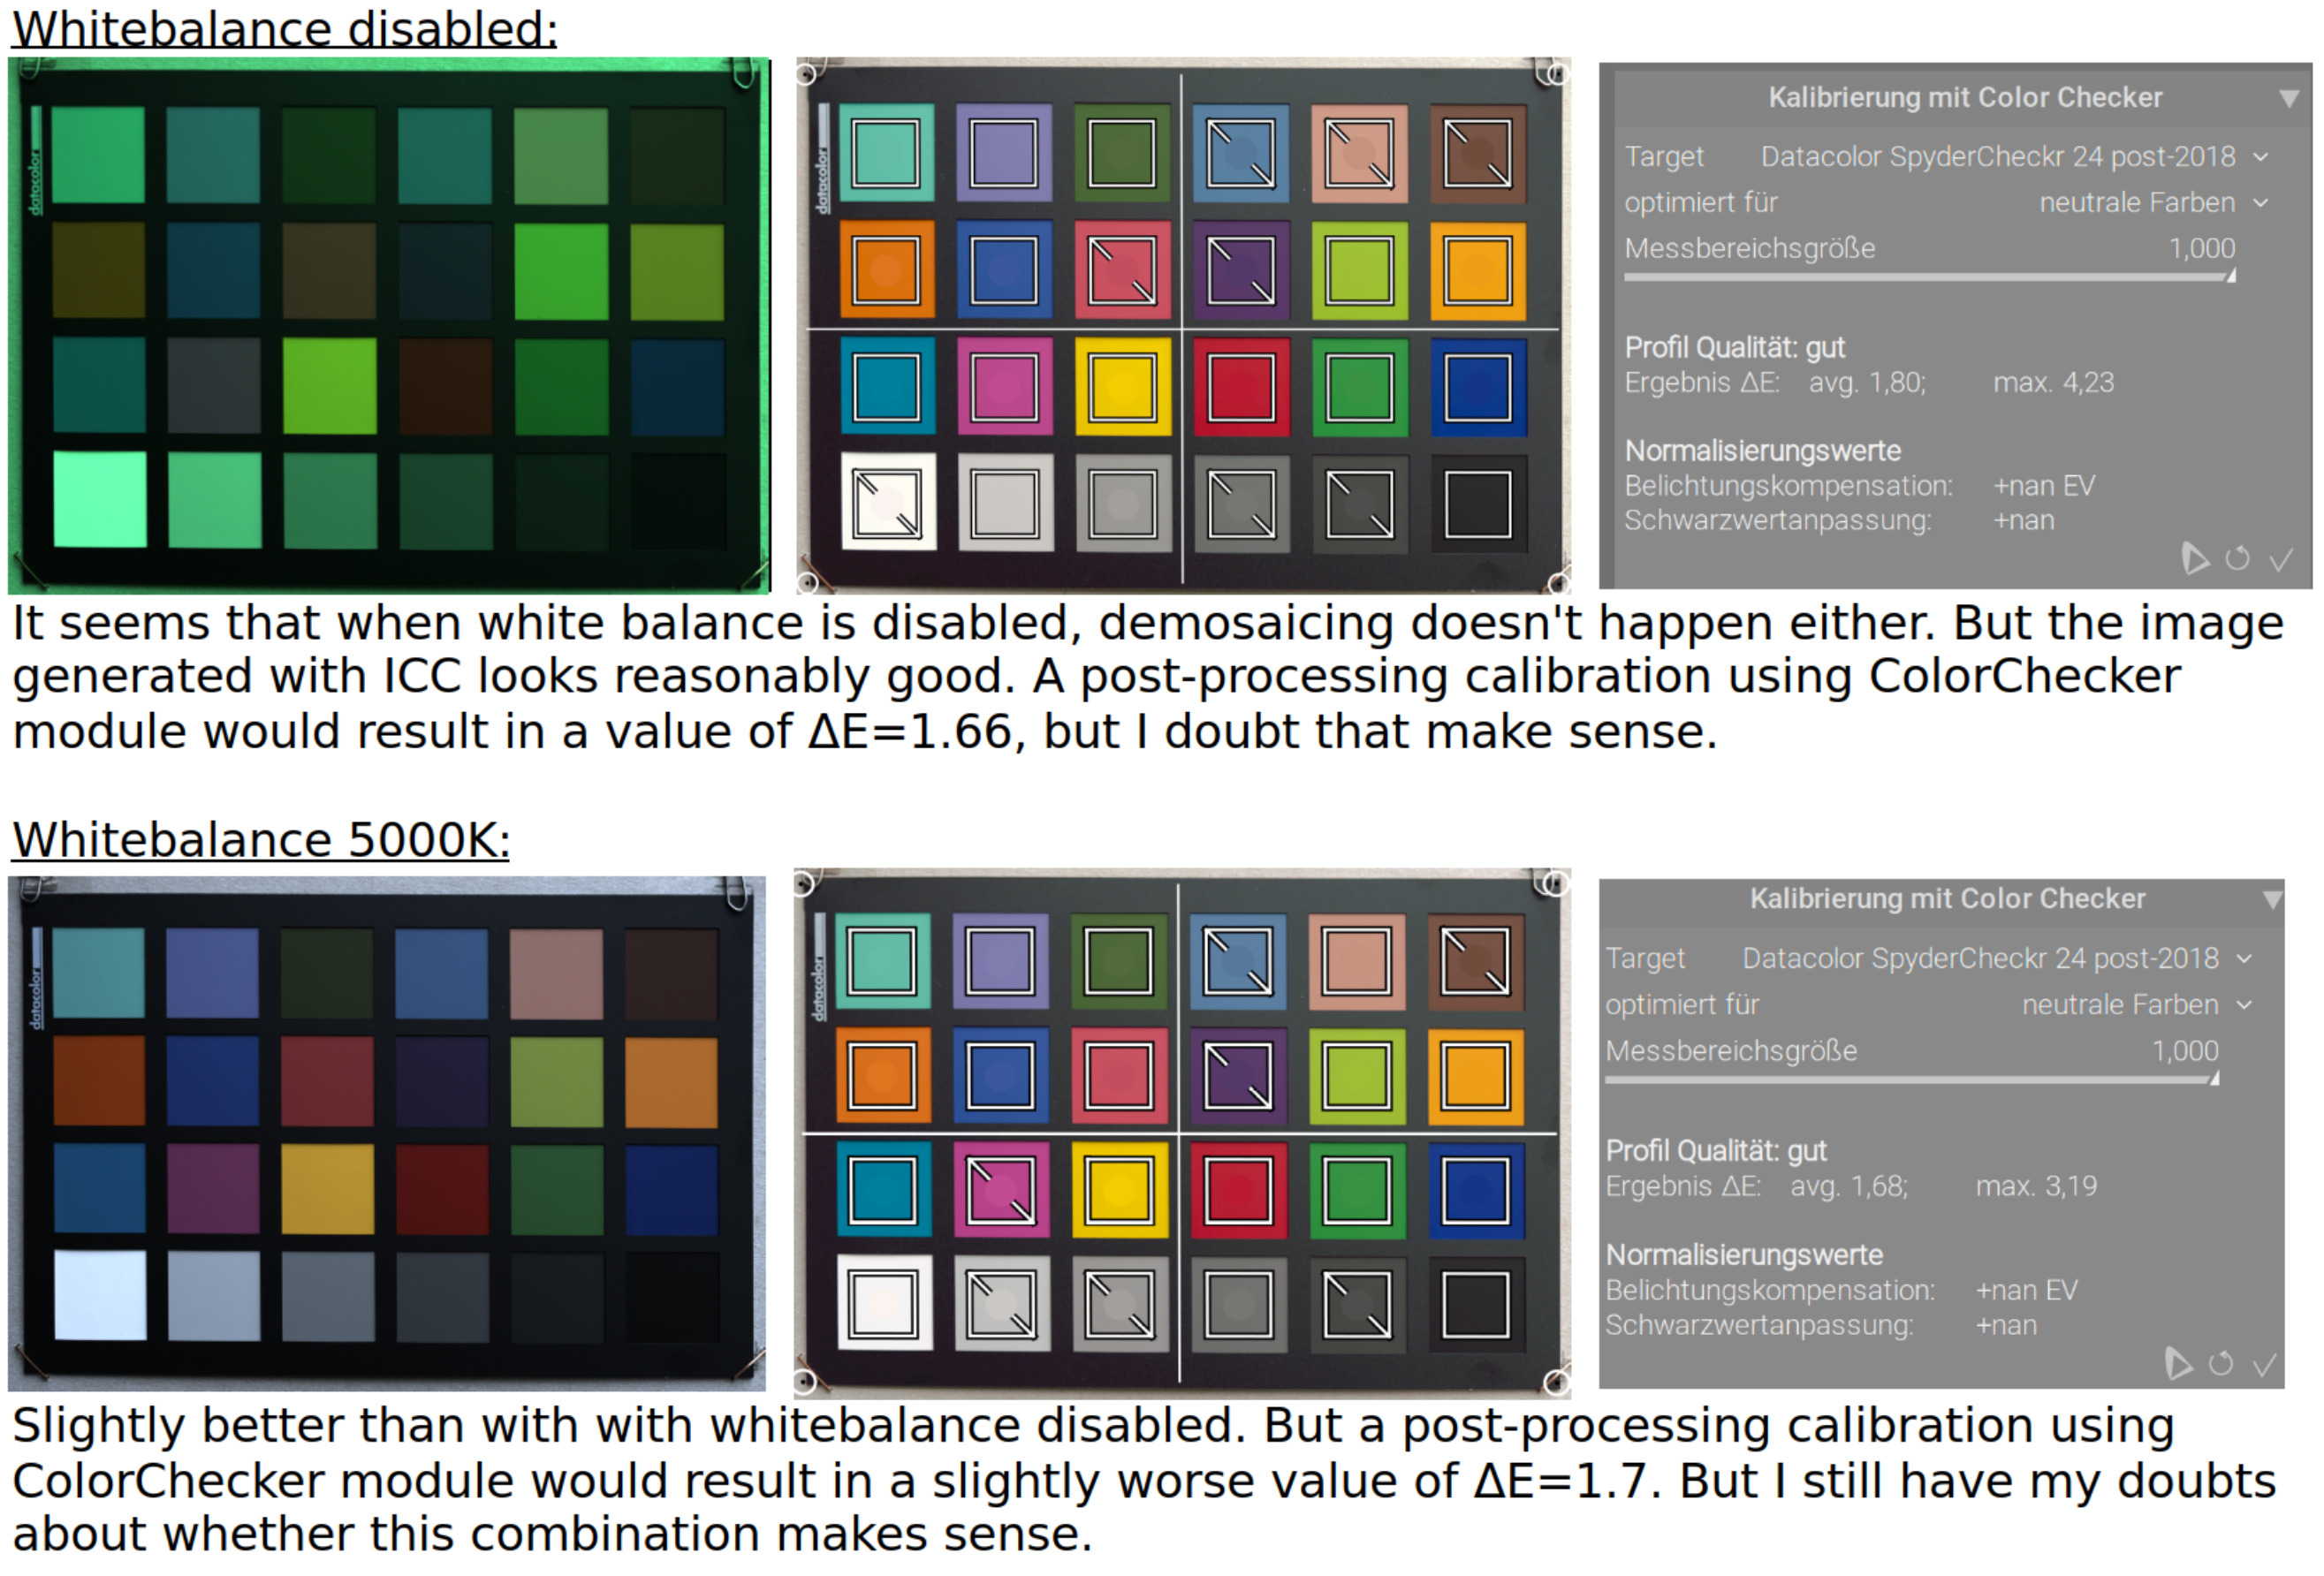
I tried that once and it worked quite well. Alls you do is, when developing the target shot, don’t white balance it. Then, WB is baked into the chromatic colorspace transform from the camera profile to the next colorspace in the processing chain. rather than the janky three-multiplier thing that is normally WB.

Downside is you really need to take a target shot in the same illumination as the scene you’re shooting to make it worthwhile. For repro work that’s just cost of doing business, although I’d rather do that with a spectral profile, which doesn’t offer the opportunity to incorporate WB.

1 Like

@Thomas_Link, Here’s a modified SpyderChecker24.cie file I’d like you to try out to see if it fixes the problem. If it does, I think the discrepancies you are seeing are most likely not of your making.

SpyderChecker24-test.cie.txt (738 Bytes)

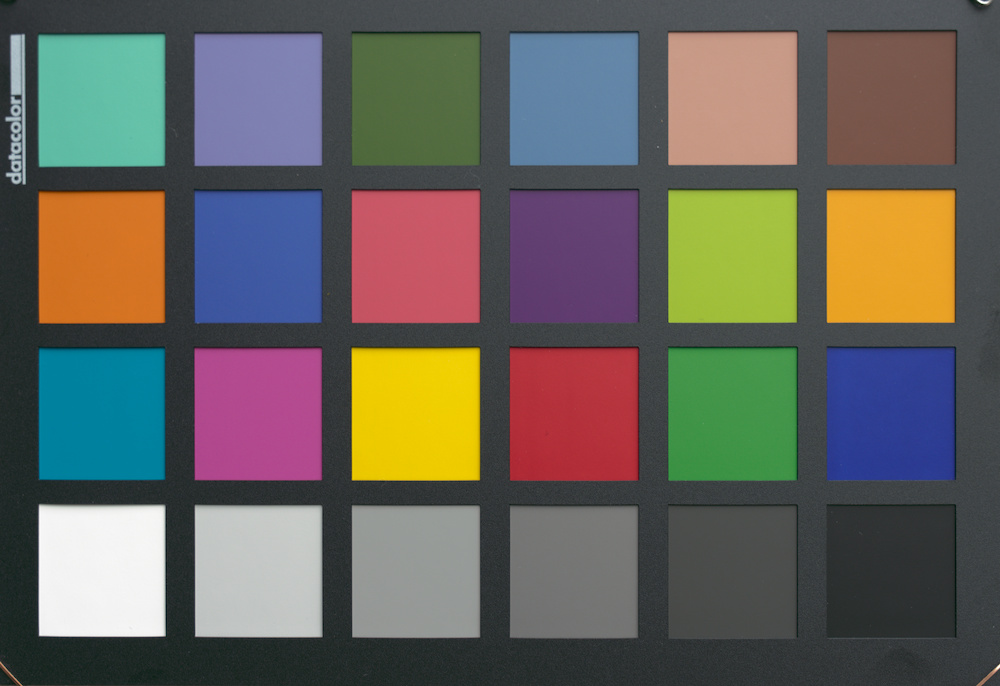
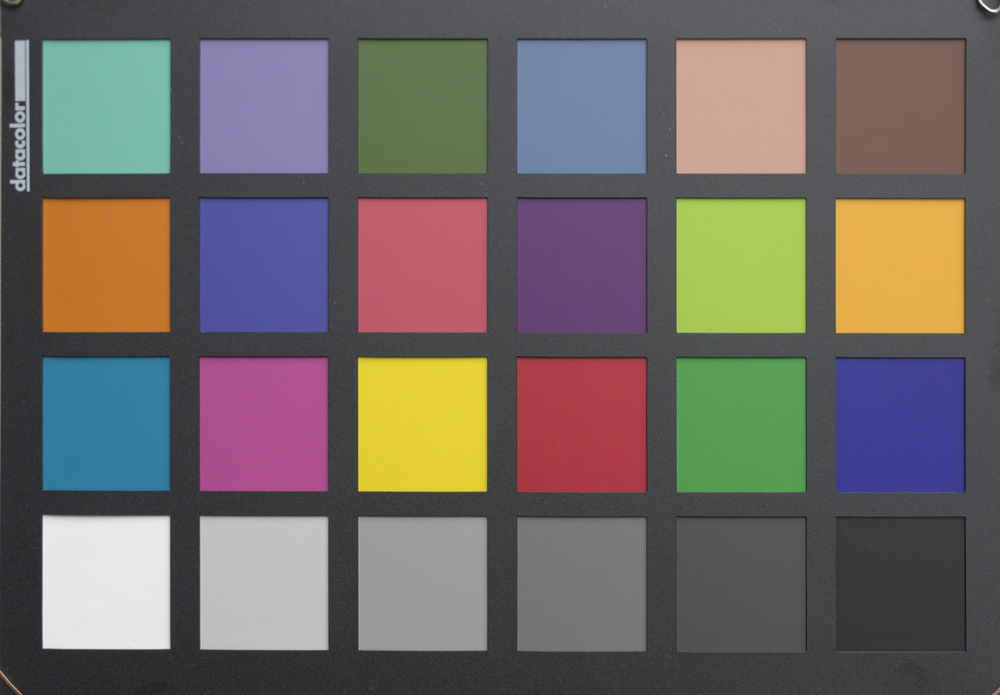
This JPEG is from your .ARW using a matrix camera profile generated with the modified .cie file and your ColChart_test2.tif. I used ART only for this JPEG.

A couple of the patches look a little suspicious, but I don’t have a copy of a SpyderCheckr to compare them to. If the modified .cie file does the trick, it can be tweaked to get a little better accuracy out of it.

Here’s the camera profile used for that JPEG:

ColChart_test2.icc (3.0 KB)

The output of profcheck was:

No of test patches = 24
Profile check complete, errors: max. = 6.824676, avg. = 3.884955, RMS = 4.190119

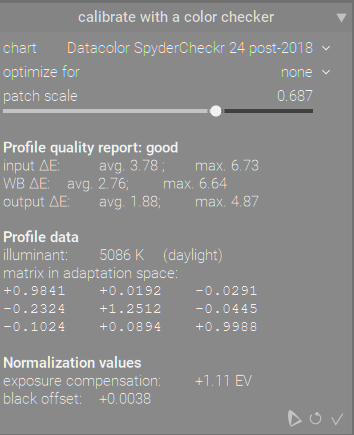
Using your file I got this when assessing the standard profile…

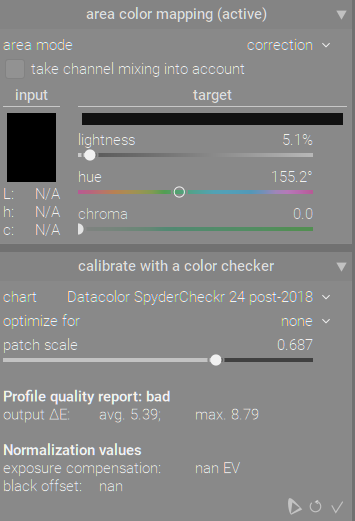
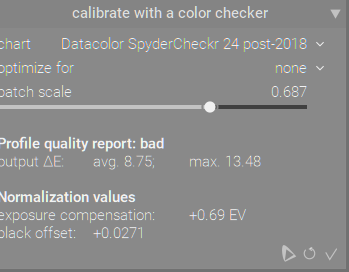
Add the cc correction with none as the model I get to here…

Using one quick profile…I did it last night so I forgot the options…

I get to here…

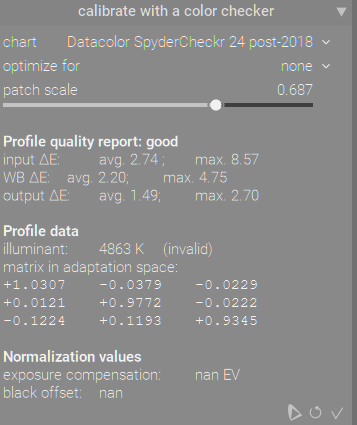
Using CC correction on that profile I get here…

I’m sure more could be done …

Lumariver_PD.icc (1.6 MB)

1 Like

I wasn’t online yesterday, and I see a lot has happened.

Thank you all for all the effort and time you’ve put in.

@reffort1: thank you for “reiterating” my question, and making it more apparent/clear and this even you are not a DT user.

Your tips on the shot are also very valuable. Yes, the shot was taken in partial shade—how did you notice that? :slight_smile: —and it was underexposed. So next time, I’ll take a series of shots so that I can get close to L=96% for the white patch without any digital exposure compensation. … also the other tips concerning glare and aperture.

I’ll definitely try out your CIE file, but not today (I’m too tired and it’s too hot :slight_smile: . Maybe that will solve the problem, though I’m skeptical that it explains the obvious blue shift. :wink:

@priort: thank you so, so much as well. The PDF was extremely helpful even if it finally confirmed my approach but now I have a sense of security. A few options in ColProf seem to be different, though—I’ll experiment with those some more.

How you end up with dE avg. = 1.49 using CC is still a mystery to me, and I’m also not sure what “area color mapping” is all about. I’ll probably take another look at it early next week, though, since I’m a bit busy this weekend.

So, thanks again to all of you, have a nice weekend. And if somebody has still more ideas pleas let me know.

Not yet. I guess you are completely right what you are saying. But currently I have an old monitor and do not care so much - maybe I will replace it - we will see. But I have a new camera (and may be I am a bit pedantic), so first of all (and this is the first step in the processing chain) I would like to ensure that I get the real colors (in terms of XYZ or Lab Values).

Area color mapping is just sampling a color or aread in one photo and then selecting a color/area in another photo and it will use CC to try and match the sampled color to the one you select in the target photo…

As for how I ended up there I simply had a minimal stack no tonemapper etc and I did the evaluation of your image with the standard matrix then ran the CC correction… Then I replaced the standard profile in the input module with the provided icc…and repeated…first evaluated this one and then corrected it…

It was just a profile that I ripped through using dcamprof but with the gui version…lumariver… I didnt’ save the options and its not likely the best profile I could have gotten but it came out a little better in terms of delta E than the standard matrix… I could go back and try to make a matrix profile instead of this one… I’ll update the post with the xmp just incase this helps…

This version of the .cie file should correct the “suspicious” color patches of the first version.

SpyderChecker24-v2.cie.txt (736 Bytes)

Although the profcheck results are very slightly worse, the worst-looking patches (the two dark blue patches and the yellow one) look much more reasonable.

JPEG is from ART and the .ARW raw file; the profile was made with Argyll, the -v2.cie file, and the ColChart_test2.tif reference file from darktable.

Where did that one come from, just curious??

I this one too with Lab, XYZ and spectral data…

sc24_ref.txt (12.6 KB)

That’s Argyll’s SpyderCheckr24.cie data I modified to be compatible with what Argyll’s colprof seems to be expecting (if that is what you’re asking).

1 Like

This JPEG was made with darktable using a LUT profile made from the SpyderCheckr24-v2.cie file I posted above. The profile was generated using @Thomas_link’s previously posted colprof options.

2 Likes

I have a Sony a6600 and the colors are bad out of the box. Is .icc creation better than custom WB and CC presets made with a color checker and 6500K light? (I haven’t tried curve matching, is is that good for making presets?)

I wonder if I’m leaving value on the table, because my custom CC preset makes some photos massively better compared to a standard illuminant (without channel mixing), but the preset isn’t applicable to a lot of lighting conditions, and doesn’t even serve as a good starting point.

I don’t use darktable, so I’ll have to defer to others on questions about its tools (I’m assuming WB, CC, curve matching, and presets are darktable things).

As a general suggestion, though, I think there’s enough data in this thread for you to experiment with, and see how the results from those tools compare to the results from the Argyll-made linear and LUT profiles. Here are the profiles I used for the two JPEGs above:

Linear, matrix-only profile:
ColChart_test2-v2.icc (3.0 KB)

LUT profile:
ColChart_test2-v2-lut.icc (472.3 KB)

1 Like

Thank you, @reffort1. Though to really evaluate the profiles, we would want to see some diverse raws from @Thomas_Link’s camera, for instance a sunset and a portrait at morning, noon, golden hour, and under incandescent light. I know that’s an impossible request, but it would be good for science.

I will make the ICCs for my camera myself, though it will take time to borrow a color checker on a day with the right type of sunlight. It’s too bad there isn’t an obvious best practice, though.

If you’ll pardon a bit of diatribe…

IMHO, the ‘best practice’ is to find or measure your camera’s full spectral response and use that to make whatever profiles you need. Using a target shot just considers however many patches are in the target, and is limited to the illuminant temperature that shines on those patches.

For your camera, here’s a dcamprof-digestible dataset, courtesy of ImageEngineering.de:

{
  "camera_name": "Sony Alpha 6600",
  "ssf_bands": [380, 755, 5],
  "red_ssf": [
    0.0125712, 0.00678265, 0.000994118, 0.00072877, 0.000463422, 0.0107028, 
    0.0235683, 0.0305066, 0.0374449, 0.0385045, 0.035645, 
    0.03399, 0.032335, 0.0302935, 0.0286661, 0.0286953, 
    0.0287244, 0.0296471, 0.0305698, 0.035592, 0.0394131, 
    0.0384298, 0.0374466, 0.0395758, 0.041705, 0.0471601, 
    0.0534466, 0.0662119, 0.0784421, 0.0898697, 0.101297, 
    0.0838789, 0.0674355, 0.0548917, 0.042348, 0.0400682, 
    0.0377885, 0.0468381, 0.0587201, 0.188485, 0.336915, 
    0.469139, 0.601363, 0.580983, 0.560602, 0.521388, 
    0.453926, 0.417786, 0.389477, 0.344798, 0.300118, 
    0.274492, 0.248865, 0.218306, 0.186514, 0.158595, 
    0.131644, 0.104781, 0.0816282, 0.0640417, 0.0461679, 
    0.0278632, 0.0120434, 0.00616374, 0.00137972, 0.000978346, 
    0.000576972, 0.000340114, 0.000185717, 0.000155012, 0.000124307, 
    0.000125662, 0.000140115, 0.000174217, 0.000208319, 0.000183584
  ],
  "green_ssf": [
    0.0589112, 0.0347282, 0.0105452, 0.00833358, 0.00612197, 0.0203351, 
    0.0386544, 0.0610374, 0.0834205, 0.100768, 0.114758, 
    0.138551, 0.162344, 0.182548, 0.204652, 0.23436, 
    0.264068, 0.308756, 0.353443, 0.420315, 0.480168, 
    0.511947, 0.543725, 0.614117, 0.684508, 0.756464, 
    0.828812, 0.880352, 0.92564, 0.961551, 0.997462, 
    1, 0.997757, 0.976387, 0.955017, 0.921544, 
    0.88807, 0.825984, 0.756745, 0.690445, 0.623308, 
    0.553816, 0.484324, 0.411971, 0.339617, 0.264251, 
    0.184365, 0.14262, 0.110409, 0.0881126, 0.0658167, 
    0.0568173, 0.0478179, 0.0388734, 0.0299426, 0.0248718, 
    0.0207661, 0.0183143, 0.016055, 0.0140844, 0.0112758, 
    0.00721004, 0.00363546, 0.00202544, 0.000716353, 0.000610939, 
    0.000505525, 0.000380107, 0.00028616, 0.000239418, 0.000192676, 
    0.000218906, 0.000240041, 0.000253534, 0.000267027, 0.000251438
  ],
  "blue_ssf": [
    0.127183, 0.0648246, 0.00246642, 0.00234576, 0.00222511, 0.0777864, 
    0.172268, 0.273711, 0.375154, 0.443668, 0.490231, 
    0.556089, 0.621948, 0.666944, 0.705494, 0.718257, 
    0.73102, 0.727706, 0.724392, 0.707639, 0.685088, 
    0.639344, 0.5936, 0.53582, 0.478039, 0.409391, 
    0.338026, 0.280182, 0.228516, 0.186115, 0.143715, 
    0.121981, 0.101072, 0.0834588, 0.065846, 0.0522709, 
    0.0386958, 0.0299489, 0.0224091, 0.0183692, 0.0156467, 
    0.013588, 0.0115292, 0.00984765, 0.00816608, 0.00660499, 
    0.00522464, 0.00473266, 0.00446277, 0.00442838, 0.004394, 
    0.00459608, 0.00479816, 0.00523804, 0.00573737, 0.005856, 
    0.00587945, 0.00524482, 0.0044813, 0.00352444, 0.00249338, 
    0.00135102, 0.000399788, 0.000213103, 6.06555e-05, 4.51565e-05, 
    2.96575e-05, 3.27286e-05, 2.93274e-05, 1.62175e-05, 3.1077e-06, 
    2.40473e-05, 3.87158e-05, 4.39774e-05, 4.92391e-05, 5.58638e-05
  ]
}

pixls.us doen’t accept .json files as attachments, so you’ll have to copy-paste the above into a .json file.

With this, you can make matrix or LUT ICCs corresponding to any color temperature without having to fiddle with shooting targets without glare. Further, you can use domain-specific spectral references, e.g., skin tone datasets, to ‘train’ your profile. I use open-source dcamprof to do all this, but the commercial Lumariver is based on dcamprof, both written by the RawTherapee developer who incorporated DCP handling, one of about 3 softwares I’d consider buying.

Now, to put this all in perspective, I have such datasets for all three of my cameras, but I only use profiles from them when I run into extreme-hue problems like blue LED theatrical lighting. I have found the matrices that come with raw processors to be pretty good for most use.
2 Likes

I went looking for that site just to see what was there and it was a domain for sale??

Edit found it…there was a typo…you missed a - in the url…

Thx for sharing

@priort, I finally got around to making a profile with your BabelColor .cie file. There isn’t much difference compared to the adapted Argyll -v2.cie file, despite the BabelColor data indicating that the target was measured with D50 illumination, and the Argyll data indicating it was measured with D65.

ColChart_test2-v5-lut-babelcolor.icc (472.3 KB)

The overall errors reported by profcheck were:
max. = 3.624449, avg. = 1.683520, RMS = 1.853579

They are pretty much identical to the overall errors from the adapted Argyll data, which were:
max. = 3.459103, avg. = 1.636373, RMS = 1.816292

The main differences vs. the -v2.cie Argyll JPEG (posted above) seem to be the red patches, with slight differences visible in the dark blue ones. The overall brightness may also be slightly higher, but the exposure compensation might not have been quite the same (I had changed it previously to do something else).

One thing that is lacking, though, is a reality-check comparison with an actual SpyderCheckr24 target, which I don’t have.

1 Like

@finestructure OK, I thought you were asking how the darktable tools compared to custom external profiles. There’s enough here, I think, to make at least a basic assessment of that. But for unusual lighting conditions that aren’t a reasonable approximation to Daylight illumination, I think you would need custom reference shots for those.

I agree, a reality check is necessary to evalute how well the profile works in real life.

There are standard light sources available, which should work well for making a standard profile. Perhaps I should say “somewhat” standard, because when I did a quick check, the only ones that came up were LEDs. A standard source wouldn’t help with unusual lighting conditions, though.

I haven’t tried a LED light source for target shots, but I’m not all that enamored with the idea. They tend to be tri-color arrays, which mix the intended color temperature at three specific wavelengths. I’d much rather find and use a tungsten bulb for a StdA profile, to get a proper tungsten spectral power distribution.

Sorry 'bout that, here’s the proper URL:

https://image-engineering.de/library/data-and-tools

2 Likes

I was confused about the different values in the .cie files and tried to analyse it a bit.
First I found the following https://www.datacolor.com/spyder/downloads/SpyderCheckr_Color_Data_V2.pdf
The Lab values of the white patch are provided as
Lab=96.04; 2.16; 2.6
Transforming in XYZ I got:
XYZ D50 = 88.05; 90.10; 71.39
XYZ D65 = 86.57; 90.00; 94.18

The value in the original argyll .cie was
XYZ=85.00; 89.31; 96.33
In the cie provided by @reffort1
XYZ=86.28; 89.33; 73.01

The argyll cie seems to refer to D65, that might explain the blue shift.
The values provided by @reffort1 seems to refer to D50. I guess the difference of my XYZD50 to the one of @reffort1 is not so much but I am wondering where the difference comes from? @reffort1: Could you tell me where your cie comes from?

In addition I found out that colprof accepts also Lab values. So I was typing the Lab values in the cie and created the following file.

SpyderChecker24_DataCol_V2_Lab_cie.txt (920 Bytes)

Applying this I got the following:

Not really perfect but better than before. :wink:

@finestructure: I think you are right, but I am an absolute beginner and currently I have not such photos you request. :wink:

1 Like