contrast and detail in highlights (exposing for the highlights and keeping / enhancing detail)

dt4.8.1
I shoot daytime outdoors mostly. A constant frustration is how to keep detail and contrast in the highlights. Clouds are the easy example. But also things like white swan feathers, polar bear fur, etc.

I use zebras in-camera to check for over-exposed. Generally, I’m using -1 to -2 stops of exposure compensation until I have just-a-few-zebras or no-zebras.

Here’s SOOC jpeg. there are clouds visible in the sky. (-2 exposure comp for this photo)

If I add +2 exposure to the jpeg, this is what the camera thought was correct metering. The foreground looks properly exposed, but the sky and mountains are blown out.

Opening the raw in DT, exposure automatically corrects for the exposure comp. Using either the sigmoid or filmic RGB defaults, the sky looks like the blown-out jpeg.

I get that sigmoid and filmic RGB are both applying a s-curve to get contrast in the midtones. Which also means a loss of contrast in the highlights and shadows. But I’m stumped how to fix it.

I use a default style I apply to ALL of my photos to apply “standard” corrections needed for “all” photos. It would be nice to have something generic-ish that I could

Also, I want to use only scene-referred modules.

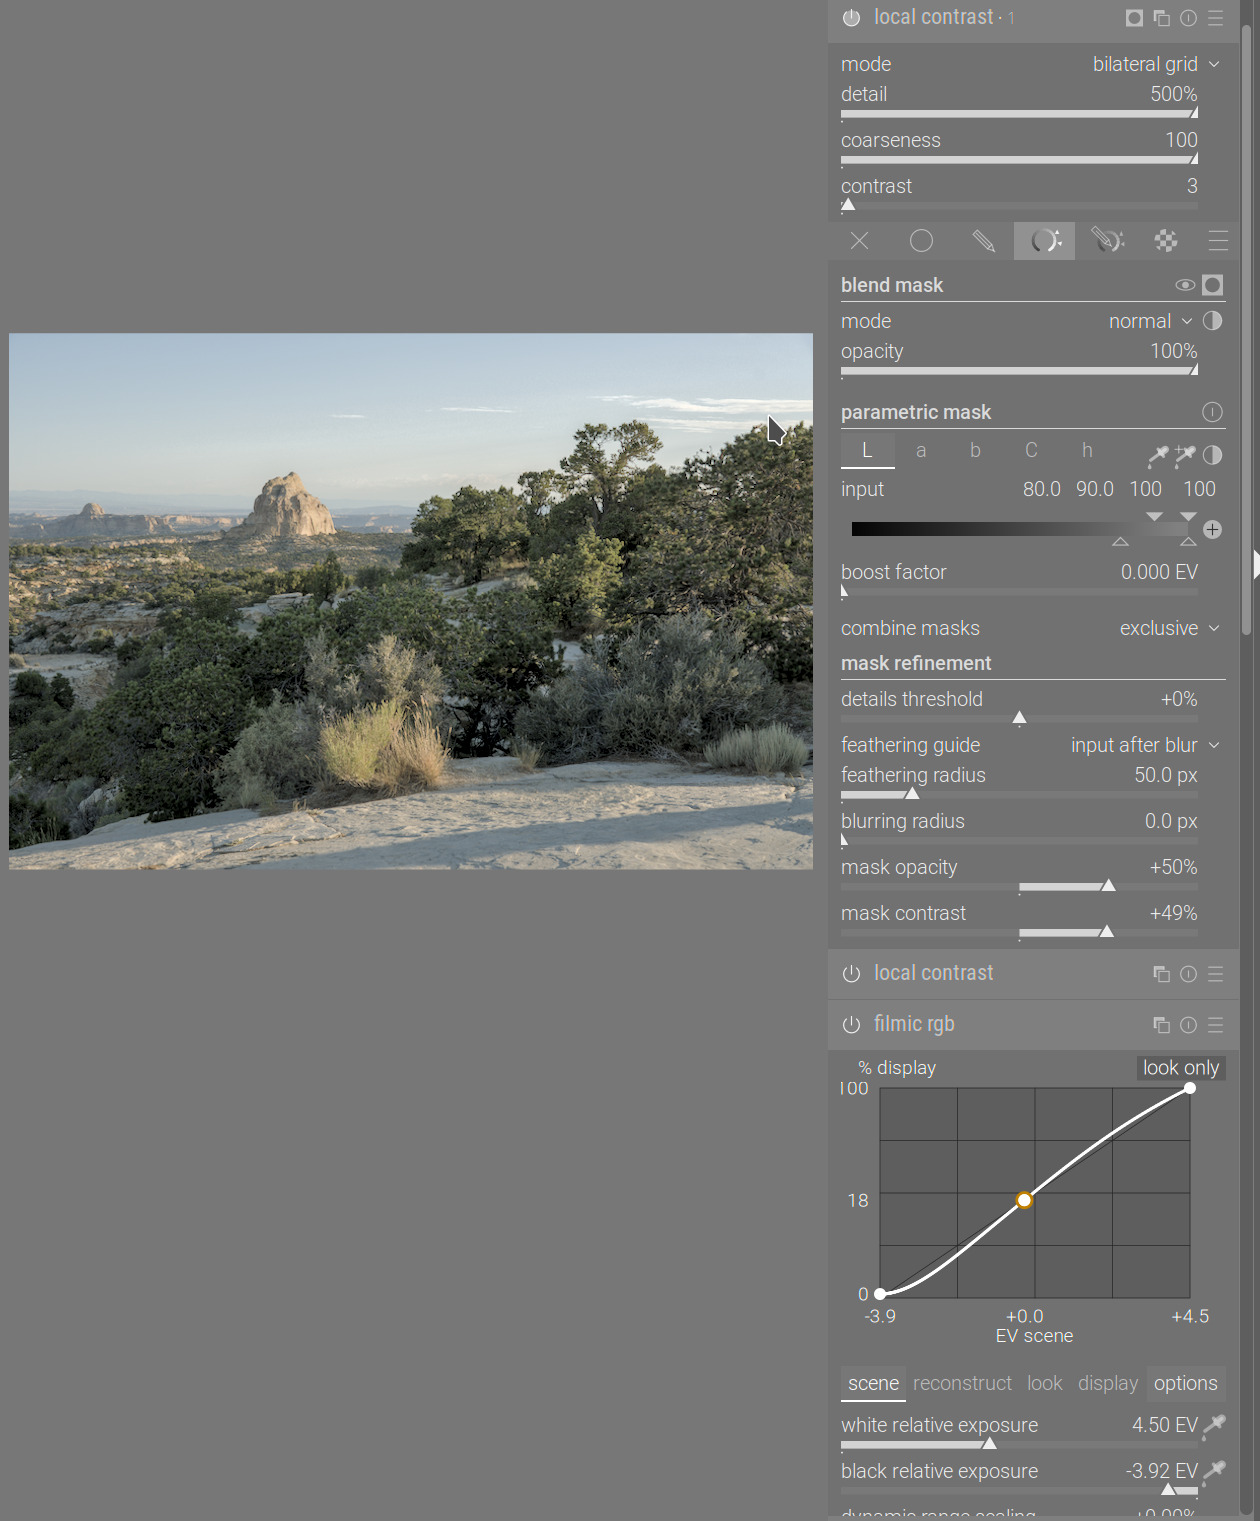
Here’s my final edit, which is supposed to corrected to as-seen live (what I remember), not a creative edit. A lot of the normal things to apply to any raw.

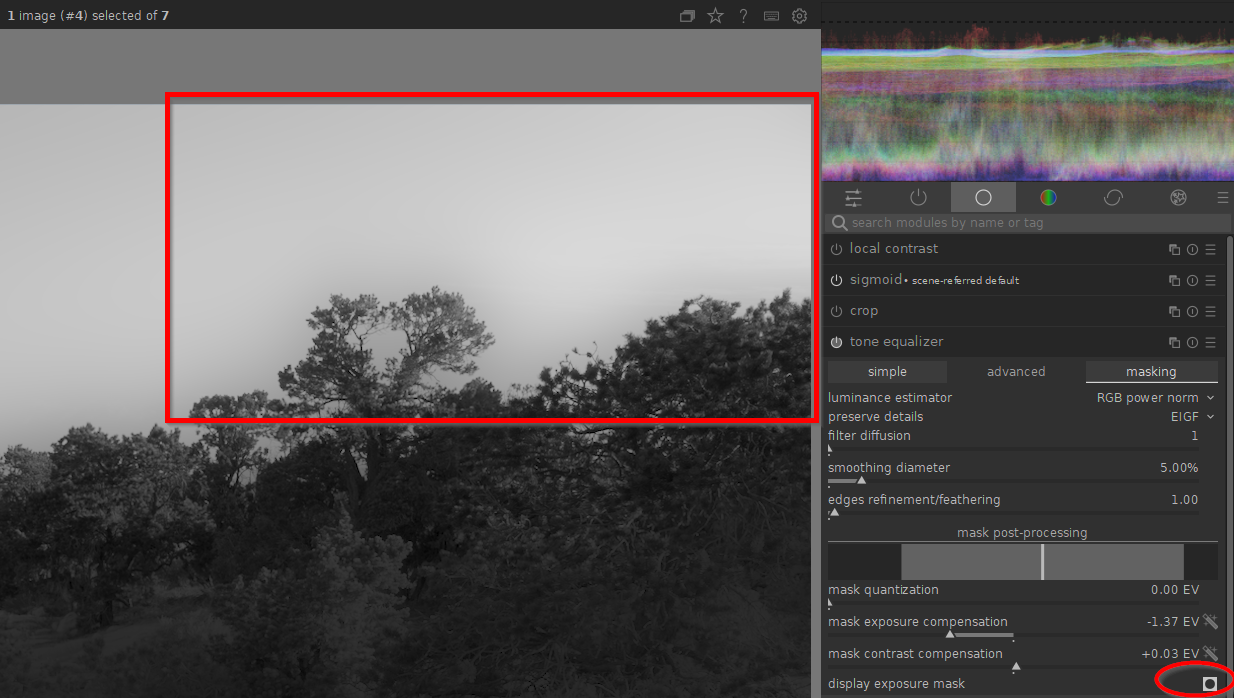
Specifically for the clouds and sky, I’m using tone equalizer to pull down the brights. I left it using EIGF and RGB Power Norm. As I understand, the EIGF mask is pulling down the clouds and the surrounding sky by the same amount, but sigmoid is raising the clouds just a little more when it does the tone mapping.

Not totally happy with it. there could be more contrast in the clouds. Mabe darkening the blue, or something else.


Here’s the source image. Also a style that I apply to all my images. Post-style is actually my starting point for any edit.

Again, I’m looking for something that could be used in a style for ANY photo, or a generic technique, not specifically this example.

Not a play-raw. Asking for coaching and methodology.
Andrew Default Sigmoid.dtstyle (8.6 KB)
DSC03506.ARW.xmp (22.9 KB)
DSC03506.ARW (24.0 MB)

USA Utah, Colorado Plateau, BTW.

This file is licensed Creative Commons, By-Attribution-Non Commercial, Share-Alike.

I’ve been working on processing a number of similar pictures recently and what I’ve done is set exposure for the highlights (clouds) and then use the relight: fill-in preset in tone equalizer to brighten the rest of the image. This is just a starting point, and you may need to adjust the mask exposure compensation and contrast compensation on the masking tab, but I’ve found it to be an effective way to work with these very high DR scenes.

2 Likes

I think I got a good rendition, but it was not anything that you could just apply to a photo to get a good result. I will not post it unless you ask, in the spirit of you saying you don’t want this to be a play raw.

First, application of either the FilmicRGB or Sigmoid modules completely wiped out the clouds, so I just did not use them.

I used Boris’s method of a linearly decreasing ToneEqualicer “curve”.

I used ColorBalanceRGB to gently increase the vibrance and saturation, and to slightly reduce the highlight and power luminescence.

Finally, I used three instances of Local Contrast, which brought out the clouds you are interested in.

My approach is to start in the camera to expose for the highlights and then recover the shadows in the editing. You already seem to be doing this, so that is a good start.

I tend in DT set the initial exposure to give the best highlights and ignore the look of the shadows. Also in Sigmoid moving the skew slider to the right adds contrast to the highlights or to the left adds contrast to the shadows. But for most images I leave it in the centre. Moving the skew slider may require readjusting the exposure slider to put detail back into the clouds.

I then recover the shadows. I don’t do this in a single module but rather a combination of modules. I like the shadow and highlights module so this is a first step. I then activate the local contrast module because its effect is best seen early in the processing rather than later. I often then go to the color balance RGB module and adjust the brilliance sliders (saturation and contrast might also get adjusted in this module). I may then go to the tone equalizer module and do some further changes here. Only sometimes do I feel the need to make additional instance/s of the exposure module and do localized dodge or burn adjustments using localised masks.


DSC03506.ARW.xmp (13.9 KB)

With sigmoid you are going to get more details in the highlights if you drop the skew and or drop contrast… dropping the skew is like a more gentle roll-off in highlights and crunches the shadows a bit… skew the other way lifts the shadows but makes the highlight transition steep and sharper …so you can play with that but for highlight details filmic has a bit more options to tweak it… or often I use multiple tone eq and local contrast instances and don’t use the tone mappers to avoid the compression…

No idea what exposure or wb you want to end up at but above is one very very quick version with not many modules… One really useful module is the tone eq using the blue channel…you can add a bit of yellow to the clouds at times by dropping the curve and you can add blue nicely by raising the curve… it can be a touch strong with the graph adjustments but opacity can be used to tweak it just right…

1 Like

This is what I get if I load your raw:

The clouds are, faintly, visible.

Auto-tuning white and black exposure in filmic loses highlight contrast, but they are still visible:

filmic’s curve looks like this:
image

You can change the toe and the shoulder (the highlight and shadow roll-off) in options. The default is hard; both hard and soft can lead to clipping because of the behaviour of the curve, if pushed too hard (too high DR and/or too high contrast). As you can see above, we do not have clipping here; that would look like this (I increased contrast to do this) – see the orange parts:
image

Setting contrast in highlights to safe:

The clouds are now more visible.

Adding local contrast with the defaults, and then another instance, targeting the highlights (its settings are visible in the screenshot):

With a high dynamic range, you always run into the problem of having to use a flat curve to map it to 0…100% display brightness. You can:

  1. use pixel-wise curves, and decide how to distribute the available output DR over the input DR;
  2. reduce the DR using non-pixel-wise operations, where you have to be careful to avoid halos on the boundary of bright and dark regions;
  3. enhance local contrast after the tone mapping.

The example above used #1 and #3. Adding #2 to the mix (tone equalizer, compress shadows/highlights (EIGF): soft preset + adjusting its contrast and exposure to fit the histogram in the window), and re-tuning filmic:

BTW, in filmic, if you have no pure white or black, auto-tuning will fail. I sometimes back off a bit from the highlights, and e.g. use the highlight-centric copy of local contrast to boost highlights more. I really pushed it here, just to demonstrate:

DSC03506.ARW.xmp (10.6 KB)

3 Likes

Pushing highlights with local contrast can add noise very quickly (I’ve just noticed that the version I posted has some). So here’s a version with profiled denoise with the wavelets: chroma only preset, and diffuse or sharpen and local contrast for the highlights masks refined by detail threshold to avoid amplifying the noise. I’ve enabled color balance rgb with the vibrant colors preset, but then set highlights to 0, to avoid desaturating them:
image

Finally, in filmic I set highlights saturation mix to +50, to keep more colour in the sky:
image


DSC03506_01.ARW.xmp (15.6 KB)

3 Likes