Any suggestions on how to control saturation at either end of the histogram? I find the tools in ARTs exposure module and darktables filmic useful but haven’t found a simple way of achieving the same thing in RawThereapee.
Skin tones but also other colours tend to look a bit tinted and glowy unless the saturation is lowered at the edges. It’s something noticed long ago with my Pentax sooc files and tried/fail to emulate. Recently I had a look at Leica sooc files that I liked the look of and noticed the same thing.
Can you give an example of what you want to achieve, how your happy result looks in ART and how your failed result looks like in RT?
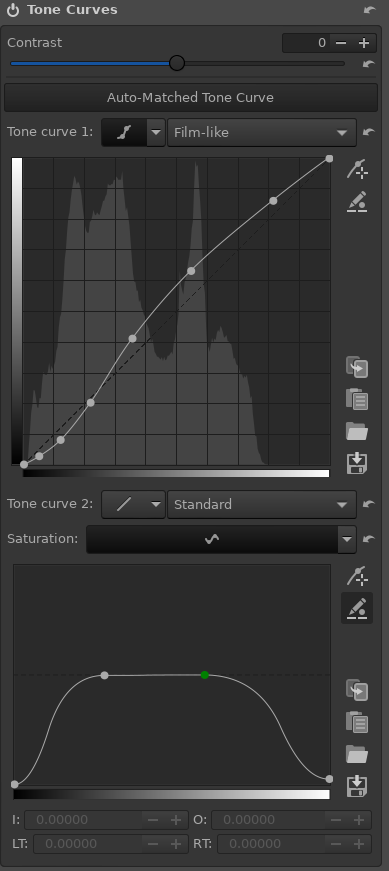
My first guess would be to try and use the Color regions tool in the Color Toning module. Apply a L-mask (Luminance) to selectively apply saturation to the dark and light regions.
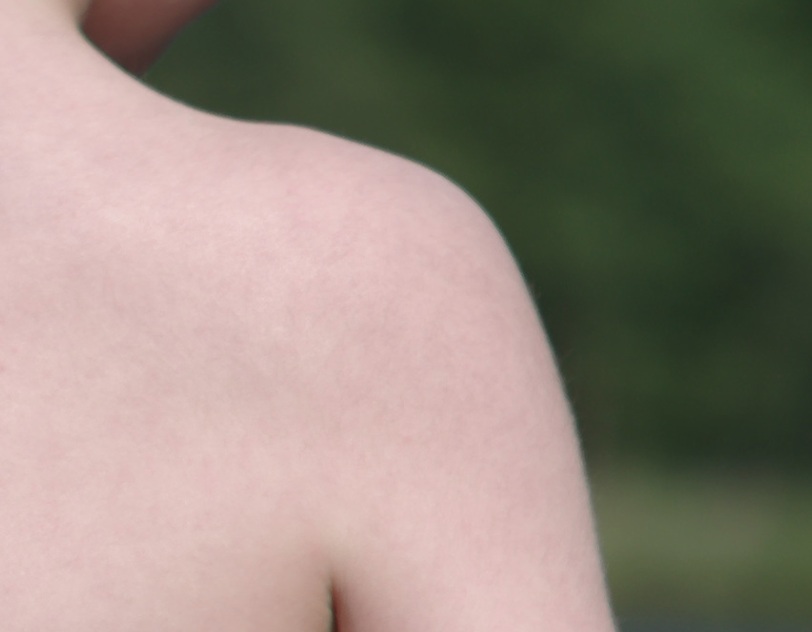
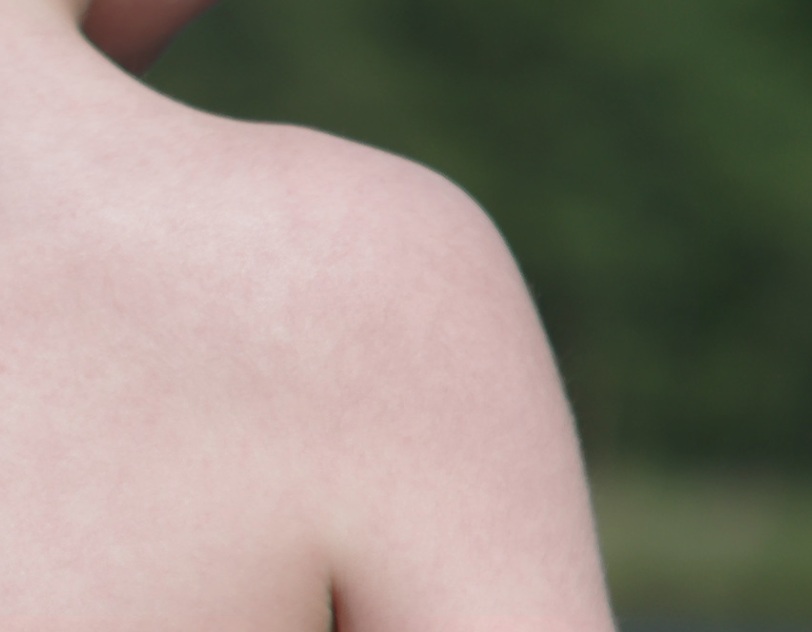
The following is a part of my current testing. The raw’s have gps data and reveal to much about people who haven’t consented to being published so unfortunately crops will have to do. It might look subtle in this shot but the whole body looks strangely “coloured in” unless you take down highlight saturation.
This is cropped from my kid at the beach. (ok not beach as we’re swimming from rocks/cliffs)
First as when opened (same problem occurs with embedded, auto matched and camera standard input profile. It’s just the colour that varies a bit.)
Looks like your suggestion of masking the color toning works well!
Those curious about the issue can download the top hat man in raw and jpg from this Leica SL2 review. (scroll down for raw)
It’s not a particularly nice example of skin tone, it’s terrible actually, but it shows how the RT default gives a strange solid pink look that despite possibly being correct looks wrong to my brain at least.