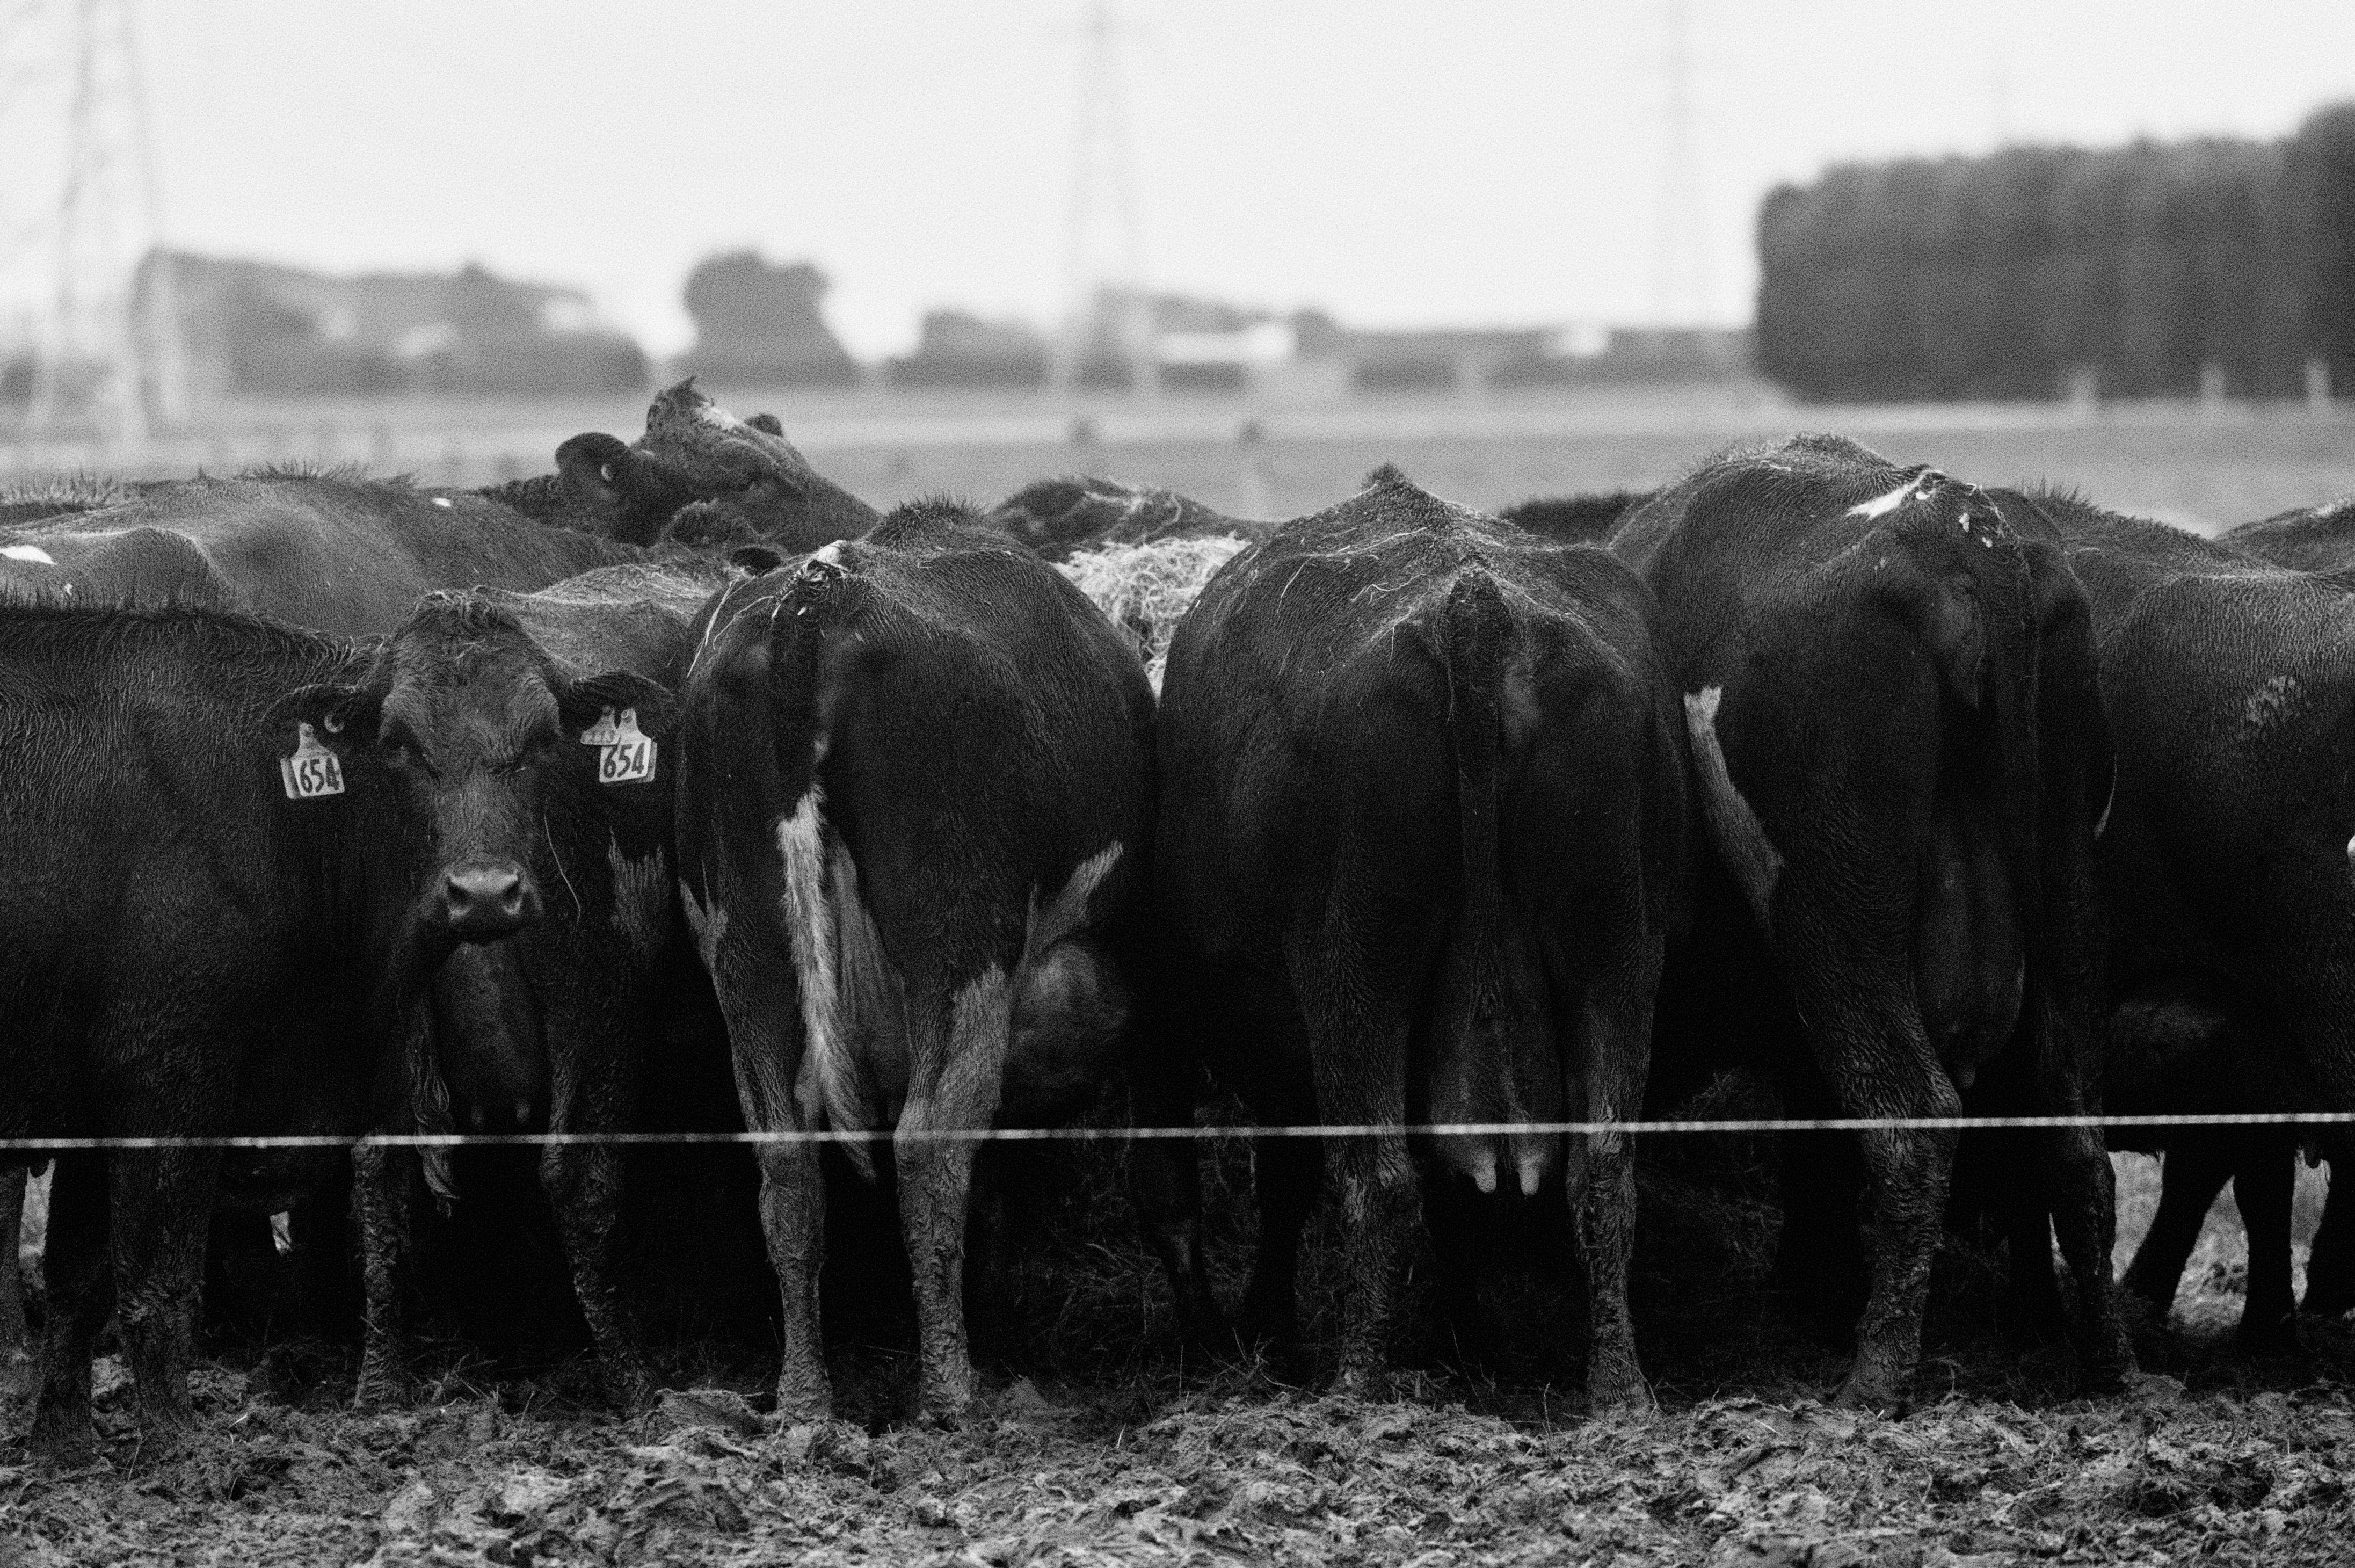
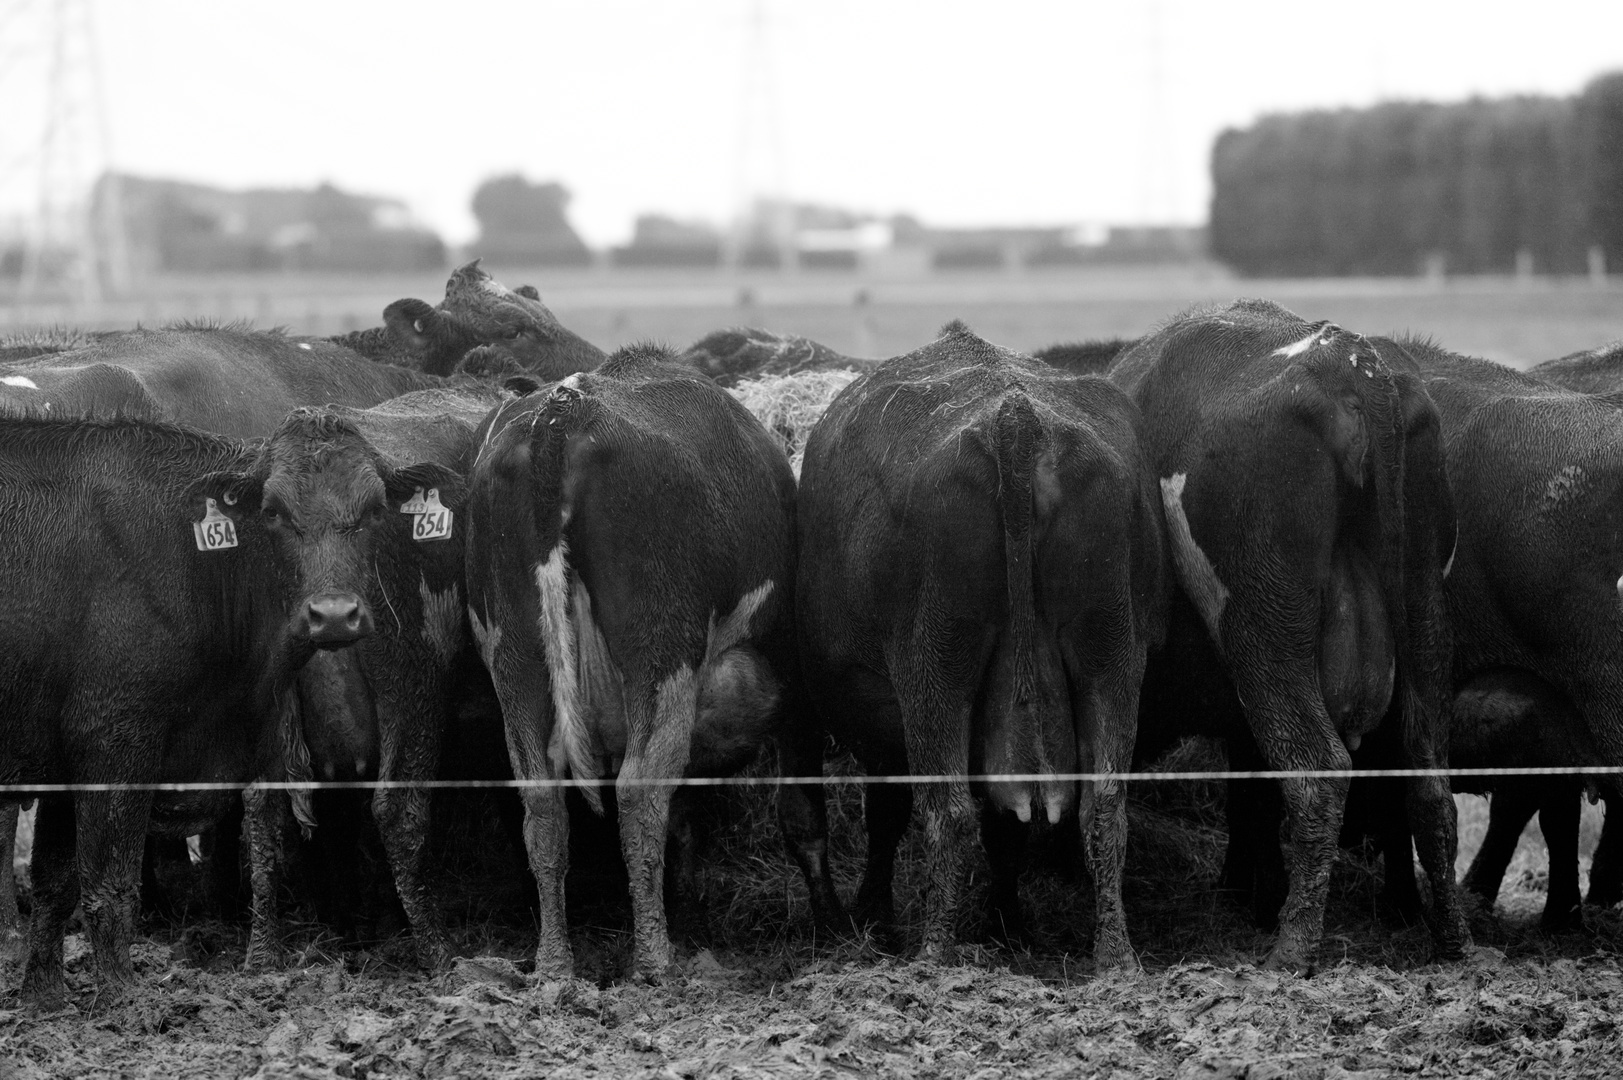
I’m not entirely sure just what look you want - I may have overdone it!
I’ve just increased contrast in filmic and dropped exposure slightly. I fiddled with the ‘black relative exposure’ in filmic too but not much. I may have gone a bit too dark on the exposure…
Add a tone curve. Dont edit it at first…blend in subtract or mulitply …play with opacity it will need to be low…then if needed you can introduce a small tweak in the curve to suit…
“Blacker blacks” can be understood in several ways.
Like (RGB) 0,0,0. Or additional contrast. Or induce a
slightly blue tone into the blacks, to make them look
blacker…
@priort , I played with this but not getting anything interesting, perhaps you could provide an edit?
@paperdigits , my photo wasn’t a hyperlink for some reason. I edited in a blank line just above the image and that made it normal e.g. click to expand.
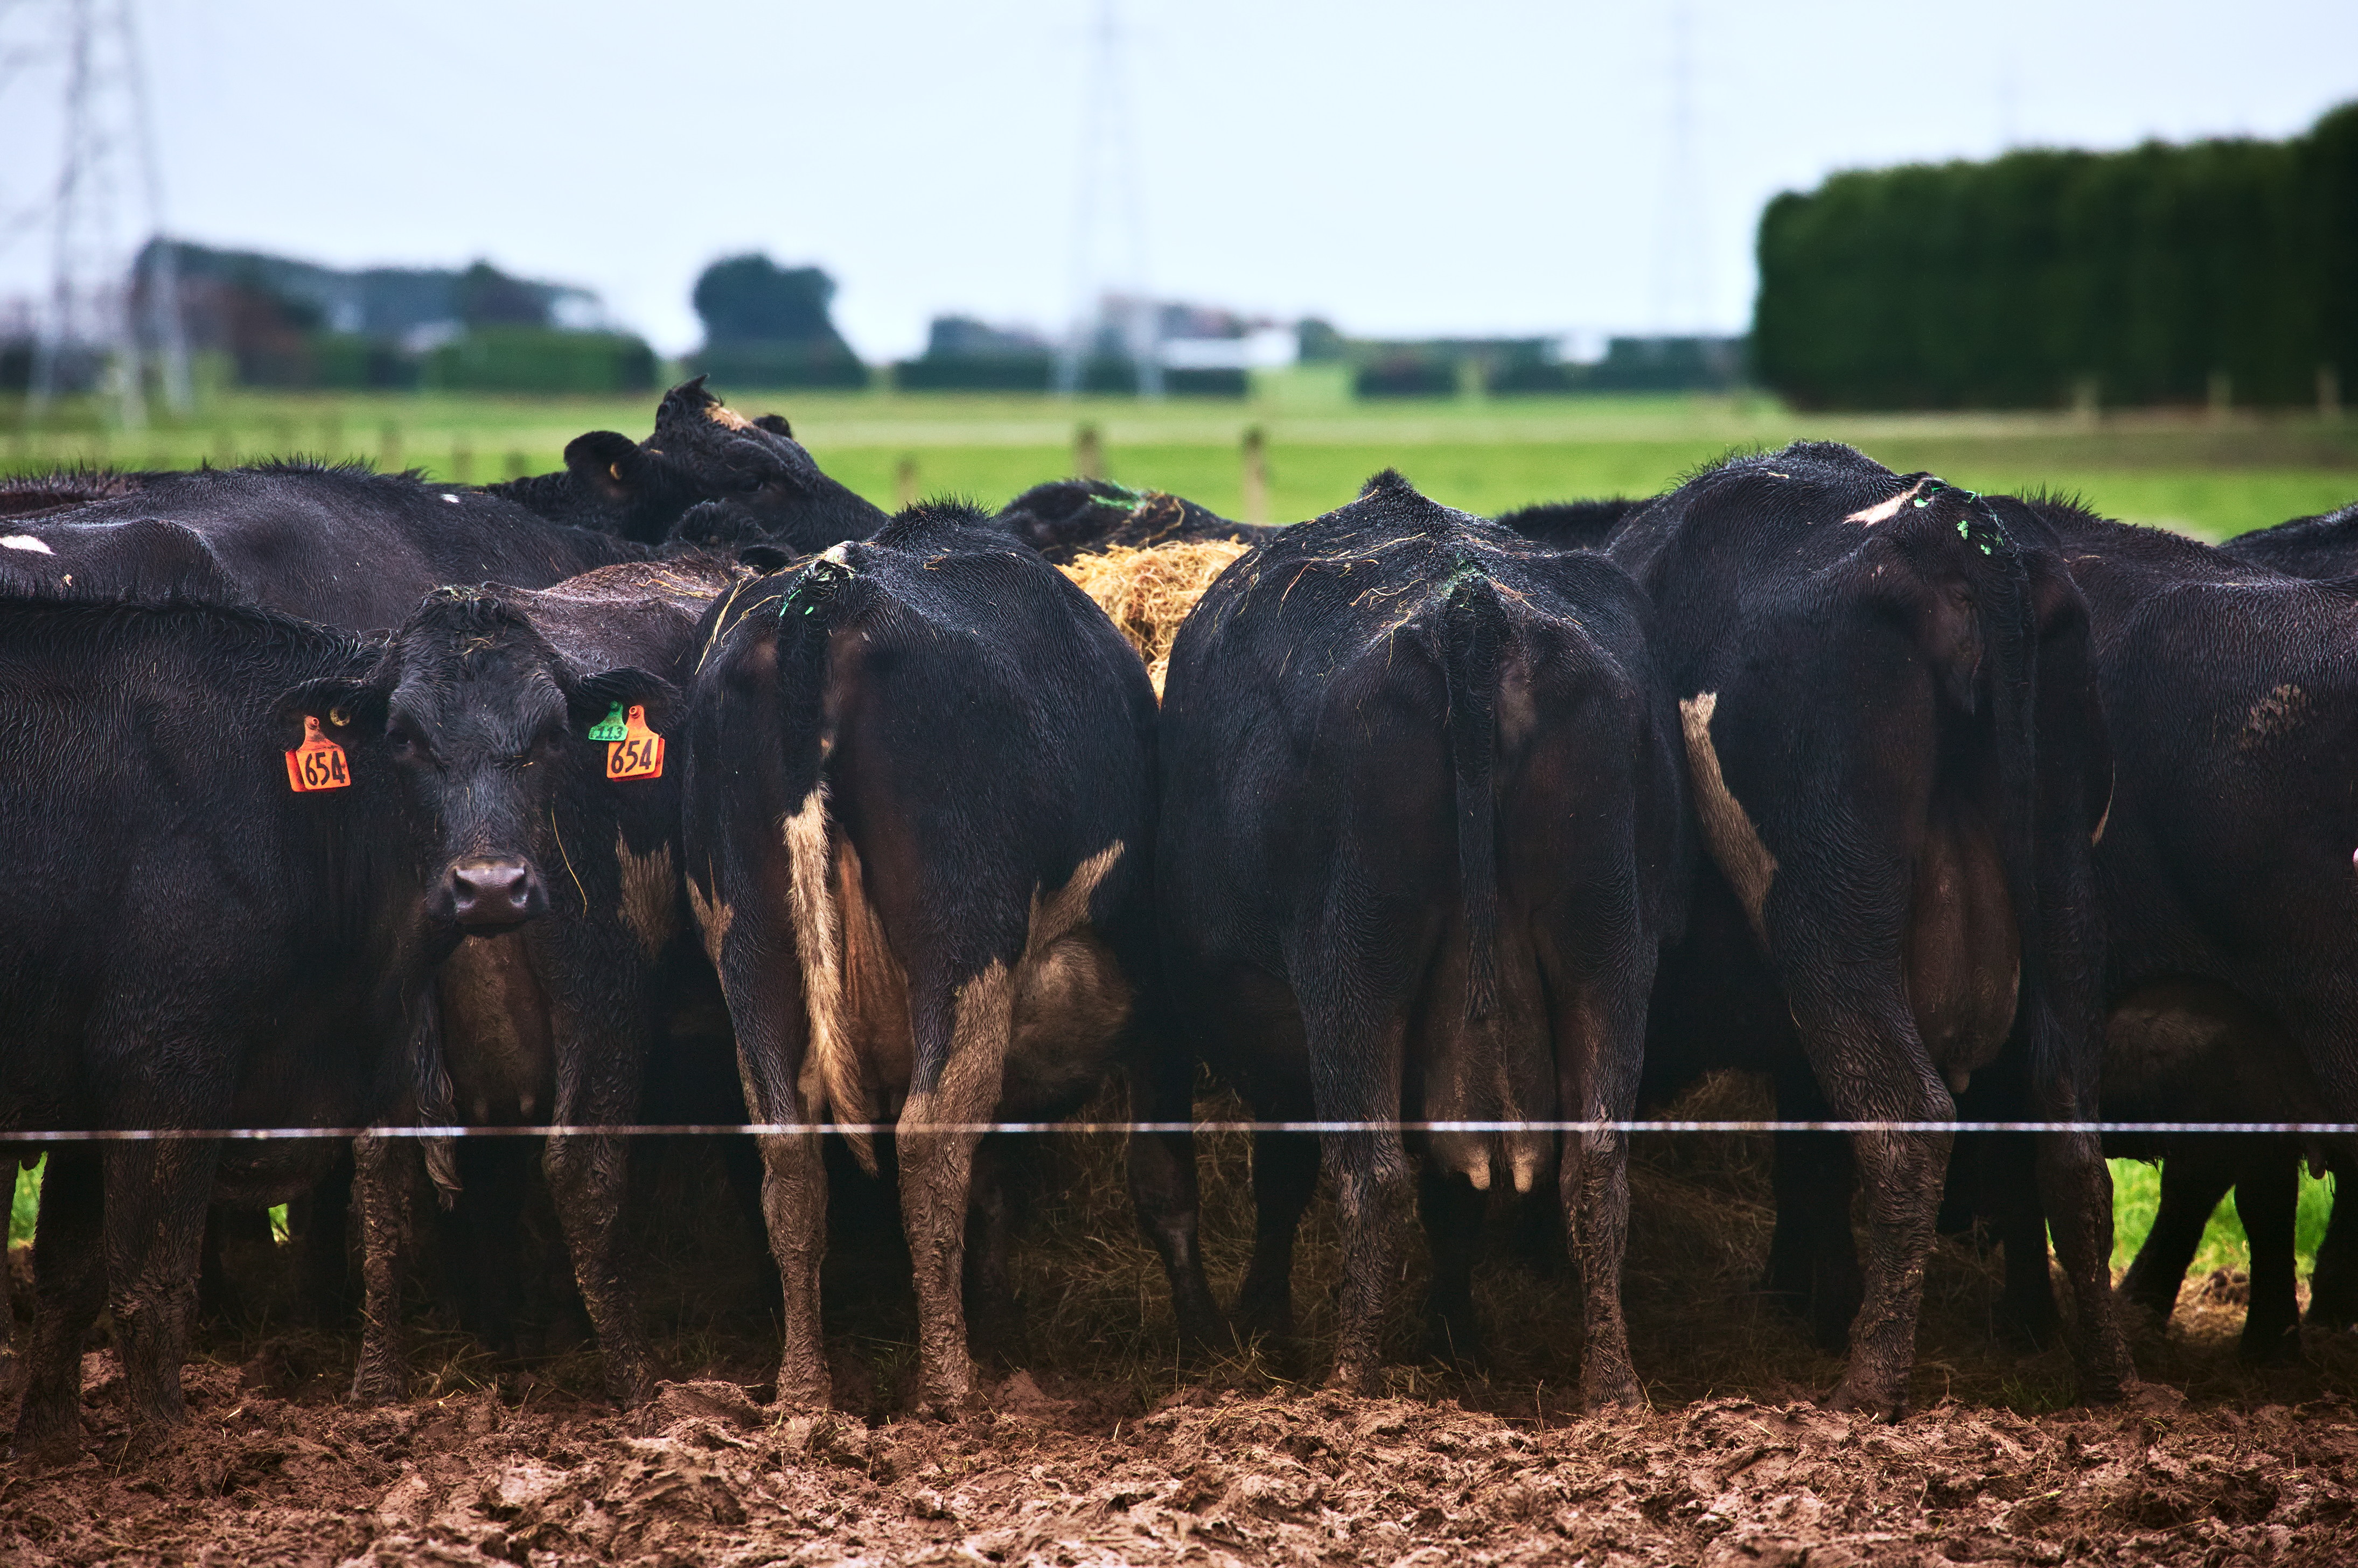
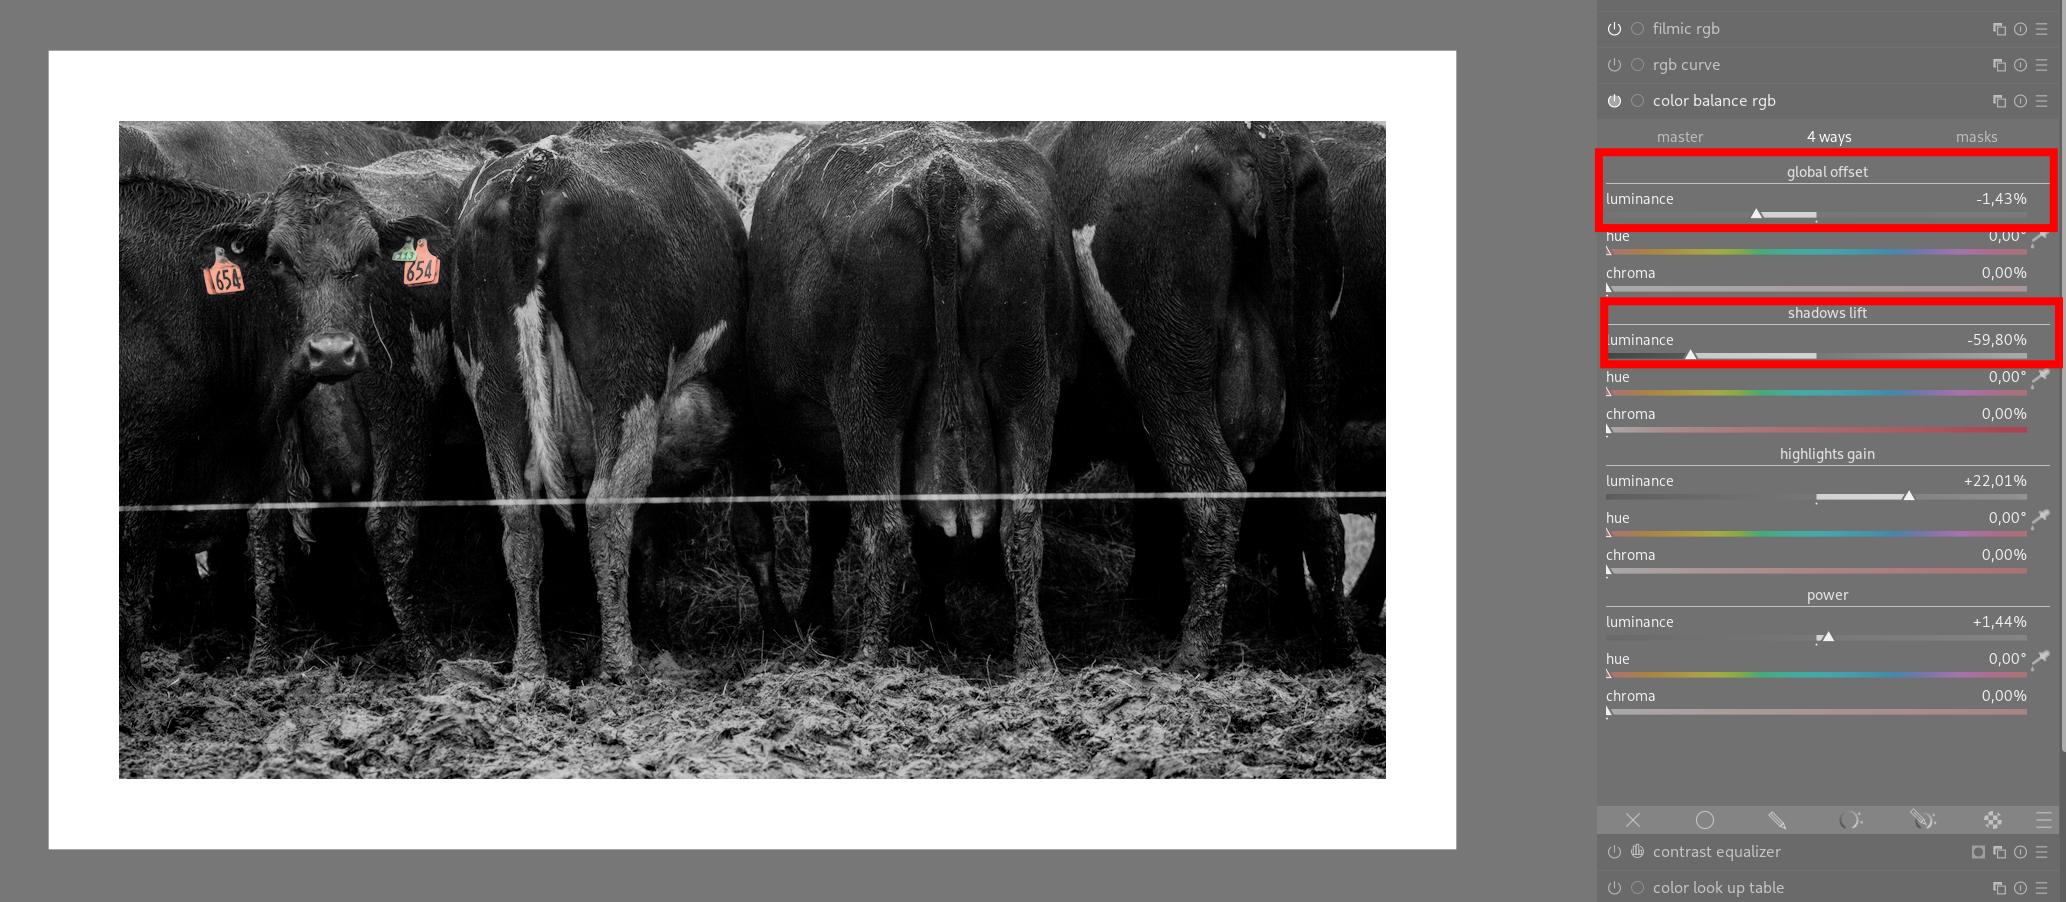
I’m not sure if this is something like what you’re after.
I used color balance rgb’s contrast control with a low fulcrum value of about 12%, and an extreme contrast value of 80%.
Been staring at this one intermittently, looking for the opportunity to spend time with it…
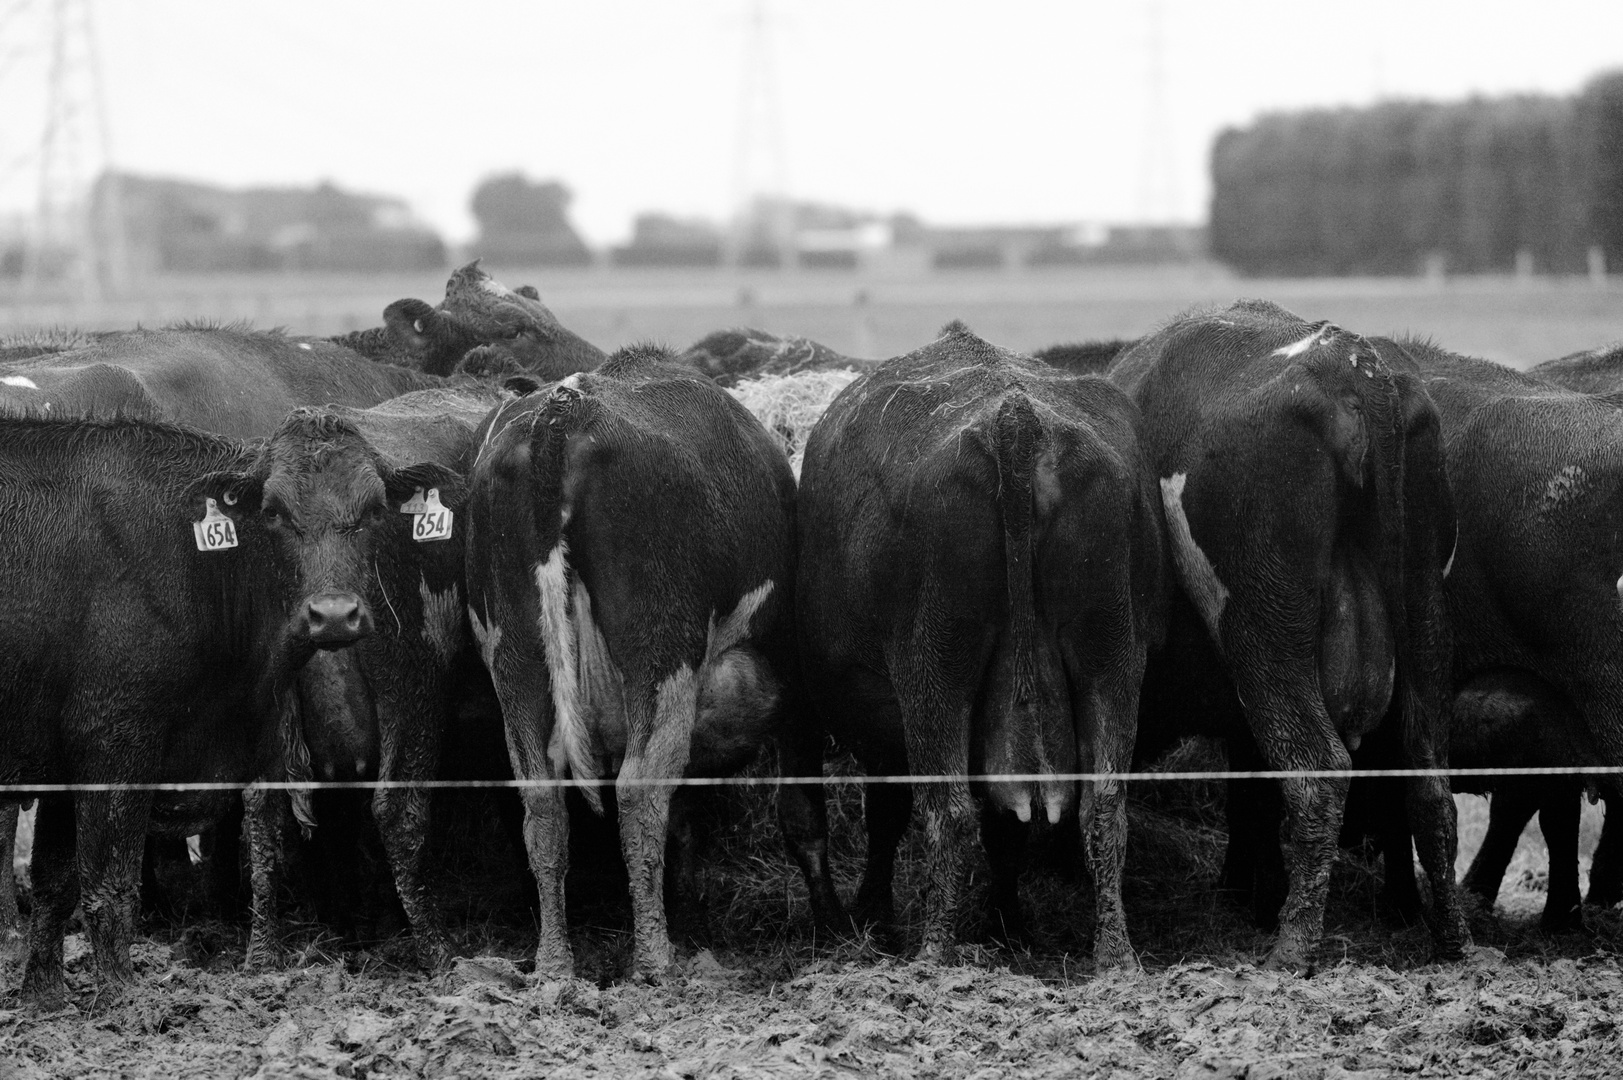
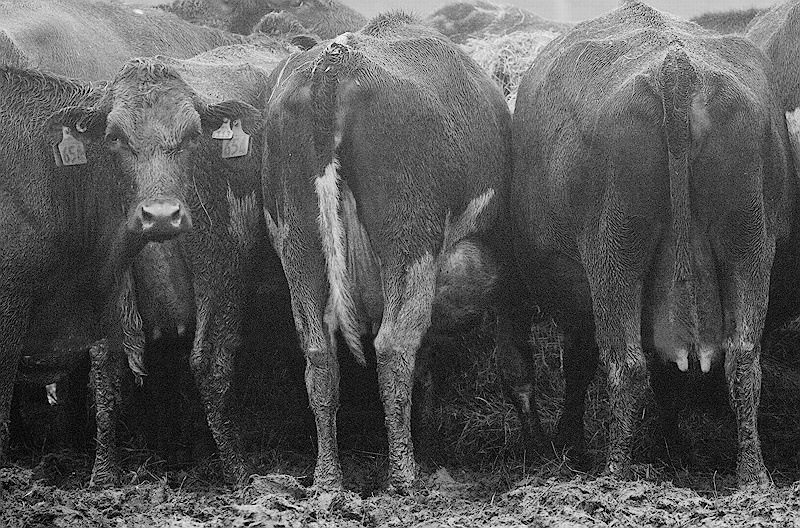
Getting blacker blacks is fundamentally about contrast, and that’s an easy change with a s-shaped tone curve. But going monochrome opens other opportunities, per-channel shaping and other things you wouldn’t do to protect those precious colors. Here’s my take on that, in rawproc:
I used a two-part curve strategy, a loggamma to lift the shadows out of the toe and then a s-shaped control point curve to introduce the contrast. I grayscaled with only the blue channel, offered the most contrast in some of the textures. Crop to put that indignant face in the proper context with the anterior presentations , and a more aggressive post-resize sharpen to punch out the textures. Then, I just had to get rid of that line so I just dragged the JPEG over to GIMP and cloned it out.
I like the grain! Can you share details on your ‘experimental grain algo’? Is this something that will be added to dt anytime soon? Or a standalone tool? Is this based on overlaying noise scans or entirely algorithmic?


 , and a more aggressive post-resize sharpen to punch out the textures. Then, I just had to get rid of that line so I just dragged the JPEG over to GIMP and cloned it out.