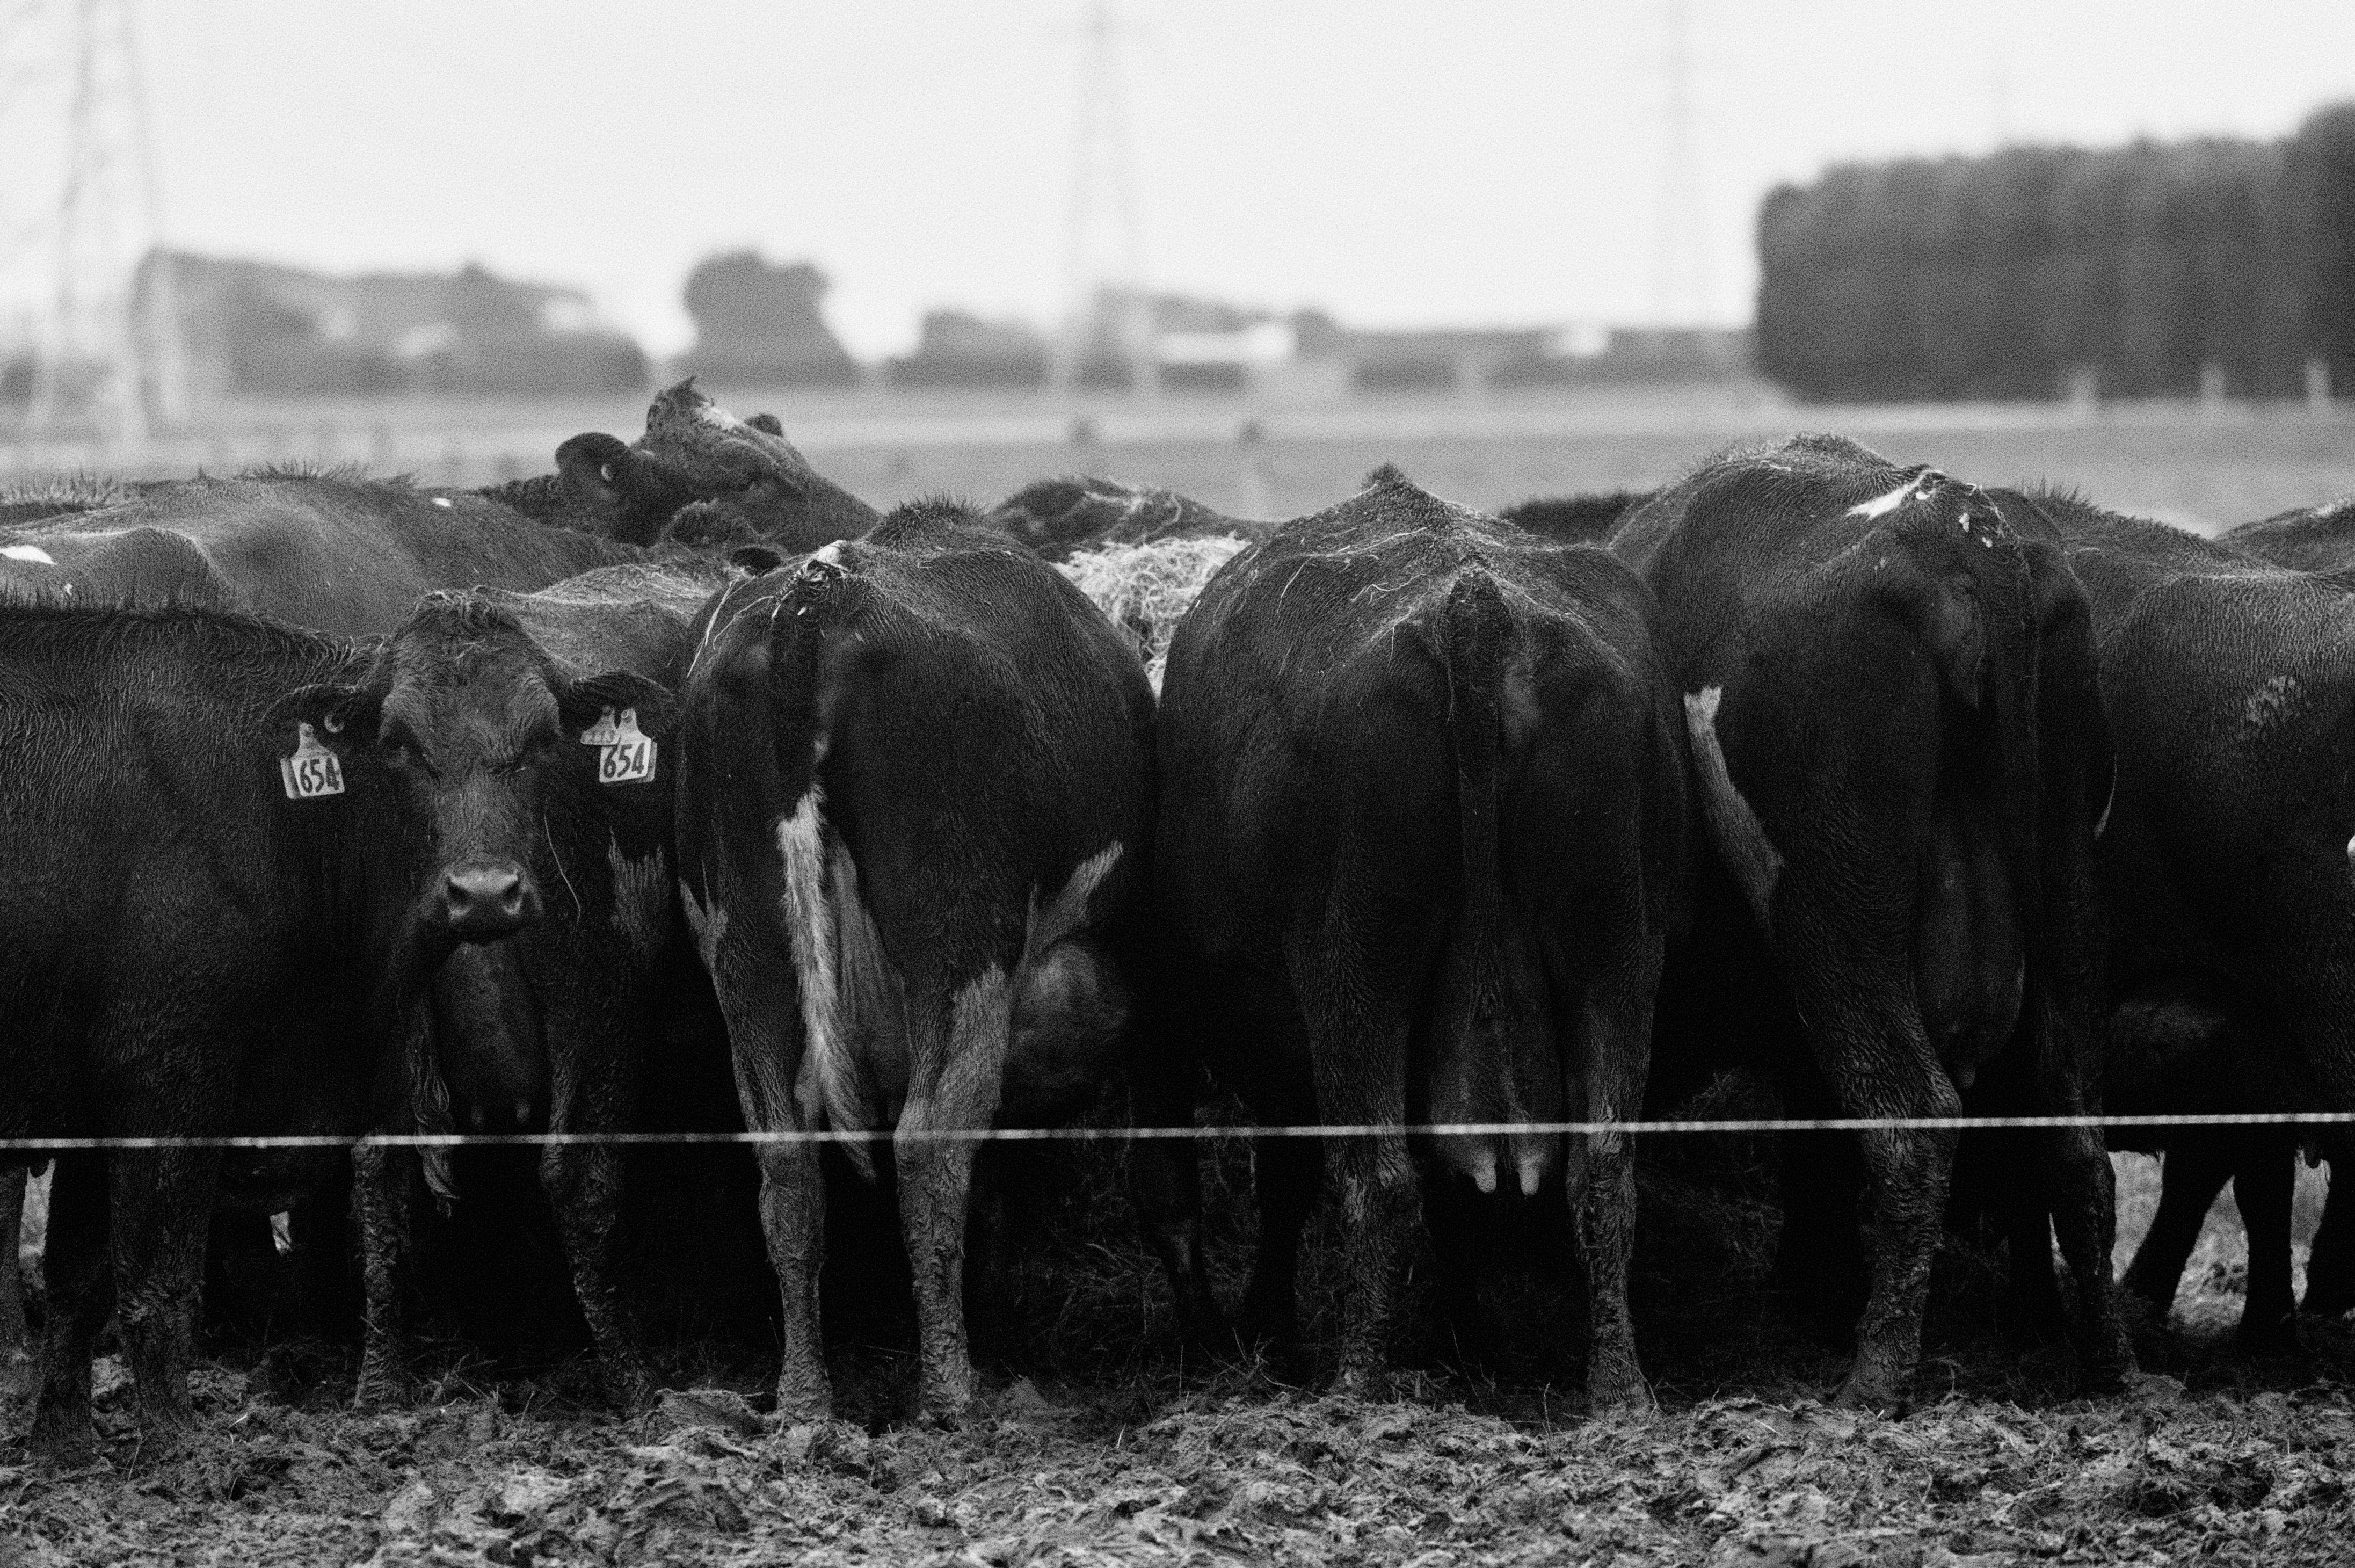
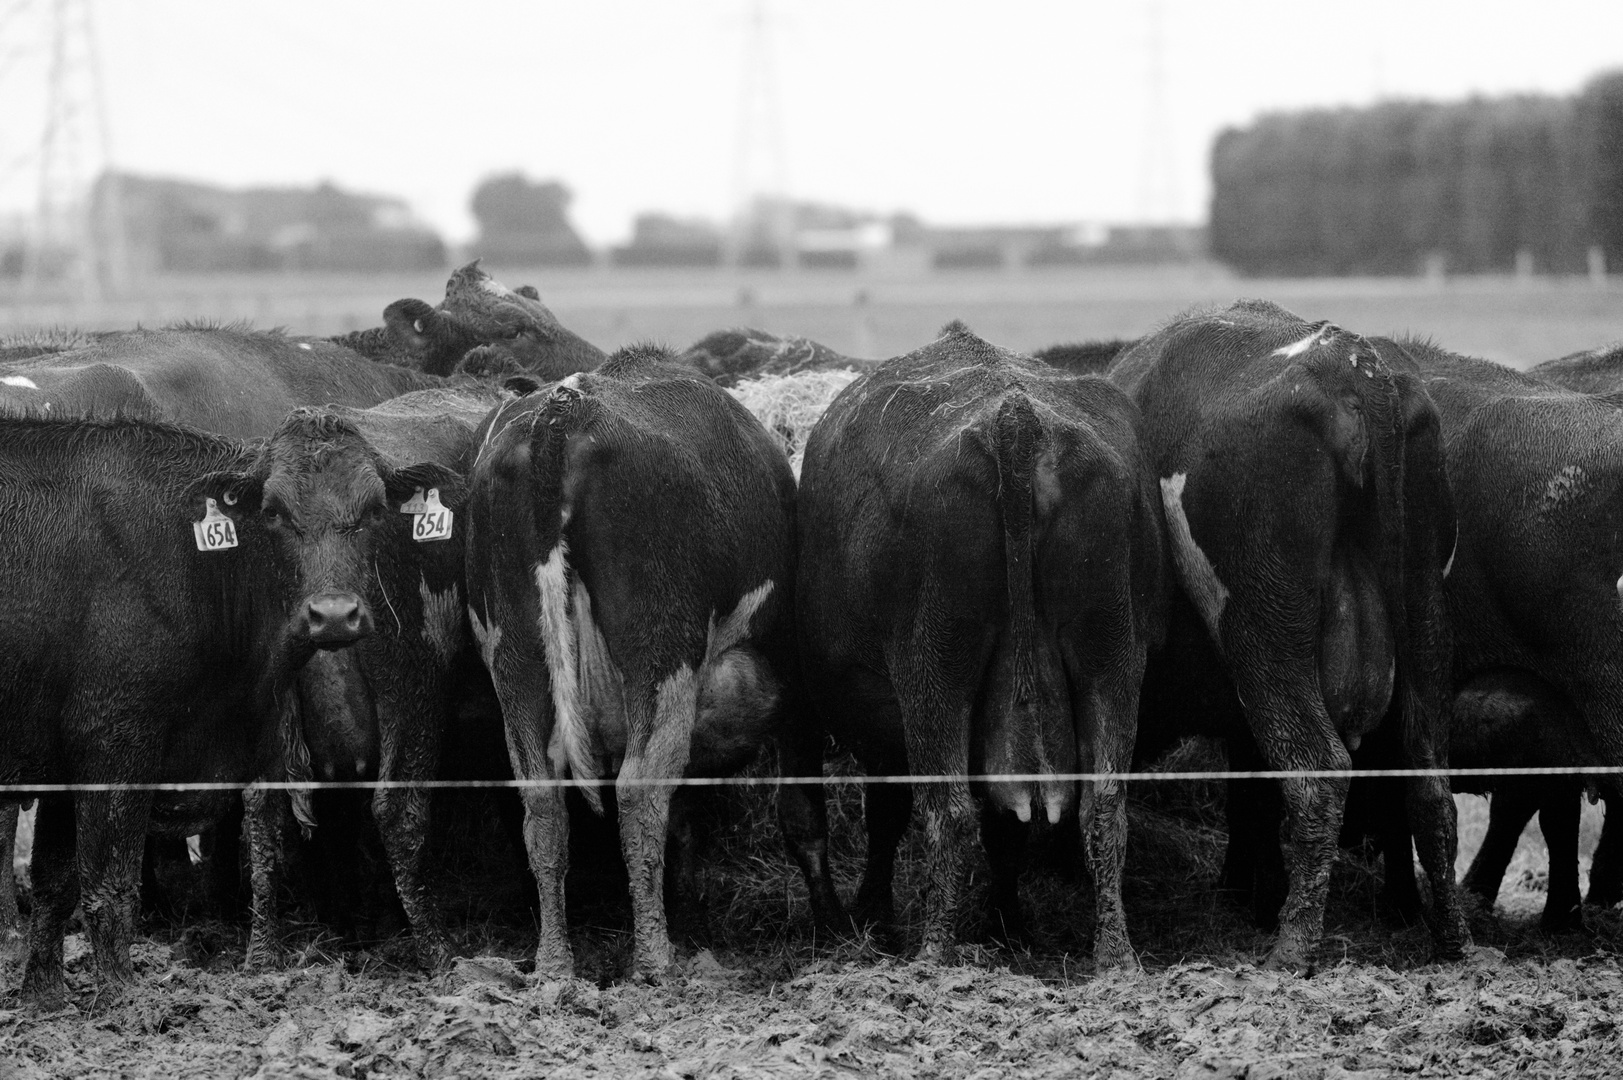
I tried basic processing plus the Tone Curve module -
IMG_1454-blacks-and-cows.CR2.xmp (44.2 KB)

1 Like
Add a tone curve. Dont edit it at first…blend in subtract or mulitply …play with opacity it will need to be low…then if needed you can introduce a small tweak in the curve to suit…
1 Like
Hi @JohnNZ ,
I do agree with @123sg, when he wrote:
I’m not entirely sure just what look you want
“Blacker blacks” can be understood in several ways.
Like (RGB) 0,0,0. Or additional contrast. Or induce a
slightly blue tone into the blacks, to make them look
blacker…
Have fun!
Claes in Lund, Sweden
1 Like
4 Likes
Hi @JohnNZ,
i feel like the easiest module would be the “color balance rgb”->“4 Ways” Tab. By adjusting the “global offset” and “shadows lift”.
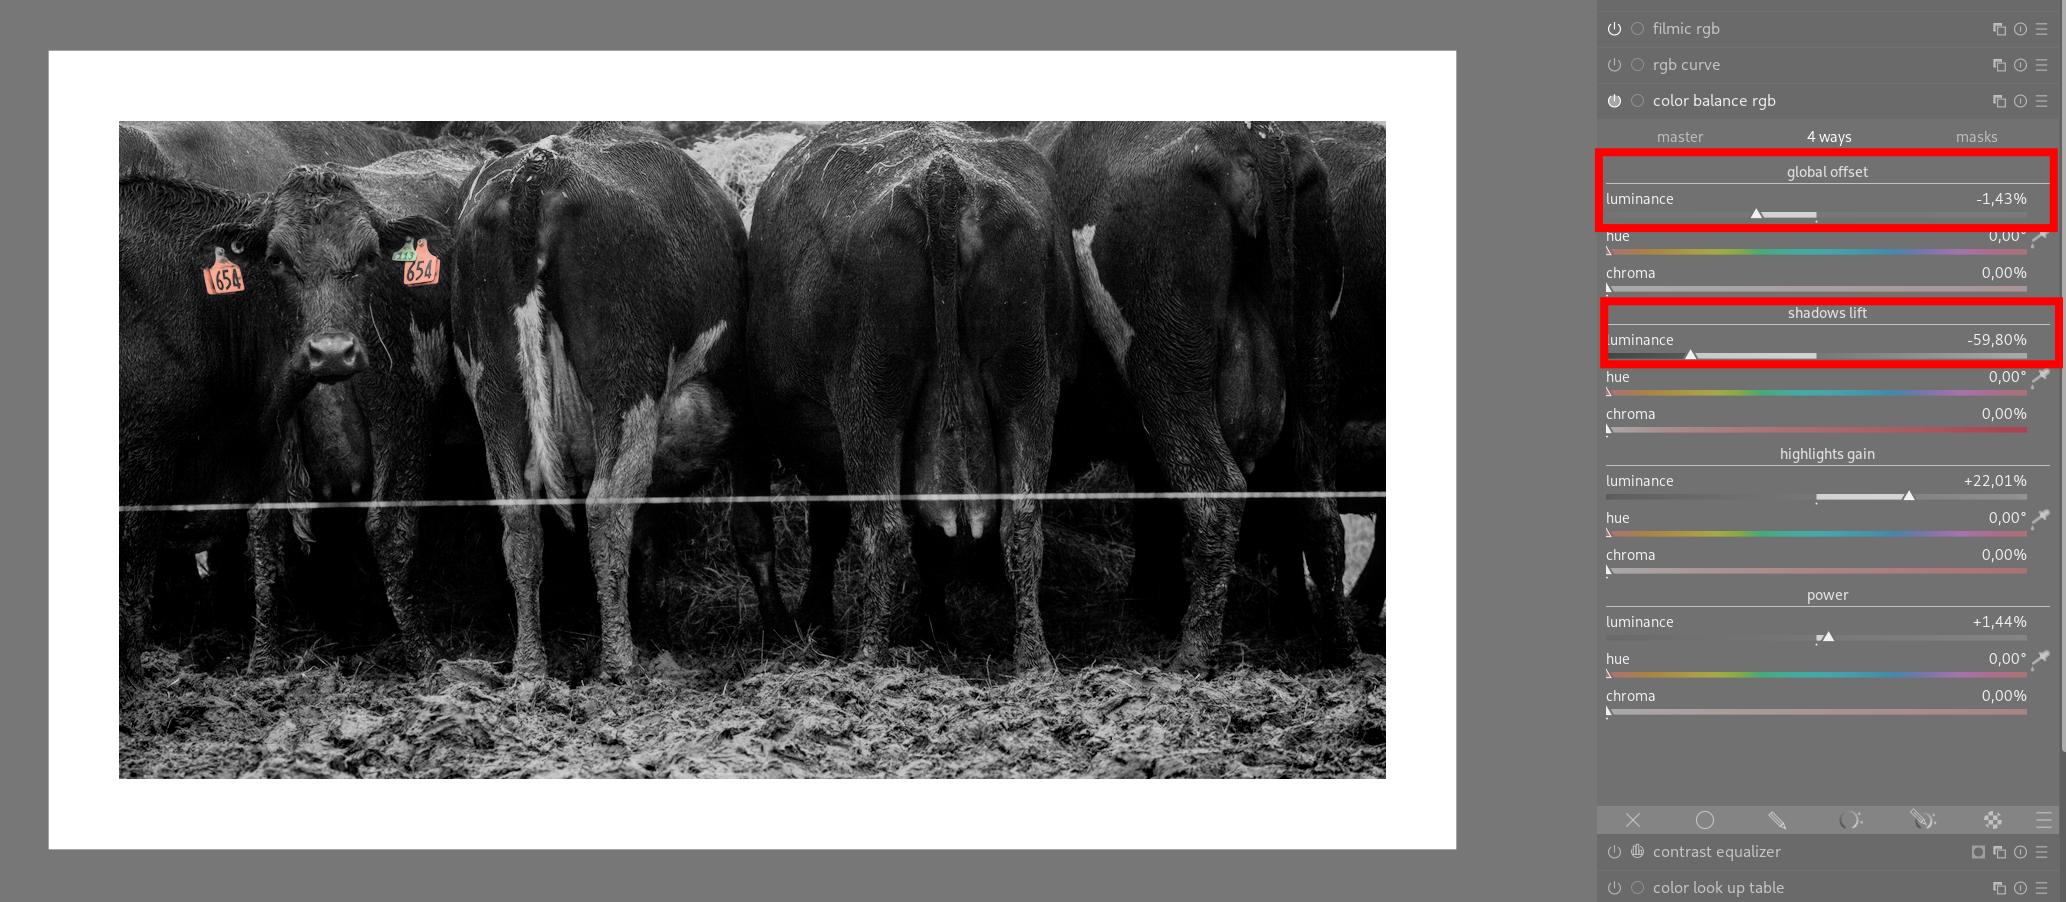
Maybe this helps 
1 Like
@priort , I played with this but not getting anything interesting, perhaps you could provide an edit?
@paperdigits , my photo wasn’t a hyperlink for some reason. I edited in a blank line just above the image and that made it normal e.g. click to expand.
But I thought we are warned against doing that because of the risk of bringing RGB values into the negative range.
Seems like you figured it out on your own. Not clear what you need or want from me.
IMG_1454.CR2.xmp (7.8 KB)
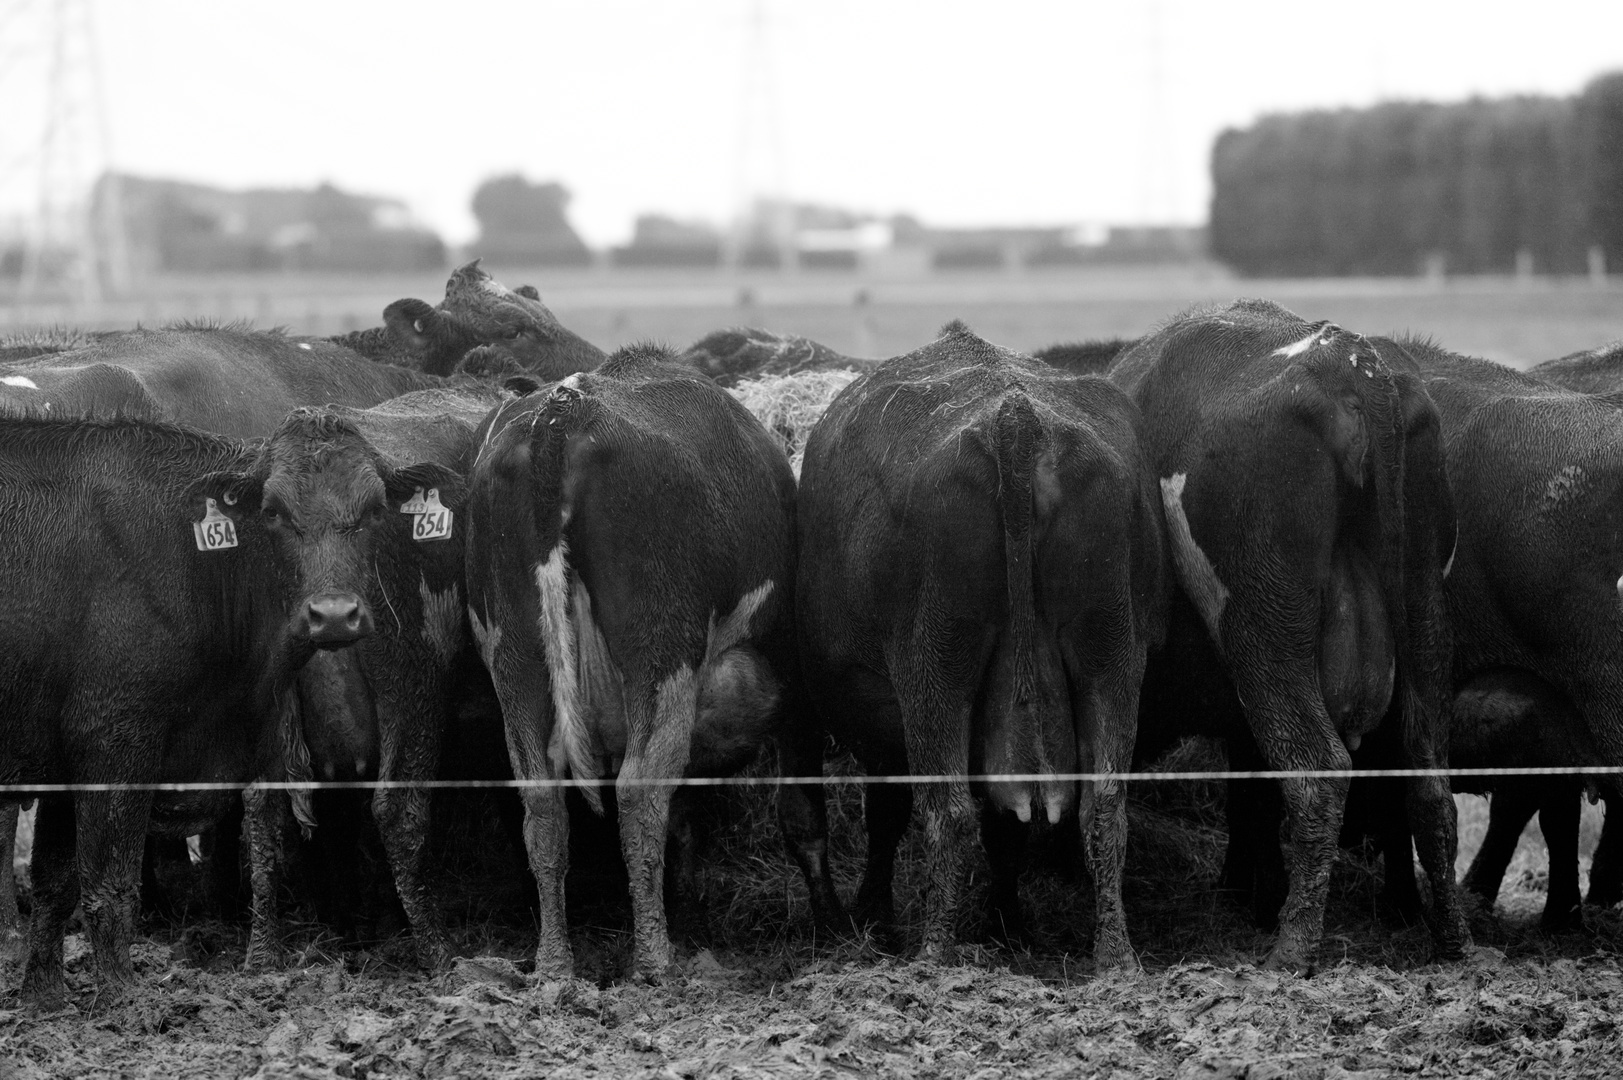
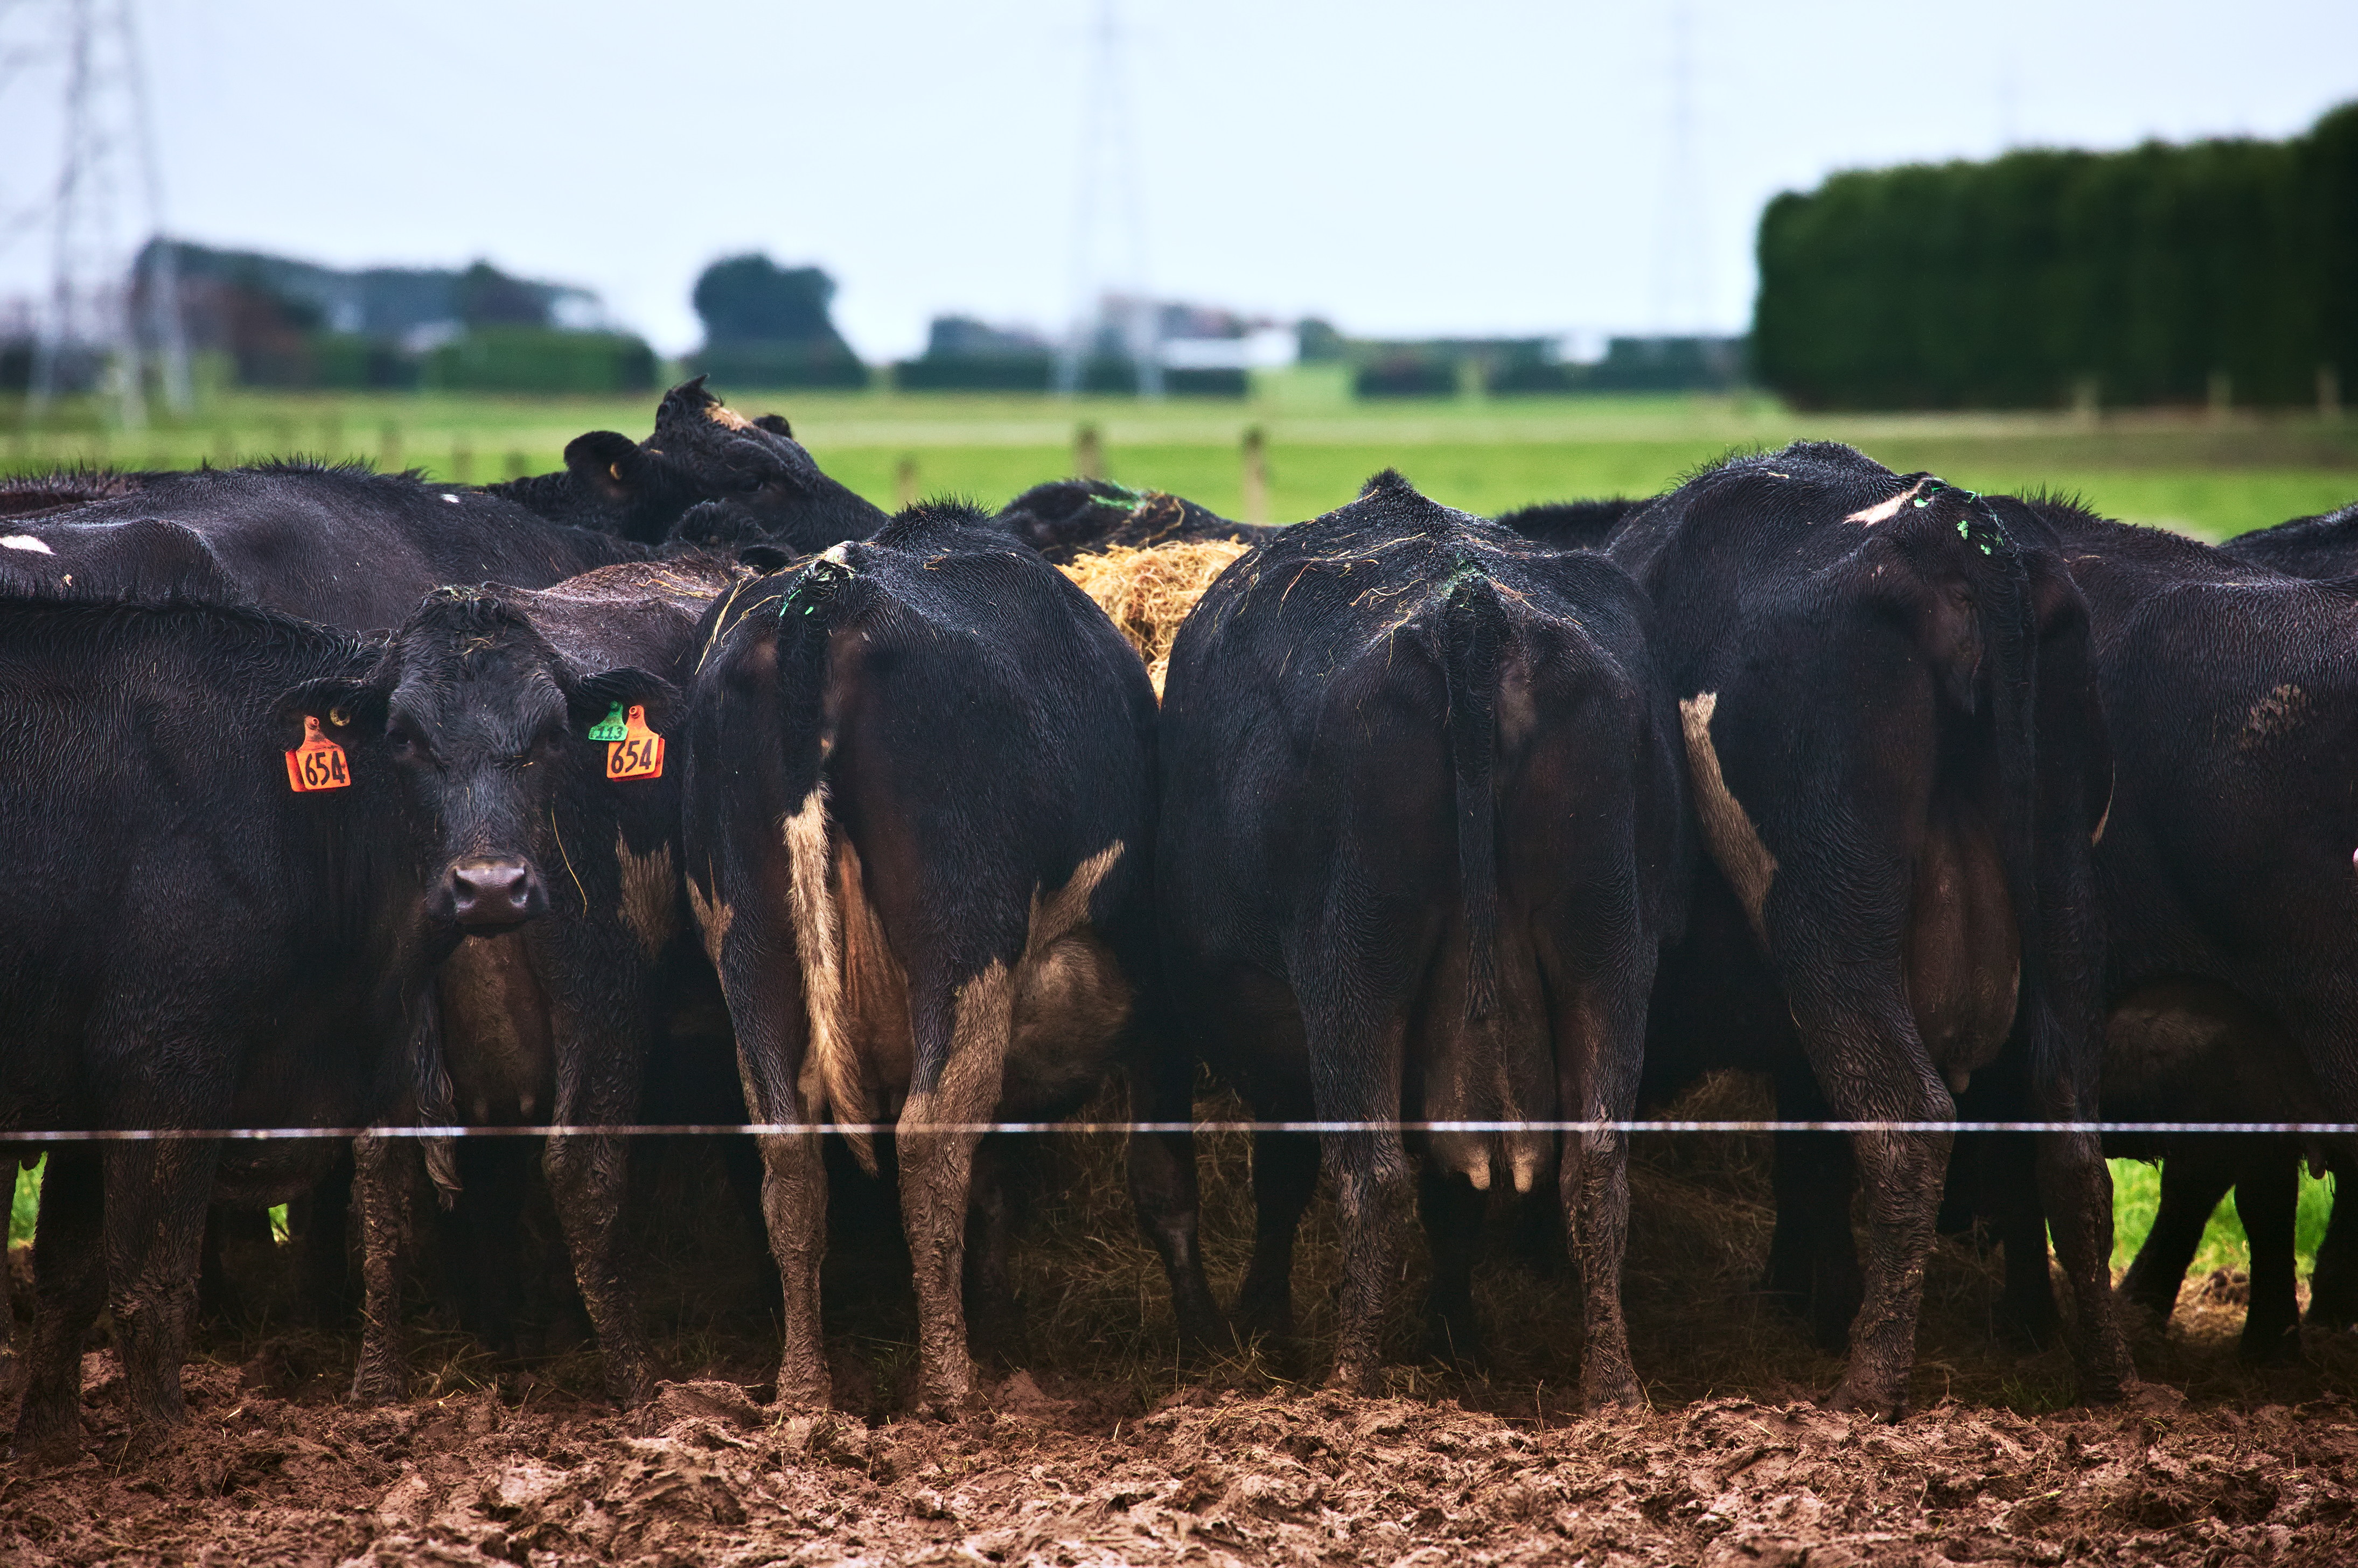
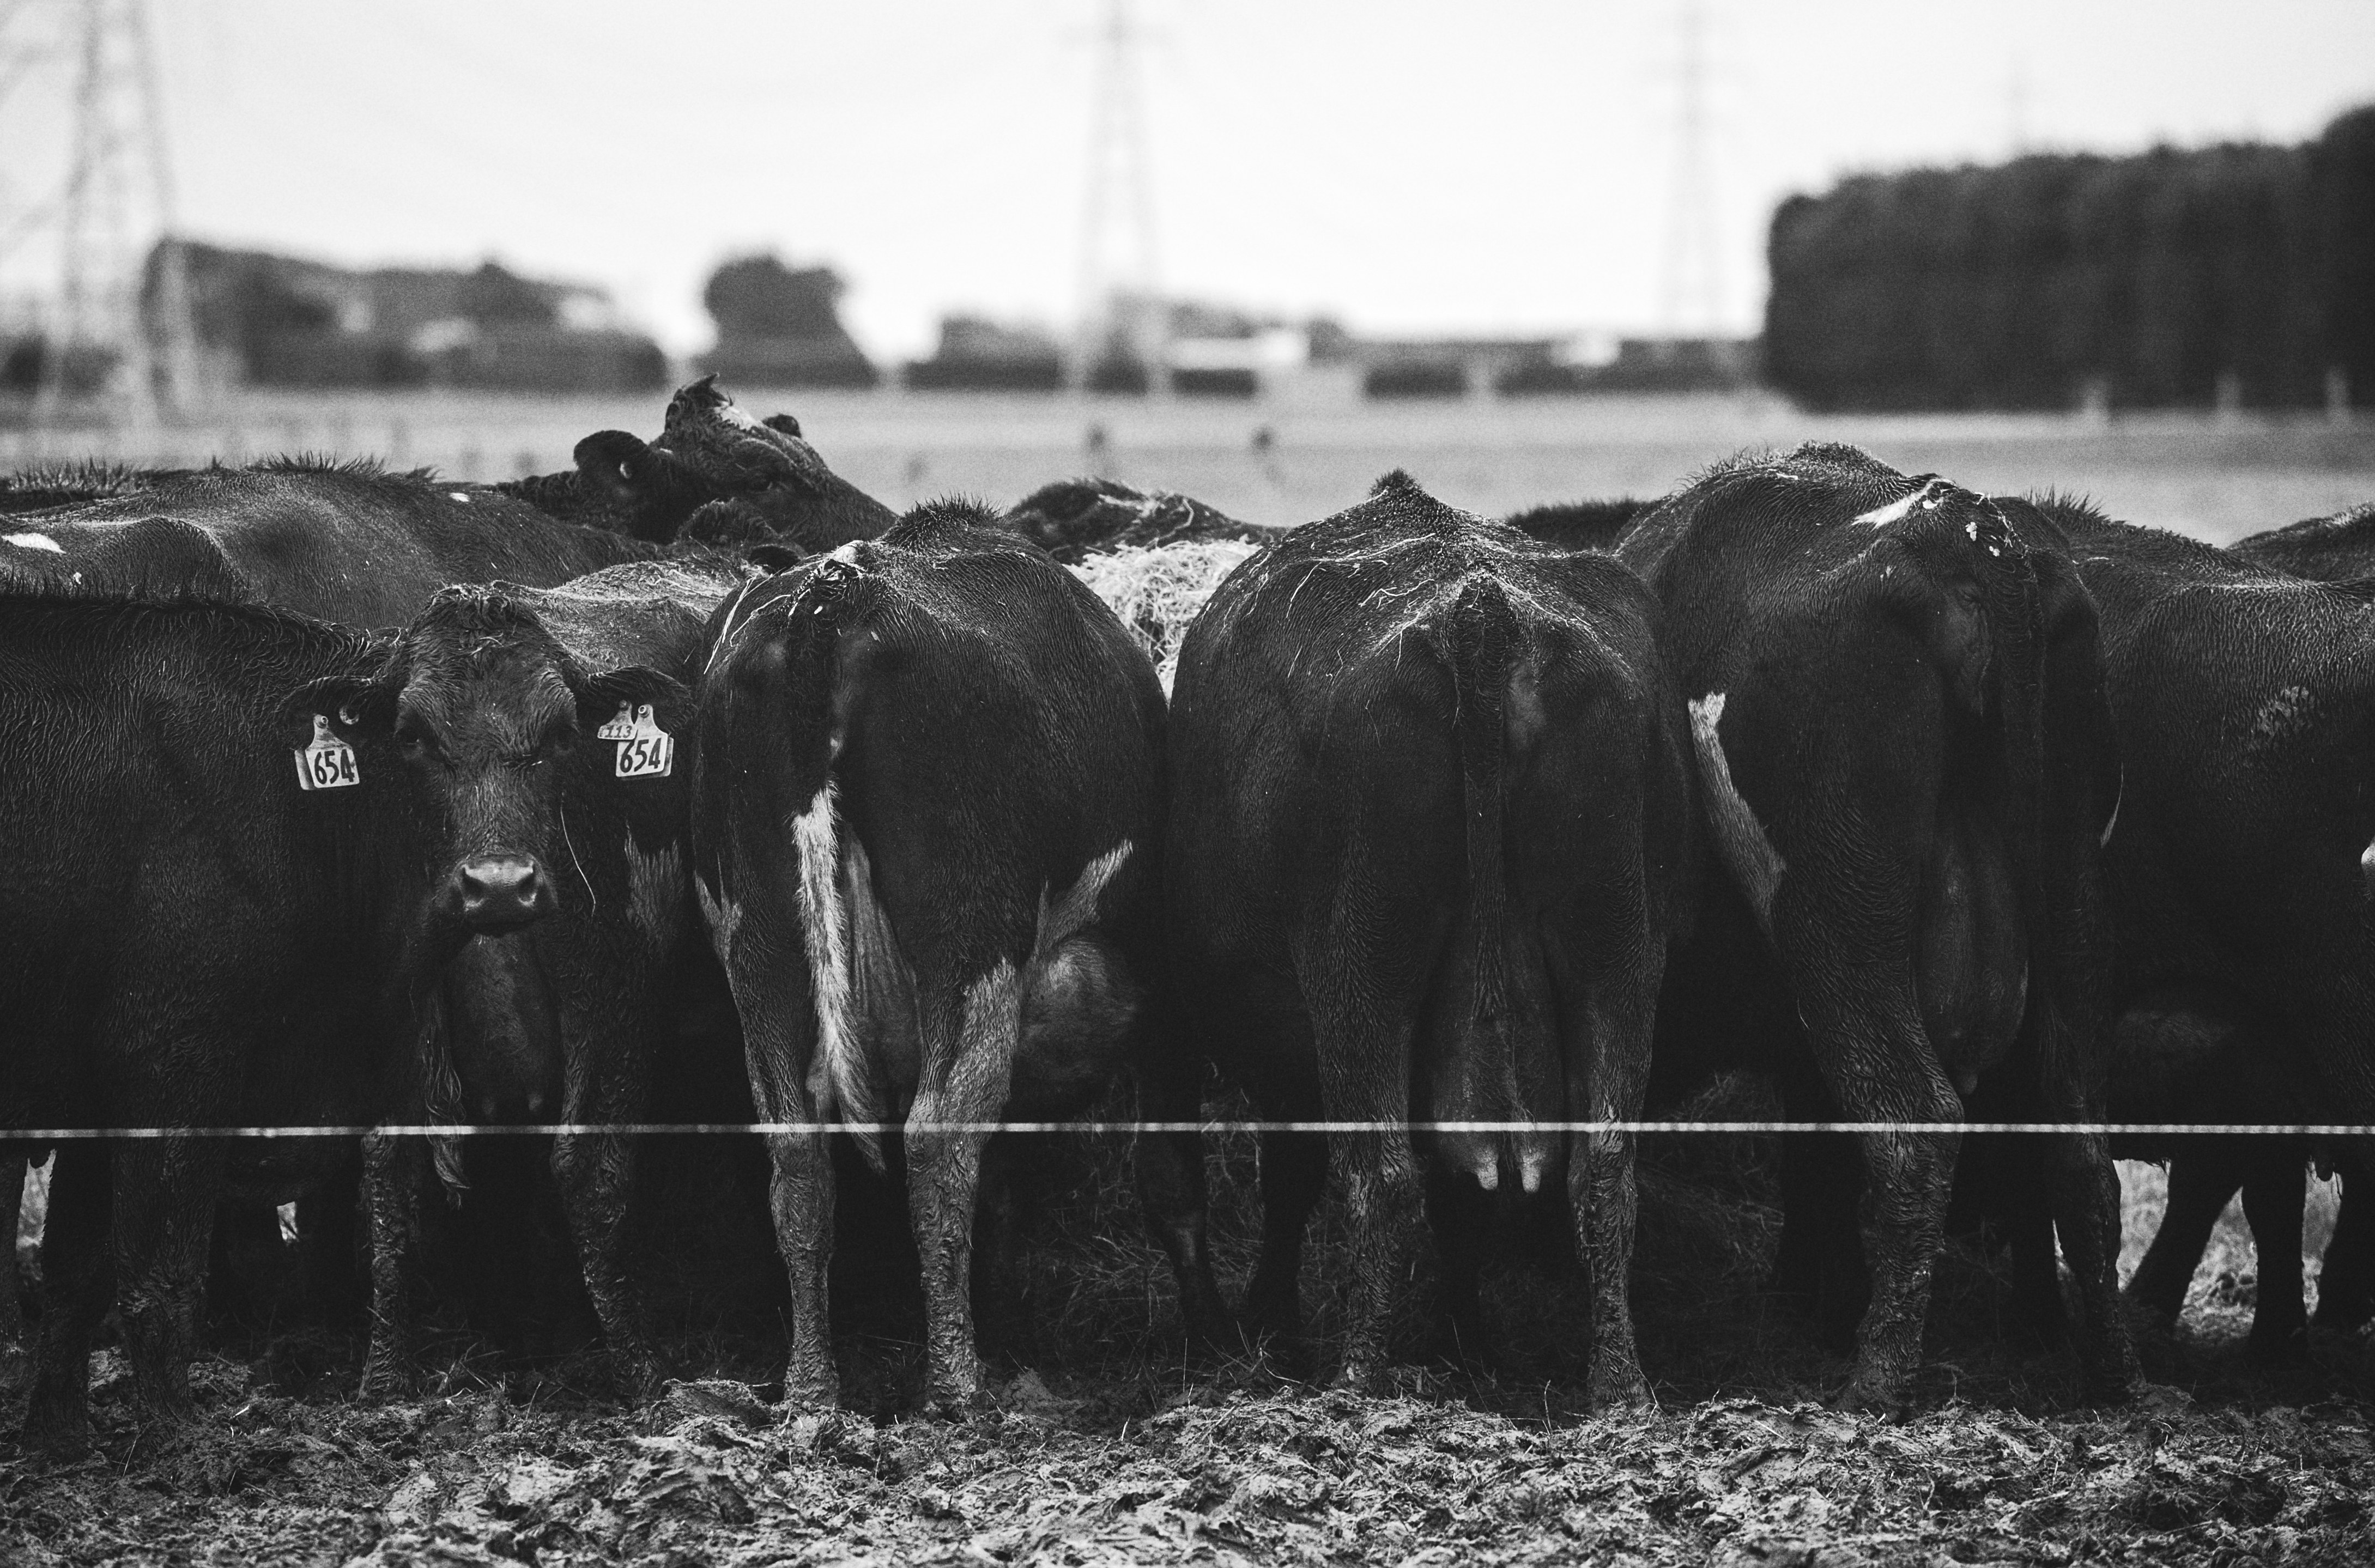
I’m not sure if this is something like what you’re after.
I used color balance rgb’s contrast control with a low fulcrum value of about 12%, and an extreme contrast value of 80%.
5 Likes
Been staring at this one intermittently, looking for the opportunity to spend time with it…
Getting blacker blacks is fundamentally about contrast, and that’s an easy change with a s-shaped tone curve. But going monochrome opens other opportunities, per-channel shaping and other things you wouldn’t do to protect those precious colors. Here’s my take on that, in rawproc:
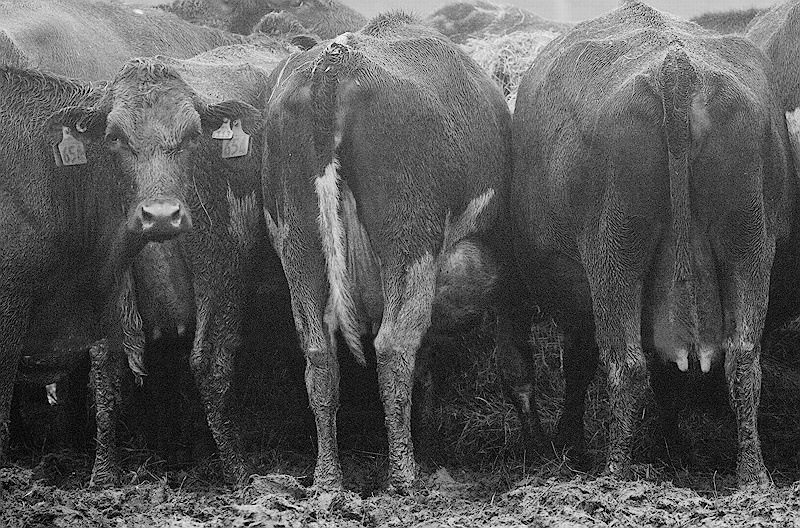
I used a two-part curve strategy, a loggamma to lift the shadows out of the toe and then a s-shaped control point curve to introduce the contrast. I grayscaled with only the blue channel, offered the most contrast in some of the textures. Crop to put that indignant face in the proper context with the anterior presentations
 , and a more aggressive post-resize sharpen to punch out the textures. Then, I just had to get rid of that line so I just dragged the JPEG over to GIMP and cloned it out.
2 Likes
And two with LUTs:

IMG_1454_01.CR2.xmp (10.1 KB)
IMG_1454_02.CR2.xmp (6.3 KB)
The Fuji XTrans III - Acros+R is from this site, I think: Fuji Film Simulation Profiles – Stuart Sowerby
The BW5 LUT is from: Free LUTs
You can crank up dehaze for something like this…if you can’t get it in diffuse module
1 Like
IMG_1454.jpg.out.pp3 (14.4 KB)

IMG_1454.jpg.out.pp3 (14.4 KB)

IMG_1454.jpg.out.pp3 (14.5 KB)
IMG_1454.CR2.xmp (17.8 KB)
2 Likes
You can crank up dehaze for something like this…if you can’t get it in diffuse module
Actually the tone eq and local contrast don’t do a bad job either…
IMG_1454_01.CR2.xmp (11.5 KB)

Bonsoir,
J’espère qu’elle va dans le sens que tu attends, mais par mauvais temps il ne faut pas attendre de miracle

IMG_1454.CR2.xmp (12.7 KB)
1 Like
I like the grain! Can you share details on your ‘experimental grain algo’? Is this something that will be added to dt anytime soon? Or a standalone tool? Is this based on overlaying noise scans or entirely algorithmic?
There is a grain module in DT so an added algo might go there if it got traction…might first be worth figuring out what it would add vs what is present…
Glad you like it!
Very happy to share more details, it is fully algorithmic and in python for now (not very fast, a few seconds for 24MP images).
It is kind of mimicking the Poisson/binomial process of the silver halide particles in every pixel but uses the beta distribution function from scipy as a continuous approximation. Then I use opensimplex to generate spatially correlated noise patterns that are then distorted by the beta distribution.
My main addition compared to state-of-the-art and darktable grain is also to add artistic knobs to change the apparent color of grain (like in more salty or more peppery), and the overall shape of the noise distribution (aka to have some control on variance, skewness, and kurtosis of the noise distribution with parameters).
I made a quick and dirty gui for testing using napari and magicgui, too.

Right now there are definitely a lot of parameters
I could make a full post if people are interested. I am still experimenting with a few things, though. (like in the rabbit hole) 
5 Likes
that’s very cool!
Definetely too many options for mere mortals (thinking about a possible implementation in darktable), maybe you can reduce it with some presets and/or 3-4 ‘knobs’ max?
Quoting Todd @priort I also think would be nice to see a comparison between one straight image, one with added grain using the current grain module available in darktable and another using a couple of different sets of parameters according to your taste that could emulate different kind of grains perhaps (if you’ve managed to isolate those params that could emulate for example the tri-x pushed to 1600 or some other typical film – that’s the thing that I always aim for because on the wall just next to my monitor I have a panel with scattered prints and the ones that I still love are old shots taken with tri-x).
EDIT my good friend @Claes reminded me of this thread where Andrea and other knowledgeable contributors have discussed grain and algorithms… I guess my little advice above is totally unnecessary, as it can be seen that Andrea is the sort of guy that has already figured it all out, so I would just say, forget everything else, it would be nice to see the new grain generator implemented somehow in darktable and perhaps a followup to that thread to show a few examples?
It’s funny because I completely forgot that I also added a comment to that thread above, almost 3 yrs after the initial post… and here I am all excited again for some grainy noise to be added to my too clean images!!
2 Likes
I’ve been thinking about film grain in my spare time for a while. Not sure why it is such a special interest of mine.
I’ll think about reducing the number of knowbs. My dream interface would be something like 3 sliders plus 2-3 curves like in the contrast-equalizer to fine-tune the look.
I haven’t developed presets matching film stocks, but with good reference images, it might be possible. For now, I just tried to match my result with a few analog photos from photographers I am following.
After vacation I’ll definitely make a separate post with a few examples, explaining better the idea! So we are not going off-topic in this thread.
1 Like