lep
August 5, 2020, 9:50pm
1
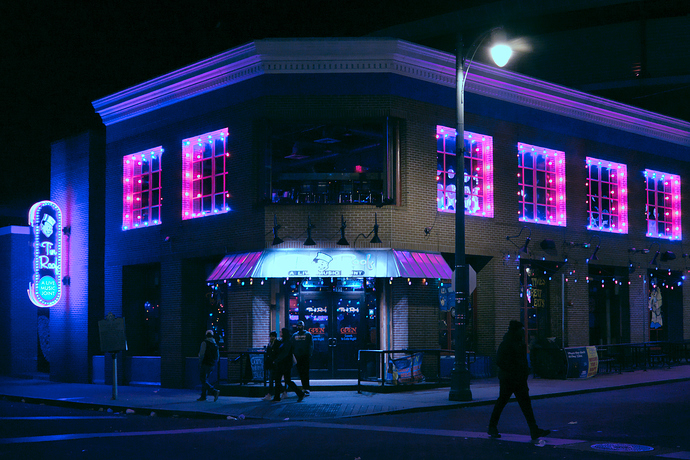
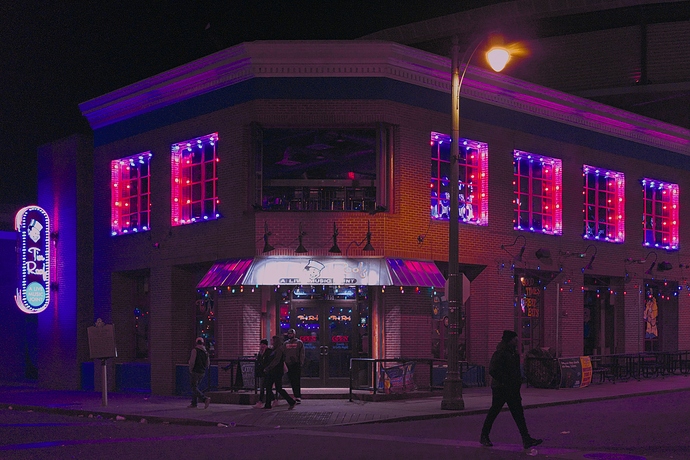
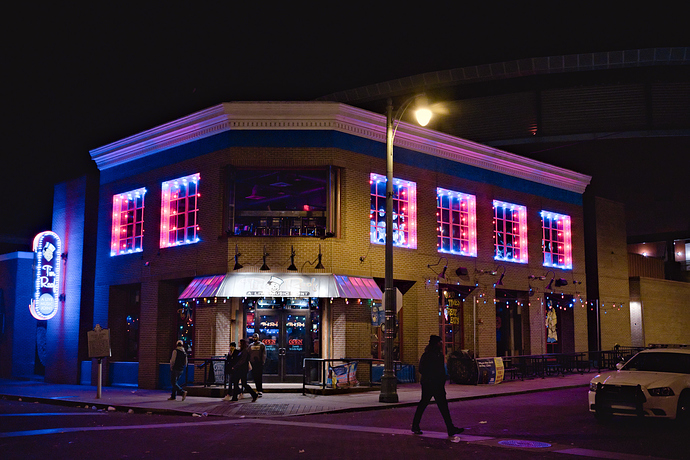
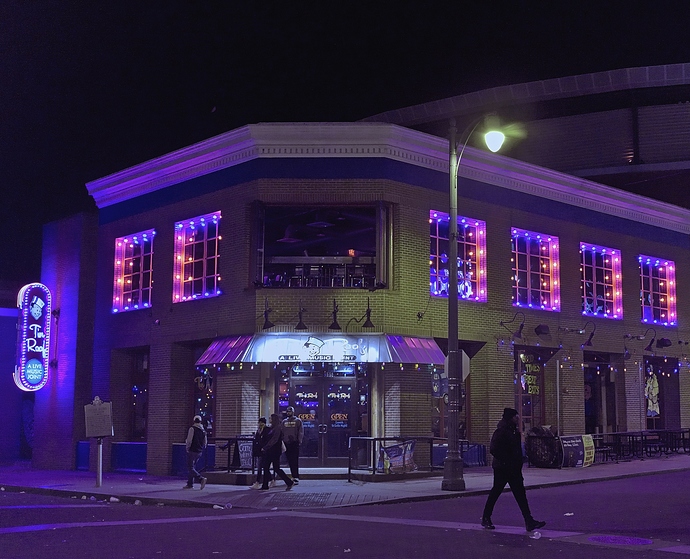
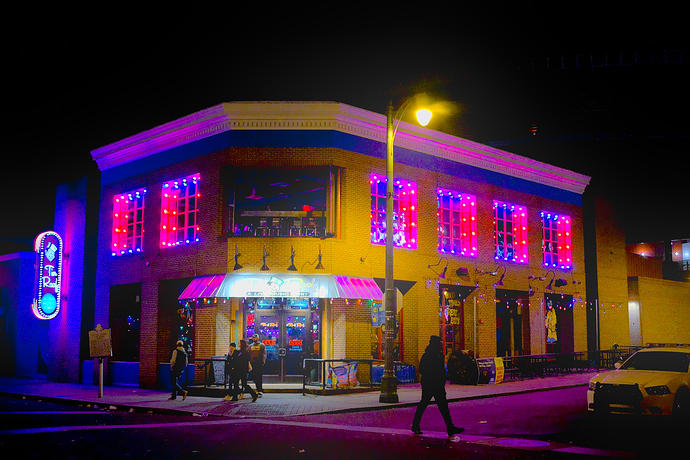
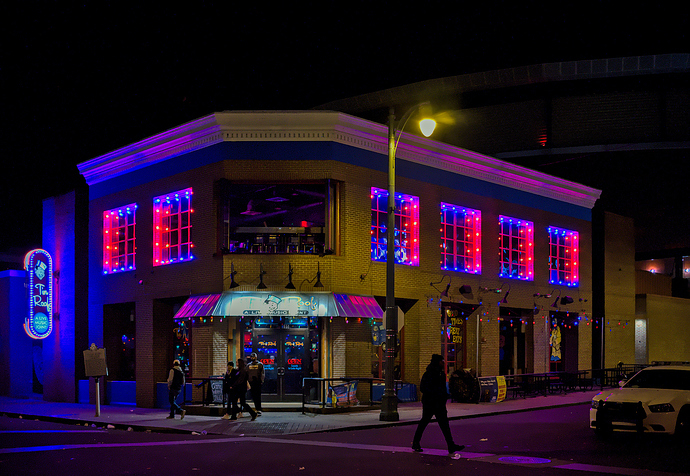
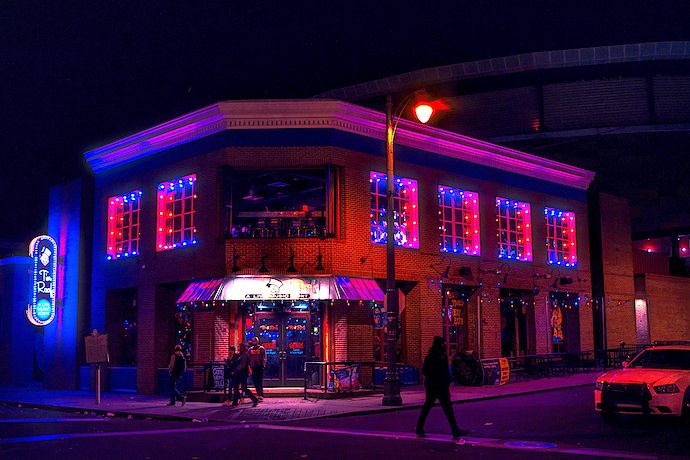
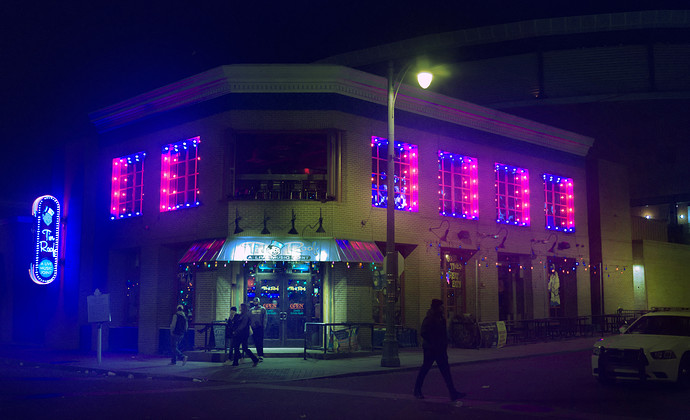
I tried my hand at editing to get a cyberpunk look for the first time, I’d appreciate your feedback and your takes on it.
DSCF1364.RAF (40.8 MB)
These files are licensed Creative Commons by Attribution-NonCommercial-ShareAlike .
10 Likes
patdavid
August 5, 2020, 10:04pm
2
Did you get a chance to try the treatment described in our article here?
2 Likes
lep
August 5, 2020, 10:09pm
3
I haven’t tried it yet, but it looks promising. i’ve some other candidate pictures for this.
hanatos
August 6, 2020, 7:52am
5
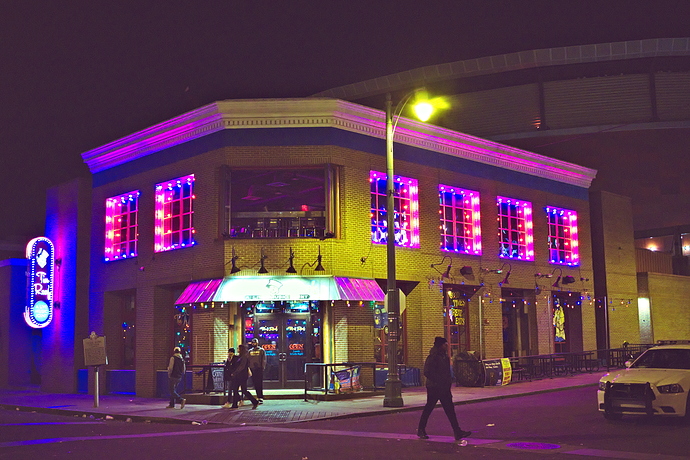
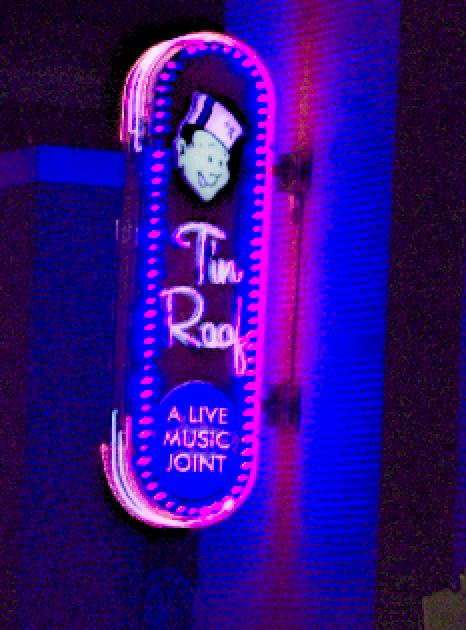
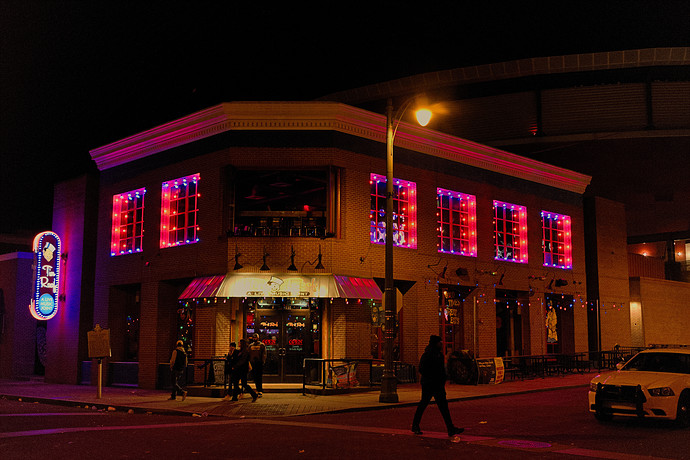
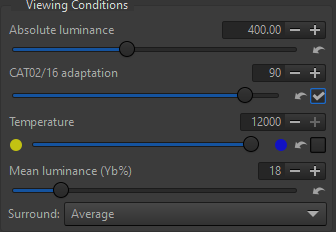
nice one! i especially like how you can pretty much get the sign on the left to have any colour you like depending on gamut/highlight reconstruction settings:
do you by any chance remember what colours it had for real?
Soupy
August 6, 2020, 8:26am
6
The dreaded coloured lights!
DSCF1364.RAF.xmp (31.3 KB)
darktable 3.0.2
Jade_NL
August 6, 2020, 11:42am
8
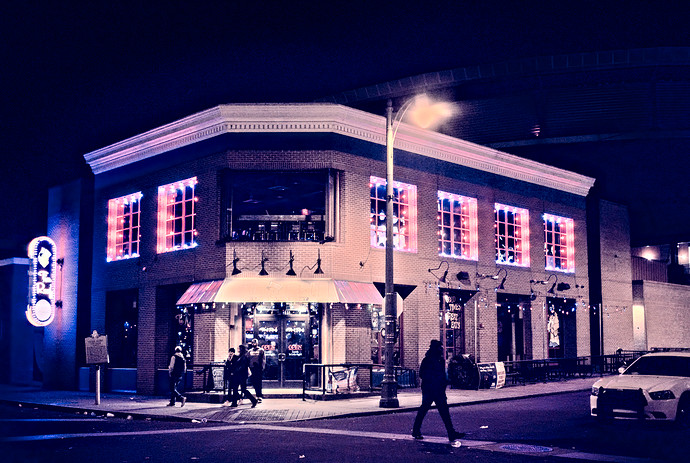
I tried to stay true to the slightly washed out style that seems to be a characteristic of both Masashi Wakui and Brandon Woelfel. Too be honest: I like my blacks to be black, but that’s a taste thing
Good thing about this shot: It already has the basic blue/pink tone to start with.
darktable: RAW processing
GIMP: “cyberpunk” style
1 Like
lep
August 6, 2020, 11:55am
9
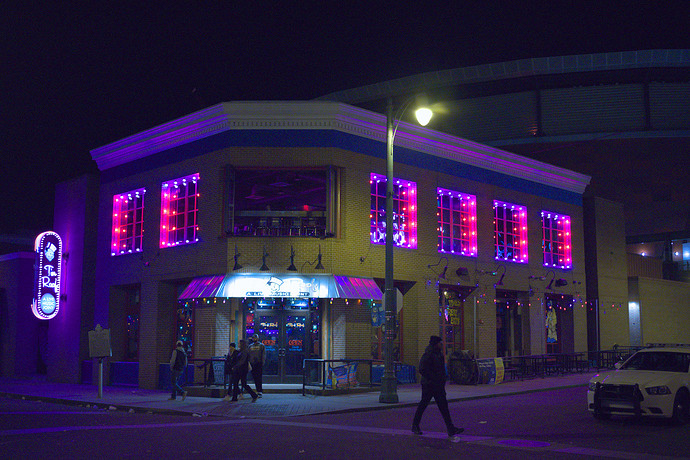
@hanatos That’s pretty cool! I didn’t know that could be done. Here’s the SOOC jpeg
@age you nailed the SOOC look, awesome.
@Jade_NL I need to find time and go through the tutorial Pat linked.
1 Like
Thanks for sharing, challenging shot with high ISO
DSCF1364_01.RAF.xmp (10.6 KB)
1 Like
Great result! Any chance of you sharing the original sidecar file?
Dave22152
August 15, 2020, 11:42pm
14
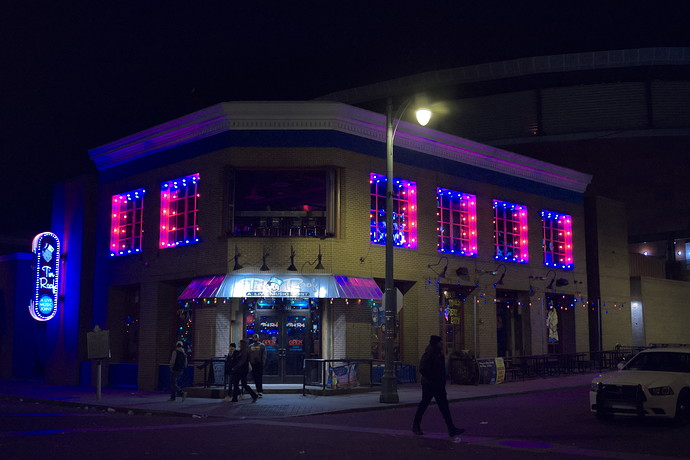
I applied selected some spot exposures, color balance for saturation and split toning, and the soften module to get the haze effect.
DSCF1364_03.RAF.xmp (110.1 KB)
2 Likes
McCap
December 12, 2020, 3:54pm
17
patdavid:
Did you get a chance to try the treatment described in our article here?
PIXLS.US – 28 Nov 16
This tutorial explains how to achieve an effect based on the post processing by photographer Masashi Wakui. His primary subjects appear as urban landscape views of Japan where he uses some pretty and aggressive color toning to complement his scenes…
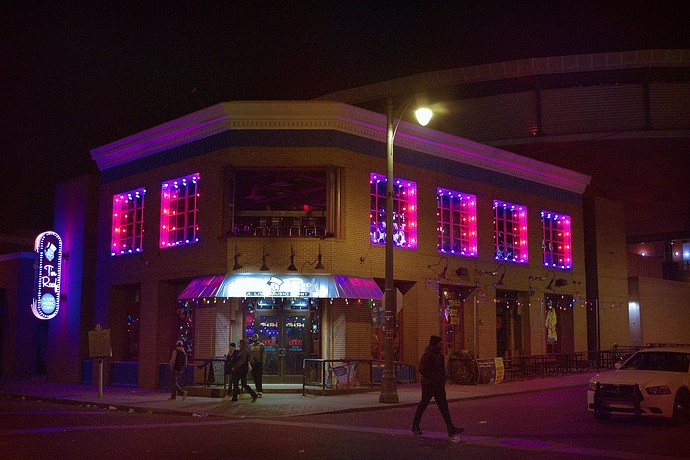
As that treatment was done by me I’ve used an updated version on this image.
RAW out of ART:
Plus Treatment and some dodge and burn:
1 Like
afre
December 13, 2020, 2:21am
18
If it is a matter of cooling,
Of course, this is minimal editing. You could do much more if you wish.
RT warm + cold
Timur
December 13, 2020, 10:45am
19
I’m sure that cook’s face on the left wasn’t blue )))
afre
December 13, 2020, 10:56am
20
Future people can be blue.
