I haven’t tried it yet, but it looks promising. i’ve some other candidate pictures for this.

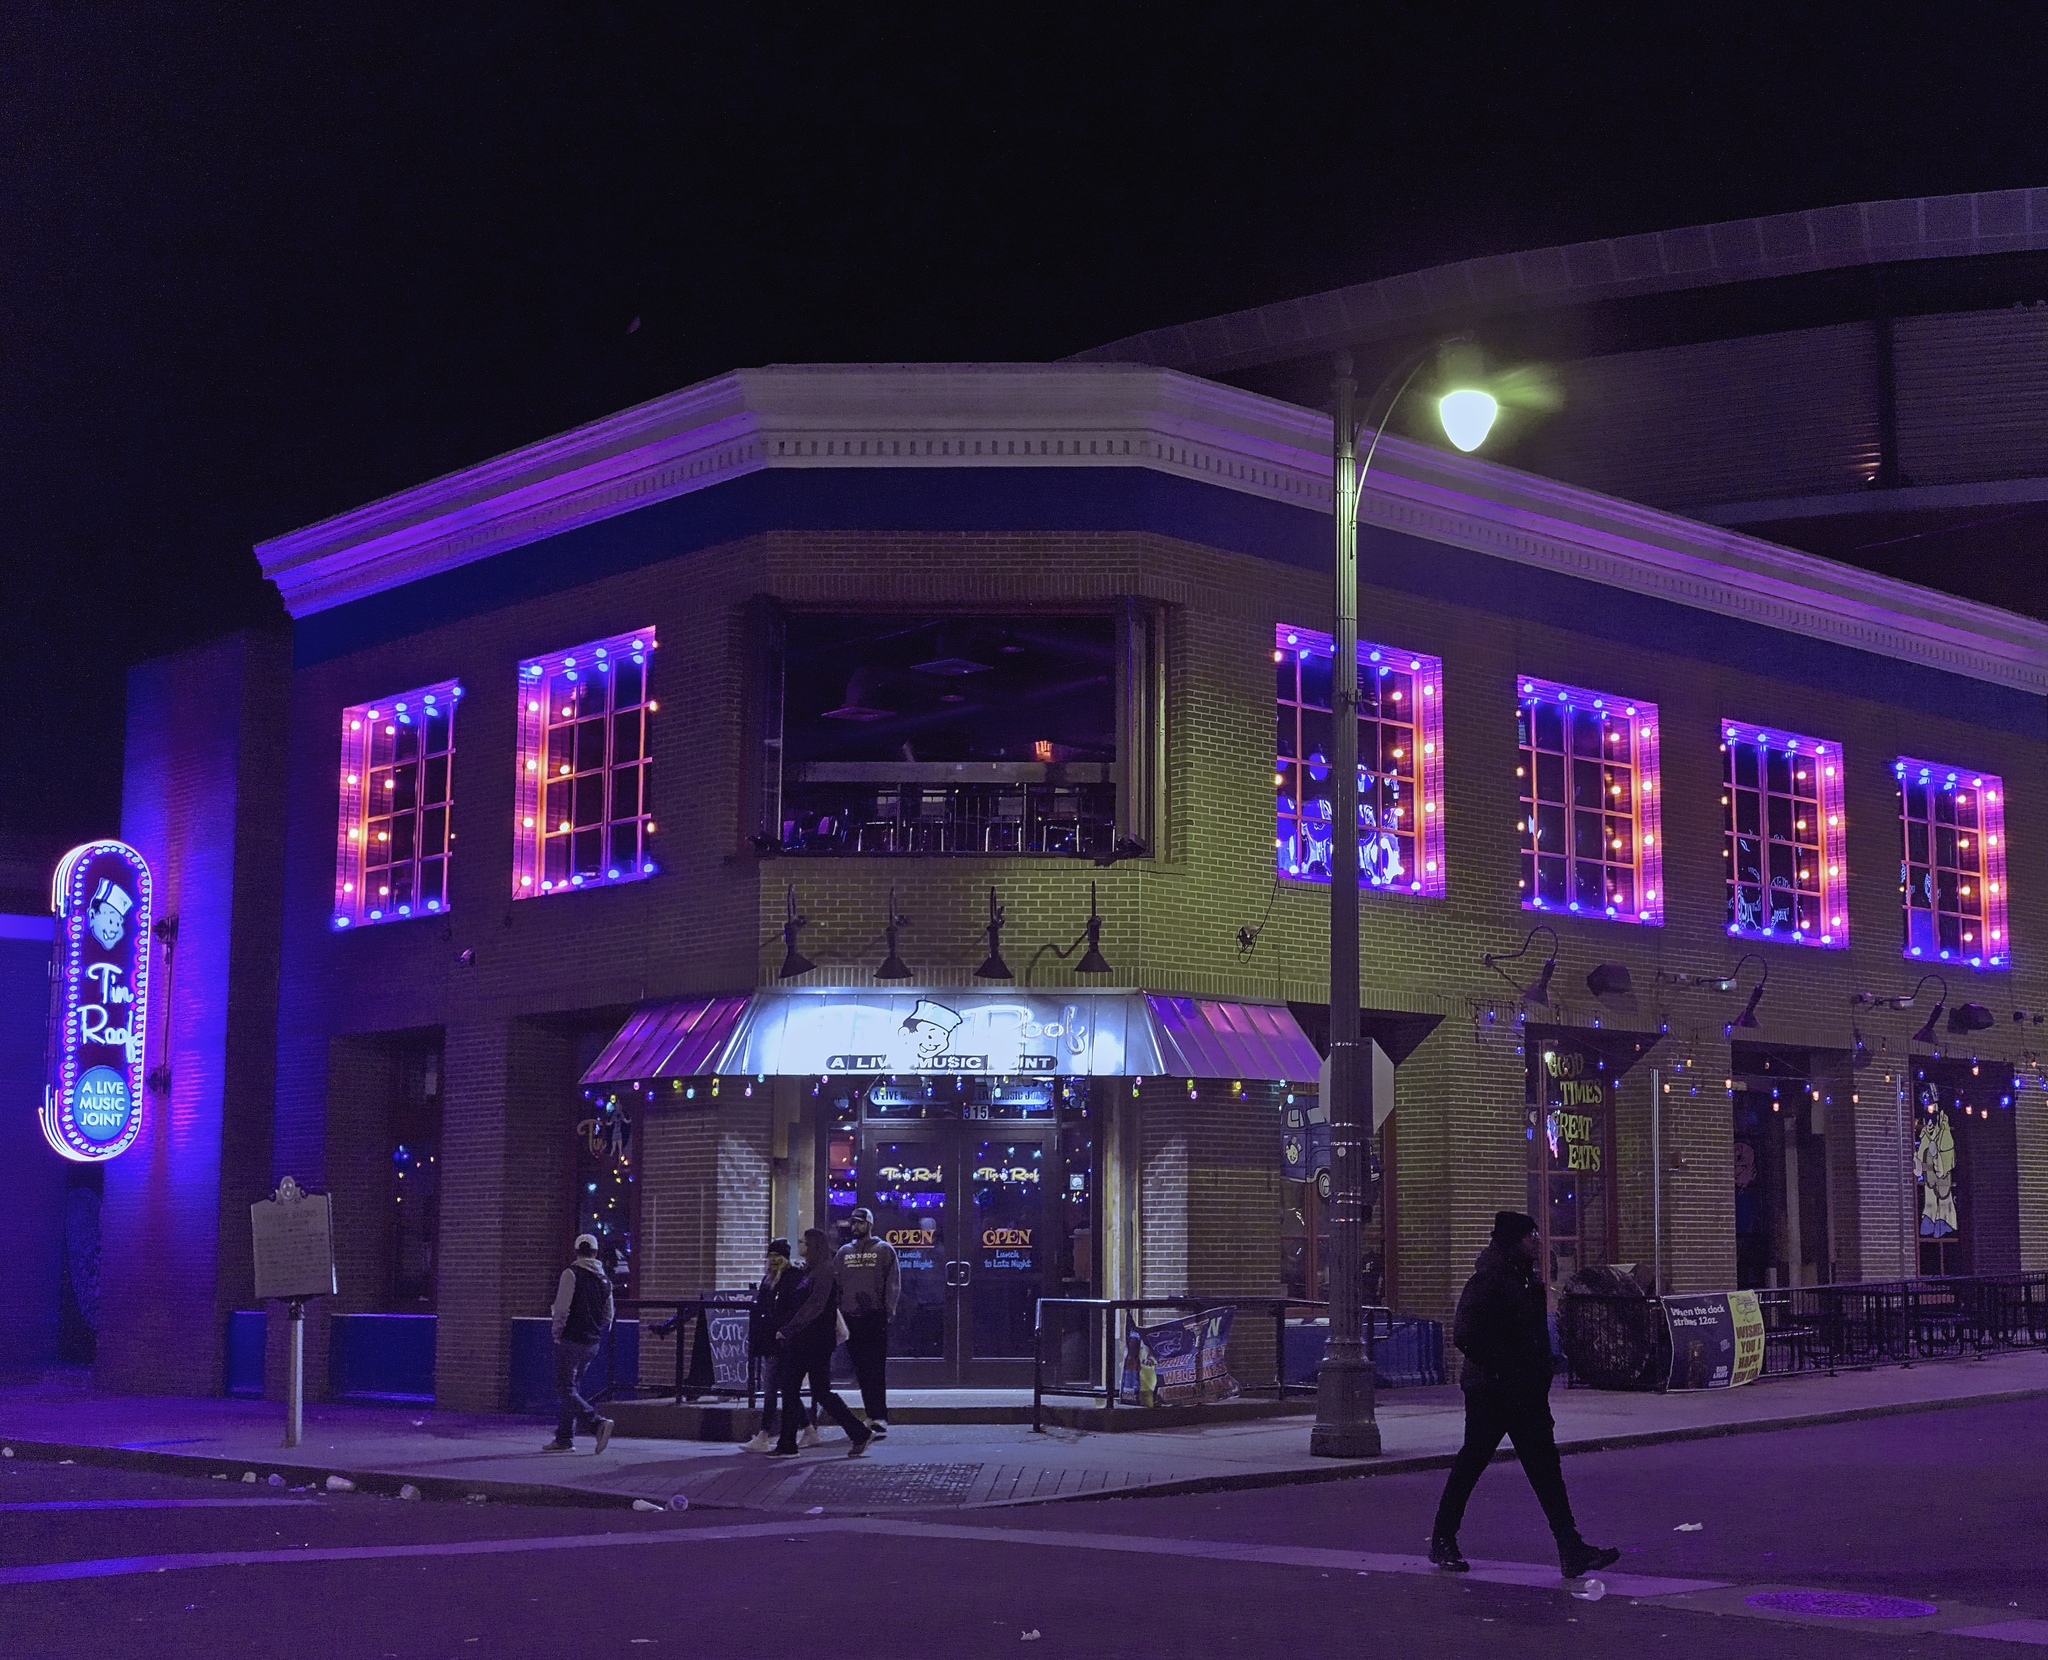
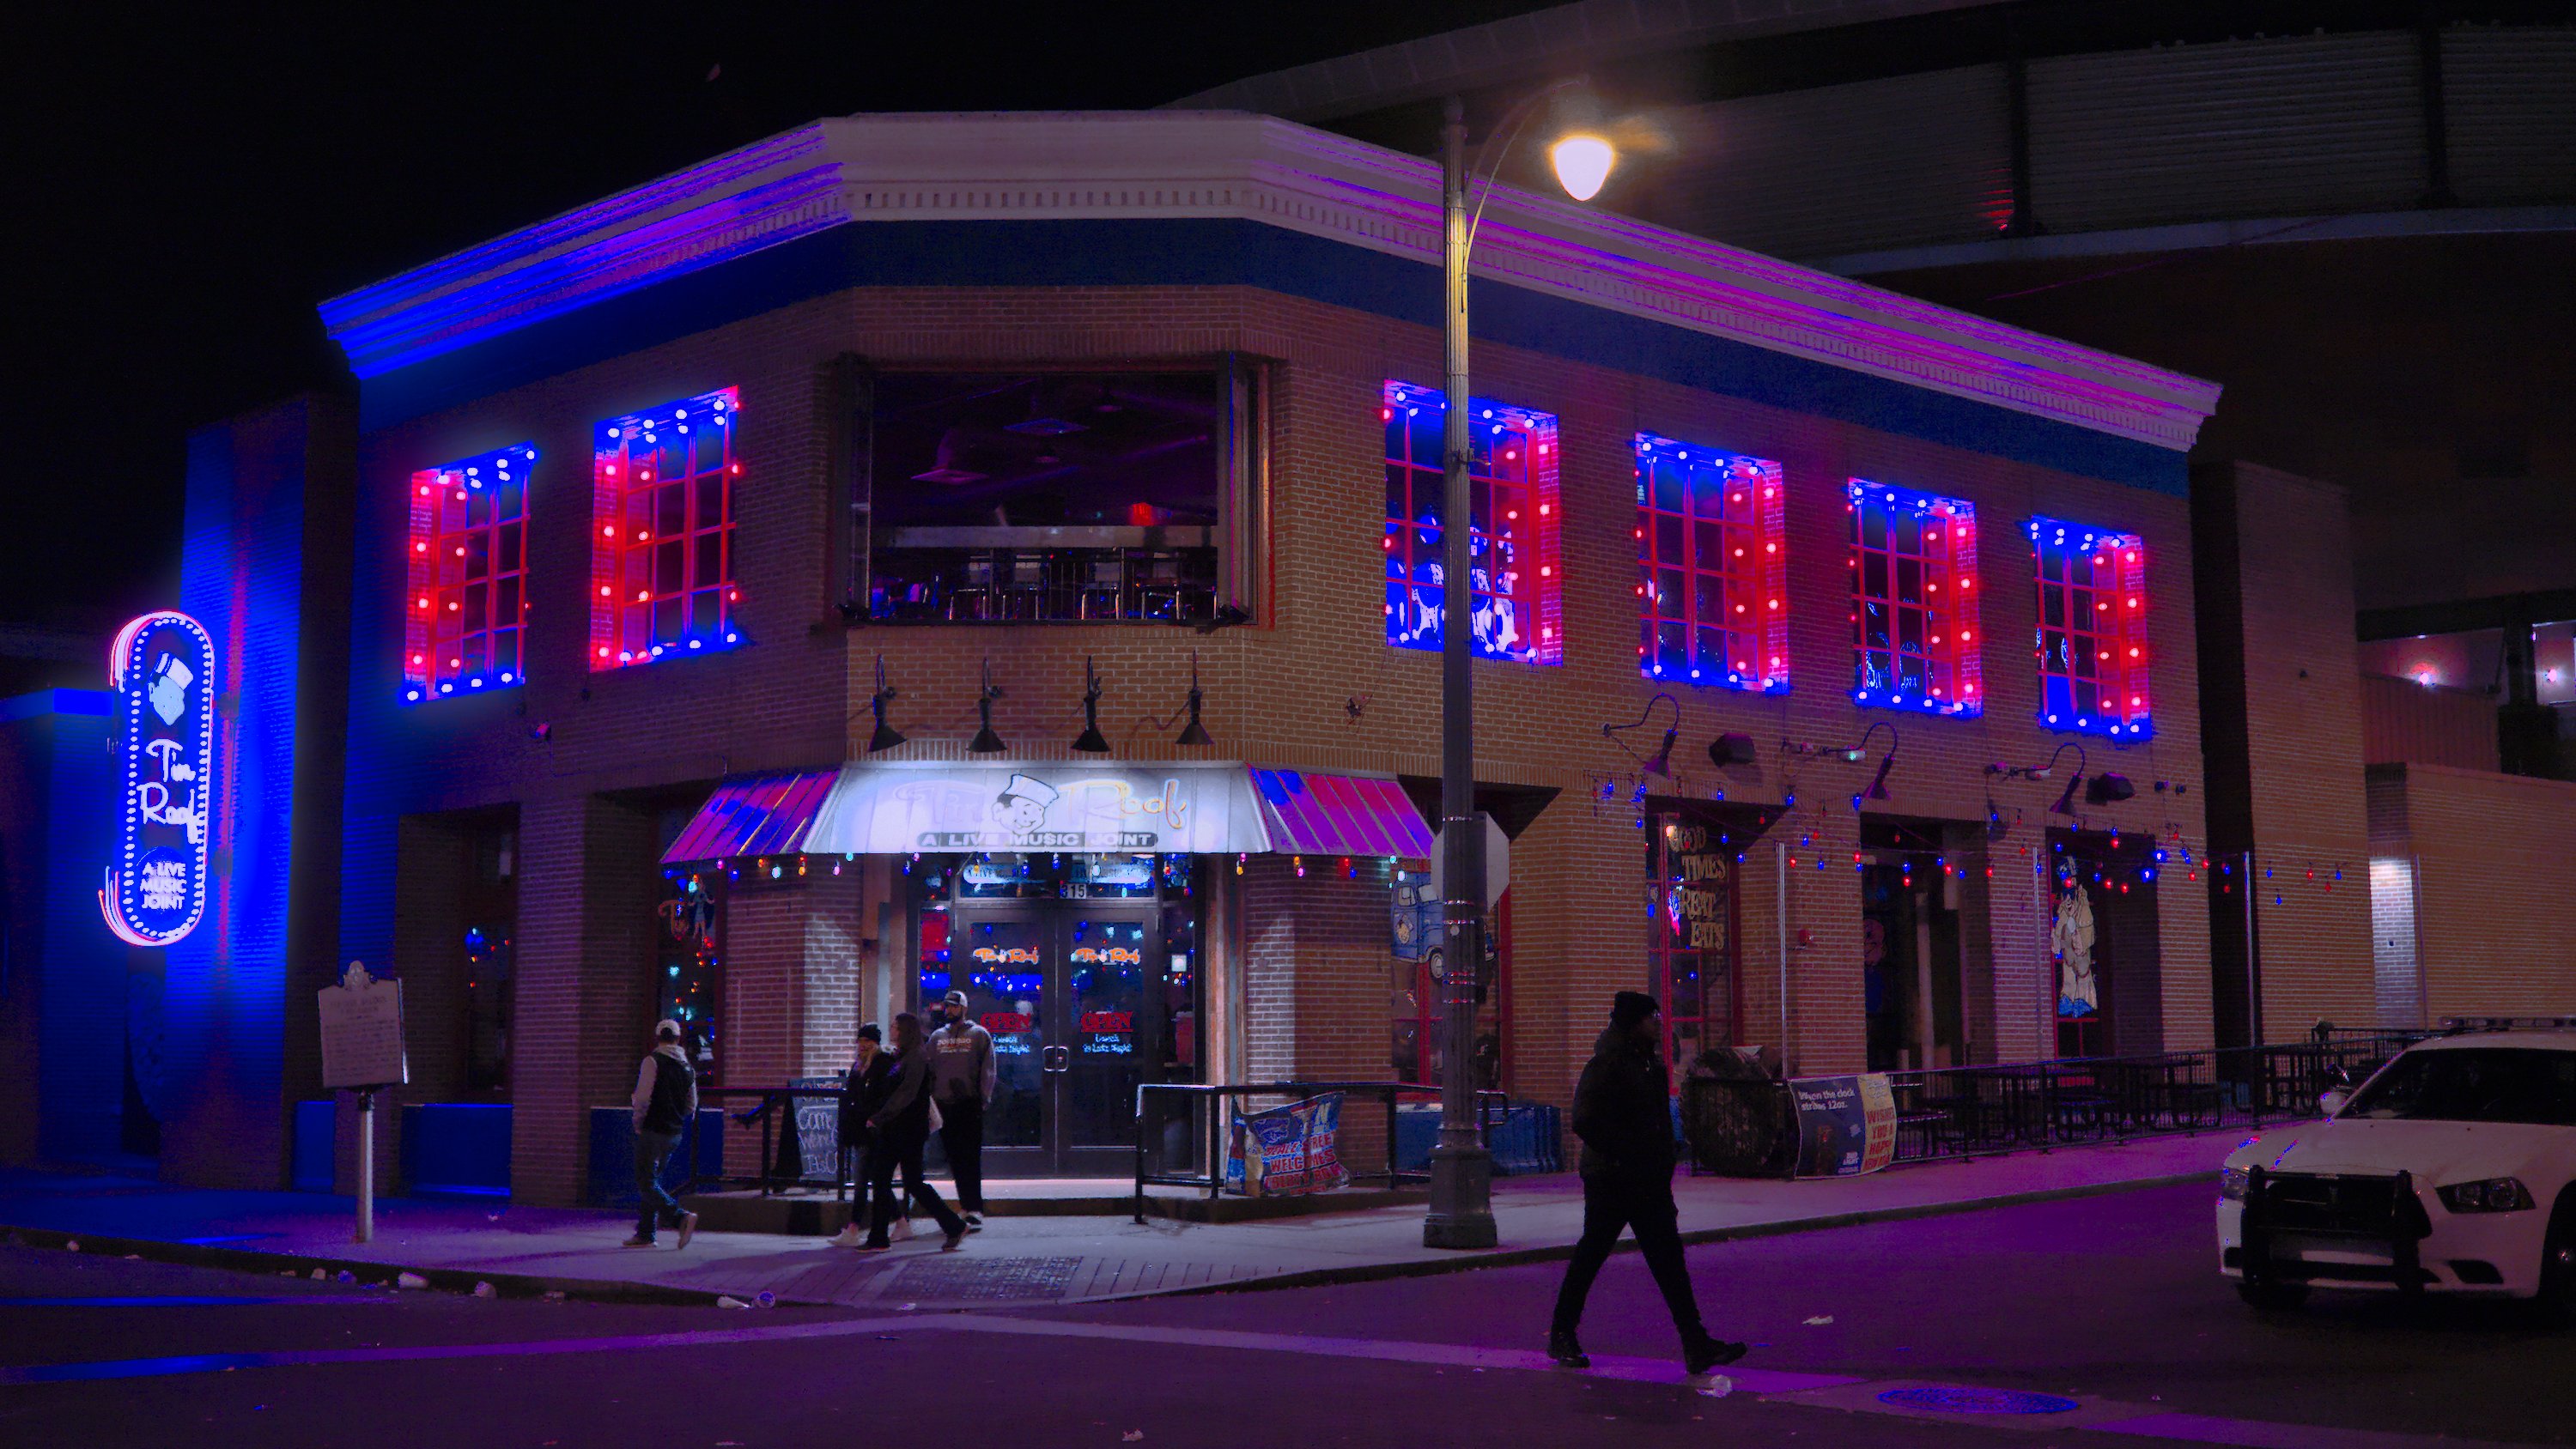
nice one! i especially like how you can pretty much get the sign on the left to have any colour you like depending on gamut/highlight reconstruction settings:
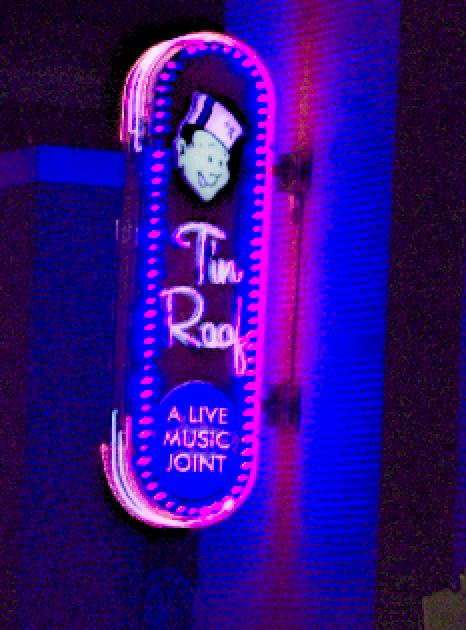

do you by any chance remember what colours it had for real?

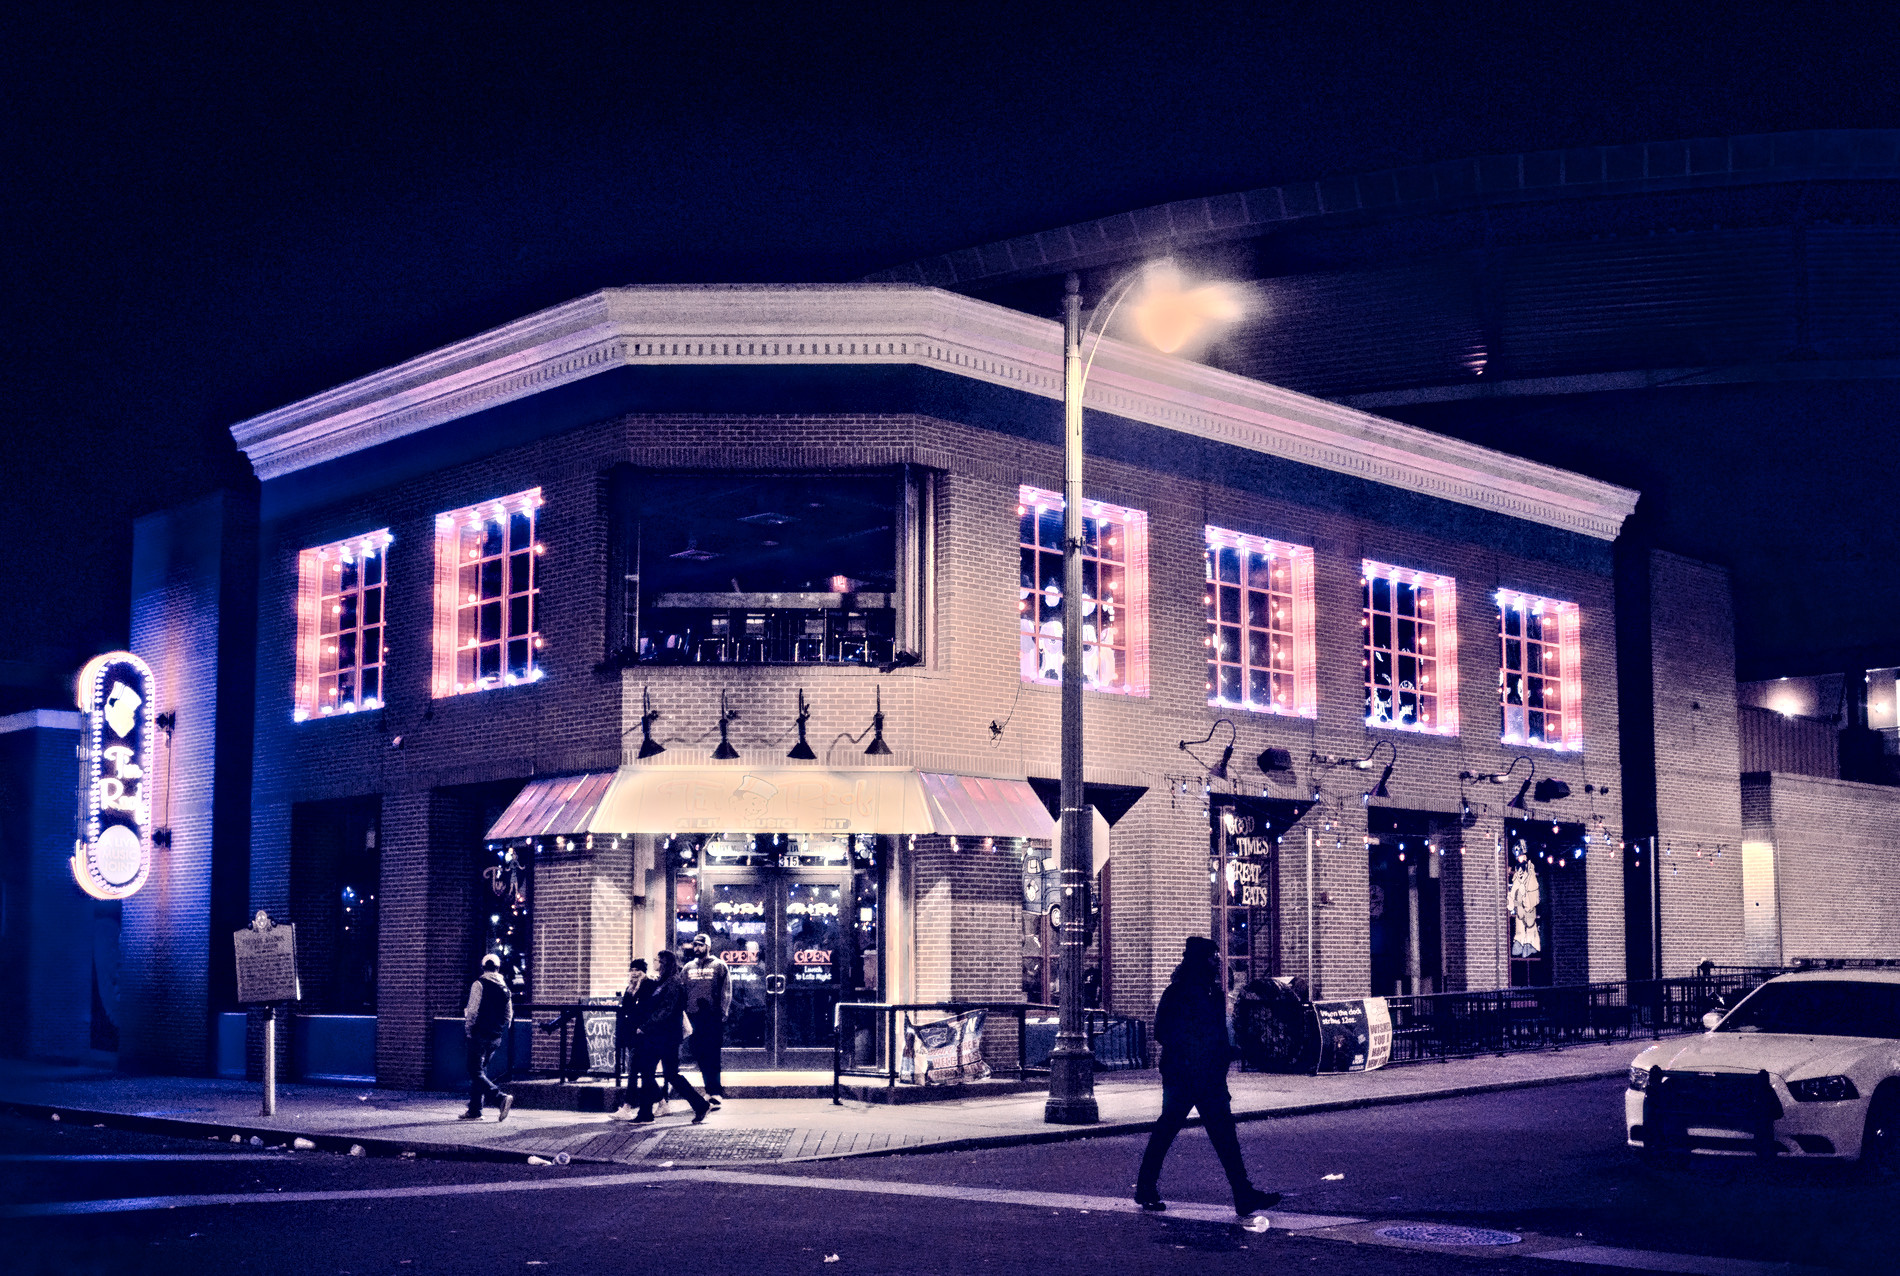
I tried to stay true to the slightly washed out style that seems to be a characteristic of both Masashi Wakui and Brandon Woelfel. Too be honest: I like my blacks to be black, but that’s a taste thing 
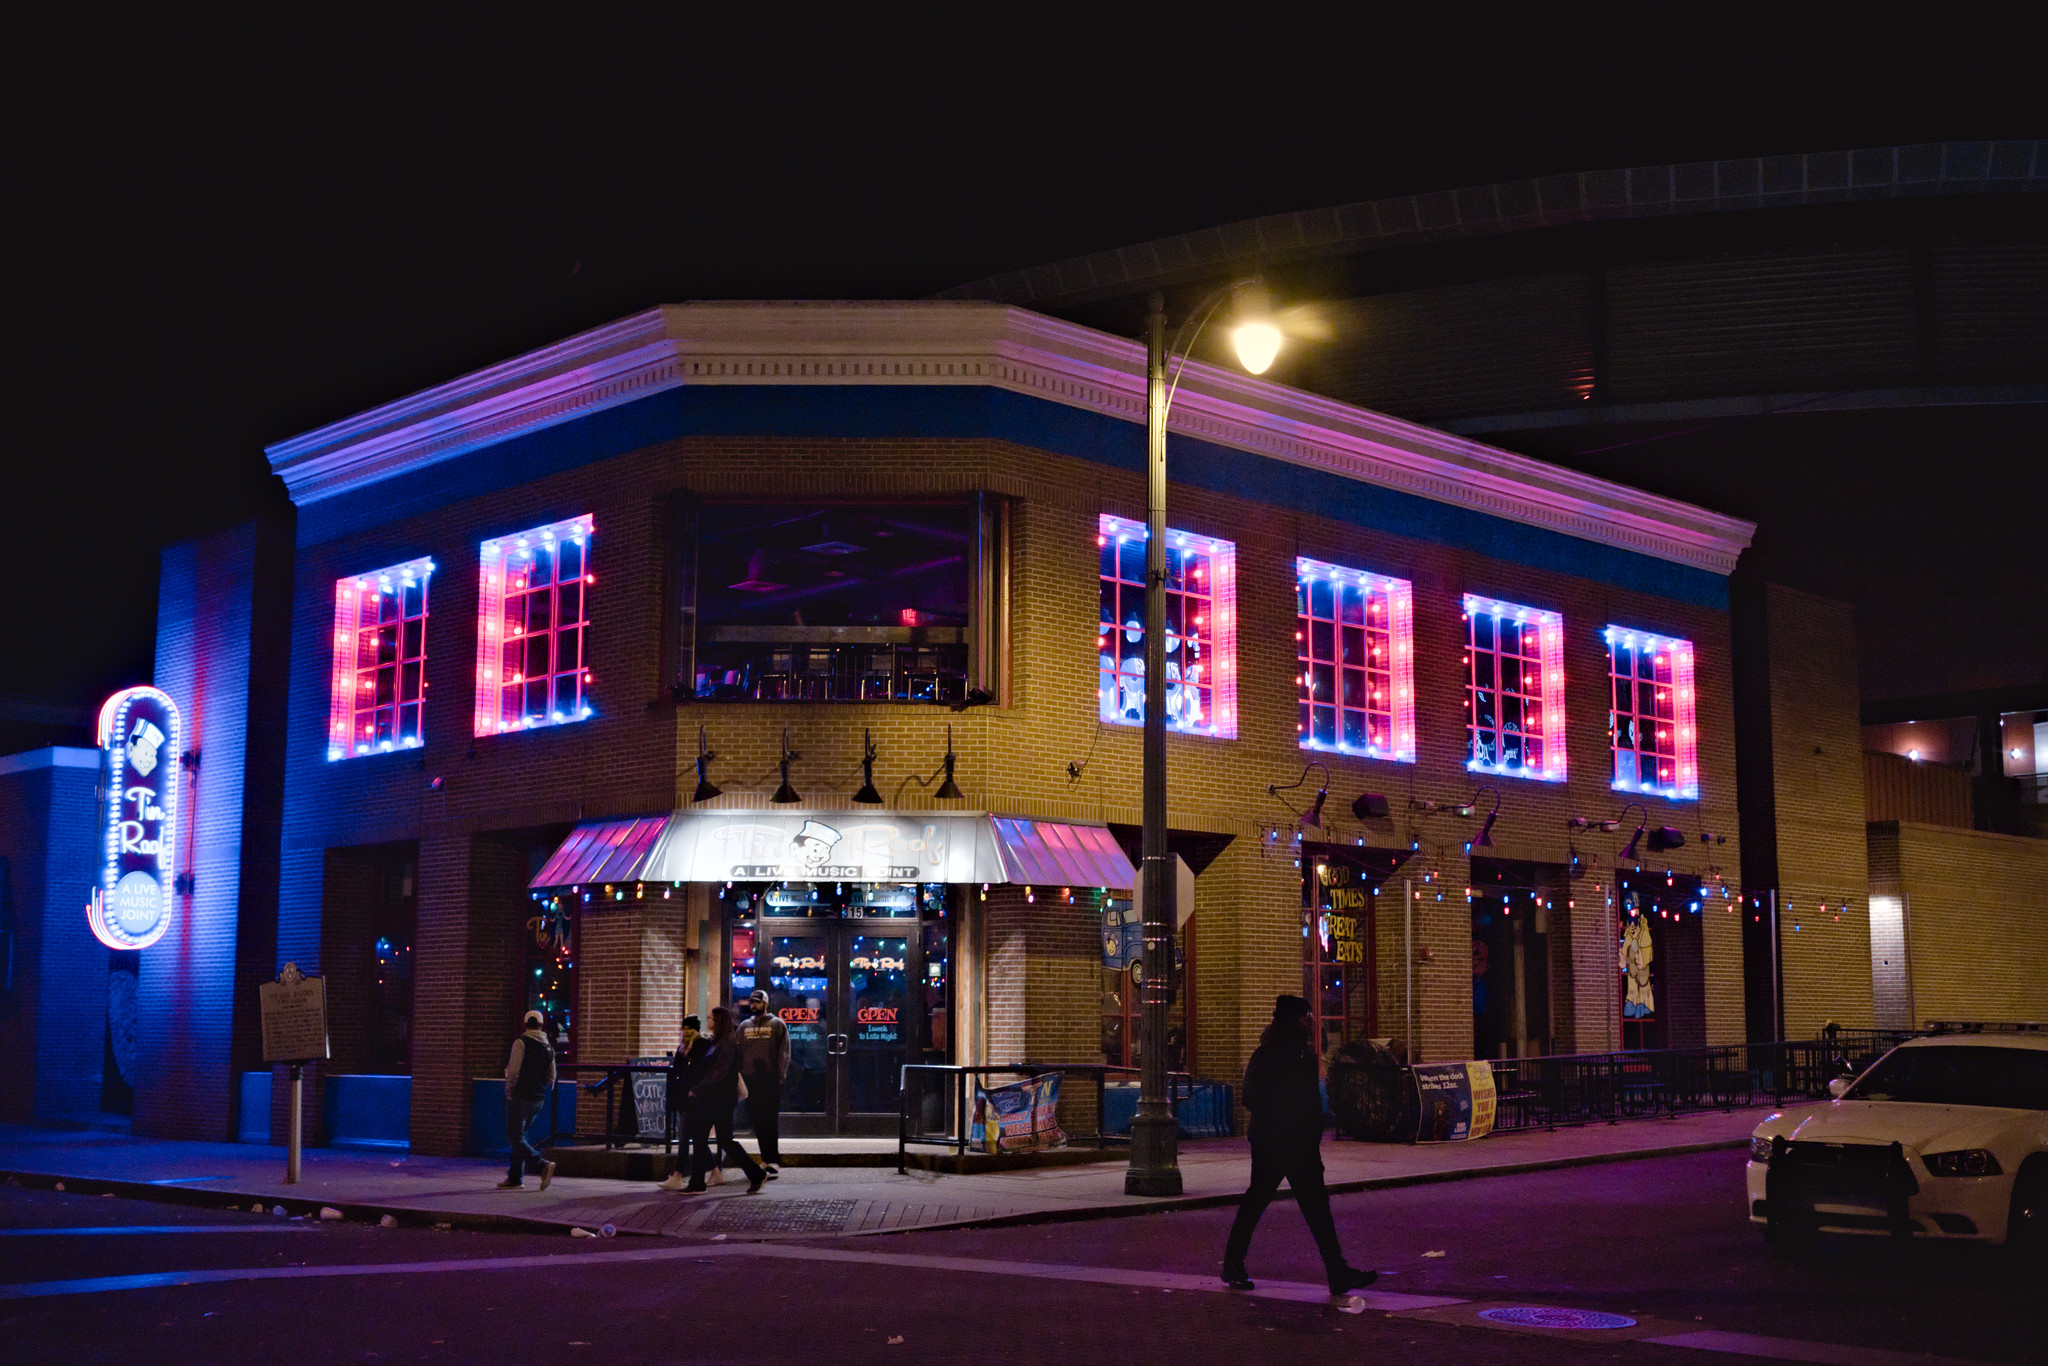
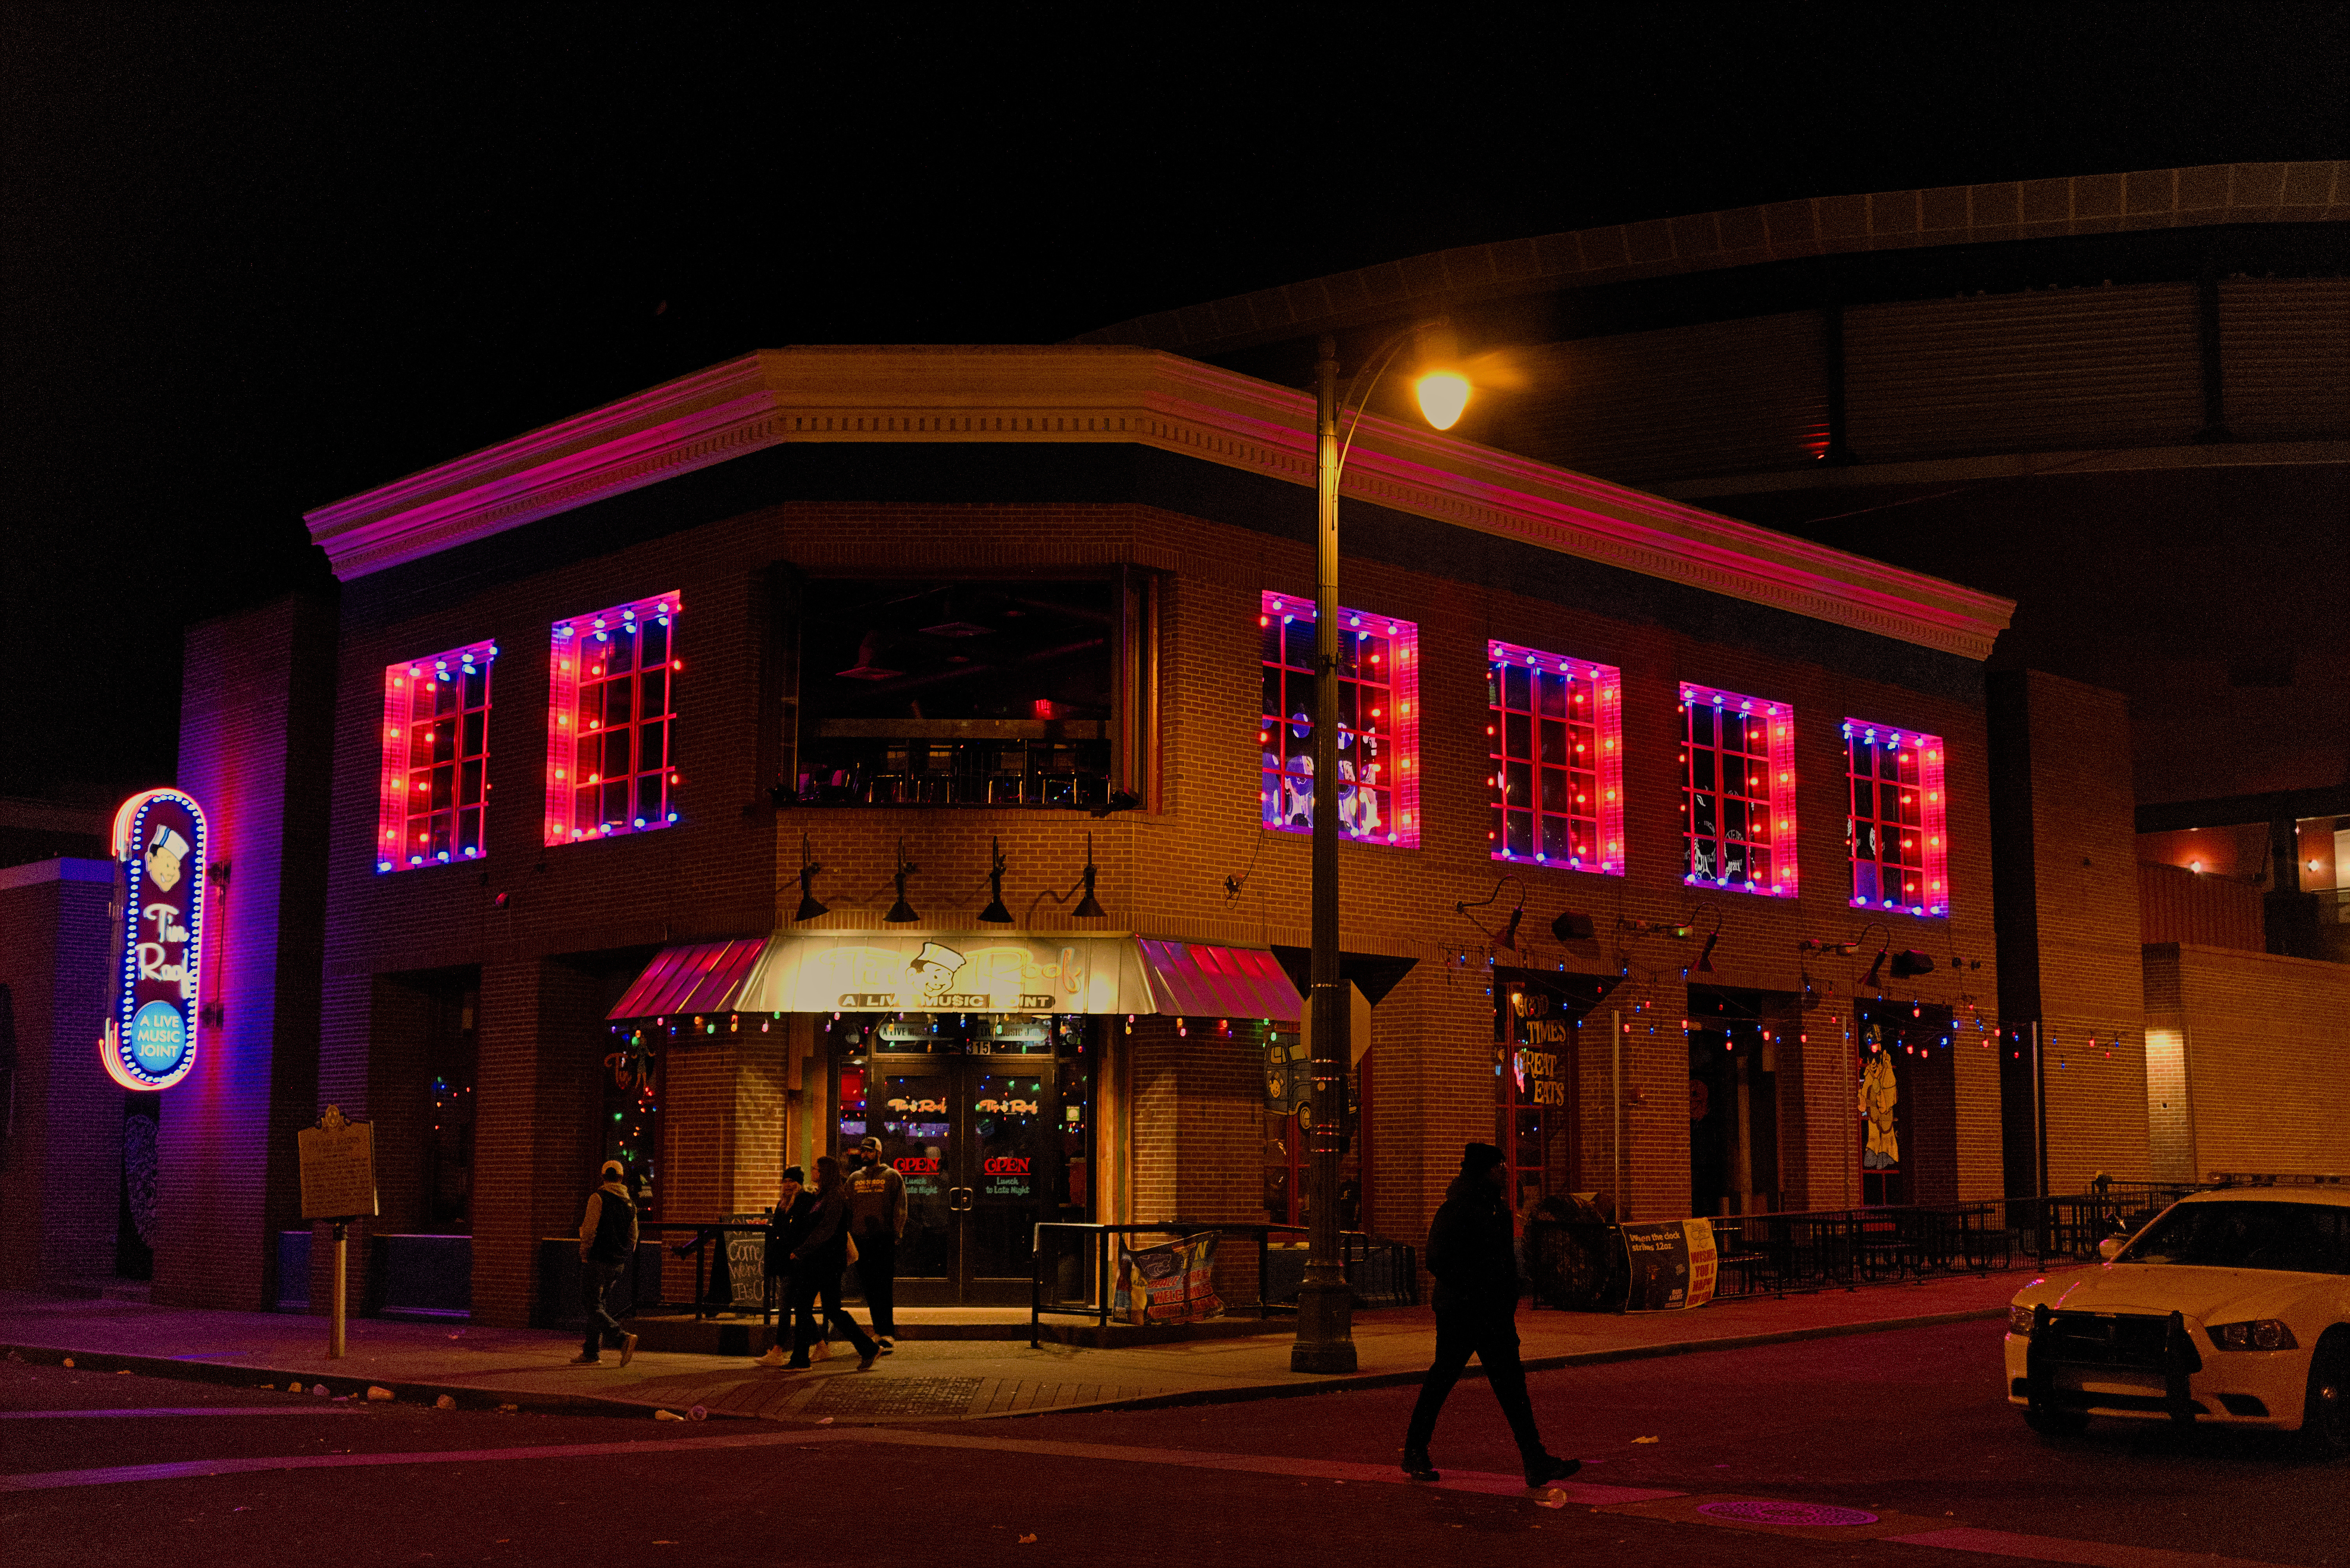
Good thing about this shot: It already has the basic blue/pink tone to start with.
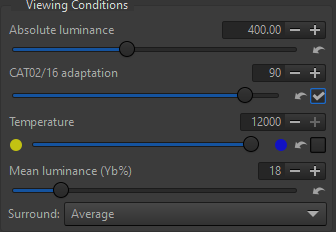
darktable: RAW processing
GIMP: “cyberpunk” style
1 Like
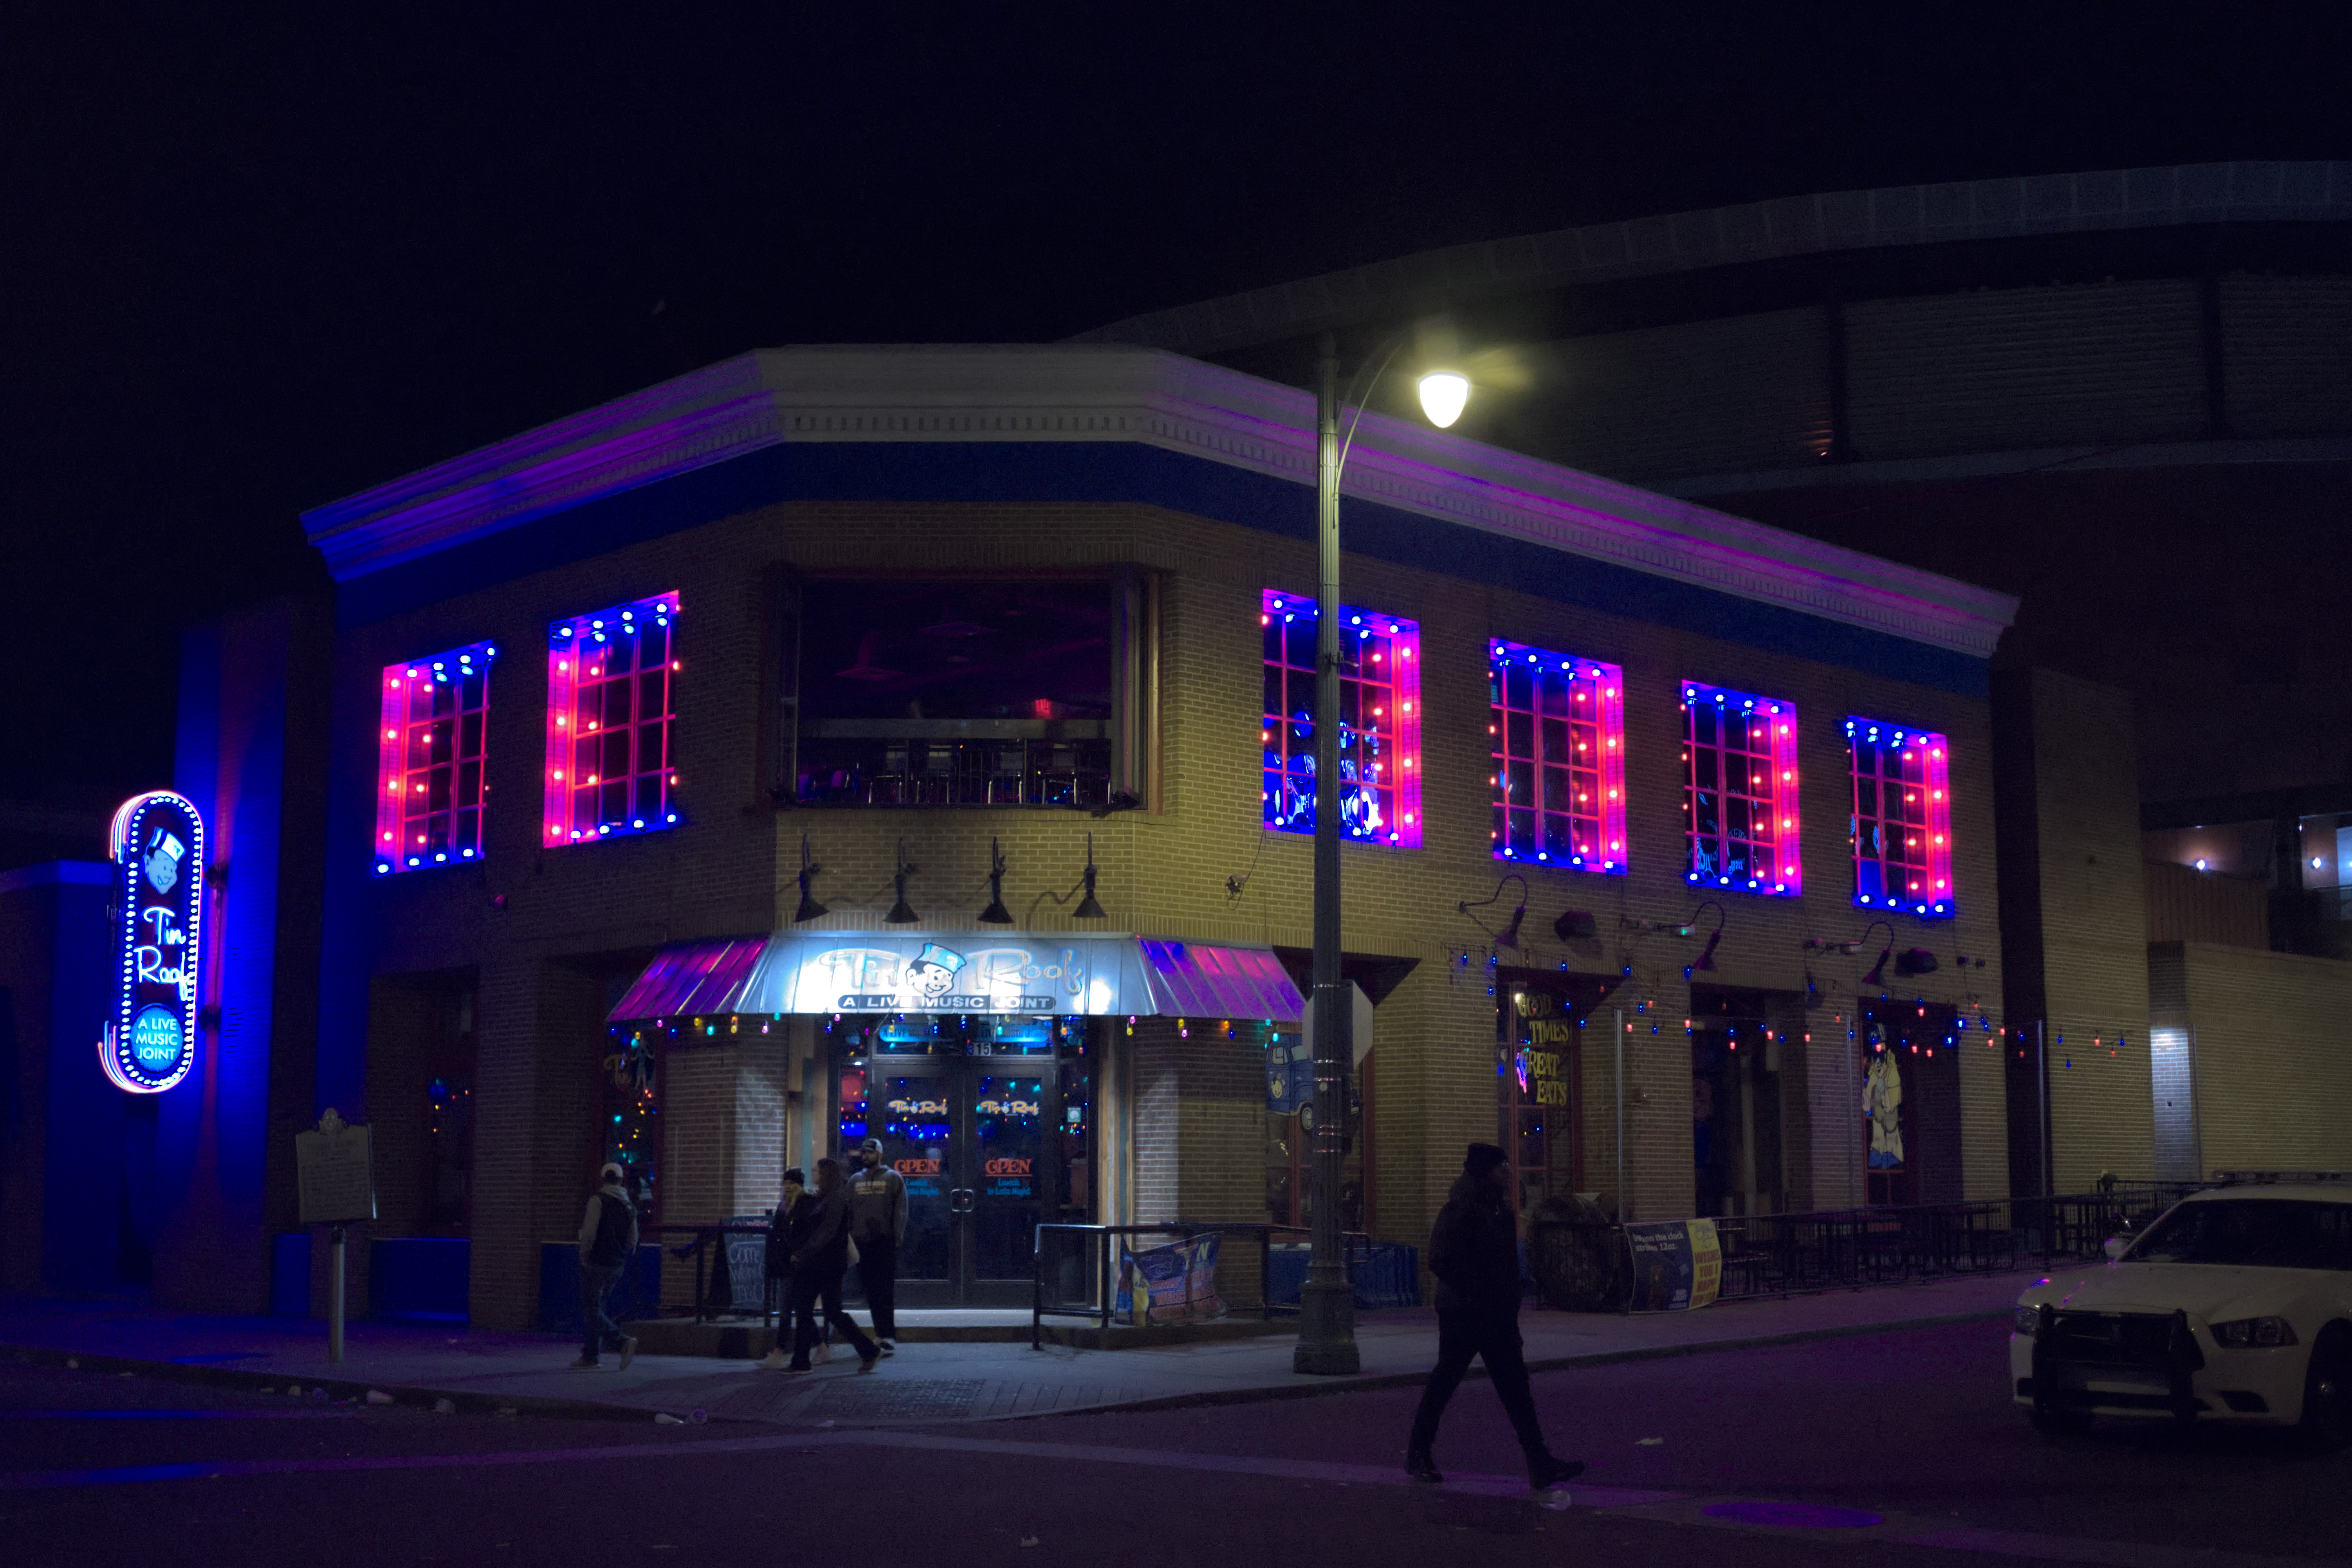
@hanatos That’s pretty cool! I didn’t know that could be done. Here’s the SOOC jpeg

@age you nailed the SOOC look, awesome.
@Jade_NL I need to find time and go through the tutorial Pat linked.
1 Like
So do I!

Great result! Any chance of you sharing the original sidecar file? 
I applied selected some spot exposures, color balance for saturation and split toning, and the soften module to get the haze effect.
DSCF1364_03.RAF.xmp (110.1 KB)
2 Likes

As that treatment was done by me I’ve used an updated version on this image.
RAW out of ART:
Plus Treatment and some dodge and burn:
1 Like
If it is a matter of cooling,
RT
→ neutral
→ ![]()
→ ![]()
→ shift temp
→ resize/sharpen
→ done

Of course, this is minimal editing. You could do much more if you wish.
RT warm + cold
→ G’MIC blend sharpen ambience

I’m sure that cook’s face on the left wasn’t blue )))
Future people can be blue.
If you are talking about mine, I am just having fun: not aiming to have good skin tones.
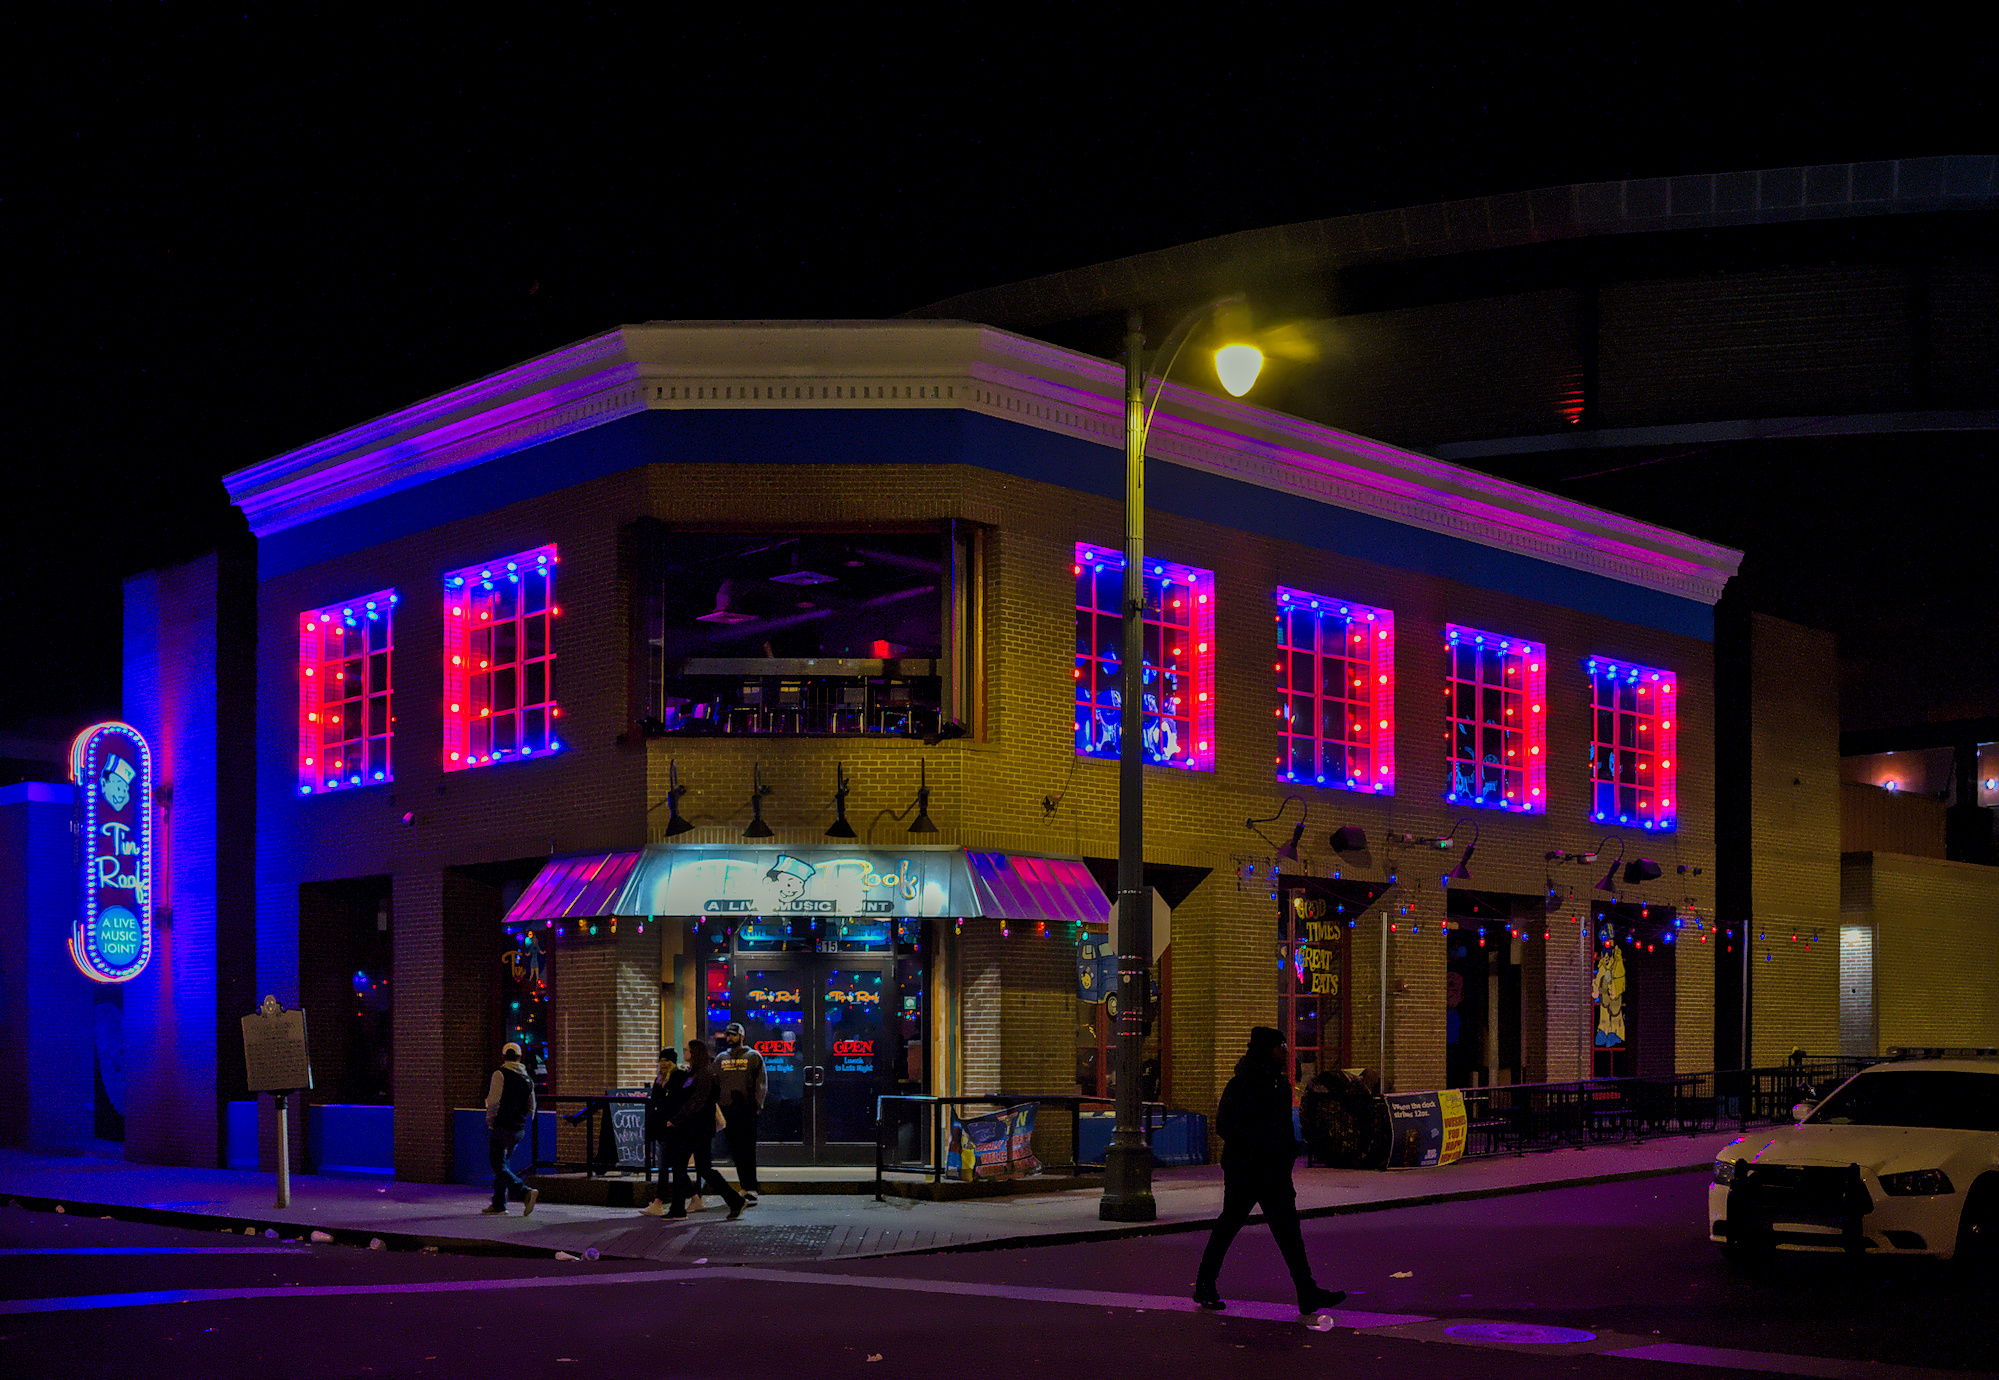
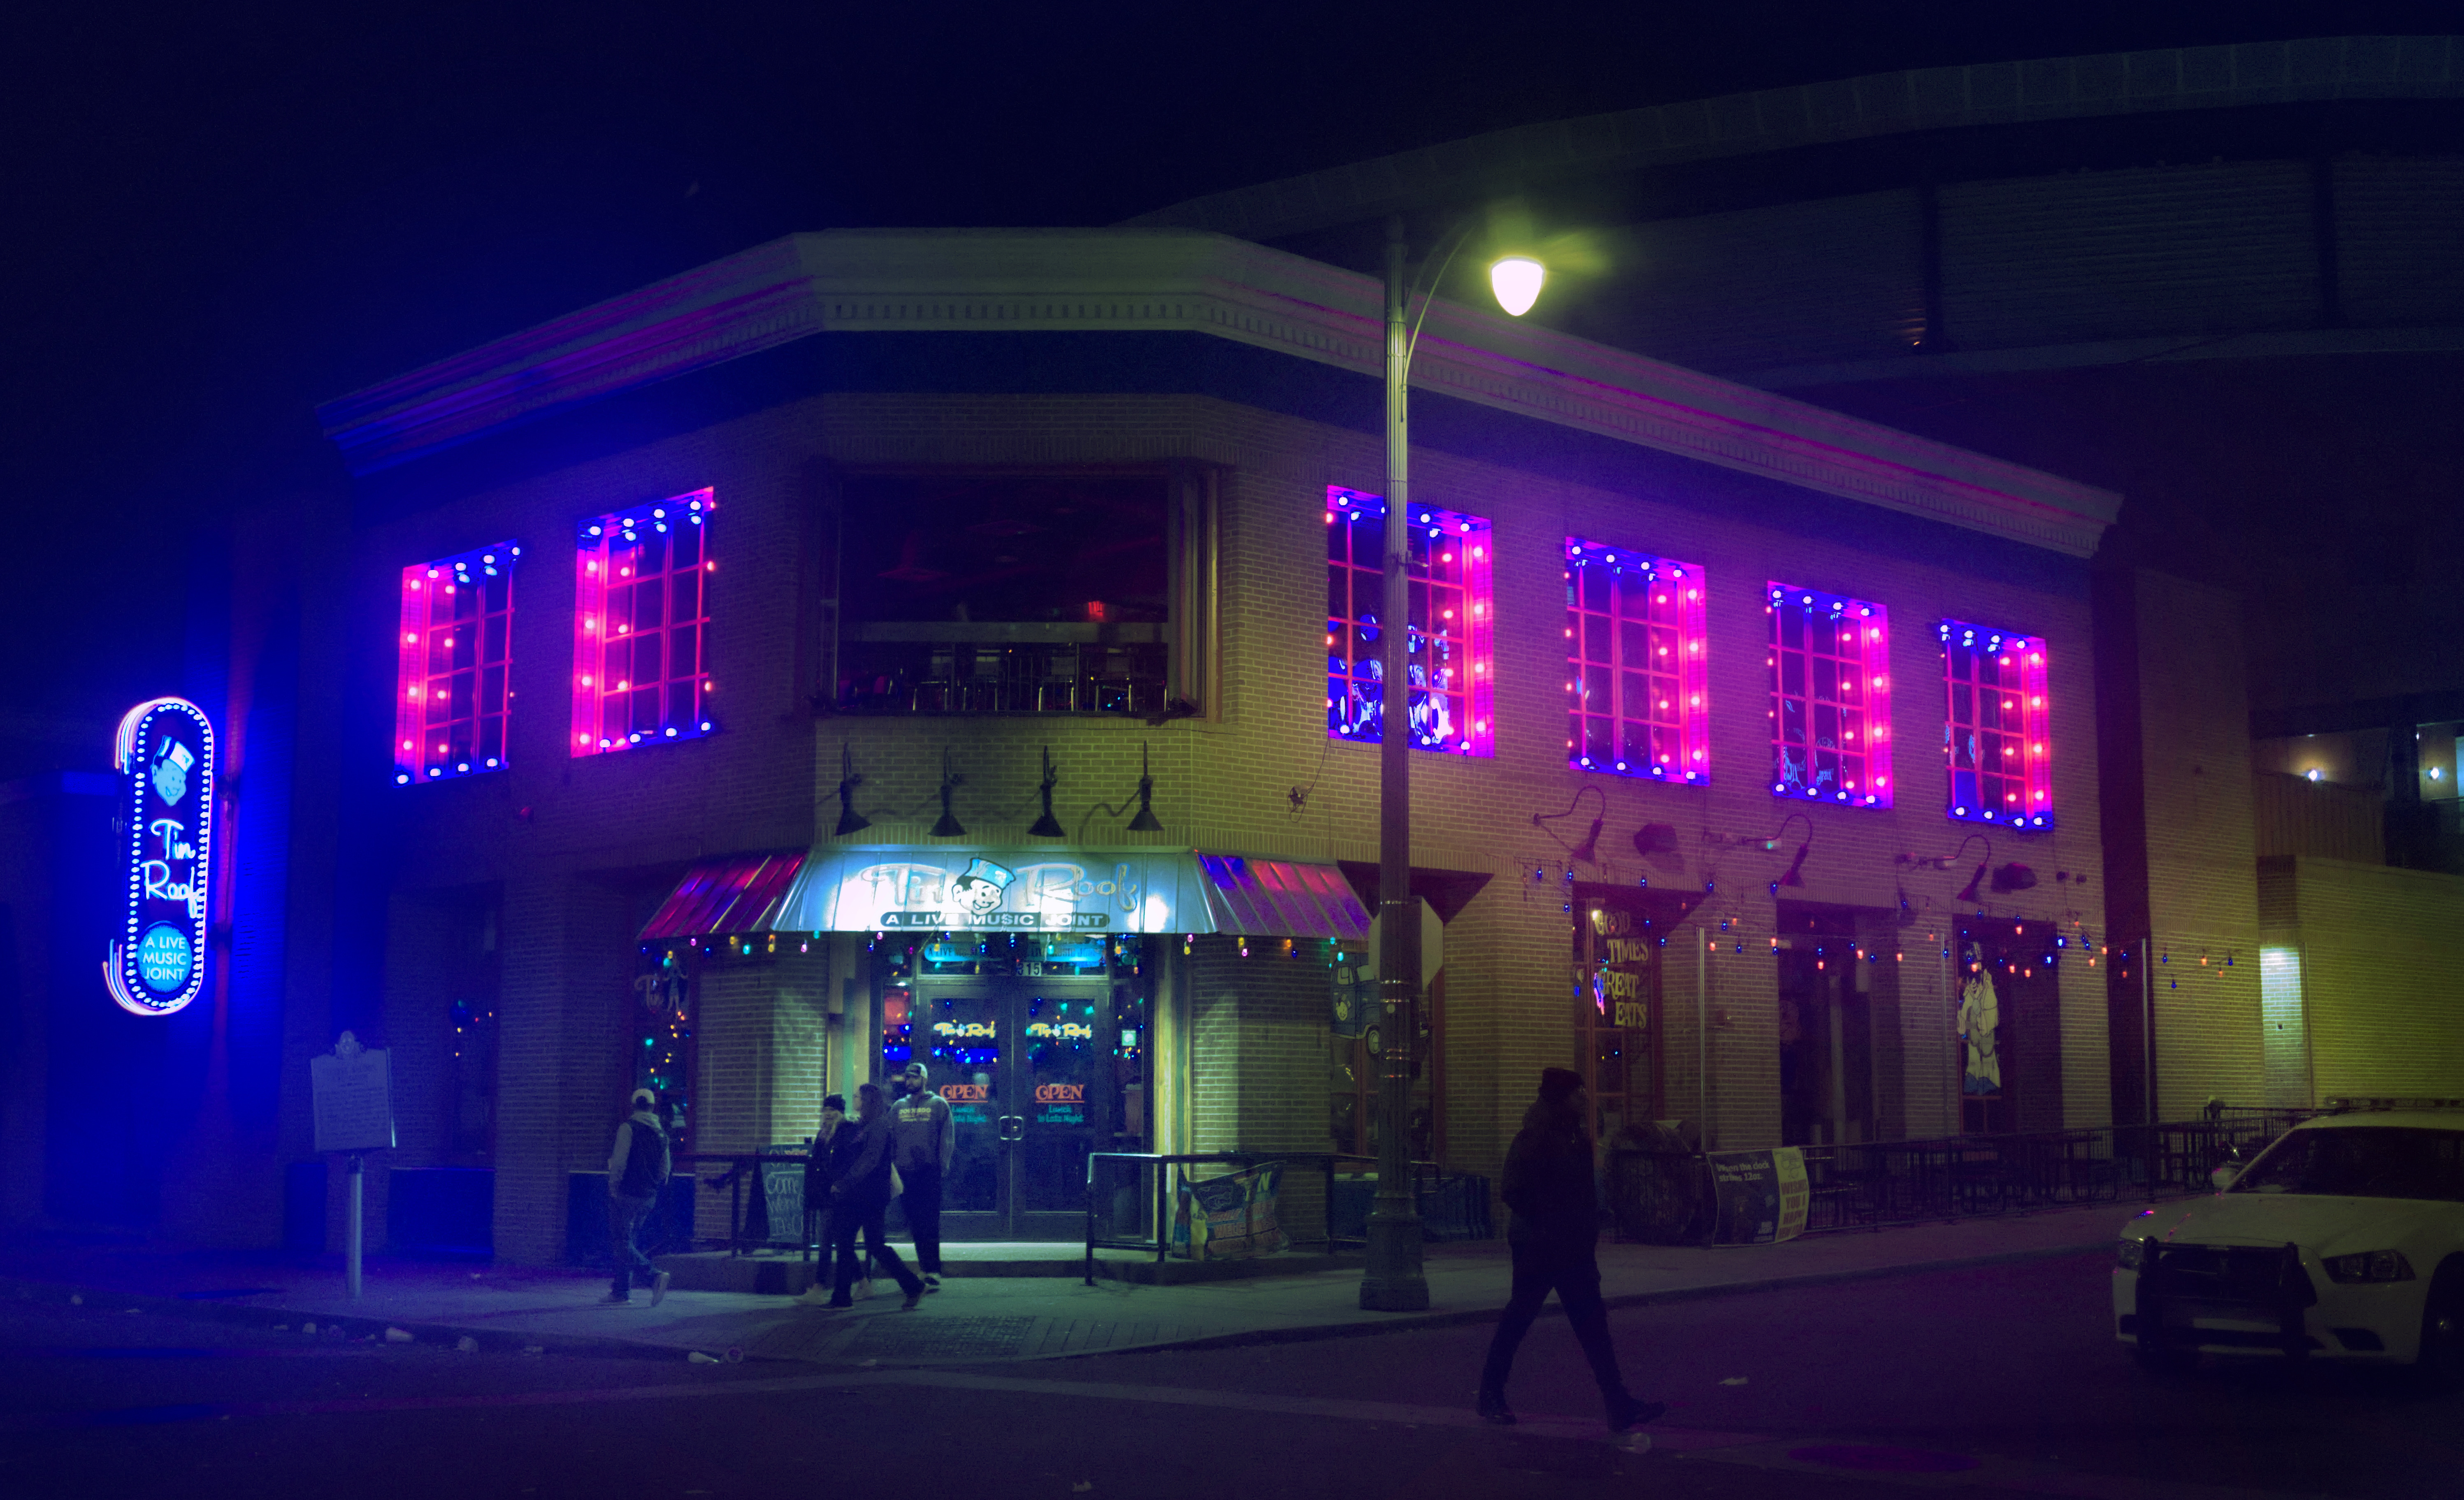
Don’t have SSF data for any Fuji cameras, so I had to rely on the matrix for color. With the brick to texture the blue sign lighting, it actually works okay. So, here’s my “matrix-colorimetric” rendition:

I normally resize to 1080xAspect for PlayRaw, but i left this one at 800x to complement the rather aggressive NLMeans denoising. Still a bit salt-n-peppery, though…