I’m pretty new to photography and darktable. I got my first camera in October last year. Have been consuming all sorts of youtube videos and whatnot since - trying to figure out how to actually use the thing
I use Linux as my main driver so DT made sense as a raw processor. I’m still figuring out how to use it, as it seems are most people! I tend to end up spending faaar too much time on single photos, coming back to them time and again and restarting the edit.
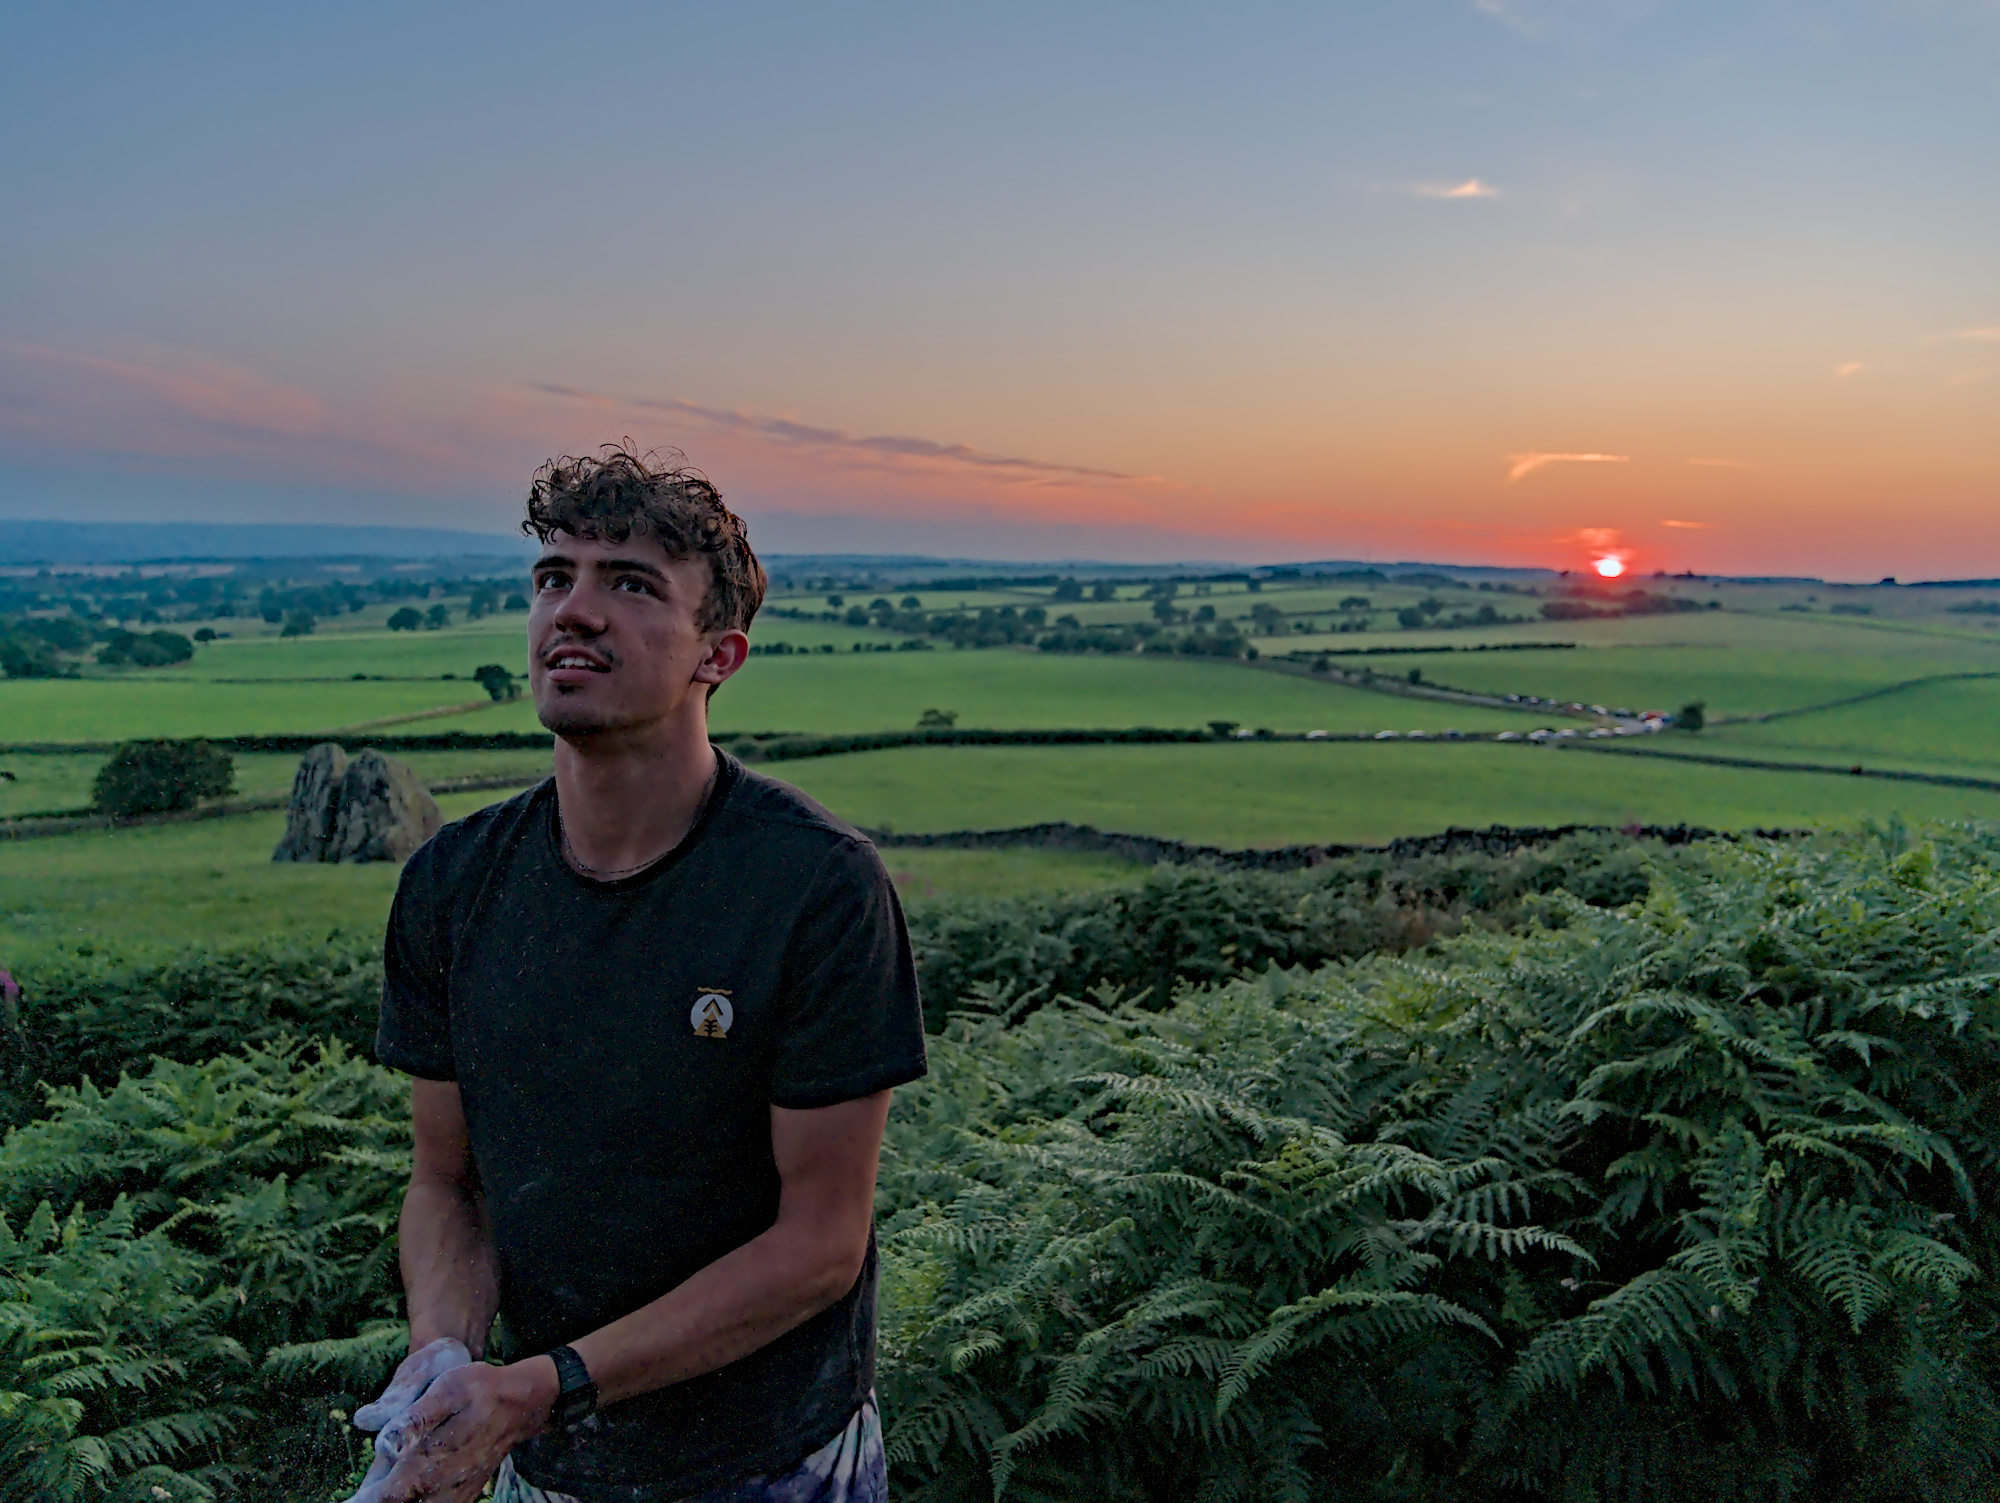
I took this pic a couple weeks ago and have been fiddling with it ever since. I struggle on sunset-y type shots, and never manage to get the balance between the sky and the foreground correct. If I get the exposure of the foreground right I lose all the colours in the sky, and if I just bring down the highlights too much the image ends up looking kinda weird and flat.
Welcome to the forum!
This is my edit with darktable 3.6. Mainly exposure, tone equalizer, color balance rgb and filmic rgb to adjust forground and background.
Please have a look at the attached sidecar file.
Masked local contrast on the sky, masked exposure increase on the subject and background. A bit of fiddling with filmic and colour balance and then use the “diffuse or sharpen” module to provide a little sharpening.
Backlighting under these conditions, as in your photo is a very difficult task that you can’t just do with camera alone. You always need an extra light for it to fill the shadow side of your subject. This can be a reflection, flash or softbox etc.
See the photo on this Wikipedia article:
I’m just pointing out that the problem here is not with photo editing. The initial situation of taking the photo is one that causes difficulties.
Thanks Boris. That makes a lot of sense - the example photo illustrates it well. I don’t own any extra equipment yet, just the gx80 with its stock 12-32 pancake lens. In this situation what would you use to add the extra light? The on-camera flash? I don’t tend to use it but when I have it doesn’t tend to look all that natural.
Yeah I think you’re right. I find I tend to get sucked in and end up with an overblown image if I spend too long on it. I ended up redoing it slightly to darken it a bit more.
Yes that’s perfect for a little fill light. You might set the flash power a bit lower, like minus 1 Exposure Value (-1EV) to keep the image less or more natural.
Yes, I think the built-in flash would have had enough power here as the distance to the person is quite small. But I don’t know the flash sync speed of this camera
Ideally softbox or photo umbrella and one/more lights/remote flashes with colored gel filters.
Of course!
You need a difusor or reflector. The point is that you get difuse light. You can do it yourself. Sometimes even a large sheet of paper with a rubber band is enough.
To understand the principle, you can find a lot of Youtube videos under the terms flash diffuser and fill flash outdoors portraits.
I have just started playing with Filmulator - I have been looking for something fairly simple for RAW. I do almost all my processing in GIMP.
This photo I produced three different exposure levels in Filmulator, blended with Enfuse, then into GIMP. Used various layer masks to adjust saturation and contrast. No attempt to do anything about noise!
Thanks for the photograph to play with.
I have some colored gels for my flash but have struggled to figure out how to use them in a composition. In a situation like this, would you use a warming gel (e.g. orange) to warm the subject? How do you keep the effect from being too overpowering?
If you have a warm natural illumination a warm gel on the flash helps to get consistent colors (and btw. skin tones usually looks more vivid with a warmer illumination)
Most cameras provides flash exposure compensation to avoid overpowering