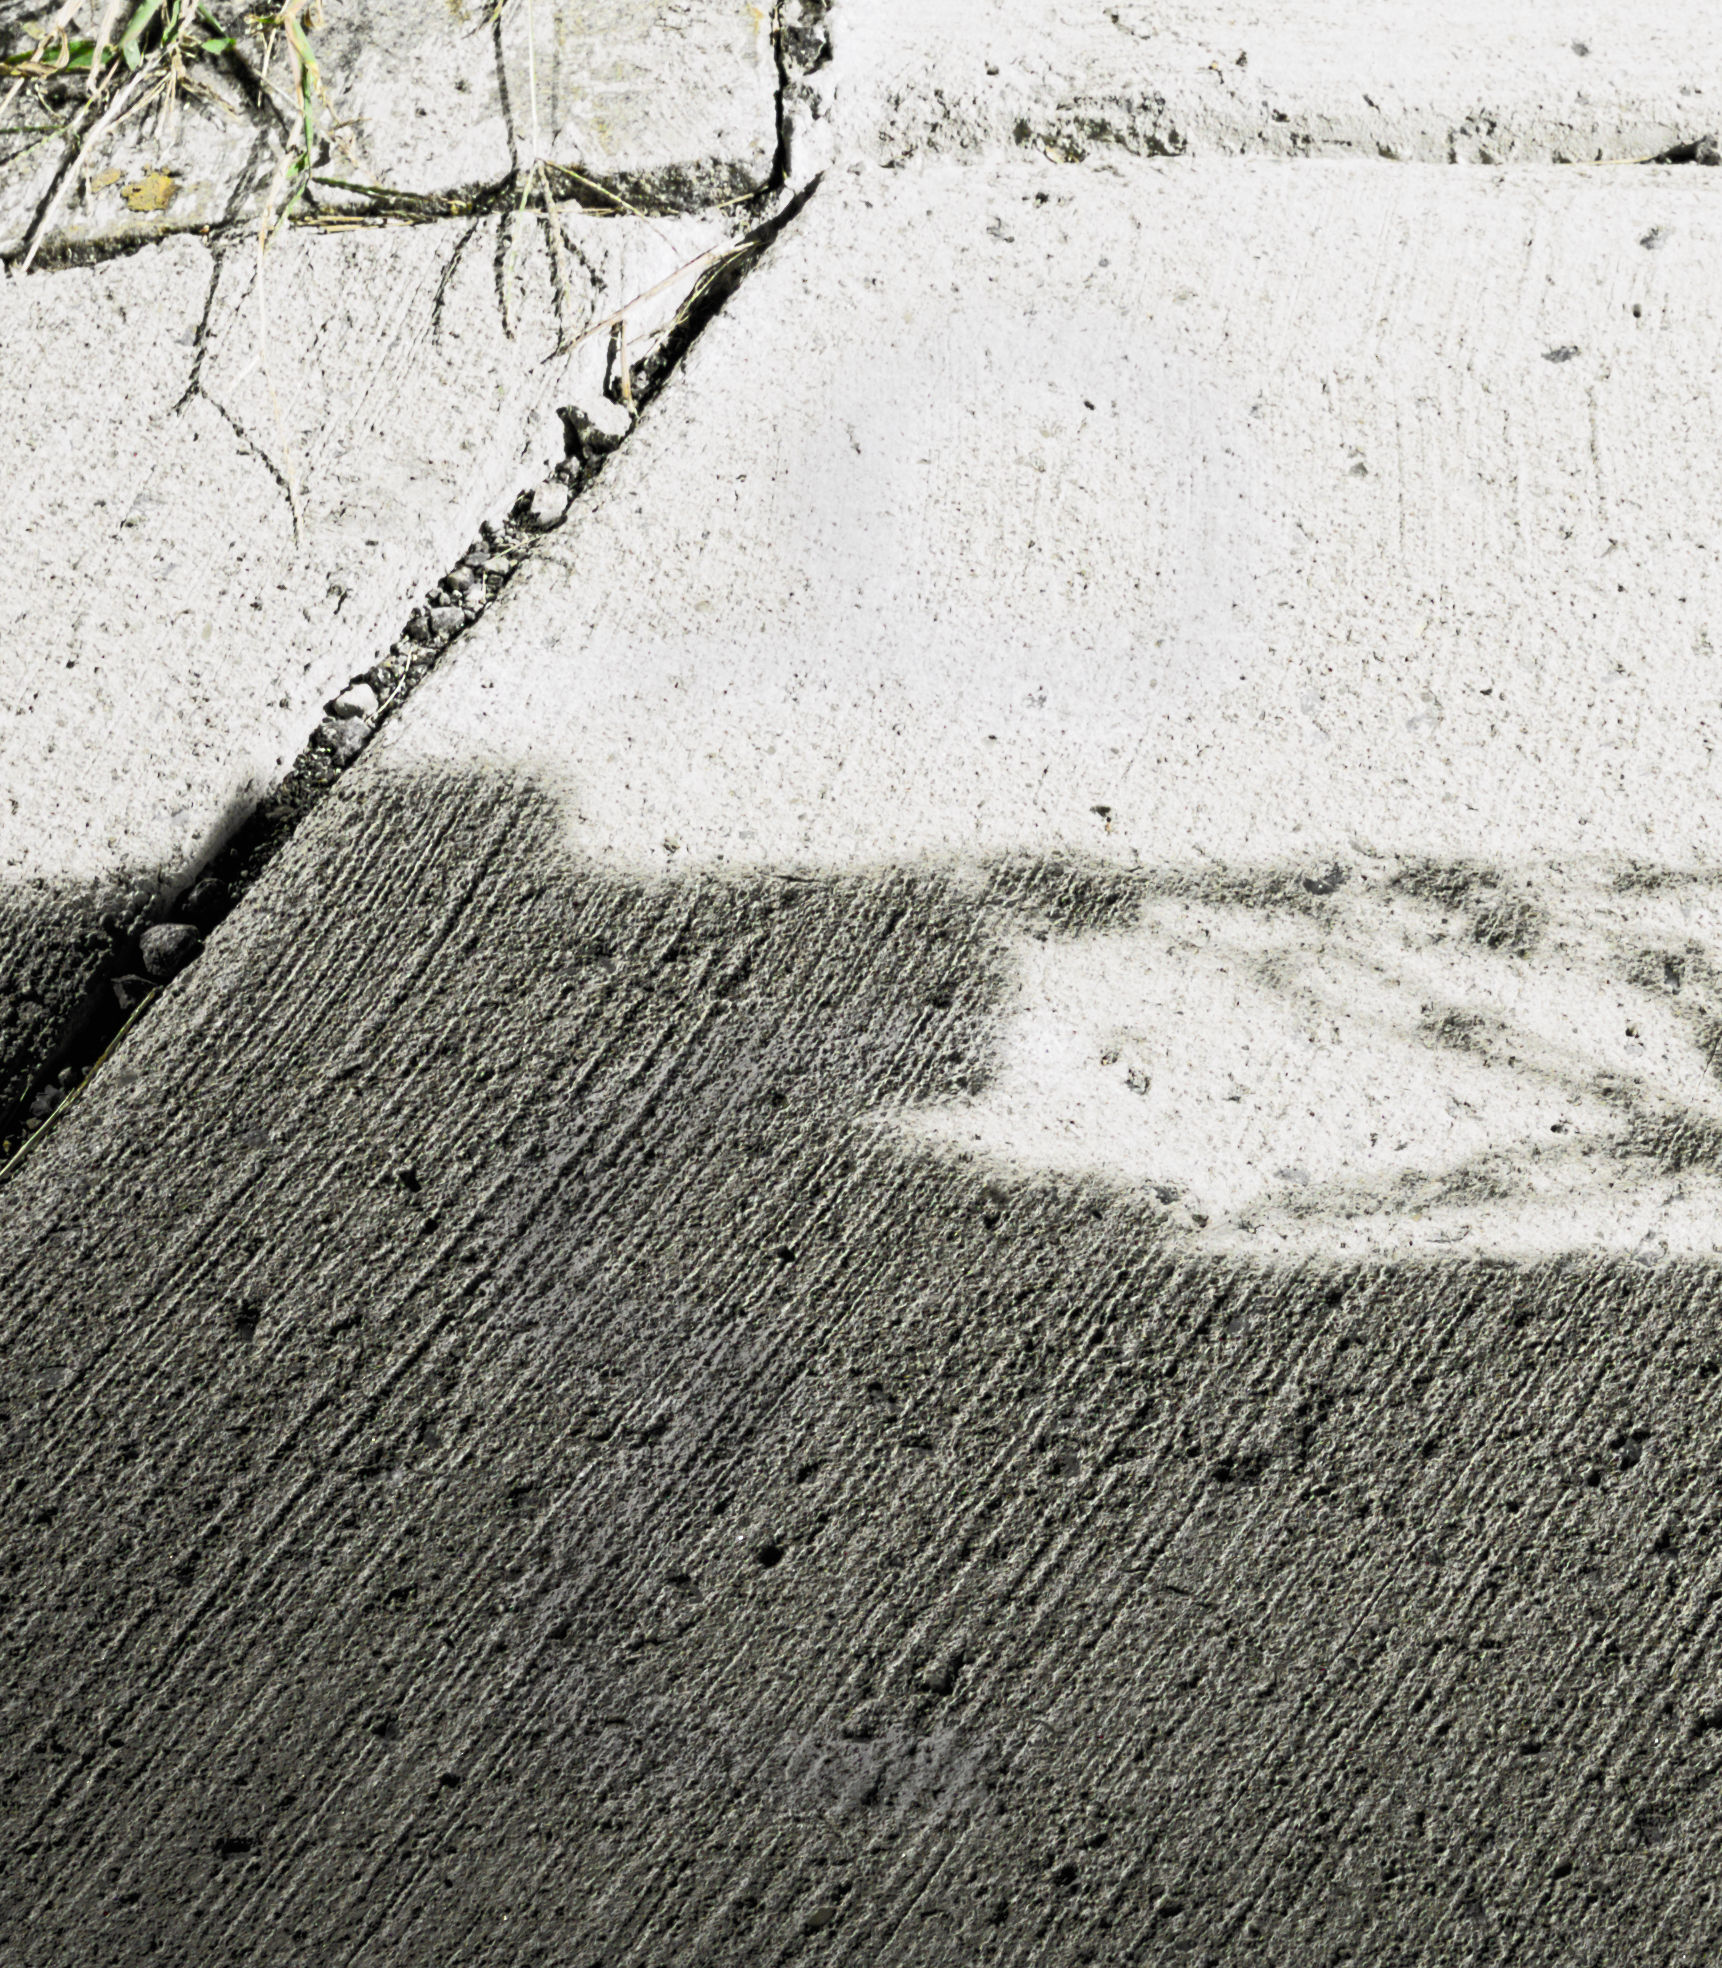
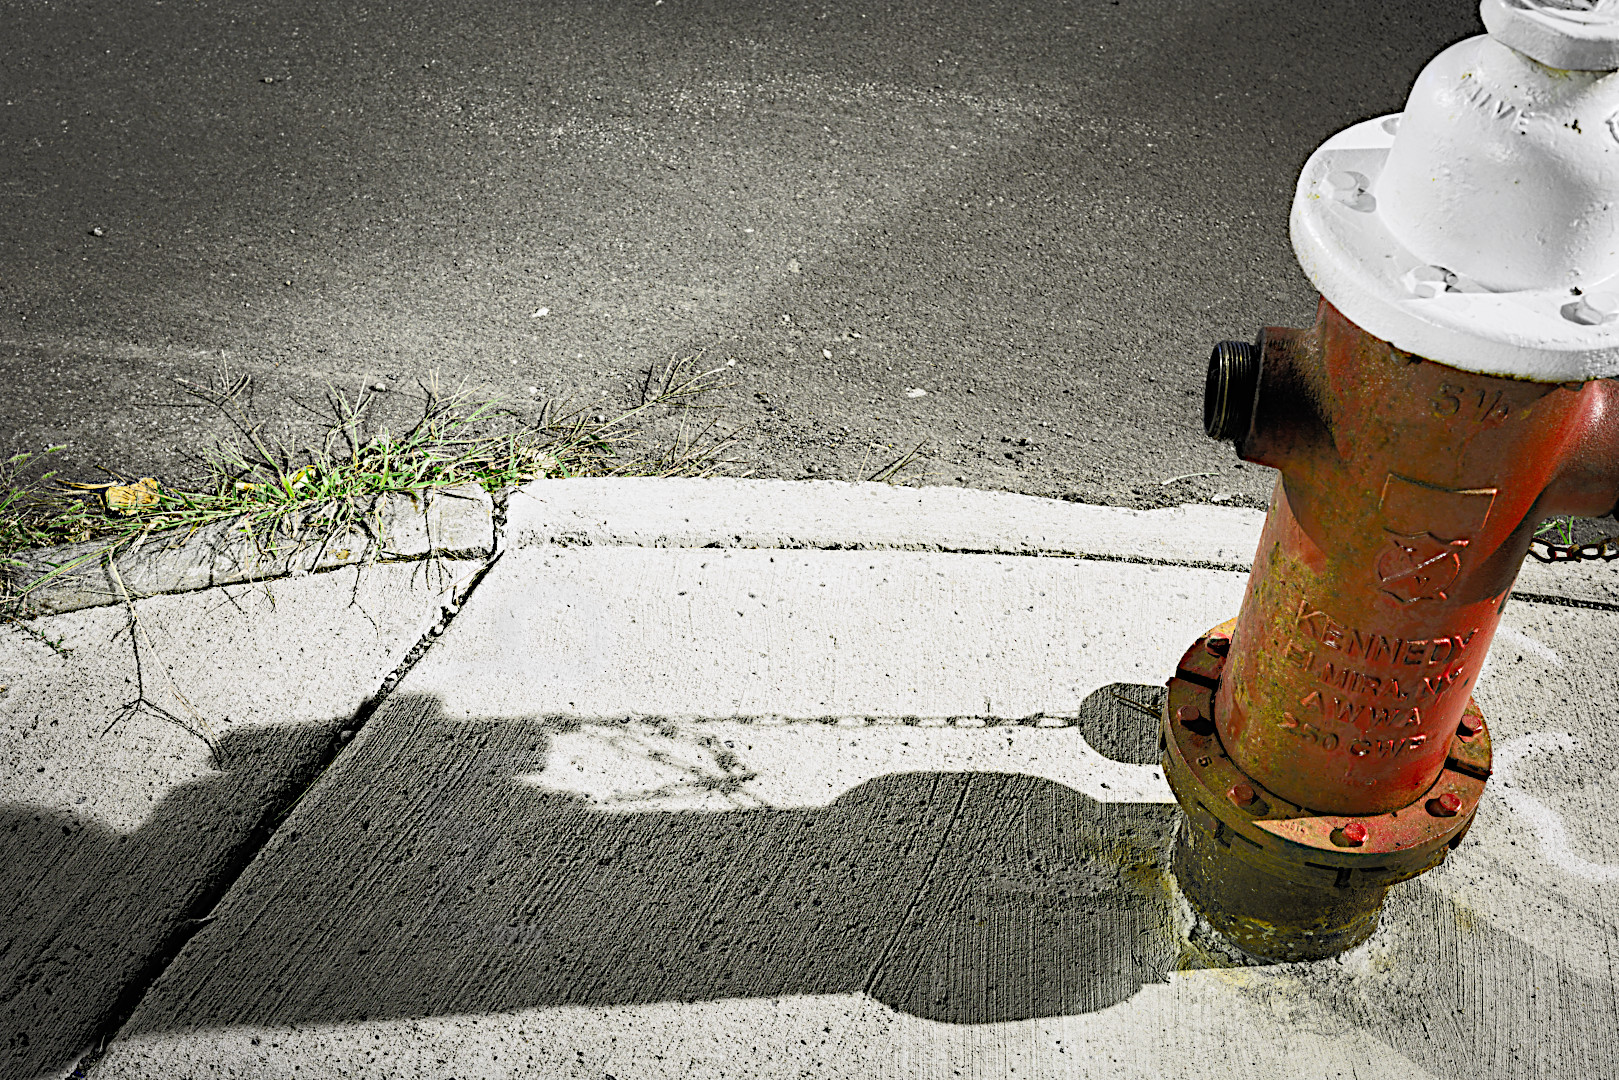
This is a portion of a bigger picture that I took. There was some faded spraypaint on the sidewalk that I thought distracted from the photo. It forms the letters “mb.” I did not want to clone/heal, because I thought it would disrupt the pattern lines formed in the concrete. So I tried two ways to get rid of the spraypaint:
I used the burn tool set to highlights. This sort of worked, but could be better, I thought.
I wound up using two transparent layers set to mode “darken only” and used the airbrush to paint black over the graffiti. Then I messed with the opacity to get it to be as subtle as I could. Is there a better way, with different layer modes?
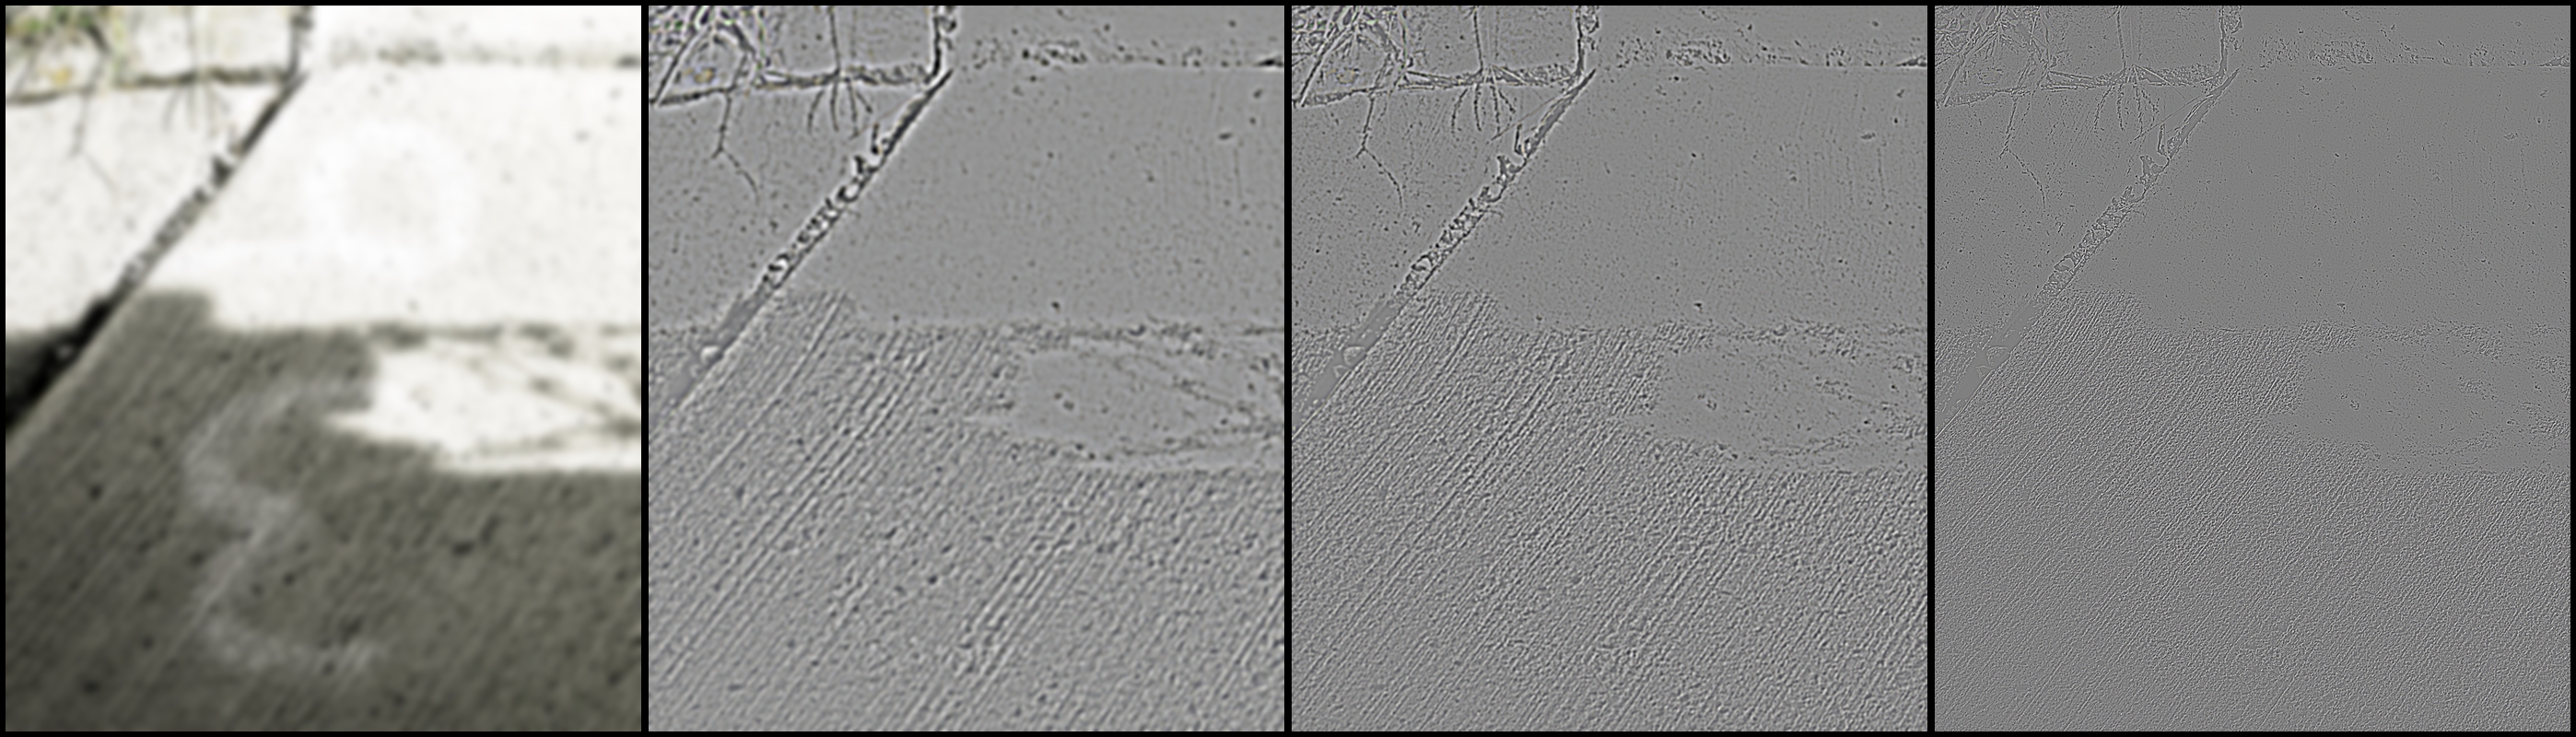
Using 2 transparent layers, both set to “darken only.” I used one layer for the shadow portion, and another layer for the one in the light. Then I adjusted opacity until they were blended pretty well.
I also tried “burn” layer mode as well as “linear burn” but the “darken only” seemed to do the job. Maybe I am pixel peeping too much. I guess I’m just trying to learn where and when to use the different layer modes.
Try frequency separation. There is a GIMP plugin called wavelet decompose or you could use GMIC’s split details. You may separate to any number of scales and pick and choose which detail scale(s) you wish to edit. Hint: @patdavid has several tutorials on using wavelet decompose.
That’s a really good idea that I did not think about! I use the G’MIC split details all the time to smooth out skin in portraits. I could have just decomposed the layers, then painted over on the residual (blurry colored layer) to get the color to match without disrupting the texture in the concrete. Mind opened! Thanks!
LOL, Pat. Of course you have a tutorial about that. I should have guessed! Thanks for the link, and the tutorial. I wish I had seen that a couple weeks ago when I was processing this photo (look on the guy’s left pant leg over his hip and thigh).
Wavelets are a pretty bad assed little tool. One of these days, I’ll figure how to use them in RawTherapee and not just Gimp.
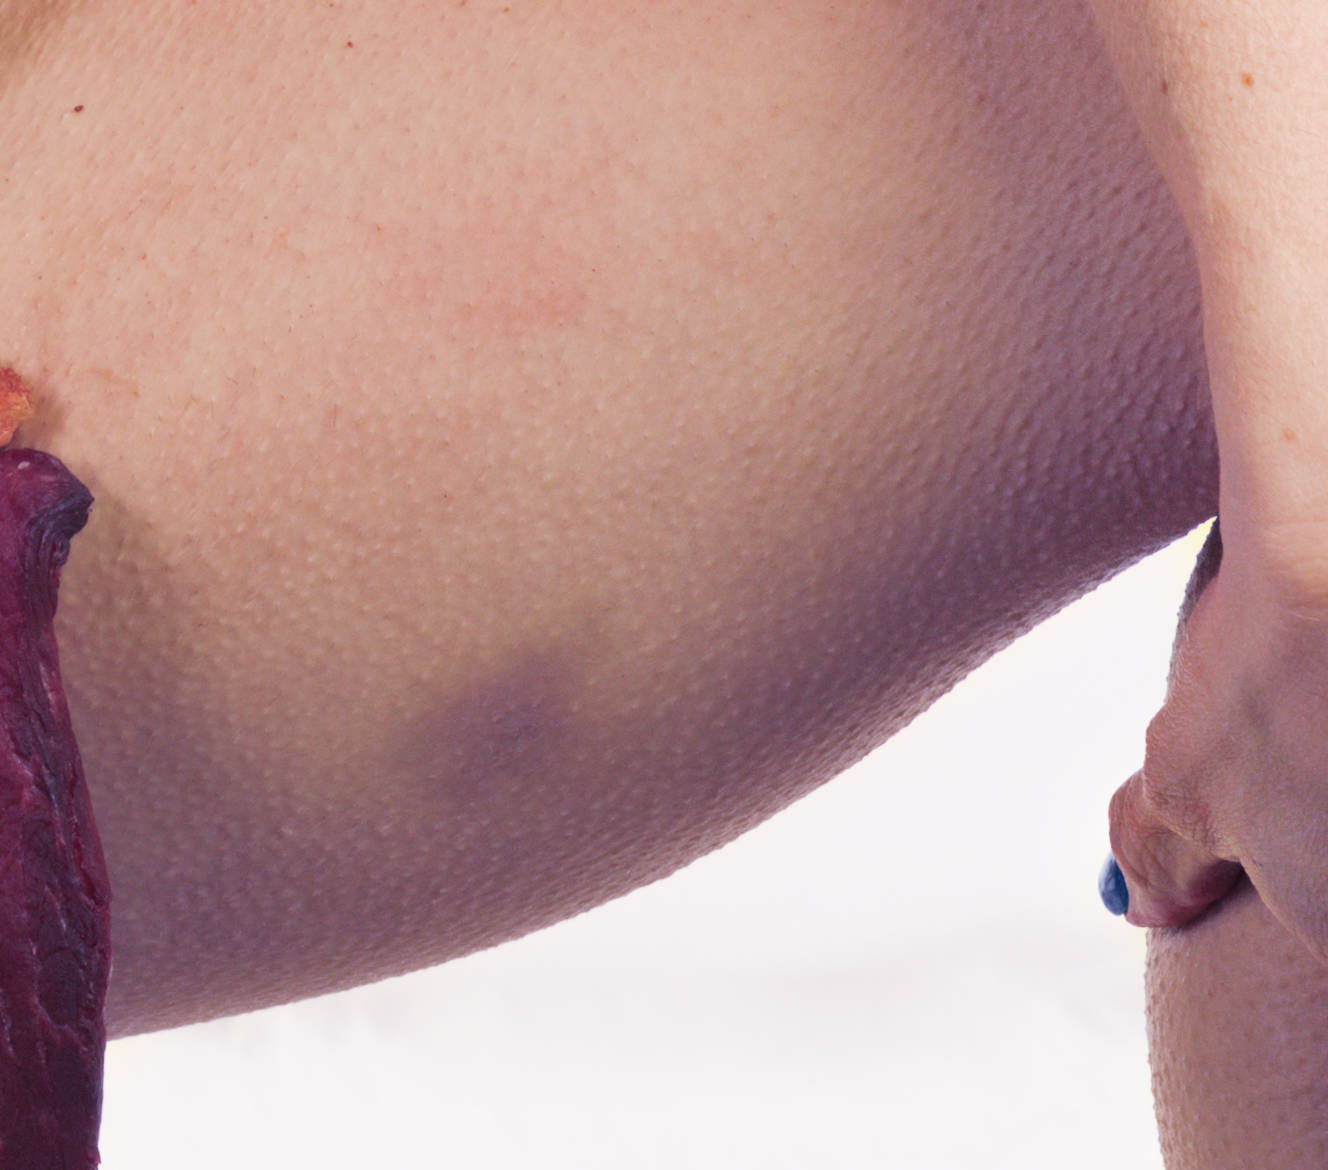
I recently needed to remove a bruise from a leg and I vaguely remembered reading Pat’s article about stain removal. Stains, bruises, same thing yeah?
I’m pretty happy with how this came out. This is a really tight crop on the bruise on a model’s leg. I re-read Pat’s article about removing stains from clothing, then I took this picture, split it to 5 wavelet levels, and used clone and heal tools to sample properly colored skin from above and to the side of the bruise, working on residual layer only. Then I selected the whole section of the leg and gaussian blurred the residual layer. You really have to be looking to see where the bruise used to be.


 glad to see others finding use in them too!