Yes, what you described in your observation is exactly what I observed. With filmic (at least V6 anyway) in place in its normal pipeline position, you can’t “win” because it more or less has the last word. Anything you do upstream to push the intensities of any of the “high red content” elements will cause filmic to react the same way. The only thing I found was to either use a different tone mapping approach (turn off filmic altogether), or else to put the boosting module after filmic in the display referred end of the pipeline. Based on Todd P’s comment I tried just using an instance of tone equalizer in place of filmic (also moving the instance to where filmic sits in the pipeloine). It worked OK but generic contrast needs to adjusted manually since the built-in contrast adjustment of filmic is missing.
So what you mention as a workaround makes perfect sense.
I find local contrast or diffuse and sharpen along with using the tone eq are my main tweakers of contrast…but I find also the contrast in color balance is also nice … A few years ago I used the contrast eq but I have not bothered with it for a long time… I’ll check out your edit when I get back from vacation…
The contrast equalizer is nice to have if you want to target and boost the mid-frequencies, as you might with the Lightroom texture slider.
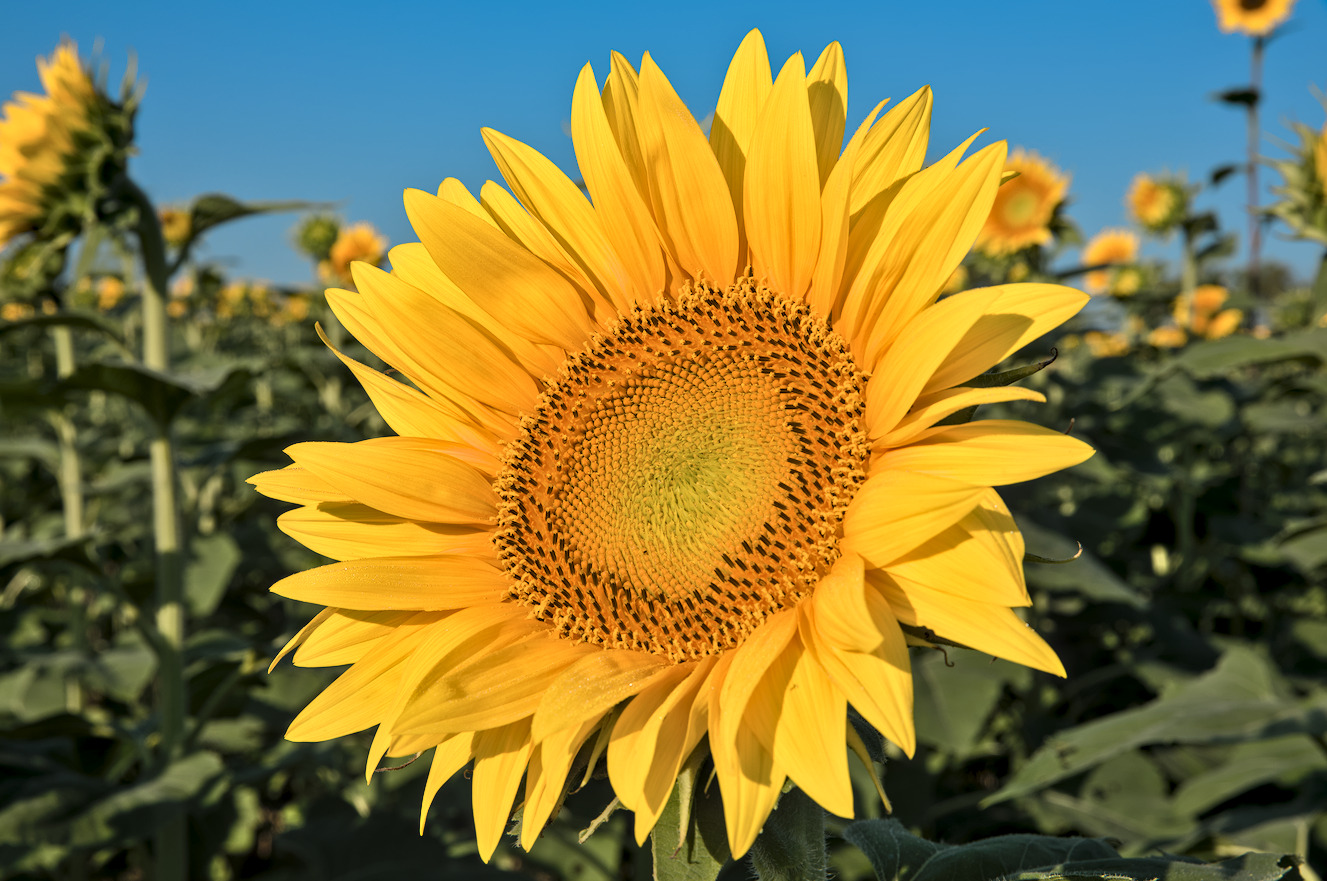
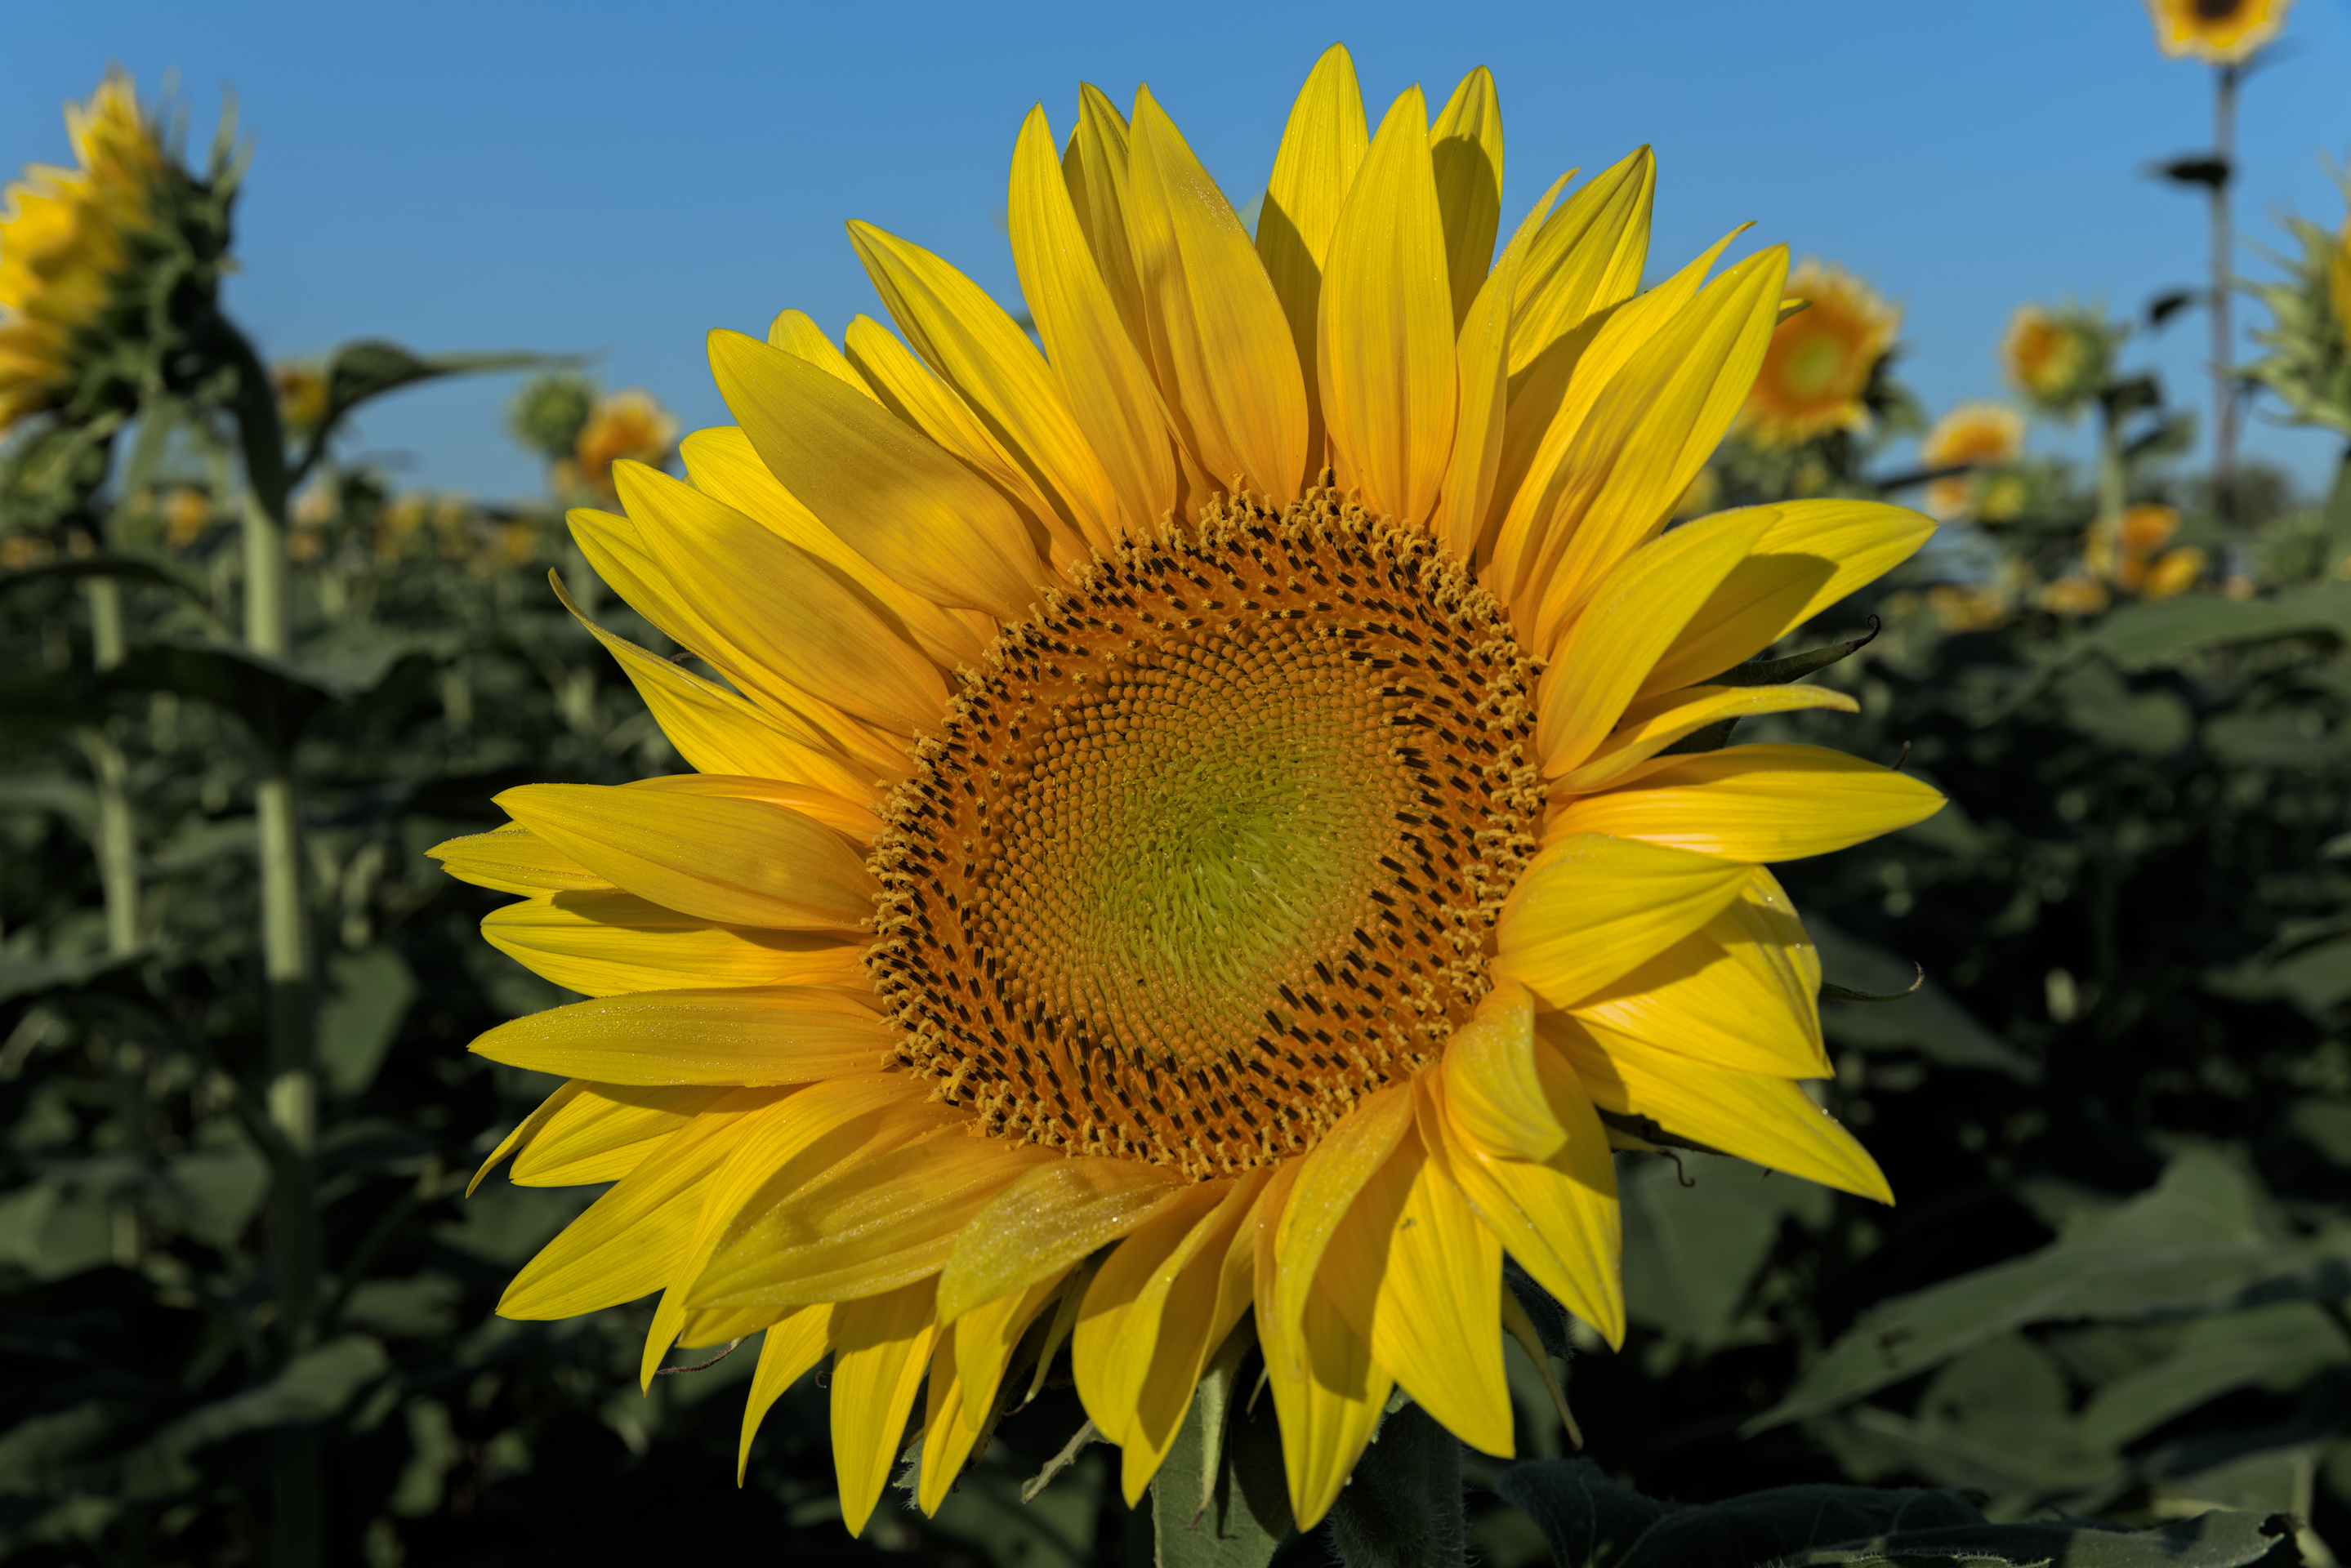
I played around with the Sunflower challenge and did find some significant differences, where the V6 version seems to reduce contrast more aggressively, so I need to activate a few modules to mitigate the effects.
I’ve found the differences across all the options… V5 seems to deliver more “punchy” results, although it’s easier to break the image if you push it too hard
I believe the default contrast was 1.3 in v5 and 1.1 in V6 so this could be part of it… when all things are equal though I feel that the maxrgb is the main reason and I think even AP mentions this in passing in one of his videos
Yeah I think maxRGB is a local contrast (or maybe…color contrast) killer. In my experimenting with replacing filmic v6 with an instance of RGB curve (as a kind of base curve stand-in), I can see that selecting max RGB for the color preservation mode with that module does the same thing as it does in filmic. Turning that off, I can get results that look almost like the filmic v5 version.
I found this a really challenging image to work with. I agree that Filmic V5 handled the yellow flower best. I chose to avoid using masks in the processing and instead use the color zones modules to tweak the flower and the sky. It was very quick process using the color zones module. I hope I have attached the correct xmp file for my edits. 0L0A3314_01.CR2.xmp (13.2 KB)
I just had a go with Filmic V6. It worked better when I reduced the latitude slider value.
I have attached the xmp file but it has been renamed sunflower.
Set white balance to daylight
Set the exposure at +1.0 EV
Move the latitude slider all the way to the left to get rid of the reddish tint in the flower.
Apply denoise profiled default
Apply sharpness aa filter preset from diffuse or sharpen module
Apply basic colorfullness preset from the color balance rgb module
Use the auto tune levels in filmic. This returns the red tint to parts of the petals. Manually adjust white relative exposure slider to the right to return the yellow colour for the petals.
Apply default local contrast
Apply default shadow and highlights
Apply the sharpness module at default values
Use the color zones module to increase the saturation of the blue sky
Create a new instance of the color zones module to lighten the yellow flower
Yes the color zones module is a favorite of mine, but I don’t sue it now as it is supposedly not a scene referred module. AP is creating a linear RGB version of it in his fork, and I hope the main DT versions gets it too.
I have heard AP’s comments on it, but since it comes later in the pipeline and the results are fast and good I will continue using it. I do hope AP creates an even better version of the the tool and I also hope it makes it into the main branch of DT.
BTW, I also reposted my Filmic V6 version after setting white balance to daylight rather than as shot.
not sure what happened, but the sunflower.cr2.xmp file looks incomplete when I load it and the result is different than the pic. But anyway you can see that the the v6 render still has that “flat” look, even though it does seem better than what I posted originally. One thing for sure is that unless you have something to compare against, it’s hard to asses how good it is. That is one reason I always use the SOOC version as a ref. It’s not to make may render look like the the sooc, far from it. Rather it helps me know if I’ve improved it or not.
I often do the same with the camera JPG. I can look at it and say I prefer the contrast/color or something else from the JPG and do something about it with the RAW.
Not sure what the problem with the XMP file was, but I am using the latest weekly build for windows so it may be a backwards compatibility issue.
BTW, I was impressed with your original edit and the approach you took was very involved. I tried to simplify it by using the color zones module instead of masks.
Why bother about an artistically effect is done scene referred or not. That boost to the sky isn’t natural at all, so it’s no longer about preserving the scene…
You can use base curve instead of filmic no problem if that’s what you want. It makes giving things a nice highlight rolloff a bit harder IMHO , and you have to work way more with tone equalizer before it to get your tones where you want them (and people have often said that module is also hard to work properly with te masking and stuff ). But for images where you want something like the SOOC punch and you don’t have lots of dynamic range in your scene it might actually be a quick way of working.
I generally just use filmic on everything , but every once in a while you get a problematic image , And this is one of the things you could try.
If you push a slider a little bit, it is technical, but a bit more and it’s artistic. I don’t care about distinctions like this so much. I invented a game where I win more whimsy dollars if I can get what I want and stay within the scene referred portion of the pipeline. Points are taken away though for overcooking the pasta.
So since brilliance tries to preserve chrominance, I found that with v6 i can reduce the brilliance of the highlights some degree using color balance rgb, and it delays the onset of the color breakup when increasing the overall intensity. But it still doesn’t get as far as I’d like, and if you try to do too much it just takes on that flattish look again.