Nope, that’s still true, and easy to test: take an image where just the red channel shows as clipped and disable the white balance module… One of the cases where you’re better off not using the highlight clipping module (as it uses the raw white and black points after the white balance module is applied).
Same could be true if blue and red are clipped, but that’s less common I think (red shows easily as clipped, as it has the highest multiplier in the white balance module, and it’s is a common colour component in flowers)
You can get a better result than you showed with darktable , but you have a problem in that image, in that part of the sky is overexposed in all three channels. So there is no detail left in that (smallish) zone top center…
(why are your edits so dark, btw? It makes it harder to judge the sky).
To get some detail back in the sky, I used the highlight recovery module in “reconstruct in Lch” and the reconstruction in filmic. Carefully adjust the relevant sliders to get the best result. (I can’t show my edit here due to licensing restrictions… It’s why you were asked to add a license)
How do I add a license? You can consider the image to be in the public domain.
(why are your edits so dark, btw? It makes it harder to judge the sky).
I just reduced the exposure drastically to make it clear that the clipping wasn’t due to overexposed settings in Darktable…
You can get a better result than you showed with darktable , but you have a problem in that image, in that part of the sky is overexposed in all three channels. So there is no detail left in that (smallish) zone top center…
Yes, but there seems to be much more detail in most of the sky which Darktable seems unable to recover.
Darktable and Rawtherapee don’t clip more highlights , not at all.
If anything they allow you to extract more .
But sometimes it makes you work harder for it , or it requires some tricks and knowhow.
If you open the raw , disable filmic and highlights recovery and just move the exposure slider down, you must get at least the same kind of detail as others .
The highlight reconstruction module is meant to fix parts where one or two channels are clipped , but not all three . Rawtherapee has a similar thing to enable in the exposure tab.
Other - commercial - programs do this sort of automatically, but don’t give you any control over it .
If all 3 channels are clipped (or the reconstruction gives unwanted results ) there is NO program they can magically recover those highlights.
What you can do is try to fill them in with clever algorithms . Instead of 'revealing detail’s you are then 'making up new detail '. Filmics highlight recovery is meant dor that, and for smaller patches .
Of there are large parts clipped with 3 channels , you are often left with the only choices being to ‘blow it out and accept it’, or to replace that part of the image all together.
But I did that. Disabling filmic, using base curve, not reconstructing highlights etc. I never get any more details in the sky than on the screenshot on top. And look at the results from the other two programs. That’s not looking like any clever trickery reconstruction, but they seem to be actually “seeing” more data than Darktable.
Also, it’s only Darktable in this case. Rawtherapee gets the same results as On1.
What I suspect is that the white point for the Pentax K-5 raw (in-camera DNG, btw) is wrong.
I assume, that you have Scene referred workflow activated. Then it’s most likely filmic’s behaviour, that’s causing the clipping. That’s not a problem through, because you can always change that by adjusting white relative exposure. If uncertain, then you can test for clipping in RAW data in darktable.
I tried to extract texture, then used graduated density to copy colours into the blown region.
darktable 3.9 from darktable windows insider program 4/3
you did great! I am happy to look at your XMP file, it’s very instructive. I see now that my original suspicion was totally wrong and the issue was actually caused by the highlight reconstruction module (which I wasn’t aware that it was on by default). Also, I learned about the grey vs colored highlight reconstruction in filmic which is very useful.
Overall I have to say that I am really happy with darktable, the logic it uses and the results it can produce.
I said to disable filmic to check what’s in the file. Not to enable base curve.
Having nothing activated but white balance and exposure , you should be able to move the exposure slider freely to check where your data stops and starts.
A white point misread from the raw file might actually be a possibility, but I doubt it.
The problem was not caused filmic, but by the highlights reconstruction module. I didn’t know that it was on, and turning it off or changing the method instantly showed that the details are there.
Note that in many cases you can use the highlight reconstruction module in reconstruct in LCh mode; it gives much better results than the default clip highlights mode; on the other hand, reconstruct color is prone to artefacts.
The way I shoot now is to underexpose in order to protect the highlights, then let the exposure module undo my in-camera exposure correction. Of course, I’ll let the Sun, lamps and specular highlights be overexposed.
Maybe check out this thread for many approaches to fixing highlights:
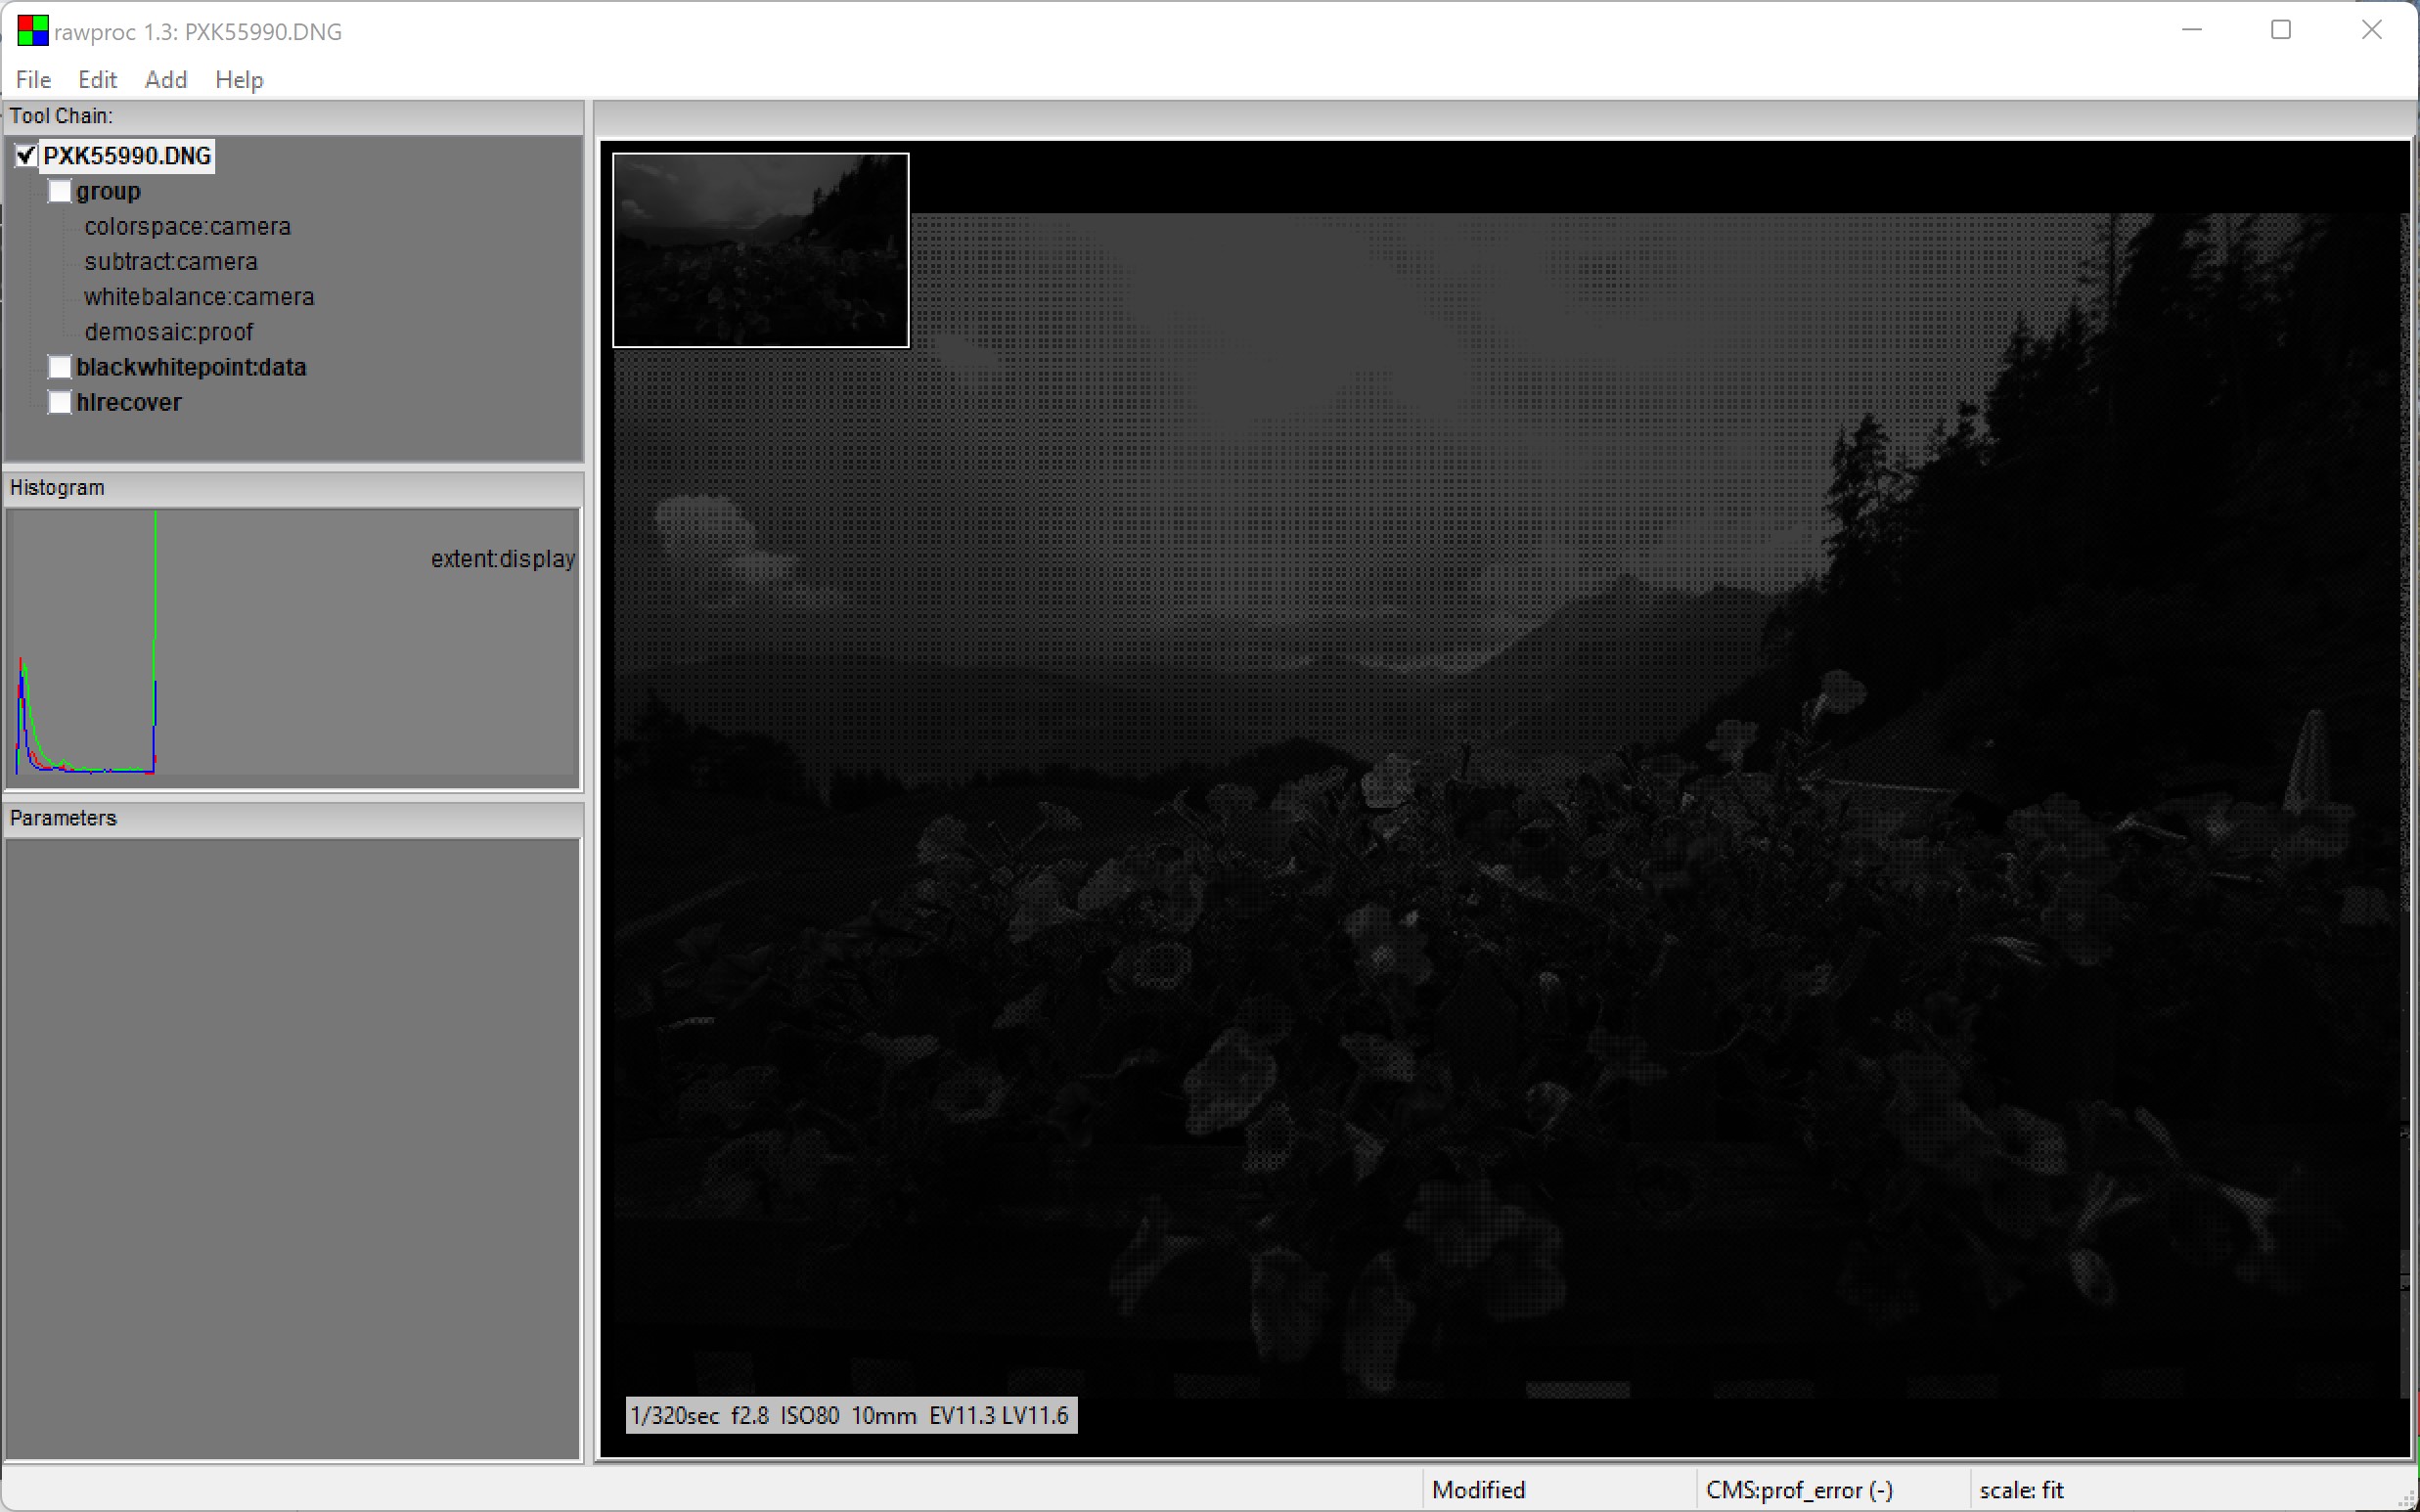
Look at the histogram, middle-left pane. The sky pixels are all piled up at 16313, apparently the largest 16-bit value your camera can record. The RGB values for these pixels is 16313,16313,16313, or plain white when scaled for display, no detail.
None of the programs showing you detail is recovering it, they’re making it up. A better approach is to pull your camera exposure down to get more of the sky in recordable range, and then to lift the shadows to suit in post-processing. The filmic curve is good at that, but you have to watch that its upper-end shoulder doesn’t push the highlights right back to desaturation…
I will just add my 2 cents worth to this discussion without comparing software. I have found when working with partly clipped highlights (not all channels clipped) that experimenting with the three methods available in the highlight reconstruction module can be helpful. See which gives best result. Also with filmic I don’t push the white relative exposure slider too far left as that makes the problem worst. In filmic V5 (which I presume you are using) try moving the latitude slider found in the look tab towards the right to put saturation back into the highlights. Filmic V6 plays differently. I am still getting my head around filmic V6, which I expect will be in the mid-year release of DT. If after these steps I still have problems with highlights I might then and only then go to the reconstruction tab and apply a threshold for the masking of highlights and adjust the sliders as required. I will not offer an explanation of how I approach those sliders here.
I am very pleased with the way DT handles Highlights and the control you have for the look.
I see Filmic v6 quite often mentioned. Since I like only official stable releases installed, may I ask what is coming in v6? Differences? New functions?