Extreme Highlight recovery in darktable

Hi everybody,

while playing around with darktable in the last weeks, I came across a few pictures that I still cannot develop to my satisfaction whatever I try. Until now, I work with Lightroom 6 and here it is absolutely no problem to recover the shadows and highlights with simply two sliders to their extreme.

Can you tell me if and how to achive a similar result in darktable?

This is the result from LR:

And this I currently get from dt:


PK1_3540.DNG.xmp (7.9 KB)

The original raw:
PK1_3540.DNG (45.8 MB)

This file is licensed Creative Commons, By-Attribution, NonCommercial, Share-Alike.

5 Likes

Hi @0x4243 and welcome,

Here is a swift interpretation, using darktable:

PK1_3540.DNG.xmp (7.5 KB)

(The sky is totally blown at sensor level.)

Have fun!
Claes in Lund, Sweden

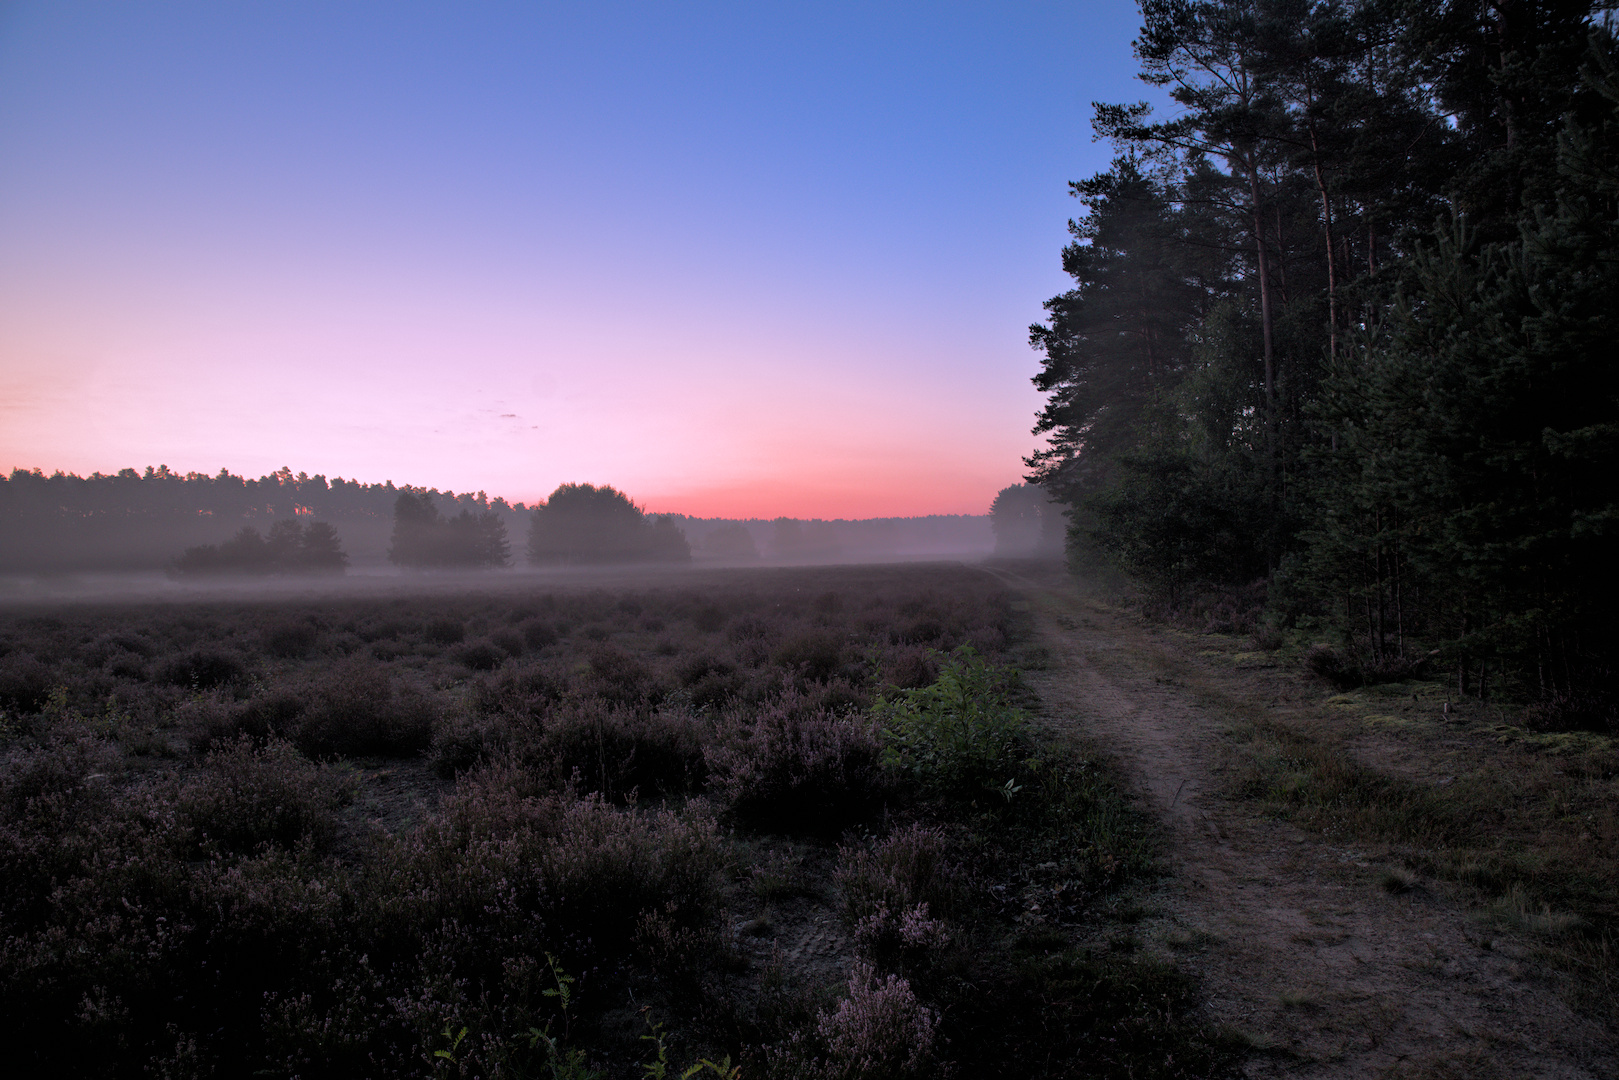
My attempt DT3.8. It is quite difficult since there is very big area with blown colors (no informations). LR highligh recovery works pretty well here.
EDIT:


PK1_3540.DNG.xmp (11.4 KB)

7 Likes

my approach (assuming that this was taken before sunrise):
remove color cast (in the greens of the trees and the bush near the piste)
Adjust exposure/black
then just use the “compression strong” preset in tone equalizer


and after further tweaking in tone equalizer

xmp:
PK1_3540.DNG.xmp (10,0 KB)

2 Likes

as seen here:

1 Like

Actually only green channels are clipped at sensor level.

1 Like

hello
quick test, but i get vertical line artefacts in the blown out whites. i tried to smooth them with filmic. if i smooth them completely i seem to loose the color

an easy starting point should be to set the method to “reconstruct color” in the “highlight reconstruction” module. then to play in the reconstruct window in filmic

PK1_3540.DNG.xmp (7.8 KB)

not perfect

2 Likes

The trouble is that highlight recovery (of blown areas) is one of darktable’s weak points. Those small clouds above the trees are present in the image, and are recovered nicely by Lightroom. They can also be made visible in darktable by dropping the exposure and switching highlight recovery to reconstruct in LCh:

However, later they are smoothed into the sky.

4 Likes

Yes. I tried to use color reconstruction and got a decent result.


PK1_3540.DNG.xmp (9.5 KB)

2 Likes

playing with guiding laplacians


PK1_3540.DNG.xmp (12.8 KB)

12 Likes

This is where color propagation methods of reconstruction are helpful. See recent discussion here: Guiding laplacians to restore clipped highlights

You could try the “color reconstruction” module even though it’s not in an optimal position in the scene referred workflow.

You could also try color propagation method in RawTherapee for comparison, even if that isn’t a solution to your darktable problem.

1 Like

The transition from blue to red does not look nearly as good as with Lr, and the clouds are gone.

Here’s my attempt – I’m not satisfied with that one, either. Lost much of the saturation, got a bit of the cloud back.
PK1_3540_01.DNG.xmp (8.9 KB)

Edit: increasing the opacity of the local contrast module to ~35% gets more of the cloud back:

And just to show how much luminance detail we have (can keep) in the sky when we hit filmic, here’s a screenshot of filmic’s highlight reconstruction mask (adjusted to demonstrate detail here, not for actual highlight reconstruction):

3 Likes

Yeah, I would consider this a perfect exposure-to-the-right… not like it’s that important on a K-1 not at base ISO though.

Here’s the raw histogram:
Screenshot_20220105_073103

And Filmulator’s result, which is completely artifact free recovery to my eyes.

(highlight recovery 2, exposure comp -1.5)

10 Likes

The last one from me, promise – a trick from @s7habo : local contrast in multiply mode. Kind of ‘overdrive’. :slight_smile:
PK1_3540_04.DNG.xmp (10.9 KB)

1 Like

Had to get creative, using tools not really designed for the job.

extreme-highlight-recovery-PK1_3540.DNG.xmp (15.6 KB)
dt 3.8

After reading the last posts I also tried local contrast on top of my Extreme Highlight recovey in darktable - #4 by bilddateien and it looks like this:


PK1_3540.DNG.xmp (10,4 KB)

Here a take with alot of color from filmulator. Increased brightness of the shadows so the overall image could be taken down a bit, along with drama 50 and highlight recovery 2

5 Likes

I apologize for using RawTherapee … using Colour Propagation as Highlight Recovery mode along with -1 EV Exposure Correction gave quite good results for the blown sky.


PK1_3540_RT-2.jpg.out.pp3 (15.2 KB)

9 Likes


PK1_3540-7.jpg.out.pp3 (14.8 KB)

3 Likes