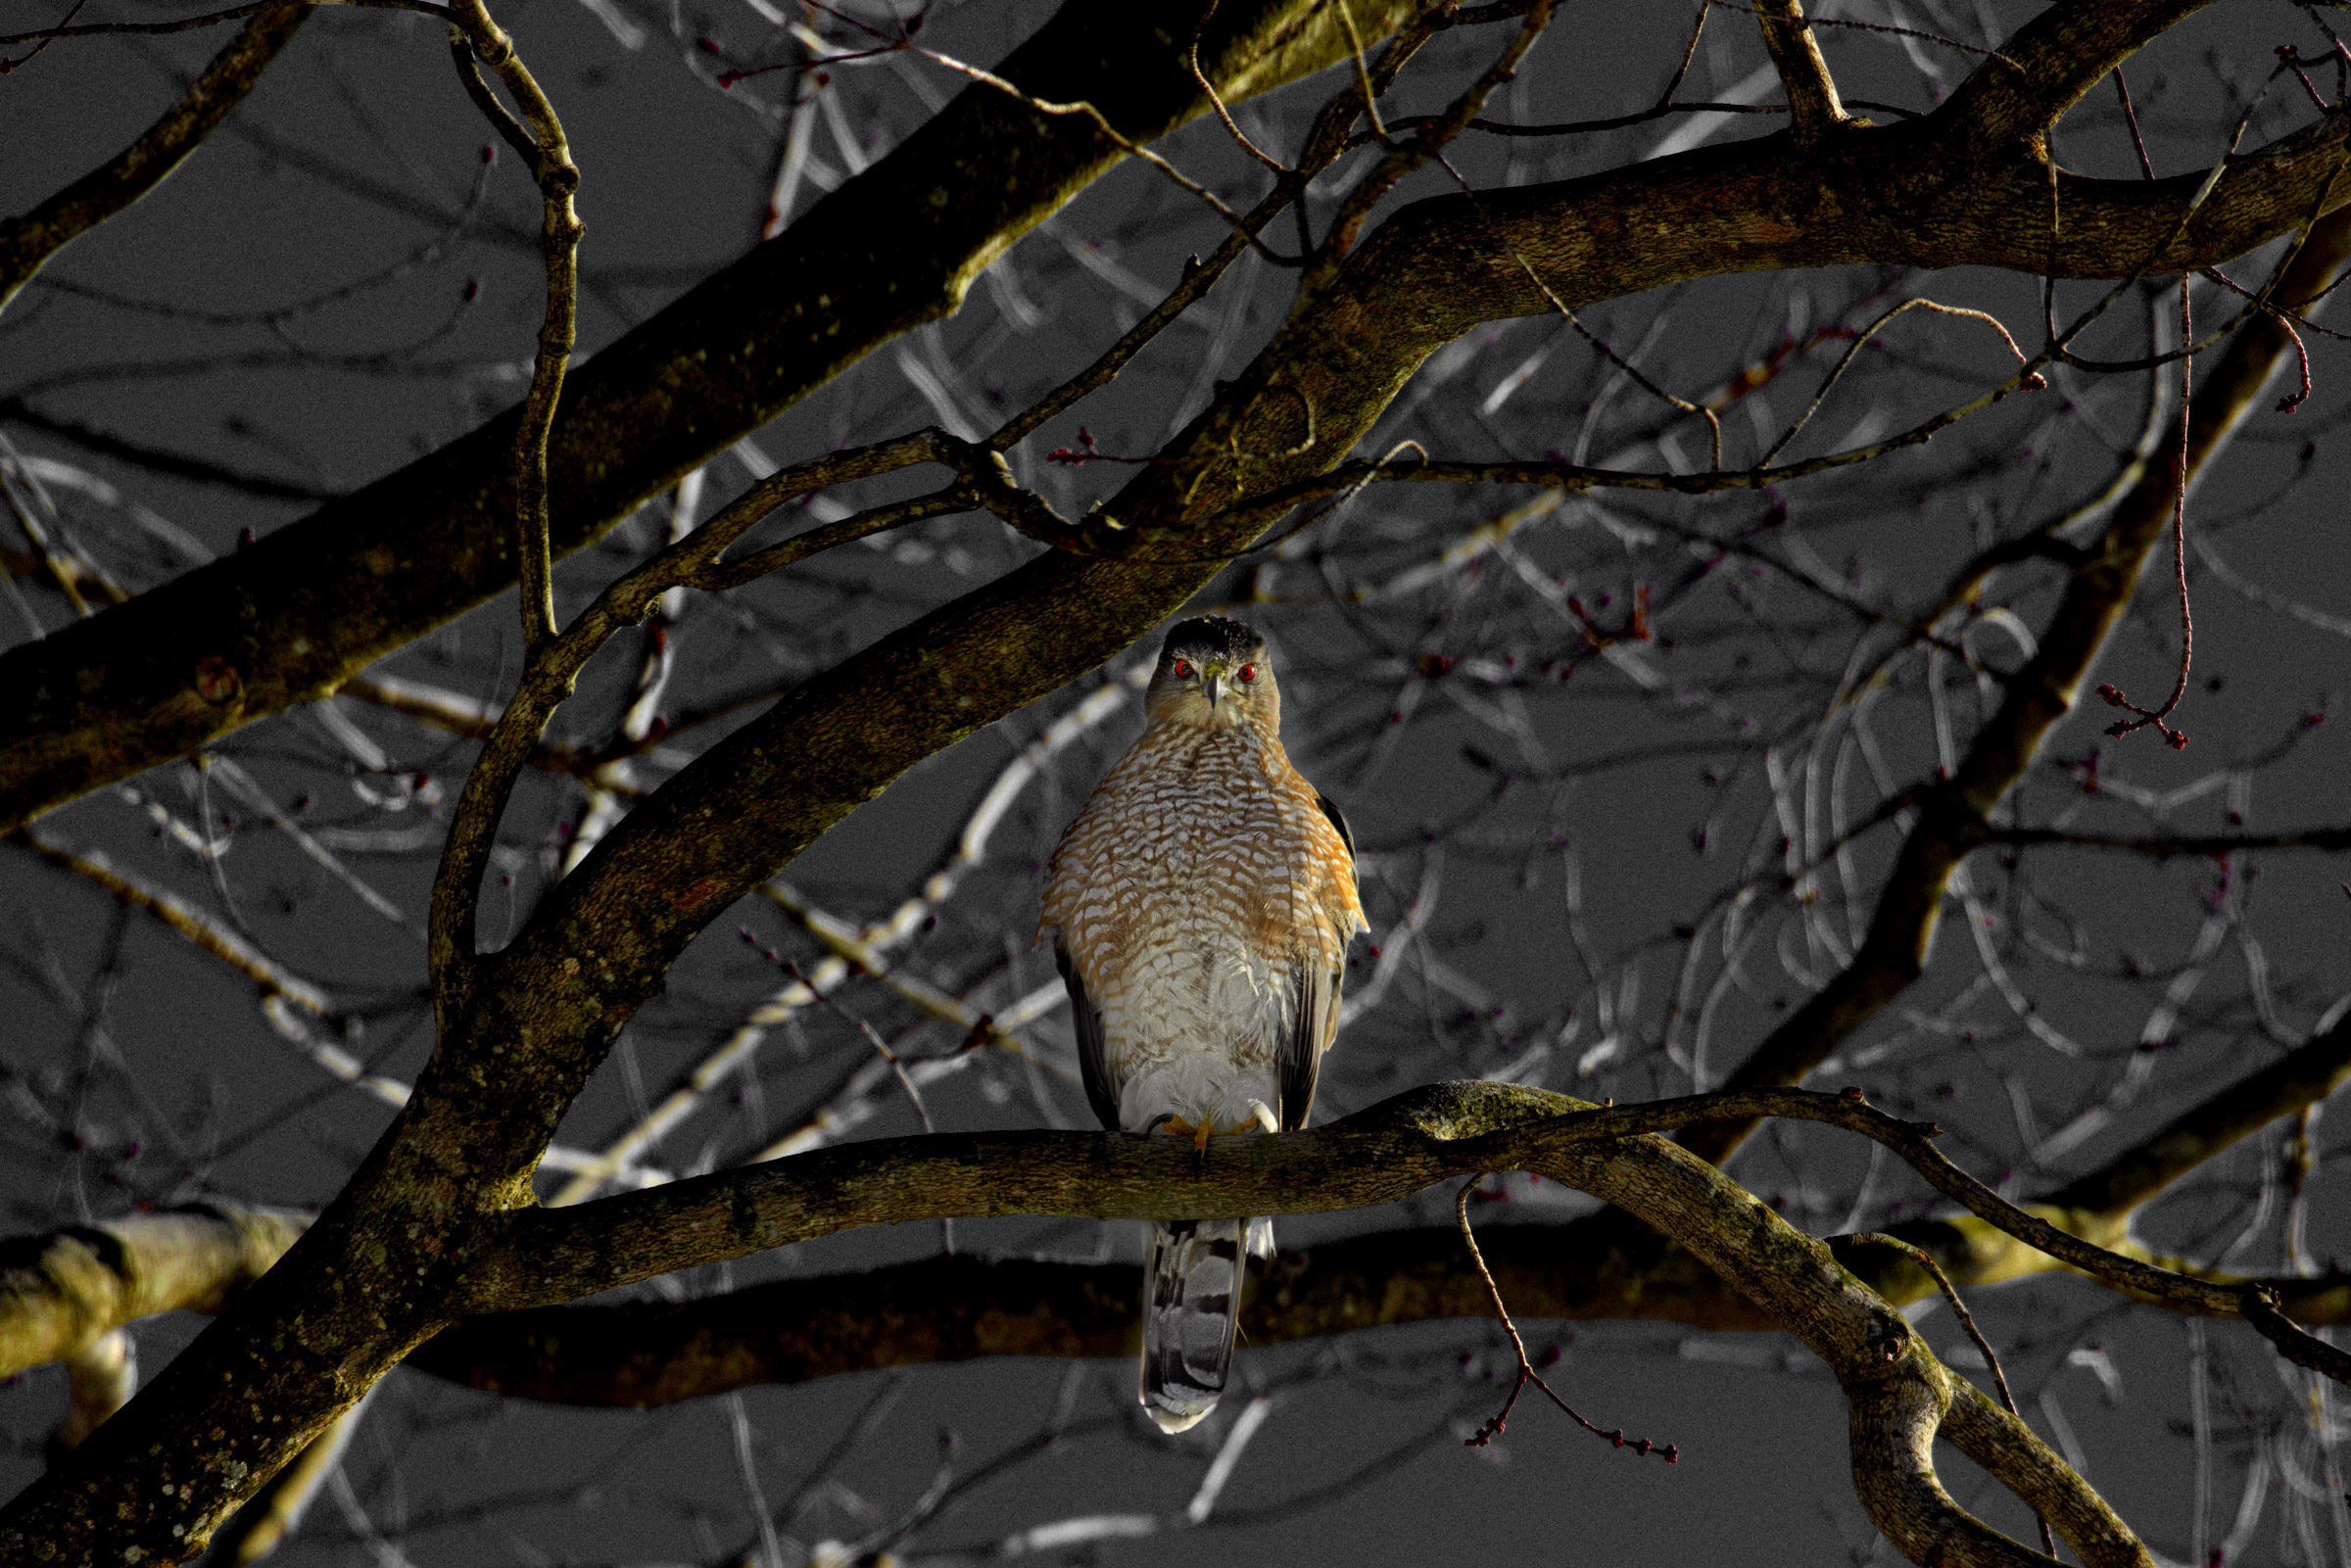
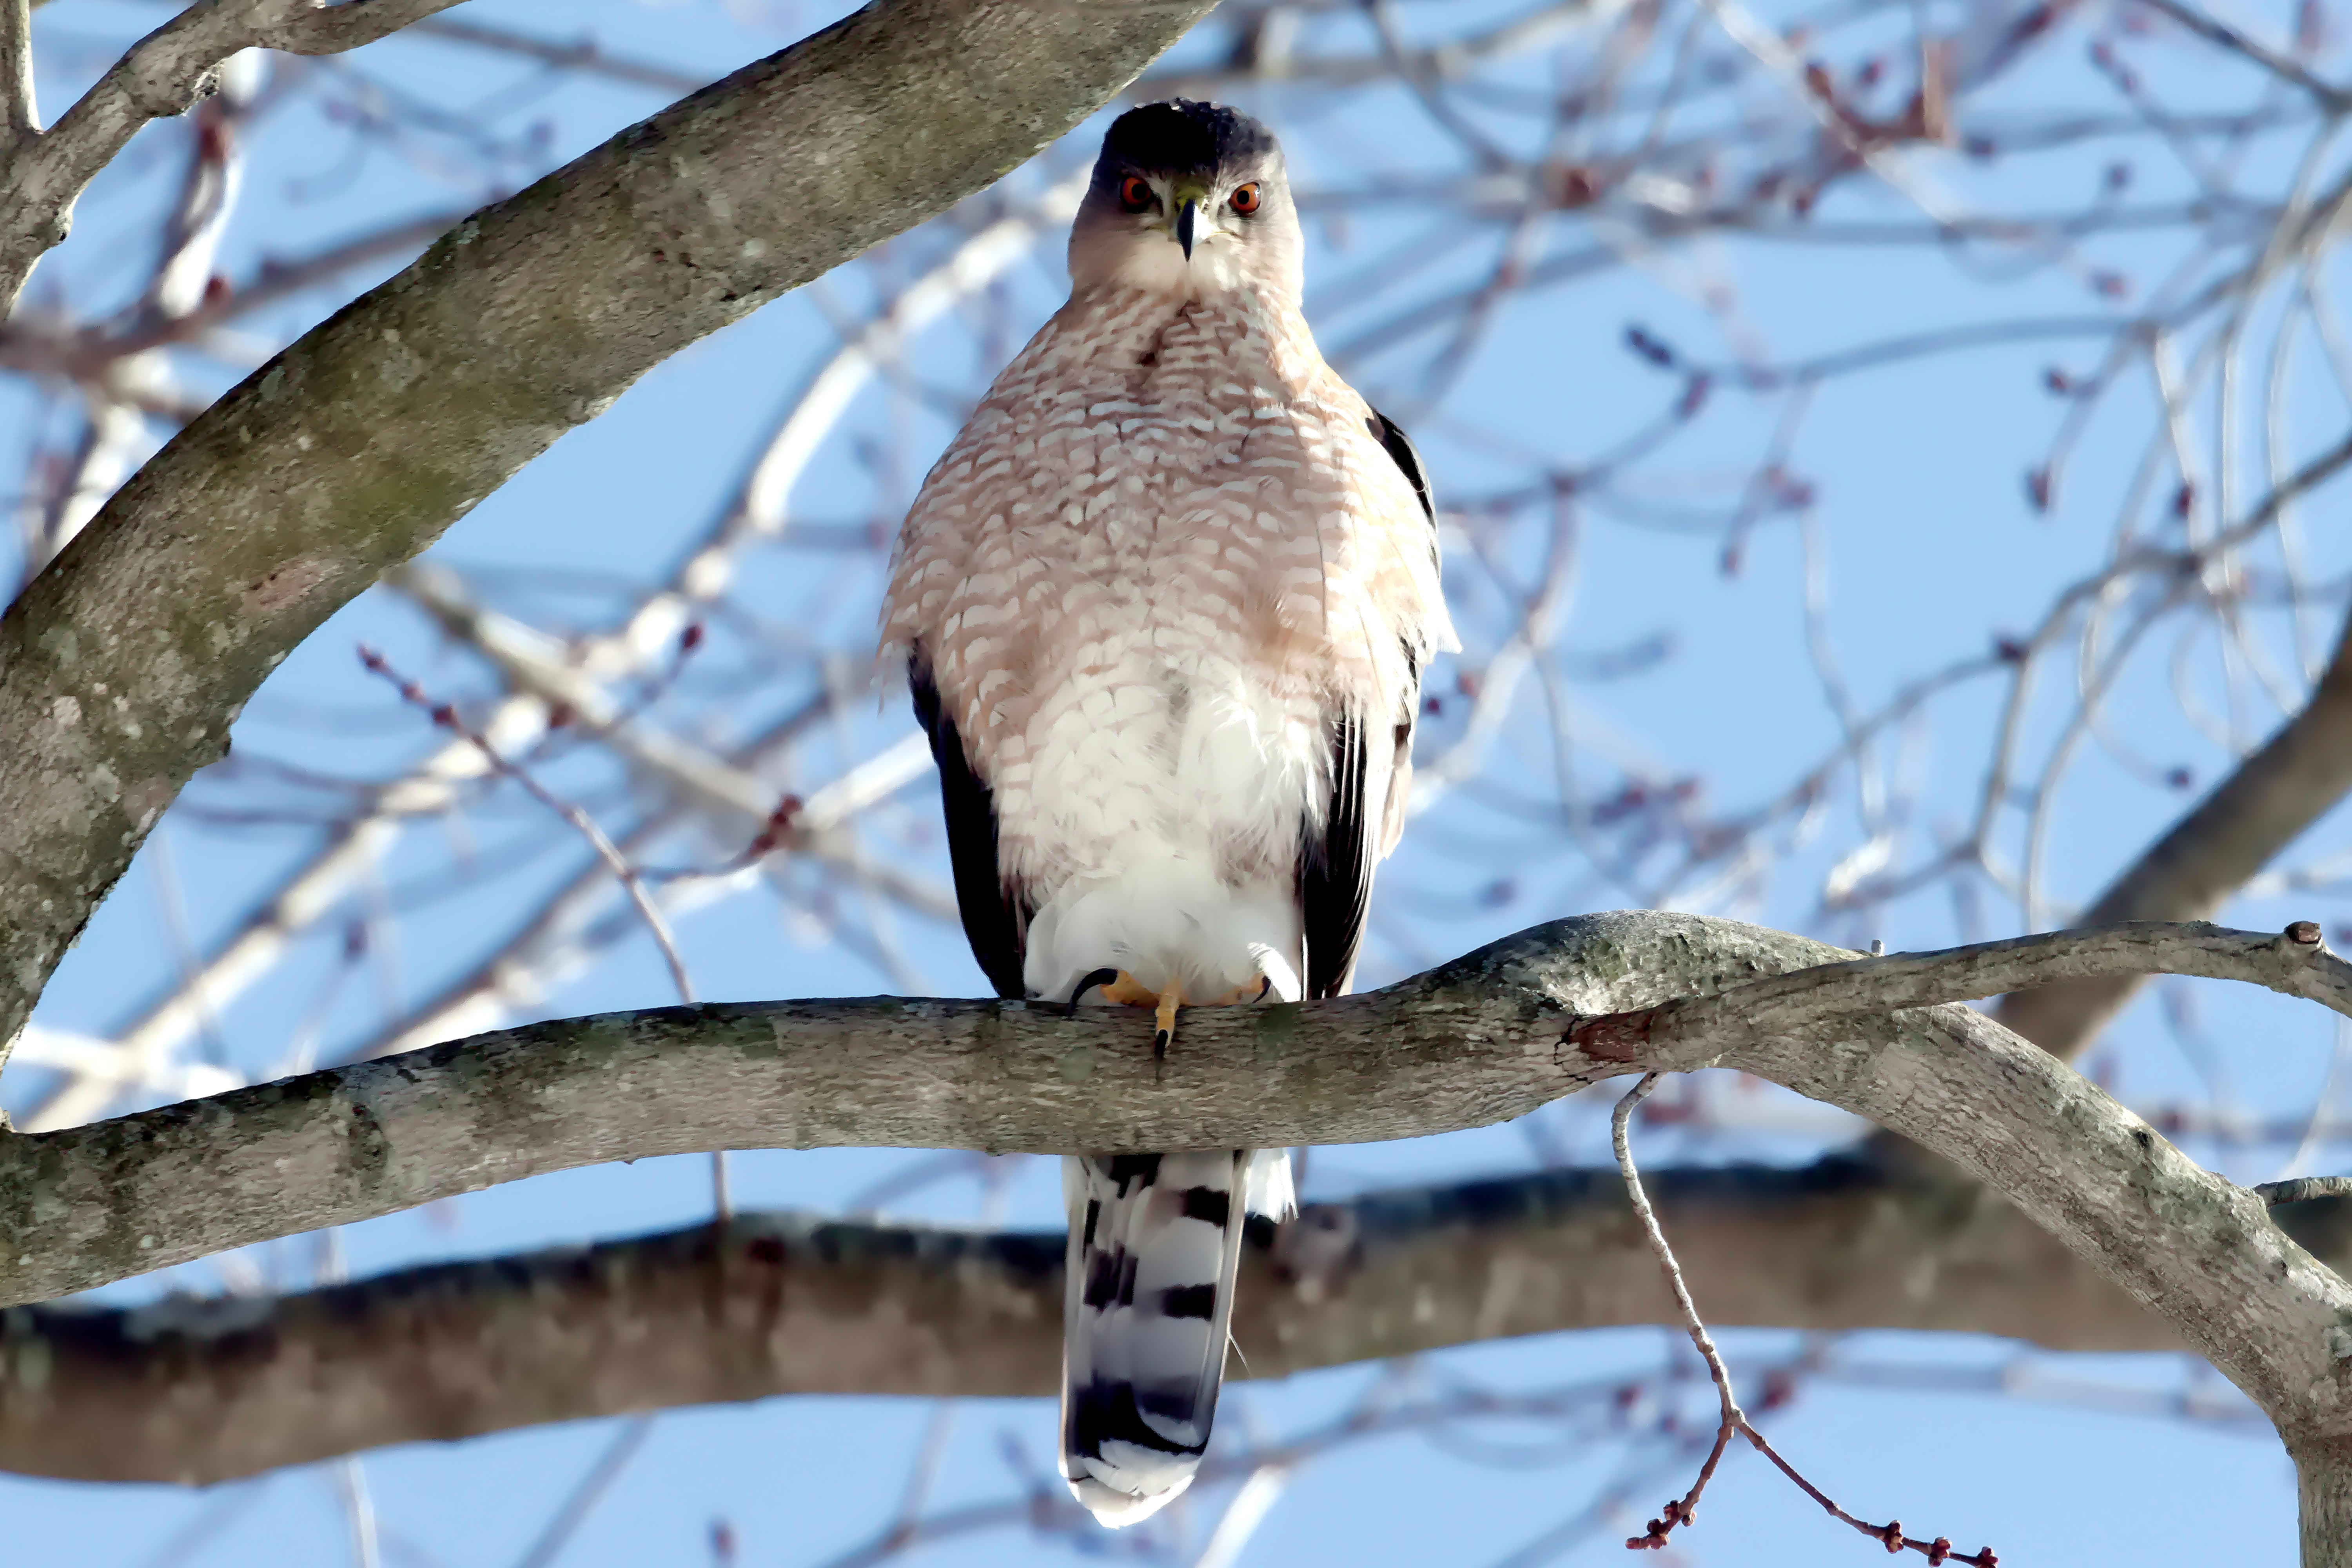
Nice shot! I thought I’d see what I could do by dimming and desaturating the blues a little, and added a detail mask to the bird to bring up the side lights without over-brightening the whole image.
IMG_5406.CR3.xmp (13.1 KB)
Nice shot! I thought I’d see what I could do by dimming and desaturating the blues a little, and added a detail mask to the bird to bring up the side lights without over-brightening the whole image.
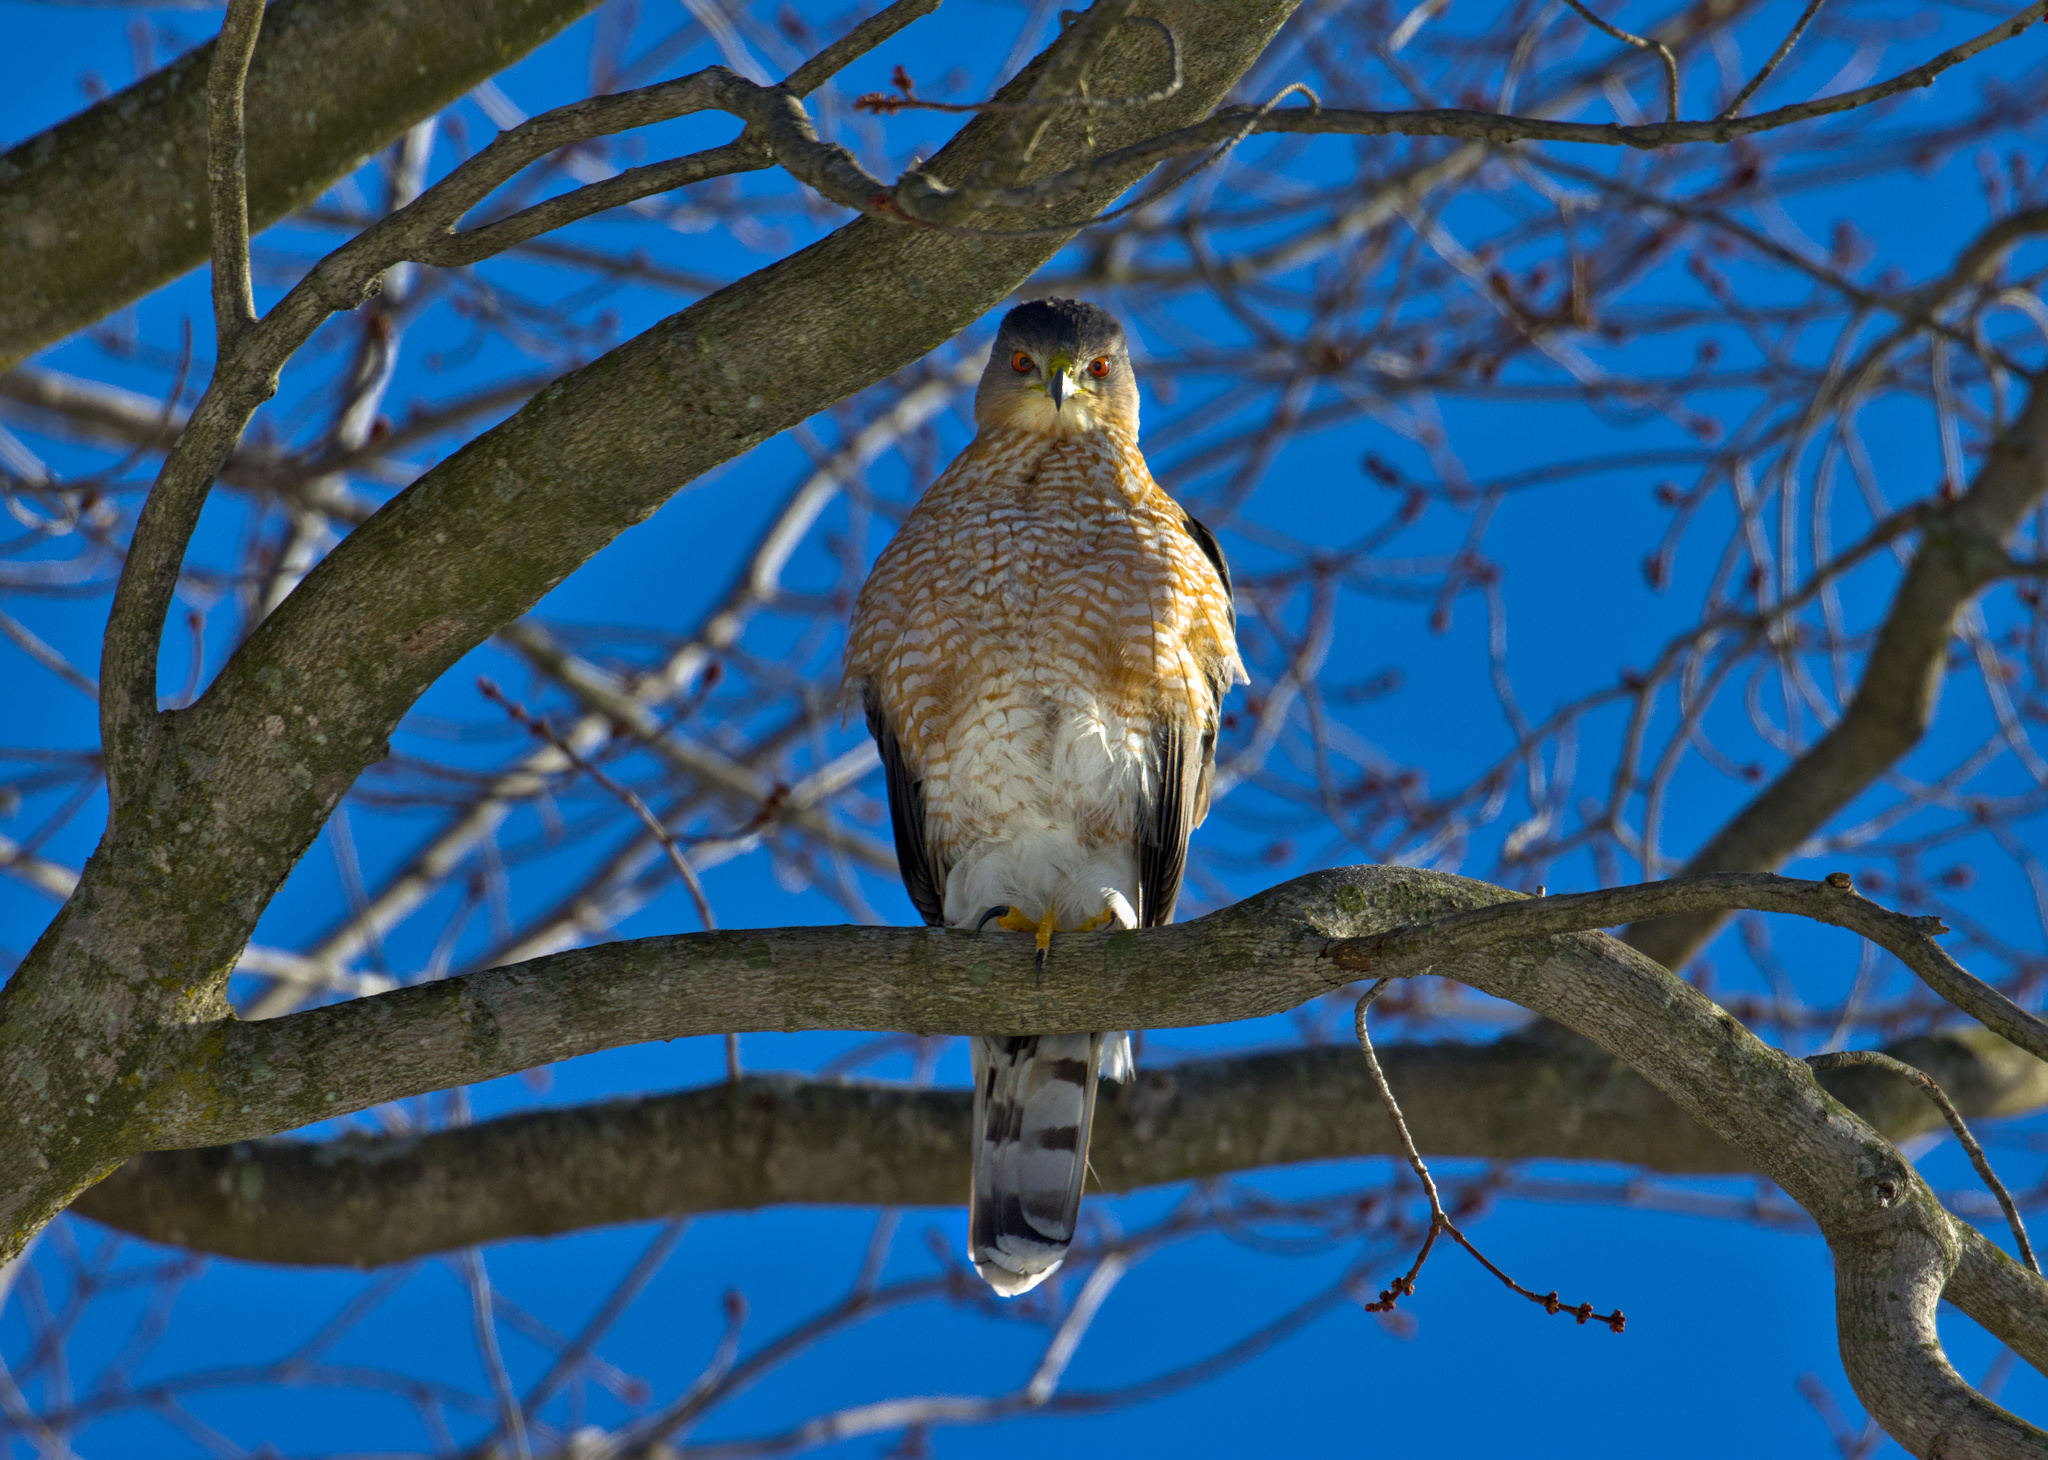
I came back to this with an idea to try light painting via the method @Popanz demonstrated in a recent play_raw: A drawn mask with a second exposure instance to give the impression (here) that the subject and the near branches have been lit from underneath by reflected sunlight, making them pop a little more.
My mask-fu is still weak, so the results are far from perfect and I’ve flattened the light a little too much on the branches. Submitted as a proof-of-concept ![]()
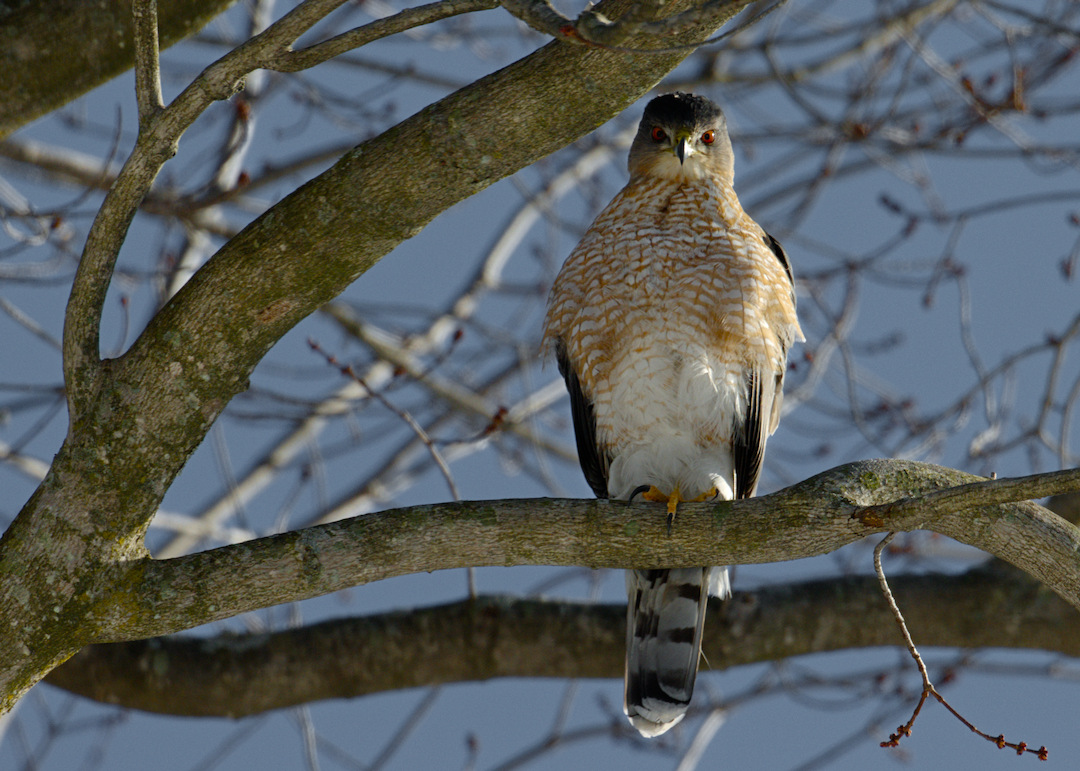
Used Ink Rubber (a User Filter preset) to turn blue into gray and simply dupped then overlayed top layer (selectively masking bird) to darken the background to taste. Used local variance normalization (G’MIC) to selectively enhance the bird and PWL (paint with light) to enhance the eyes. ![]()
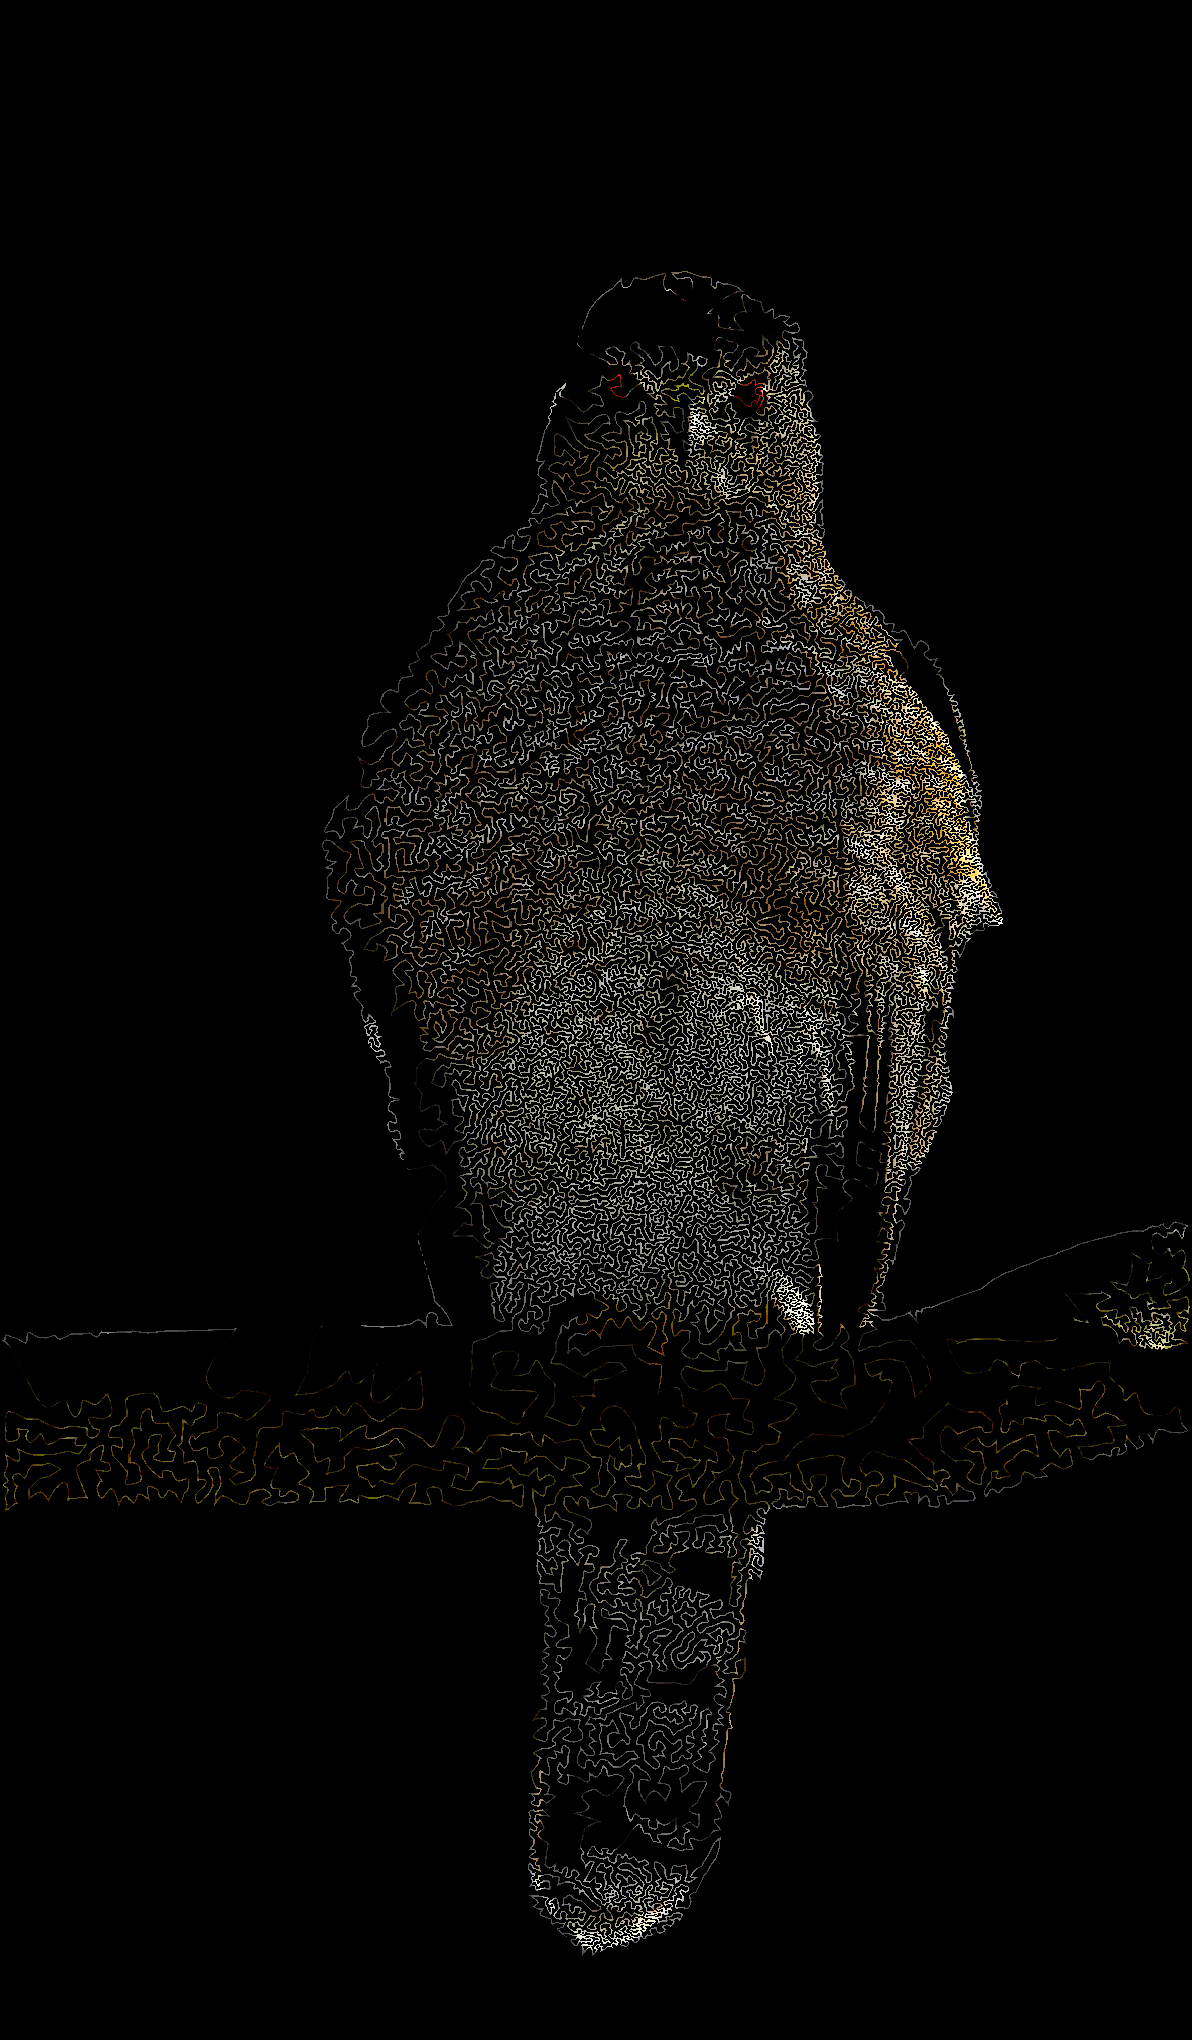
Extracted the bird and it’s perch from my last effort, converted to a single line fill and then colorized the result using the original extracted bird. ![]()
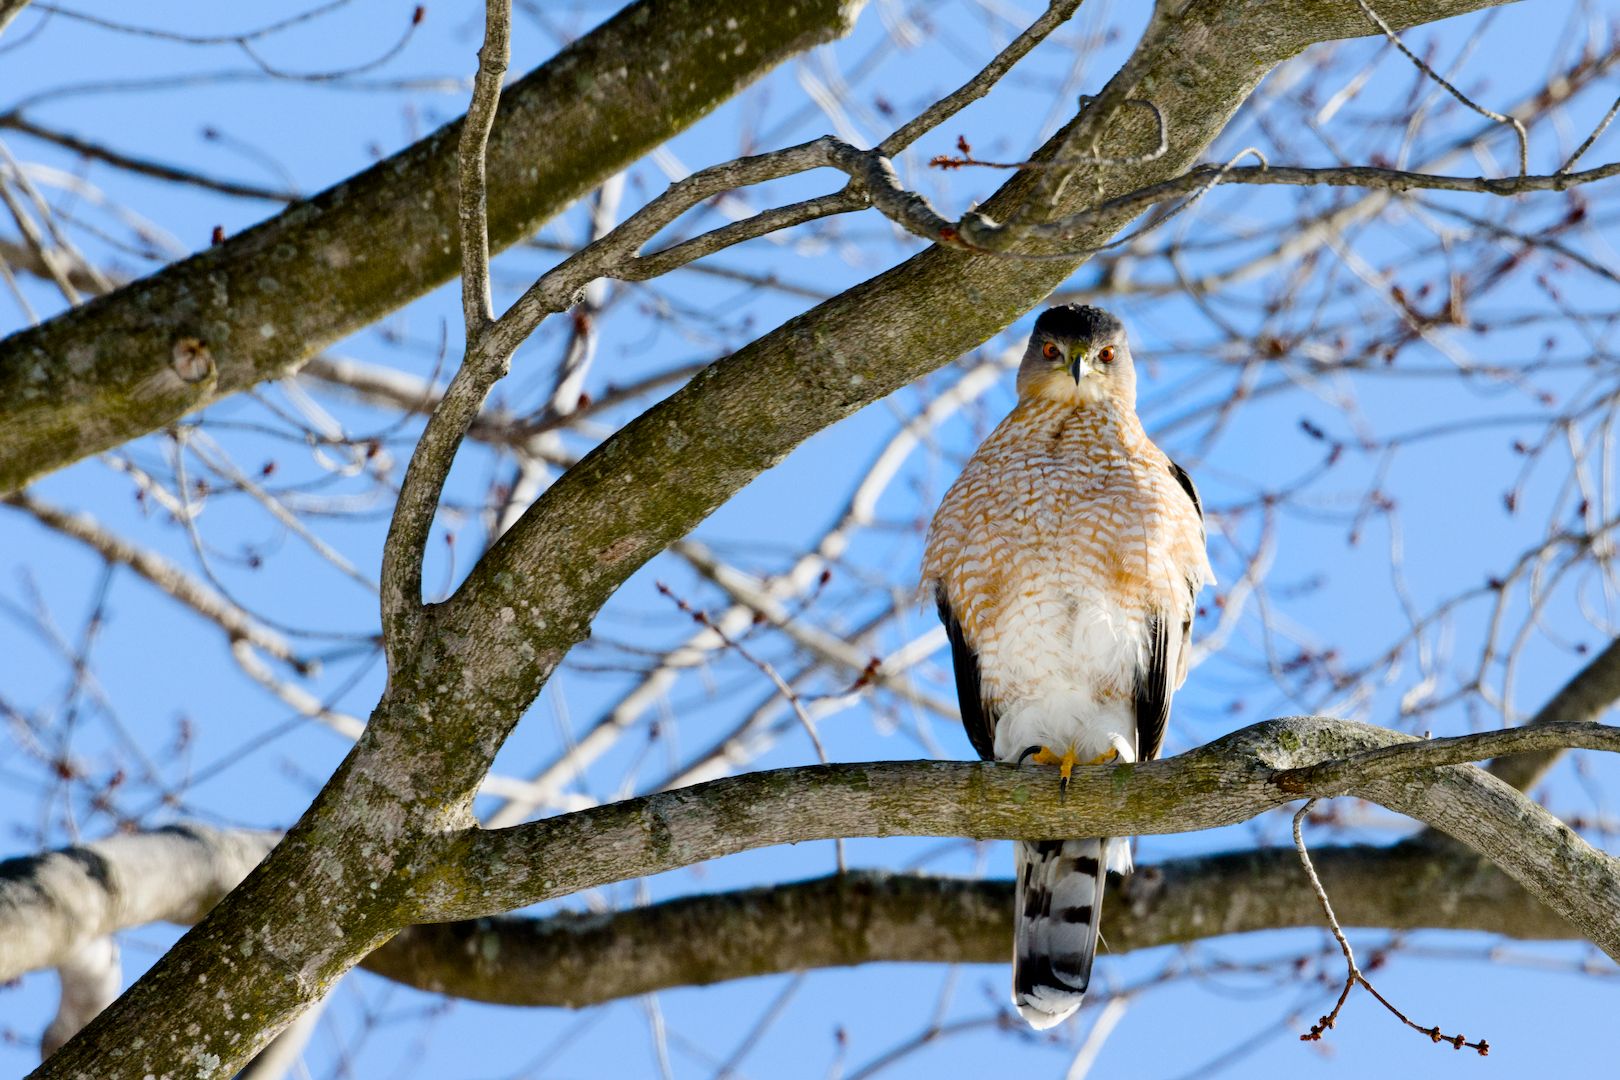
Late to the party.
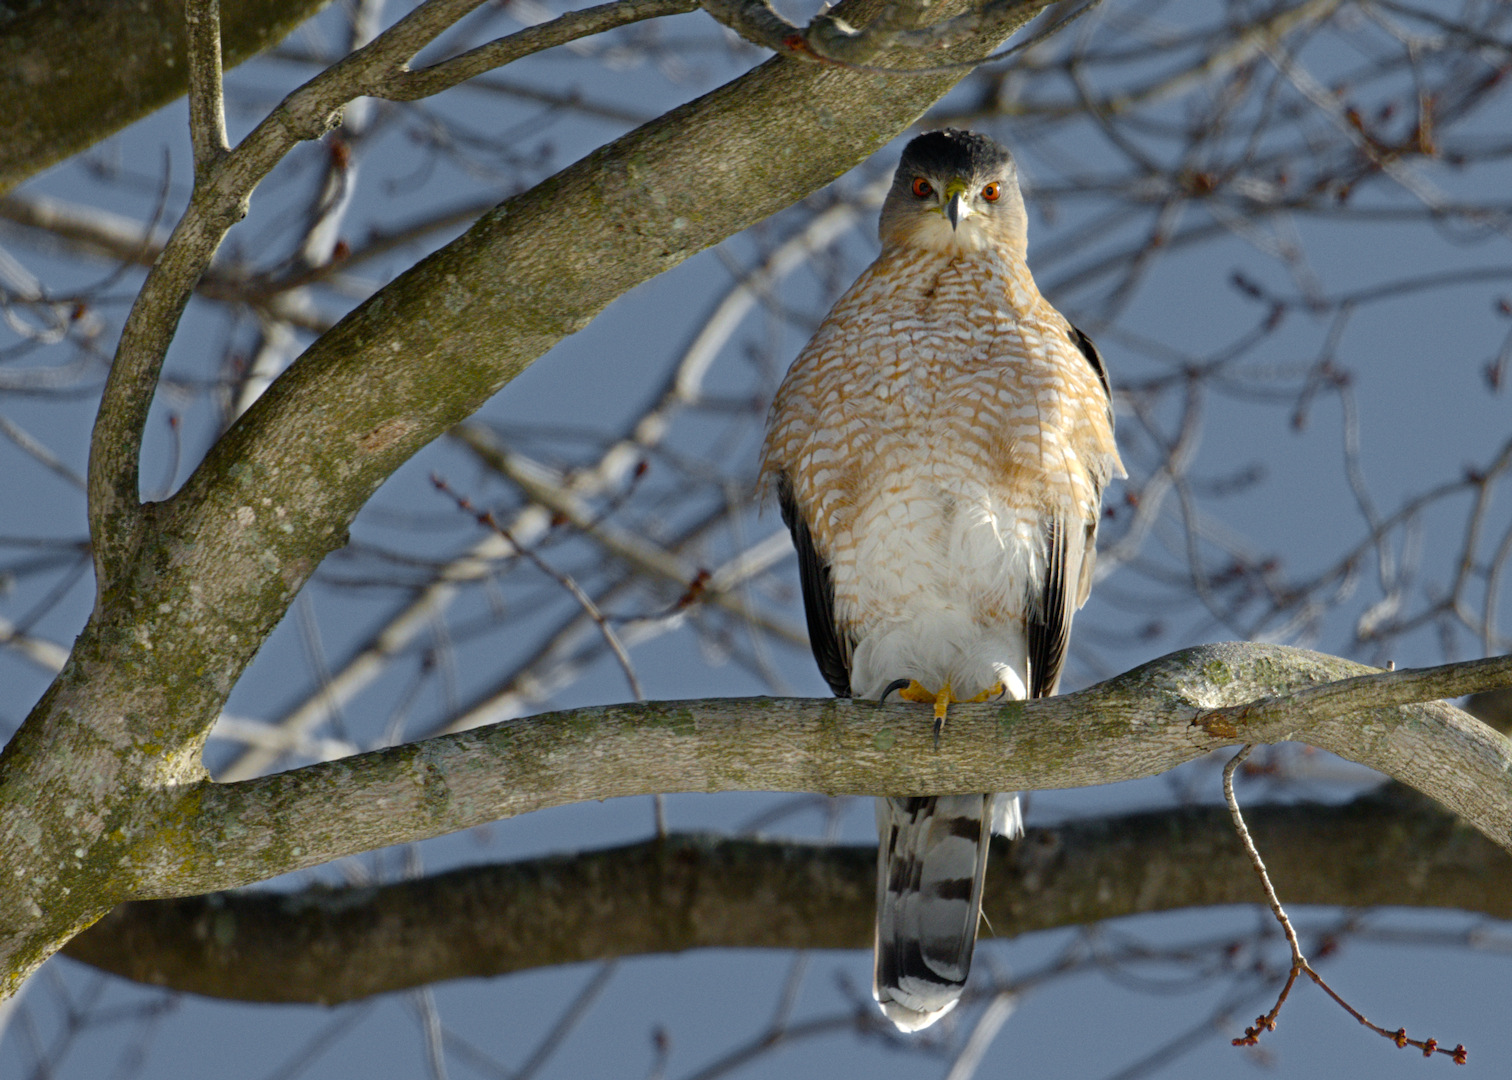
Currently fighting with AgX and Filmic on the skies of my own bird photography. This one was easier though: the exposition is balanced and the sky is not completely burned.
I used AgX with the preserve hue slider at 100% in an effort to keep the sky as natural as possible.
Nice picture!
IMG_5406.CR3.xmp (19.7 KB)
Hey @durierem nice edit… ![]() and welcome!
and welcome!