my 2 cents, maybe worth even less 
I would not judge the results at 1:1, but only at the scale that I find acceptable/usable. there are definitely differences in the renderings posted, and some are better than others, but imho all of them are far from usable at 1:1, at least on my screens (full hd around 21-22" in size).
2 Likes
1 Like
Here’s my attempt. The bulk of the work is done by RT’s noise reduction module (RGB aggressive mode, gamma 1.30, auto chrominance, luminance 80 and detail 40), on top of which I applied some final touches with selective tone mapping (for enhancing some of the edges) and guided filtering on the chrominance for removing some of the more visible colour splotches that were left over.
I don’t think it’s usable at 1:1, but for me it’s acceptable at 1920. YMMV clearly

4 Likes
Alberto I like your results and I see your point about what’s the intended use you made earlier (downscaled, how much etc).
One thing I really like and don’t know how to replicate in DT is to somehow suppress noise a bit more in the darker areas (like you managed to do with RawTherapee). I’m also now wondering how real film grain would behave, i.e. would it somehow disappear or blend away in the darker zones of the image? I should look back at some negatives perhaps, but maybe there’s a scientific truth to be observed.
I tried also with darktable. Considering my total lack of experience with it, I’m pretty happy with the results…
In darktable, to suppress more noise in dark area you can either:
- use a blurred parametric mask on dark areas, and use it in a denoising instance where you push the force sliders
- use the denoise bilateral module, which seems to smooth more the dark areas than the bright ones.
The problem is, currently, denoise profile does not handle dark areas really well, as after the variance stabilizing transform variance is about 1 everywhere except in dark area where it can be much higher
1 Like
For what it’s worth, I believe the end depiction needs to be considered in all the upstream processing. Reduction resize, for instance, will take care of a number of noise situations simply by interpolating the textures to uniformity. I’m still messing with my tools in this regard, but I’m leaning to only handling obvious noise in large uniform areas still visible only after I’ve rendered to the target size.
As always, FWIW from BOLB (For What its’ Worth from Bear-Of-Little-Brain…)
thanks! I’ll give it a go later.
However, my question still stands: does anybody know if the grain in hi-speed film (say, the classic Tri-X pushed to 1600, or Neopan1600 etc) is somewhat different in dark areas, less prominent, different character etc?
Y’know, your question about film performance is implicitly targeted at us old people, folk who are least likely to remember things… 
In my youth I shot a lot of Tri-X, and pushed a bit of it as far as 4000. So, to be clear, we’re talking about a different phenomenon in film grain than that of signal noise. It’s probably more relatable to read noise, as both are aspects of the recording mechanism. Film grain is inherent in the emulsion structure, and then is “aggravated” in the choice of processing.
All that said, I think there’s probably more variance in film granularity as tone changes - the recorded image is uniform, but the processing by definition removes material for the darker tones, and my intuition would say the dark regions would be more uniform as a result. And that visible texture would be very dependent on things like the interaction of a particular emulsion structure with particular chemicals - crystallization, clumping, that sort of thing.
I’m definitely not a chemist, so take all that above with a grain of salt…
2 Likes
Well, it seems like I have already tried to investigate the same question and forgot about it. It was from the opposite view point, i.e. I was testing the “adding film grain” solution in DT and check it out: https://discuss.pixls.us/t/lets-improve-grain/2709/46?u=aadm, the realistic way to simulate grain is to make it less evident in darker areas (check the discussion before the linked post for all the details).
So a conclusion that could be drawn is that when denoising a photo like this one, one should indeed remove “more” noise in the darker areas.

Here’s a couple of my attempts in Darktable with not enough concern paid to whether they are better or similar.
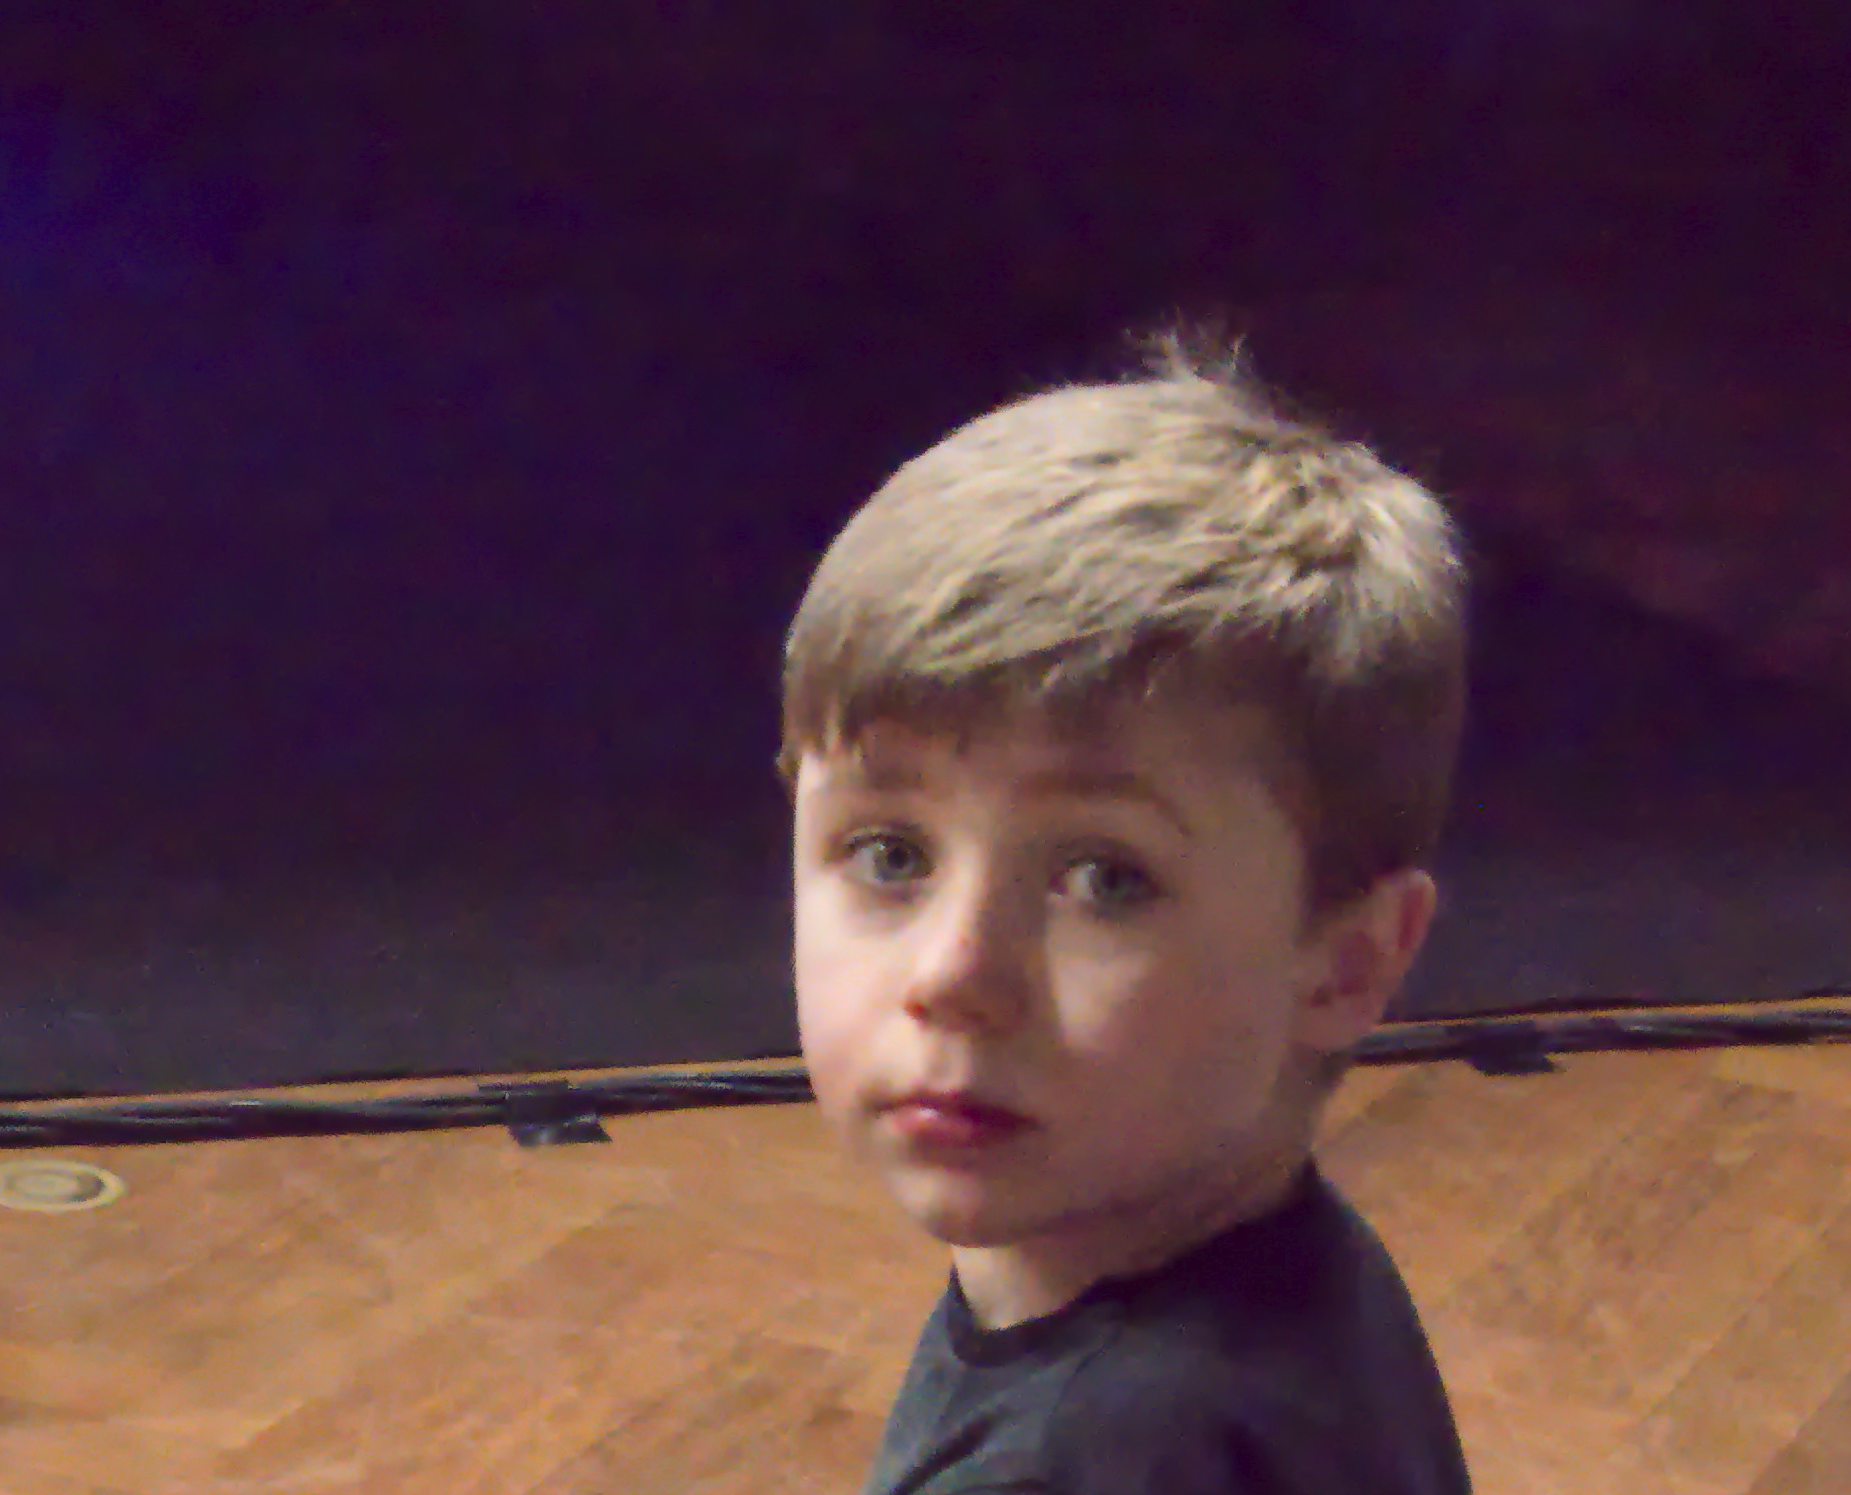
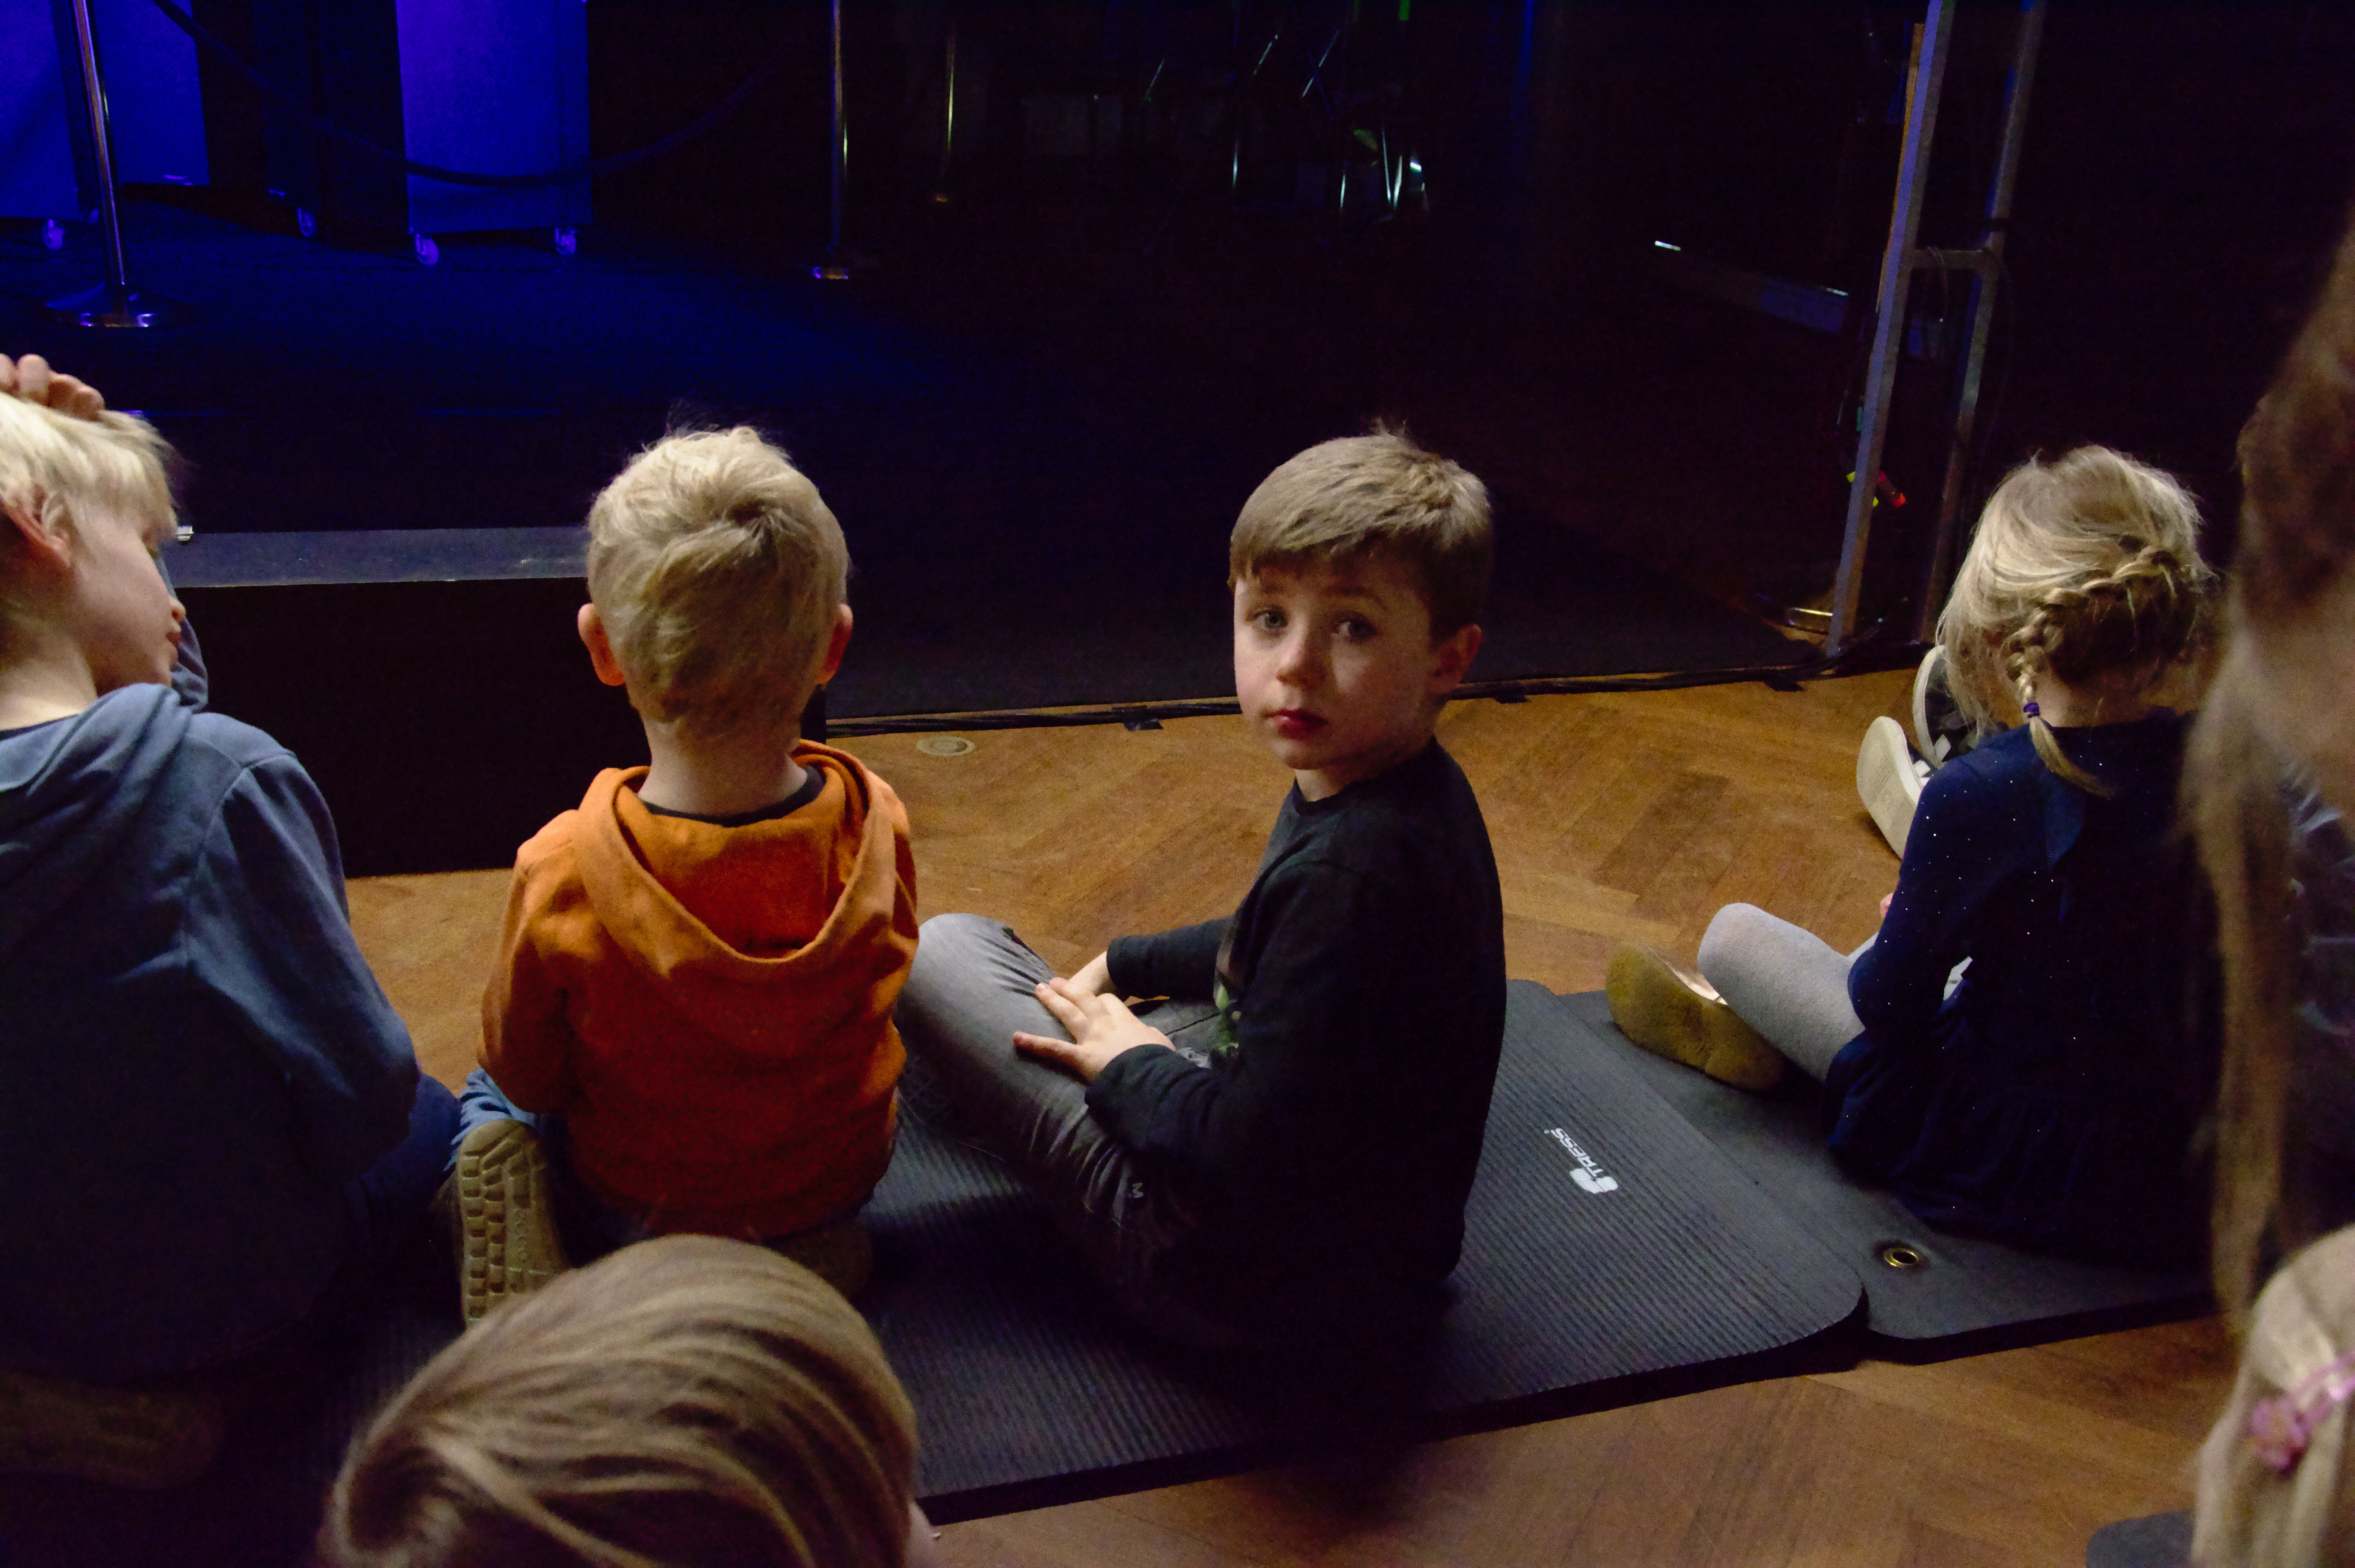
The first one is processed with maximum color info as a priority. The 2nd is processed closer to available light and basically crushes a bunch of the noise into shadows rather than trying to clean it up. I’m an M43 shooter and have found that in low light if I maximize color info the colors are still very bland as the transition from highlight to shadow just doesn’t have much contrast. For me personally I prefer the 2nd shot where the dynamic range is compressed to better suit the available contrast; more like film than modern digital. The stuff in the shadows is just a distraction to our subject, the boy anyway but that may be contrary to what you are looking for. Leaving a little more noise gives a sharper looking image overall and suites the old fashioned look of the lower dynamic range… all opinions of mine of course.
XMPs attached if you want to see the processing.DSC_0629.NEF.xmp (8.8 KB)
DSC_0629_01.NEF.xmp (8.1 KB)
2 Likes
Hi’ everybody
Thank you for many interesting responses. I will study all your input in the week to come. Right now I’m pressed for time.
But a few comments and questions just for now:
-
How does this Playraw work? I thought it was a question of uploading a raw image so everybody could test different tools and settings. But this doesn’t seems to be the case. So what is the Playraw concept?
-
I totally agree that you should avoid a “plastic” look and evaluate the whole image and not just the close up of the boys face. Some noise look more realistic than no noise. I posted the close up to show the difference in my RT and DT result. I could apply DT in other ways but that resulted in more “plastic” compared to RT.
-
I think that DT has some very nice tools (mask, red eye removal, retouch, automatic perspective correction and others) missing in RT. Editing “normal” photos in DT is just fine. But when an image needs more “extreme” editing like heavy denoising shown in this thread or heavy “dynamic range compression” the RT tools seem easier and more powerful. Maybe the explanation is that my DT skills are too limited………
One last bit of newfound knowledge that I’ve found yesterday, which you’ll have to accept without evidences as I’m not on my home pc.
The first thing you do with a shot like this is to increase exposure obviously and I’ve never touched any other slider except the main one, where you increase the exposure by arbitrary EV. This brings up all the crap in dark areas that especially on smaller sensors (the APS-C in the D7000 used for this particular photo, but also in the Fuji sensor on my XT2 when used above 3200ISO) give that particular and very fake bluish tint with lots of (very “digital”) noise). More so if you also use “Shadow and Highlights” module!
But I’ve discovered that if you increase in the Exposure module the black slider of a tiny percentage (like 0.002 or 0.003) then all the dark areas below this threshold become effectively 100% black and they stay like this throughout the pipeline.
You are effectively “crushing the blacks” and getting rid altogether of actual information but this is in my view more desirable than having to deal with denoising large patches of very dark areas that do not effectively bring any more value to the image.
Perhaps this is common knowledge for most of you but to me it was a revelation, so I hope that others as clueless (or beginners) as me may benefit in their processing.
1 Like
I believe the play_raw originated from the RT folks; I wasn’t a member at the time. Basically, someone uploads a raw with a license and we process away and preferably share the sidecar and workflow. In sum,
– CC license (PlayRaw stuff to keep in mind)
– Share processing steps
– Share processed images
– Discuss
That is what you are implying when you use the play_raw tag. Of course, you may just want to talk about noise. We still prefer you release a license if it is your photo for your and the forum’s “protection” (i.e., we would know what to do with the image and how to share it).
I’ve also found occasion to do this for aesthetic reasons. I have an image of a flower against a background of its sibling foliage, shot in the western light of my dining room in the afternoon. Standard development showed the even exposure, where the predominantly darker green background distracted from the lighter pink flower. So, I just curved the dark background to the floor, a serendipitous exploitation of tone differences to do what might otherwise beg a layer mask. Using a curve anchored to 0,0 keeps the shadow crush from developing a cliff.
Another way to boost heavily under exposed images that scales the highlights away from black is to use fusion and multiply exposures in the base curve tool. The XML files I attached above will show I used two base curve tools and pulled the highlights more in the curves and with multiplication.
Hi’
I think that your result using RT is the best of all attempts because the resulting image contains “gentle” noise that looks natural in a pleasant way in close up.
Your settings are very close to my settings except I used the LAB color space which is the default. The RGB color space setting leaves pronounced noise before the final touches. Can this be explained or is it “just the way it is”?
Below you will find the result of your settings with the LAB color space, your settings with the RGB color space and your final result after touch up. Big differences! Could you please explain your final touches in more detail and/or upload the pp3 file?

Here’s a pp3 that works with RT 5.5. It’s not identical to the previous one, but noise-wise it’s pretty close.
DSC_0629.jpg.out.pp3 (11.9 KB)
Thank you for the pp3-file.
When I use my original pp3-file, change the color space to RGB and change the chrominance curve from linear to equalizer I get a result very much the one you posted. The Chrominance curve has a big effect.
odd, in my tests I found it to have zero impact. I might have done something wrong though, I will re-evaluate