Had a little time between after work and wife coming home, so I collected a few screenshots of my previous curve endeavors. I have three examples, two images each, one with the curve, the other with the curve disabled so you can see the starting point.
First, the image from earlier in the thread. In this one, I chose to crush the lower-toned background to accent the flower, a lazy-man’s “layers”:
Note how the second control point lays the first part of the curve almost flat. Compare that to this screenshot with the curve disabled (note the checkbox at the upper left of the curve pane; enable/disable):
Now, a bit less aggressive application of a similar curve. This scene had patchy sunlight, so I wanted to emphasize that:
Less of the leftmost part is flattened, which are the shadows in the trees. What I wanted darker was the foreground, which was shaded by the overhead clouds. Here’s the image without the curve:
The above images could also be affected with a blackpoint setting roughly corresponding to the second curve control point. The difference would be that all the points to the left would just be zero; with the curve, there is still some definition in those pixels.
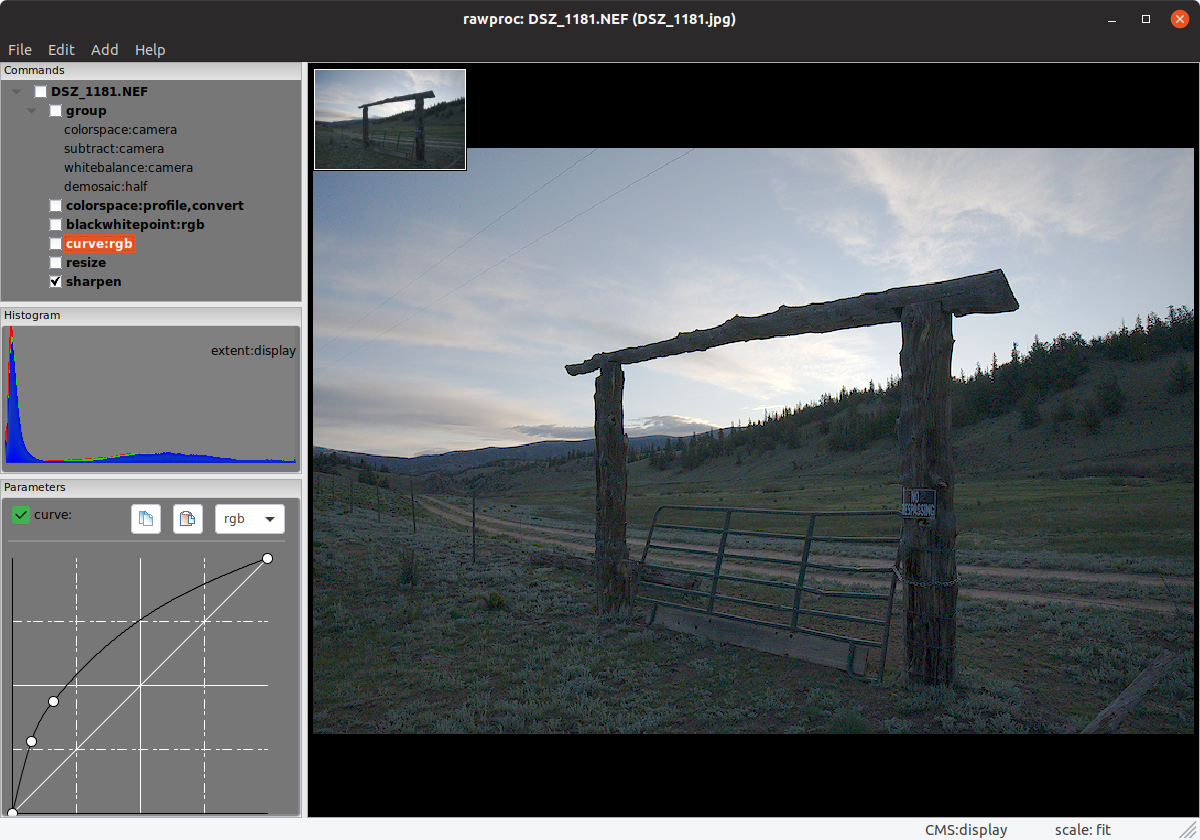
Not exactly to your question, but a recent change in my curve use. My new camera has a “highlight-weighted matrix” metering mode, which biases the matrix-calculated exposure to put the highlights back in the image range. I have it programmed into one of the function buttons so I can toggle back and forth; sometimes, the exposure doesn’t change because the scene is already “flat”. This is not the case in the example below, where the post-twilight dawn sky is clearly much brighter than the foreground, which is still in the mountain’s shadow. With these images, it is necessary to pull the shadows up, and the curve illustrated does that:
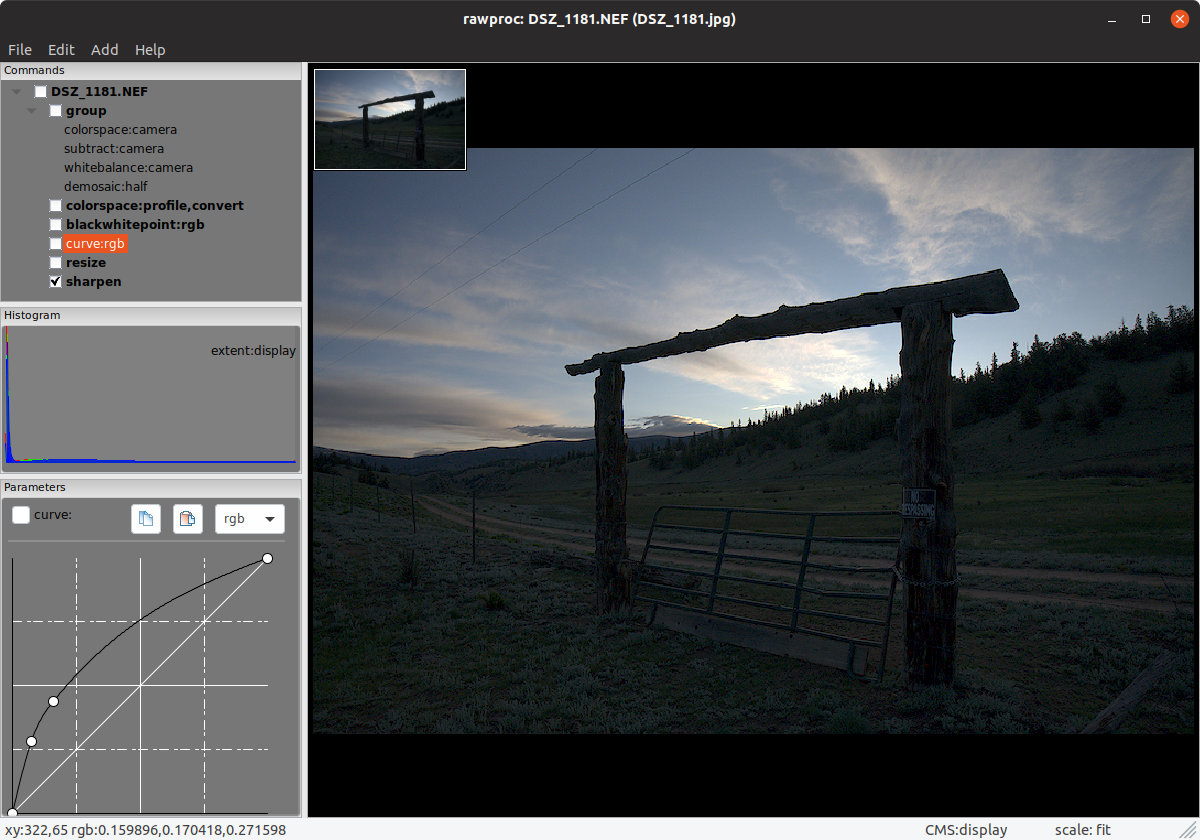
The second control point does the “lift”, the third one pulls the curve off the ceiling in the higher regions. In any such curve, you want the upper right part to gradually intercept the 255,255 point, in order to not blow the highlights Here’s the image without benefit of this curve:
I’m still on the fence with this one (oh, a fence in the image, very punny!), and still trying to figure out how to best use this metering mode, but I’m pretty sure whatever I settle on will involve such a curve. For the readers familiar with ETTR, this metering mode uses the in-camera JPEG to determine clipping, so it doesn’t meet the ETTR sniff test. But the camera, Nikon Z6, has really good dynamic range so I’m just really counting on that “slop” to give me usable shadows, right now…
So @micha, I understand where you’re at with this, I was there just recently. But the ways of the curve are how all of these tonal manipulations are “laid flat”, so to speak; when I came to really understand the transfer function nature of the curve, I was able to “eyeball” so much more manipulation with it.
For what it’s worth… 


