Thanks, looking forward to that one too!
By the way, I tried the inpaint highlights preset, but in the best of cases I get some coloured noise that does not seem to improve anything.
I read that the method is there to “remove the specularity in the image with specular objects”.
without diffuse module:
You need to add enough iterations so that noise disappears. Noise is how reconstruction is initialized, it’s like adding random particles and then diffusion will order them to follow gradients and propagate textures. Unfortunately, it doesn’t work good for large areas to reconstruct and the examples provided in the litterature seem to use the algo in its sweet spot (256×256 px images with missing parts of a few pixels width).
Its mostly designed to propagate images inside the borders:
The effect shown here looks pretty nice – any chance for a preset (or a screenshot of the module settings)? I’ve been trying to recreate this for a while now but didn’t yet succeed.
Argh, it’s complicated because it needs to remove (in the code) the fence preventing moving the borders/framing module before colorout in the pipe. Once this is done, move borders right after filmic, diffuse after border, then it’s mostly the “inpaint highlights” preset, with iterations > 10 and a mask on the border to discard the image content.
Thanks! The fences were easy to remove. I have a hard time getting that much of the image to spill into the borders, though, starting from inpaint highlights preset and reducing the luminance threshold to zero.
And… here I was thinking I was happy with stable 3.6. Haha.
I think I’ll be on development versions from now on Not a bad thing, especially if I want to start actually giving back.
I know you are making the tools you see for your photography, but, again, thank you for sharing with the rest of us!
Guess, once I get use “down”, I can chuckle at spending so much money on f1.2 lenses and obscure lenses. With darktable in general, unless you are a sports photographer who is under a time crunch, it really changes the decision making matrix for what cameras lenses we are look at…
I wondered when I felt the moment of photography becoming more like 3d artwork, as the look has been becoming sort of intertwined. I know we, as darktable users, have had a crazy amount of control over the quality and look of subject isolation from foreground, but, emotionally, this is just a interesting moment.
I second your sentimemts. We are very lucky to benefit from the work and collective expertise of the dev group. @anon41087856 or others, I will do some research but any examples or use cases that anyone could share would be appreciated…This type of tool lokely has both technical and artistic applications Thanks again
You can, the code is stupid simple, I invented nothing here (maybe just the GUI). However, it’s super slow. Someone (probably me) needs to use FFT convolution to make larger blurs bearable, runtime-wise.
There is also the diffuse & sharpen module that you may want to reuse. The darktable GUI shows all parameters, but by factoring them, you may be able to do nice deblur, hazing and local contrast stuff in scene-referred. Plus @flannelhead and Ralph Brown are currently optimizing it, so runtimes should be ok soon.
I wonder if you can extend it so that lowpass module can be replaced?
I’m hacking in here because I immediately see - besides actual function - enormous potential for creative application especially in combination with different blend modes.
For this - if that is feasible - additional option for the contrast and saturation/grayscale would be of great use.
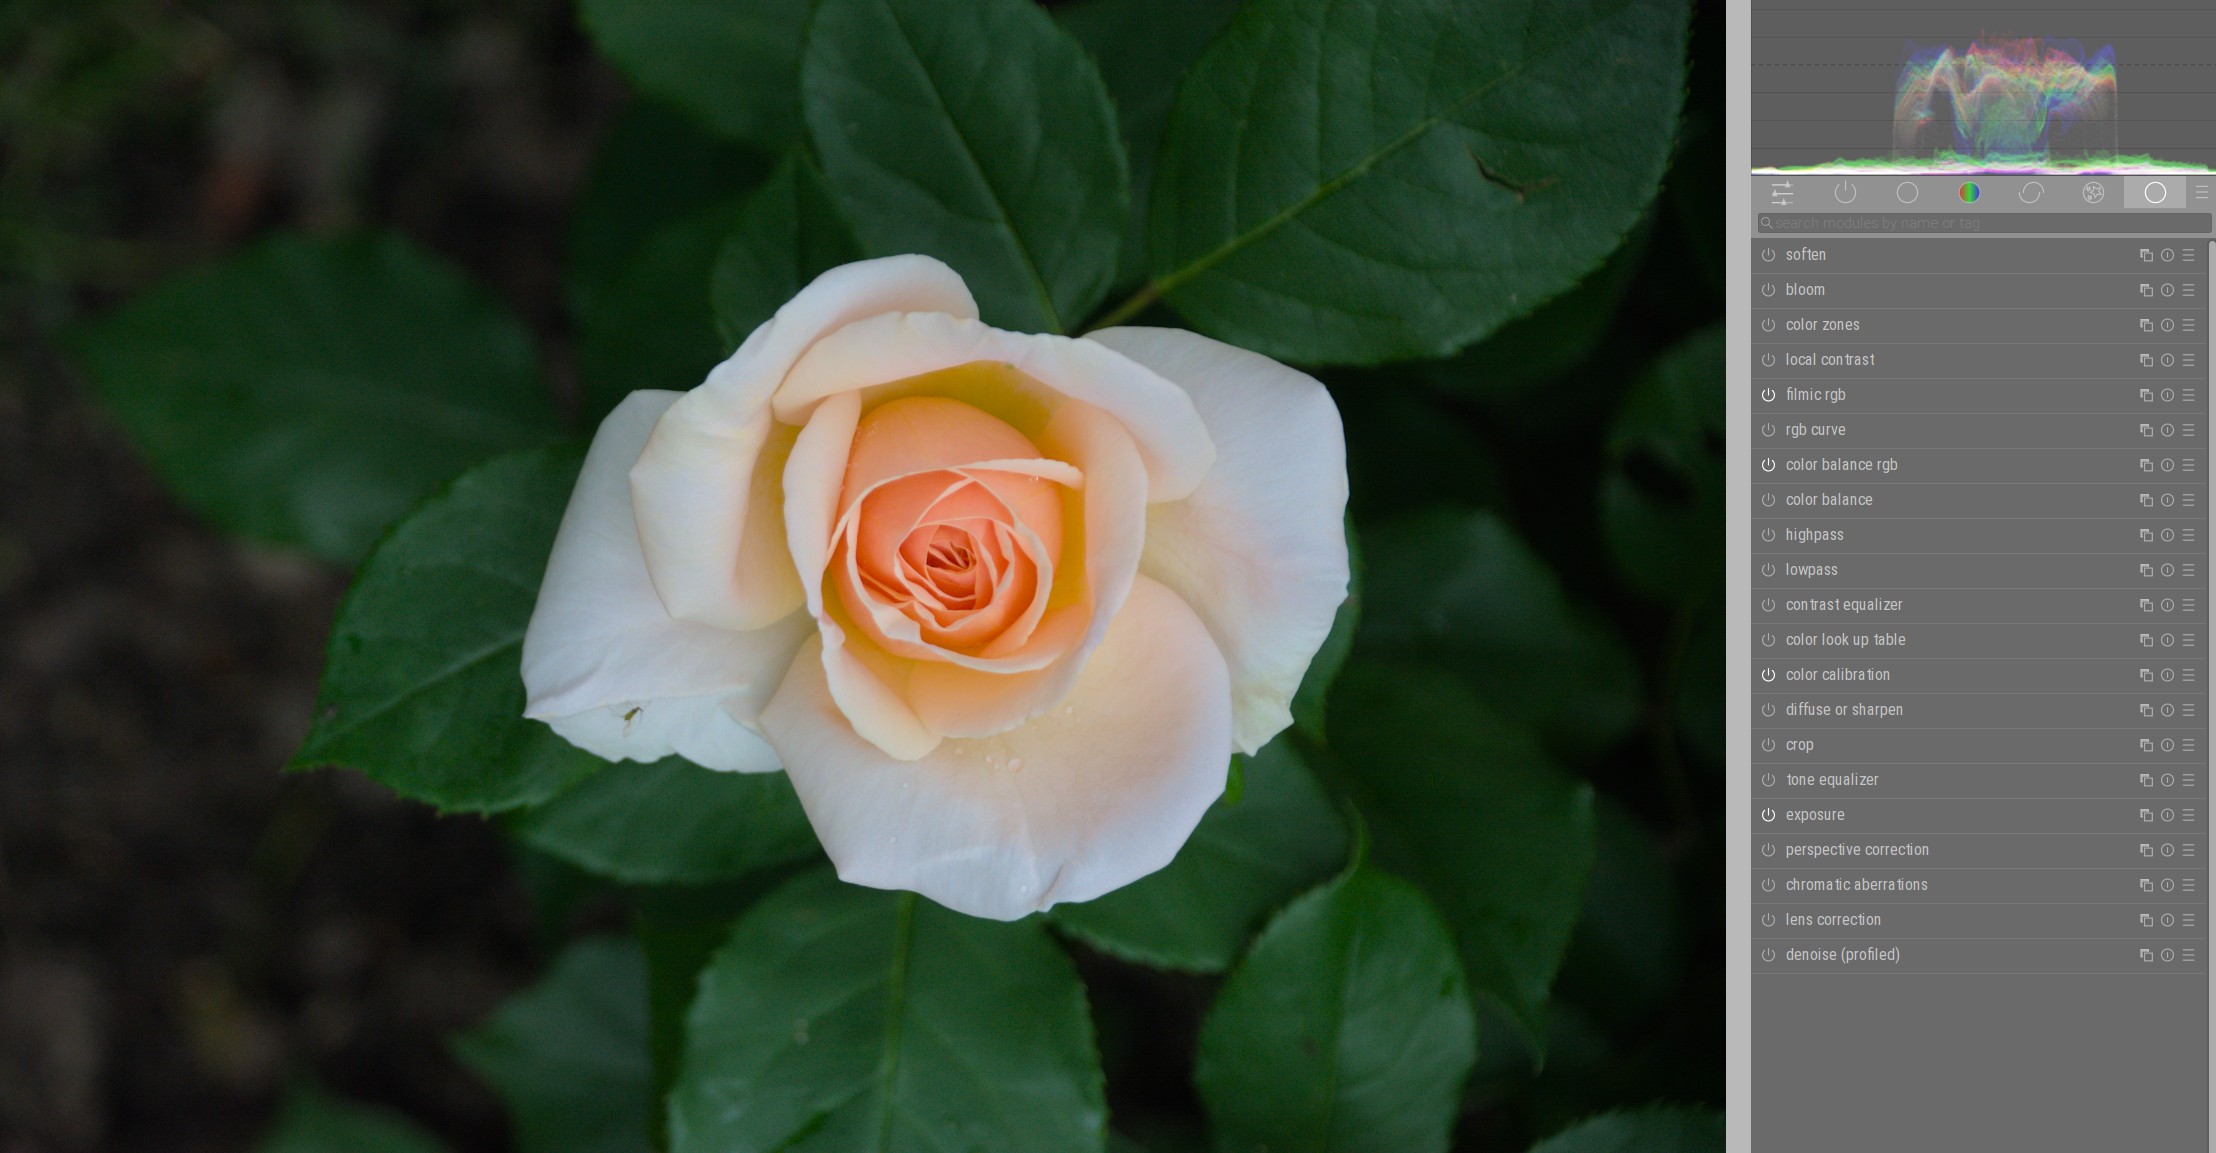
As a demonstration of what I mean, just a couple of examples with lowpass module, which is unfortunately obsolete as it does not fit into scene-reffered approach.
I think the general mask API (using the white point) should be enough though. In scene-referred, many display witchcraft can be achieved by simple arithmetic operators. Just not the saturation thingies, because that’s not physical.
And before I get too far off topic here, what I was actually thinking of is something like “gray” tab in the color calibration module, where you can combine color channels to get grayscale output. This would give you even more control over the final result when combined with blend modes.
Here are two examples with “gray” tab in color calibration module combined with multiply blend mode:


 Not a bad thing, especially if I want to start actually giving back.