Gaffer tape is ridiculously expensive because it’s designed to leave no residue.
1 Like
Ah, didn’t know that. Thanks for a heads up
@ggbutcher , Glen hi, I’m pushed for tiem right now so pls excuse notes format… admired your SSF work, wanted it for my canon 6D but you did nikon, tough. Then a few weeks ago SSF came up again, followed a link, got to some orgs github, saw 6D, ZIp file, hey presto canon_6d_ssf.icc, attached, hopefully genuinely what you produced for them.
However on trying it seemed to be a highlights issue - I am misunderstanding!
Simple Darktable edit with Input Profile = standard color matrix
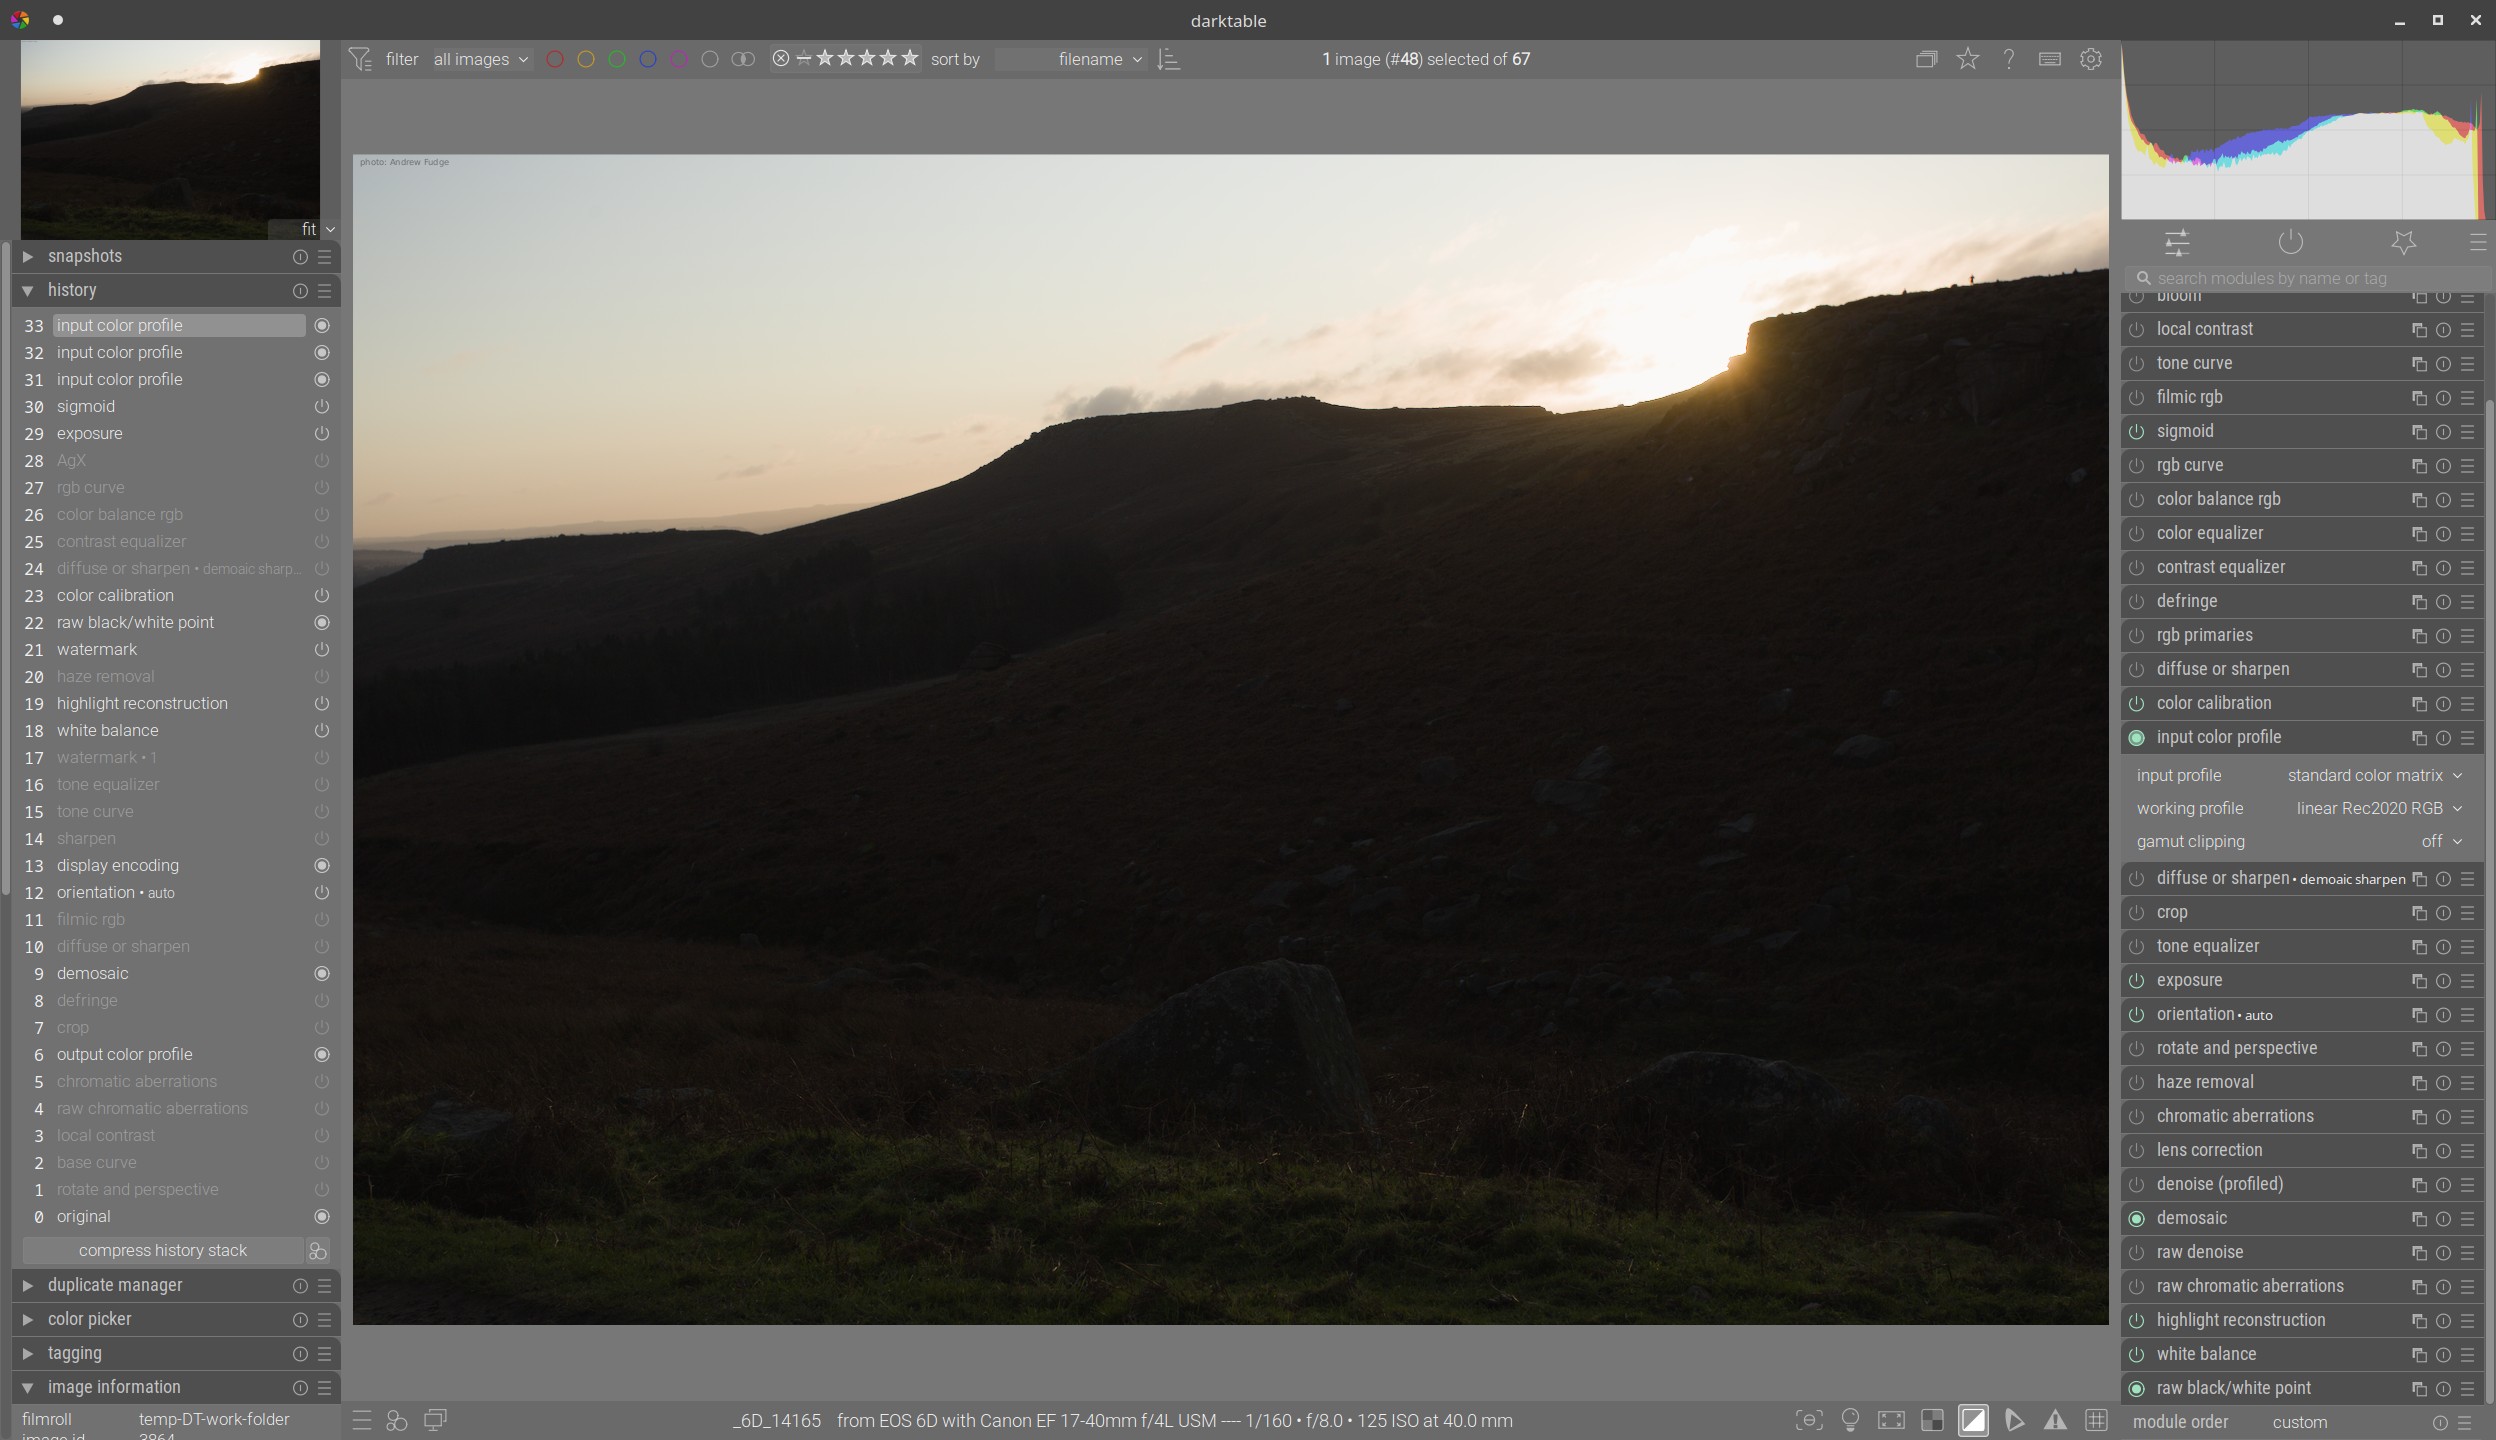
Same but with SSF ICC -
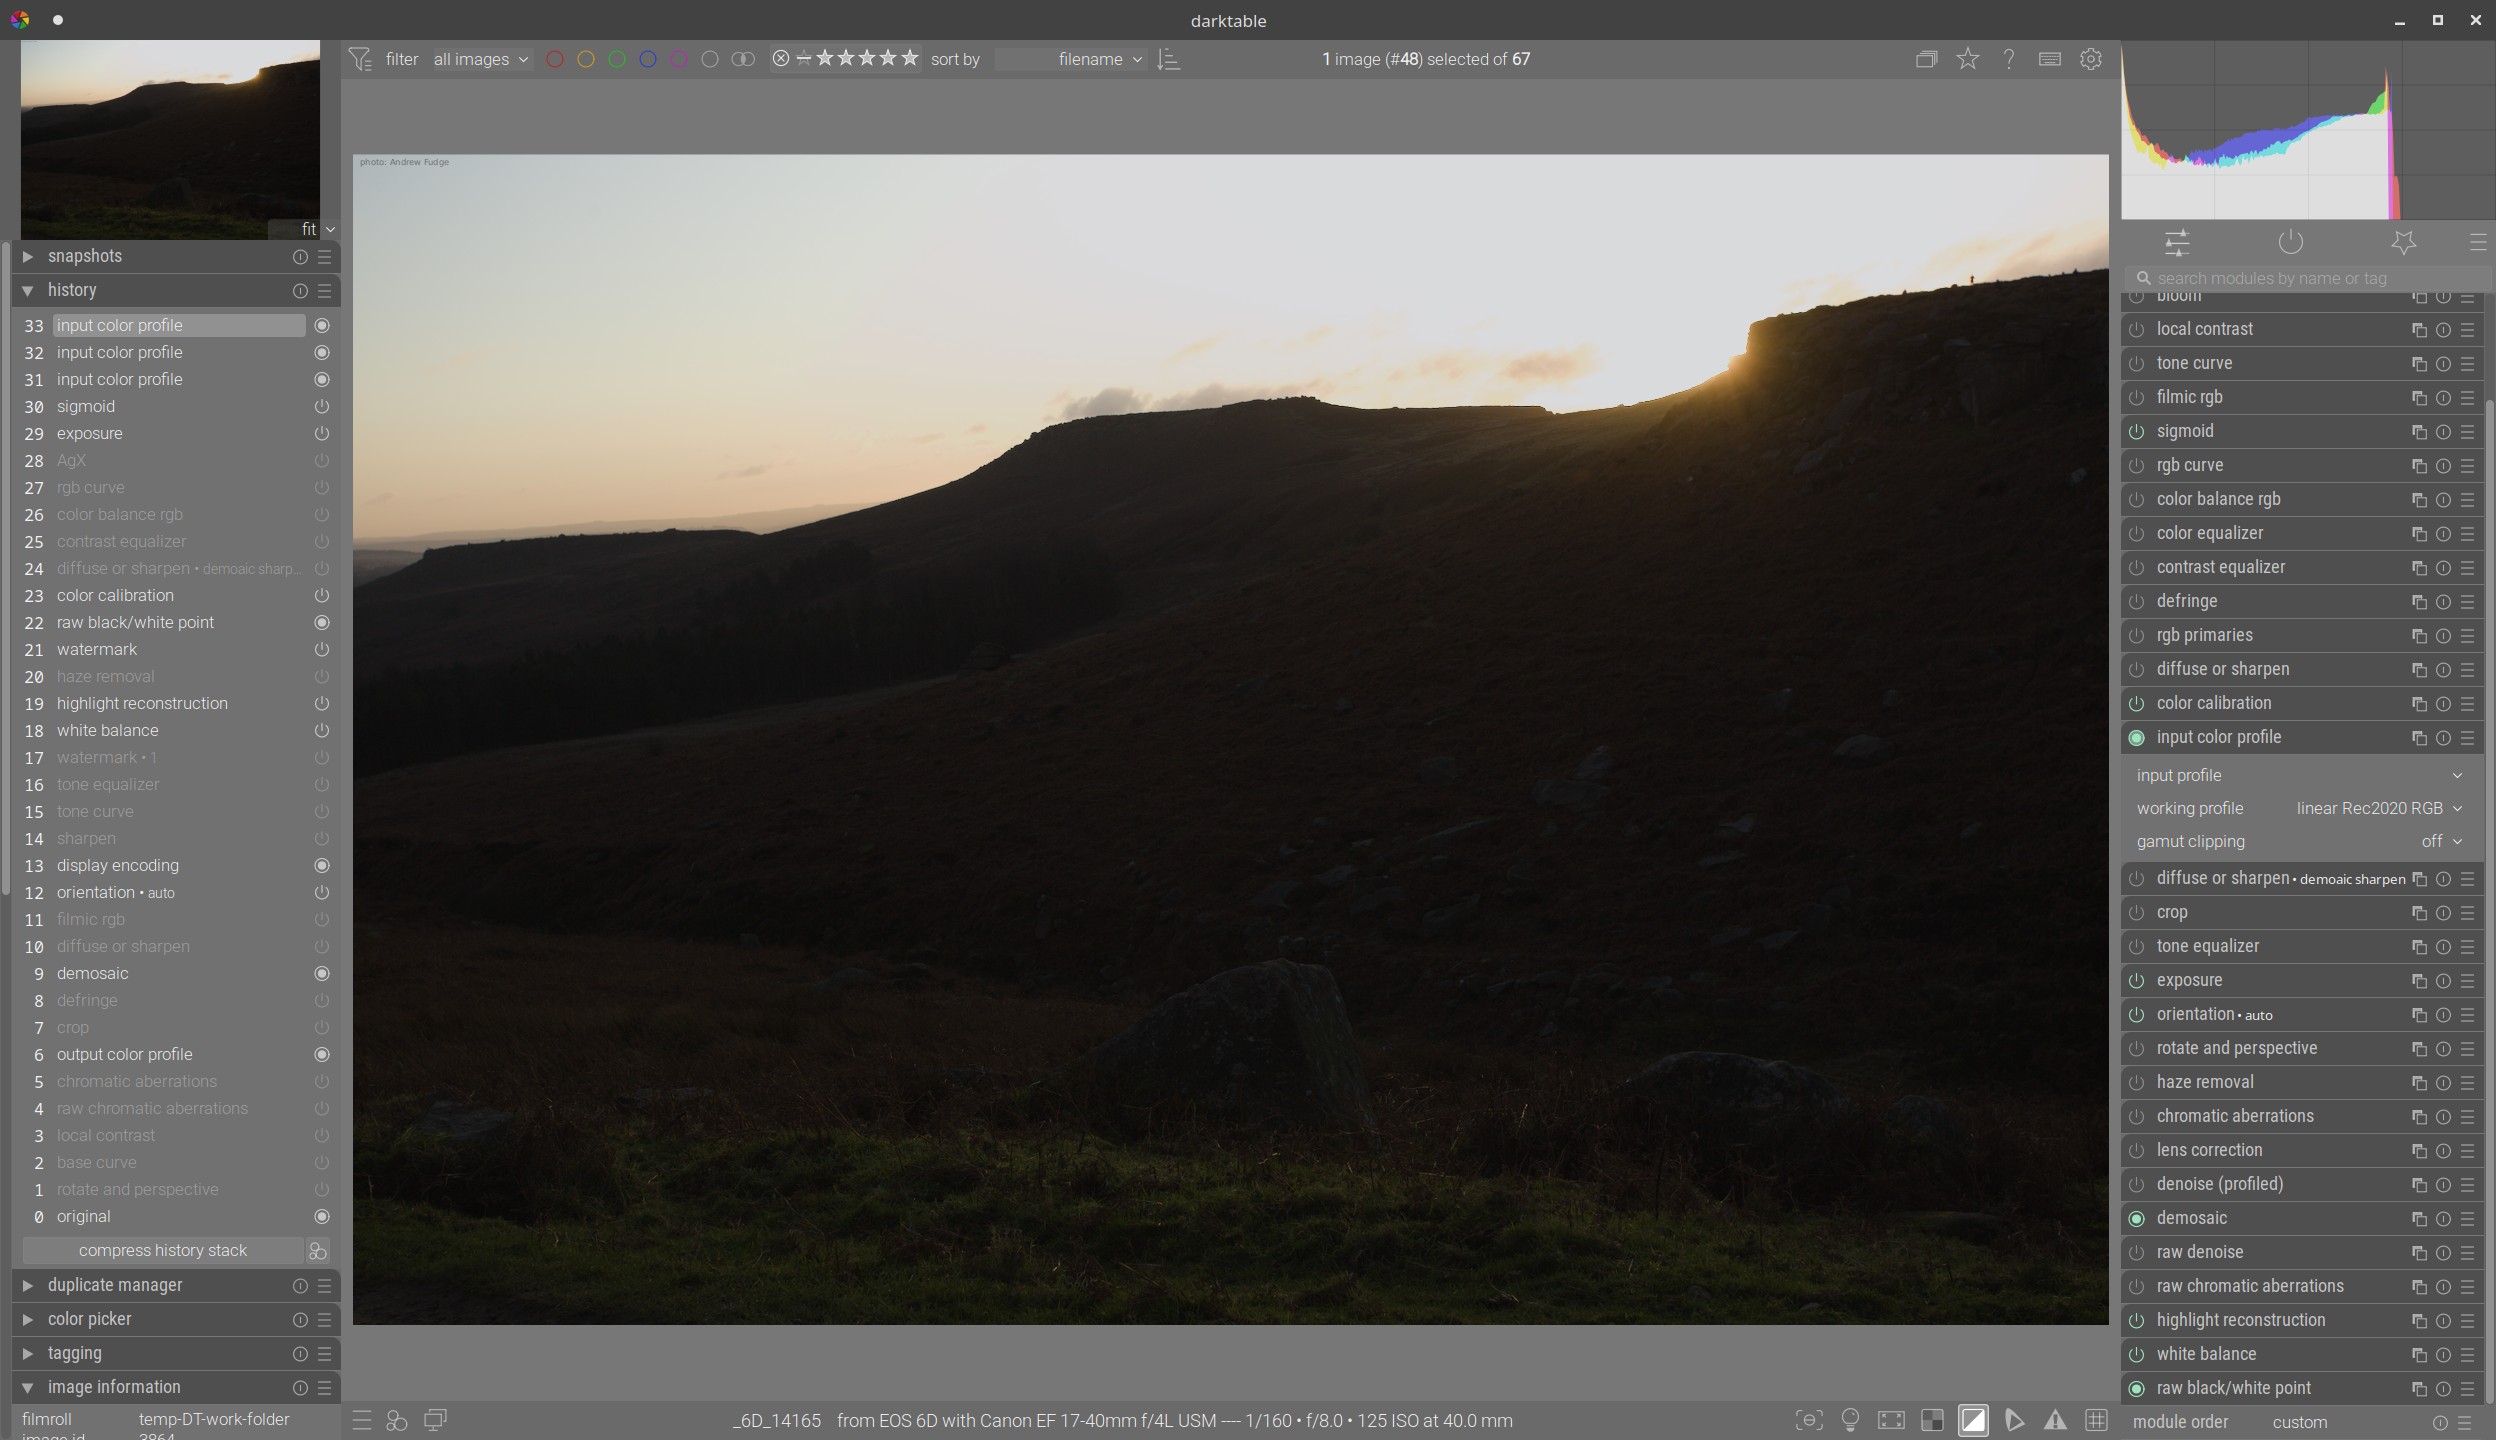
Notice how highlight detail disappears and how the histogram shortens.
What do you think?
canon_6d_ssf.icc (212.4 KB)
Raw file is here: WAS:Can't upload RAW file NOW: Playraw - sundown in the Peak District
1 Like
Interesting capture. Had to make up white balance multipliers, as rawproc isn’t (yet) compiled with a current libraw, and it took a really aggressive tone curve to get some definition in the ground region.
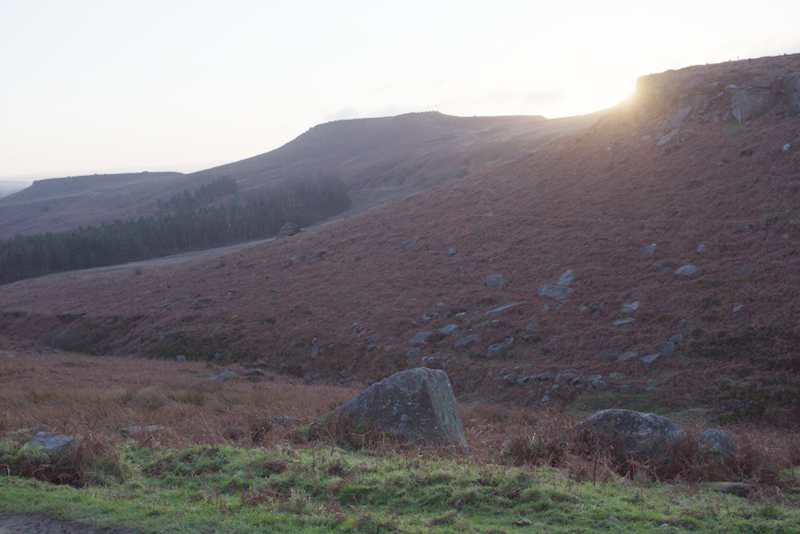
I think your highlight detail and histogram dynamics are more about the tone curve than the color profile, at least they should be. I did two renders, one with a R6 matrix profile, the other with your SSF profile, all other processing the same:
Matrix:
SSF:
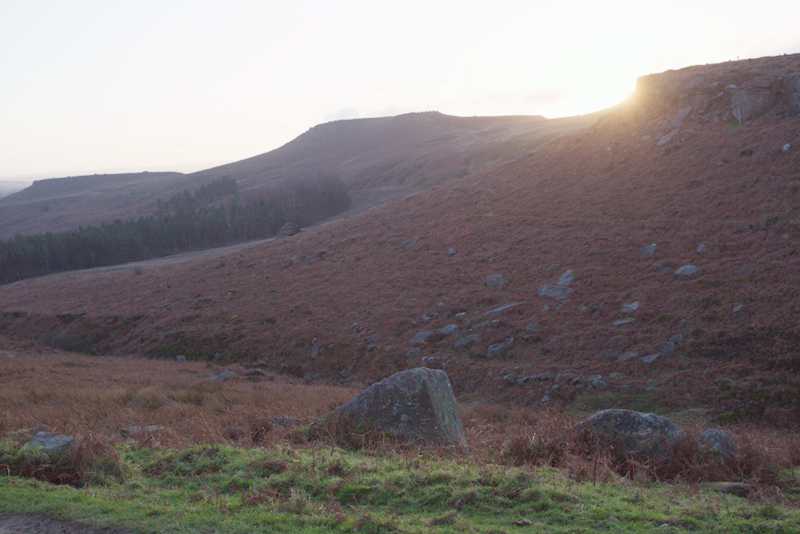
The SSF render gives a bit warmer tint, the matrix a bit bluer. I would say your SSF profile performs fine, in that it does’t screw things up; comparing to the scene would be the best indicator, if it were possible to go back there in the same light.
A good test would be an image with extreme blues or reds, looking for gradation in those colors.
Thing is, with that SSF data you can make profiles for any illuminant, without having to take a target shot under that illuminant.
NIce work!
hi, thanks for the reply. Yes I agree with that, but it’s the fact that just changing the Input profile makes such a difference. In Darktable, Input profile transforms from camera space to working space. “Standard color matrix” is normally used, this being what the great and good have decided is right for the camera in question. So I was expecting an SSF profile to be more accurate, and this manifesting itself as subtle-ish colour changes. But not what I saw!
To go back a step, firstly you mention R6. I’d like an R6! but I have a 6D and that’s what took the photo. So the matrix you used is probably not right. Also, I’ve found where I got the SSF icc from after some searching. I was clearly not paying attention, and thought you had made the profile, whereas in fact I think you have been collecting them where possible. So for anyone interested (canon, nikon, sony, olympus…) see this page
Regarding the images you’ve shown, be aware there’s a lot more detail available. Here is my attempt with the standard matrix, followed by the SSF (by simply changing the input profile)
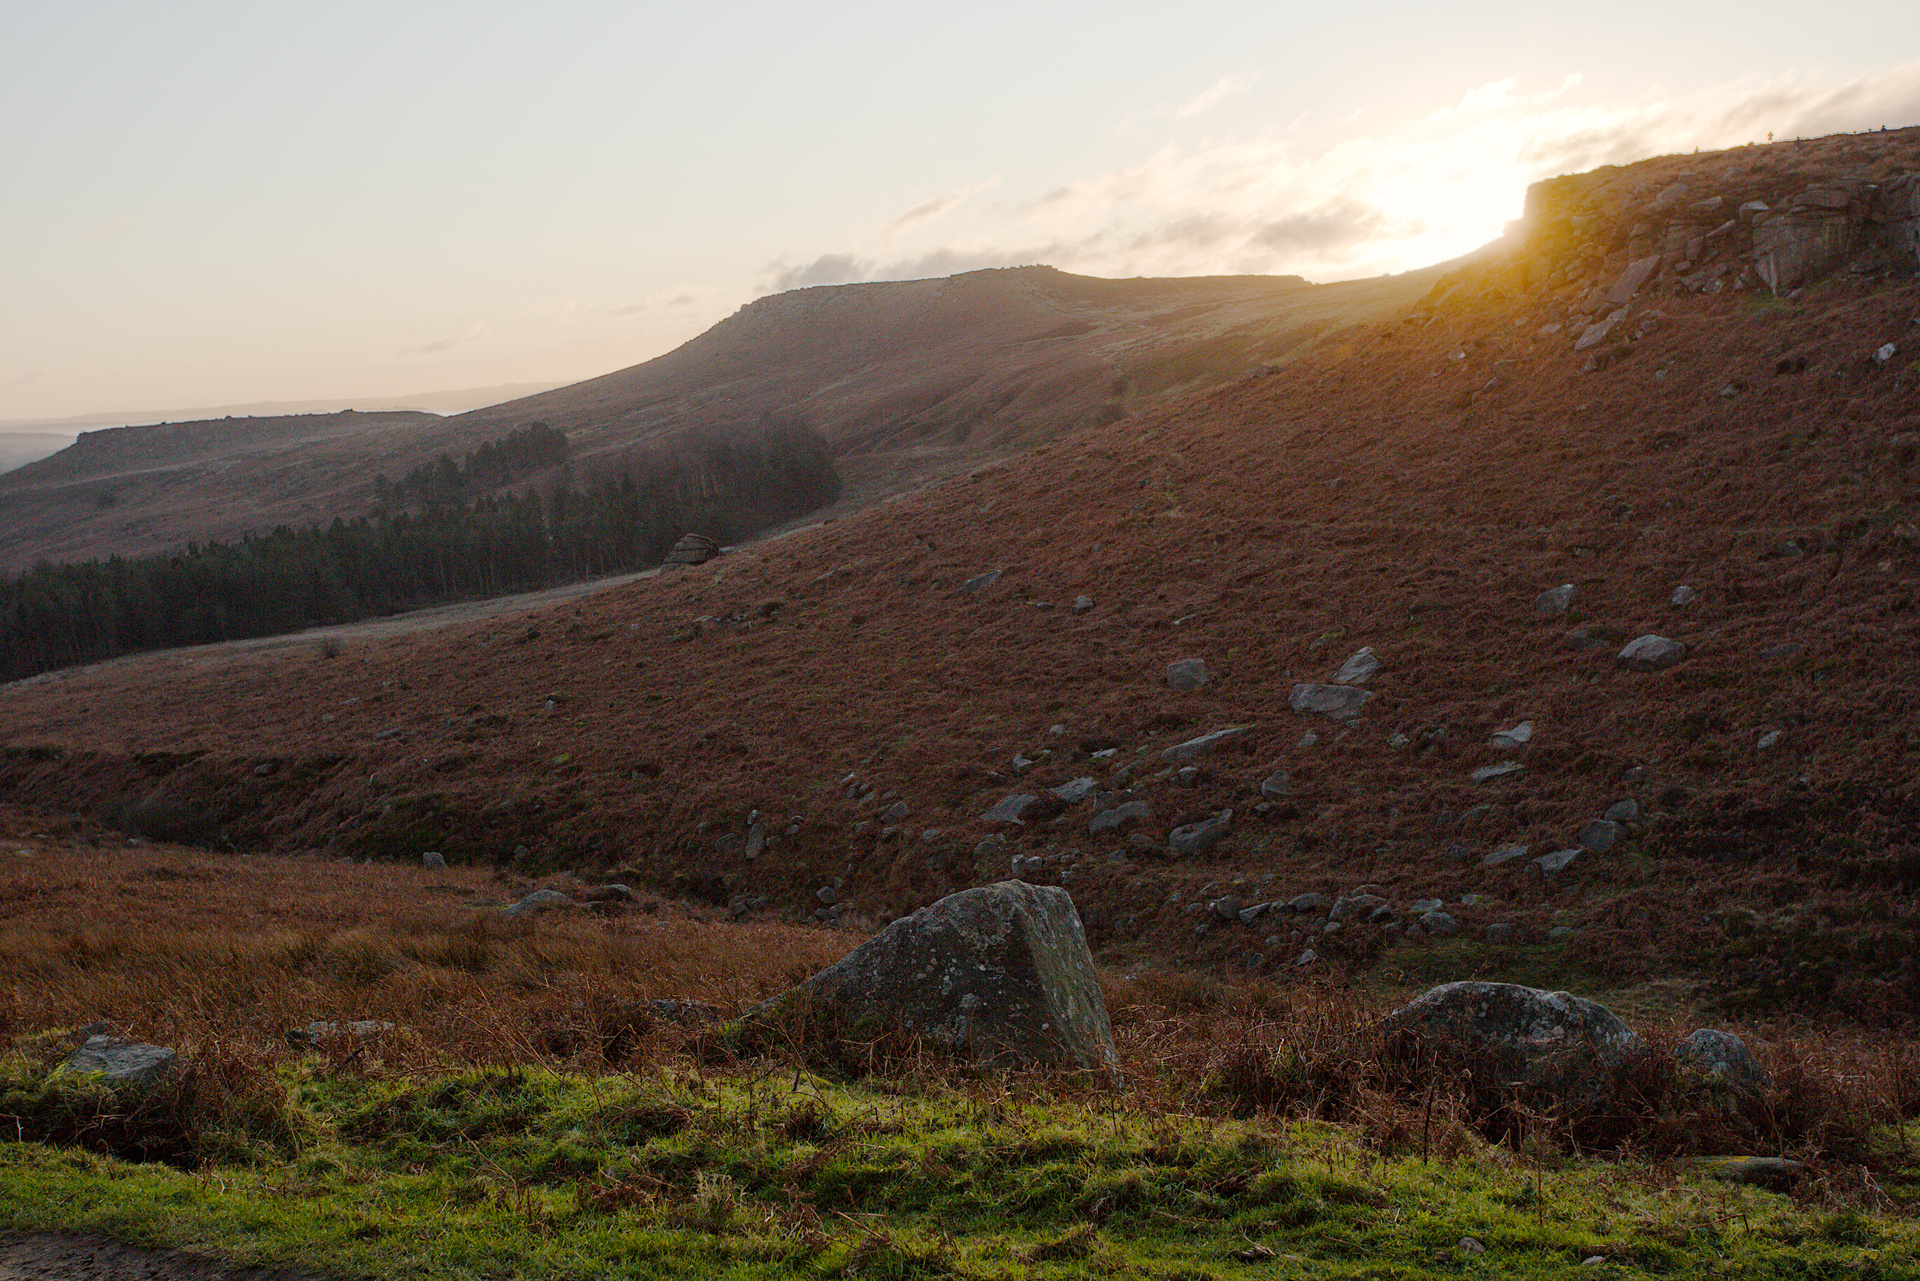
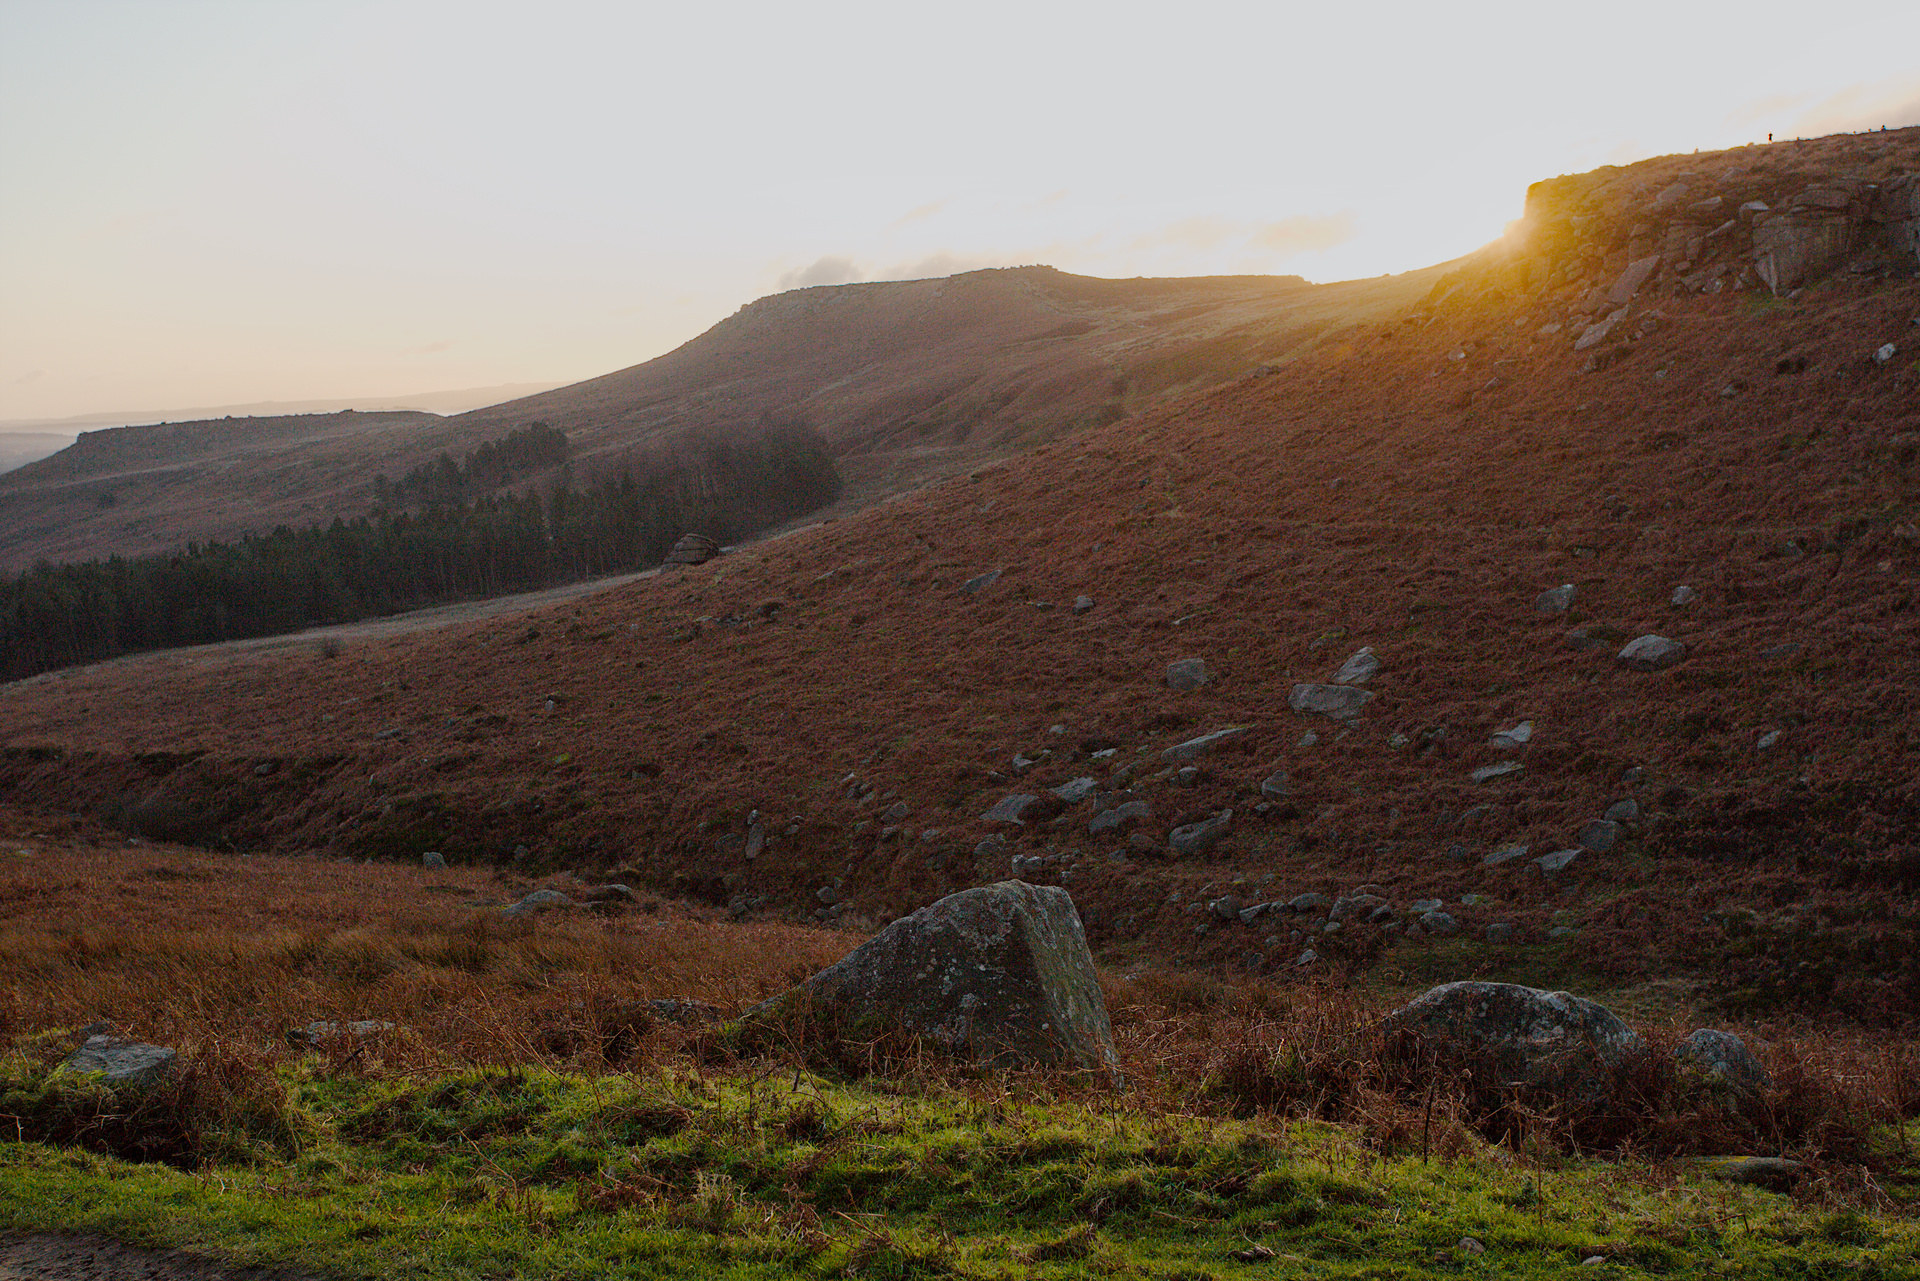
Rabbit holes!
1 Like
The two renders I posted were the same toolchain in rawproc, only difference is the selection of camera profile. That should only affect color, not tone, as camera profiles are (or, should be) linear.
I don’t think you’ll get a good comparison with this image, as the colors aren’t out-of-gamut, as far as I can see (don’t have an out-of-gamut tool in rawproc, maybe should add one). I do find my greens improve a bit (less yellow) with my Z 6 SSF profile; with your D6 profile, not so discernable.
Matrix profiles are not so bad in that they provide anchors in the chromaticity horseshoe that roughly correspond to the tristimulus peaks. Comparing their render to SSF renders requires ‘corner-case’ colors that vex the matrix algebra.
Mind you, I’m jus a ‘color mechanic’, not a fully-licensed color scientist… 
I wanted to share something I did, so this thread comes in very handy (I didn’t think it deserved a new post).
I always wanted a quick way to transfer my photos to my NAS, and my phone.
I know there are phone apps to transfer the photos from the camera through wifi, but let’s be honest: those apps suck.
So I had an idea: why not just connect my camera to a raspberry pi, and run gphoto2 + syncthing to automate all that?
So I bought this thing: Pwnagotchi Complete Pack - Pi02w-PiSugar3-eink-case - PiSugar Kitchen
Which has basically all the necessary hardware (ok, I also bought a bigger micro sd, and a better usb-c to micro-usb cable).
Then all I had to do is to write some shell scripts, and pi scripts to turn the raspberry pi into something that transfers automatically every photo taken to my phone (the jpegs only), and to my NAS (jpegs + raws).
The coding was 80% Claude and 20% me, everything is here: GitHub - rafaelcgs10/pi_photo_sync: A simple script that pulls photos from a camera and sync the folder with syncthing · GitHub
I usually just share my phone 5G with the raspberry pi by creating a hotspot. This is not an issue as I have an (affordable) unlimited 5G plan. So when I am outside taking photos, I get a just-taken photo to my phone usually within 10 seconds. And when I get back home, I just open Darktable and find my news photos all there.
This is how it looks:
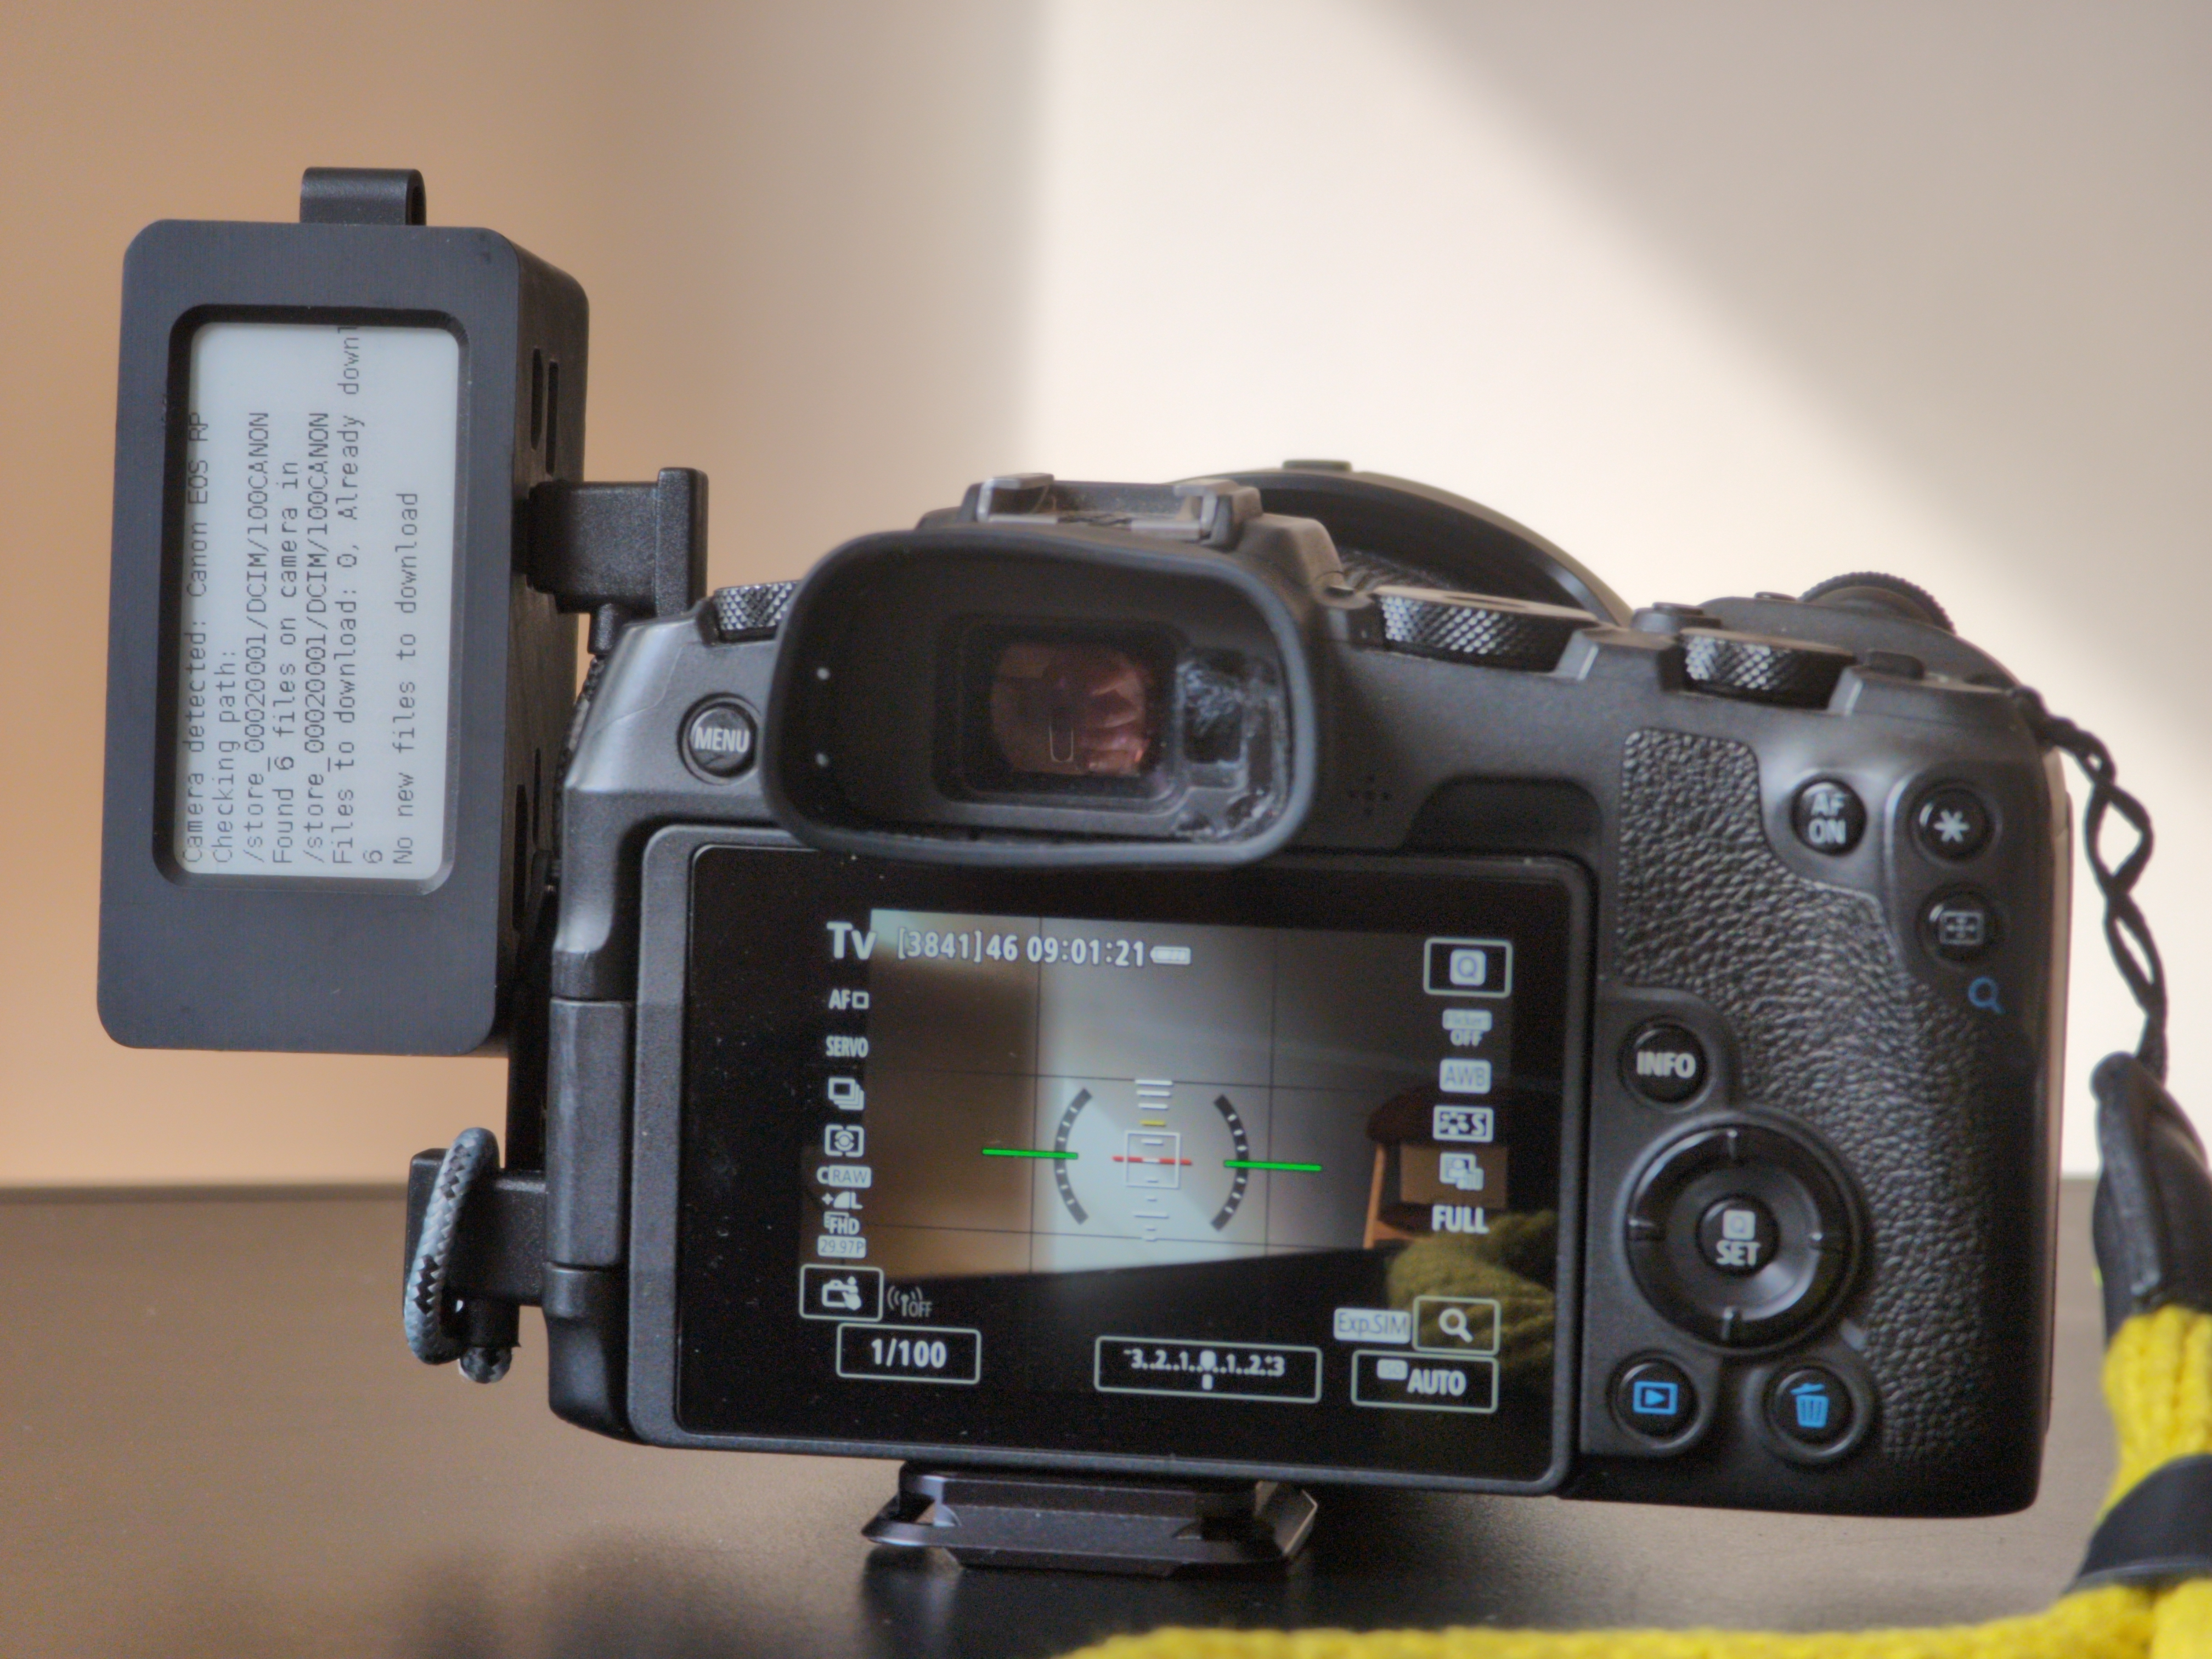
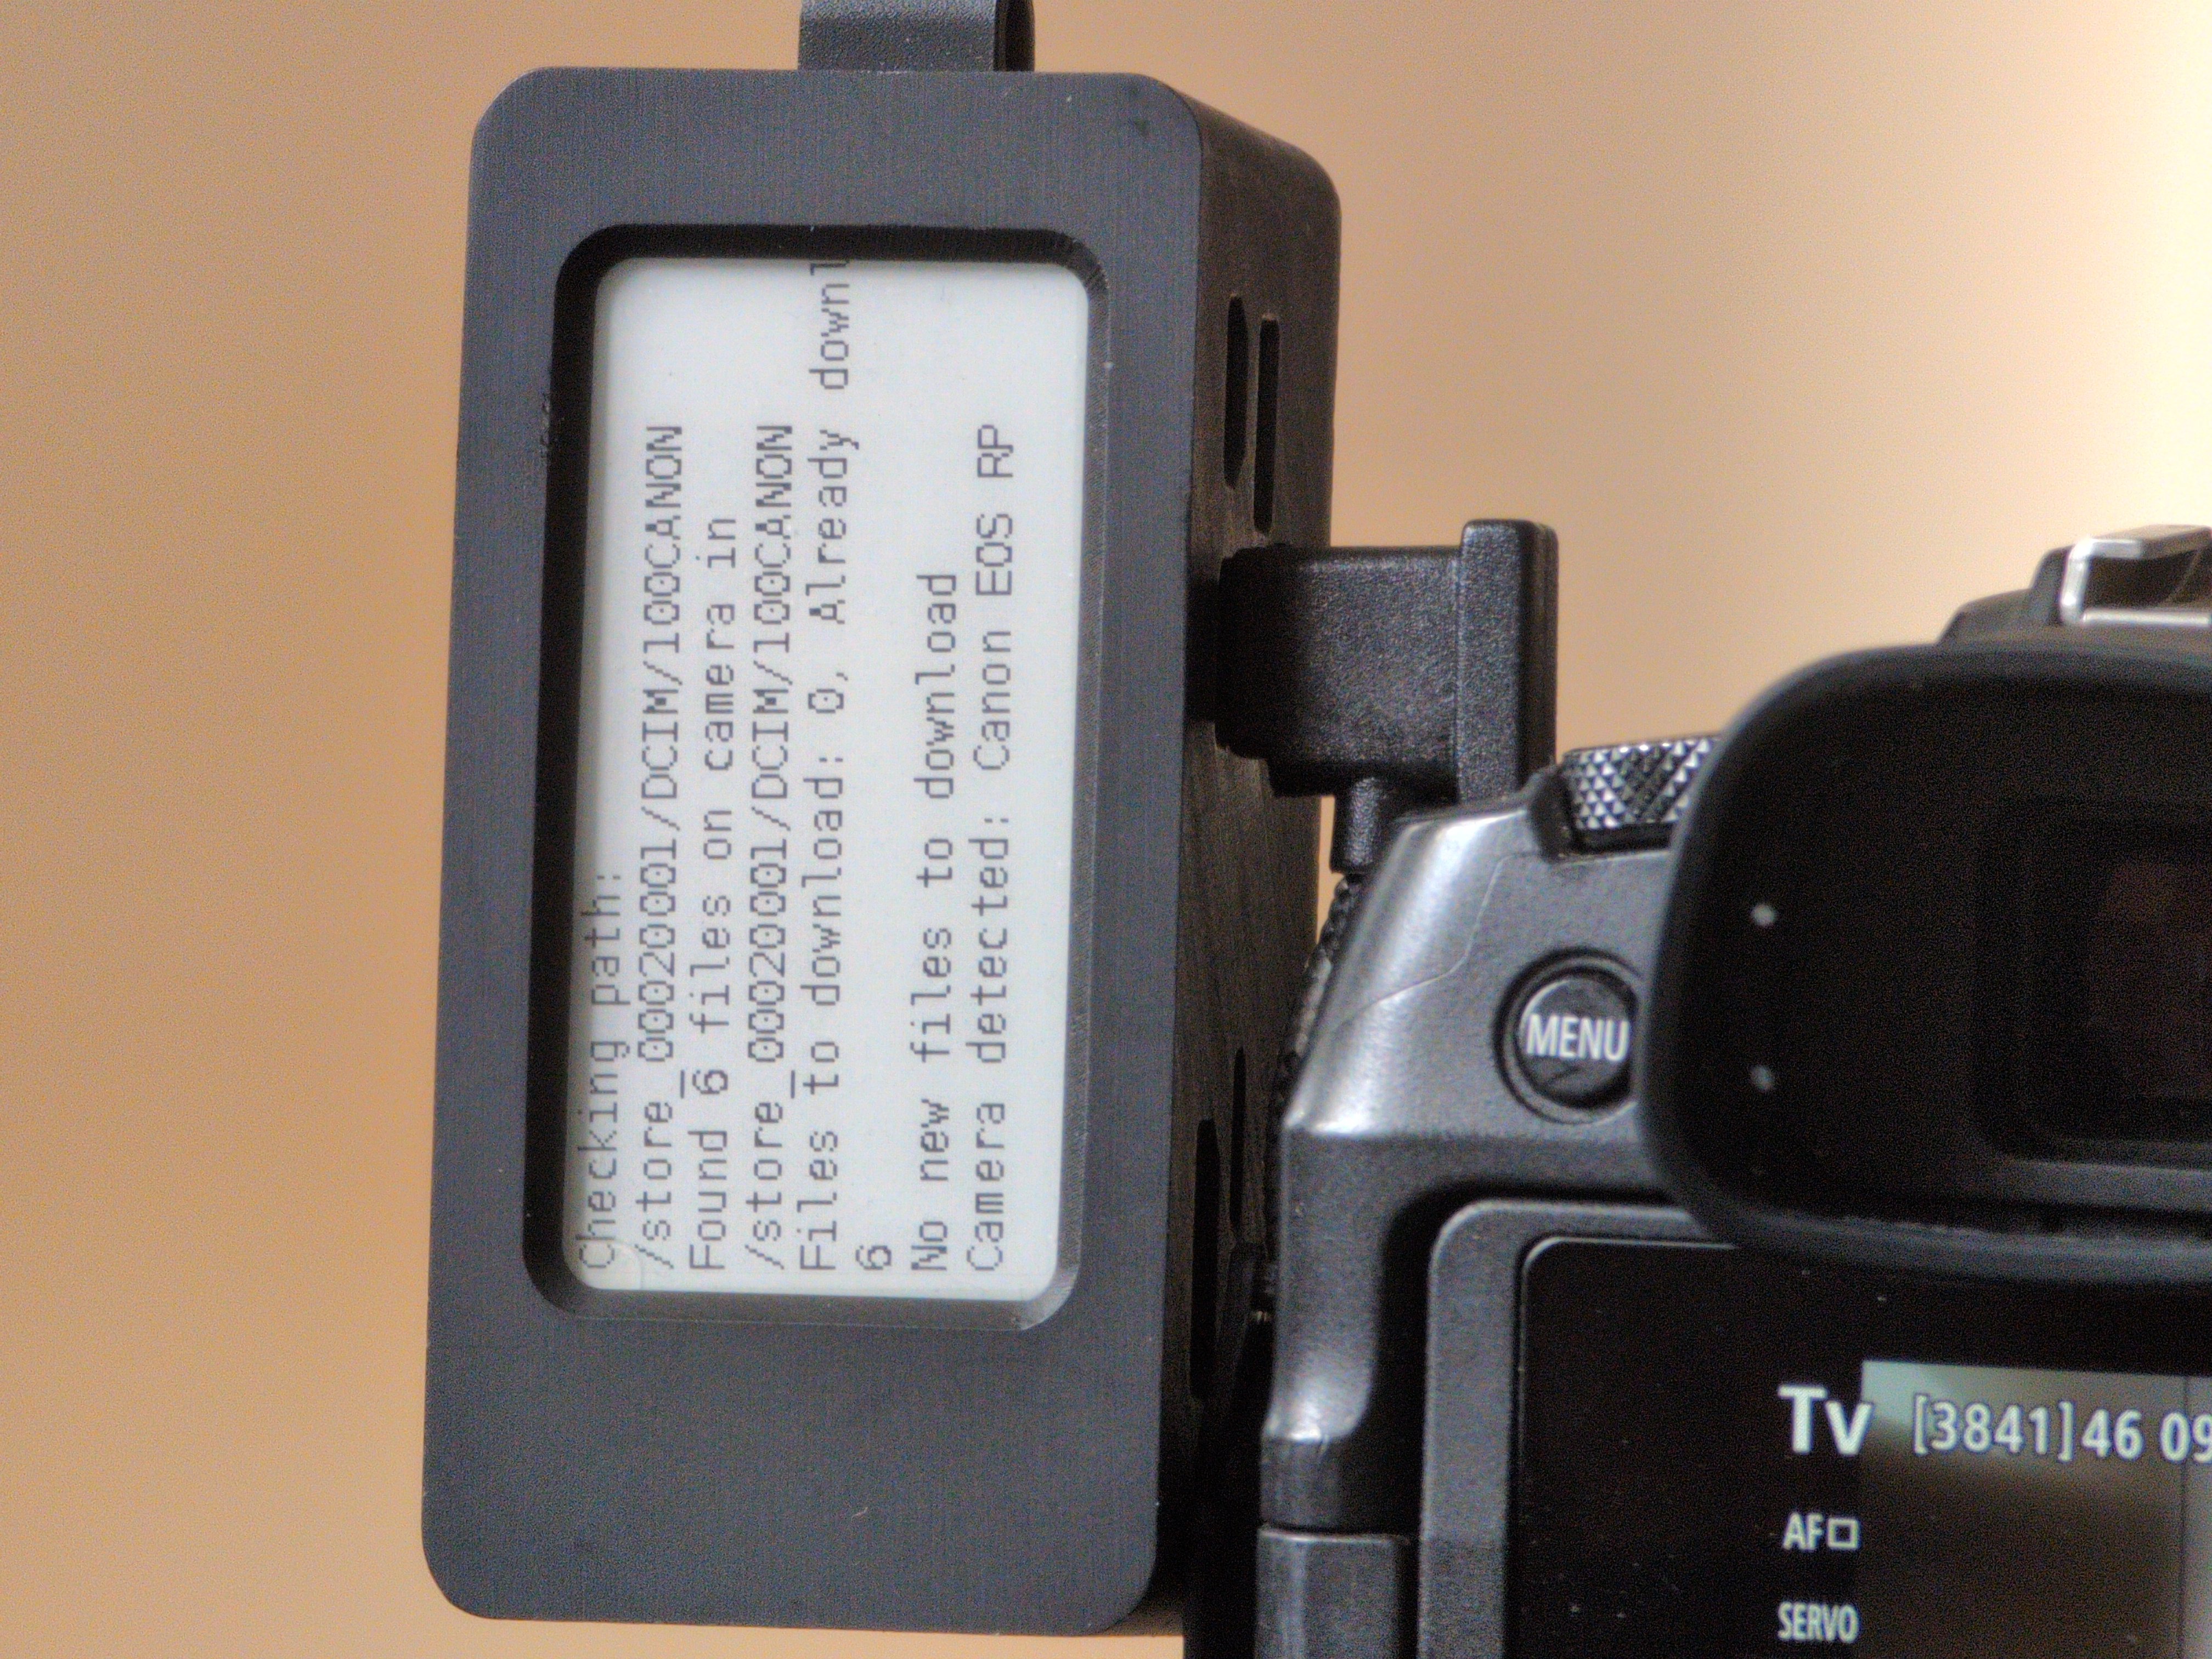
A little clumsy, but everything holds fine.
I just kinda attached the usb connector to the metal thing used to connect camera strips.
I am happy with it, but still thinking about ways to make this setup nicer.
7 Likes