Going ultra simple. a tissue as a diffuser for a compact camera, a white card for bounce, a cheap thin white shower curtain as a diffuser or some black A4 dense foam as a flag for a flash.
Not sure I even have it any more but my first infrared camera was a Panasonic point and shoot which I took apart, removed the infrared cut filter to make it full spectrum, and then superglued a step-up filter adapter to the front, so I could use infrared filters on it. The pictures weren’t the best quality but it was enough to give me the infrared bug.
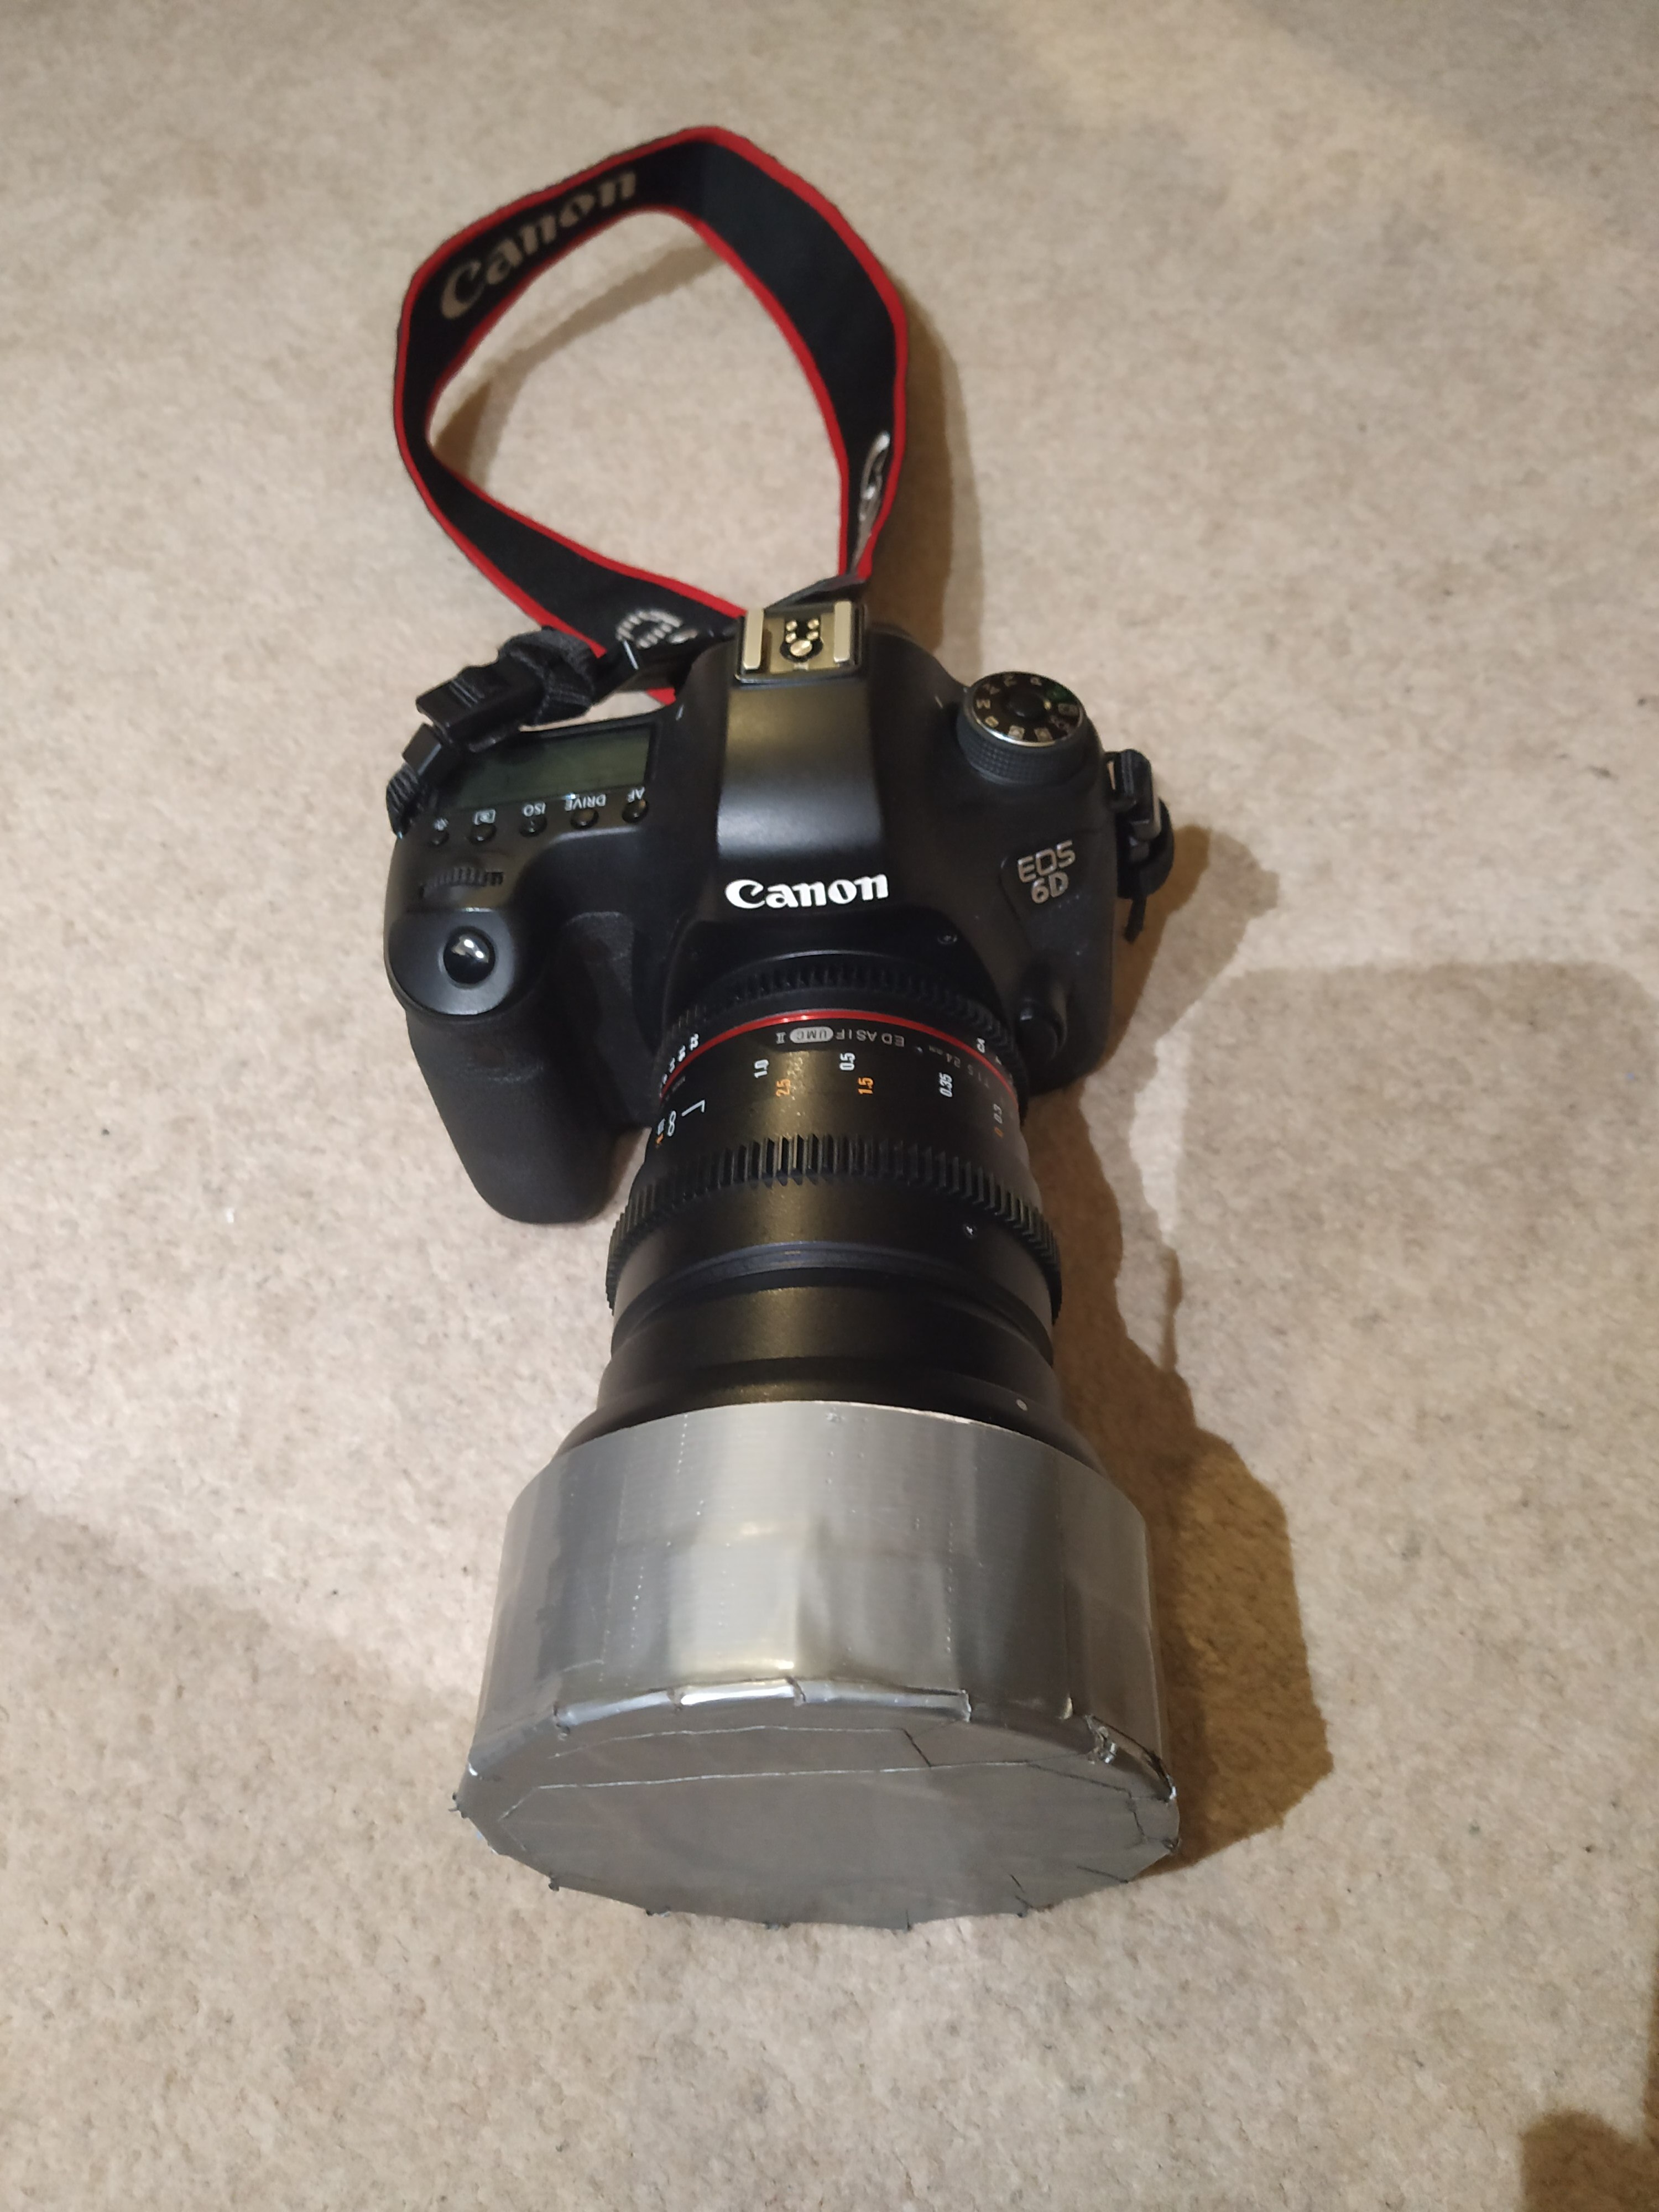
I like to have a lens hood on, but this means a big cap is needed, so I’ve made a few out of cardboard and pva glue. Finally gaffer tape is applied to give what is clearly a totally professional finish…
PTFE tape (Teflon tape found in the plumbing aisle of a home improvement store) wrapped around a light colored object works really well too. 4-5 wraps is all you need. It also has a high reflectivity for UV and IR spectrum, ,making it better than most cheap targets which vary can in reflectance.
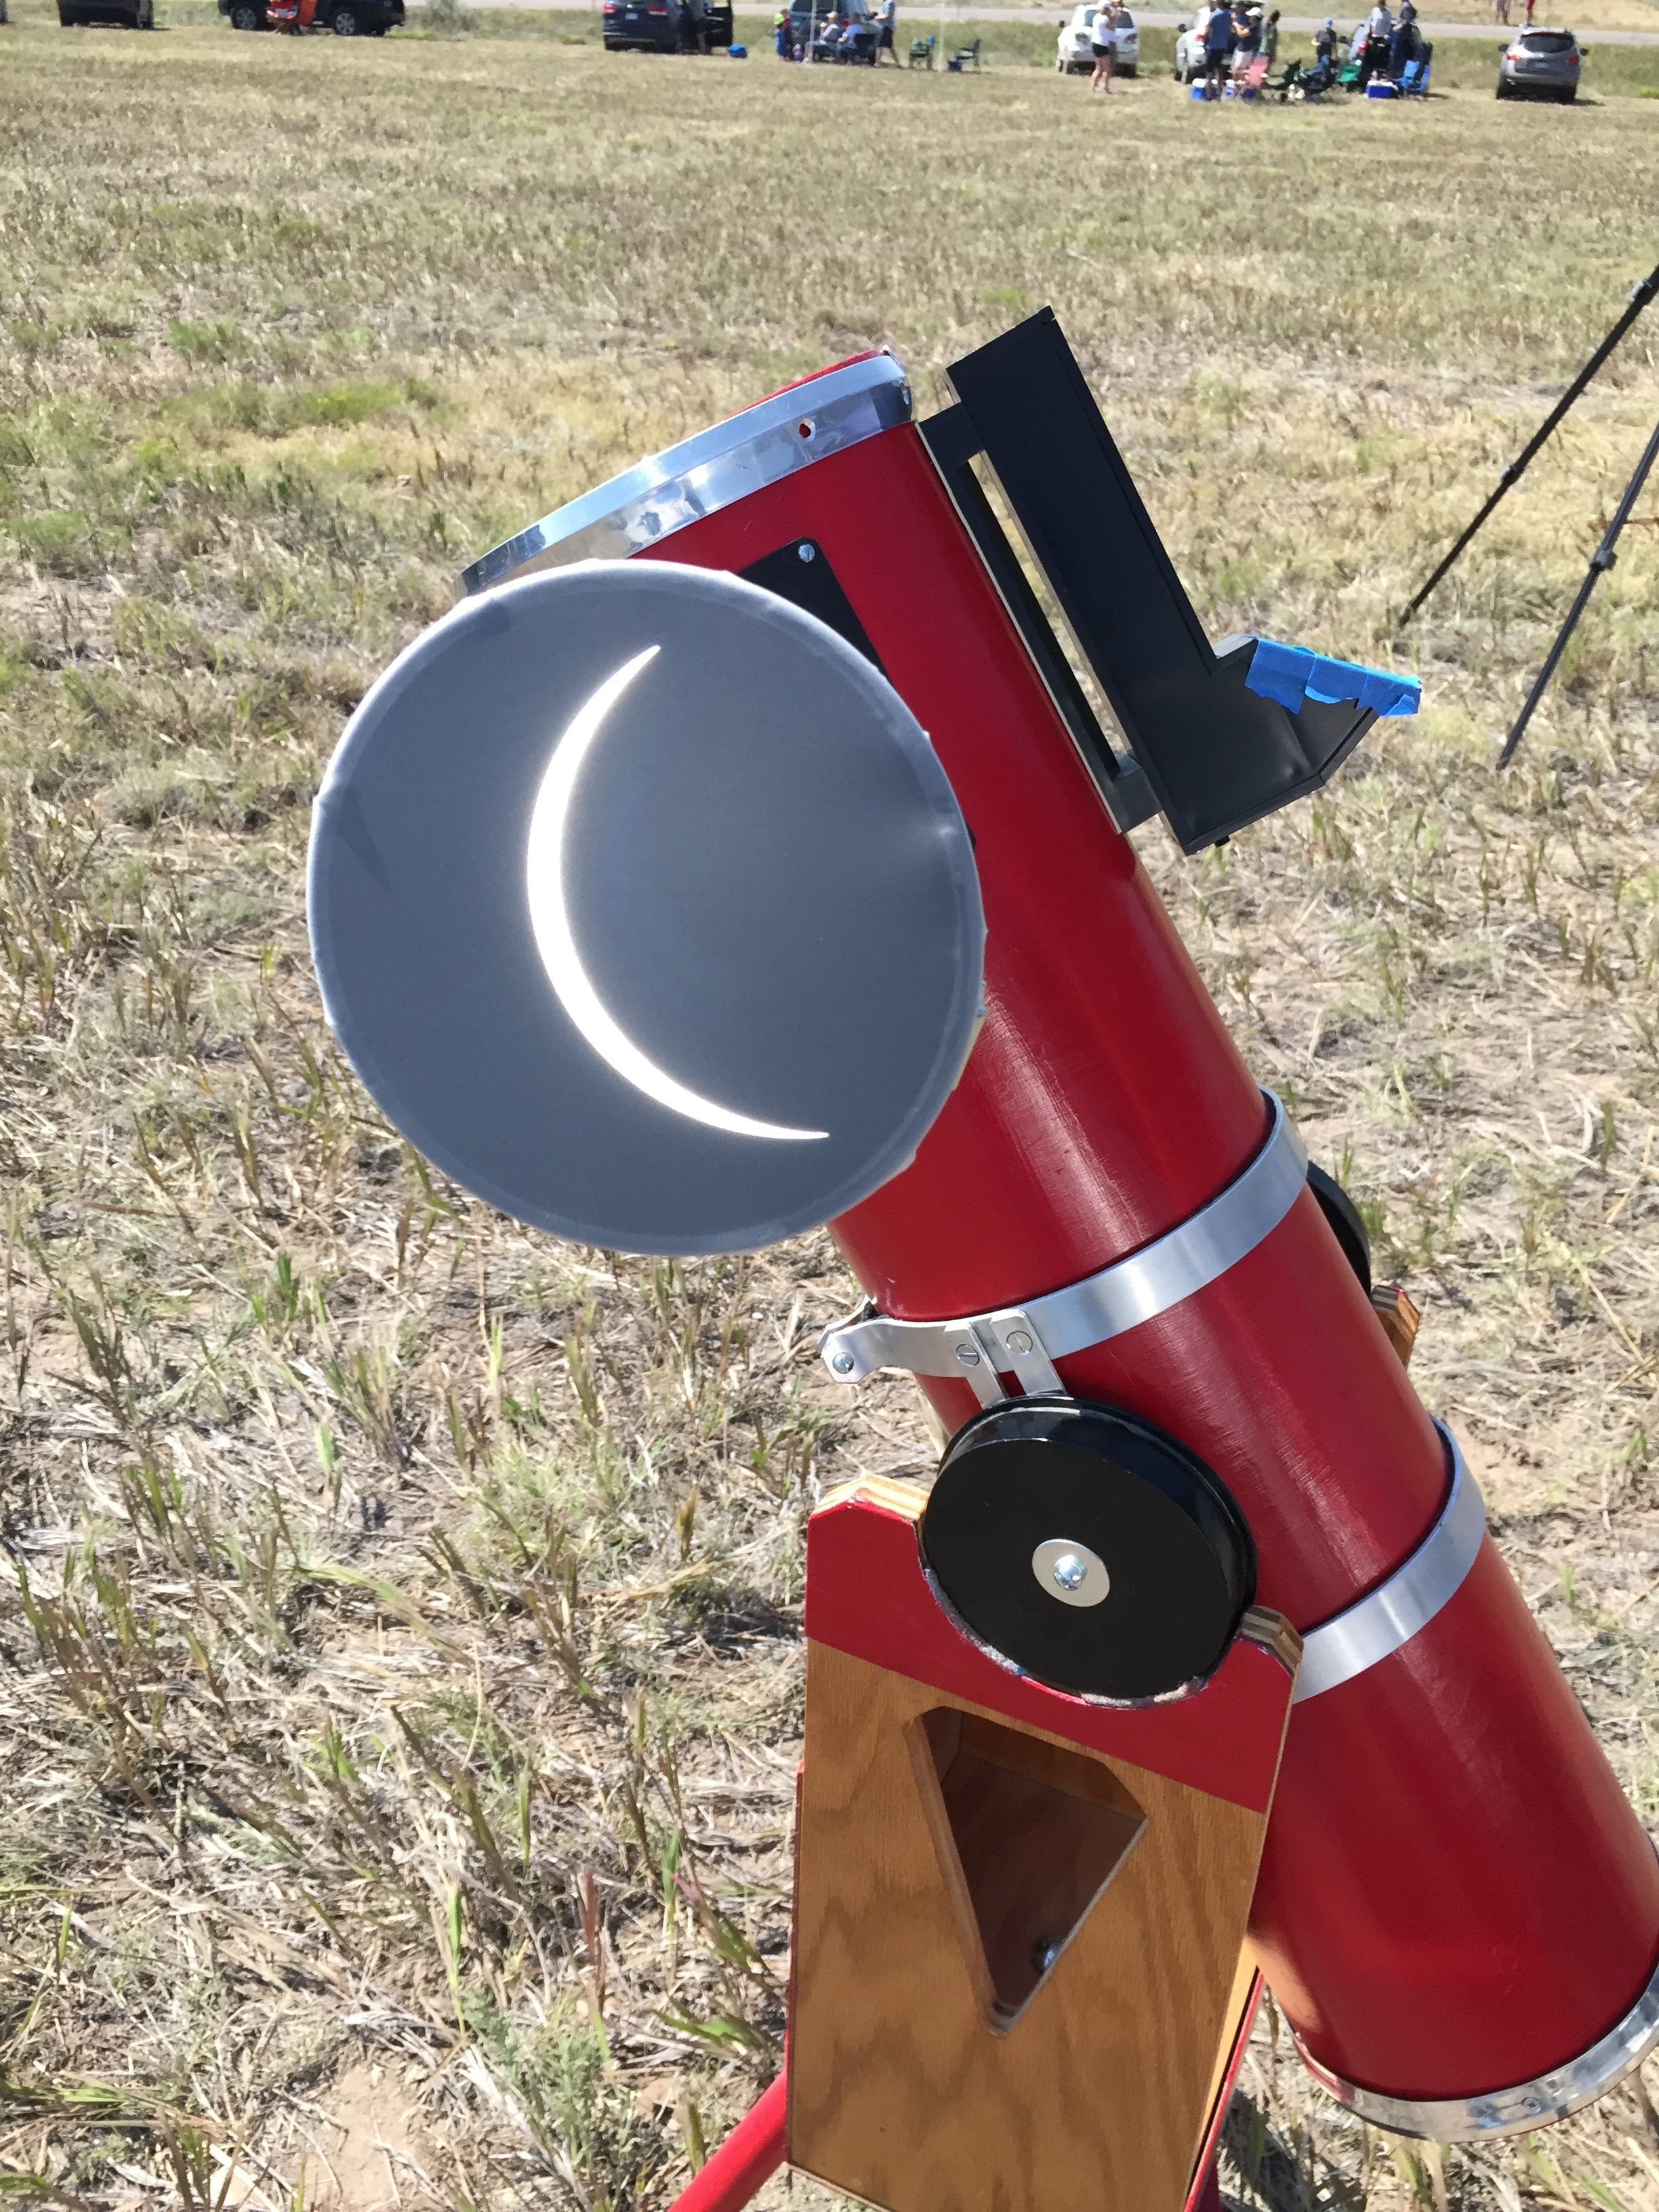
Not exactly photography-related, but I once used a shower curtain section, stretched over the end of a long oil funnel, to project an image of a solar eclipse as it approached totality. I think spent $3.
A few years ago, I went down the rabbit-hole of measuring camera spectral sensitivity. Ended up with a Rube-Goldberg contraption that can cost as low as about $30US (although that doesn’t account for the recent spike in wood prices):
These are spectroscopes, shine a light in the back and a rainbow appears in the other end. Take a picture of that rainbow, use some software I wrote to extract the wavelenghs, and ta-da, a spectral sensitivity dataset for the camera. The one on the left uses an optical grade diffraction grating to do the rainbow, about $108US, the one on the right uses a cheap ~$5US grating printed on a 35mm slide. Their performance is within about 0.2dE of each other, and within 1 dE of lab-grade monochromator measurements.
I made the boxes with home-improvement-store sourced poplar, cut it with a carpenter’s chop saw to get the correct angles. The collimating slit is two razor blades, and the diffuser in both is $15US lab-grade, too inexpensive to buy the right thing rather than to cheap-out with with white paper or somesuch.
Made SSF datasets for all three of my cameras, and now these contraptions sit under my desk. You can read about the whole sordid endeavor here:
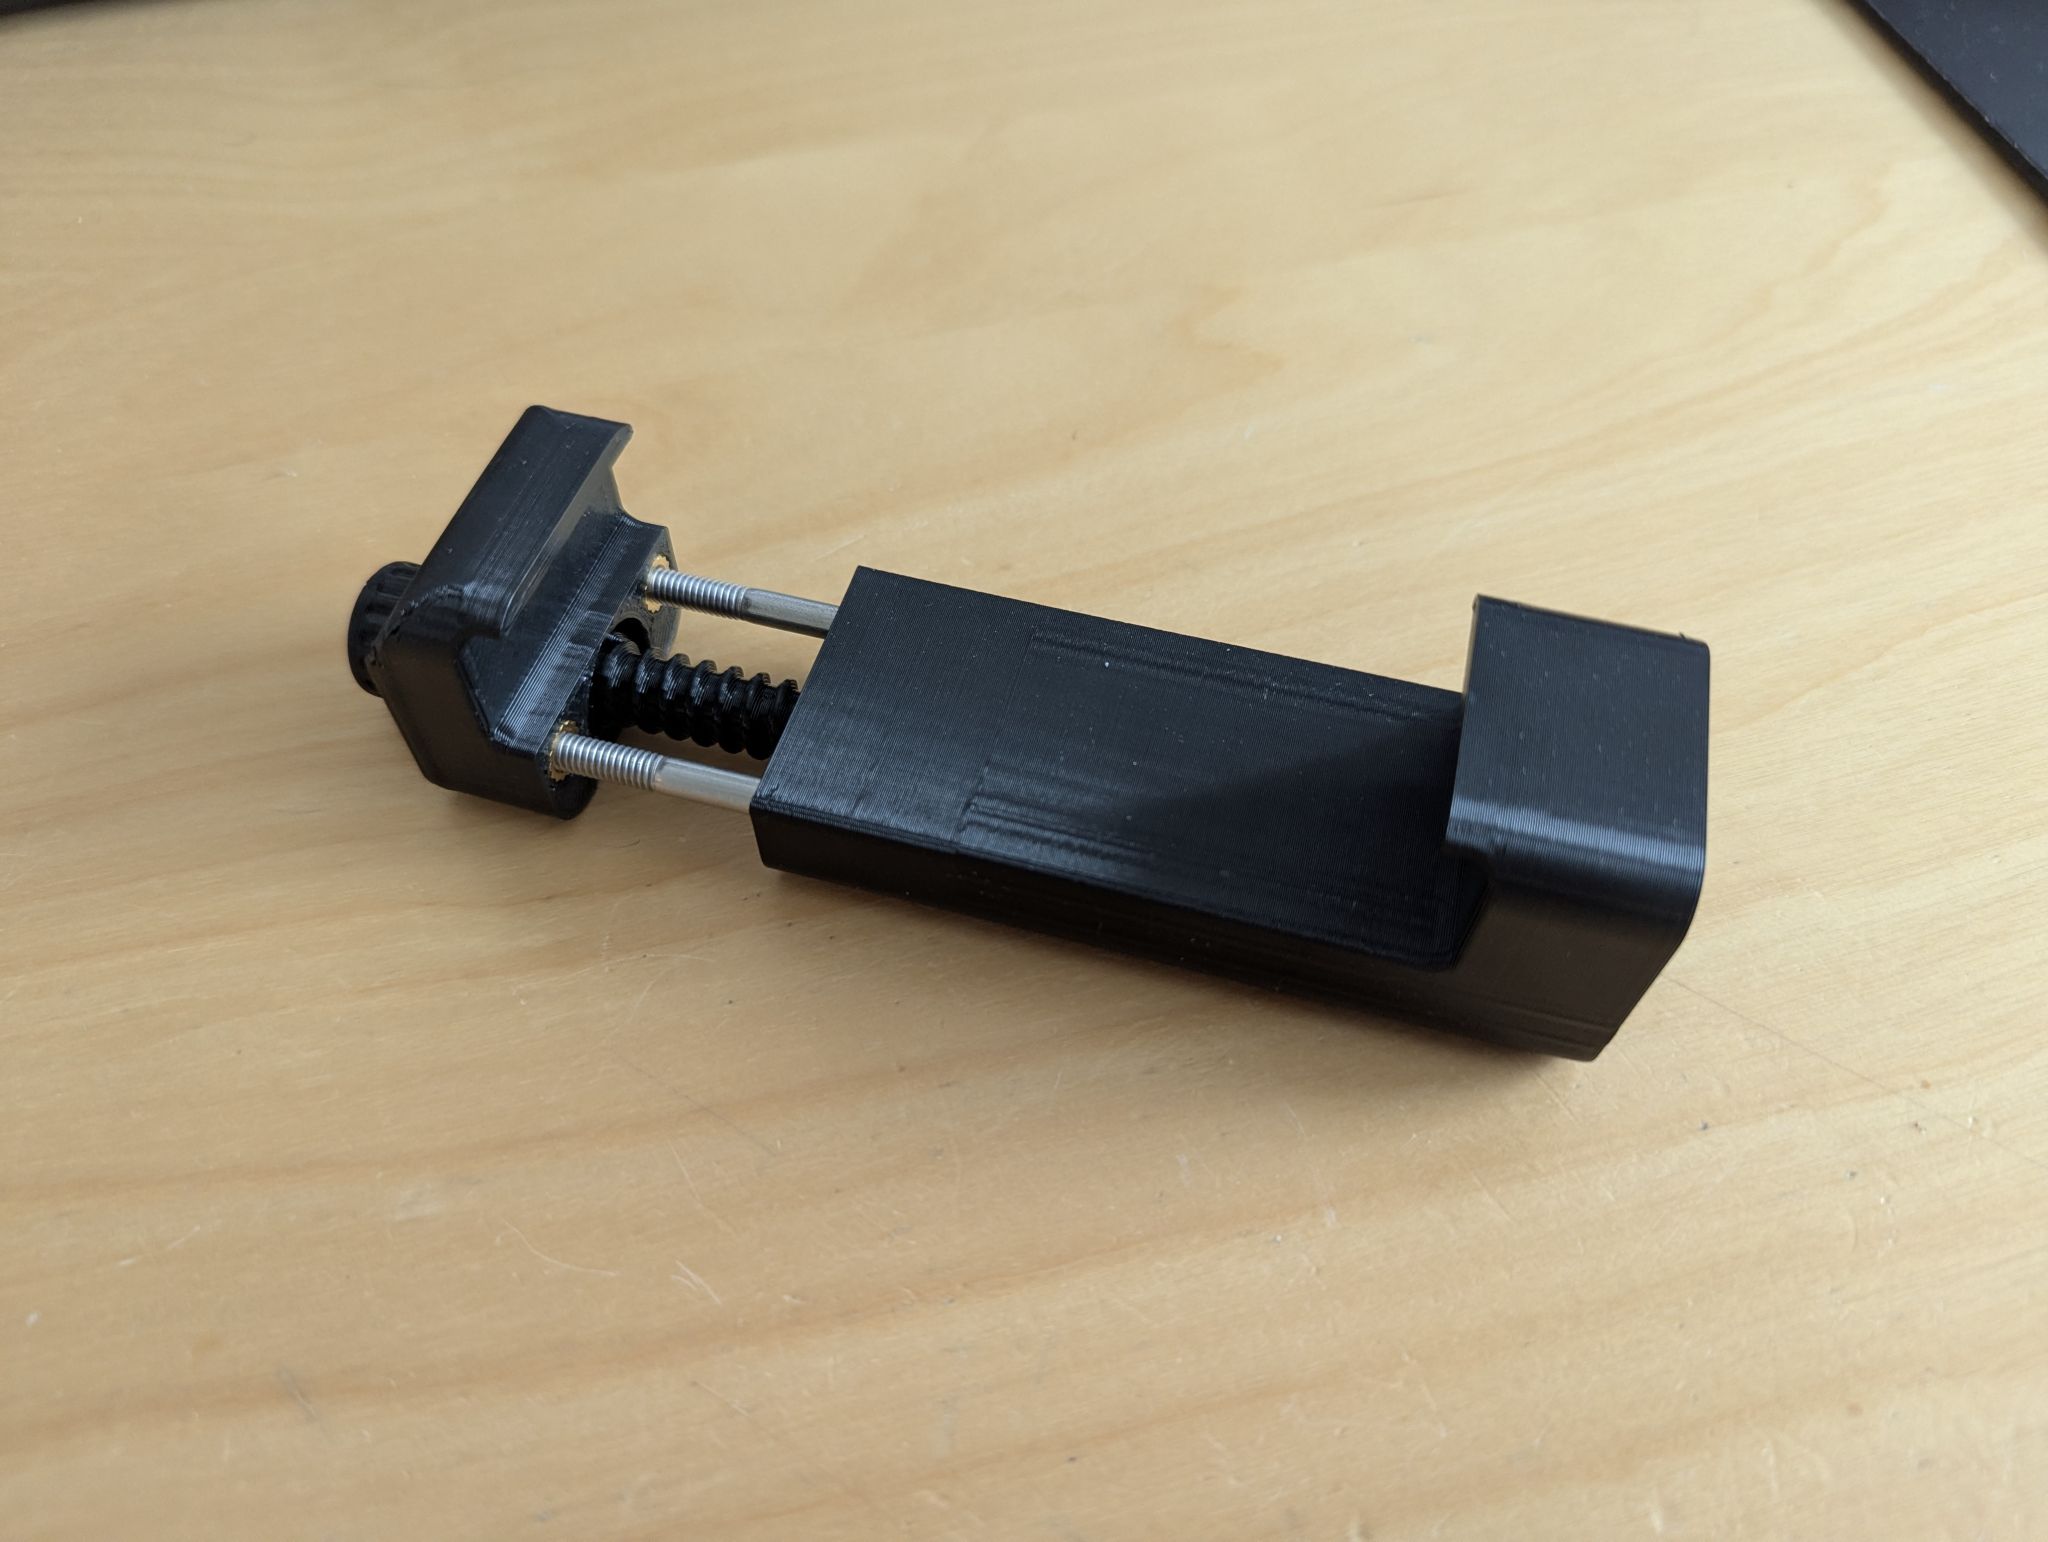
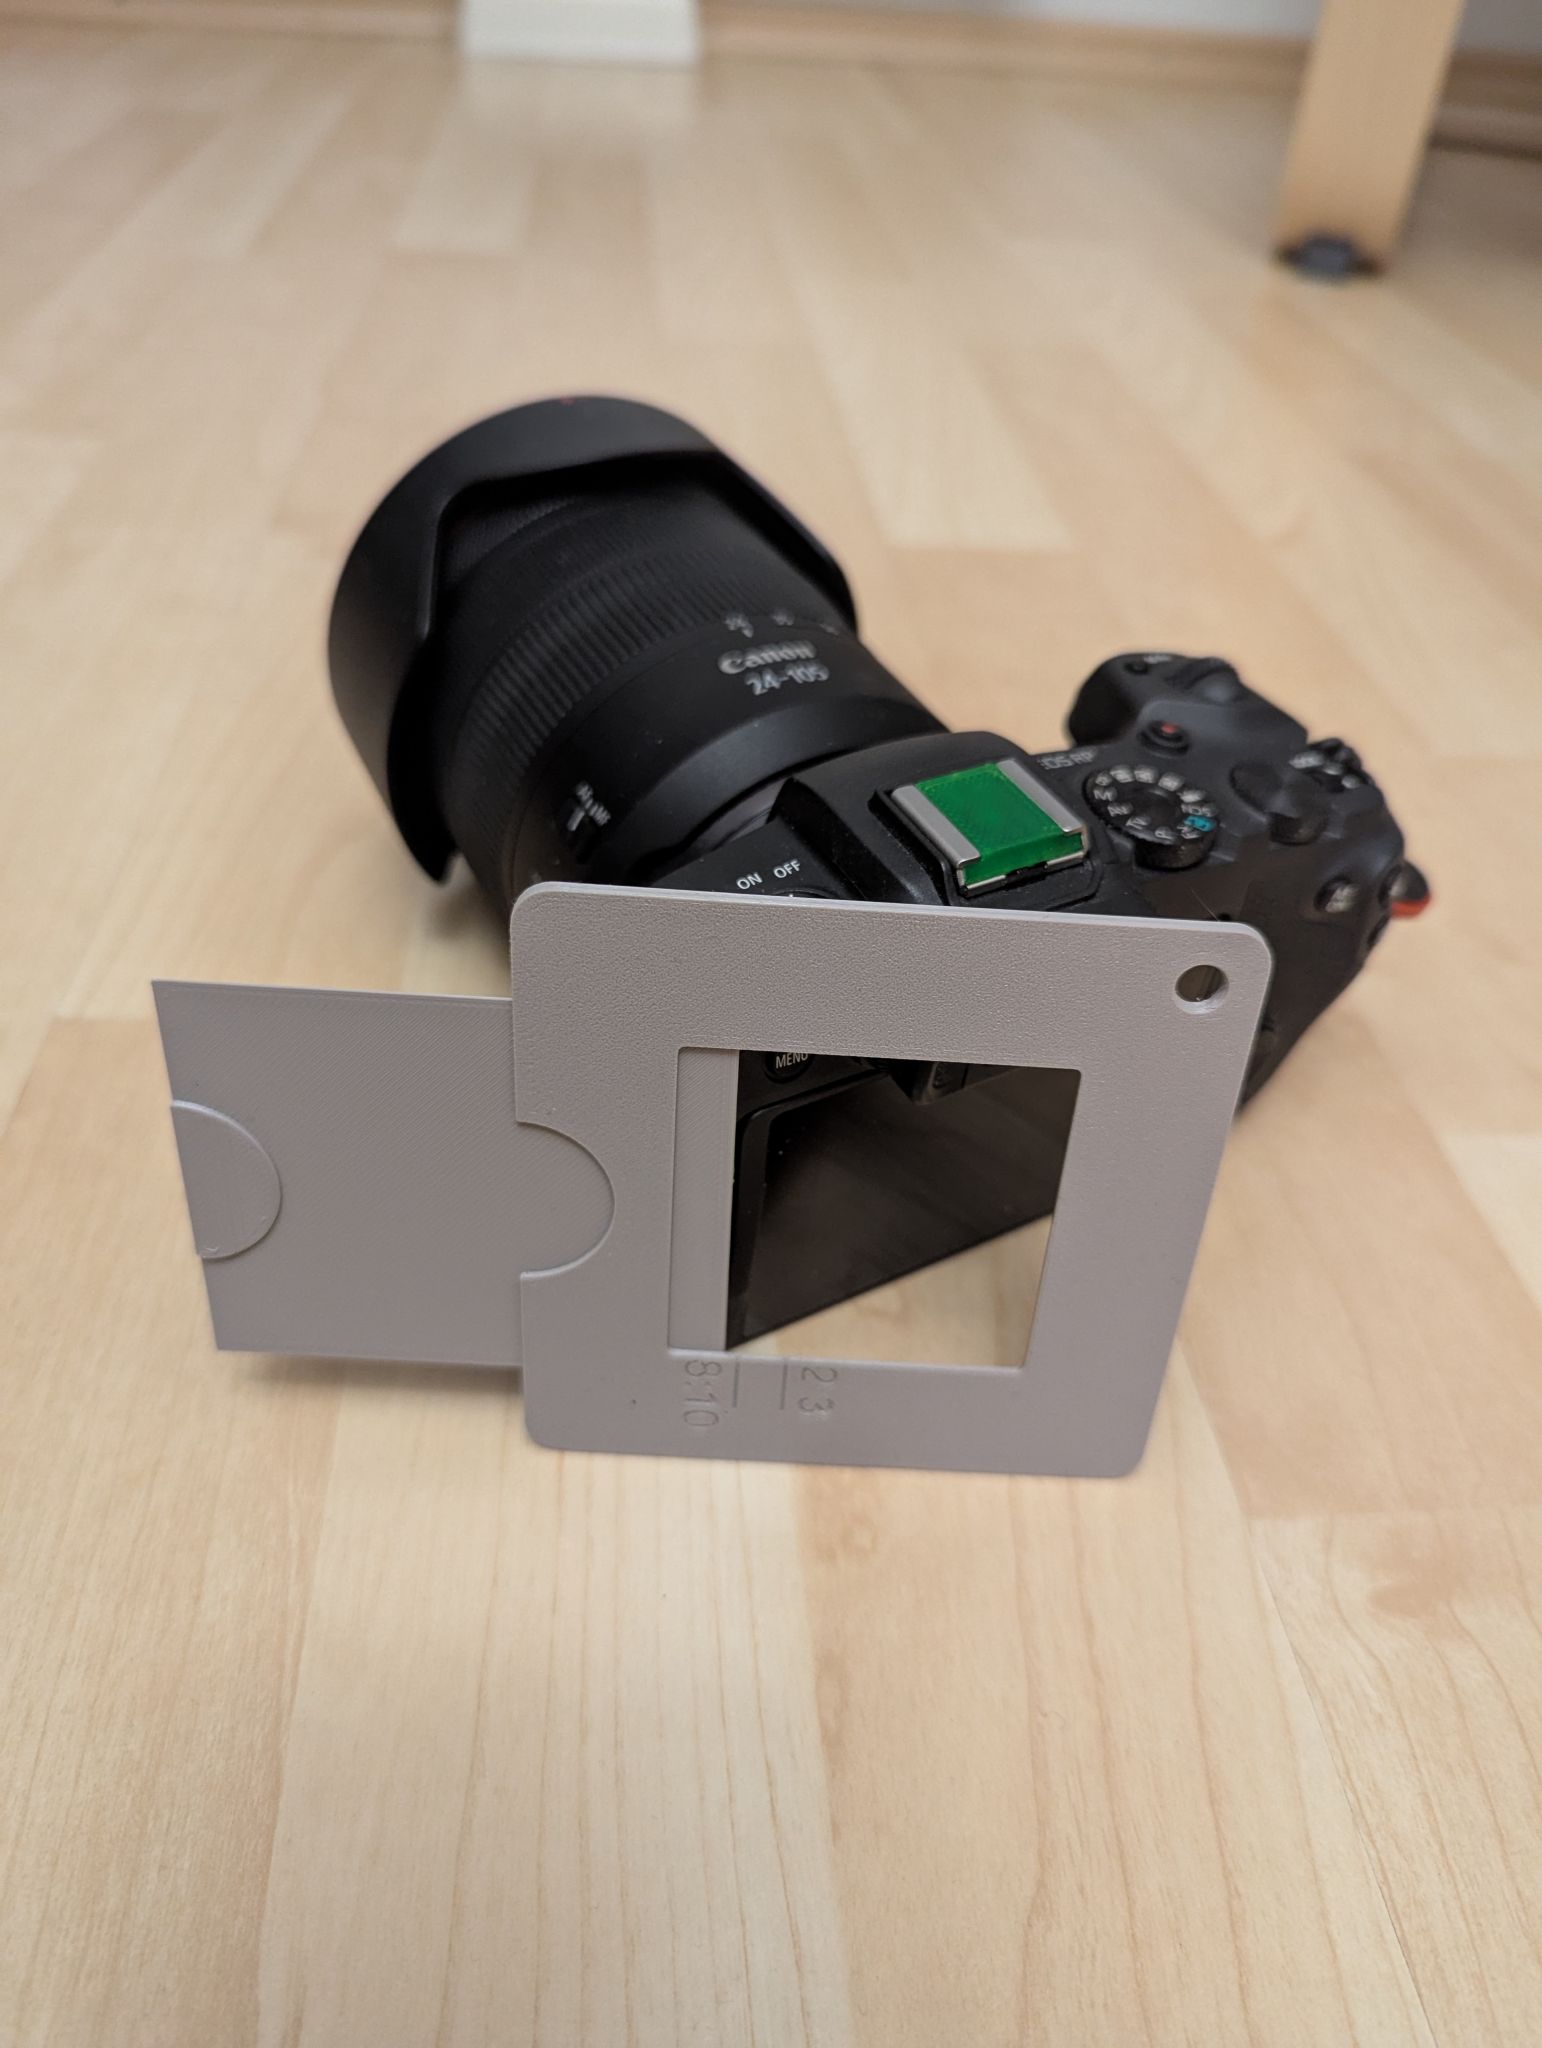
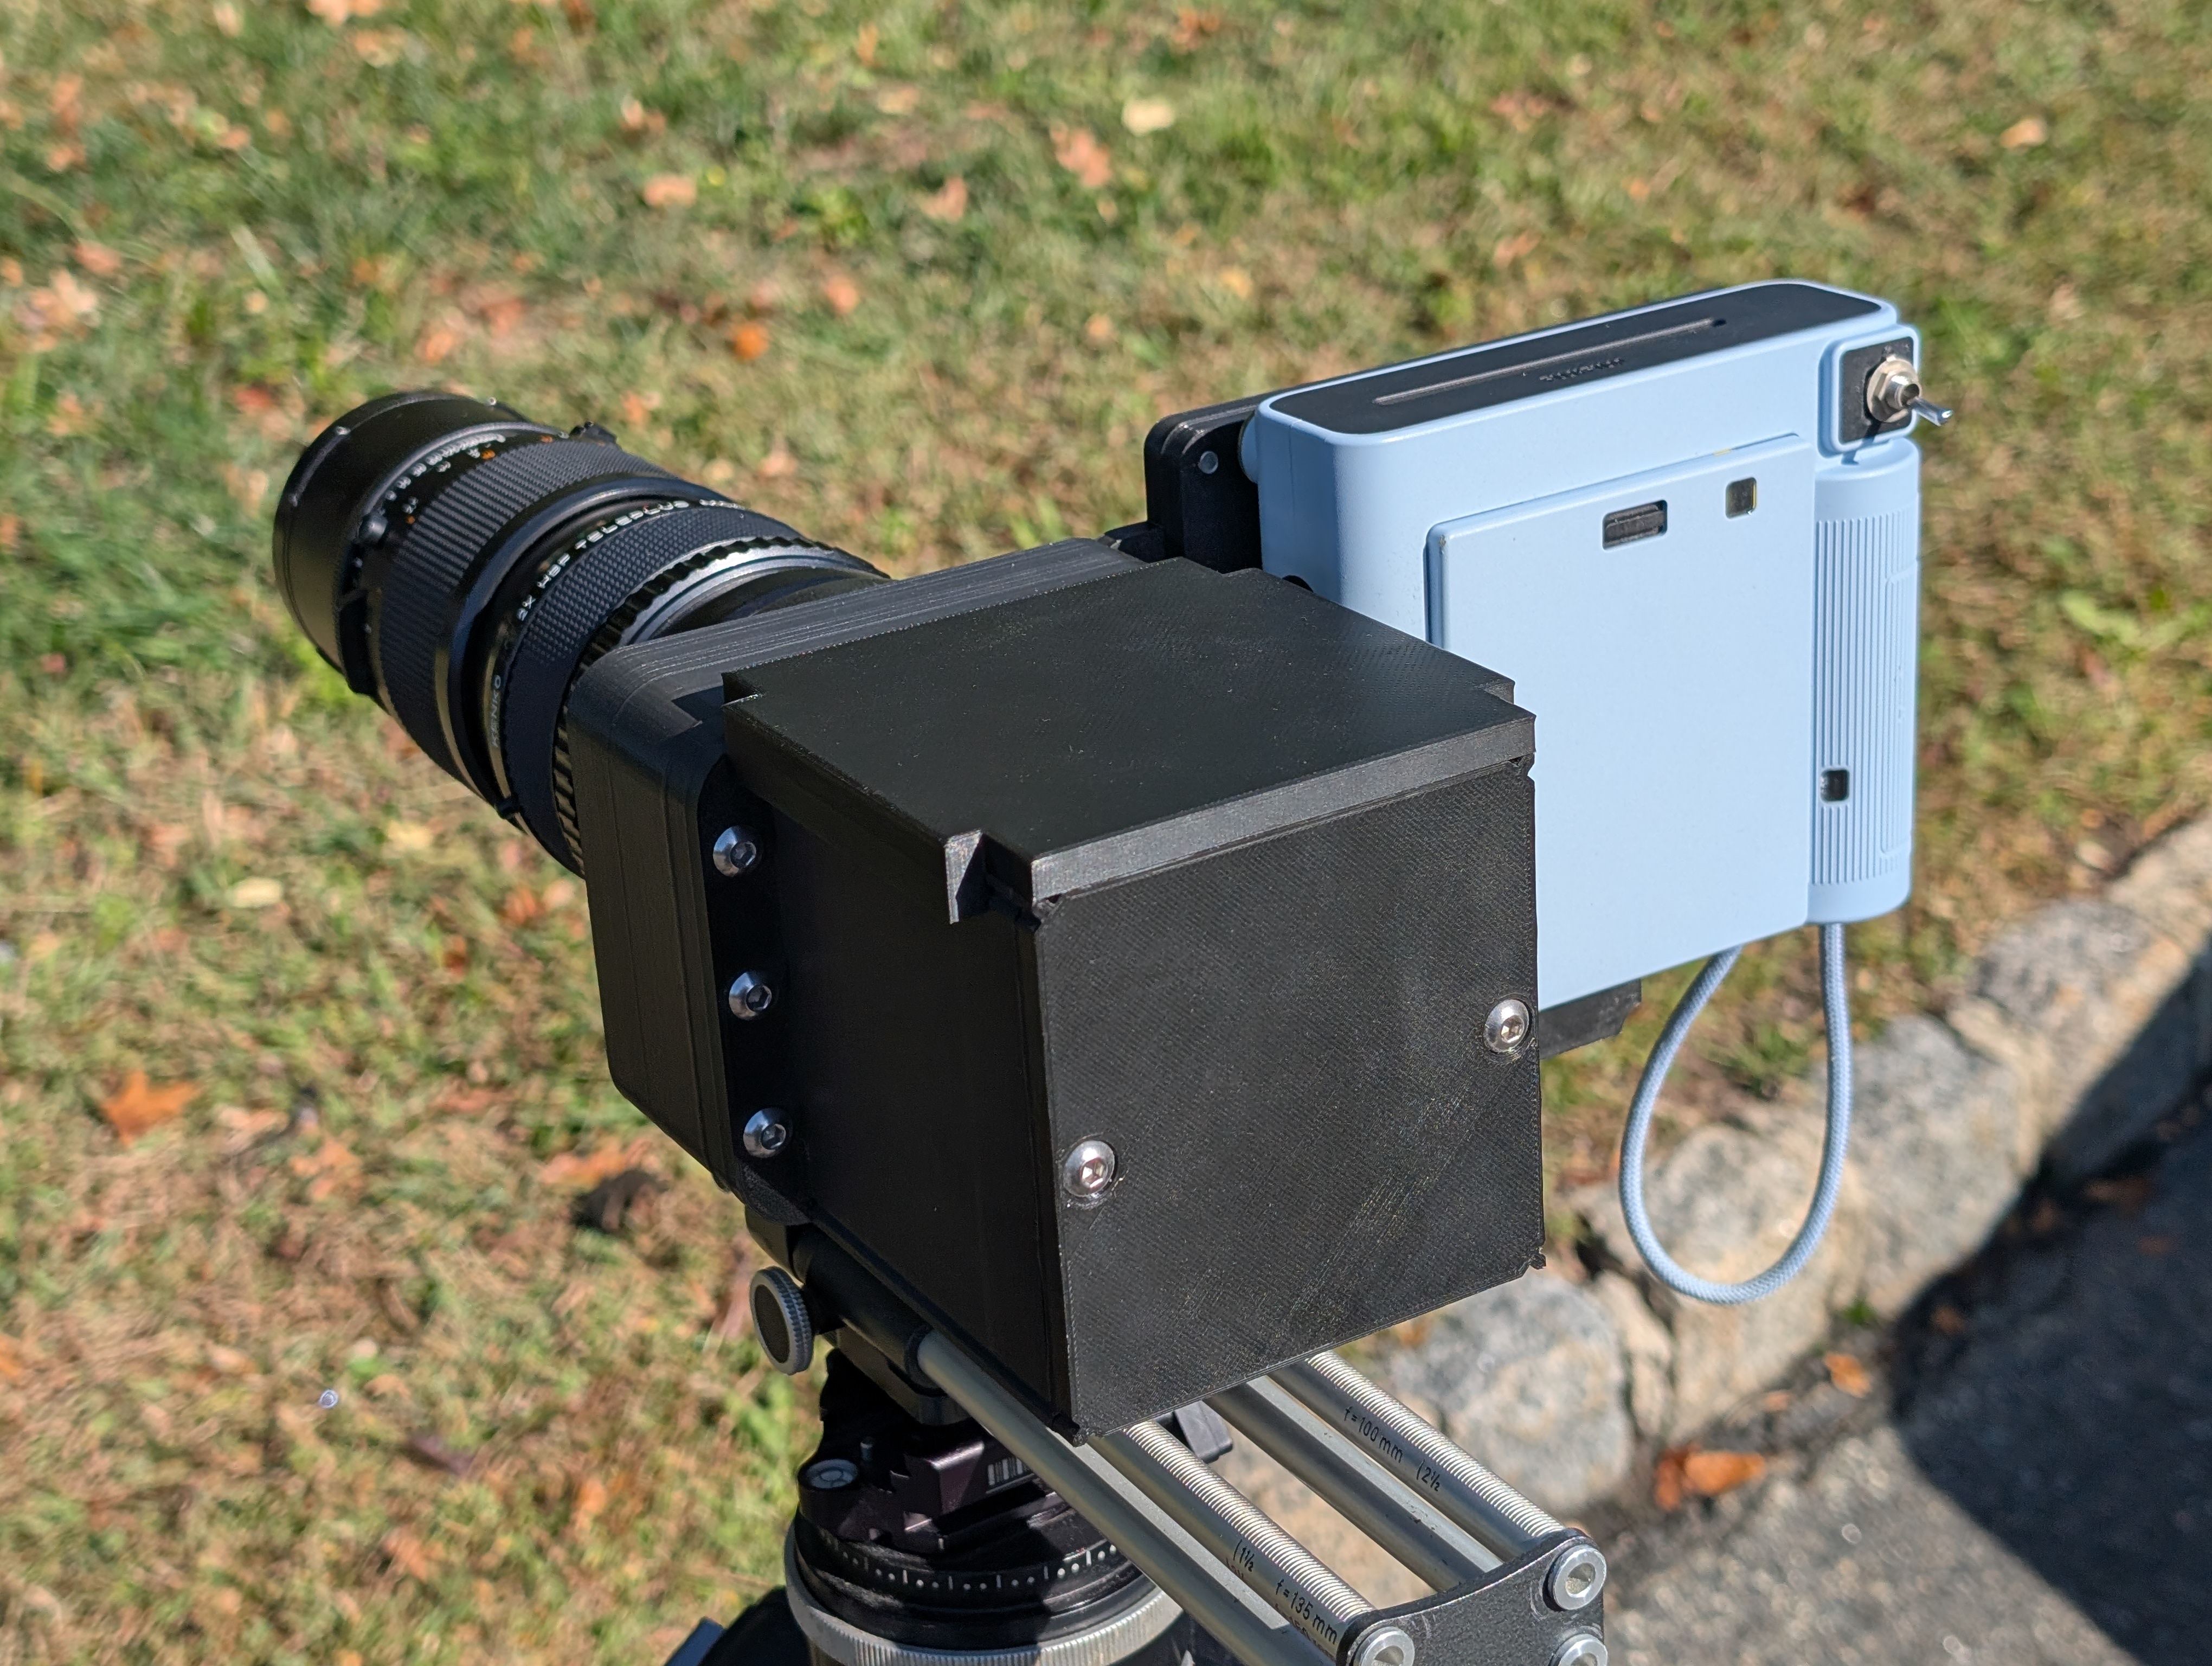
The left side is a viewfinder, with a RB67 focusing screen that happens to closely match the film size followed by a reflex mirror.
Once you’ve composed and focused you pick up the doohickey, mount the film side (a hacked up SQ1), half-trigger the lens to close the shutter, pull out the dark slide, fully-trigger the lens, reinsert the dark slide, and flip the switch on the back until the film ejects.
The tape will leave some glue behind, should you decide to remove it… right? Is there any chance you’d not be able to get the residues off of the camera?