So I don’t think you will see it any different in 3.4 except the defaults for filmic if you use it are not nearly as nice. Your example looks like the neutral profile for RT. This again is normal and as you said this example is not a very good one at all to use for troubleshooting…it is under exposed and has almost no dynamic range. I see it was a Canon image…so for your observation this Canon image from a recent play raw will present a more typical example as it is a better starting image…
I am just firing up ART but RT would be about the same to start under the same conditions
Your scene referred starting point will differ based on how you set exposure. I set for 1.5 a a quick guess that looked okay to me …this is done to the eye of the beholder…so to speak…
If you go one step further and add the suggested “add colorfulness” preset from color balance rgb then you would be here… this could be part of a default starting style or copied as necessary to images with only the need to set the starting exposure. If you use a dynamic shortcut just hold the E key and use the scroll wheel to adjust exposure as needed to tweak any given photo…
In the end you may still have to tweak it …for example my pixel DNG files appear to need to be set for 0.8 to 1.2 in general. So I just set it to 1. Then if you have the dynamic shortcut for the exposure function set you can hold down the E key any time in the edit while in any module and use the scroll wheel to make a quick change…
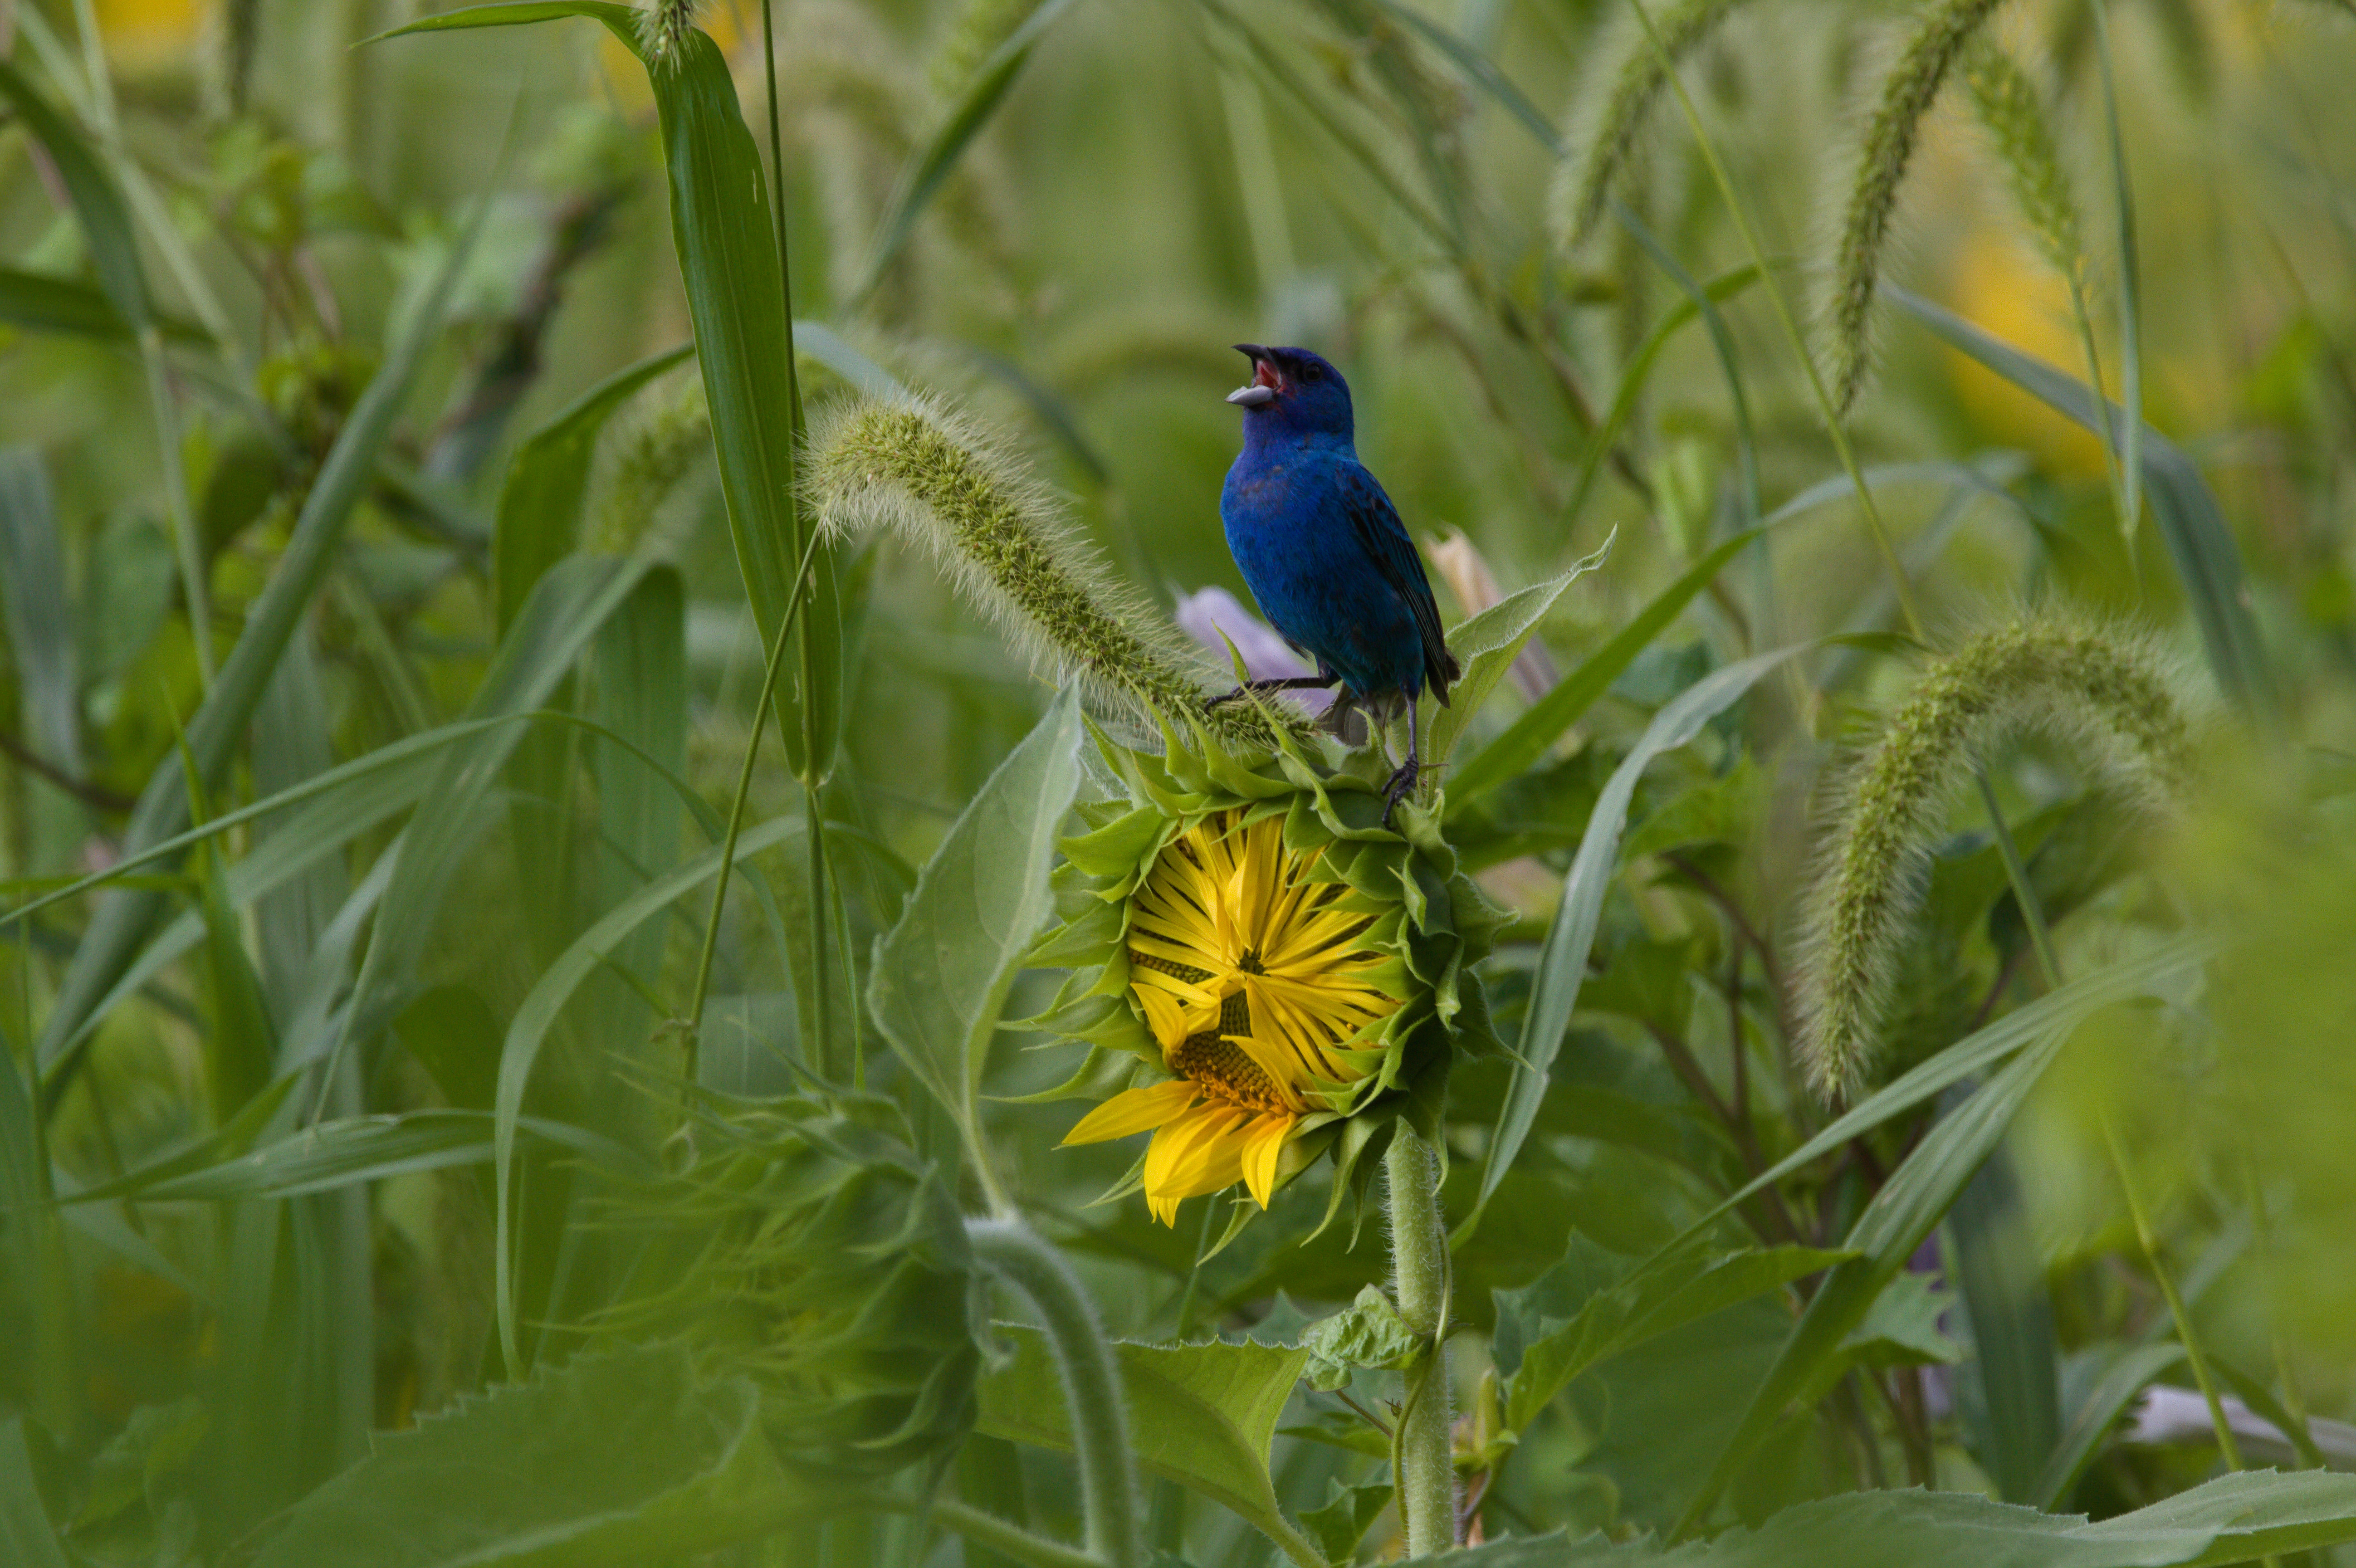
I think others have explained it well, but I just can’t resist an Osprey…
I opened your raw in rawproc, my hack raw processor, and just applied the minimum processing: whitebalance, black subtract, demosaic, and scale the data to black and white:
This is your image without a tone curve, or “linear” - the original light energy relationships collected by your camera. Now, apply a tone curve and here’s what you get:
I used a filmic-sort of curve, which you can regard in the lower-left corner of the screenshot.
This is one of the key realizations of shooting raw - your camera captures the scene in linear-light; the JPEGs out of your camera have a tone curve applied to make the image more perceptually pleasing. Darktable is just providing you the image at the real starting point…
To go further, I replaced the filmic curve with a control-point curve. Your image is really low-dynamic-range, most of it sits in the middle of the histogram, begging to be spread out…
Note the tone curve in the left-bottom pane; pretty aggressively eliminates the few pixels that reside in the upper part of the histogram; the result histogram is in the center-left pane. Looks a lot better all spread out…
Contrast comes from a steep tone curve. Much needed here…
First - Again all of everybody’s input is gratefully received on my part!
Second I noticed that DT posts exposure 0.5 on all of my pictures from this camera.
If I knew where to change that in the config file I would change it to 1.0 (1.5 on the osprey’s was perfect).
I took priort’s suggestion and assigned the boost exposure to the “e” key and the lower exposure to the “e” key which is very sweet to access from absolutely anywhere in darkroom.
I get Camera RAW vs. Camera JPG how it happens and why it happens I also understand why DT gives me what it gives me in lighttable vs. darkroom. You were all very kind in your responses.
BTW ggbutcher - I am the same way with Osprey’s. You cannot schedule their appearance and as you can see with the nav lights on it was near dusk and this osprey was moving fast. By the time he switched the props to vertical he was already pretty far down the coast. I did get some shots with the props in vertical but I did not have a lot of time to do much other than P mode.
AS a side a lot of people know that a full-frame lens on a crop sensor turns these 300mm to 480mm. However, not as many people know that you also have to do the math on the f/5.6 (5.6*1.6) which is f/8.9 - not very fast lens when trying to grab a moving Osprey at dusk… but this is part of the reason we love photography - the challenge of it all!
There’s nothing in the settings to change this but you can create a preset in the exposure module and have it auto-apply based on your camera model. I’ve set it to 1 EV for my Canon.
I think this math is only applicable for calculating DoF/CoC equivalent, but not for calculating the light that passes through it. Exposure of different sensor sizes with the same setting (including f/ number) will be (roughly) the same. If it’s not, handheld light meter wouldn’t work.
When you use the module it will be applied say above if Chris opened his canon image…if he opened a Sony then it would be the default unless he had one set for that too
Haven’t yet seen one transition the props. Live near the Air Force Academy, we see a lot of aircraft, pilots overflying their alma mater, and the mini-airshows they do for football games. Saw an Osprey once just burning circles high in the air in horizontal, probably couldn’t get clearance to make a low run…
I have a hard time getting into helicopters as it is, although my experience is skewed as all my pax time is in UH-1s, which are just a loose collection of parts flying in formation. But a craft that takes off vertical, then gradually rotates its lift into thrust…
Turning this post toward the obligatory photography subject, I spent 20 years in the USAF but I have maybe a dozen aircraft pictures to show for it… Hmmm, maybe that doesn’t count as on-topic…


 but this is part of the reason we love photography - the challenge of it all!