Next time, please link to the images, if they are not your own work, instead of uploading them.
You may not post anything digital that belongs to someone else without permission.
Next time, please link to the images, if they are not your own work, instead of uploading them.
You may not post anything digital that belongs to someone else without permission.
Hi @Joel_Amoako and welcome to the forum!
I would like to replicate the style you want with darktable in the next video.
But, as @kofa also said, it would be nice to have links to the photos instead of the snapshots you posted here. In addition to the reason @kofa already mentioned, it would also be helpful for me to know what the styles are called and where I can find them so that I can better prepare myself.
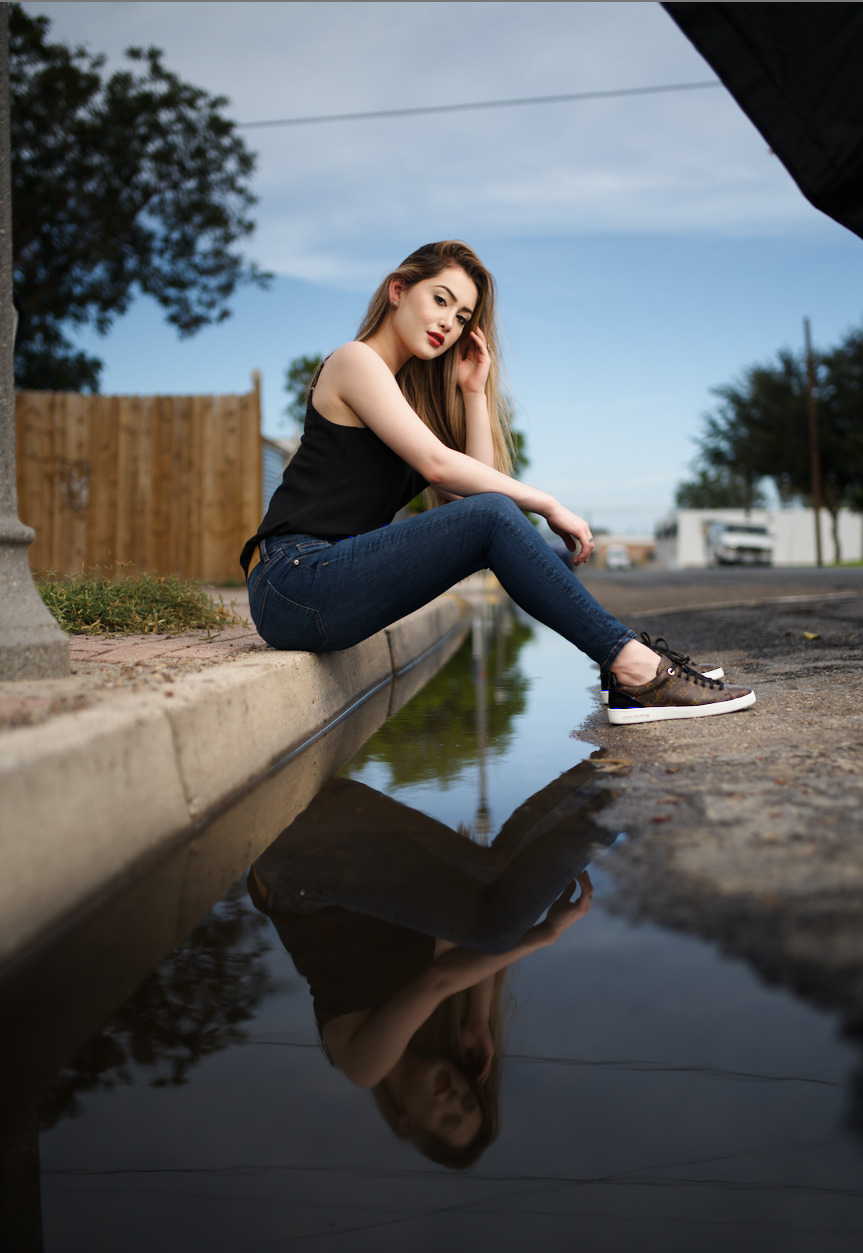
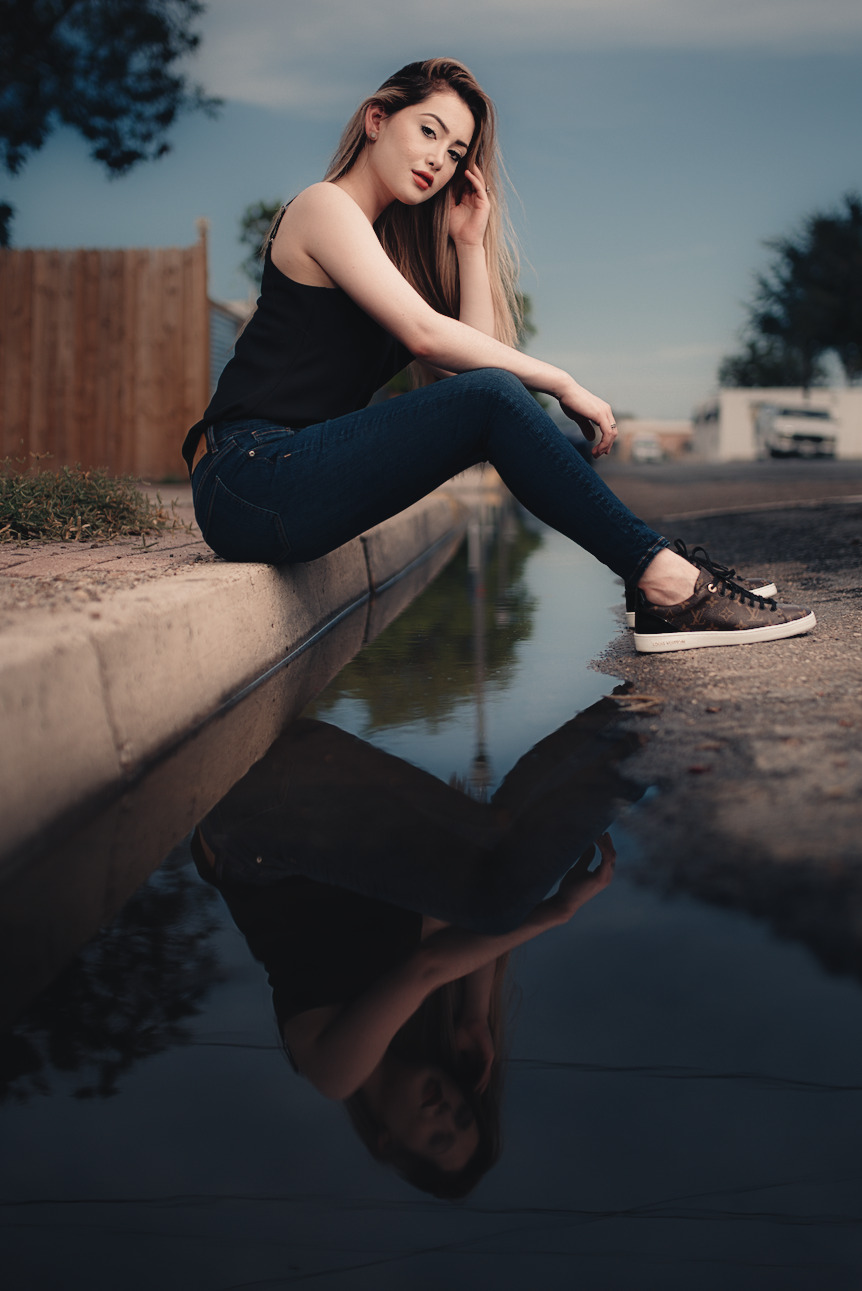
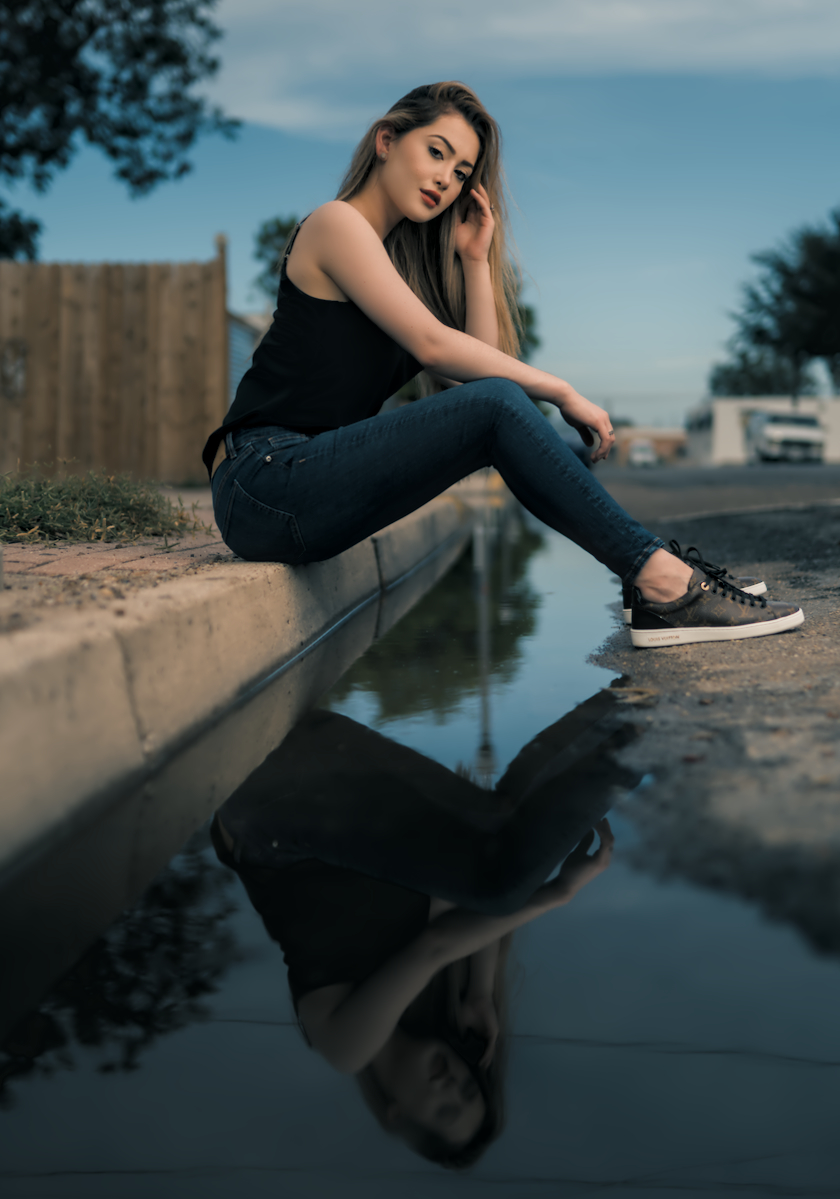
Hi @kofa and @s7habo Thank you for your reply. Here are the links to these. They are from various sources. I am not sure if this kind of editing has a common name. But if i were to name it i will call it earthy tones.
These are the sources (Jose Villa, Ralph Lauren, Tumblr, mkdtstudio):
https://www.instagram.com/p/DNYr7nxsTbp/
https://www.instagram.com/p/DPy8s3FjPYi/?hl=en&img_index=1
https://www.instagram.com/p/DOJWpYYkUO_/?hl=en&img_index=1
Reference to a video with the same style: https://youtu.be/VemxTN9AGYs?si=6VIvYmOfkWY348DO
There are a few similar looks in your examples, but they look a lot like
run-of-the-mill Lightroom film emulation, which is a look that is not always similar to actual film. ![]() Crush the shadows and then lift them gently. Lift them too much and you will have what I call “the Unsplash look”.
Crush the shadows and then lift them gently. Lift them too much and you will have what I call “the Unsplash look”.
An observation is that it is, in my experience, a little cumbersome to achieve if you want to go all in on scene referred. The scene referred workflow is very good at preserving shadow details (I think I’m talking mostly about sigmoid, it was a long time since I used filmic), but it’s not really desirable if you want to emulate this look in darktable.
If don’t find it to be cheating, you can always use G’MIC “Films” LUTs as a starting point.
Will be interesting to see what @s7habo comes up with!
great insight!
I second using luts. In darktable you can simply scroll through the ones you have installed via 3dluts. As there are so many out there to download I thought I’d give you a link to one of the best sites https://picturefx.itch.io/
Hope this helps
Im trying to replicate the editing Style of Lee Skeen for a while now.
i played around with a few images using those images as reference
https://www.instagram.com/p/DOoWCBLiDYy/?img_index=1
https://www.instagram.com/p/DOJZH2oCCF7/?img_index=1
https://www.instagram.com/p/DPjhoUNiAcH/?img_index=1
and from what i can tell:
but no matter what i try i cant event get close to the desired result. Maybe i’m completely wrong with my assessment.
Any pointers on how to accomplish simmilar results to his style would be appreciated.
PS: @s7habo if you would consider his style for your next video that would be absolutely amazing!
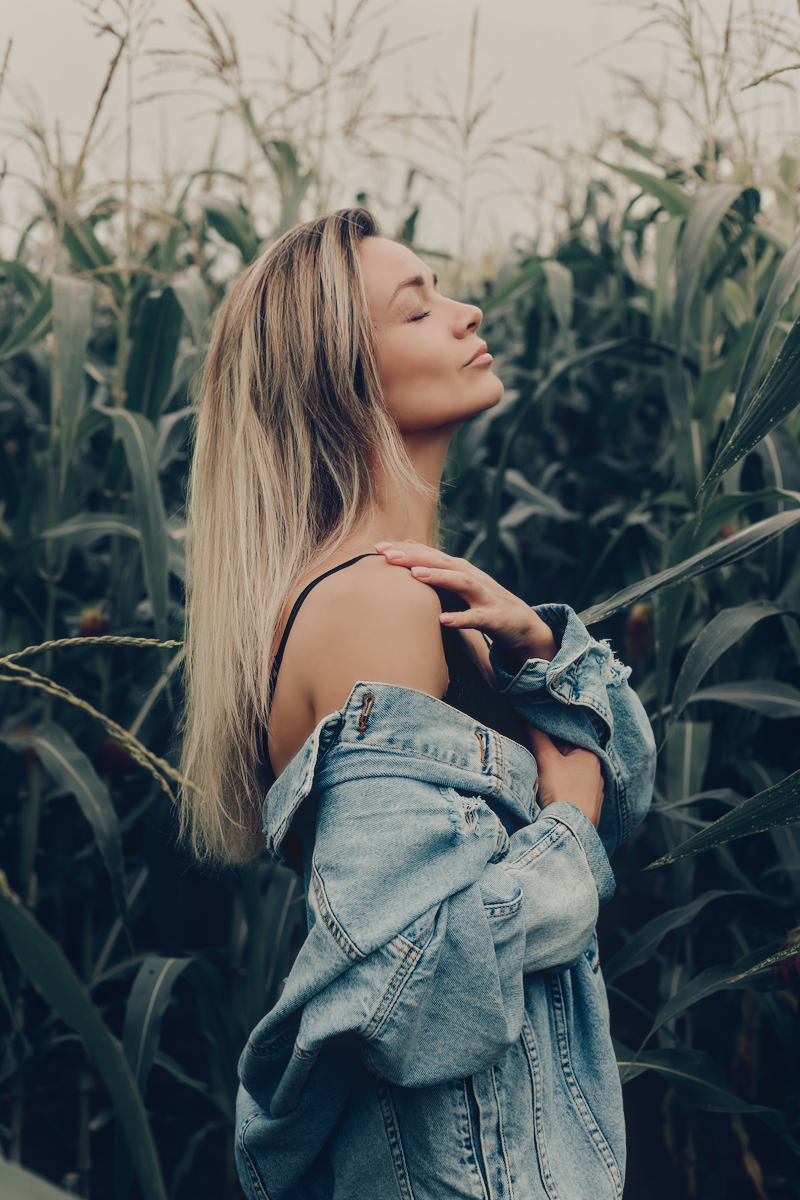
Maybe I see AI everywhere now but some of those image just look off to me and maybe its just how they strike me… looking at the abdomen on this image it just doesn’t look right …maybe its just a lot of brushwork smoothing or whatever but there something off when I look at it…
The photographer uses a huge softbox to illuminate the models. You can tell by the fact that they have almost no harsh shadows.
You can’t just achieve this in post-processing. It has to be done during the shoot. And that applies to both indoor and outdoor shots.
The soft look—which is indeed very reminiscent of AI—can then be achieved with Darktable using various diffusion filters.
Unfortunately, I don’t have any raw files with this type of lighting that could serve as a template.
Here is an example of such lighting. You can see the softbox in the upper right corner:
Here is the final result:
Thanks!
As for the lighting: I was pretty sure that he was using at least some kind of diffuser to achieve the soft shadows. I’m not entirely sure to what extent the look appeals to me because of the soft shadows. Because i think i found a few pictures where the lighting wasn’t that soft and seemed more like natural /available light without major diffusion.
I also used this image for my experiments, but I can’t come close to your results.
Do you have any tips for me regarding diffusion filters in darktable? I’ve played around with the “diffuse or sharpen” module a bit but didn’t get anything usefull out of it.
Attached are my two closest attempts so far.
You have to be very careful not to blindly take the appearance of any photo and try to imitate it on a subject that is very different from the original.
The photographer has a specific idea about color impact and skillfully combines the color mood by adapting the color combination to the respective scene.
And he does this differently from case to case, depending on the color combination offered by the scene itself.
This can also be a deliberate staging to achieve a certain color impression.
That is actually the right way to do it, and I don’t think much of any style that promises to be applicable to all photos.
As for your first edit, it would be much better to imitate this scene because the subjects are similar in color. In both cases, we have skin color in a green environment:
Here is the overall result:
Copy of signature edits free raws - signatureedits.com IMG_1467.dng.xmp (11,6 KB)
So, it’s not just about the soft light—which is obviously an important element of this photographer’s style—but also about the color impact, which is not uniform but skillfully adapted to each motif, giving each one its own unique touch.
That would be worth an episode…
Thanks for the xmp will definitively have a look at that.
I’ve should have pointet out that i used those two pictures as reference for the first edit. since i was looking for something with green and jeans. Didn’t help much though. went way to “dark” way to quick.
https://www.instagram.com/p/CuhgJtMKFyi/?img_index=1
https://www.instagram.com/p/Cmo9PiKq0U-/?img_index=1
Thanks again!
Here is the adaptation to the first example you used as a template:
Copy of signature edits free raws - signatureedits.com IMG_1467_01.dng.xmp (14,1 KB)
awesome! and again: thank you ![]()
Feels like those xmp’s helped me a lot, especially the “color lookup table” module. coming from lightroom i was searching for a way to give specific colors more “pop” or manipulate them in general.
Hi, Boris. First, tnx for great work!
My question, are you also working with analogue film, and maybe using negadoctor? I would like to see you how you deal with decisions in this hybrid workflow, from film and scanning to Darktable procedures.
Hi Miha, and sorry for the late reply.
The last time I worked with analog film was 20 years ago, and even then only in a rudimentary way.
Unfortunately, I haven’t dealt with the digitization of analog shots either.
Accordingly, I’m sure there are much more knowledgeable people here in the forum who can help you with this.
I had to ask the question, even though I already suspected the answer. With the intensity and sensitivity with which you treat selected photographic content, there would undoubtedly be more reminiscence of analogue photography in your lectures if you were simultaneously also shooting with film. I mean, more than just the occasional dealing with requests to imitate certain look of analogue films.
But if, for whatever reason, you decide to go down the path of “real” film (joking) in the future, there are probably quite a few of us here who would follow your work with great interest.
All best!
Hi @s7habo, we didn’t hear from you for a while and I hope you are doing well.
I would have a question related to Darktable Episode 52, around minute 21.
If I understand well, you say that the divide blend mode can be used for white balancing. Could you provide more info about this topic and/or a short example? Ok, there is a short example (in the same video) in combination with Gimp. Could we do the same only in DT, without Gimp?
Thanks and best wishes from my side!
I mentioned missing Boris’s videos on another thread, and he replied thus…