I really like your interpretation. @Claes and @123sg, I agree that it was a difficult shot, with some problems that are difficult to fix, first of all the suboptimal framing.
Thanks @all.
1 Like
I didn’t actually expect to find it difficult, but the contrast surprised me a bit. Thanks for the background about the location too. Very nice to know! ![]()
Oh, and I don’t know really know that I’d change the framing… I think it works well.
Hello, the last times that I visited Italy - regretfully too long ago - I always shot b&w, analogue. I guess it’s for that reason that my first idea with this photo was to make a b&w version. Somewhat dreamy. Done in ART.
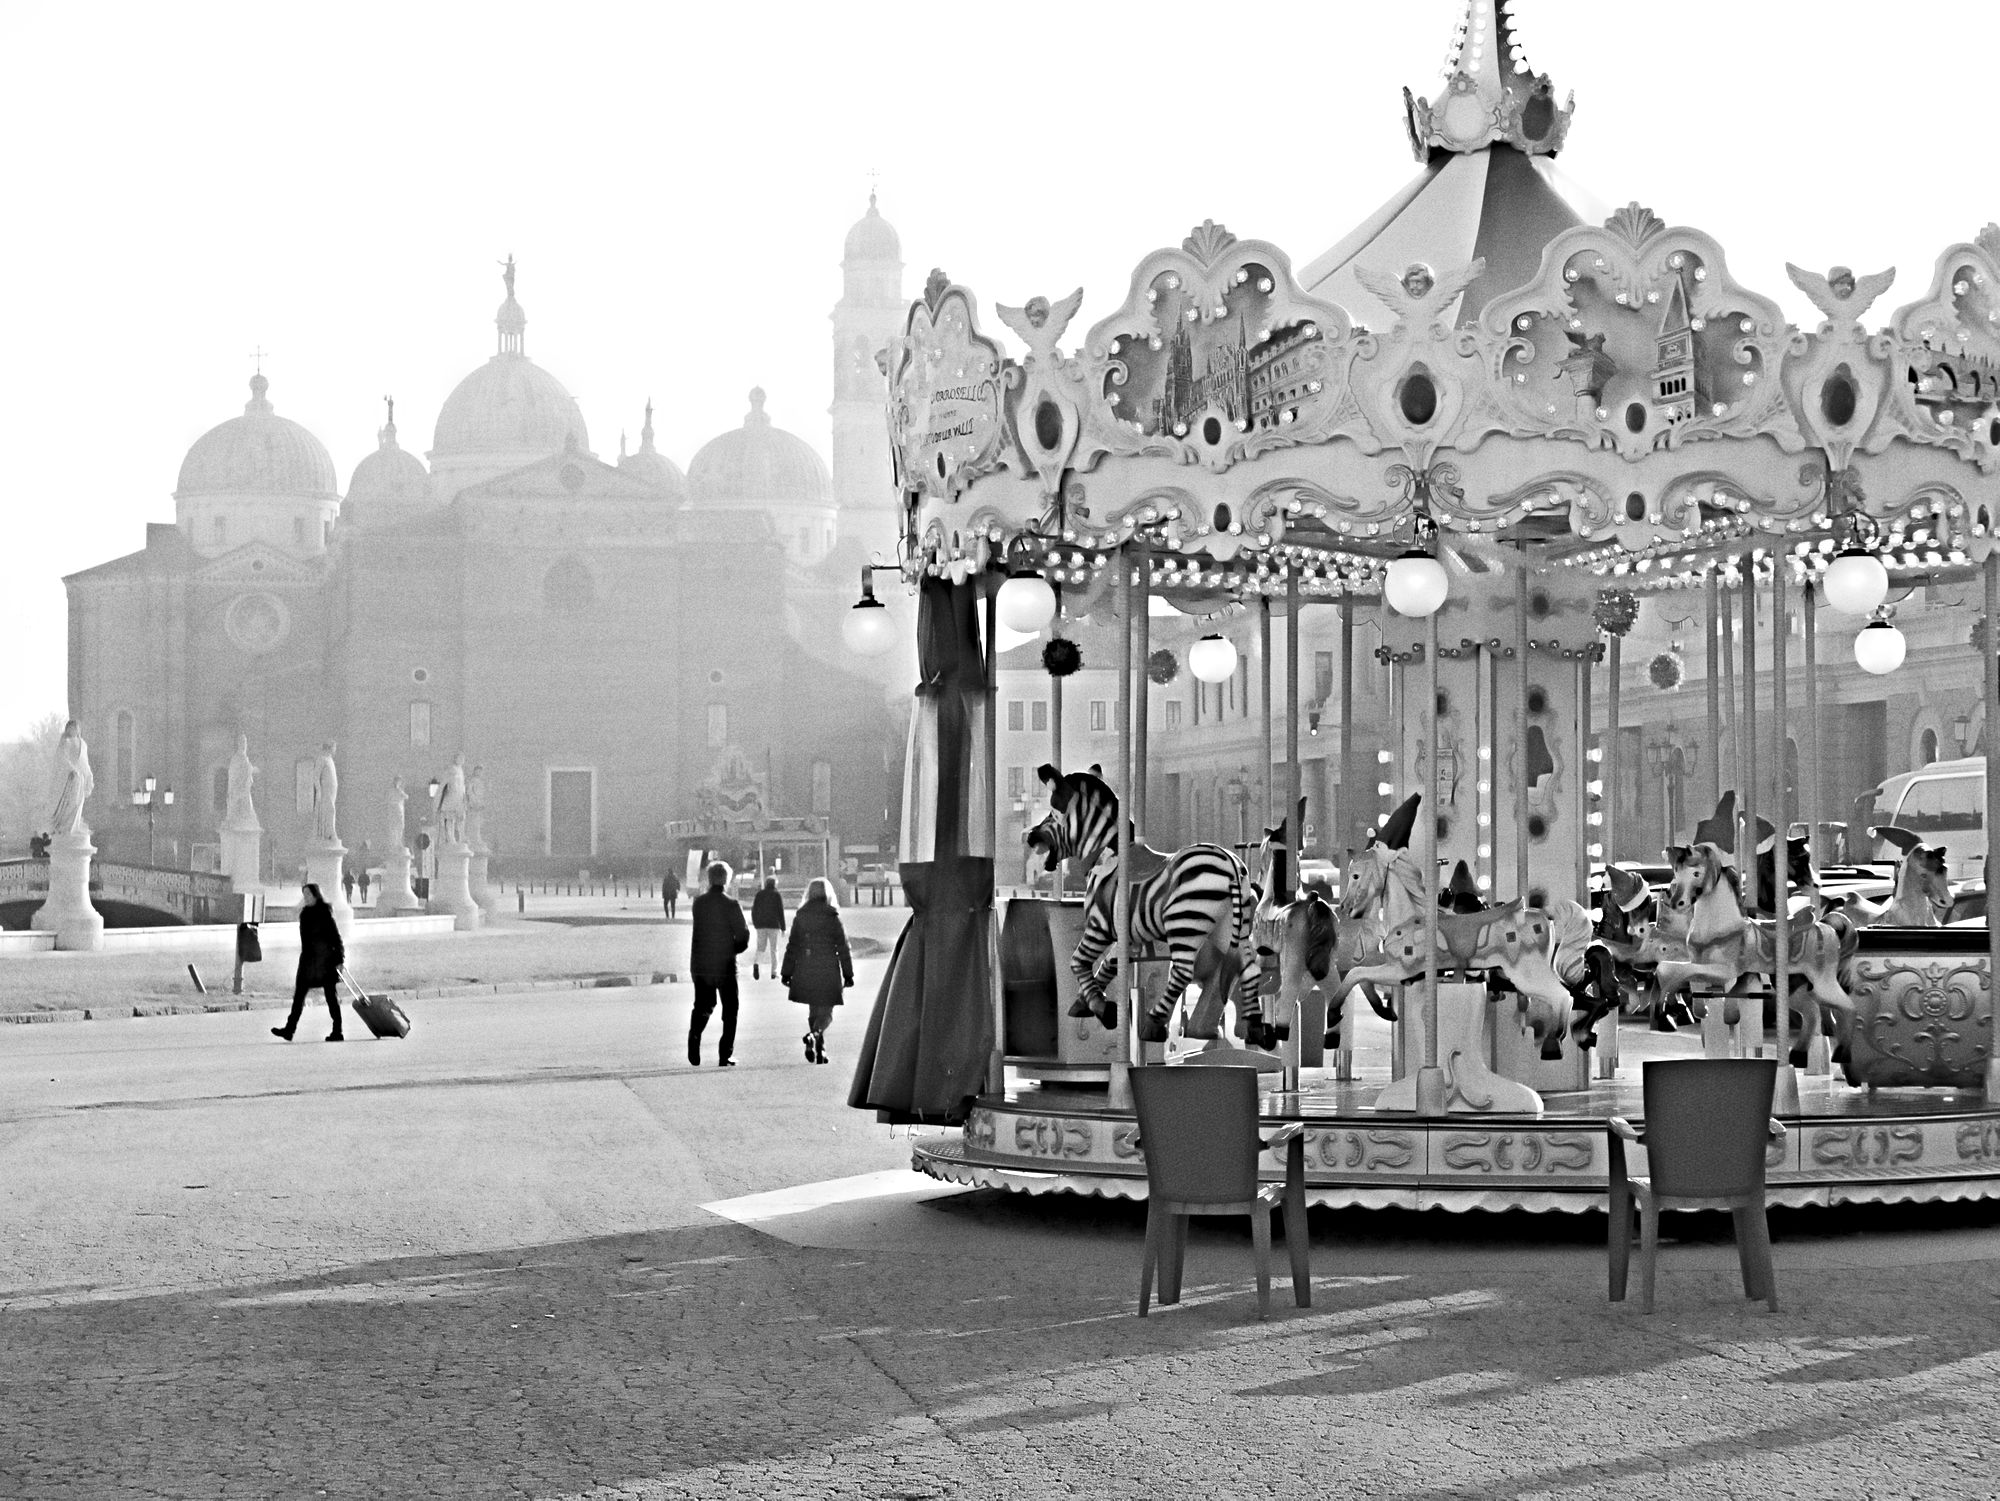
20221227_0094-1.jpg.out.arp (11.6 KB)
Edit. Hmm, the photo in ART looks different than the one posted above, see for example the statue on the top/roof of the churches, in ART it’s black, not here above… Recently upgraded to Xubuntu 22.04, perhaps the problem lies there.

1 Like
Nice render, I like it. A little bit of halo around the persons, but not a big problem. Thanks.
Very nice! and similar to the apostel338’s one, with a different crop. One of my favorites so far.
1 Like
A great image. Thanks for sharing.
My try in GIMP. I have made local adjustments to brightness and contrast in an attempt to make the “galloper” stand out from the background.
3 Likes

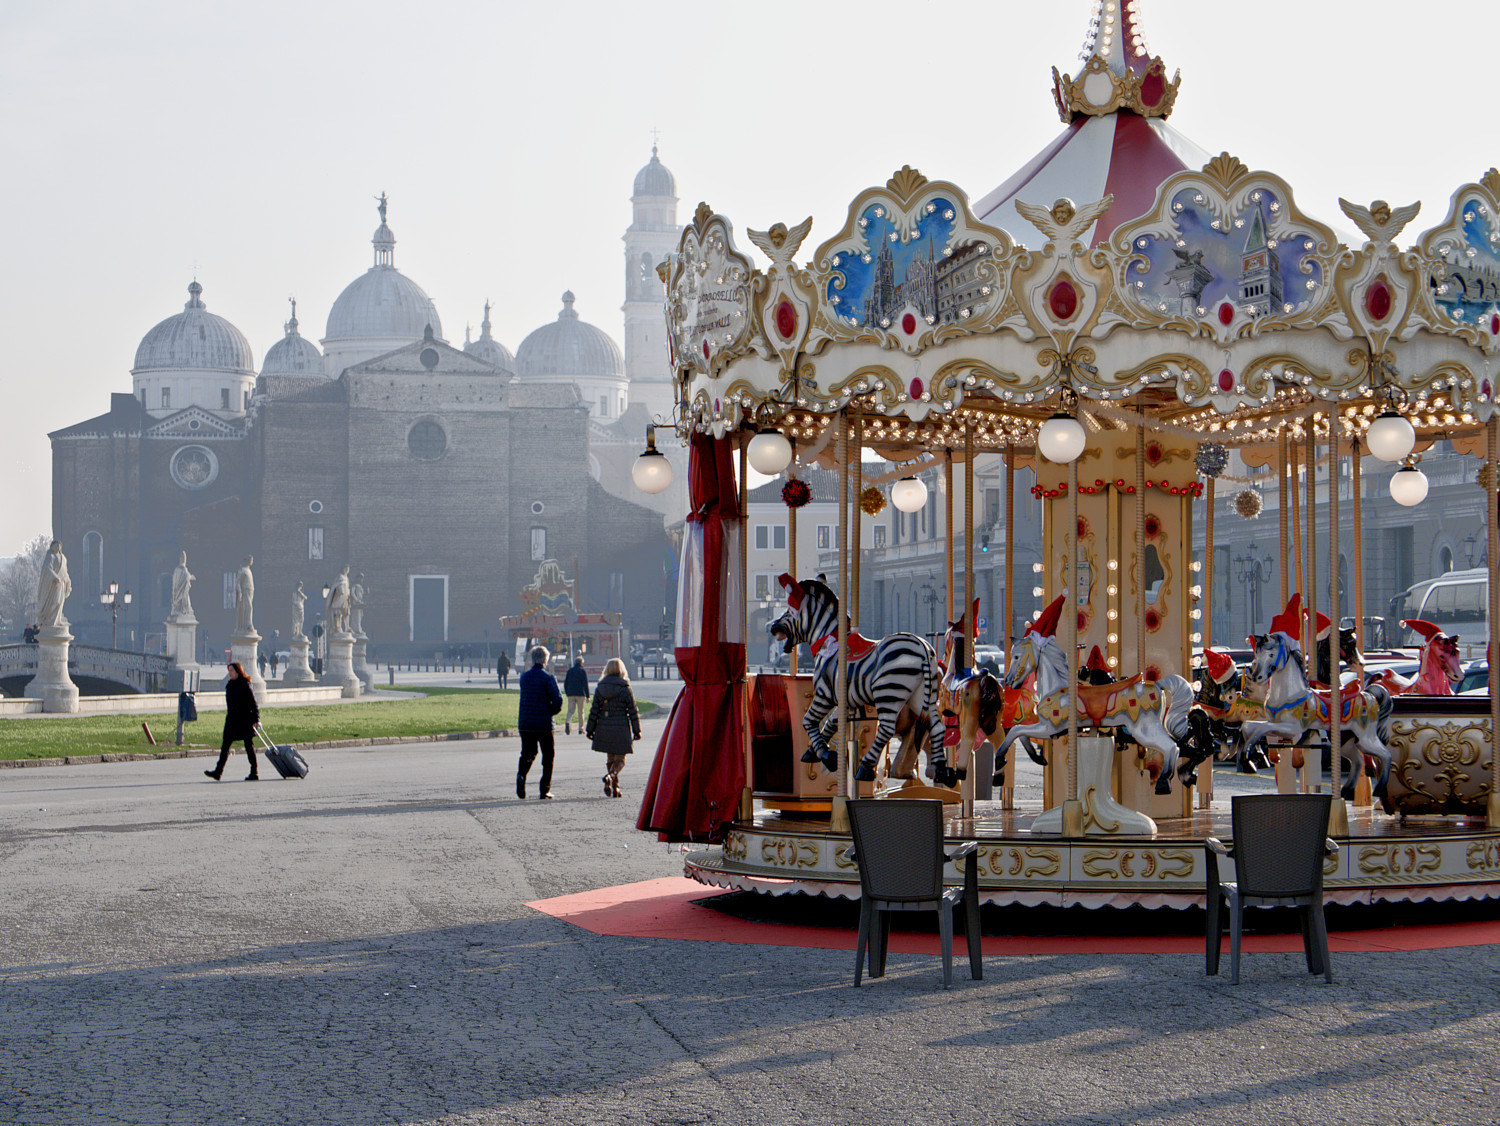
All black and white except the carrousel
For the frame (with carousel color) I had to move the colorize module up above the monochrome modules in the pipeline.
And for the blur, I was hoping that in the blur1 module, selecting the figure used in Monochrome1 would also select the parametric mask (I thought it was included). As it was not, I had to select by hand the parametric mask in blur1 to blur only the background.
(deepL)

20230120_20221227_0094.RW2.xmp (21,9 KB)
Greetings!
6 Likes


For your consumption, here is a variation generated by DALL·E with the starting point of my original editing.
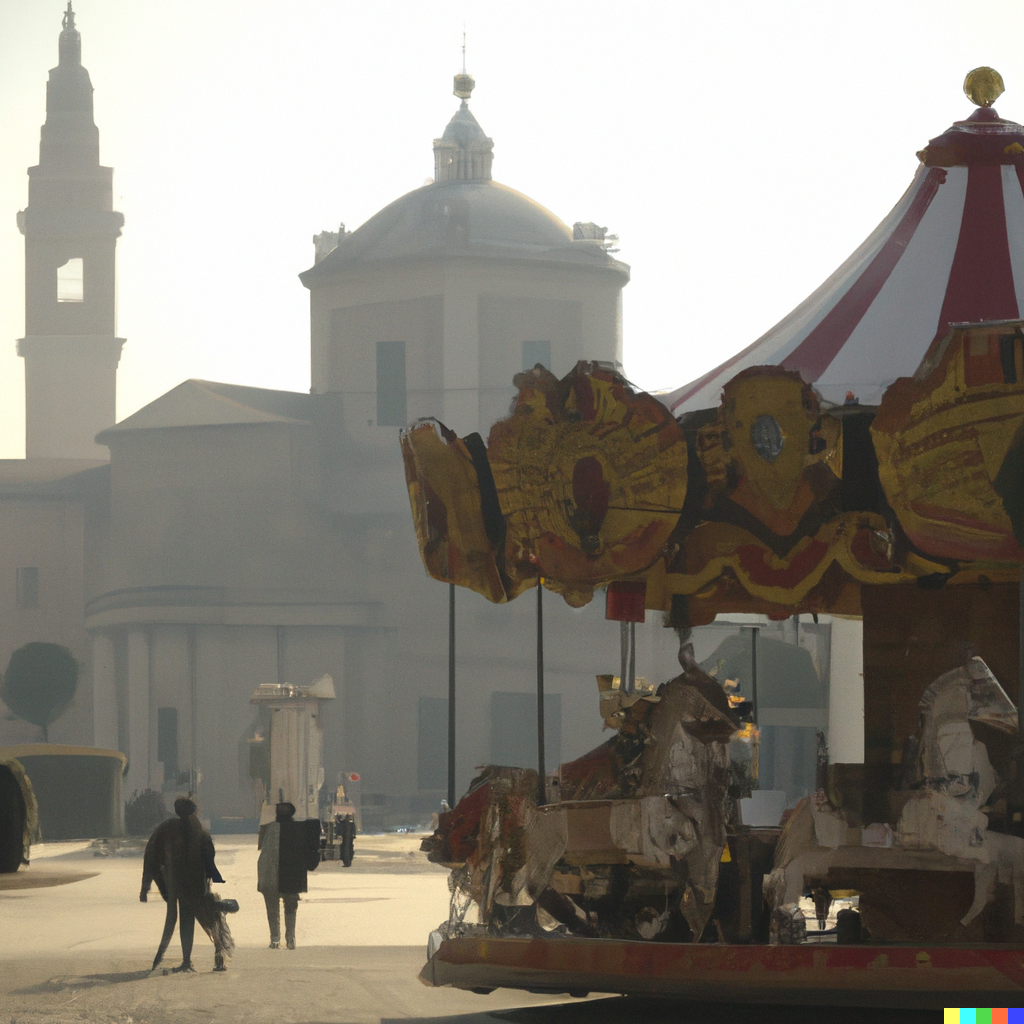
Clearly this is not a photograph, but definitely it highlights the basics of the original shot:
- tangent light
- haze
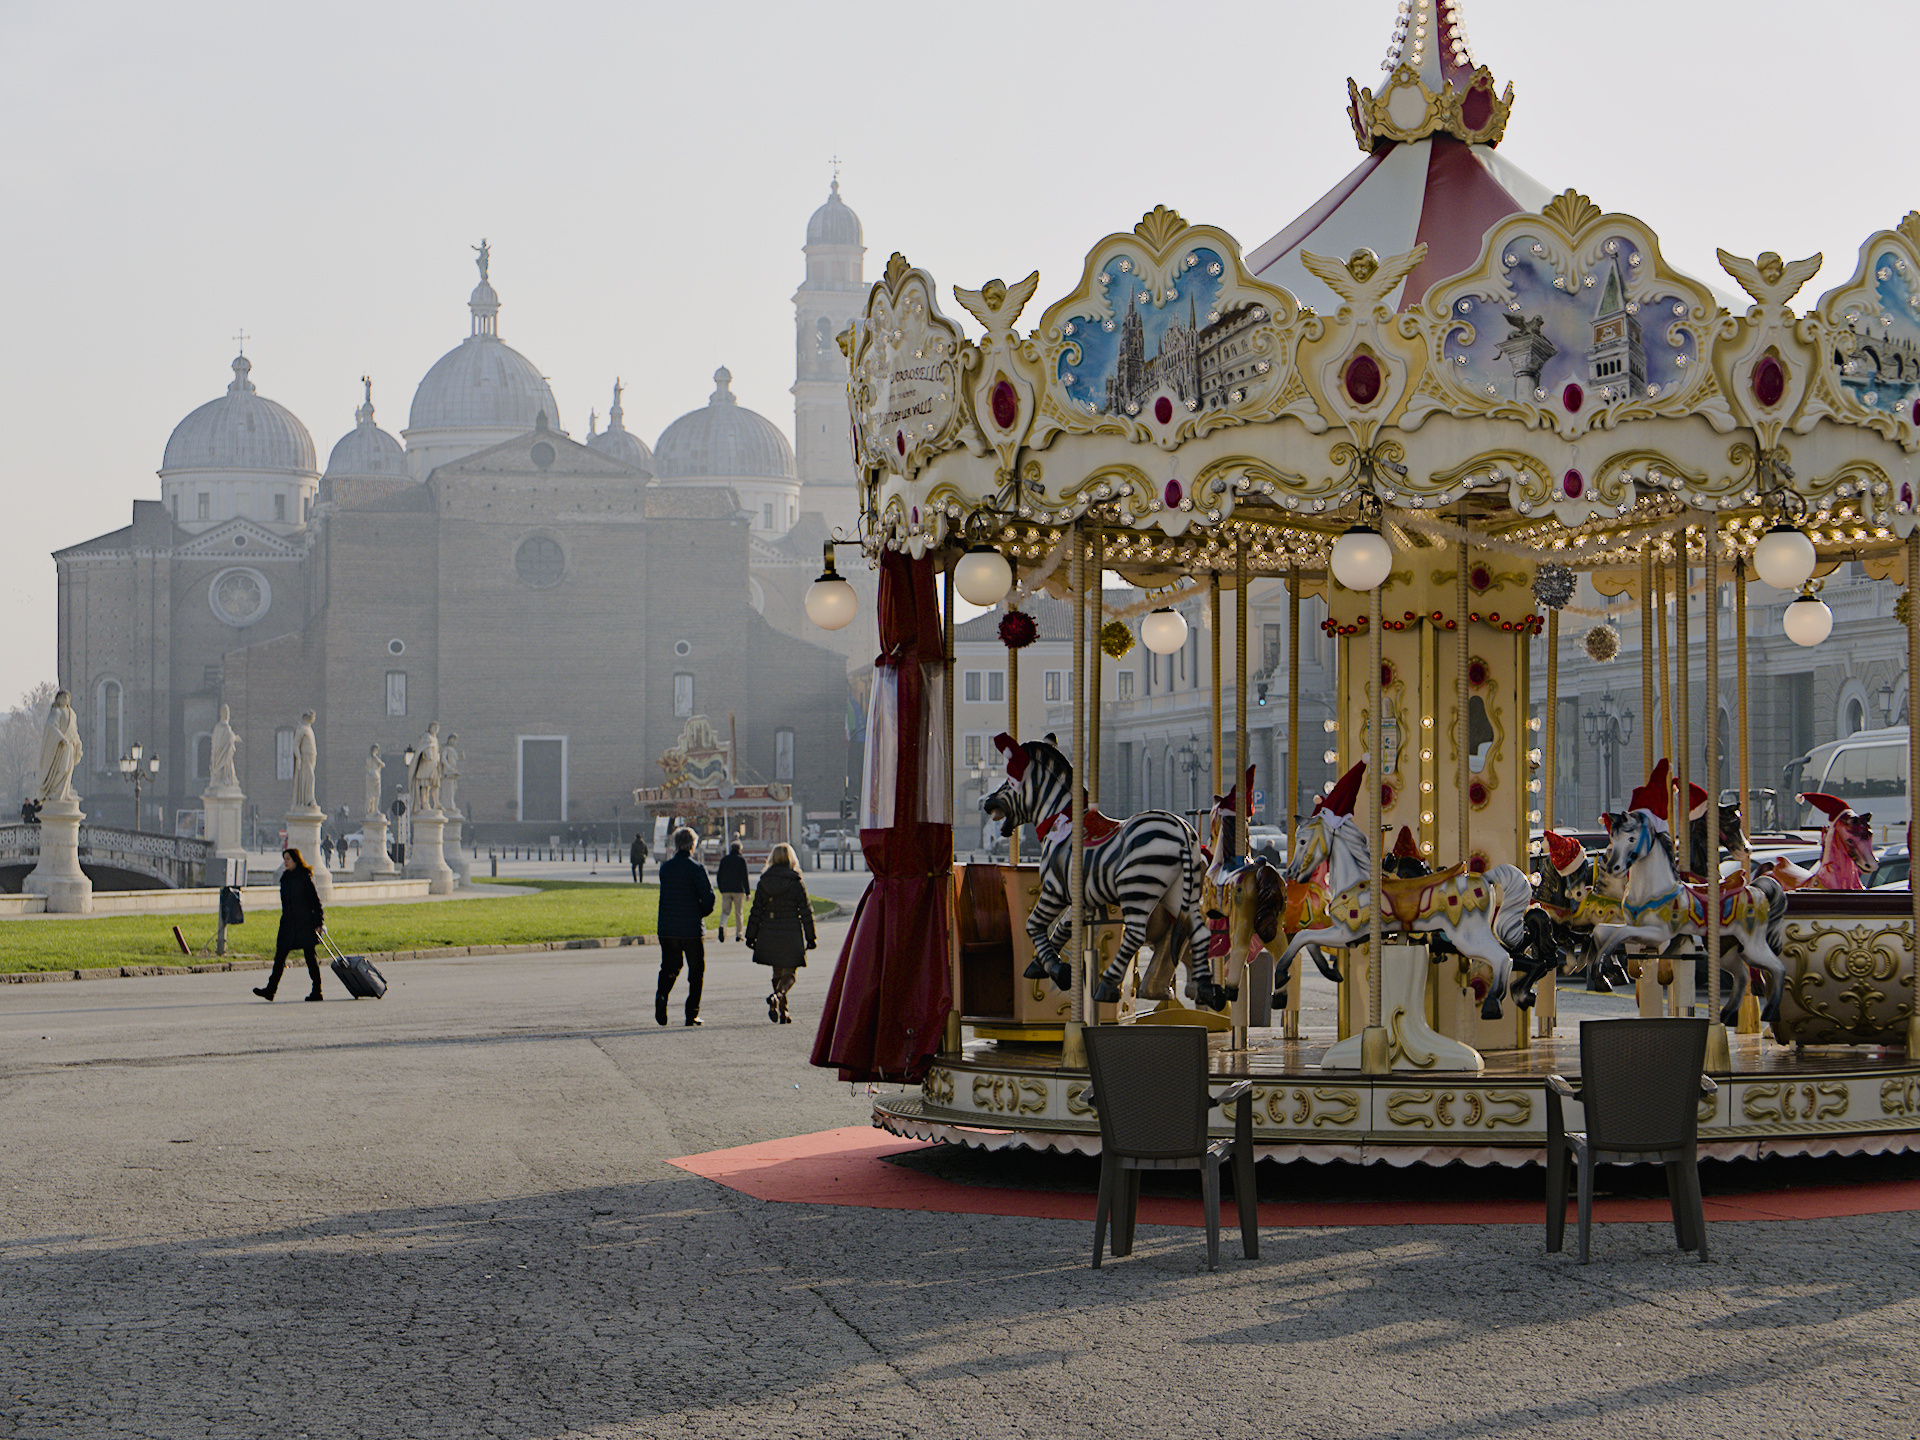
- a big church and a carousel
- dimmed colours
- persons living their daily paths
Thank to @all of you who contributed to this Play Raw, I learnt a lot from this and from your variations on my meager photo.
Respect.
1 Like
It’s been only a very few days since I joined this community, and I’ve had so many inputs, so many things to think about. This site does a meritorious job with a community that is a huge source of expertise.
2 Likes
Nice interpretation. Welcome on board.
You have to use the raster mask feature for that.
https://docs.darktable.org/usermanual/4.2/en/darkroom/masking-and-blending/masks/raster/
1 Like
True, I was referring to that and then I knew what was going on.
The problem was that Blur1 goes before Monochrome1 in the pipeline, therefore, Blur1 does not see the raster mask of Monochrome1.
To do this I would have to move Blur1 up to after Monochrome1 in the pipeline.
Thanks kofa for the link. Point 2 is the one I didn’t know:
- Raster masks are passed up the pixelpipe after module processing - they can only be used by modules that come later in the pipe than the generating module.
One trick you can do is to create a ‘dummy’ module instance early in the pipeline (such as exposure with no correction set) with drawn + parametric masks covering the desired areas, and use that to provide the raster mask.
2 Likes