I’ve modified the default preset to get more saturation out of the box 
1 Like
Lost cause. lol
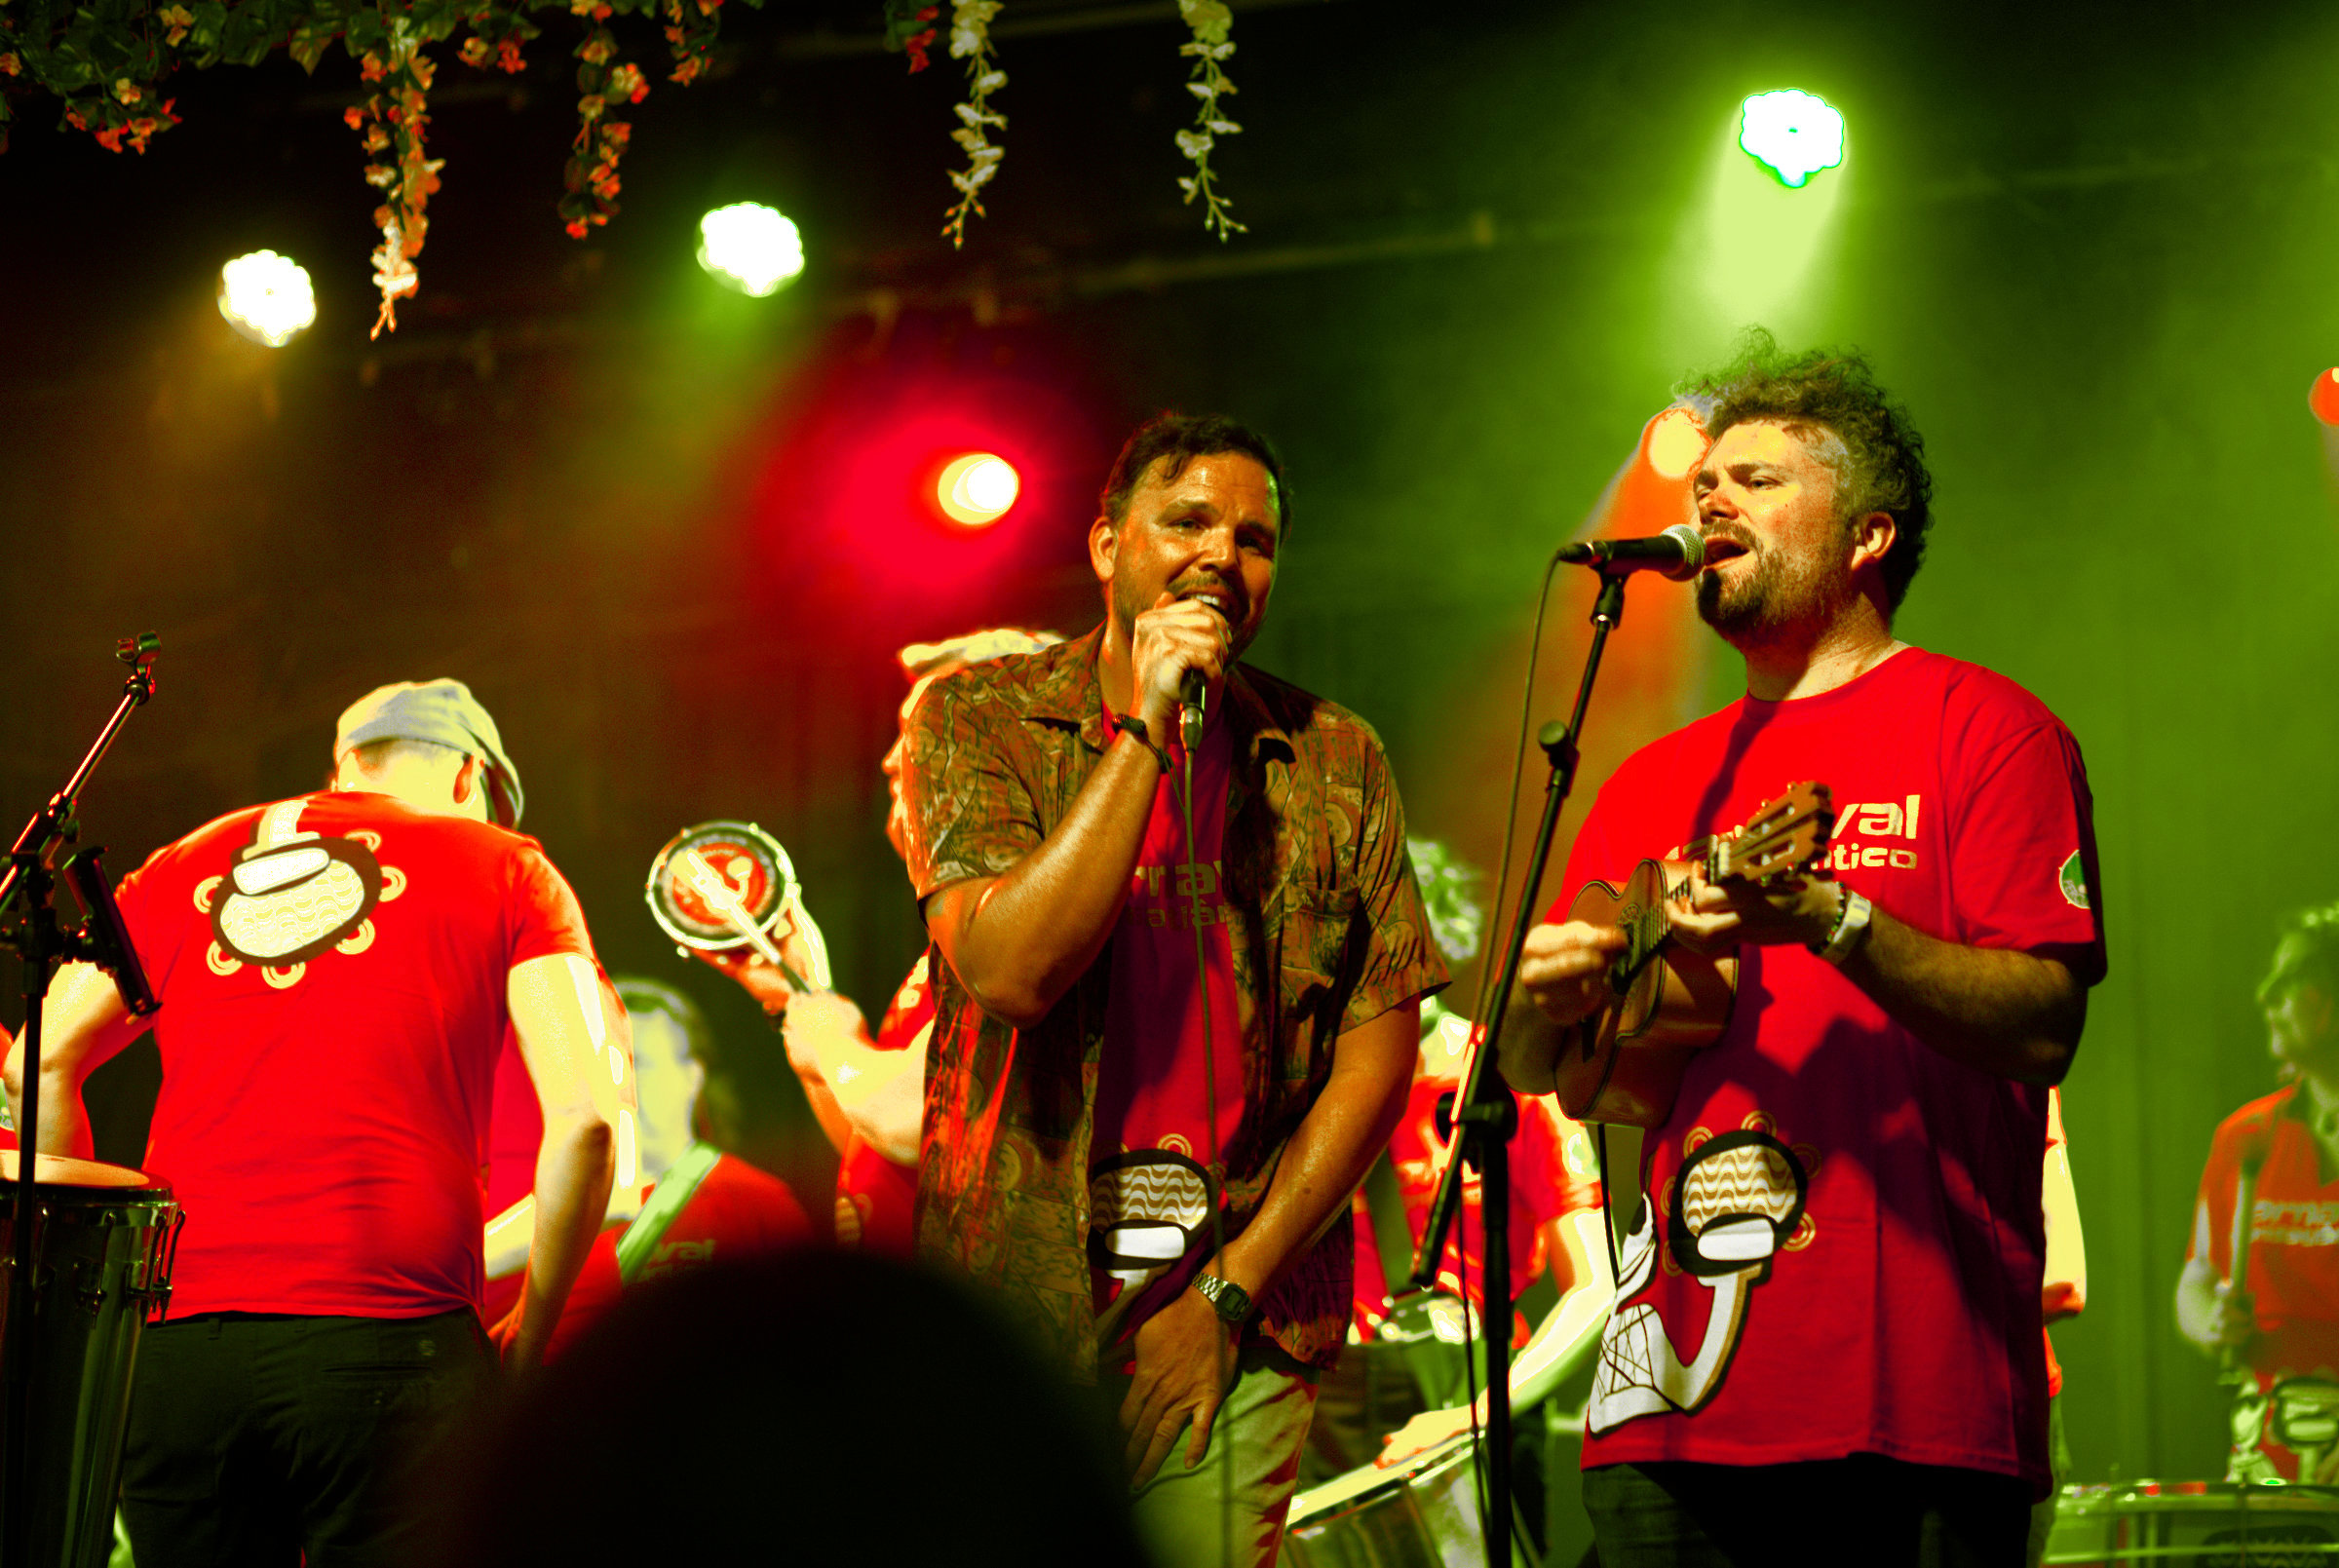
Shifting colors mucked up others. Finally settled on this one eye ball compensating for white balance. Jeeze. lol

1 Like
I was actually surprised following up on your use of openDRT, I revisited all the tone mappers that I downloaded for ARTa few months back that were shared here… “The one tone” mapper and the Michaelis Menton ones and even a couple of the other ones worked quite well with the Art pipeline for this image…setting the wb and just tweaking the brightness or exposure slider in the tonemapper depending on the variant produced some nice images very easily. Art has its own and another called AGX and they remind me of the simpler version that @kofa started with but with some gamut compress added, but they work not too badly as well…
Yes, I generally use this tonemapper in ART!
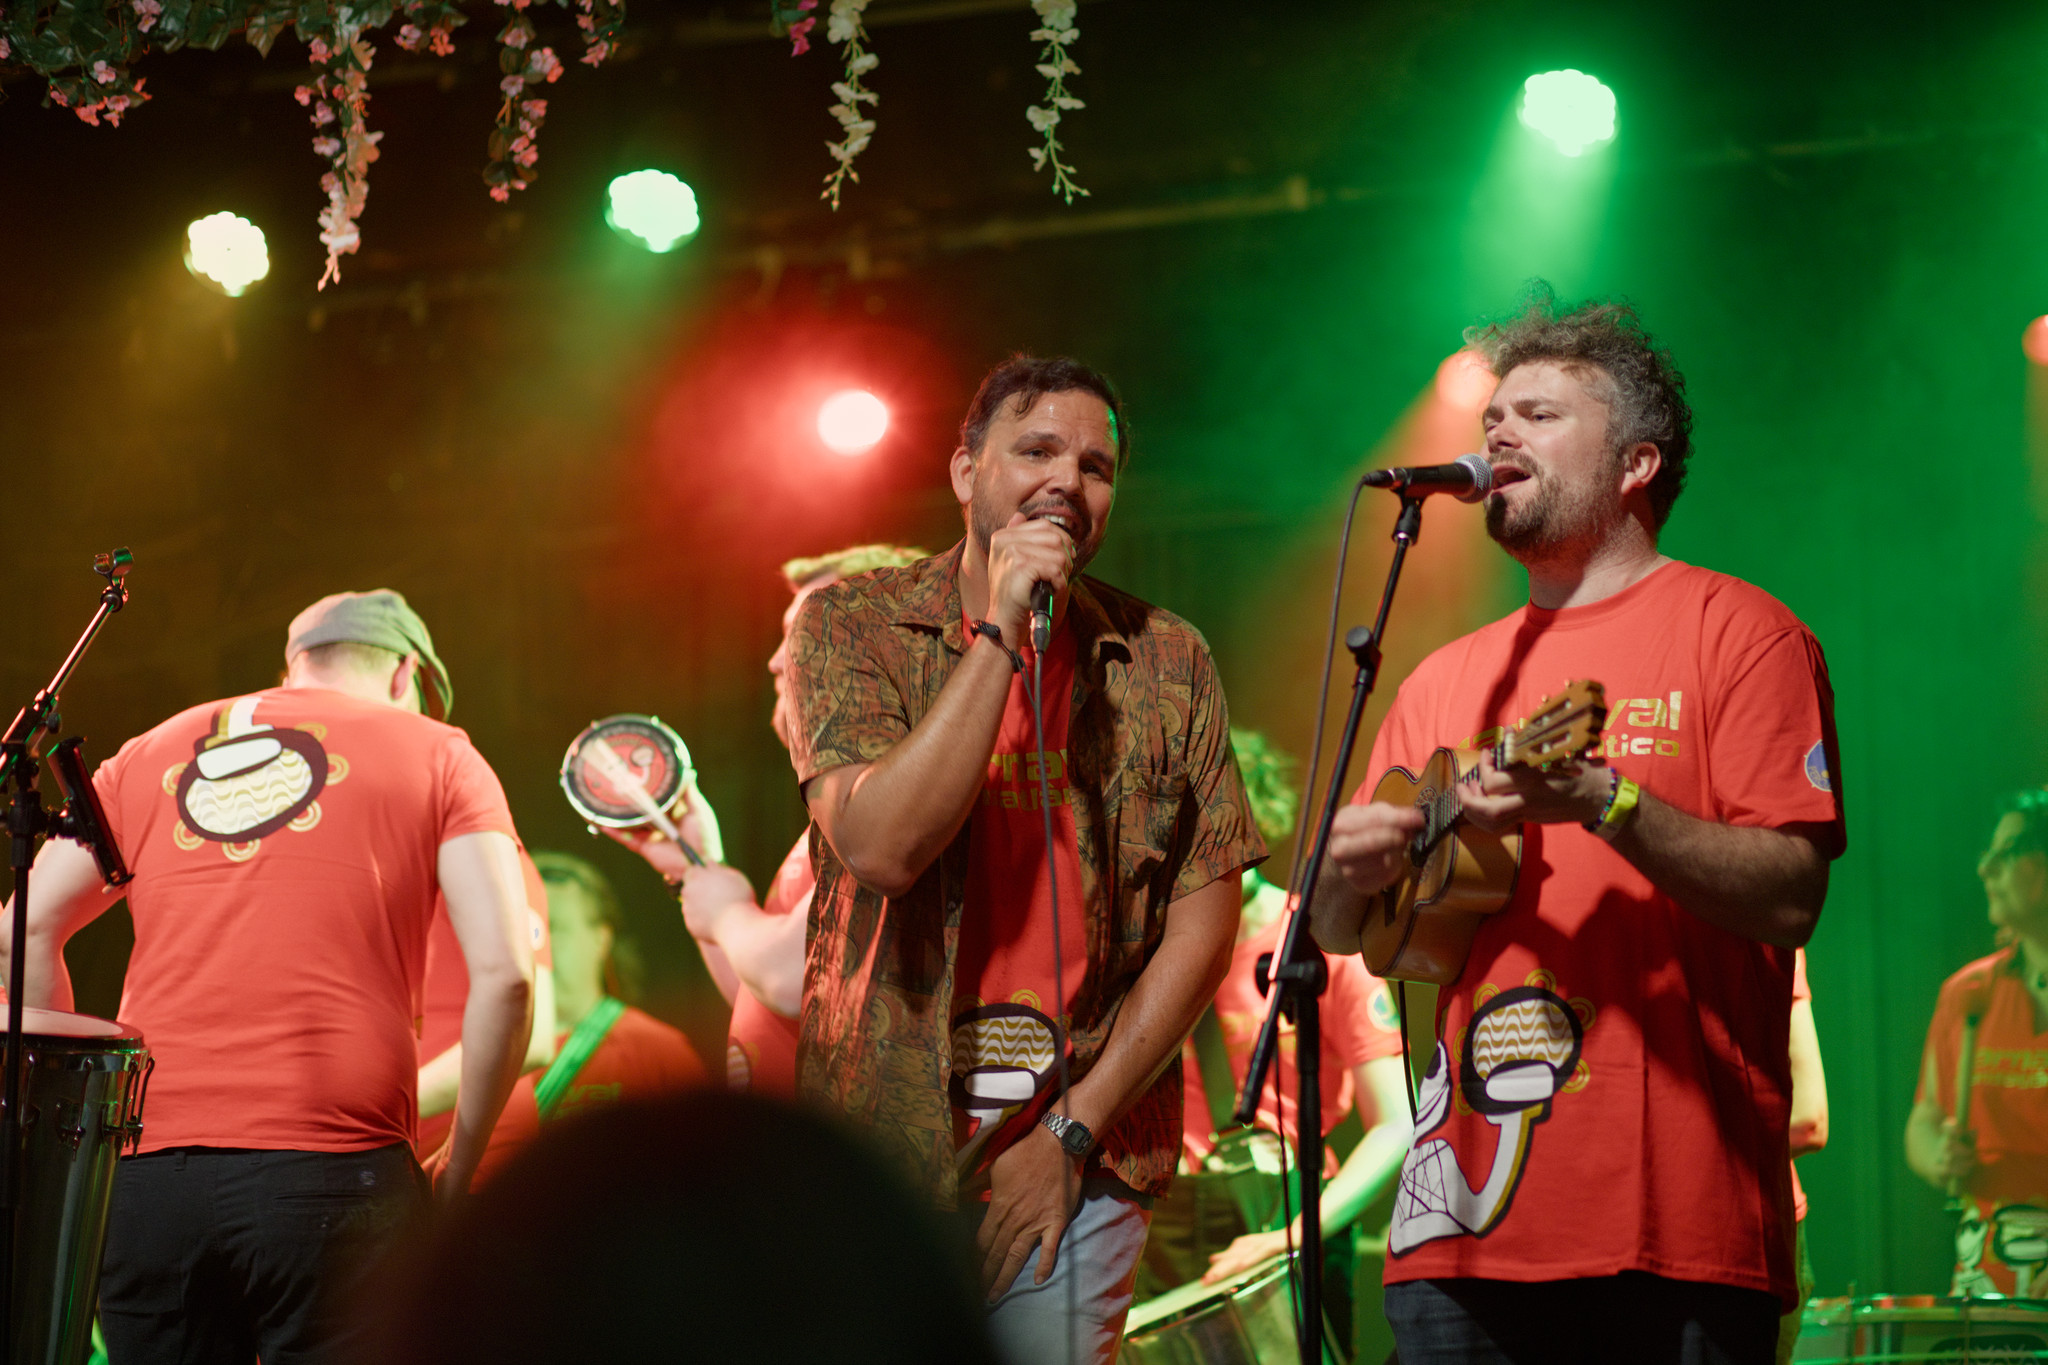
AGX with gamut compression to rec.709 (plus I’ve darkened a little the reds)
_5D_03799.CR2.arp (13.7 KB)
4 Likes
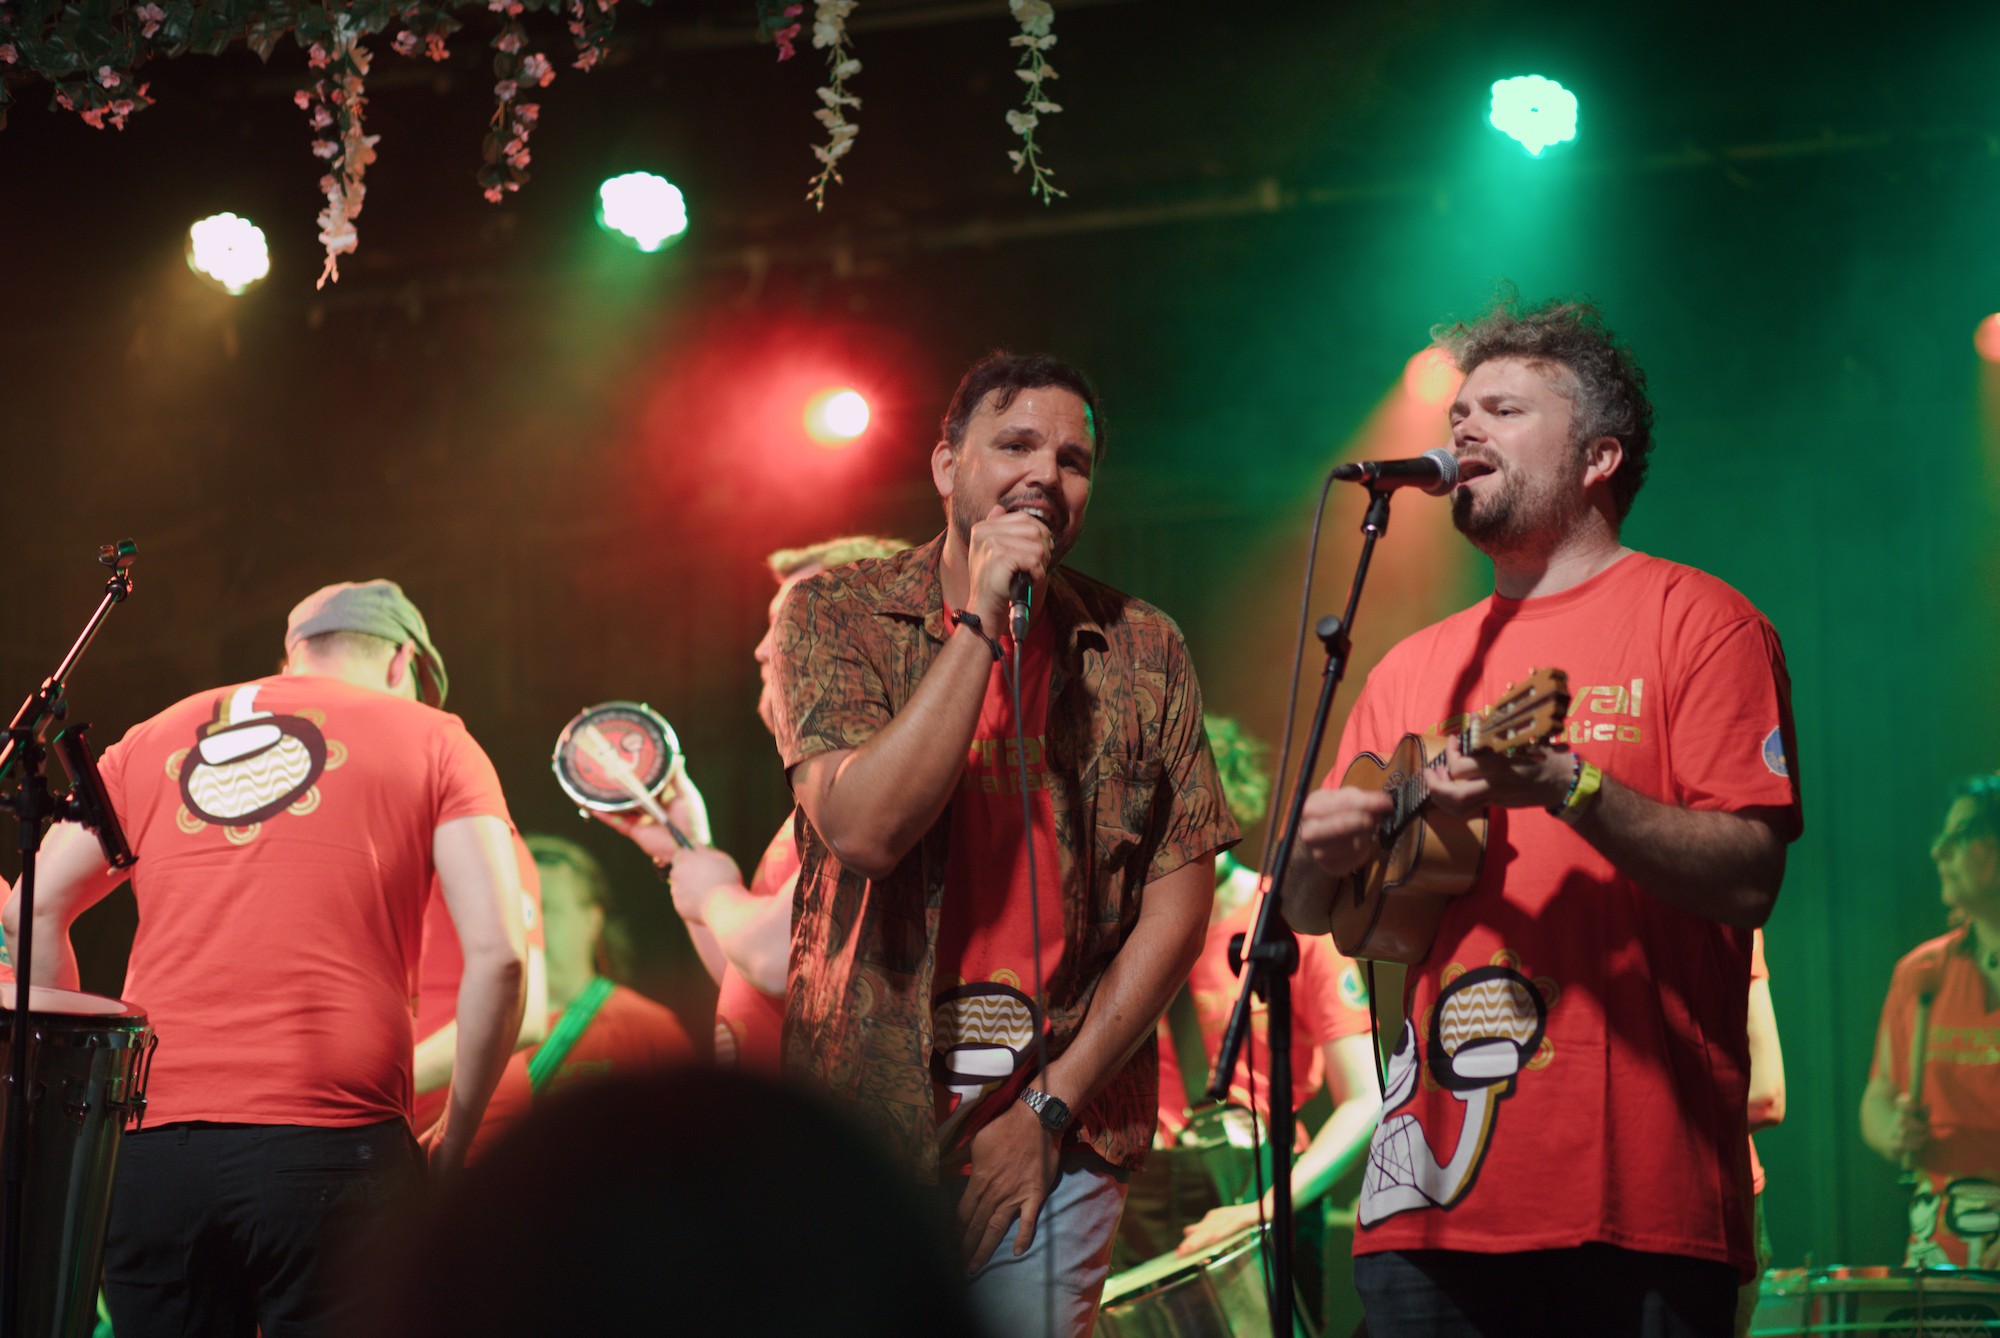
I cannot come close to the ART results with this one. The highlights, especially that red one above the chap on the left completely defeat me; but also the hard transitions: on the arm of the man with his back to us, and on that arm with the green shadows, and elsewhere, ugly yellow patches. 

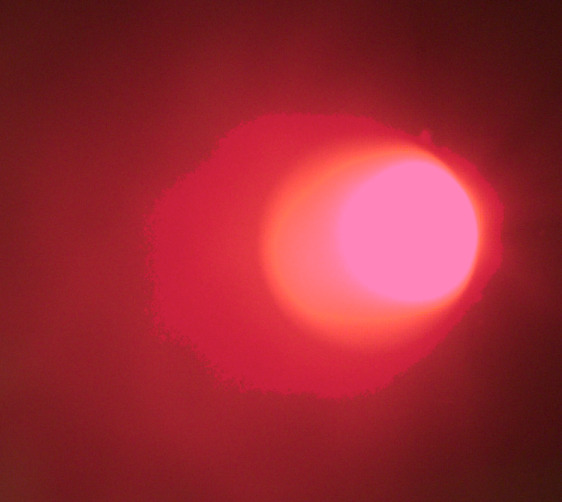
With the segmentation-based settings (clipping threshold: 1, combine: 2, candidating: 100%, rebuild: off) that I suggested above, the smoke around the red lamp is still bad:
And we have horrible transitions elsewhere, too.
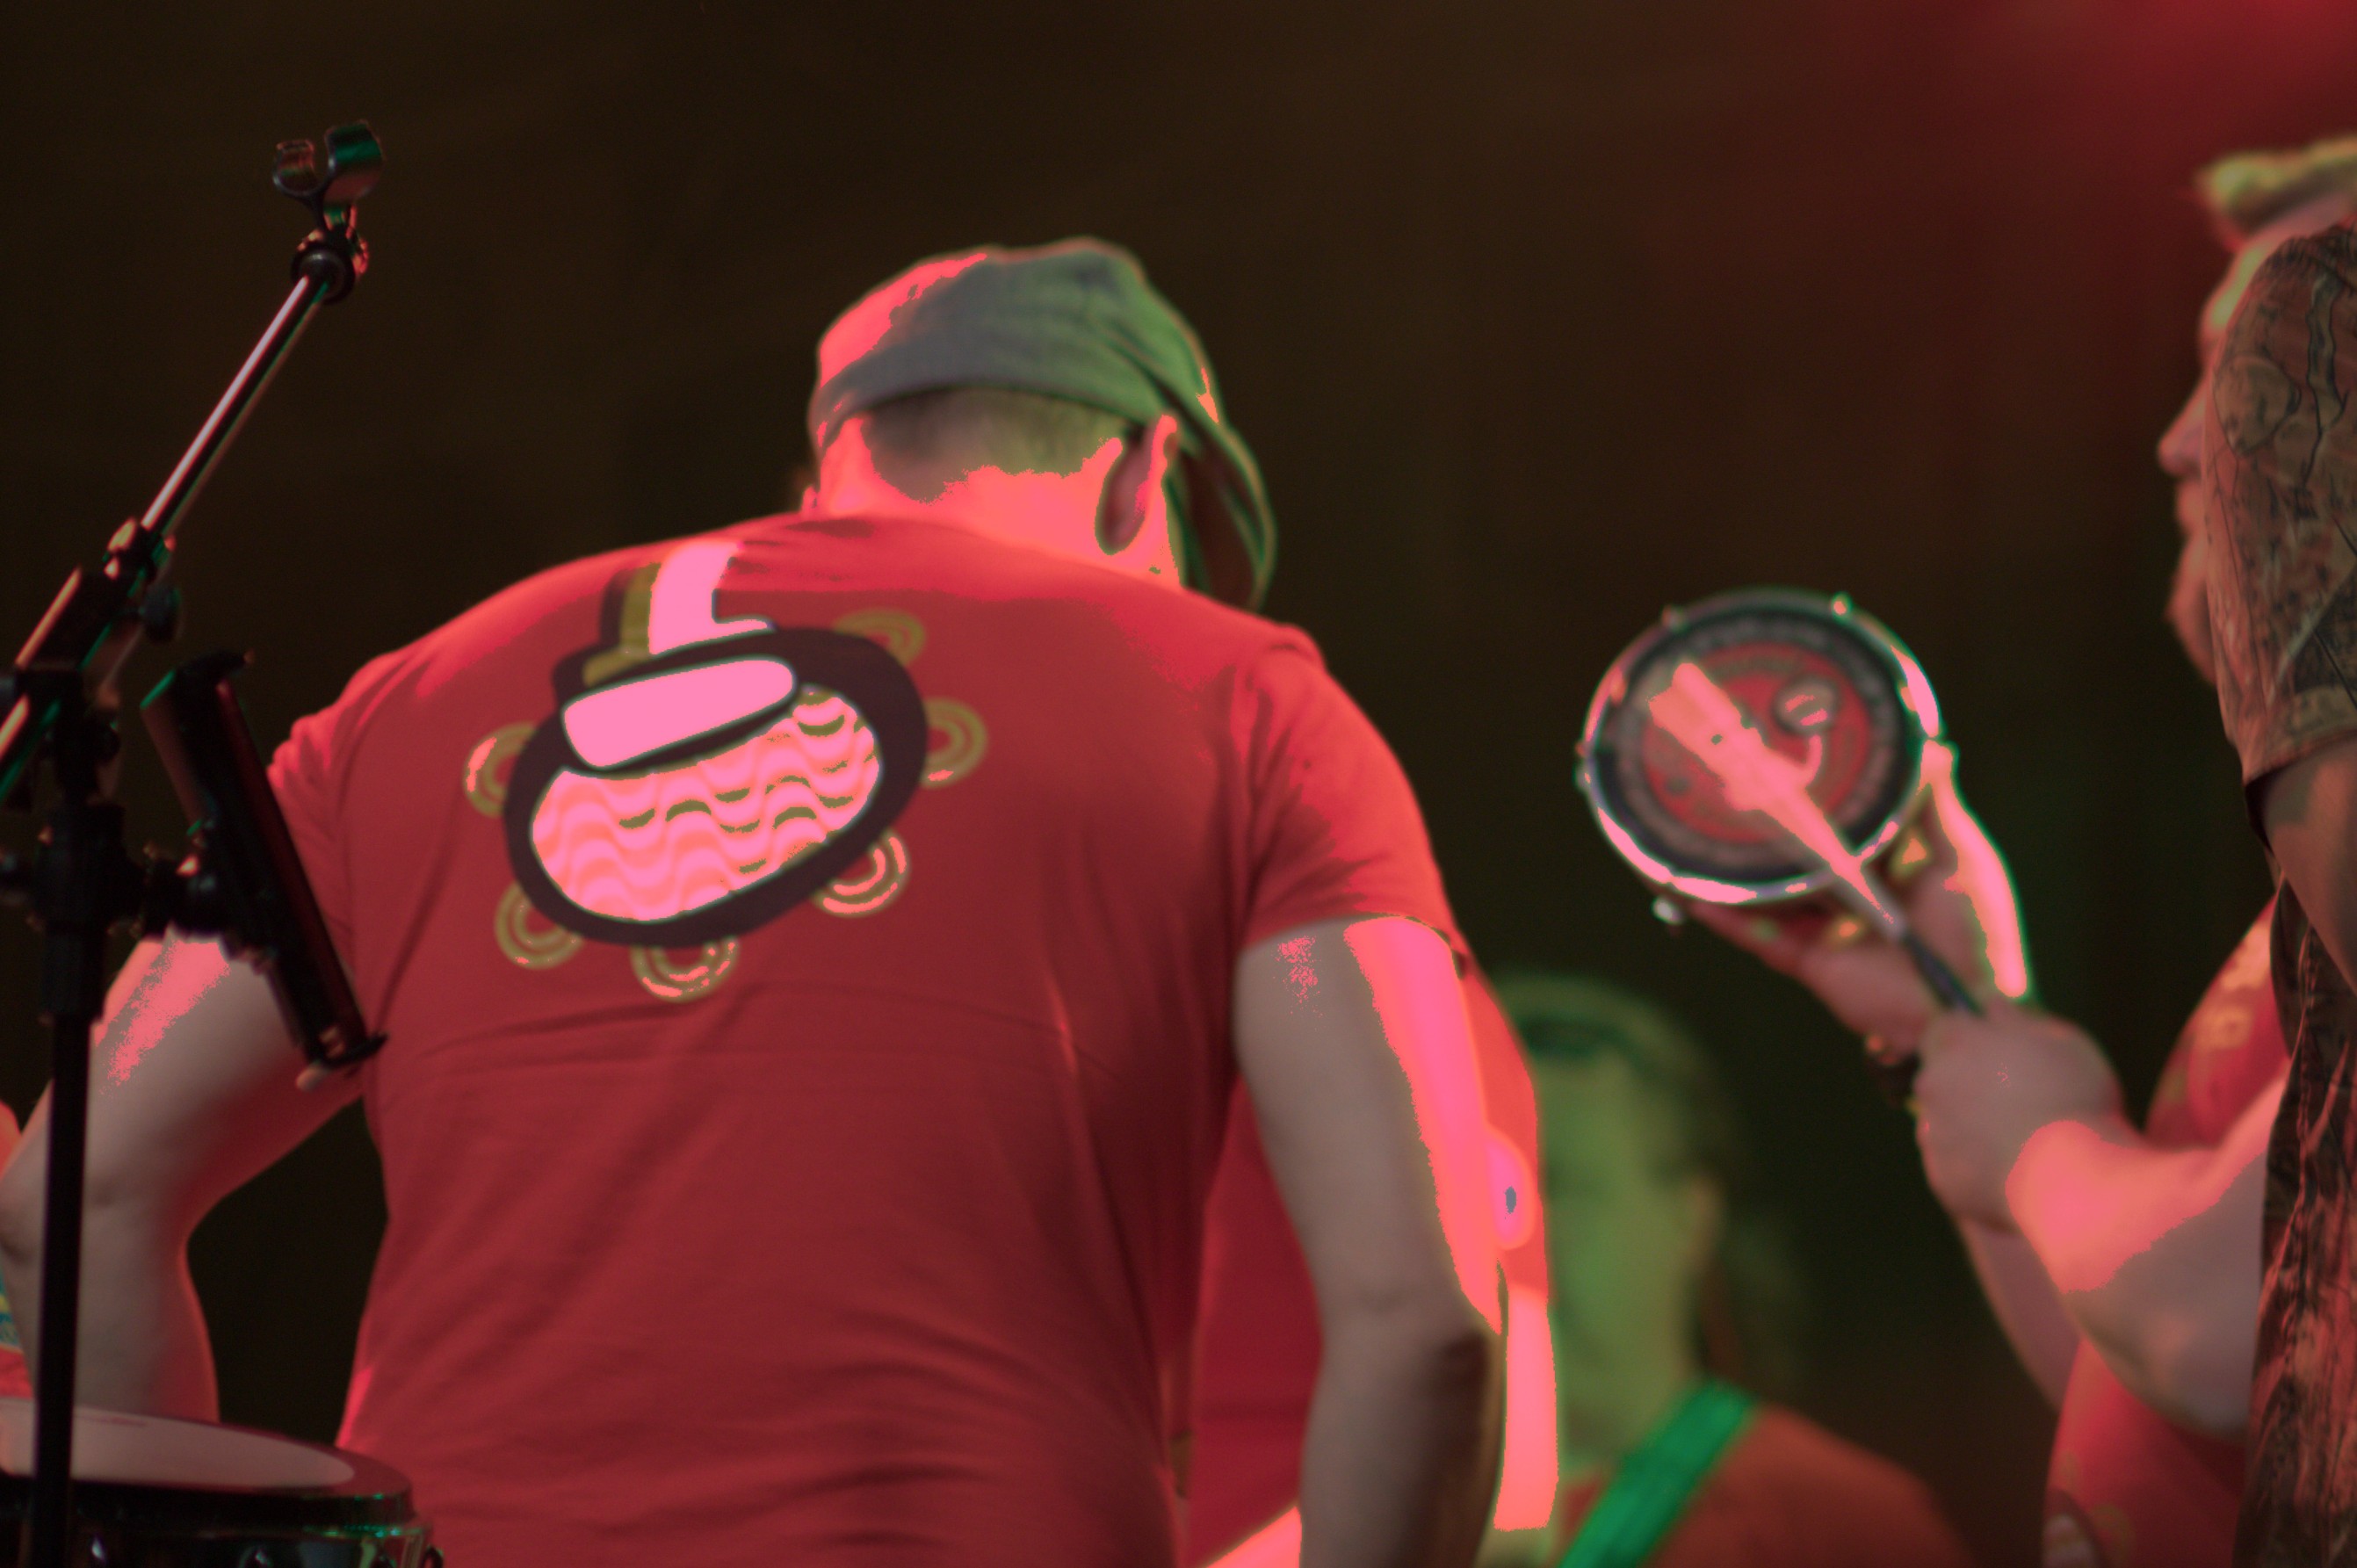
Without it, it’s the lights that are absolutely horrible (strongly darkened, no tone mapper):
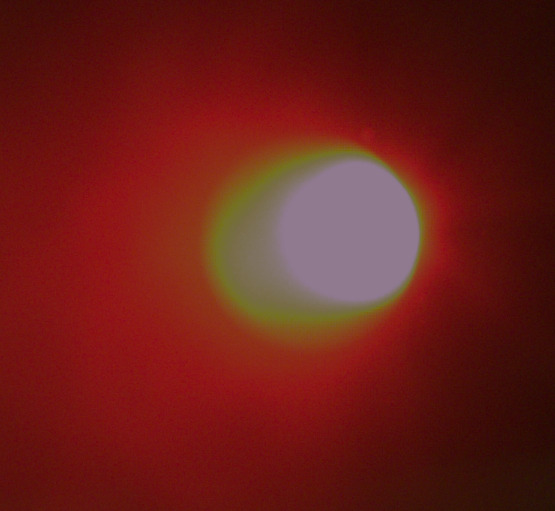
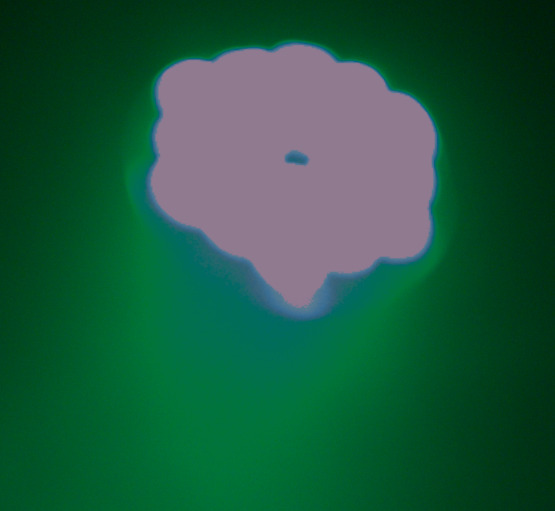

Its similar looking in ART with everything but the color propagation mode…that is the one that makes a much better job of things and helps the tone mapping…
1 Like
I think that rgb primaries helps a lot in these cases, also I’m using sigmoid in sRGB mode.
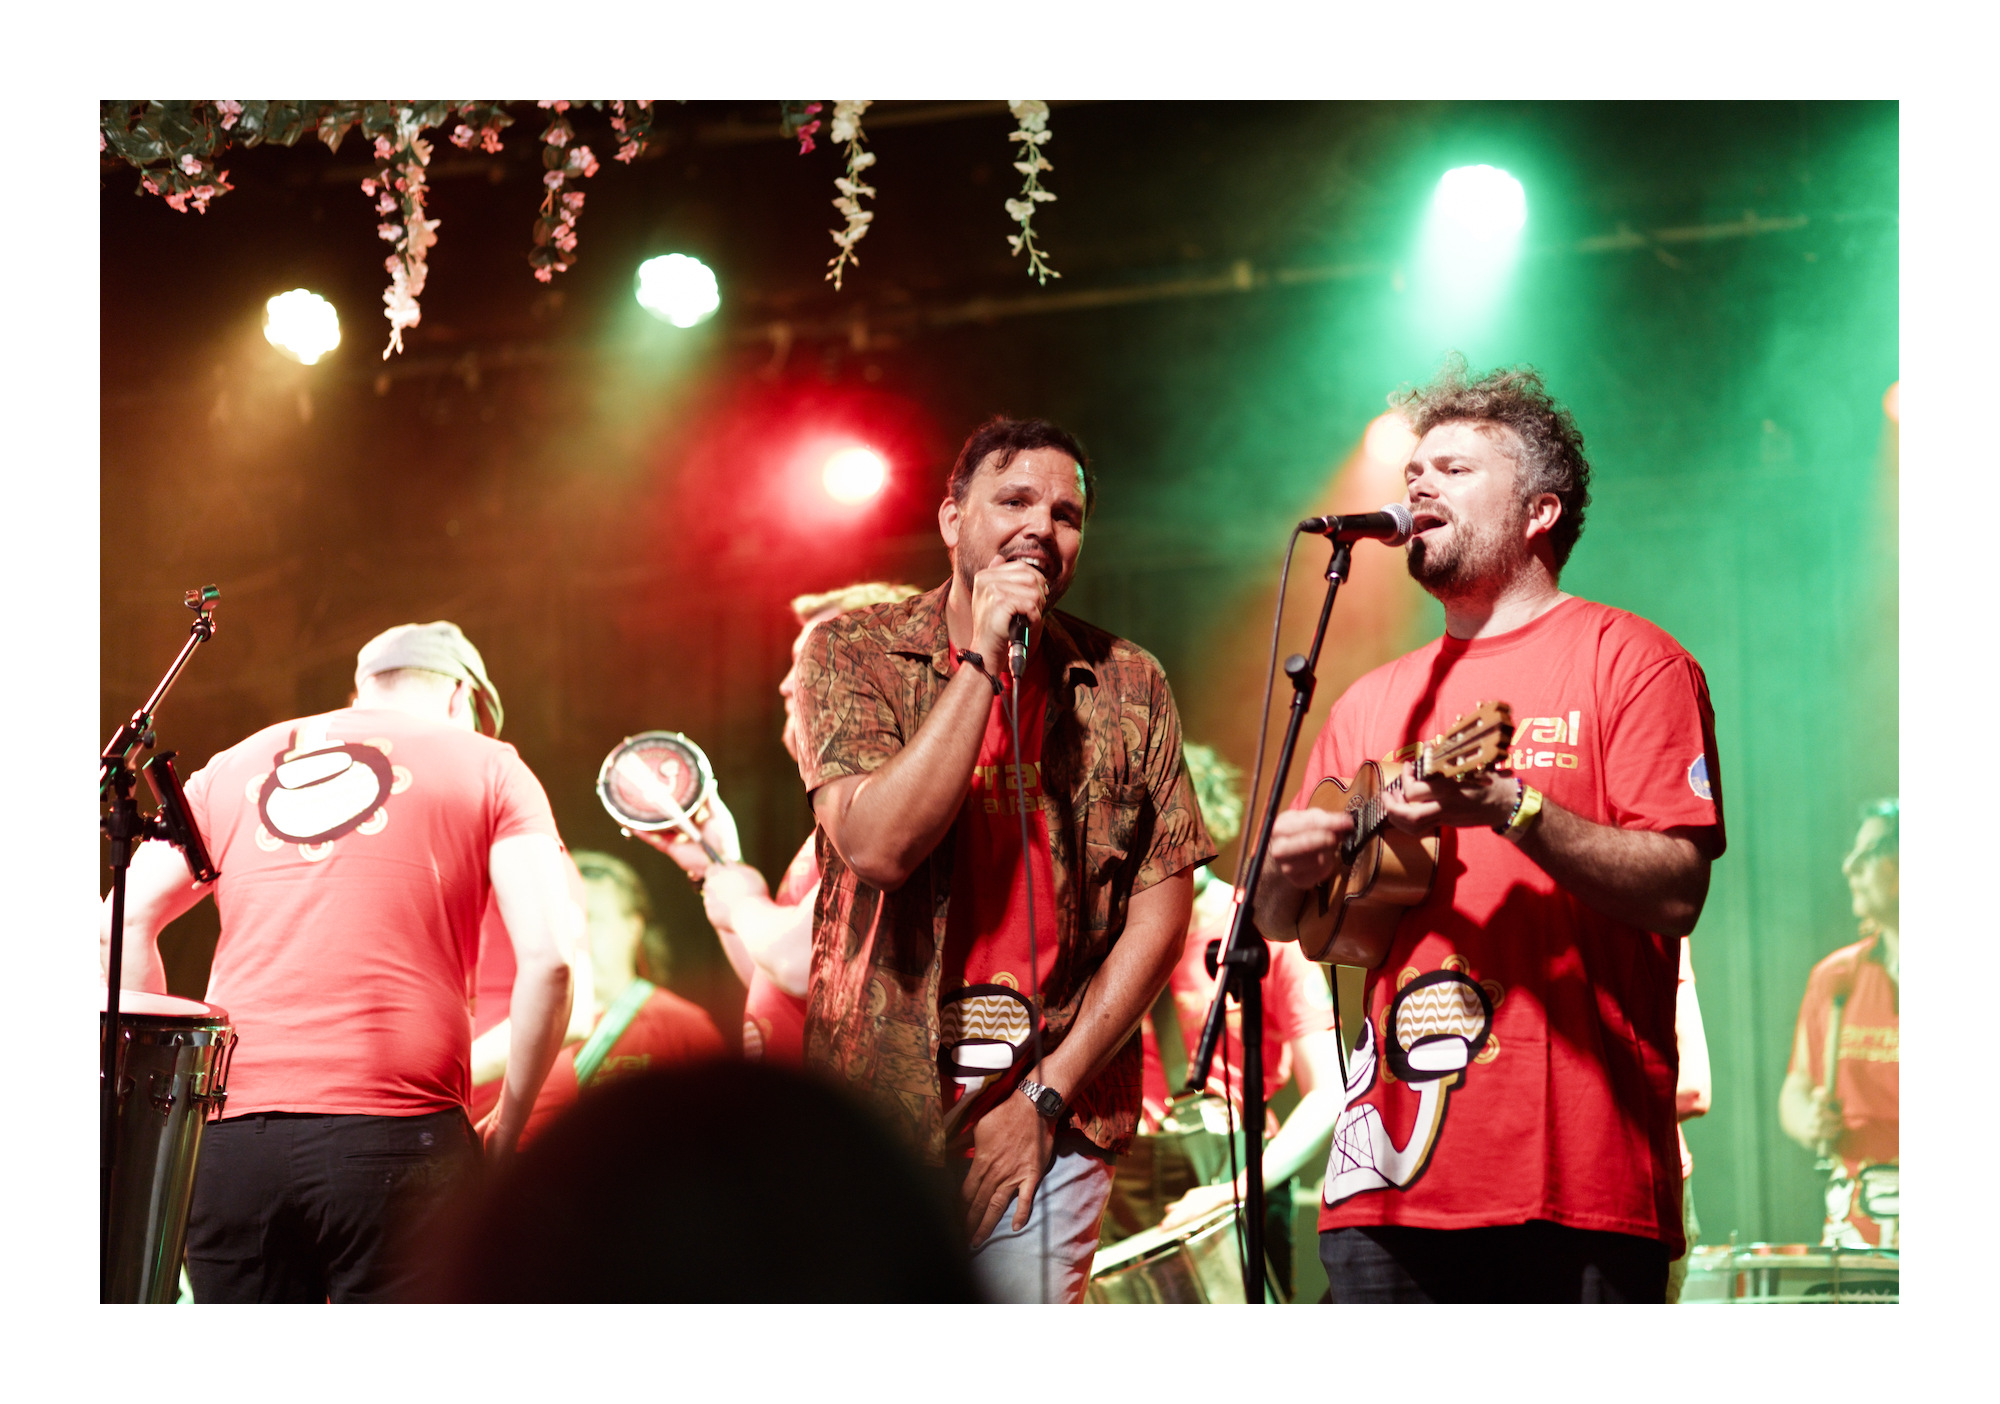
_5D_03799.CR2.xmp (15.0 KB)
1 Like

_5D_03799.CR2.xmp (15,8 KB)
Your green light on the top right also has that ‘cyan beard’. Highlight reconstruction has a hard time with this one.
@Iain , you might be interested.
yes, I couldn’t get it completely under control. In the past I often used patch based reconstruction for such cases. But it seems like there has something changed. I can’t get usable results with it anymore.
What’s that?
Nonsens of course.
I meant guided laplacian. (I hope it’s the English name, was to lazy to switch dt to English and just translated by myself)
2 Likes
I think simple WB (with neutral picked from some white/light grey area) works much better here because the highlight reconstruction receives correctly white balance data (it was the original reason why we switched from the fixed camera reference to as shot to reference). Unfortunately, currently it’s not possible to use manually selected WB in place of the one read from EXIF. This is the stuff I’m currently looking into – it makes sense to trust a white balance selected manually to deliver a better starting point than what the camera guessed.
1 Like
1 Like
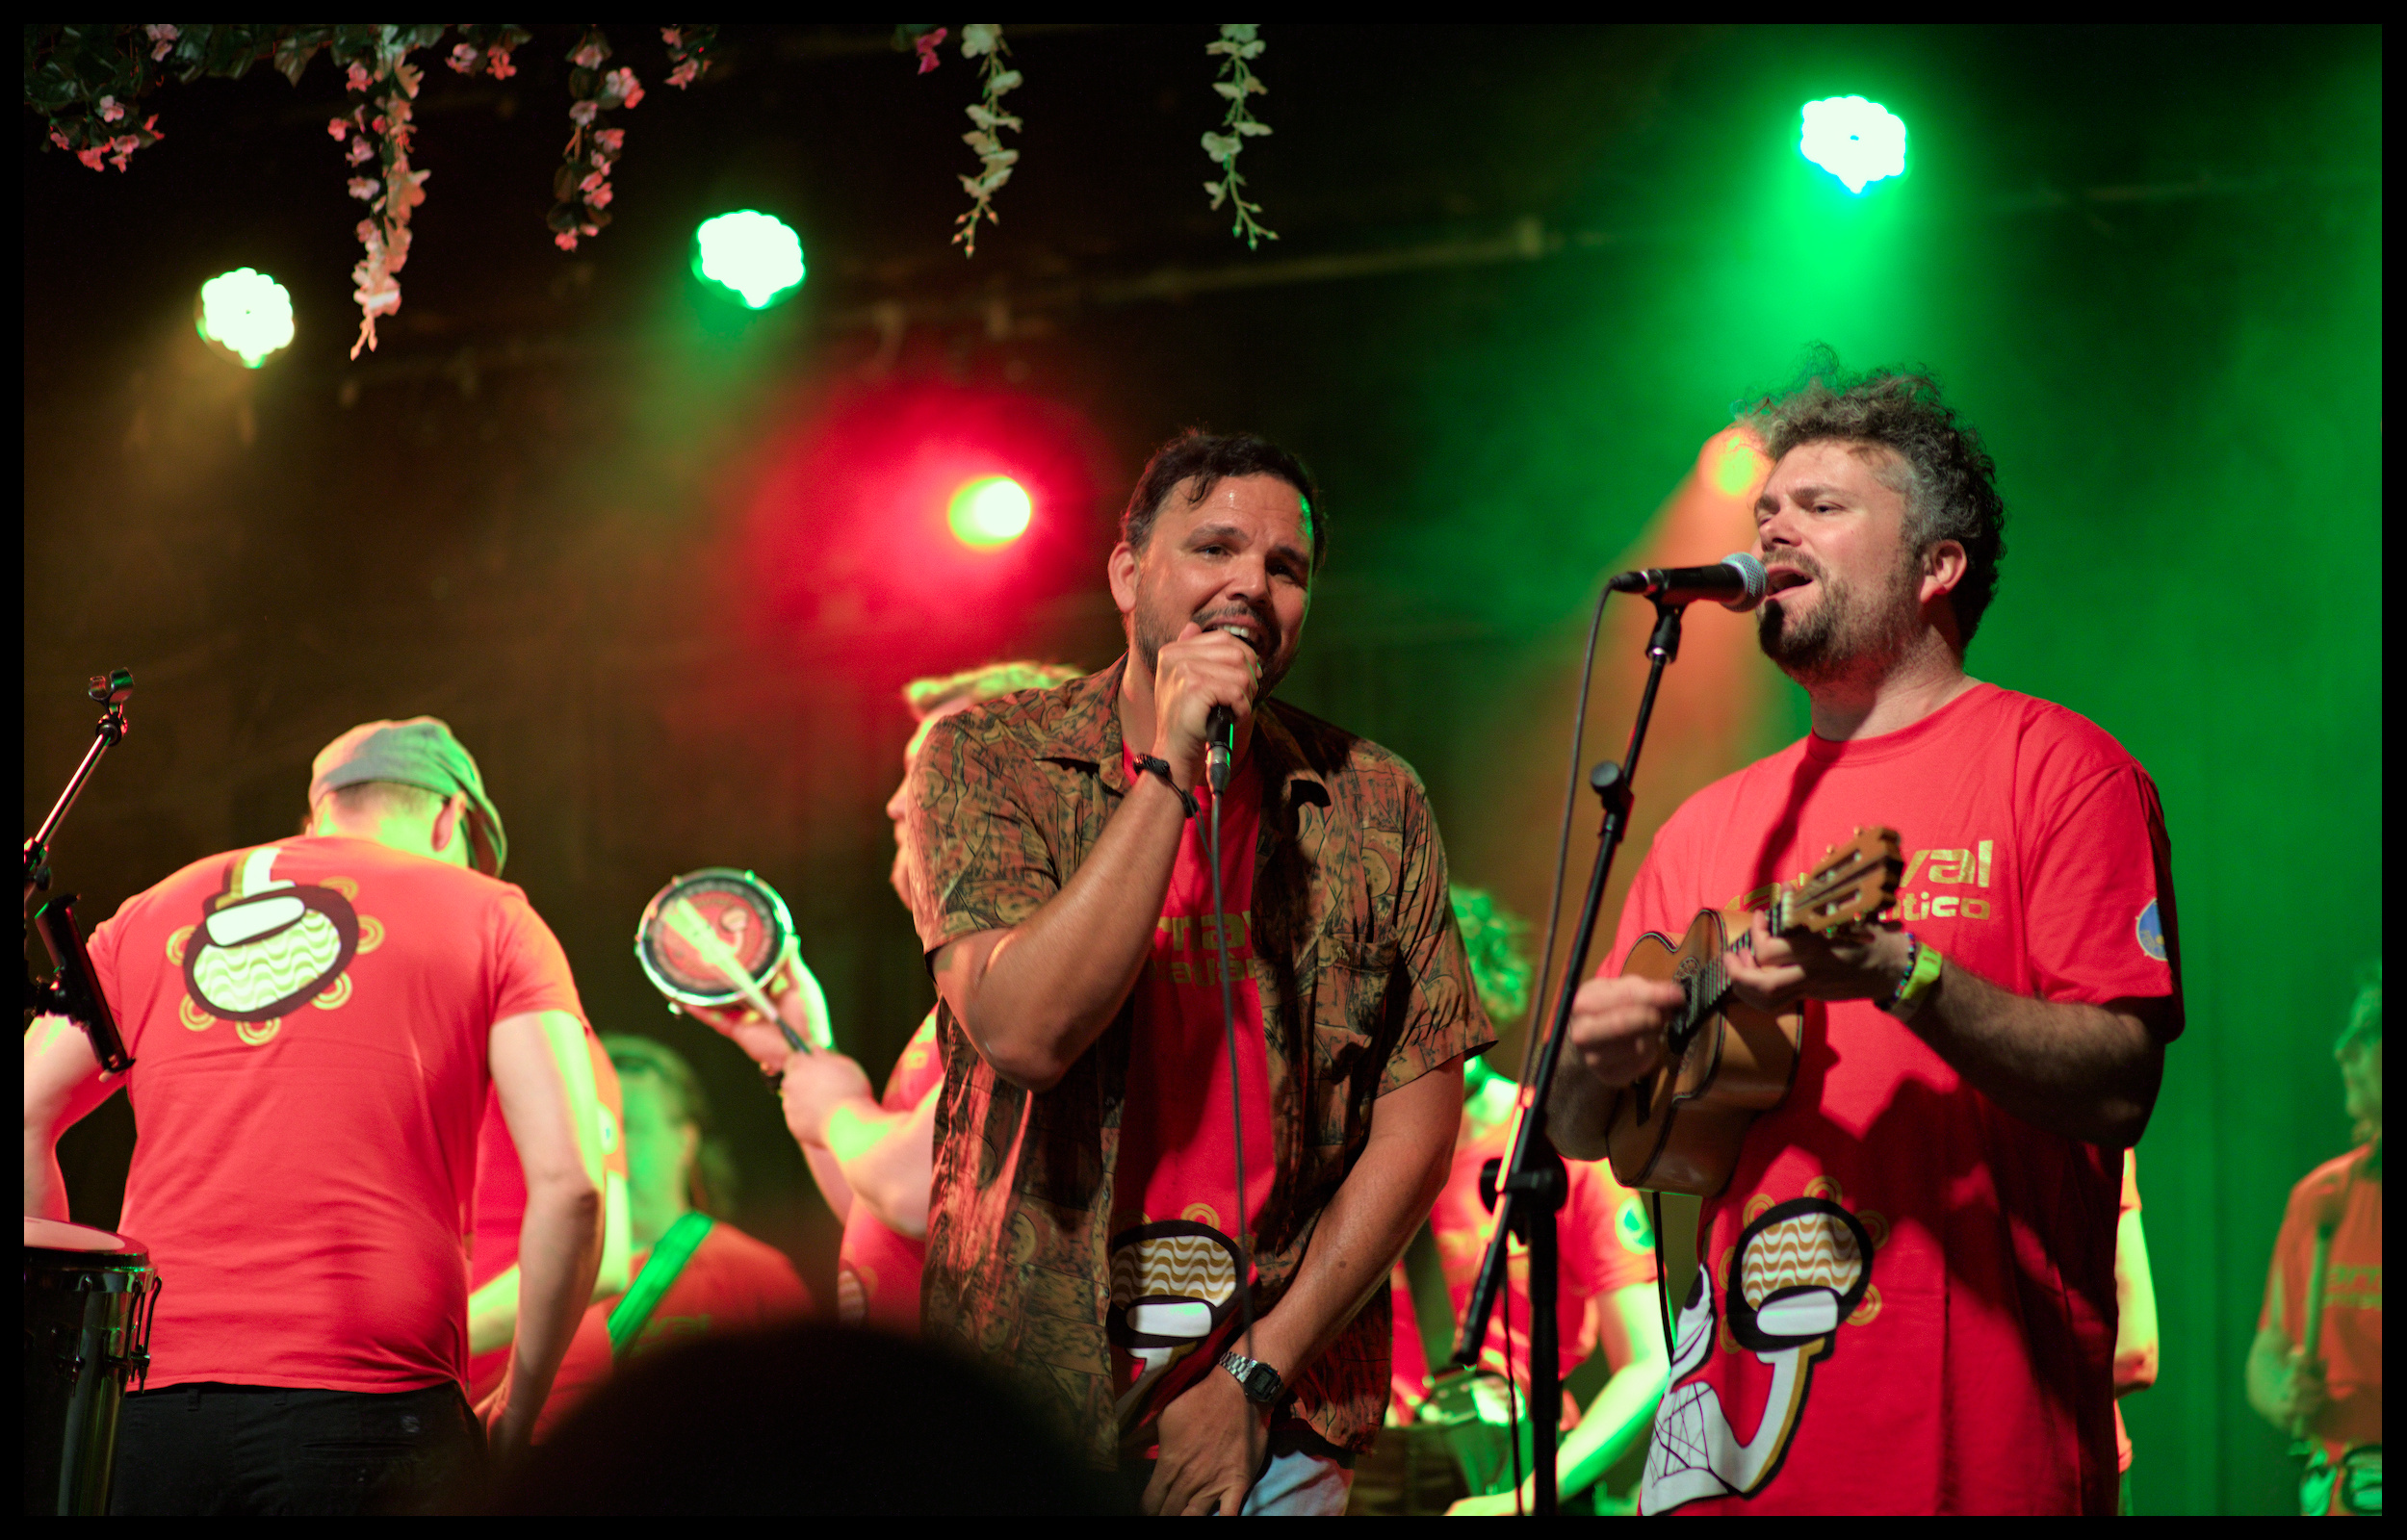
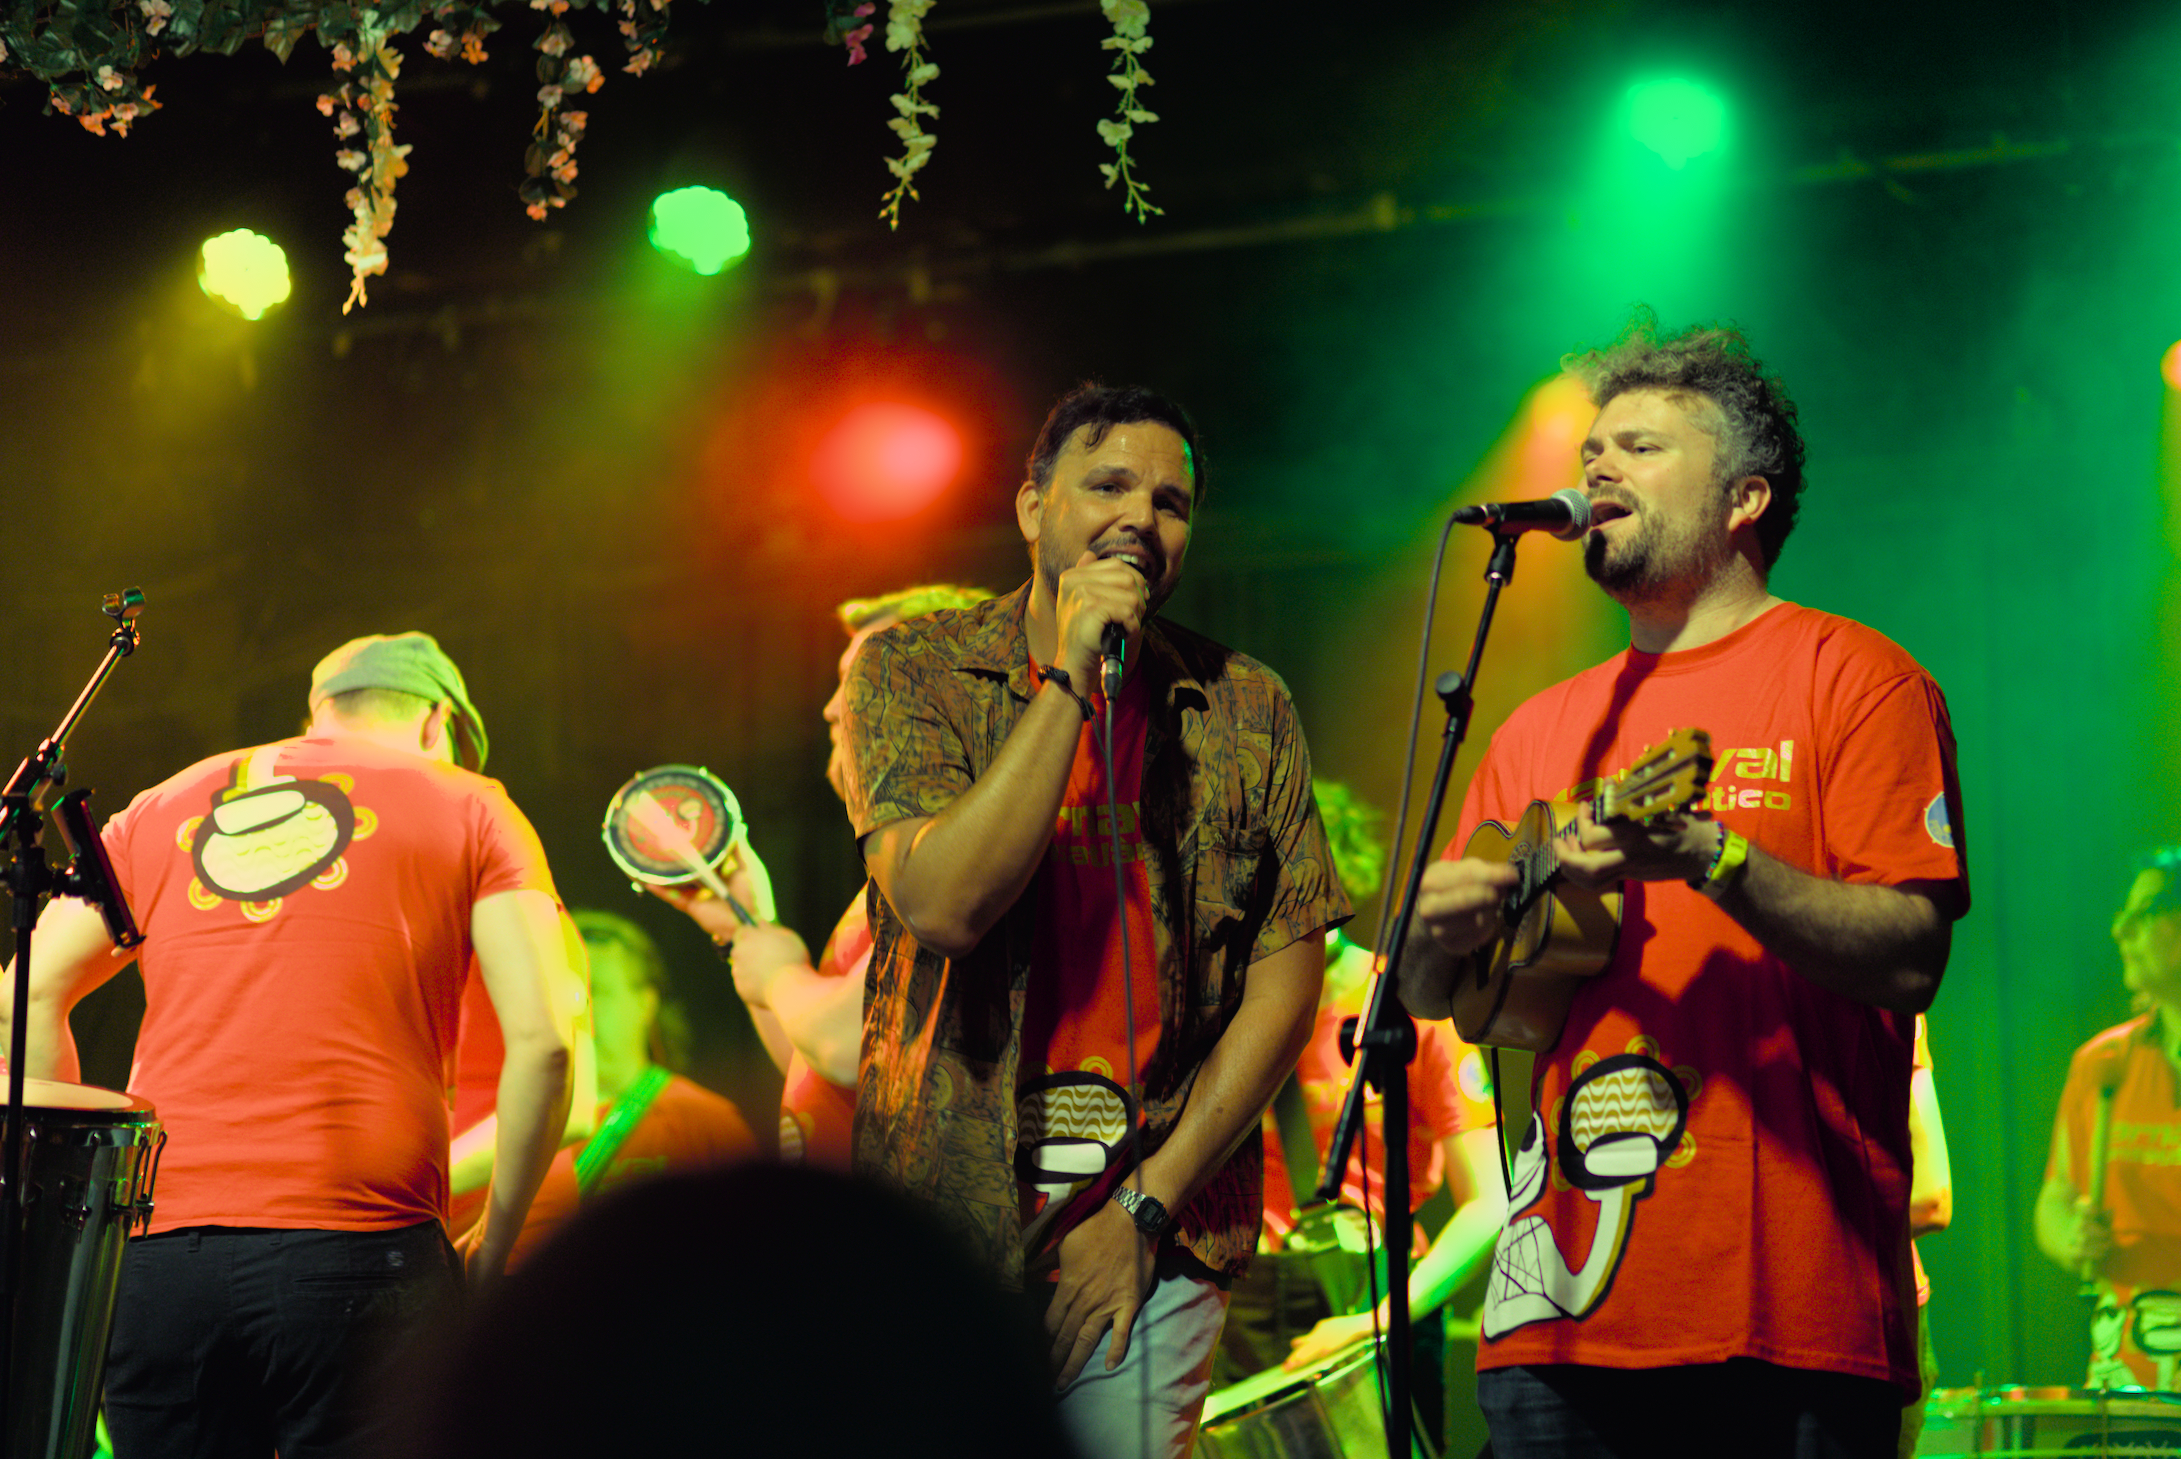
Darktable, Laplacian HL reconstruction, Filmic v7 + HL reconstruction in Filmic, and a bit of diffusion on the spots to kill the sharp flat area in them.
_5D_03799.CR2.xmp (14.8 KB)
3 Likes
That’s a nice idea keeping the lights coloured.
The guided laplacians kill my desktop! - I don’t have a GPU, 4-5 mins needed to output this.
Maybe the faces could be warmed up a little.
It does kill the lights (I mean the light sources, the lamps), though – they are simply not bright enough.
I like it, it keeps your eye from being drawn to them right away.
1 Like
Not bright enough ? maybe … why do we care ? And compared to what ?
Your monitor will not be able to shoot as much light at this amount of chroma anyway. So I’ve chosen chroma over brightness to feel the intensity of the light.
Compared to the unclipped highlighted smoke around the light source, I find that it’s more than enough.