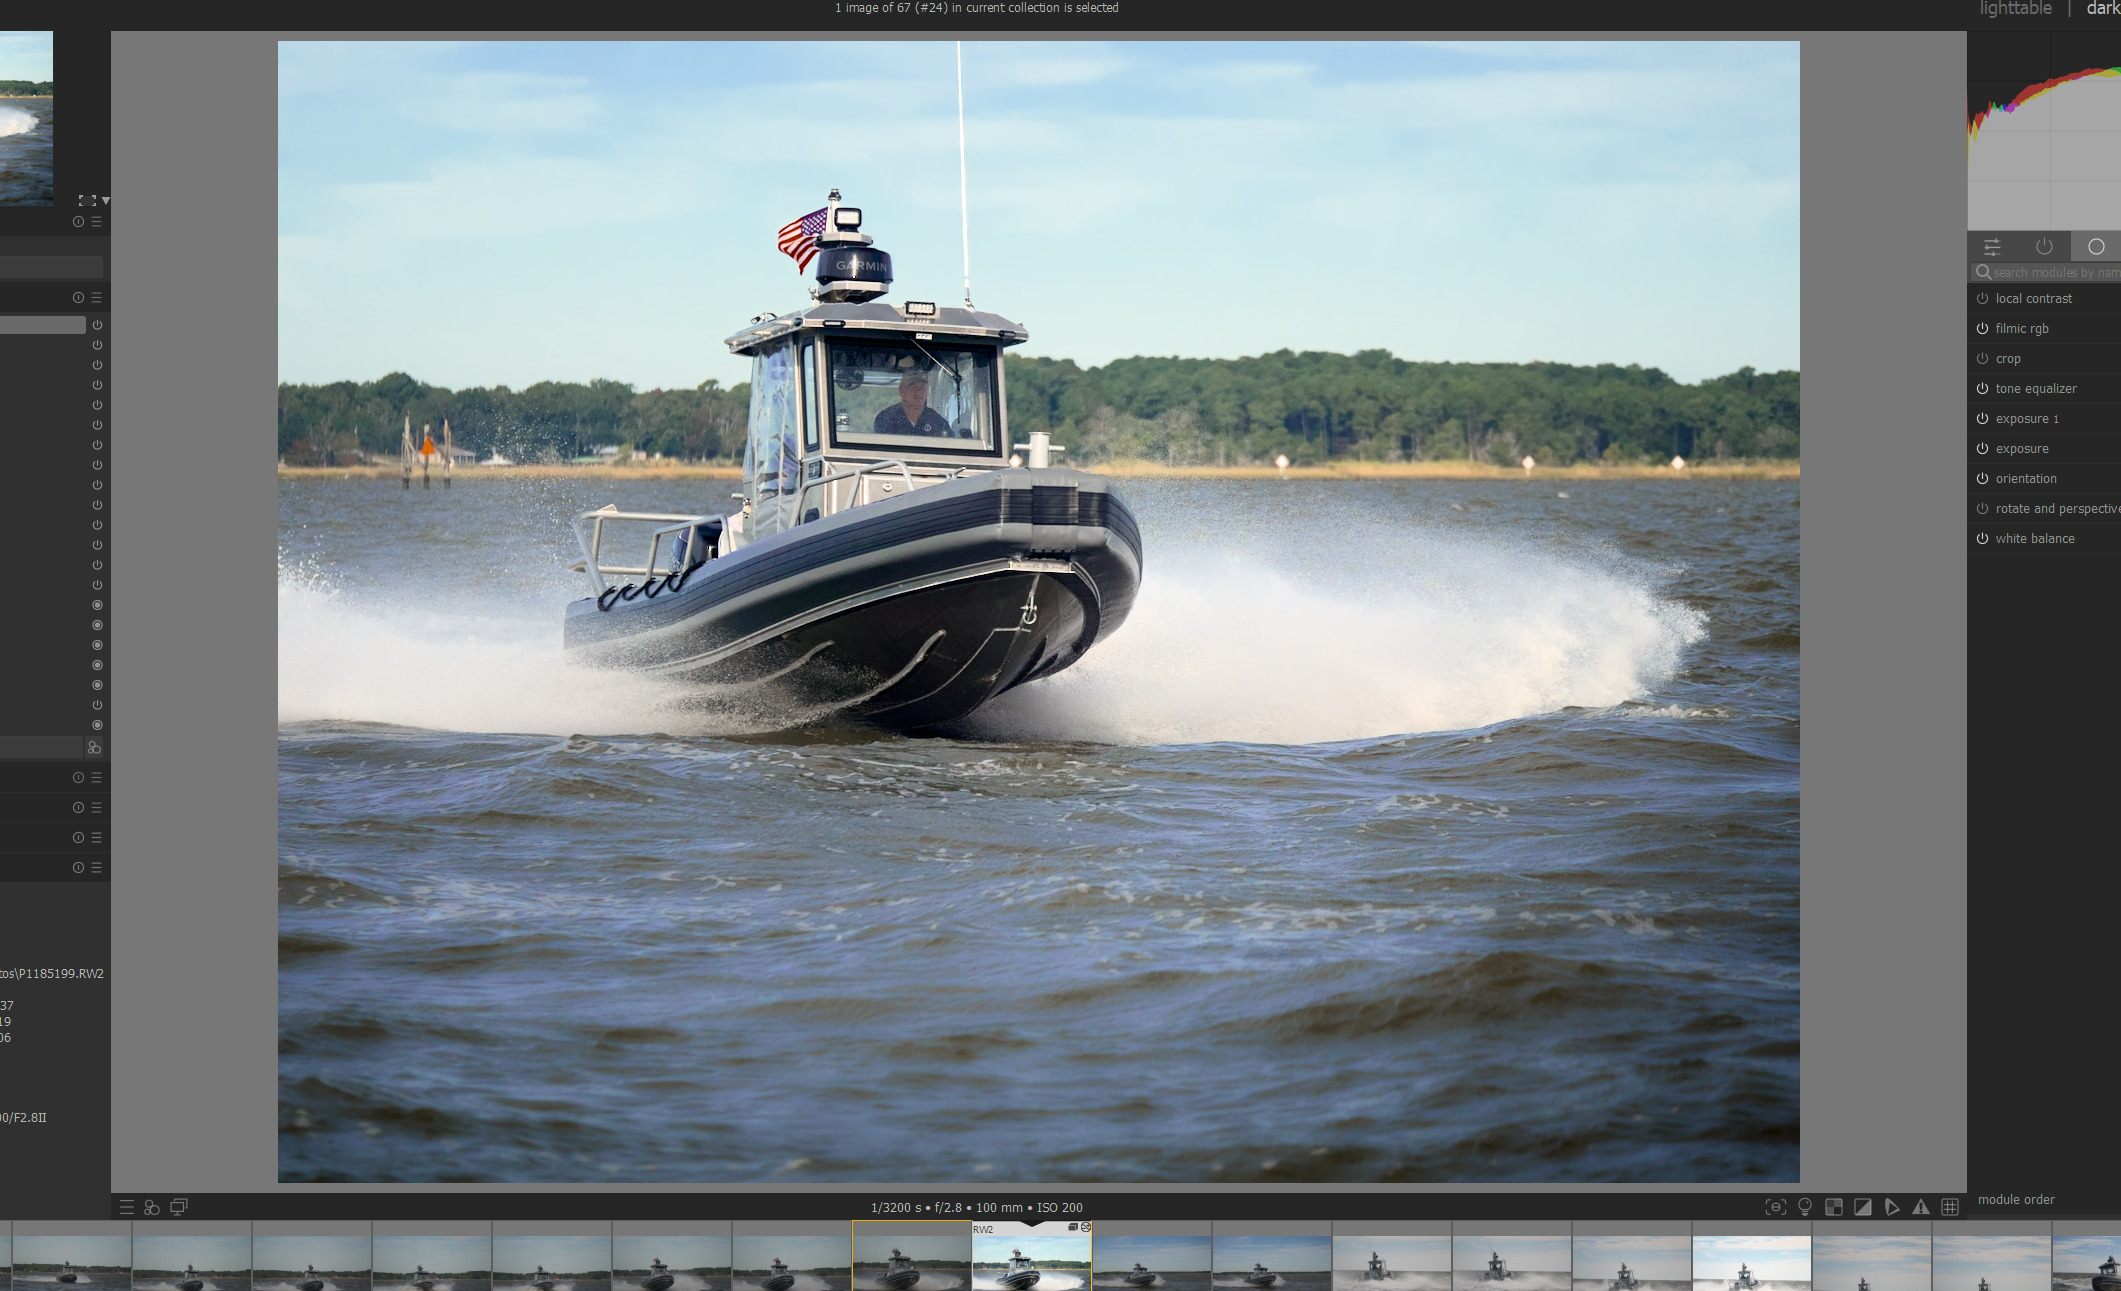
I’m using V4.0.1, scene preferred workflow and the only setting I’ve changed is the output folder of the export. Everything else should be default DT settings.
I’ve edited several photos from this day and they have all come out fine. All of the sudden this photo has some sort of over exposure flare. Any ideas on whats going on?
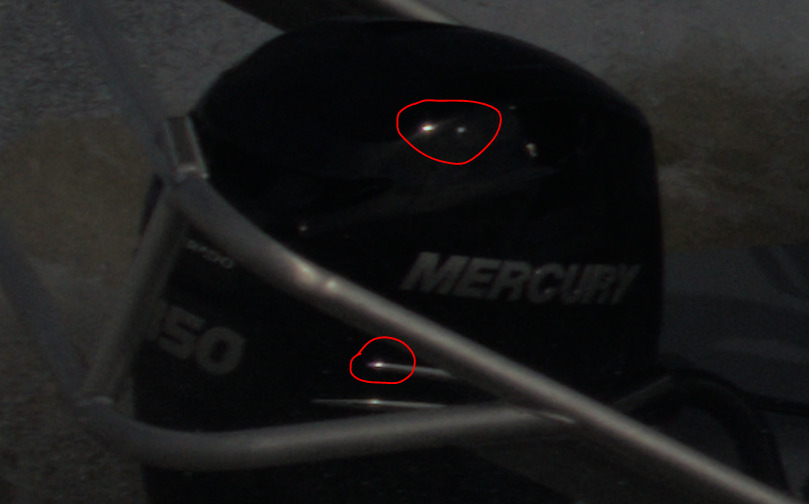
Okay, so i can get it to show the flares in the darkroom tab by zooming in. Zoomed to something like 16% it doesn’t show any flares. zoomed to “fit to screen” it shows some flares on the motor. zoom in a little further and some more flares show up on the forward handrail.
I think I know whats happening… it’s a known bug (I think). The flares are caused by the highlight reconstruction in filmic, but I think there’s some unintended interaction involving color balance rgb.
To fix it, the first stop is the reconstruction sliders in filmic - push the threshold slider as high as it will go, I think one of the other sliders has an effect too.
If that still doesn’t get rid of it, it implies that your highlights are being pushed a bit too high somewhere else down the pipeline, so try to pull them back a little using maybe tone eq, or the brilliance sliders in color balance rgb.
I’m not 100% sure about this, hopefully someone else will correct me if needed
@123sg you are spot on, I just figured this out as you were typing. lol
Mods, feel free to delete this thread if this was just known by all, but I’ve been using DT for several years now as a hobbyist and I’ve never had this problem.
The fix was found in the filmic RGB module in the reconstruct tab. The “structure-texture” slider shown in the below screenshot is by default in the center. By moving all the way over to 100% the problem completely goes away. I’ve never had to adjust any of these sliders before. FWIW, the “bloom-reconstruct” slider fixes it as well, but by sliding it all the way over to “bloom”, but that made the image very soft.
Ha… sounds like you beat me to it! Yes, it’s a funny one. I’ve only seen it come up on the forum once or twice in the last 8 months or however long it is that I’ve been on this site. Something like that.
It’s happened to me once or twice too.
This is now fixed there is actually an on off toggle for filmic reconstruction in the current code… clicking on sets the slider to zero which will usually mask extreme highlights… From there its up to the user t tweak the mask and then the effect sliders…
Gee… that’s nice. How long has that been there? I’m running a nightly from a week ago or so, but I haven’t actually been to that tab for ages! Will check later - not on PC atm
@Stu_Craig: Based on what Aurélien (the original author of color balance rgb and filmic rgb) wrote, one must never use values outside +/-20% for brilliance, as the maths is not stable beyond that point.
You could adjust contrast in color balance rgb, or in filmic rgb, or in tone equalizer (to increase contrast, you don’t even need the contrast preservation in tone equalizer, you could use the simple tone curve preset.
Did you use filmic reconstruction? If not z try raising the threshold even higher from the default +3 ev.
This happens when there are very bright spots (in your data , or created with color balance rgb brilliance or something else ) and the filmic reconstruction sees it as something to be smoother over.
There are just new PRs (merged in master already) that actually give filmic reconstruction a on/off toggle to prevent this (instead of just putting the threshold very high ).
If +6ev is not enough , maybe you can right click the value to type it in. Often you can go to more extreme values that way.
In that case , using the latest pr that can just filmic reconstruction off completely seems like te best route forward:)
(And yes, high brilliance is an issue … There might be other ways to get the highlights to be less flat.
Dirty tricks as raising display white output above 100% in filmic output tab , or placing rgb levels behind filmic (above it ) the clip the whites to your liking )
If there is a mathematical instability, and values exceeding +/- 20% are simply invalid, that should be fixed. Other algorithms later on can also be broken in the future by invalid values supplied by color balance rgb. The current filmic reconstruction toggle is just a workaround.
I think it would be good to investigate if AP claim is correct. Im not at the PC ATM, but i think the issue shows even with the brilliance below 20%. Maybe I’m reading between the lines, but i don’t think he looked into the issue in much detail.
I think turning off HR in filmic is a better approach. It was never very clear to me why to try to fix a sensor issue (clipped data) so late in the pipe.
Invalid values through an unhappy combination of modules which each have valid inputs is one thing.
Allowing invalid values in an individual module is another, especially if there’s no indication (either in the module or in the manual) that you can enter invalid values…
AP wrote the module…
Keep in mind that you have four brilliance sliders and that for each zone in the image, the combined effect of these four is taken into account. So +12 global and +12 highlights gives you a total of +24 for the highlights. The effect also depends on how bright your highlights are…
Highlight reconstruction in filmic can be used for multiple purposes, not just sensor clipping.
Suppose you underexposed sufficiently, and avoided clipping curing capture. In filmic, you may still decide to lower the white point (because you are not interested in some highlights), so filmic will clip values brighter than your newly selected maximum. You can then make the transition between the white surfaces and their surrounding smoother by using filmic’s highlight reconstruction.
For this particular image, it does not. Aurélien, by his own account, is not a nice, polite person, and he’s hostile and arrogant towards the other developers, but he knows his maths and his own algorithm. Of course, there have been bugs in his code, too, and it was at times hard to convince him. My own analysis, which I did before I read his answer carefully enough, also showed that numbers started increasing suddenly at the 20% boundary (see my GitHub comments, if interested).


 I think I know whats happening… it’s a known bug (I think). The flares are caused by the highlight reconstruction in filmic, but I think there’s some unintended interaction involving color balance rgb.

 Yes, it’s a funny one. I’ve only seen it come up on the forum once or twice in the last 8 months or however long it is that I’ve been on this site. Something like that.