Do you have the same screen profile in Lr as in Dt?
@jacobsm : ‘dull’ in what sense? Saturation/colourfulness? Contrast?
I think quite a few of the posted images were more ‘colourful’ than the Lr rendering. Or do you mean exactly the opposite, that the foreground was not brightened enough compared to the Lr image?
When looking at the different results proposed in this thread, I find them not bad, but in general or still too dark, or a little grayish, or with faded colors, or not very bright or vibrant…
Of course, it’s taken at 6h15 in the morning, one hour before sunrise. The sky is a big soft dim blue light source & the sun, a harsh point with yellow, orange, red light.

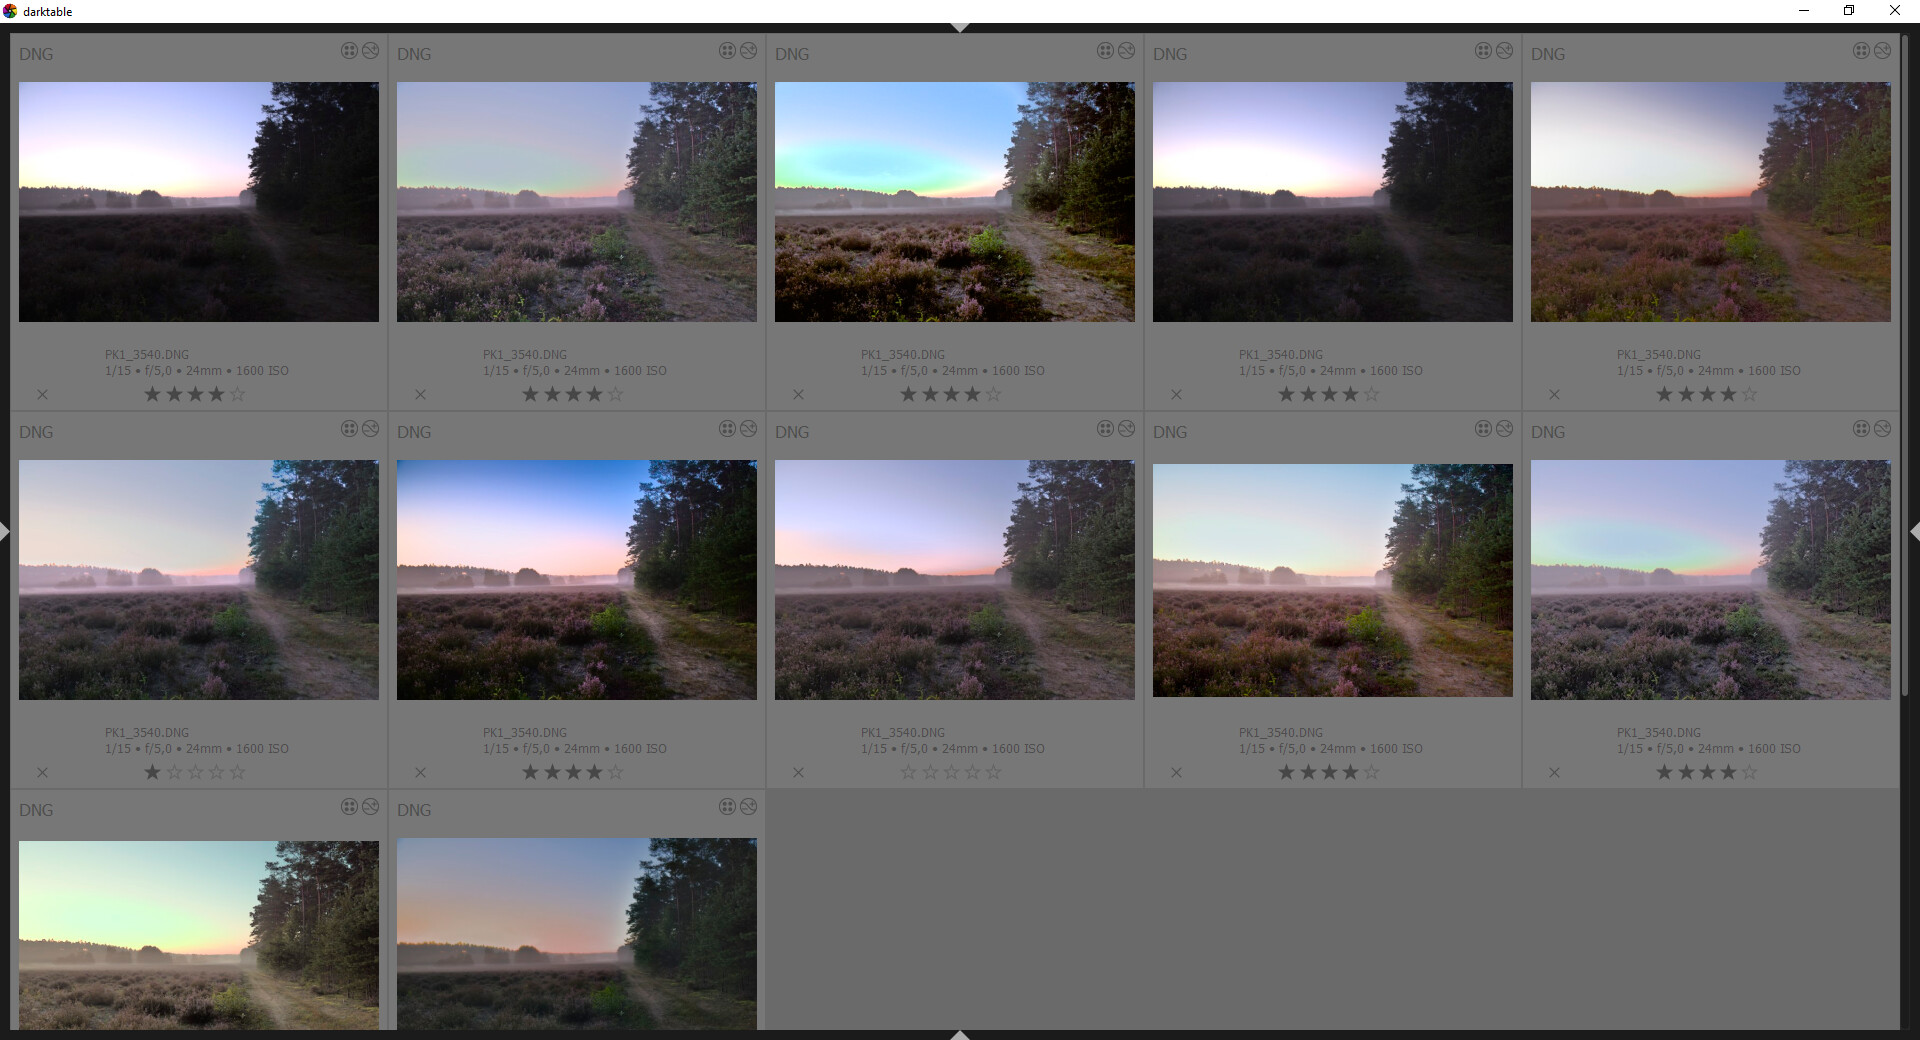
PK1_3540.DNG.xmp (30.1 KB)
I have not used darktable much, but I felt tempted to give it a shot, and while this is not a look I personally prefer, I would not call it dull. Of course, in an image such as this it is very difficult to keep the sky blue and at the same time add rich colors and contrast to the ground. I don’t know, as I have no experience with lightroom, but I would guess that applies to adobe products as well.
4 Likes
Thanks eesbe, I like yours much better. I like the emphasis of the grass and trees on the right (along with the overall improved exposure of the rest of the picture of course). If you don’t mind, I’ll keep your xmp for inspiration of my future landscape processing… 
1 Like
Its a nice edit…lots of color noise though…I have not looked at the edit but maybe add the color nr preset…

1 Like
This one has a lot of tough elements…the trees in the upper right have halos in many edits, you have to decide what to feature and what your style is…When I have nice skies and that is my subject I like to leave the foreground dark as framing/focusing element. I think trying to lighten it often degrades the impact of a beautiful sky. There is the fog as well and if you make it too punchy then I think you will lose the fog…some people embrace fog and blur and some people dehaze and contrast it away…so there are both technical and artistic considerations for how someone might present this photo and I think some might have done an overall edit while others were more concerned about what could be done in that blown out region…that was my take anyway…
2 Likes
Hi Aurélien,
You wrote “If LR is doing more than one thing at a time, then you compare apples to oranges.” Be that as it may be, the final look of the highlights is just so much better and so much easier to achieve in LR6. Since photography is about the look, then that is all that matters to me with this image. However, I have had great success recovering detail in overexposed highlights with DT, especially when not all channels are clipped. LR has a black box with sliders and you move them around to achieve the desired look. The user has no idea what is actually happening to the image to achieve this. LR is a great tool for people who want this approach to editing. Personally I get bored with LR and really enjoy the control and transparency of DT. I really appreciate and love the effort you have put into DT to make it so unique and controllable. If I am honest, trying to recover blown out highlights is like trying to carve rotten wood. If I had taken this image, I would have done exposure bracketing because the sky needed a different exposure to the foreground. Please keep up the great work Aurélien. I am looking forward to seeing the new DT developments that will start coming out from you and others in the next few months.
If LR does tone mapping + highlights recovery, you will get a similar result in dt with local contrast + highlights recovery. Divide and conquer, split and control, that’s the Linux way of doing things, with the benefit of being able to troubleshoot each step separately because they will cause trouble, we already know it and we accept it.
Now Adobe wants to be user friendly. Cool. Until it fails. Every image processing algo fails at some point. It’s unacceptable to be left with only your eyes to cry when it does. And it’s even more unacceptable to deny that mishaps happen and to prentend that tools don’t need manual bypasses, as if they worked great all the time. They don’t.
Adobe sells a tool, not a canned look. Or does it ?
6 Likes
I had a student who was an accomplished painter and I taught her photography and image editing. In her opinion LR does have a canned looked. What I love about LR is it is like a bike with trainer wheels. A great way to get started with editing because it is so easy. However, now I have discovered DT with filmic and all the other great tools I am not going back to LR.
1 Like
In the LR image, the darkest parts of the clouds read L = 68.75. That is about the same as the darkest part of the reddish-orange haze on the bottom-right of the sky (that reads 66.80 where I sampled it):

If I disable everything but white balance, exposure (-1.92 EV) and color calibration on the raw file, the same areas read L = 68.74 and 53.73, respectively.
With *highlight reconstruction set to clip highlights, exposure at -1.89 EV, I get L = 68.75 and 54.01. With reconstruct in LCh and exposure at -2.01 EV, L = 68.74 and 62.36, respectively. Finally, with reconstruct color and exposure at -1.84 EV, L = 68.74 and 55.01.
So I guess LR does quite a bit of local ‘enhancement’ to bring them to the same brightness.
2 Likes
I decided to have a quick go at doing one DT edit to recover the sky details and ignore the foreground. I then did one DT edit where I ignored the sky and concentrated on the foreground. I exported these as two separate image files, which I then opened as layers in GIMP. I used a mask to put images together. Forgive my less than perfect masking in GIMP as I only wanted to demonstrate how sometimes I do two separate edits in DT and use programs including GIMP or LR to put them back together as one image.

1 Like
i think this is what exposure fusion is trying to achieve, via laplacian blending. note that in the linked blog post the +3ev difference is super extreme, probably +1 or 1.5 would work a lot more artifact free.
for fun i created a completely overdone/eyepopping/saturationpain/hdrlook version too:

this is done in vkdt by using a radial basis function on the colours and throwing each primary way over board in the colour module. export time (full res + downsize, including also highlight reconstruction, denoising, deconvolution sharpening and local contrast via laplace pyramids): 341.234 ms on a GTX1650 laptop.
7 Likes
The top right trees look overdone but the vegetation along the ground looks truly incredible.
1 Like


I still prefer the LR result for this image compared to anybody’s DT result here. I wonder what LR does with this image. I wish one of the developers could unravel the mystery and give DT this same capability.
But I had another attempt today with DT. The result is a little dull and lacking in the colour in the highlights, but I learnt something new about DT.
I made two versions of the edit. One I concentrated on the sky and the other I concentrated on the foreground. I did not export the images, but in lighttable I was able to selected both versions and then in the ‘selected images’ module used the create HDR option to generate a new HDR-DNG file. The results for this image may not be so great compared to LR, but this technique may prove very useful to me in the future for creating pseudo-HDR images from a single exposure. Previously, I have been exporting tiff files and doing HDR merges in other programs like LR. Seems DT may take over the role here for pseudo-HDRs.
I didn’t actually do my full rendition before, I was just showing what the highlight recovery did in Filmulator. Here’s how I would process it.

With Filmulator:
- Auto CA Correct on
- Highlight Recovery 2
- Exposure Comp -1.5
- NR on
- NR Strength 16.33 (lower than this in current nightly builds)
- Chroma NR Strength 25
- Film Area 216
- Drama 73.7
- Overdrive on
- White Clipping Point 0.482
4 Likes
For me the tough part is to get a nice sky and also not have the big halo or appearance of a halo on the trees…almost every edit has it…including the LR one…