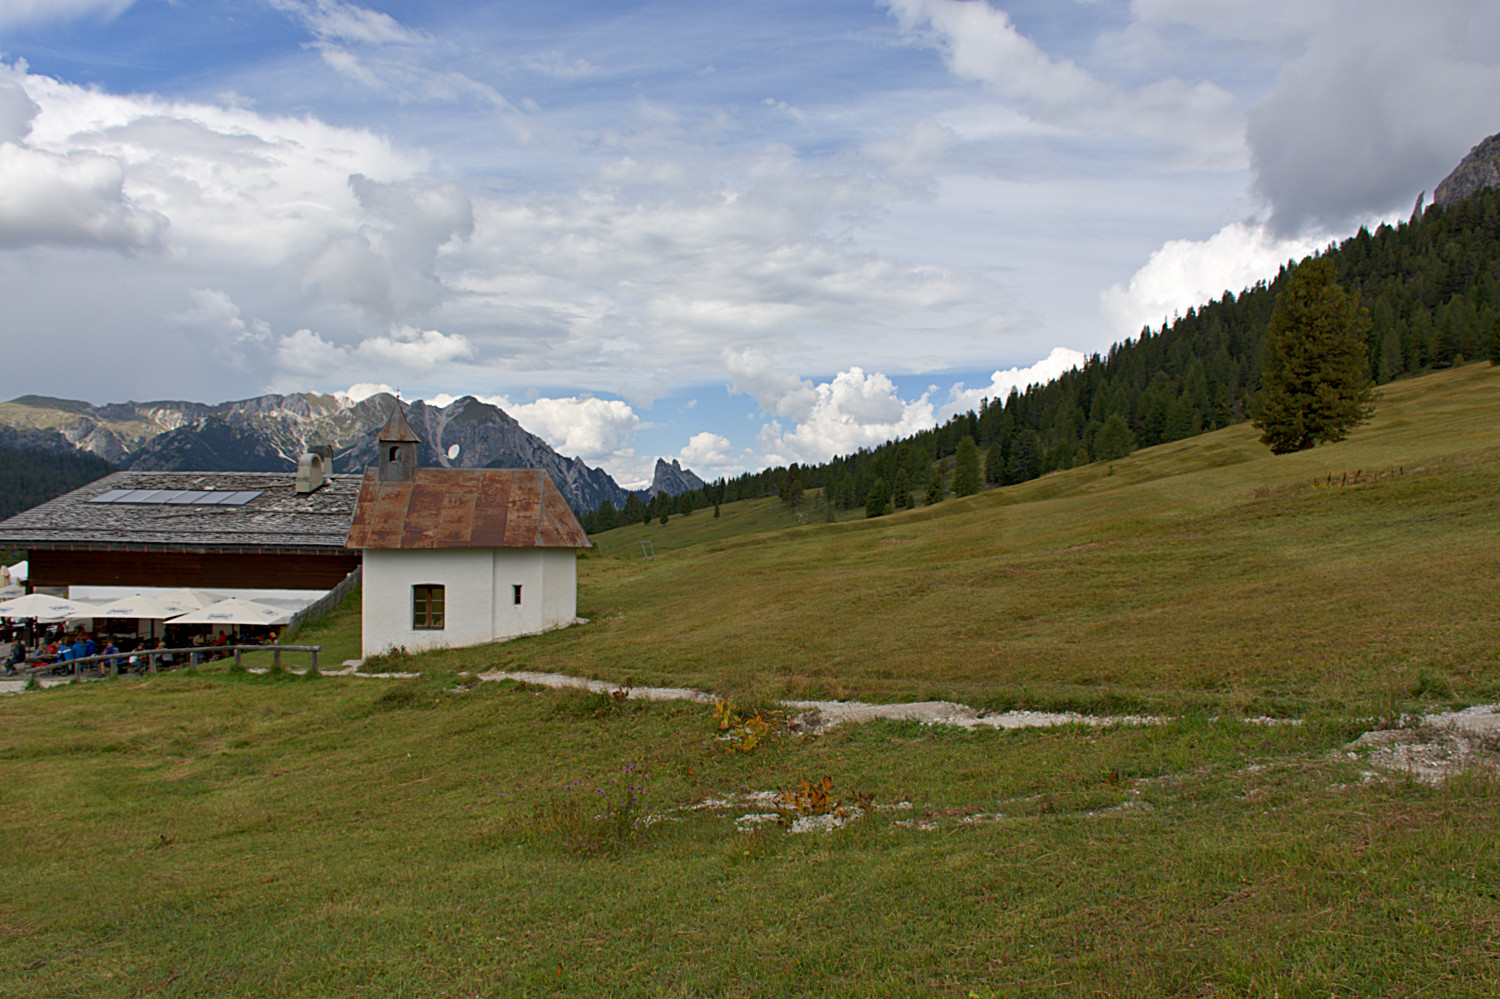
A nice landscape. Two versions, to see what I could do with minimal intervention.
The first: straight out of Filmulator.
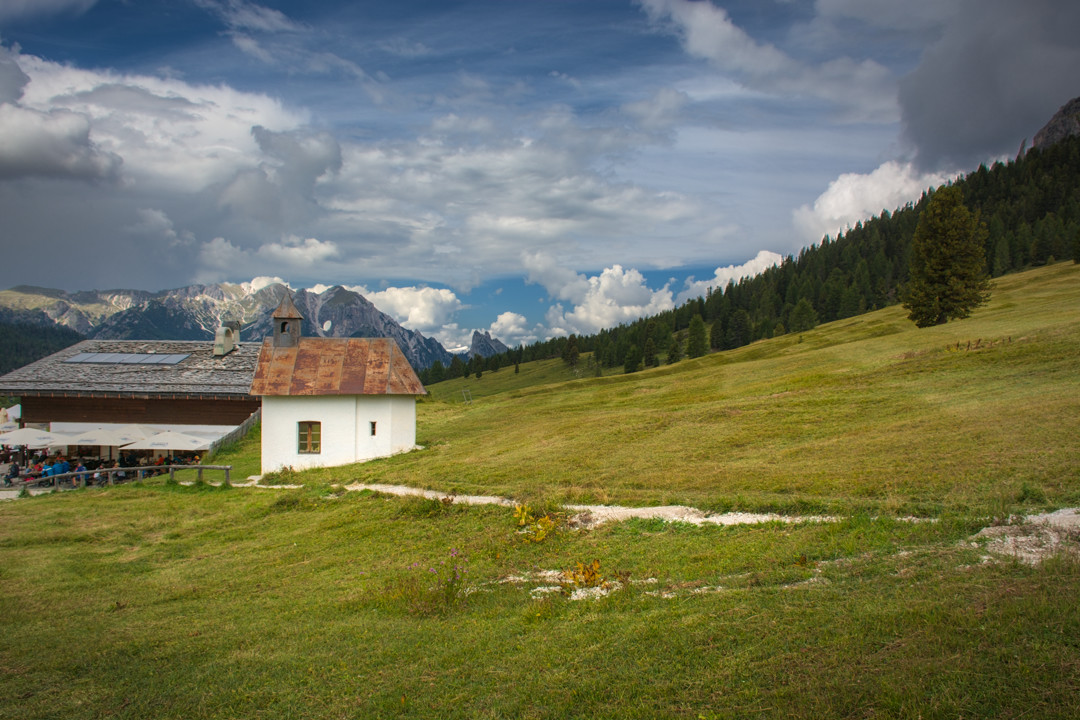
The second: after a few minor tweaks with Colours/Curves in GIMP.
A nice landscape. Two versions, to see what I could do with minimal intervention.
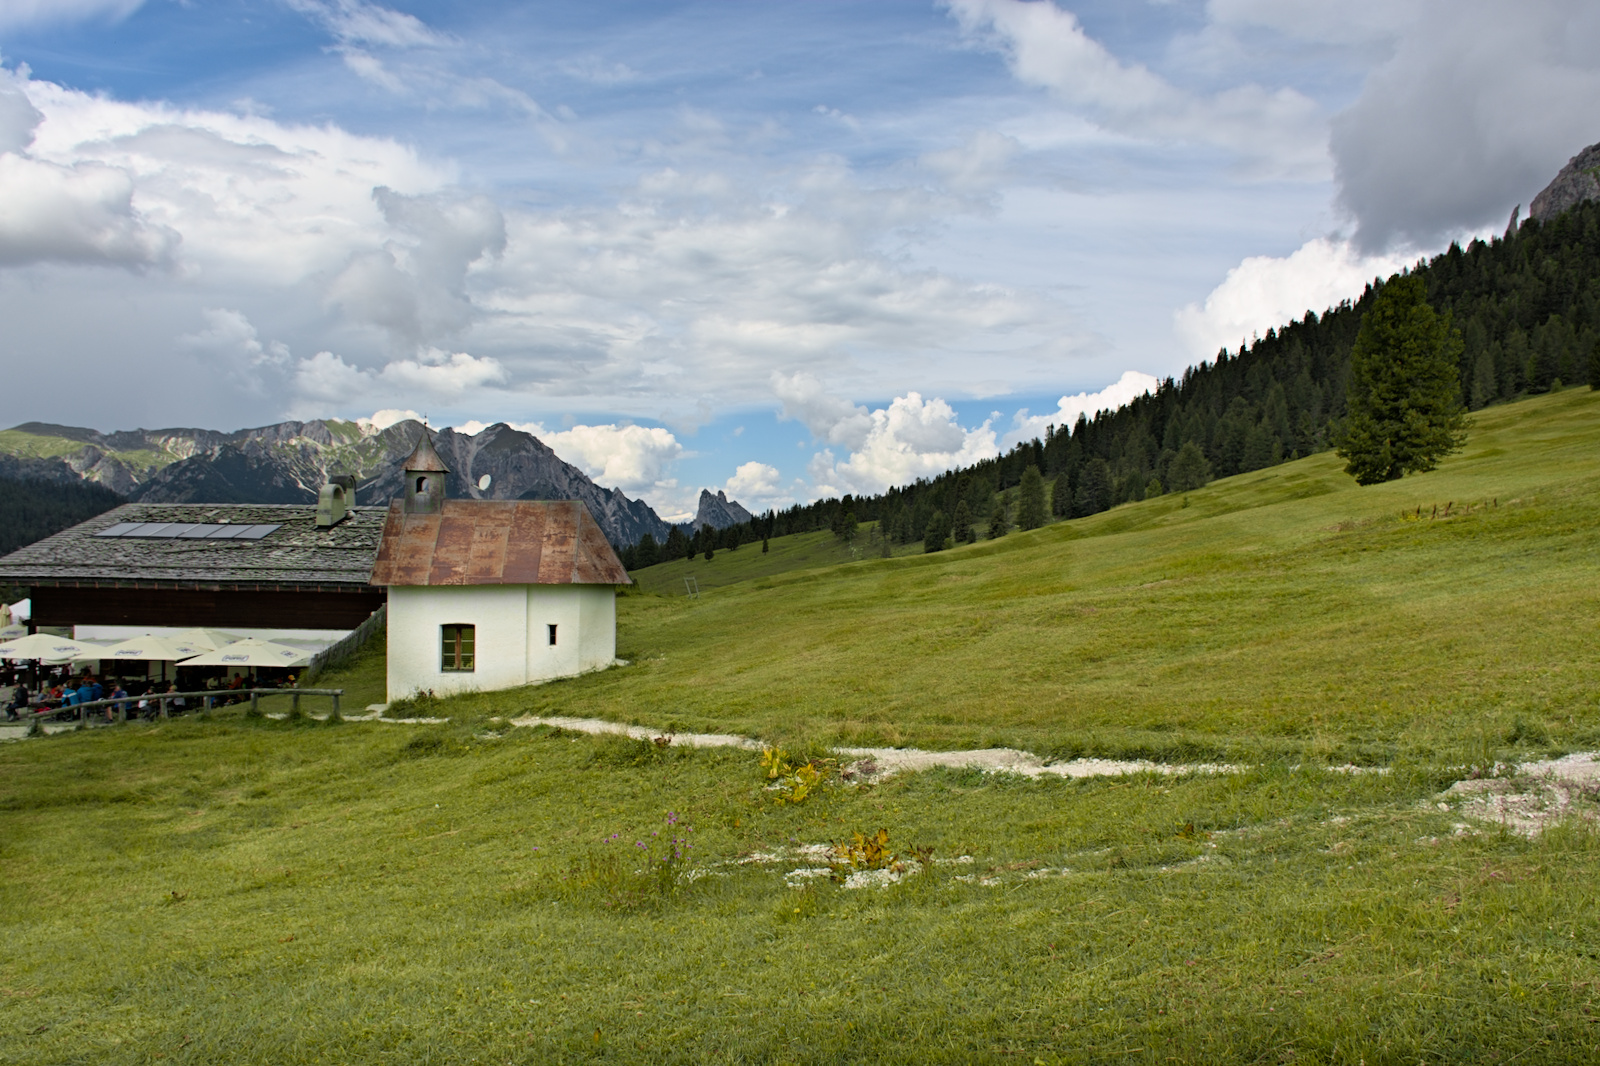
The first: straight out of Filmulator.
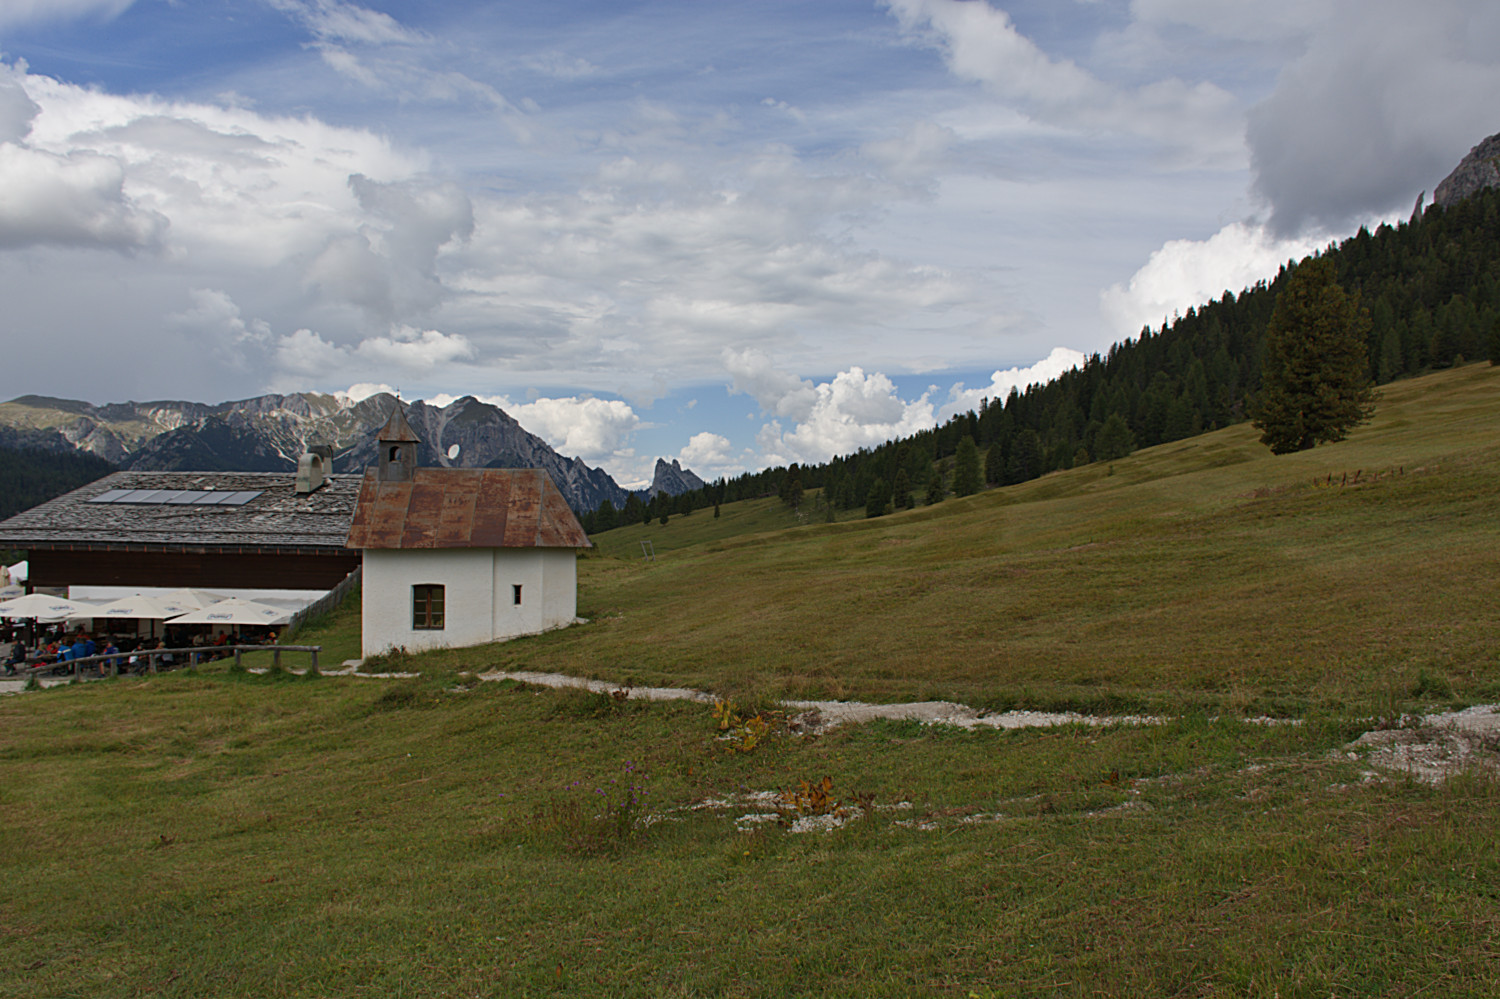
The second: after a few minor tweaks with Colours/Curves in GIMP.
Underexposing on a modern digital camera (and some modern Canons) is not a problem and even what they are wanting you to do (or the camera even does it for you).
Underexposing will not alter contrast. But if there is a lot of ‘the same light levels’ in the scene, you will be fighting a flat picture. Just like if there are enormous differences in the light levels in the scene, you will be fighting that.
So yeah, your picture might always look a bit flat. And trying to add local contrast could work, but it could also be the thing you don’t want to do, or it does too little.
What @s7habo brilliantly highlights, is that editing could also be ‘changing the scene’ after the fact, by making parts a bit brighter or darker to make the picture more interesting. Dodging, burning, playing with masks, etc… You are then past simple ‘tone mapping’ and you are really ‘editing your picture’, but the results can be great.
I’m telling this because ‘shooting for the highlights and underexposing’ is awesome, and you didn’t do that wrong. It’s just that the light in the picture was a bit dull, and it might require some ‘lifening-up’ ![]() to make it shine. I’m trying to find a nice way to say you took a great picture of a scene that wasn’t ideal :P.
to make it shine. I’m trying to find a nice way to say you took a great picture of a scene that wasn’t ideal :P.
BTW, why I talk about issues in the scene and then talk about ‘changing the scene after the fact’, is because this is where the scene-referred workflow shines. You develop the picture in a pretty normal way (exposure + filmic), but you alter the scene (the light) that your camera recorded (modules between exposure and filmic) to get it to where you want it to be.
thanks for a good scene for my editing practice Photo20210904T124207_8498_01.nef.xmp (14.6 KB)
A quick example to get to a ‘starting point’, although everything is subjective of course.
I demo that I start with filmic ‘off’ (but that is because I work from a DNG), so I start by raising exposure to something that looks OK. And then enable filmic. Reduce white to get highlights into range, and yes, it’s a bit flat.
Demo local-contrast and bilateral to increase ‘clarity’, and then limit it to only the highlights. Bilateral is to be deprecated I believe because it can cause haloing if you go nuts, but for parts like this I like it more than the normal mode, and with the contrast set to 3 in the bilateral mode I have yet to see any haloing, on any picture.
After that, a quick touch-up with contrast-equalizer to add some subtle local-contrast to the global image. Followed by a ‘color balance rgb’ to load the ‘add basic colorfulness’ preset, with a subtle boost to brilliance and vibrance… because I like it, no other reason :).
You can go many other ways, I’m not saying this is ‘the correct way’… And as @s7habo pointed out, you can really bring it to life with some creative editing. But this is my basic tone-mapping.
Personally, I’d be careful with adding contrast and details in the clouds here, because it can look very busy. Maybe even a sky replacement to get the dark rainy stuff out of there is an option :P.
I started with a DNG because I loaded your RAW into DxO Photolab, which I export to DNG with only optical fixes applied. I did it in this case because I was annoyed by the horrible chromatic shifts (the red line on the house?!) that I had trouble getting away in darktable, without messing with the colors of the people in the corner.
DxO did it right straight from its auto settings, including the vignetting and the distortion, which were all quite strong on this lens at it’s wider angle!
And it also makes my Darktable respond quite a bit faster on this simple no-gpu laptop :).
Nice edit…I use the same bilateral setting in local contrast also, sometimes dropping the coarse slider low to get some extra fine detail…but maybe diffuse will be the way to go now with this…
My only addition would be to try some tone eq on the clouds to see if some of the darkness could be revived as I find that interesting …but as you say decisions like that are person and done to taste…
Very nice edit. I am very impressed what you all are able to squeeze out of this image.
@jorismak many thanks for your detailed explanations and the video you provided. It’s very helpful, especially also the parts when you are showing the effects of a module applied to the image.
Hmmm… as you can see, hills are in sun, the foreground is not. As we know, our eyes correct this. One should not try to “overcorrect”, this will lead to an unnatural look. I will present my try later, have to go to work now.
Happy editing…
Much to be learned in this thread… Thanks all!
My humble approach to things learned here:
I guess, the problem is, the image is not as impressive as you remember…?
This leads often to “gumbear”-edits.
Sky is a problem often also. Too cyan, too green, too magenta, etc. Edit as you remember…
@Nacho_R: fine edit! And a great shot - it tells a story…
Happy editing
Also a really nice interpretation of the image. If I remember well the sky was a bit darker, more like in the interpretation of @Nacho_R which I like most up to now.
I’m new to these discussions, but I noticed that the original photo has a lot of chromatic aberrations, so this is my attempt at fixing them, and I think I did fairly well. DT 3.6.
Photo20210904T124207_8498.nef.xmp (8.6 KB)
Photo20210904T124207_8498.nef.arp (12.2 KB)