Hi,
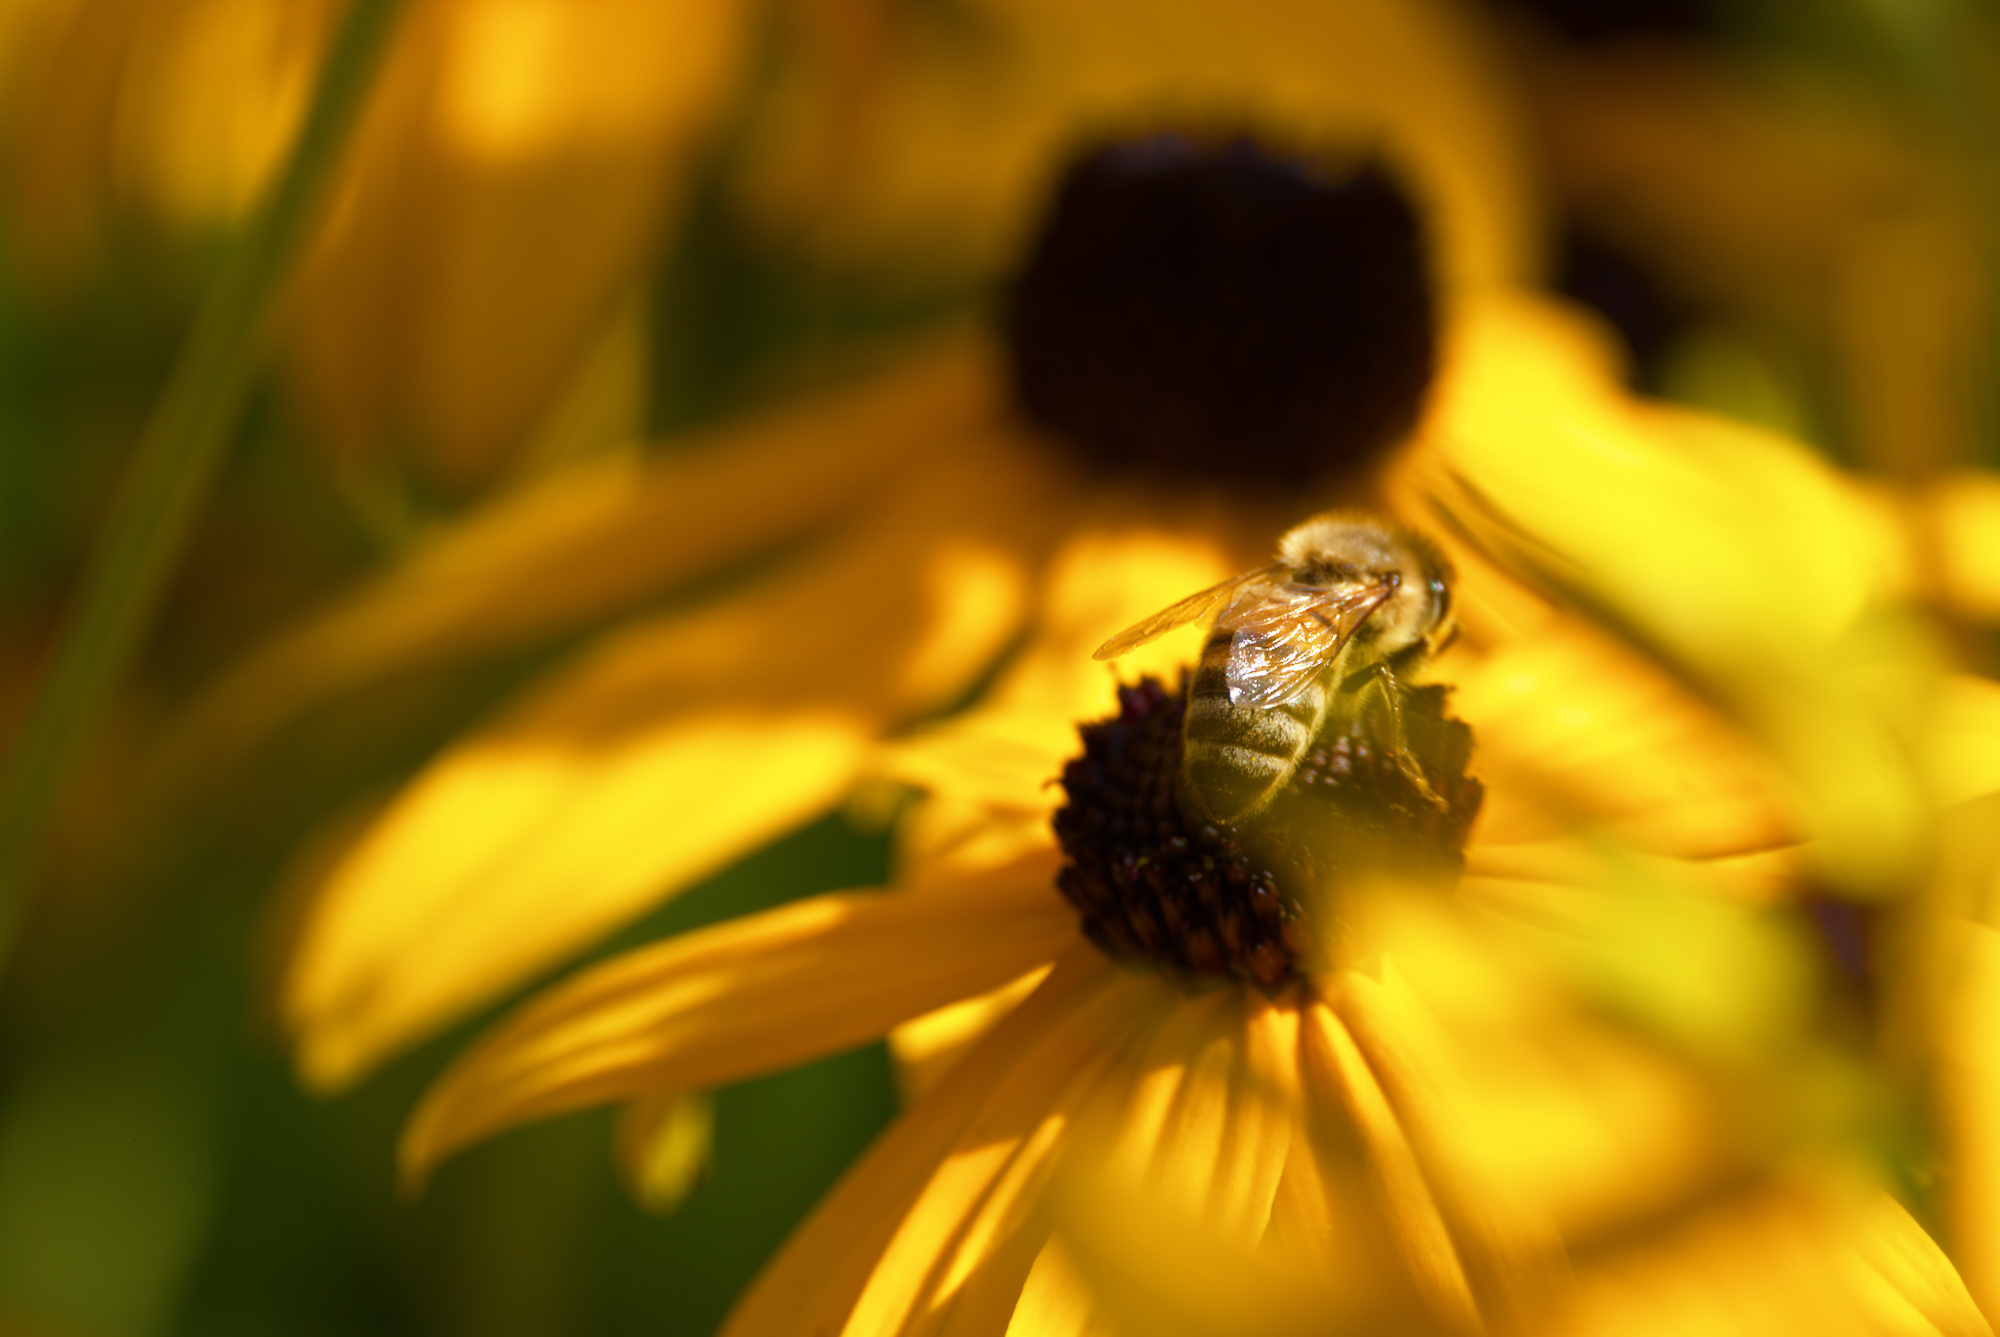
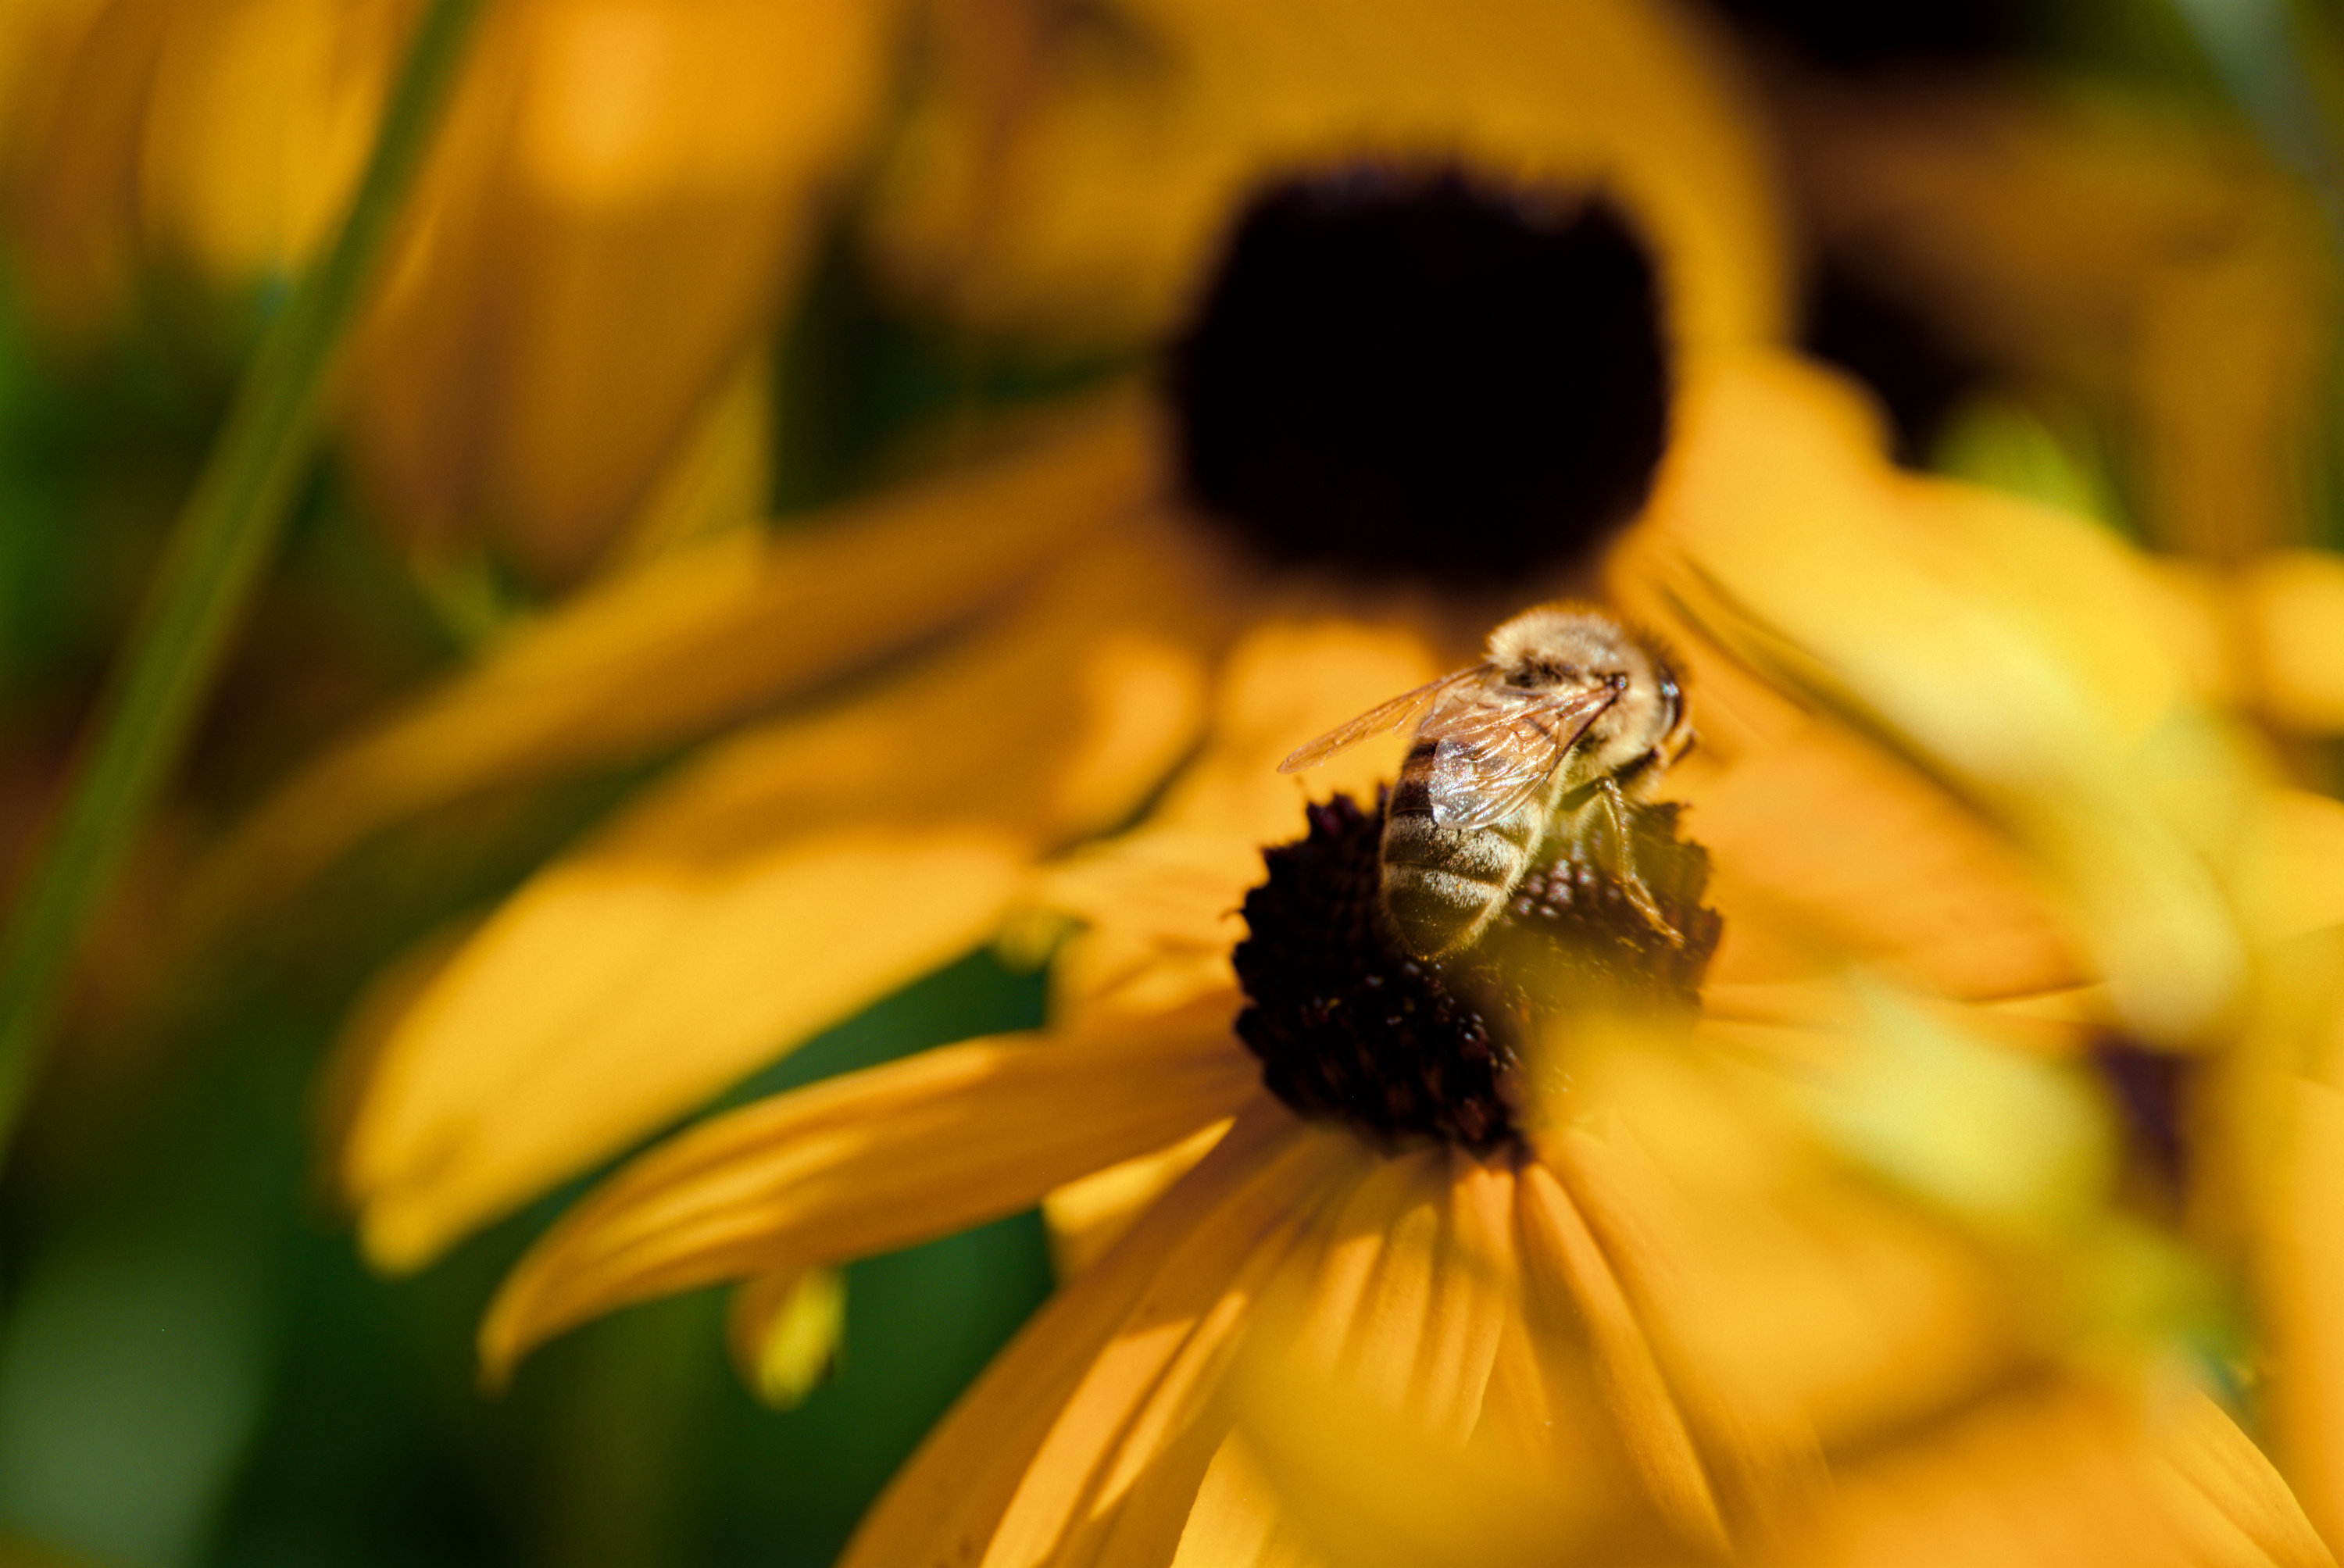
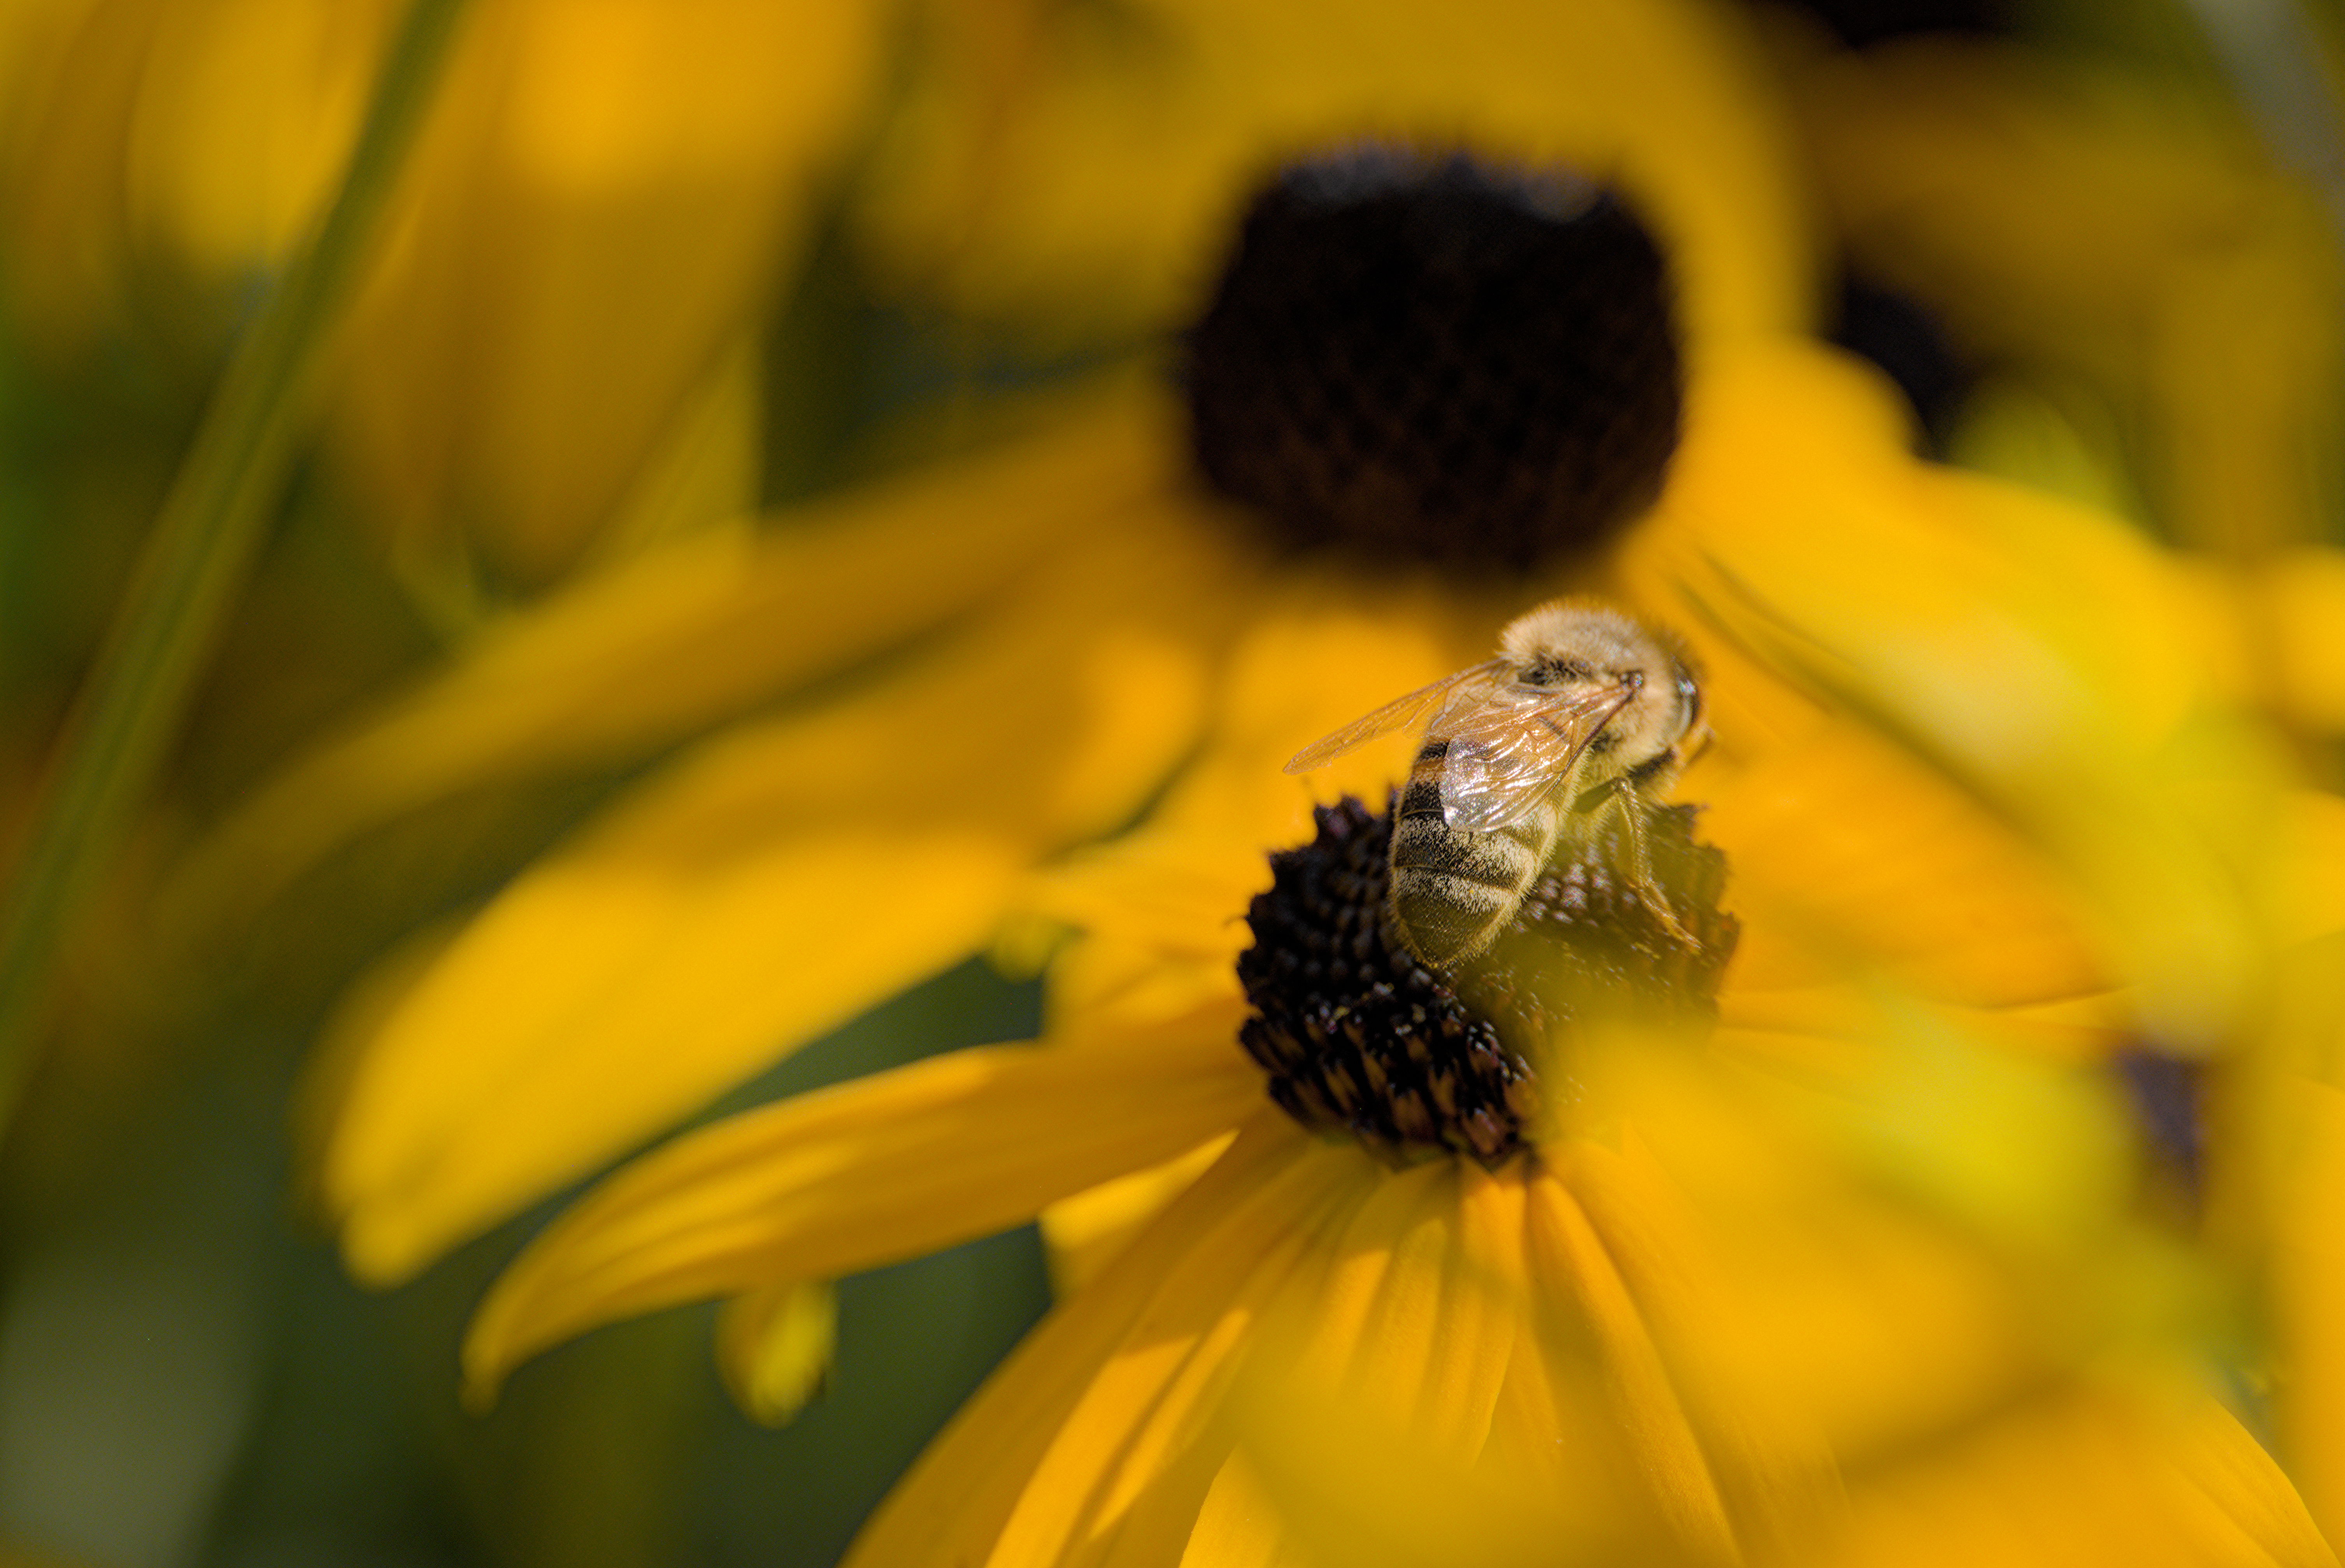
I’m able to achieve some nice results with Filmic v7 in “normal” pictures, but stumbled across issues with pictures which contain very saturated (partly out of gamut) colors. With earlier versions I would have turned off “preserve chrominance” in such cases and as far as I understood the same effect should be achieved using the saturation slider in v7, but it does not lead to satisfying results. I’m able to get some good results (near jpg colors) using sigmoid with preserve hue 0. Here’s an example of the image with sigmoid:
If you want the punch use sigmoid or filmic v5 with no preservation and by the math for that version none of the gamut handcuffs that 7 will have …you may not be color accurate or in gamut but you will get nice punchy red yellows and oranges if you desire… And with the latitude you can specify the range and position for the v5 saturation for a further tweak…
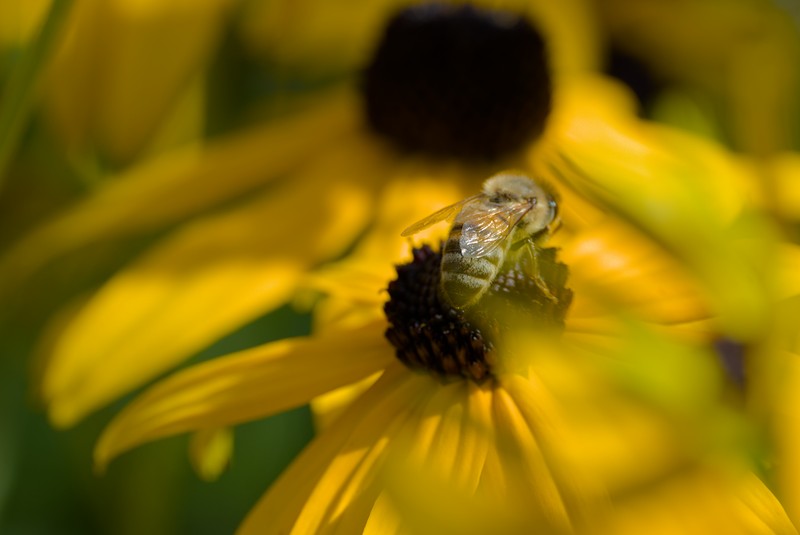
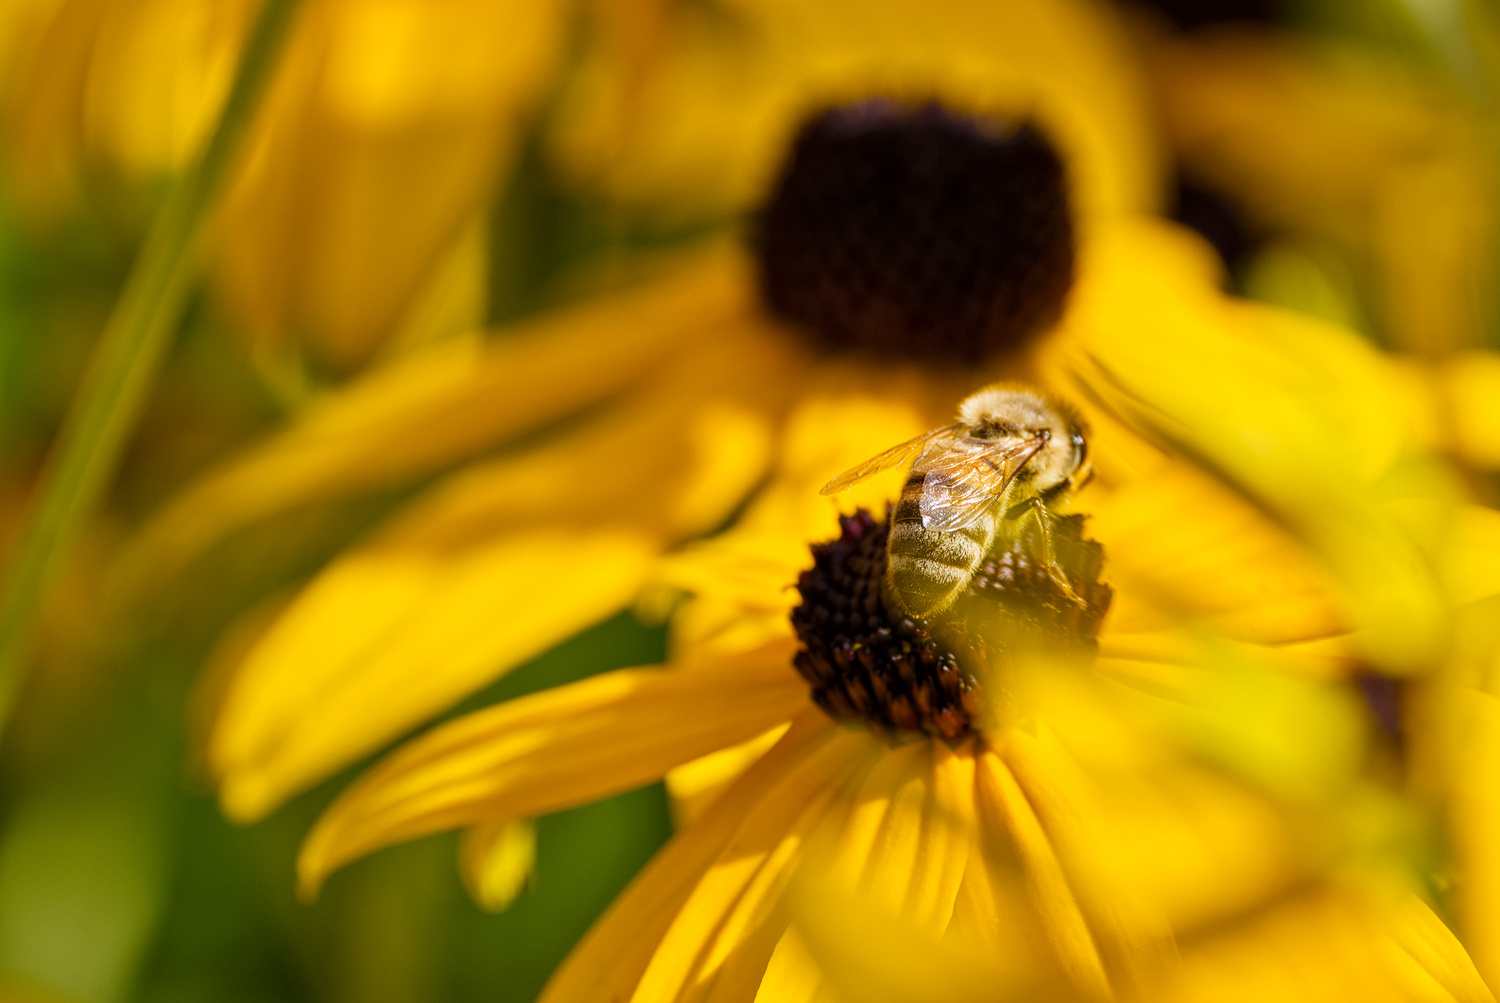
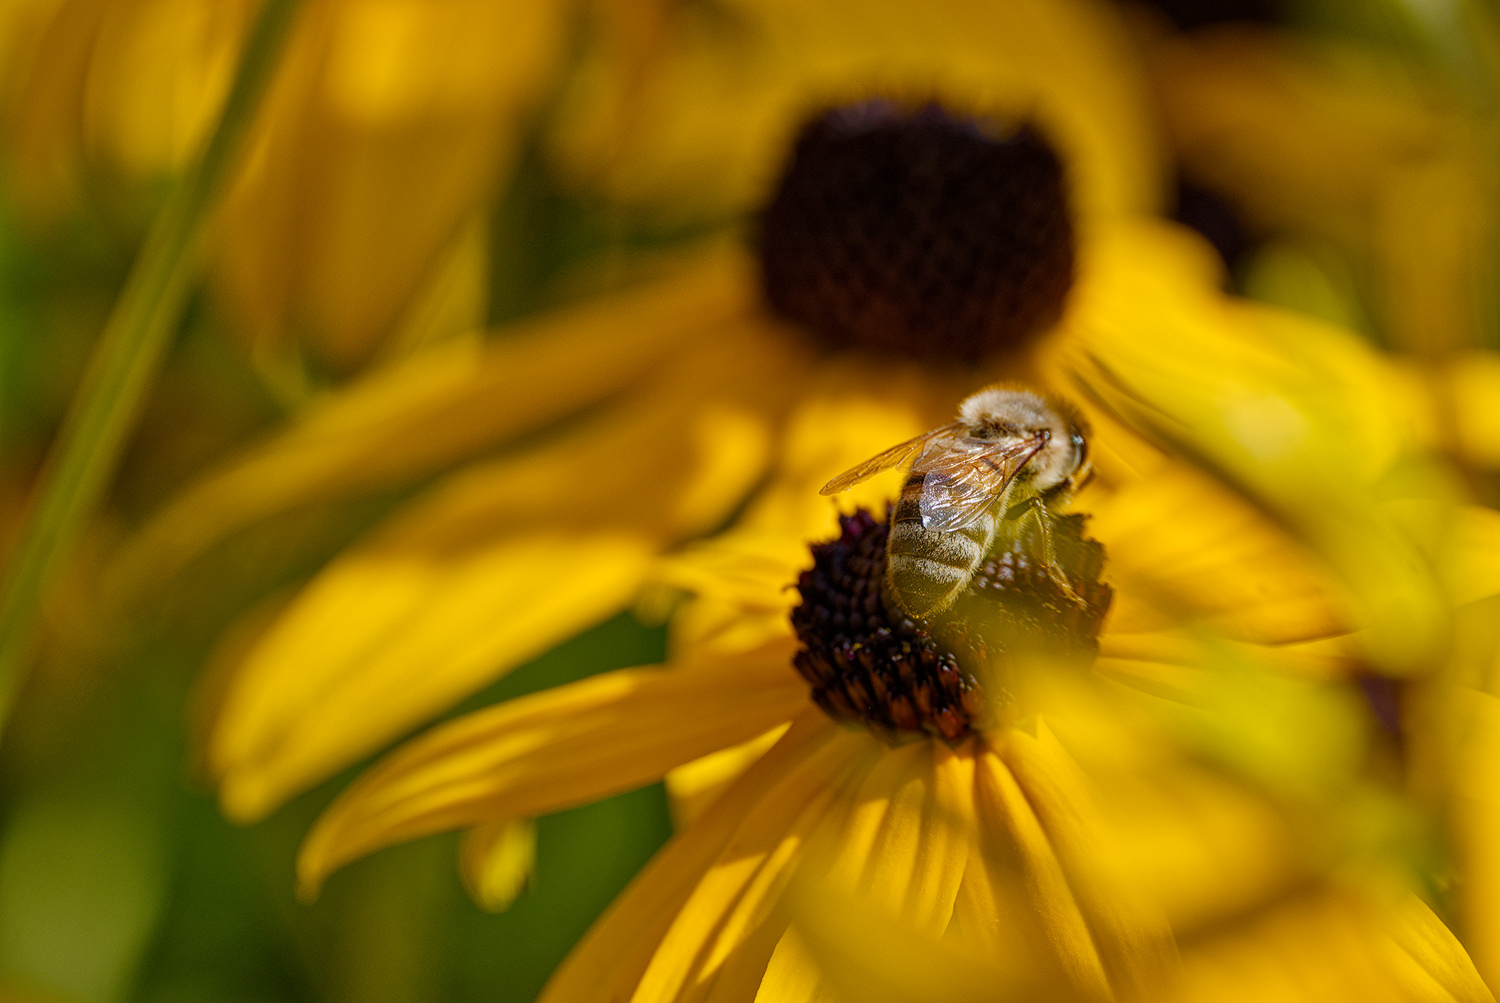
I avoided pulling the white reference in filmic down too much, and I toned down the brighness of the strongest highlights a bit (tone equaliser).
Those yellows are way out of gamut for sRGB, so something will have to give…
In the first (sigmoid) example, the brightest areas have lost quite a bit of the detail there was, and became pure yellow, not the slightly reddish hue you have on the rest.
Basically, whenever you push beyond the limits of the system, something has to give. Up to you to decide which way you want to go…
Yes perhaps I should have been more careful… I didn’t mean accurate in terms of the resulting colors but rather “accurate” in the handling of the colors when tonemapping is applied according to AP with the introduction of v6 color science which always preserves the chromaticity angle even when preservation is set to none. Sigmoid can relax this so its more flexible with these color issues in the reds yellows oranges etc but I find it often obliterates highlight details so for me I just stick to v5 and craft the color I like…that is when I use it at all. I find often there is often no real need to compress things and lose detail unless you need to manage the DNR of the image.
Thanks for your response, this seems to be pretty good in general. In this case I prefer the “popping colors” over more details, as it matches more the visual appearance of the real scene under direct sunlight. I think I will just stick to sigmoid for images with out of gamut colors which I want to keep like that, for everything else Filmic works well. I too will remember the tip with lowering the brightness in such cases, which improves the overall appearance quite a lot. If I did not know the real visual appearance I had while taking the photo, I might prefer your version.
Not really. That slider morphs between two v6 ‘preserve modes’ so to speak. I believe you blend between ‘max rgb’ and ‘power norm’… But not ‘no’.
If it happens particularly with yellows / reds , I think it’s the classic gamut mapping of filmic v6/v7.
You can bypass it by exporting rec2020 (and converting to your real output profile in another image tool).
Or you can use filmic v5 with the preserve mode set to no.
Or you can use sigmoid instead of filmic.
I believe I had another trick once… Set the output level of filmic (in the tab you almost never use ) to something very high like 200 or 300 percent. Right click it to enter a value by keyboard. Once a higher value is set , you can use the mouse to slide up to that higher value now .
If this causes your image to loose ‘punch’ (but the colours do what you want), you can add a ‘rgb levels’ module after it (yes, after it. So ‘on top’ in the module list) and slide the White point back to ‘fix your histogram’.
The last one was quite some time ago, so I don’t know if it still works (or was even for this problem ) .
The filmic v5 route or the sigmoid route are the easiest, you an actually see what the result is going to be.
Well, before filmic v6/v7 it means the colours are clipped. So you loose detail in colour gradients or high saturation parts.
At the filmic stage , nothing has been clipped yet. And filmic tries to apply an algorithm to bring the colours back into gamut while still preserving details in them. In doing so, the reds/yellows seem to have issues (sometimes ? Always ? I dont know ).
Filmic v6/v7 actually looks at the output profile (which is your display while editing , and the output profile for exporting while exporting).
Filmic v5 with preserve mode set to no doesn’t do this. Sigmoid also doesn’t does this AFAIK.
The filmic issue is particularly with saturated and bright reds. Darker but saturated reds go better.
I believe its all geared to manipulate color at a constant hue and chromaticity
The math the new color space etc are all explained in great detail here…
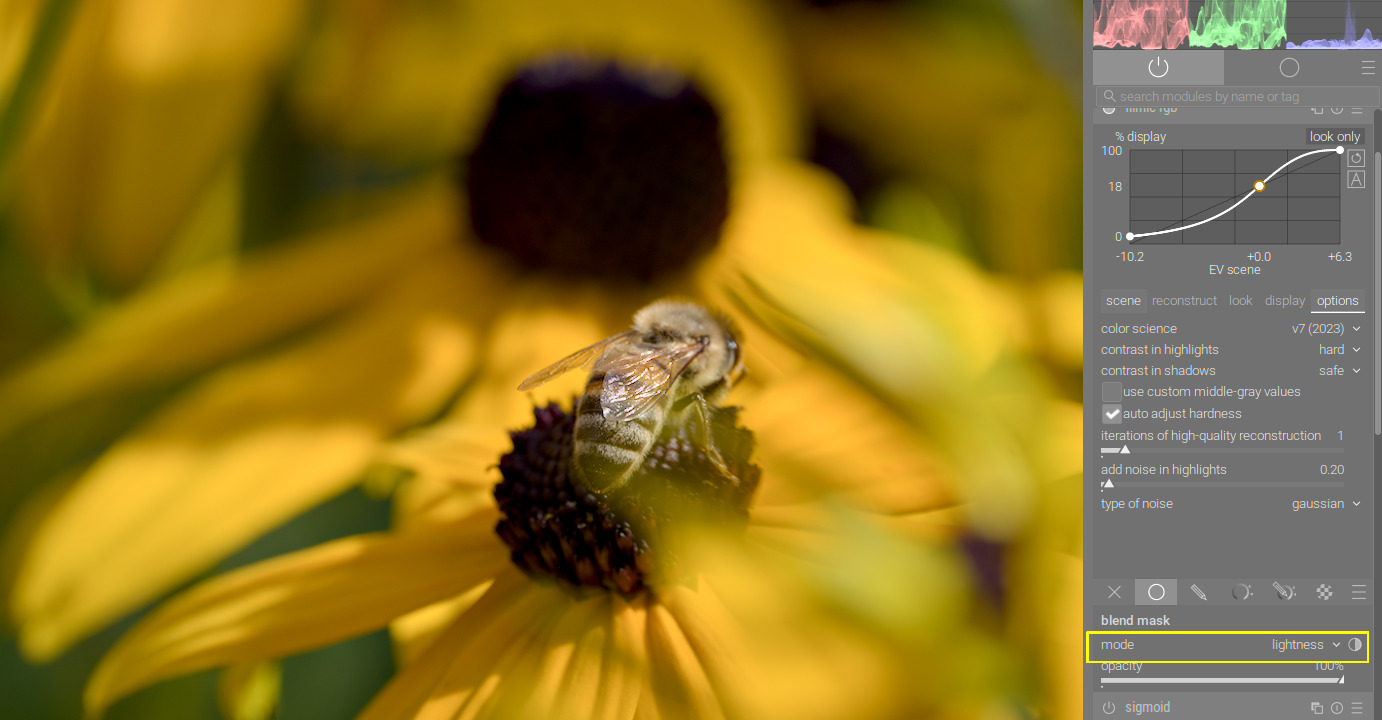
I think once you go to filmic v6 you are using the UCS and in fact in rgb CB module if you use it you can actually select between JzAzBz and UNC for the saturation model in the mask tab… it defaults to UCS but the look can be quite different choosing the alternative… at times some might prefer it…
With a new instance of color balance rgb you can still mimic this Bezold–Brücke shift in human color perception without losing details, instead of leaving this color distortion to the camera:
Personally, I don’t use Filmique anymore because I can’t master it, I always get color drifts. I have a clear preference for Sigmoid. It’s true that we lose some detail in the highlights and lowlights, which I resolve with two instances of the Local Contract module.
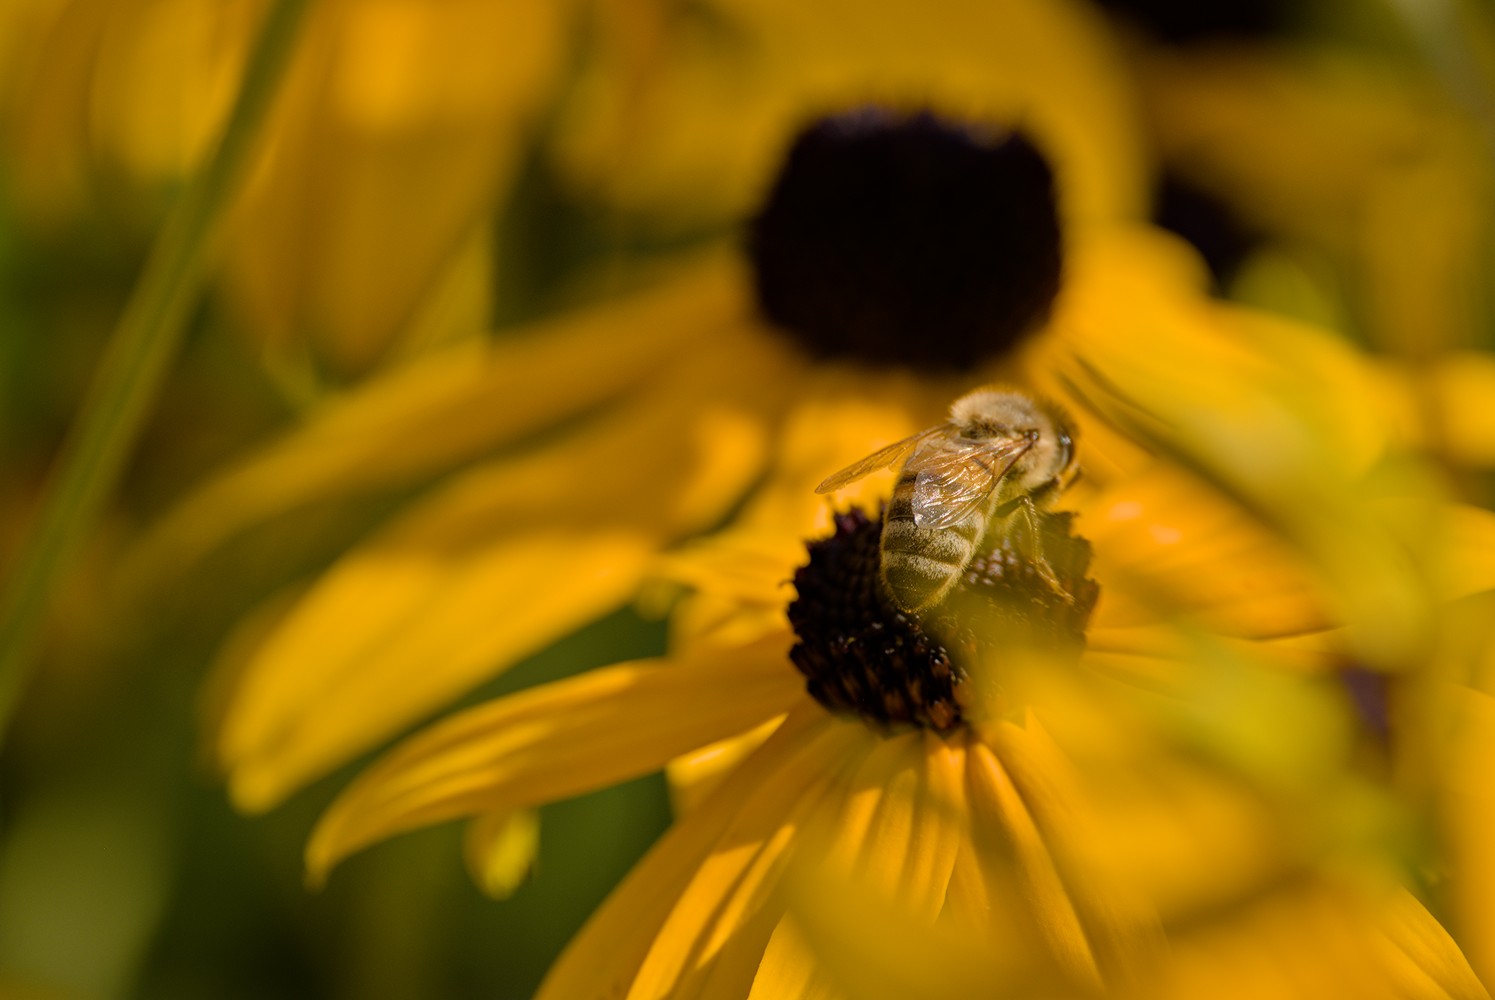
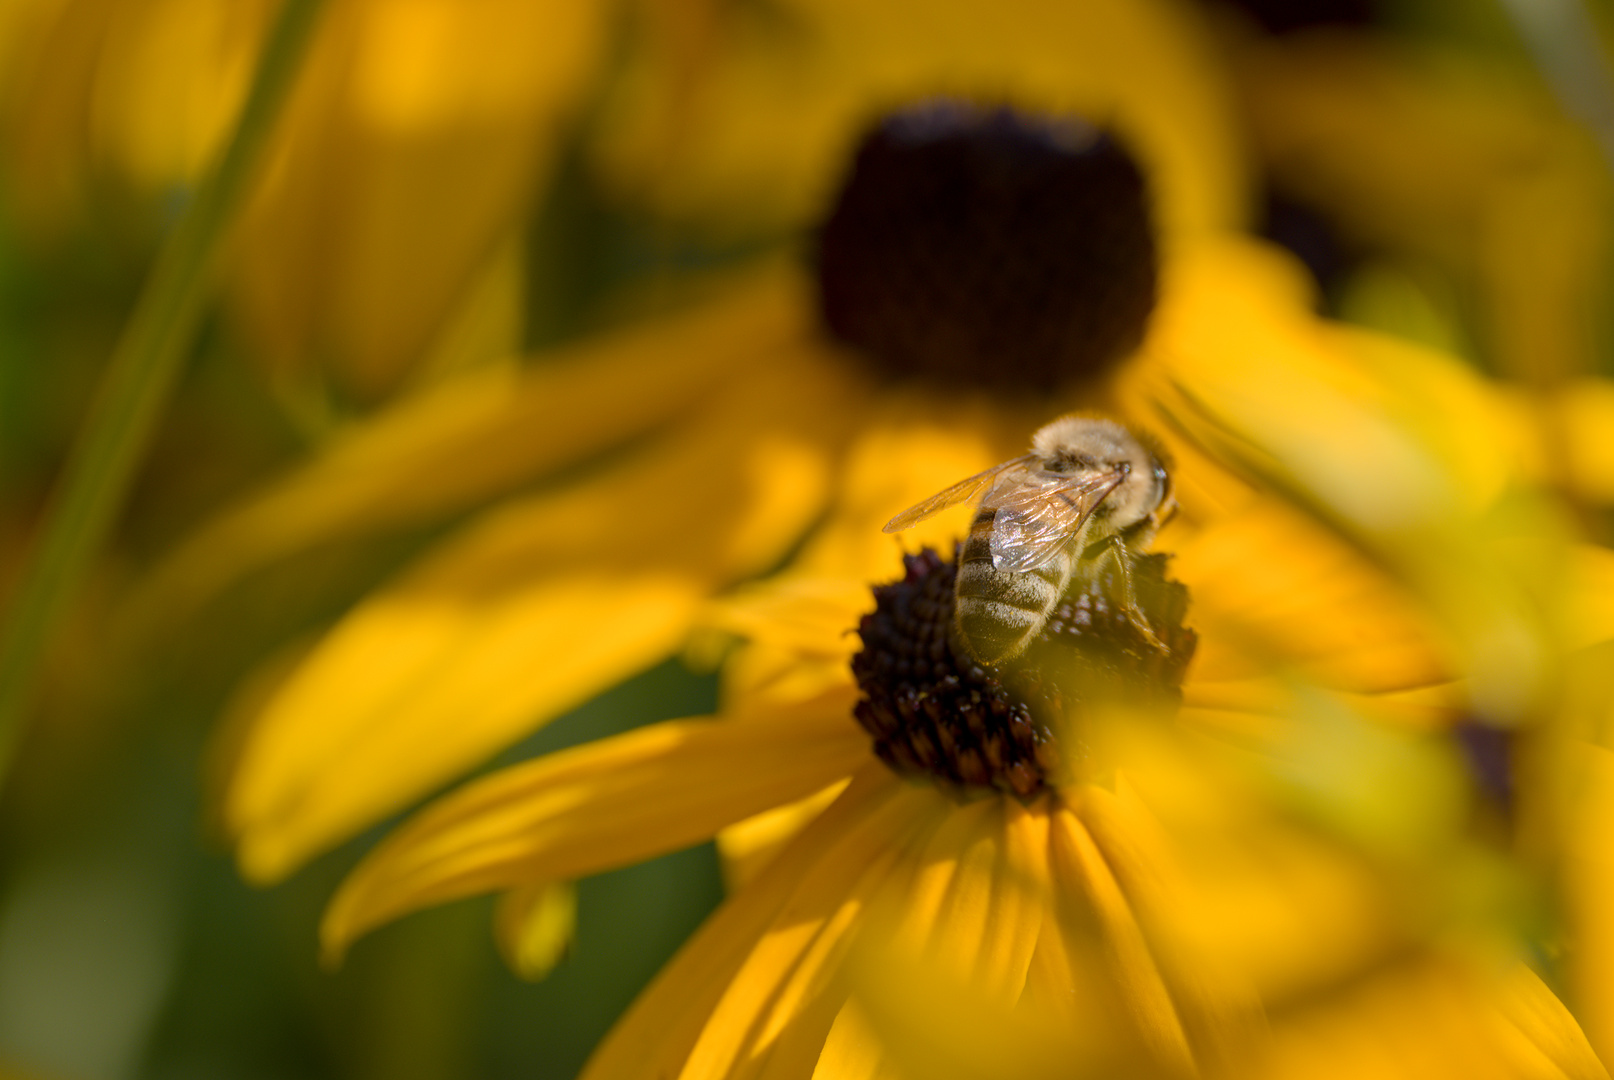
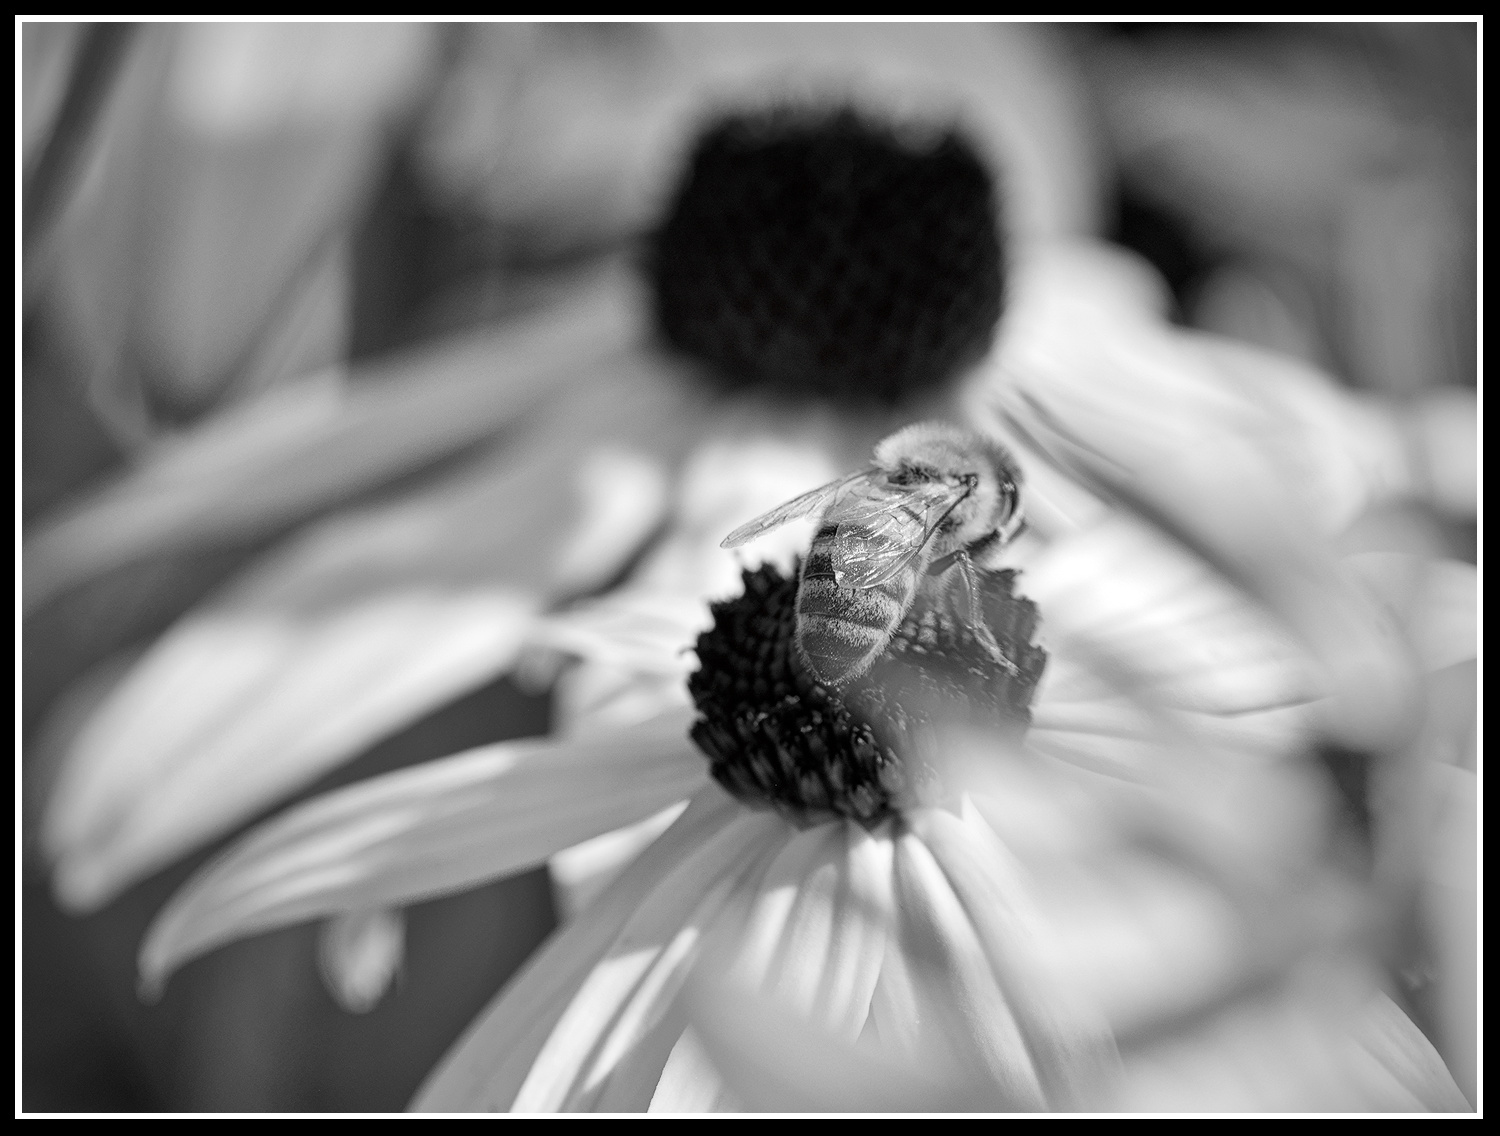
Here’s what I get
I really like the last proposal, I have loaded the xmp to try to understand how you use Filmic. Despite everything I prefer to stick to Sigmoid, it’s very subjective, it’s also a matter of habit and finally it’s a strength of Darktable to be able to choose workflow.
Here’s a second, slightly less exposed version.