this is my first post in this form. I started to work with darktable a couple of weeks ago. Overall I am quite happy and thanks to the very nice videos by @s7habo, @anon41087856 and the discussions here, switching from Lightroom was not too hard. Thanks a lot!!!
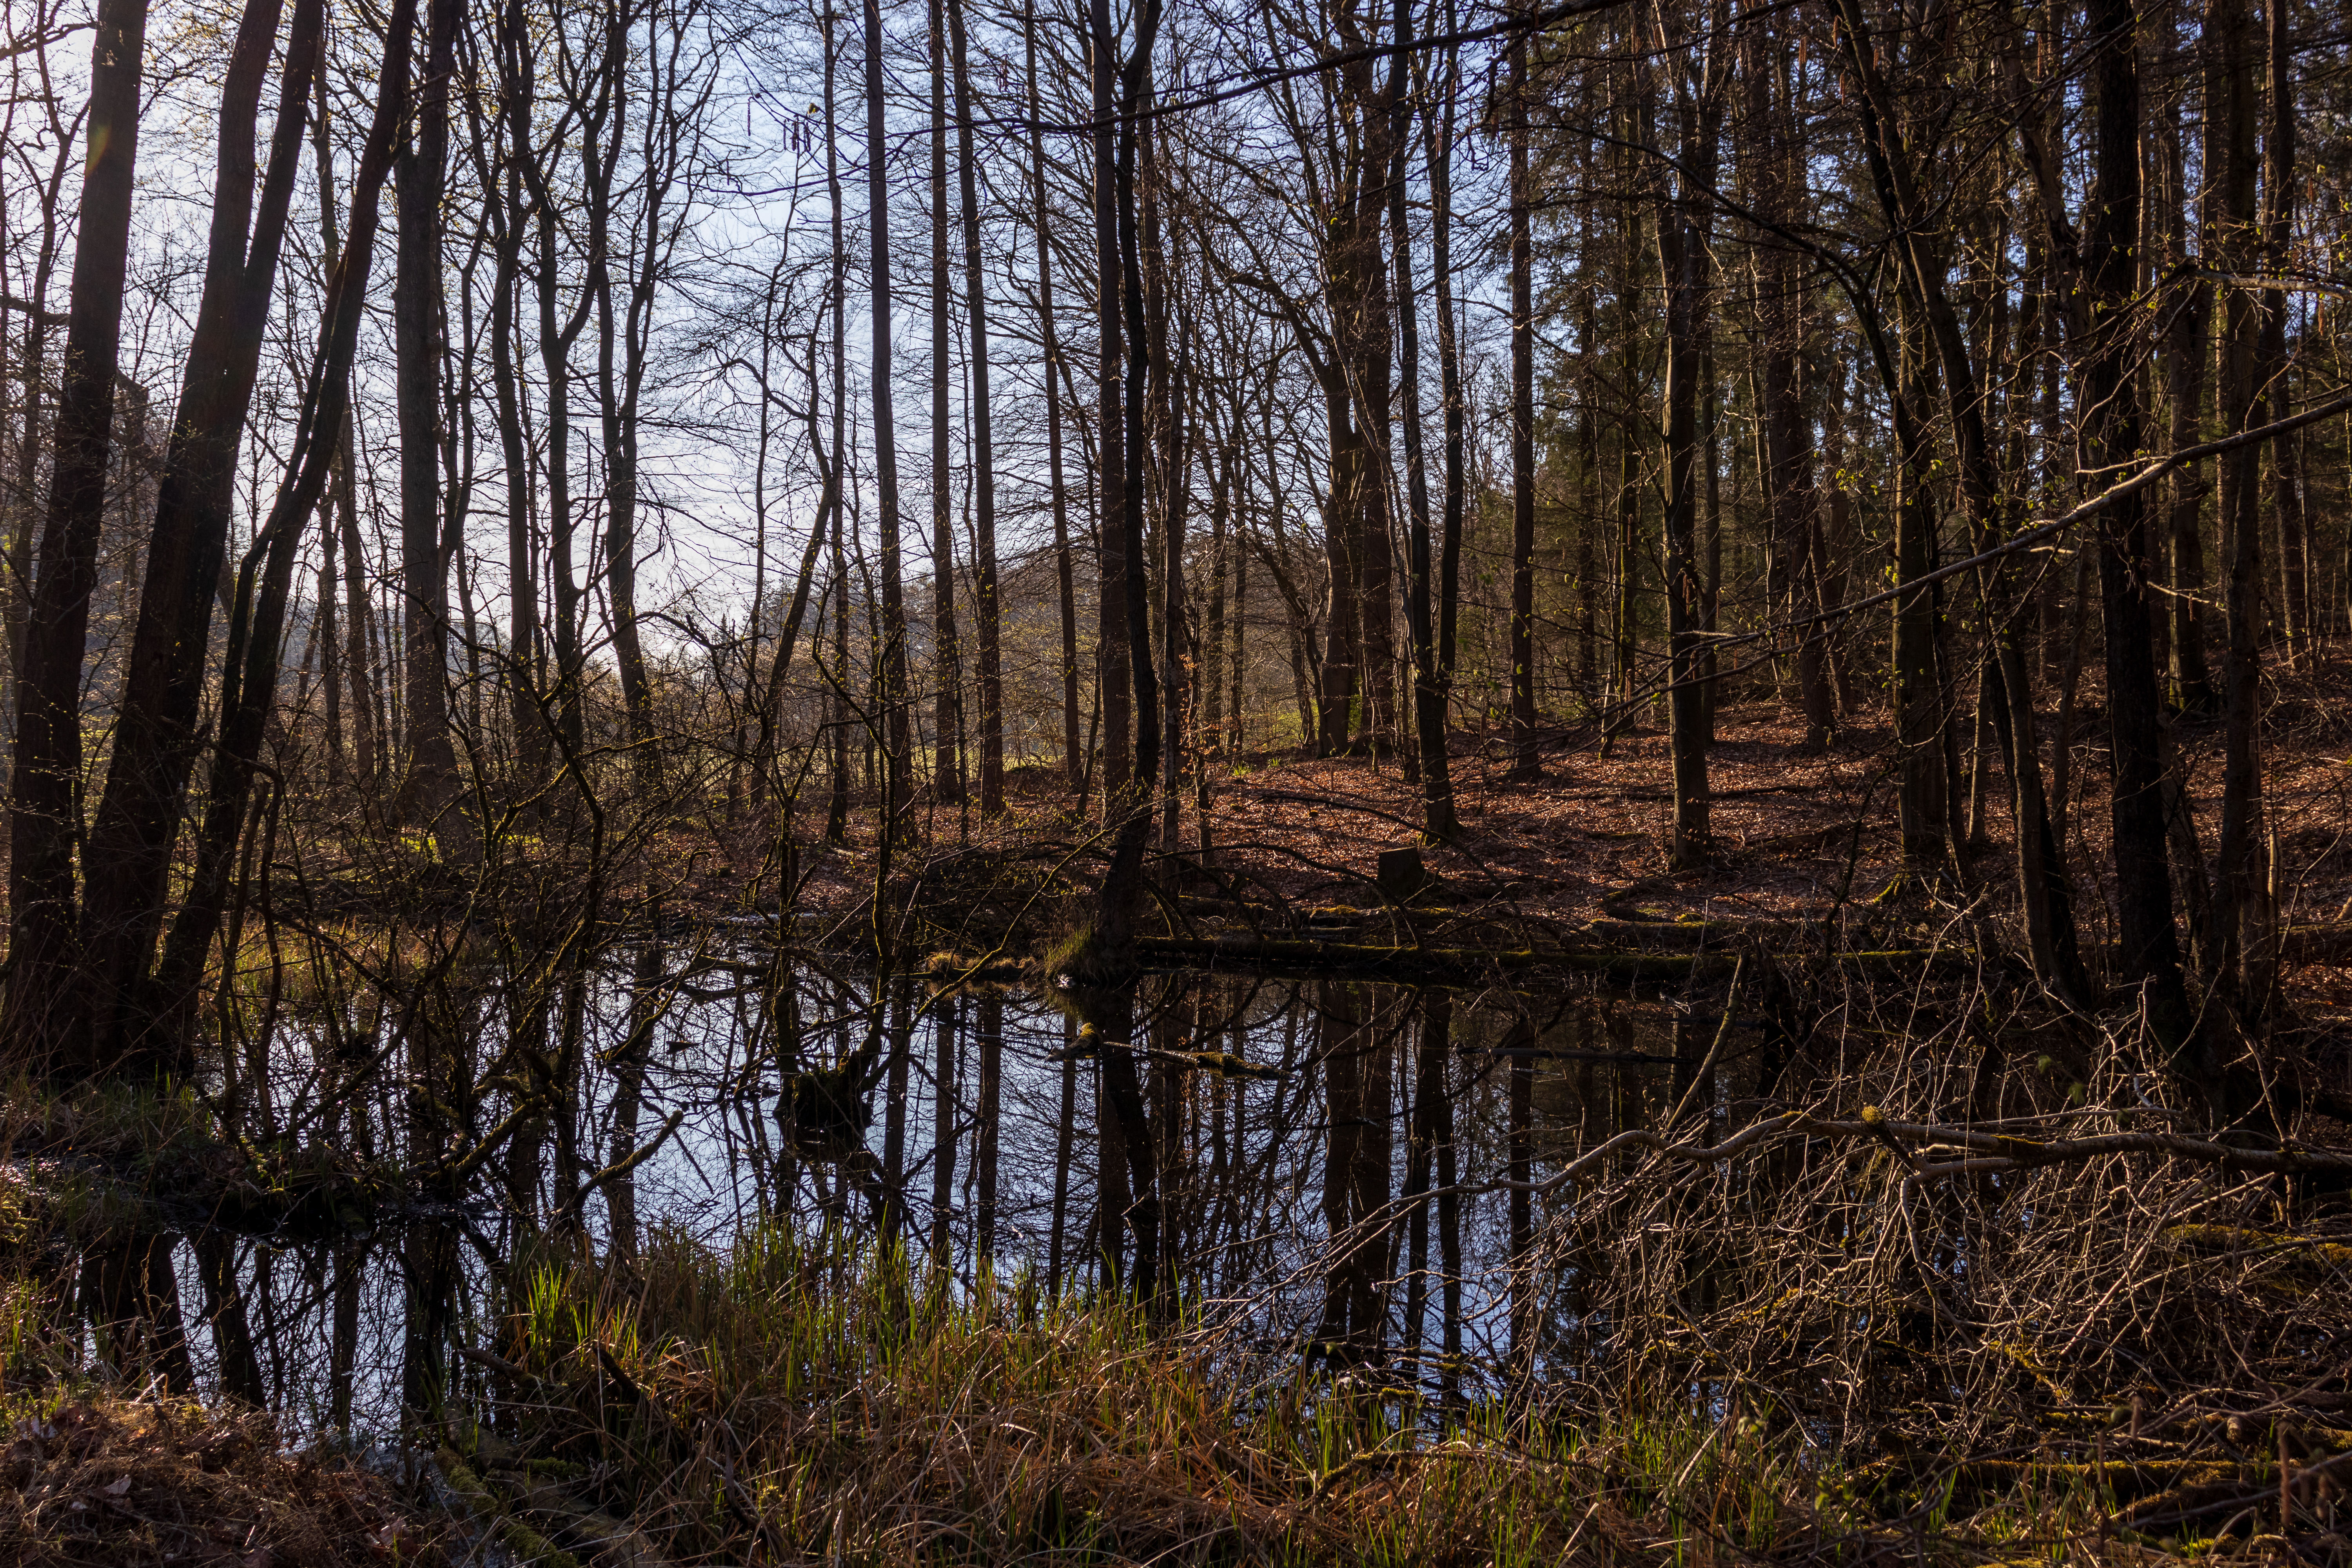
This week I took some figures in the forrest and realized that when editing the cr3 raw file from a Canon 850D, some details (small branches of the trees in front of the bright sky) are lost at some point in my workflow. I compared the edit with LR and Canon’s DPP and there are many small branches visible while they are absent in DT. It’s not my goal to mimick DPP or LR, but of course details should be there. I wonder if somebody would like to play.
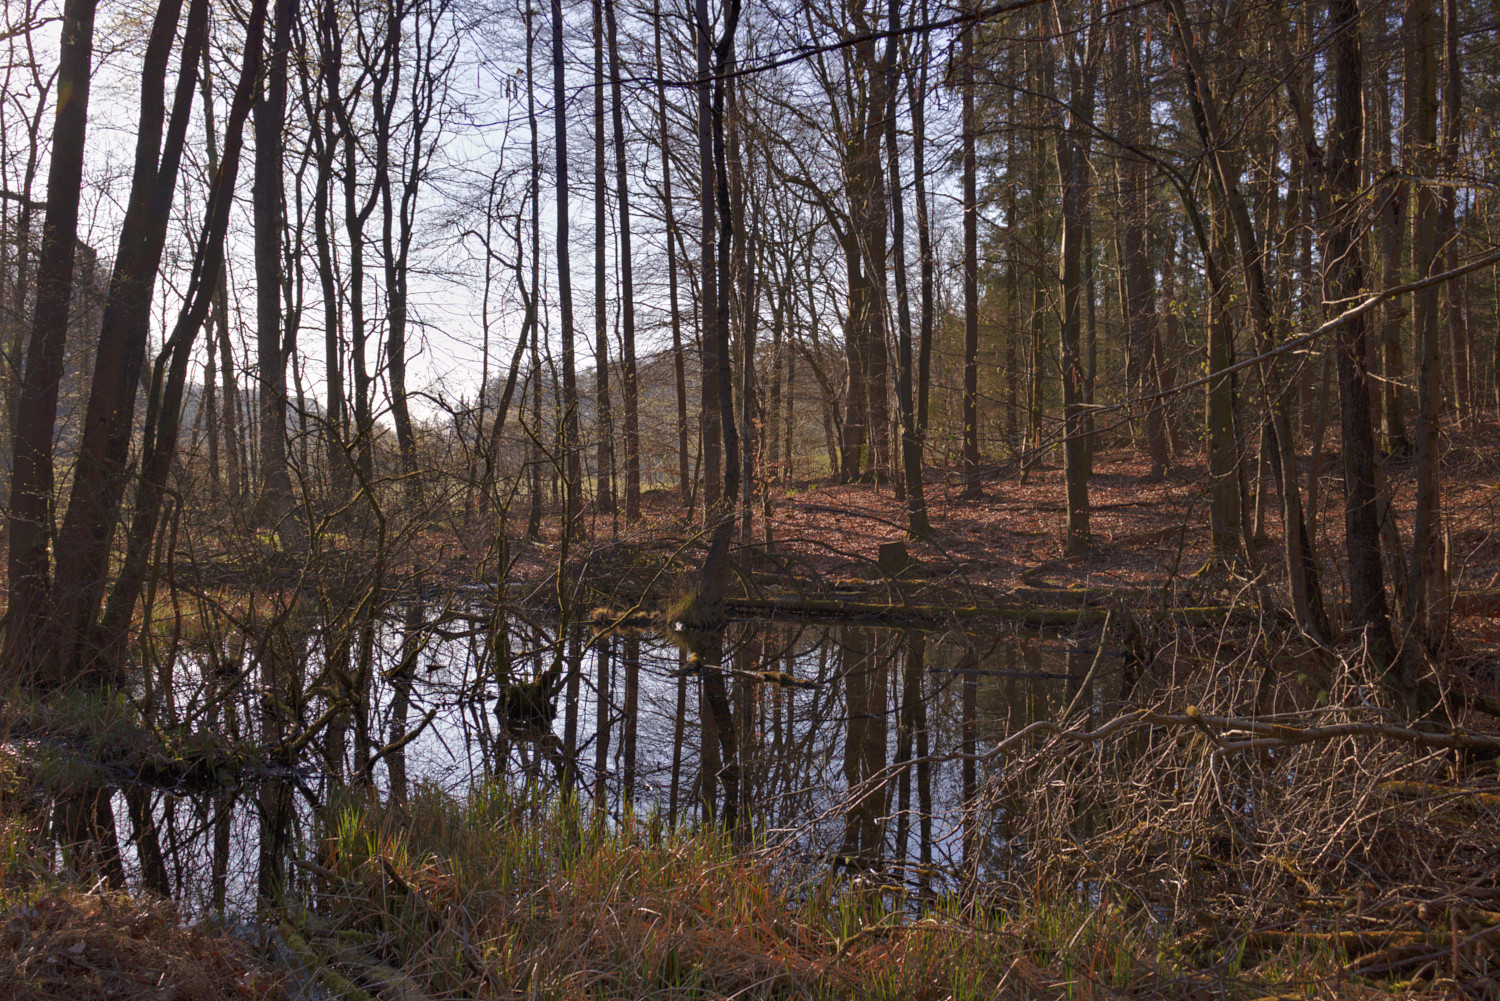
Interesting; I opened your raw file in my hack raw processor to it’s linear state and all the branch detail was there, but when I applied a filmic-shaped tone curve a lot of the smaller branches were driven close to white-oblivion. Using a curve with more slope in the shoulder kept them resolute.
I’m not a darktable user, but I’m pretty sure there are controls in the dt filmic curve that would pull the shoulder of the curve down from the top…
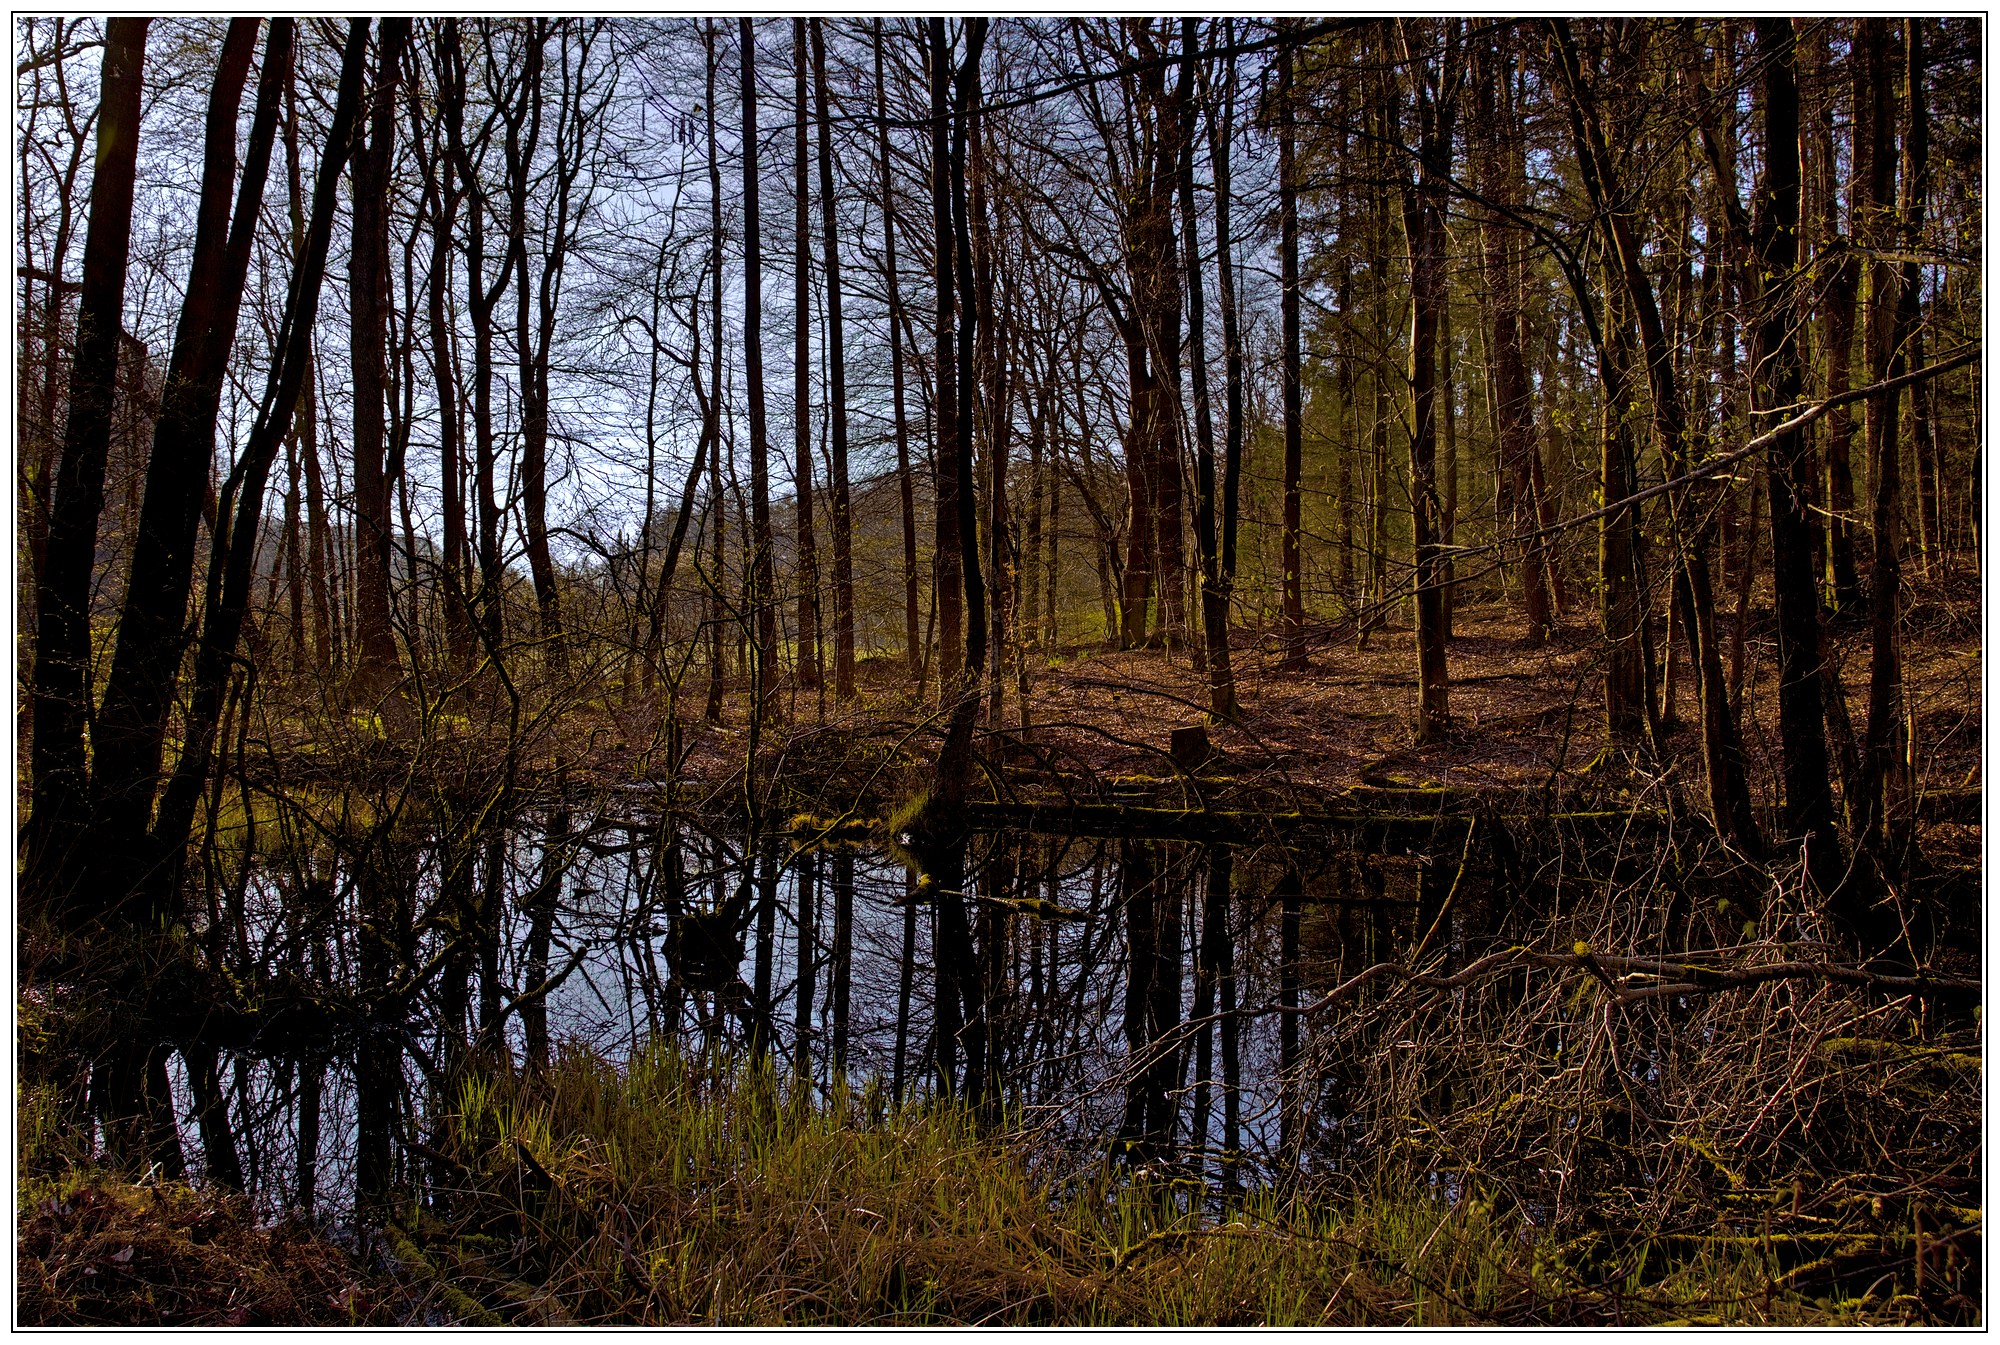
Thanks for those hints, I tried to pull down the highlight much more than I tried before. I can see that, when using Filmic, I need to pull tone equalizer down on highlights much more than I tried before, followed by contrast eq. or diffuse and sharpen to bring back local contrast. For this particular image tone curve instead of using filmic to pull down the shoulder of the curve gives similar results.
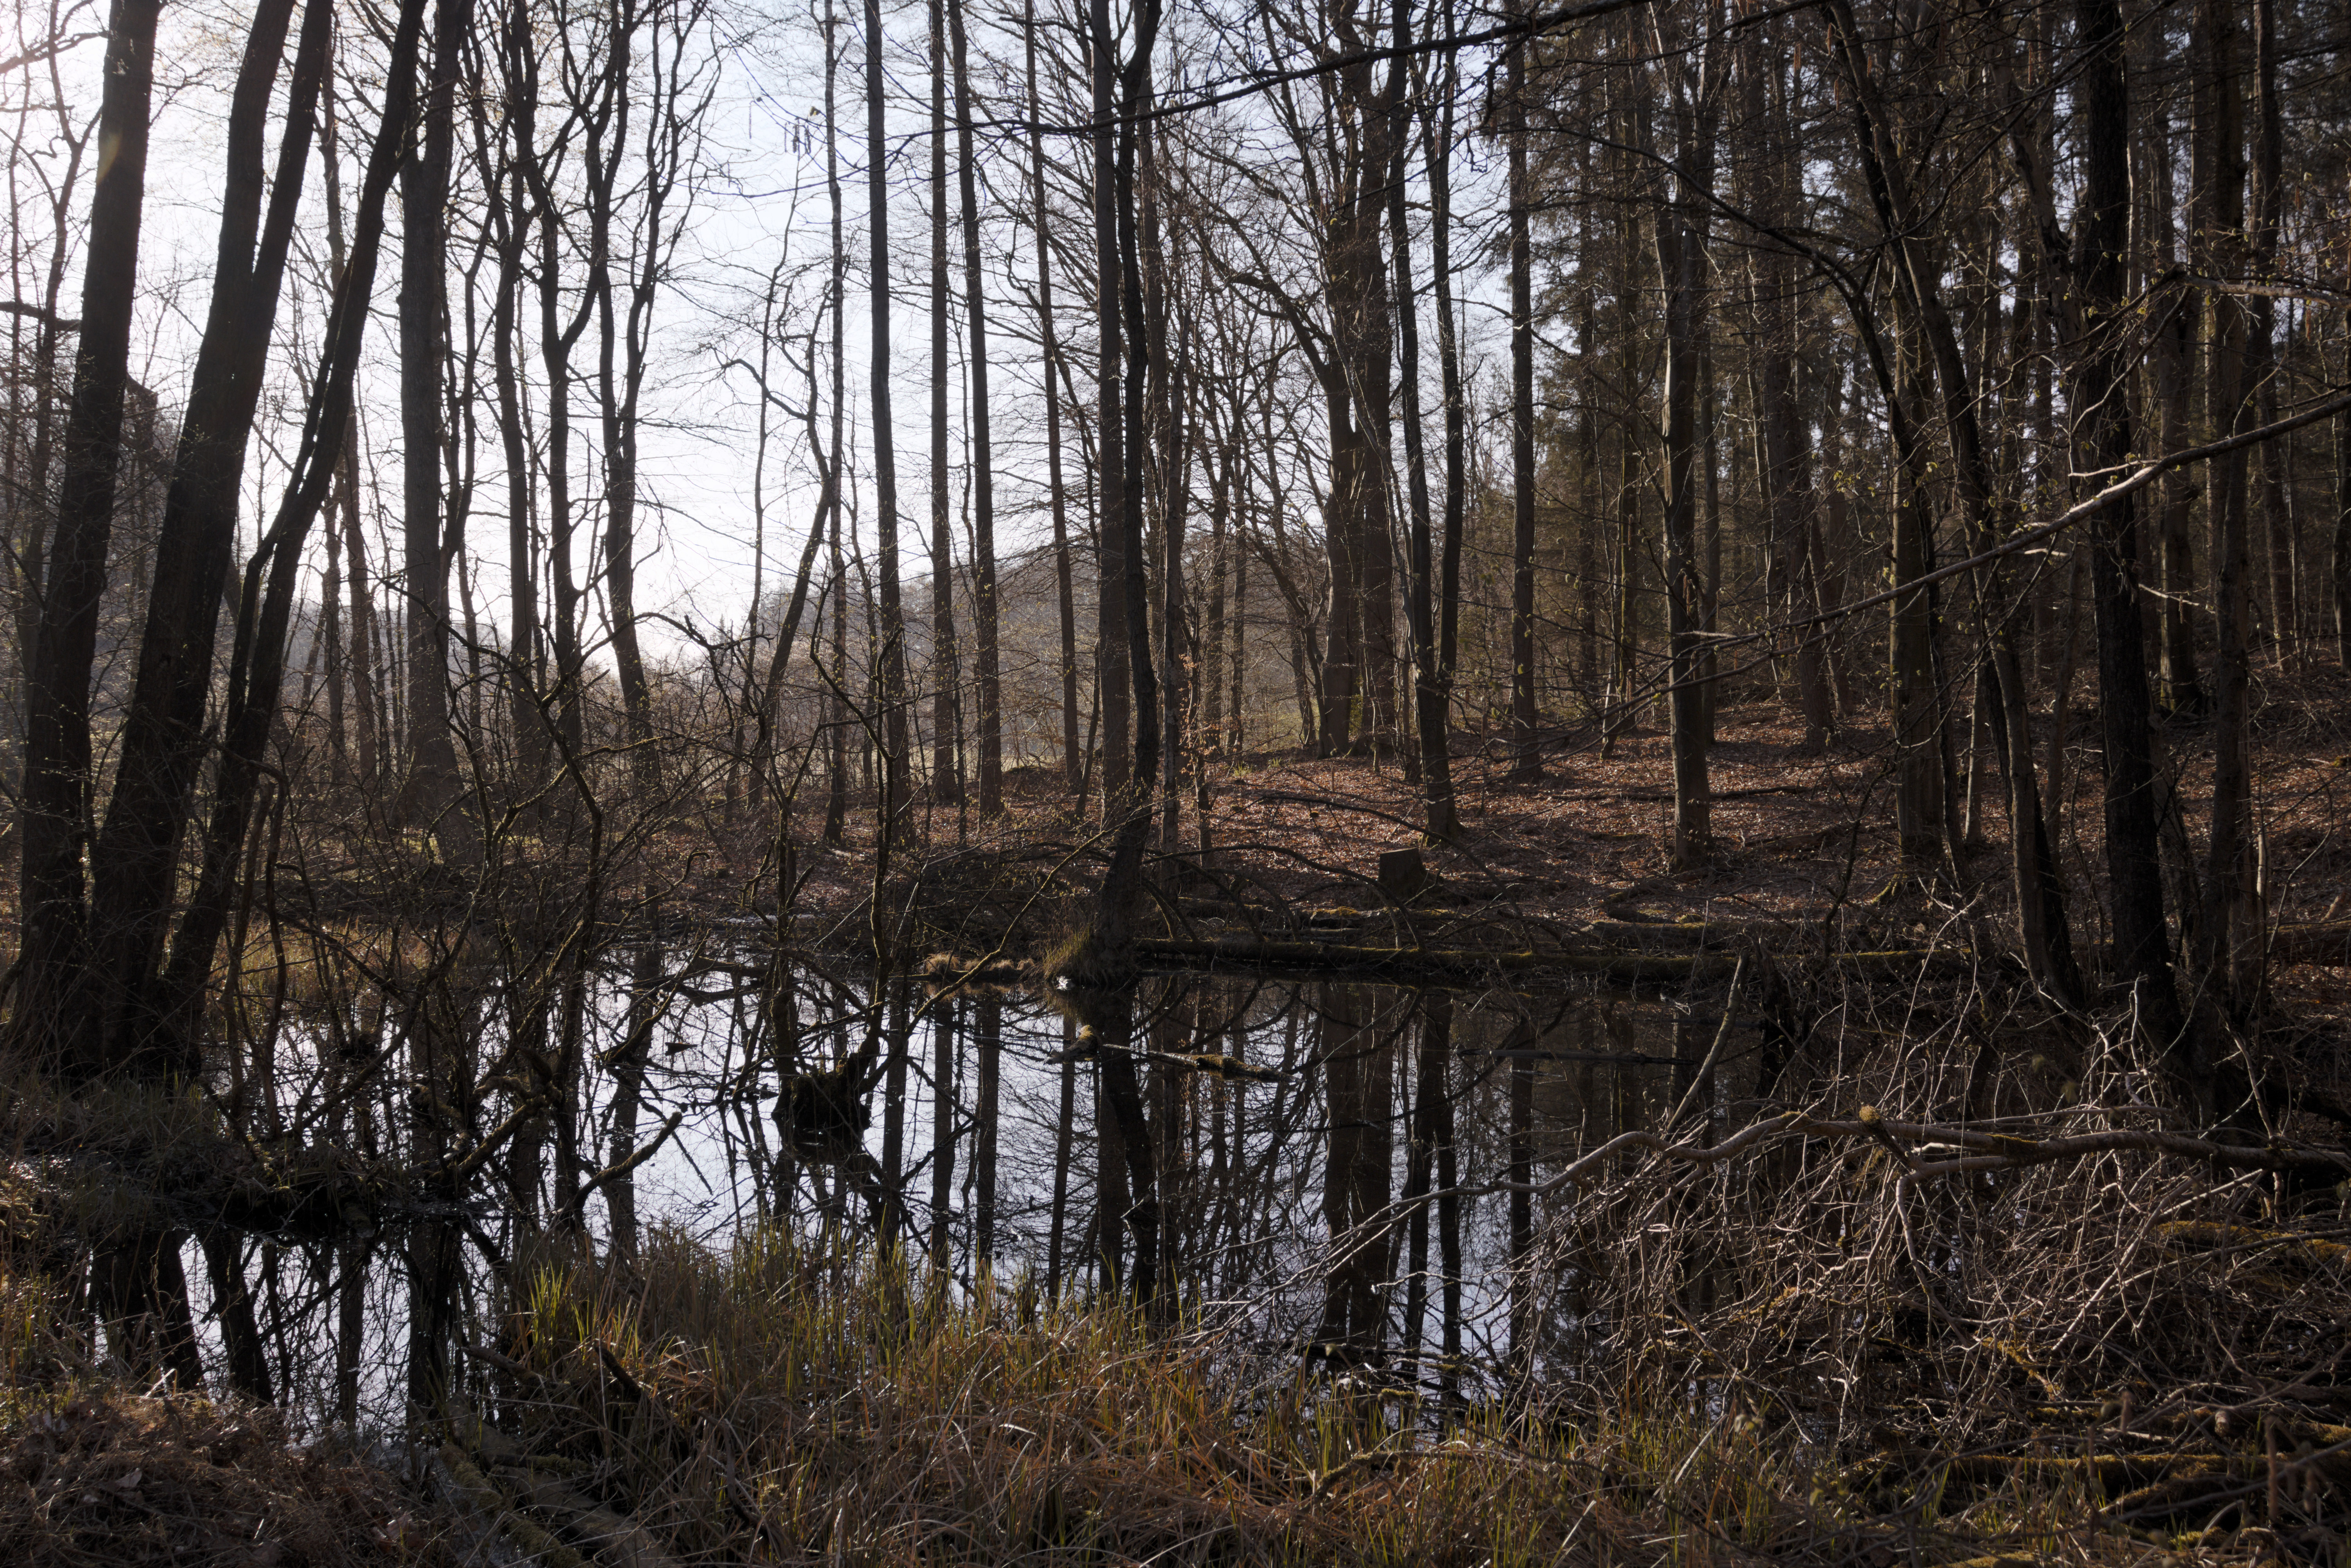
I think you could easily bring up the shadows a bit and your edit would be as good or better than the LR one…
EDIT
I just downloaded your sidecar…your edit looks very different on my screen…which is not calibrated but just checking this is the right sidecar…may download your jpg to get the sidecar there to see
Interesting…I did look at that but it said standard and I never thought any more after checking. I wonder if there should likely be a warning if an image opens without the specified icc…in any case the second funny thing is actually clicking on standard in the input profile module refires the pipeline and gives an image that I guess won’t match the intended profile that we dont have but at least has the color and saturation back…
You helped me a lot with recovery of the details, but color is of course another story. I just tested the eos5d2 color profile and the look is completely different. Maybe I should consider to profile my camera and screen, but don’t know if it is worth to do. I am not printing that many images and they will look different on different devices anyway.
A dev version RT edit just for reference. Automatched curve, Abstract profile for lifting shadows. CA correction some lab chroma and contrast. It’s always interesting to see files from cameras you haven’t used before. The highlights (and shadows) behave very differently to what I’m used to.
What was the scene like. The file has very little colour in it out of the box in RT. It’s a matter of taste but the saturation increases above all look a bit off/artificial to me, more like a tint. What do people think?