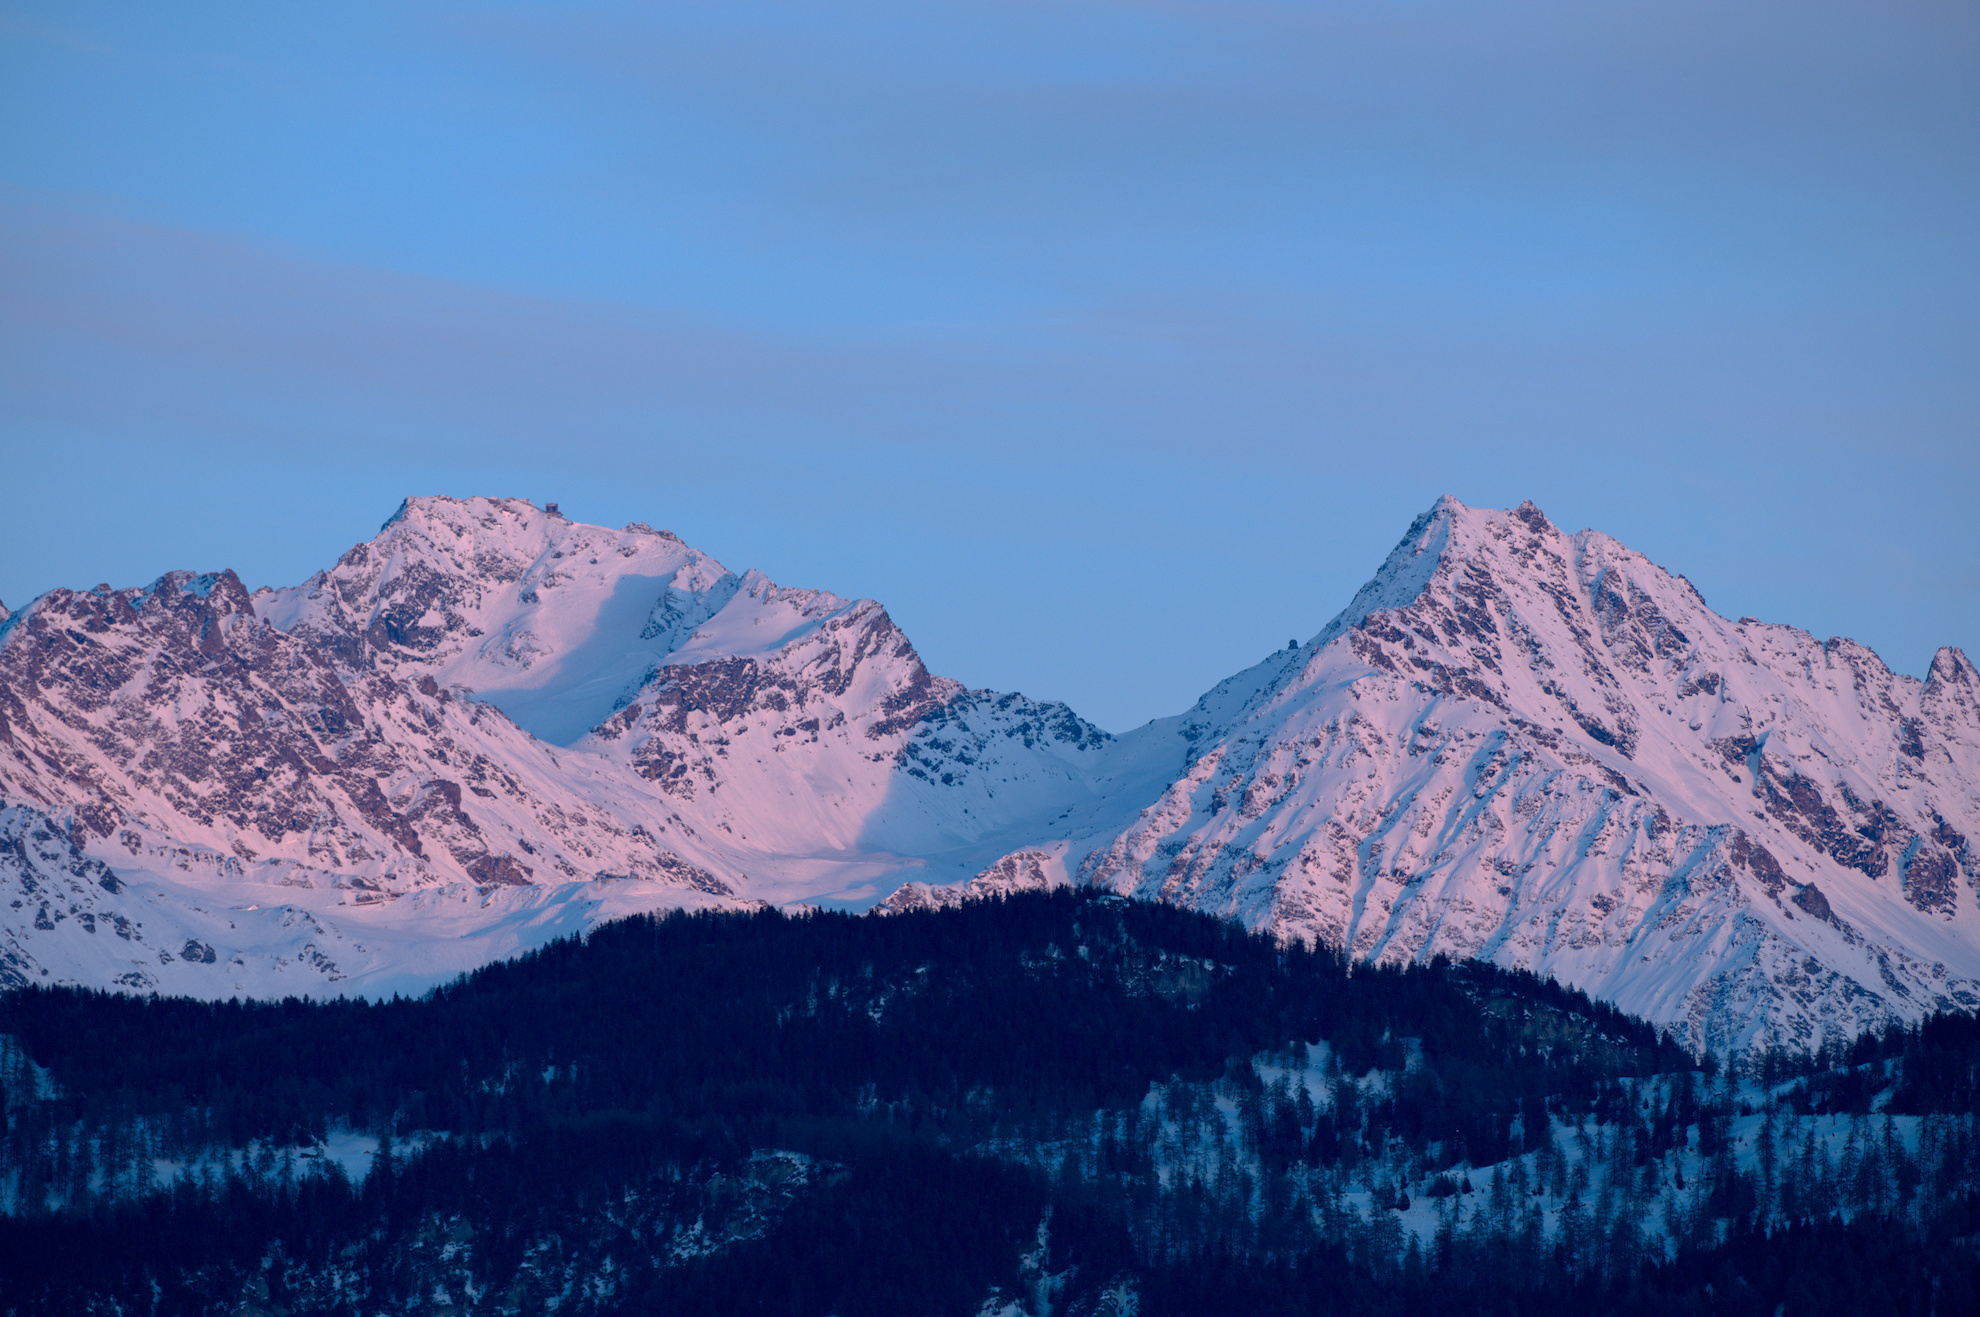
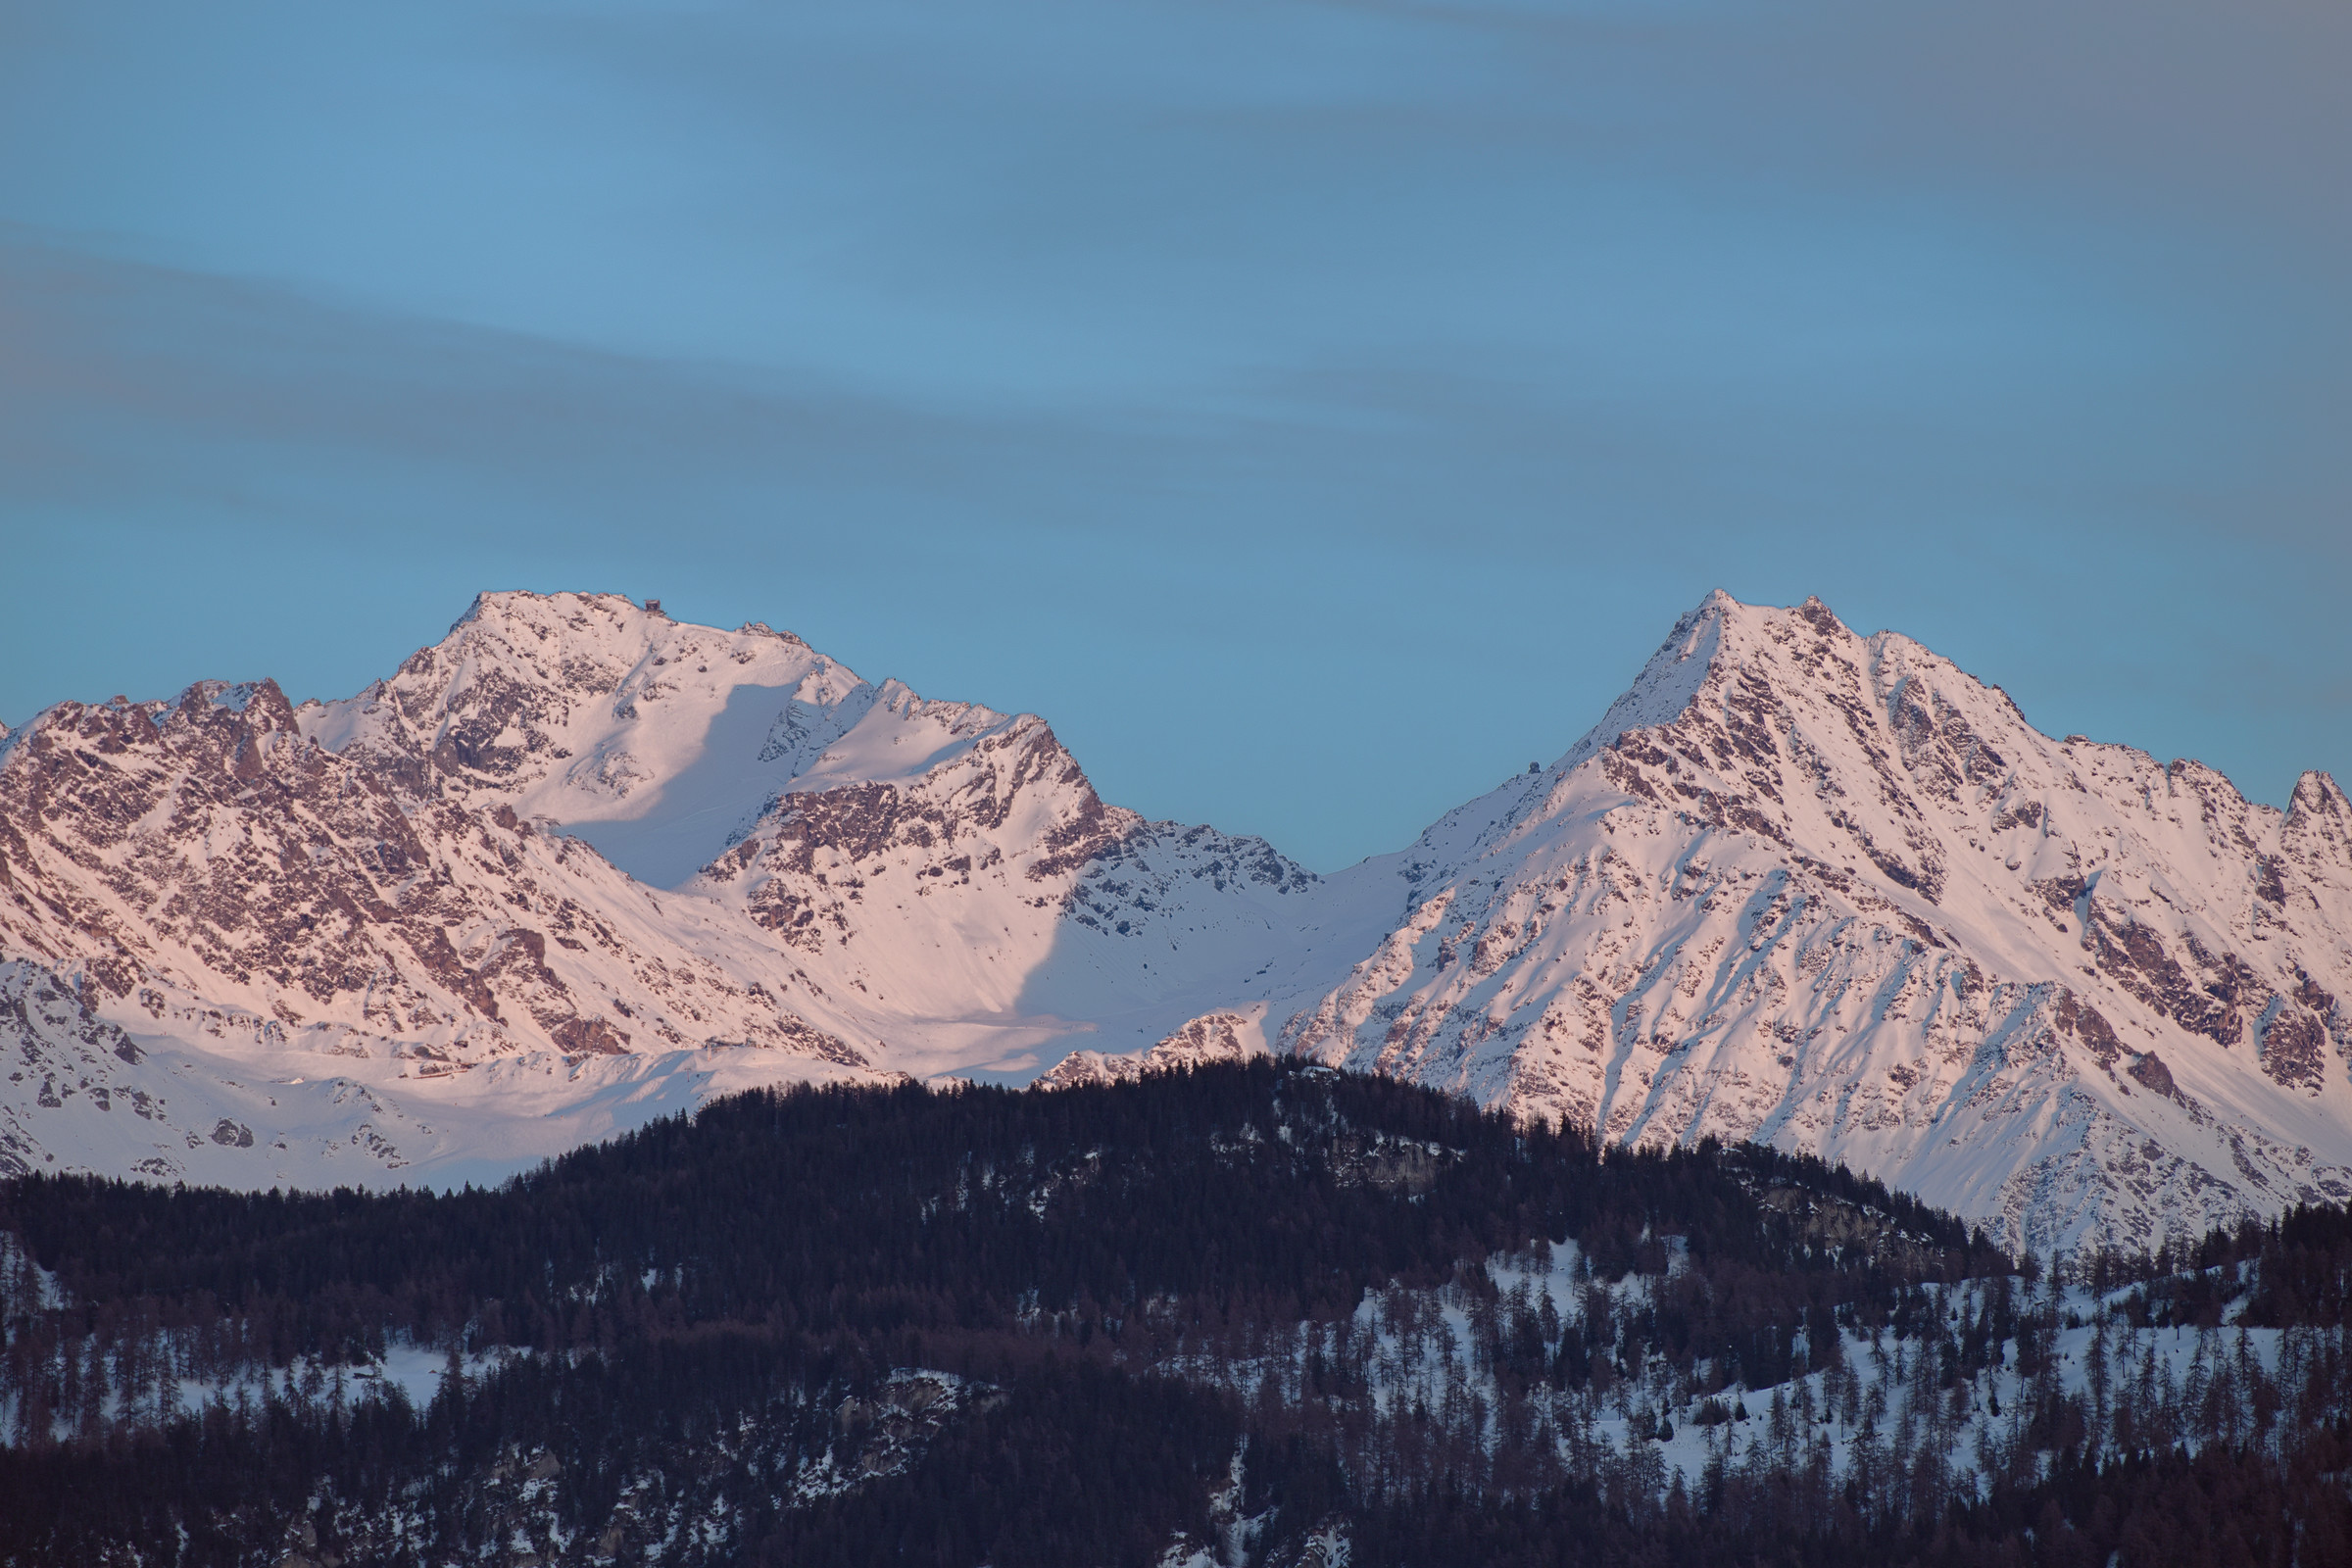
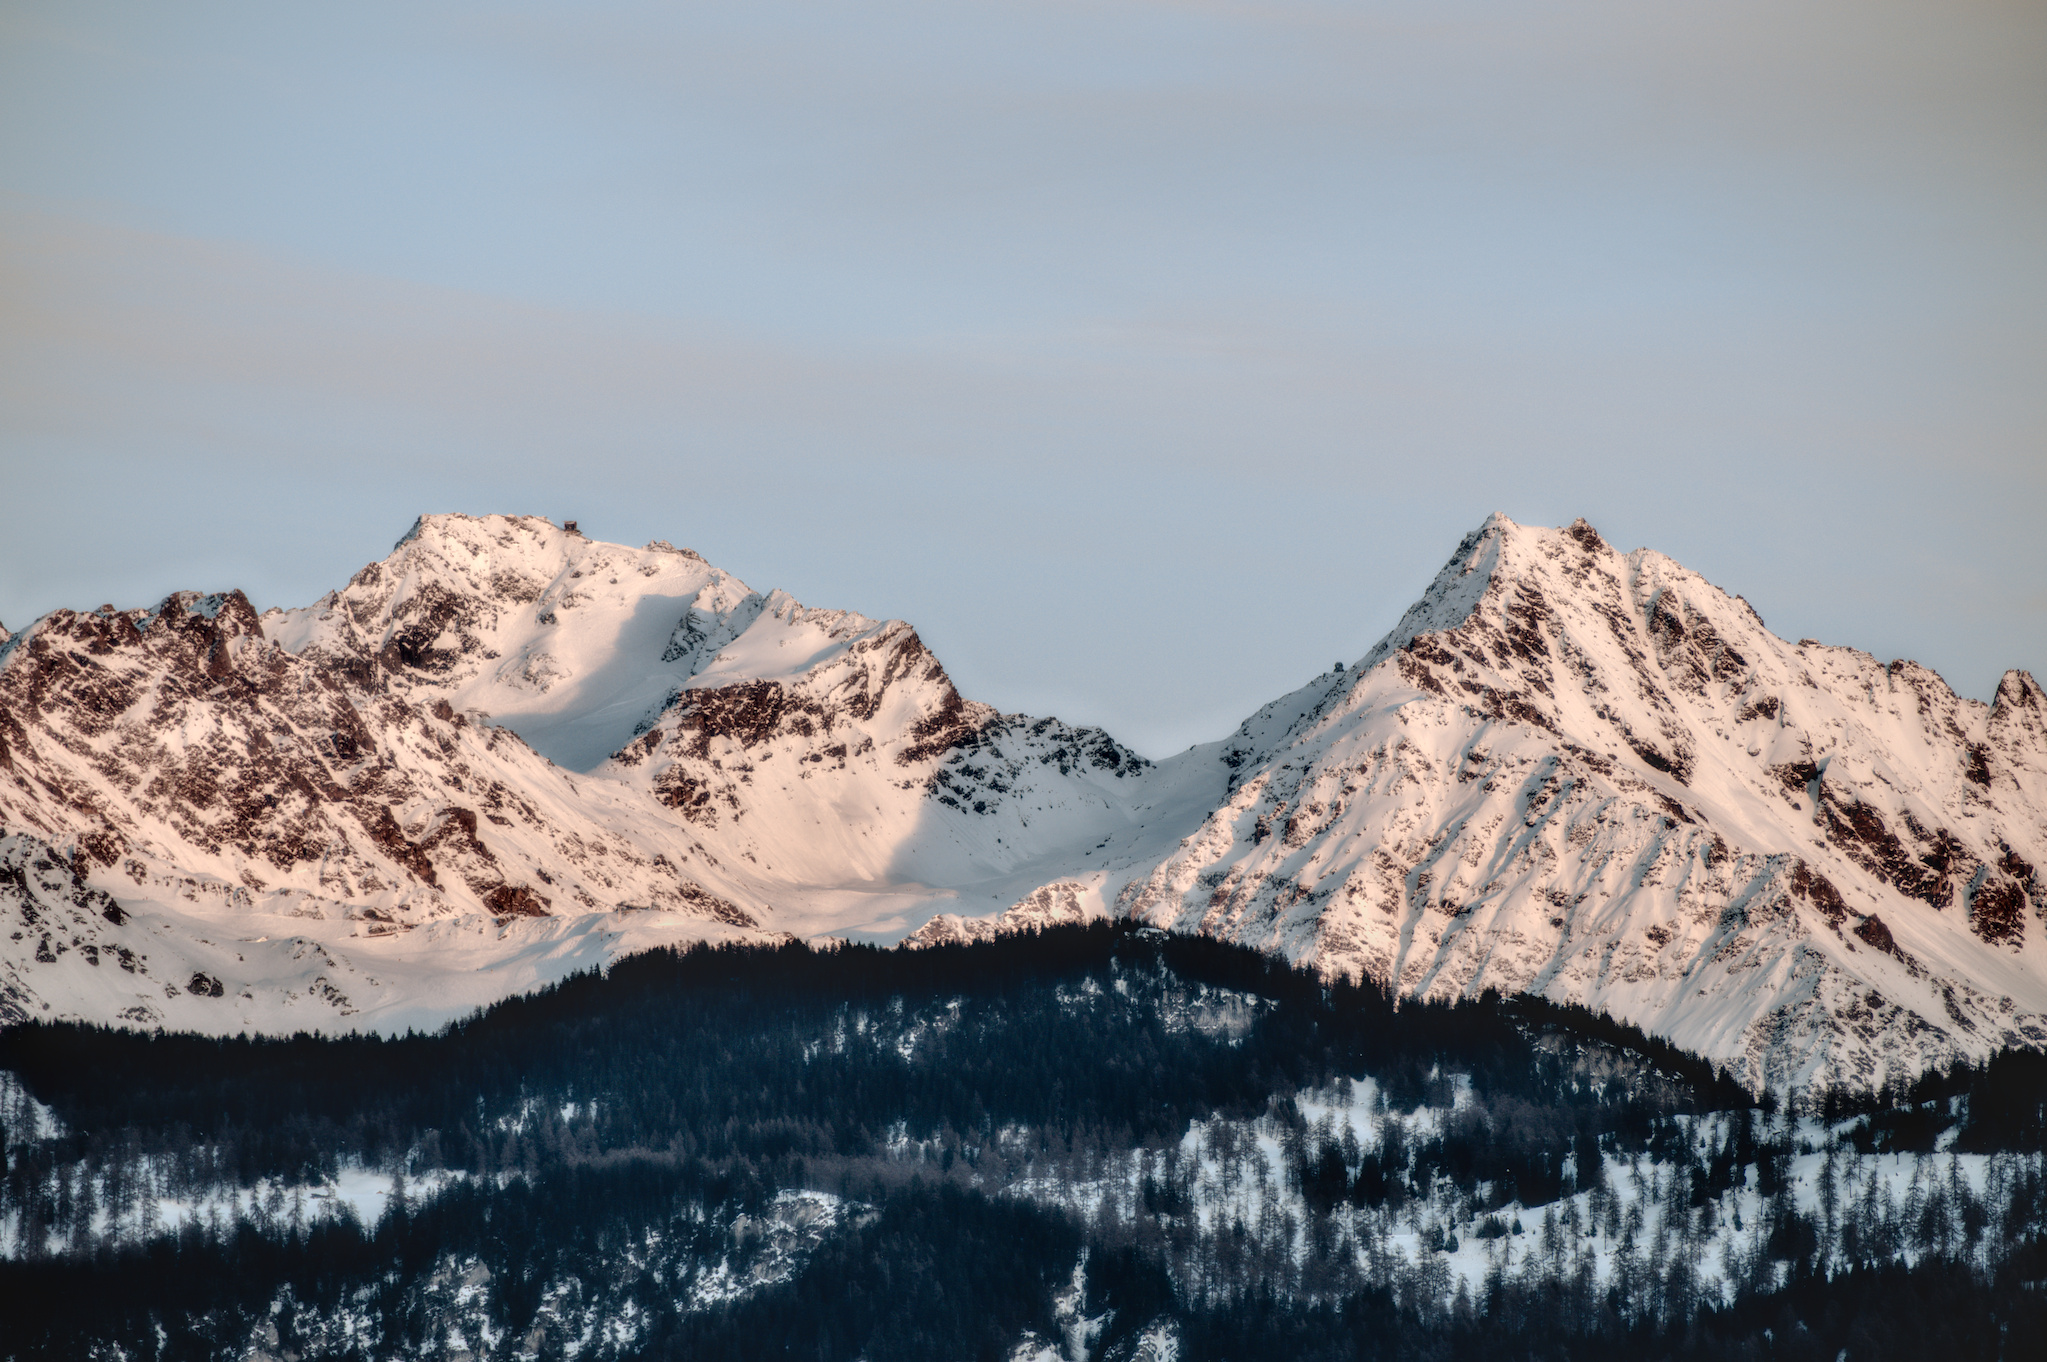
Hello everyone. Rather than a generic ‘how would you edit this’, I thought to ask for a very specific thing so I (and hopefully perhaps others?) can focus on a specific skill.
The ask is: please select the sky on the RAW file attached. To demonstrate the selection, you can darken or recolour it.
The guidance is:
the selection has to be perfect, or as near as possible - meaning there should be no halo resulting from a blurred mask (various masking techniques result in either a 1px-thick ‘border’ on the edge of the mask where the mask does not perfectly transition between what should and should not be selected, or in a ‘halo’ where to hide mask’s imperfections, the mask is heavily blurred. There should be none of these here)
the mask should minimise manual effort - meaning while I believe it is possible to zoom in to 400% and trace a perfect path, this is very inefficient and should be avoided.
Bonus points for a brief description of the masking approach you take.
In my imagination, what you plan to do with the masked area is an input into the masking decision itself. If I wanted to mask for replacement, for example, I might do things differently.
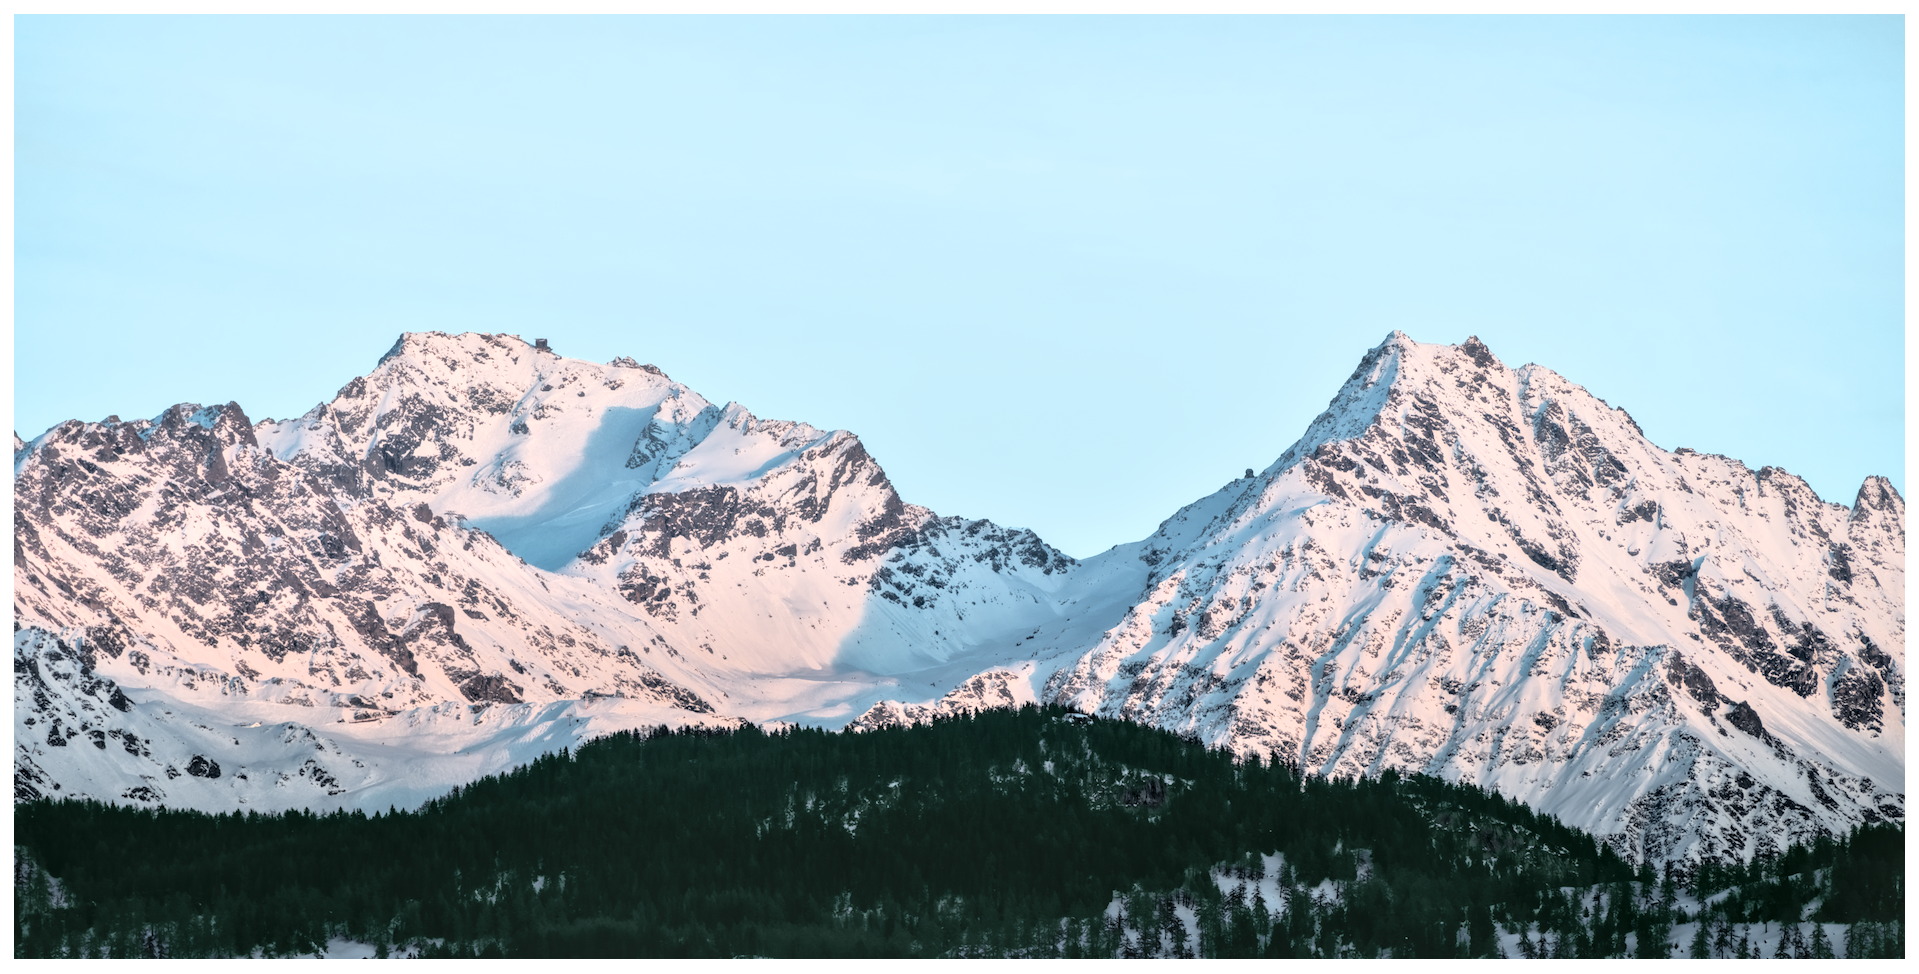
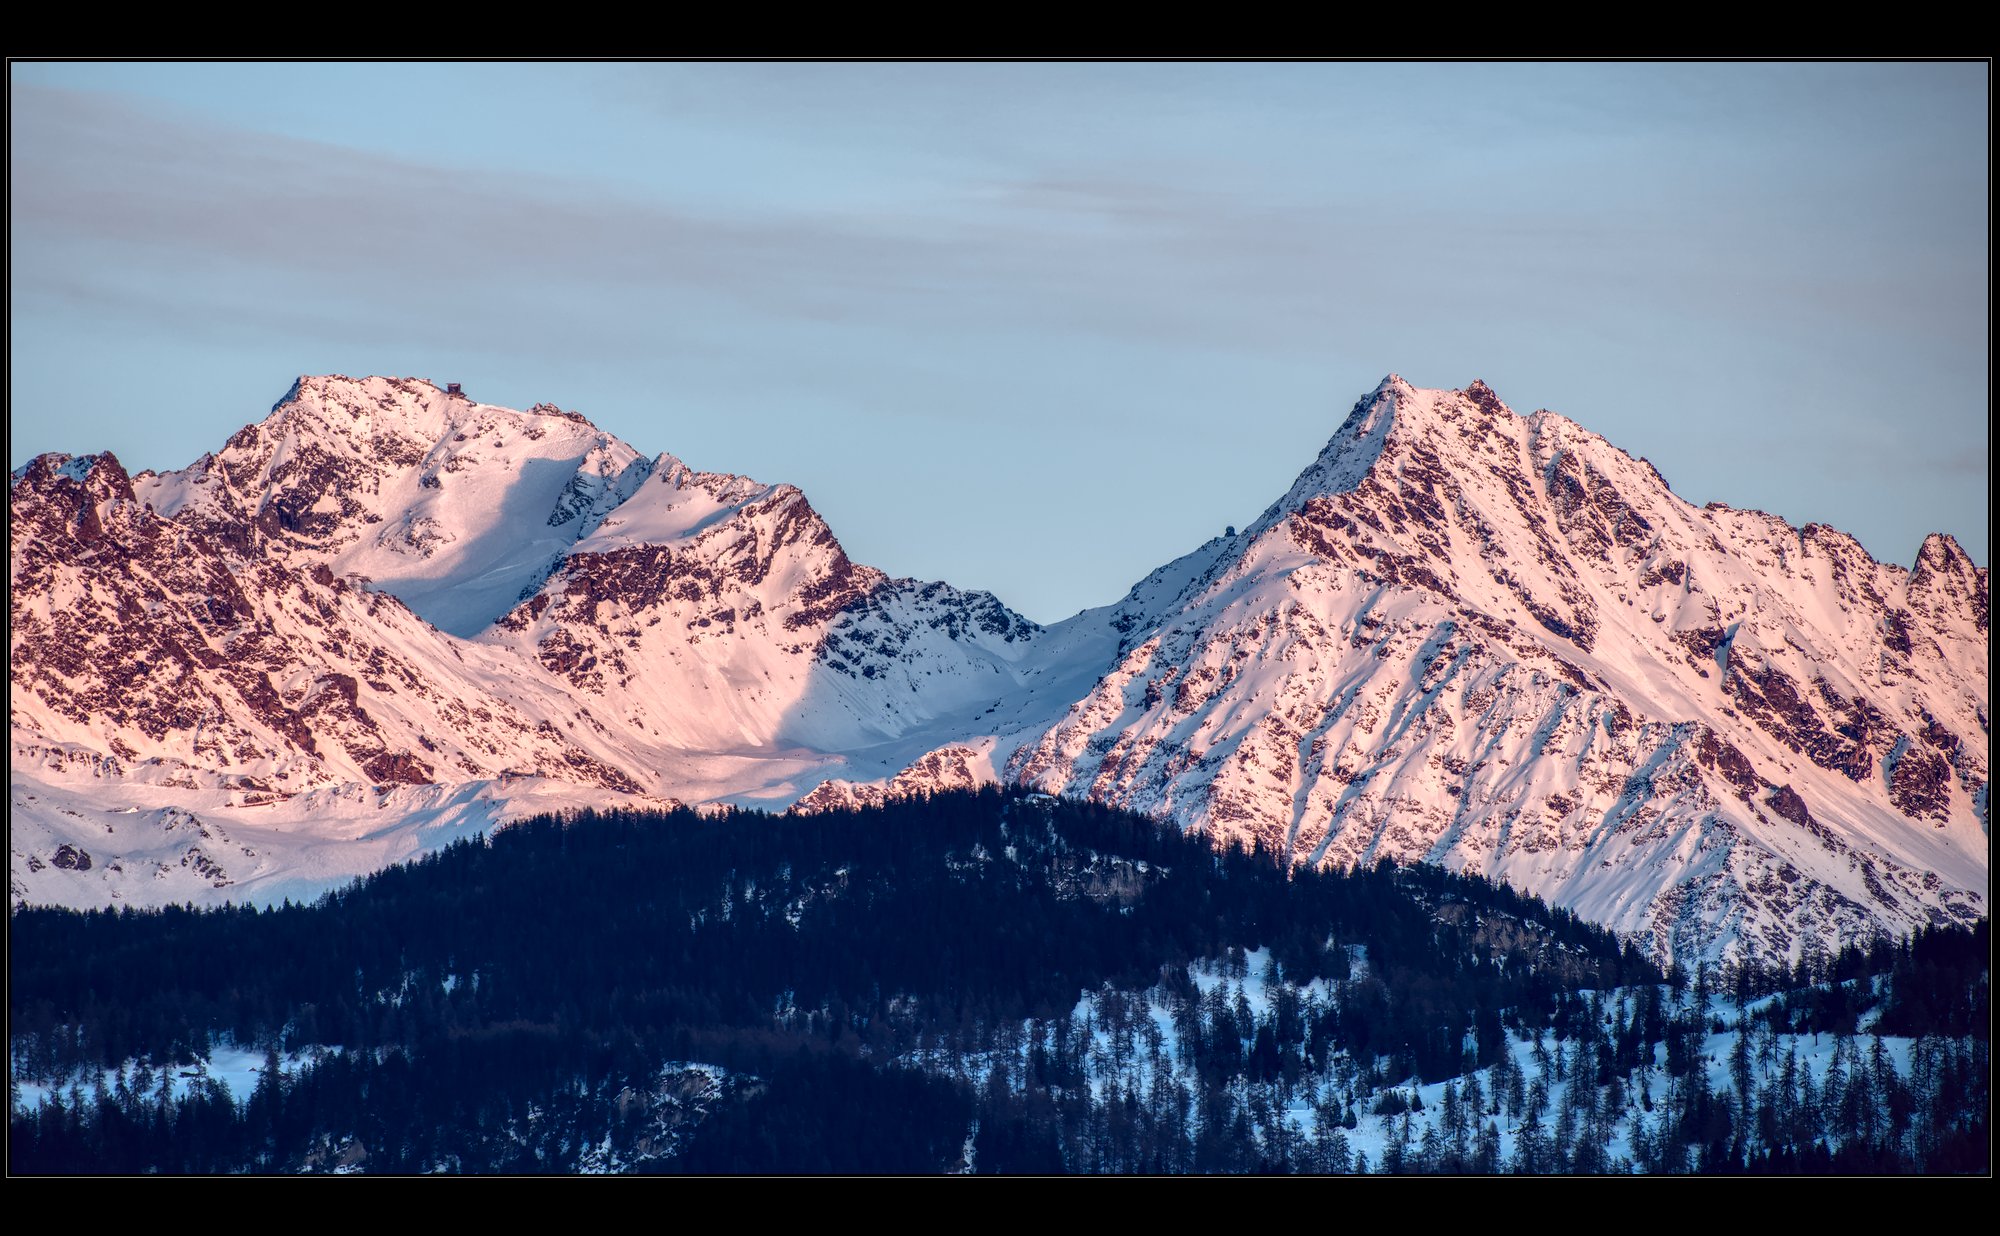
OK, this is not perfect, but the mask could be improved with a bit more effort.
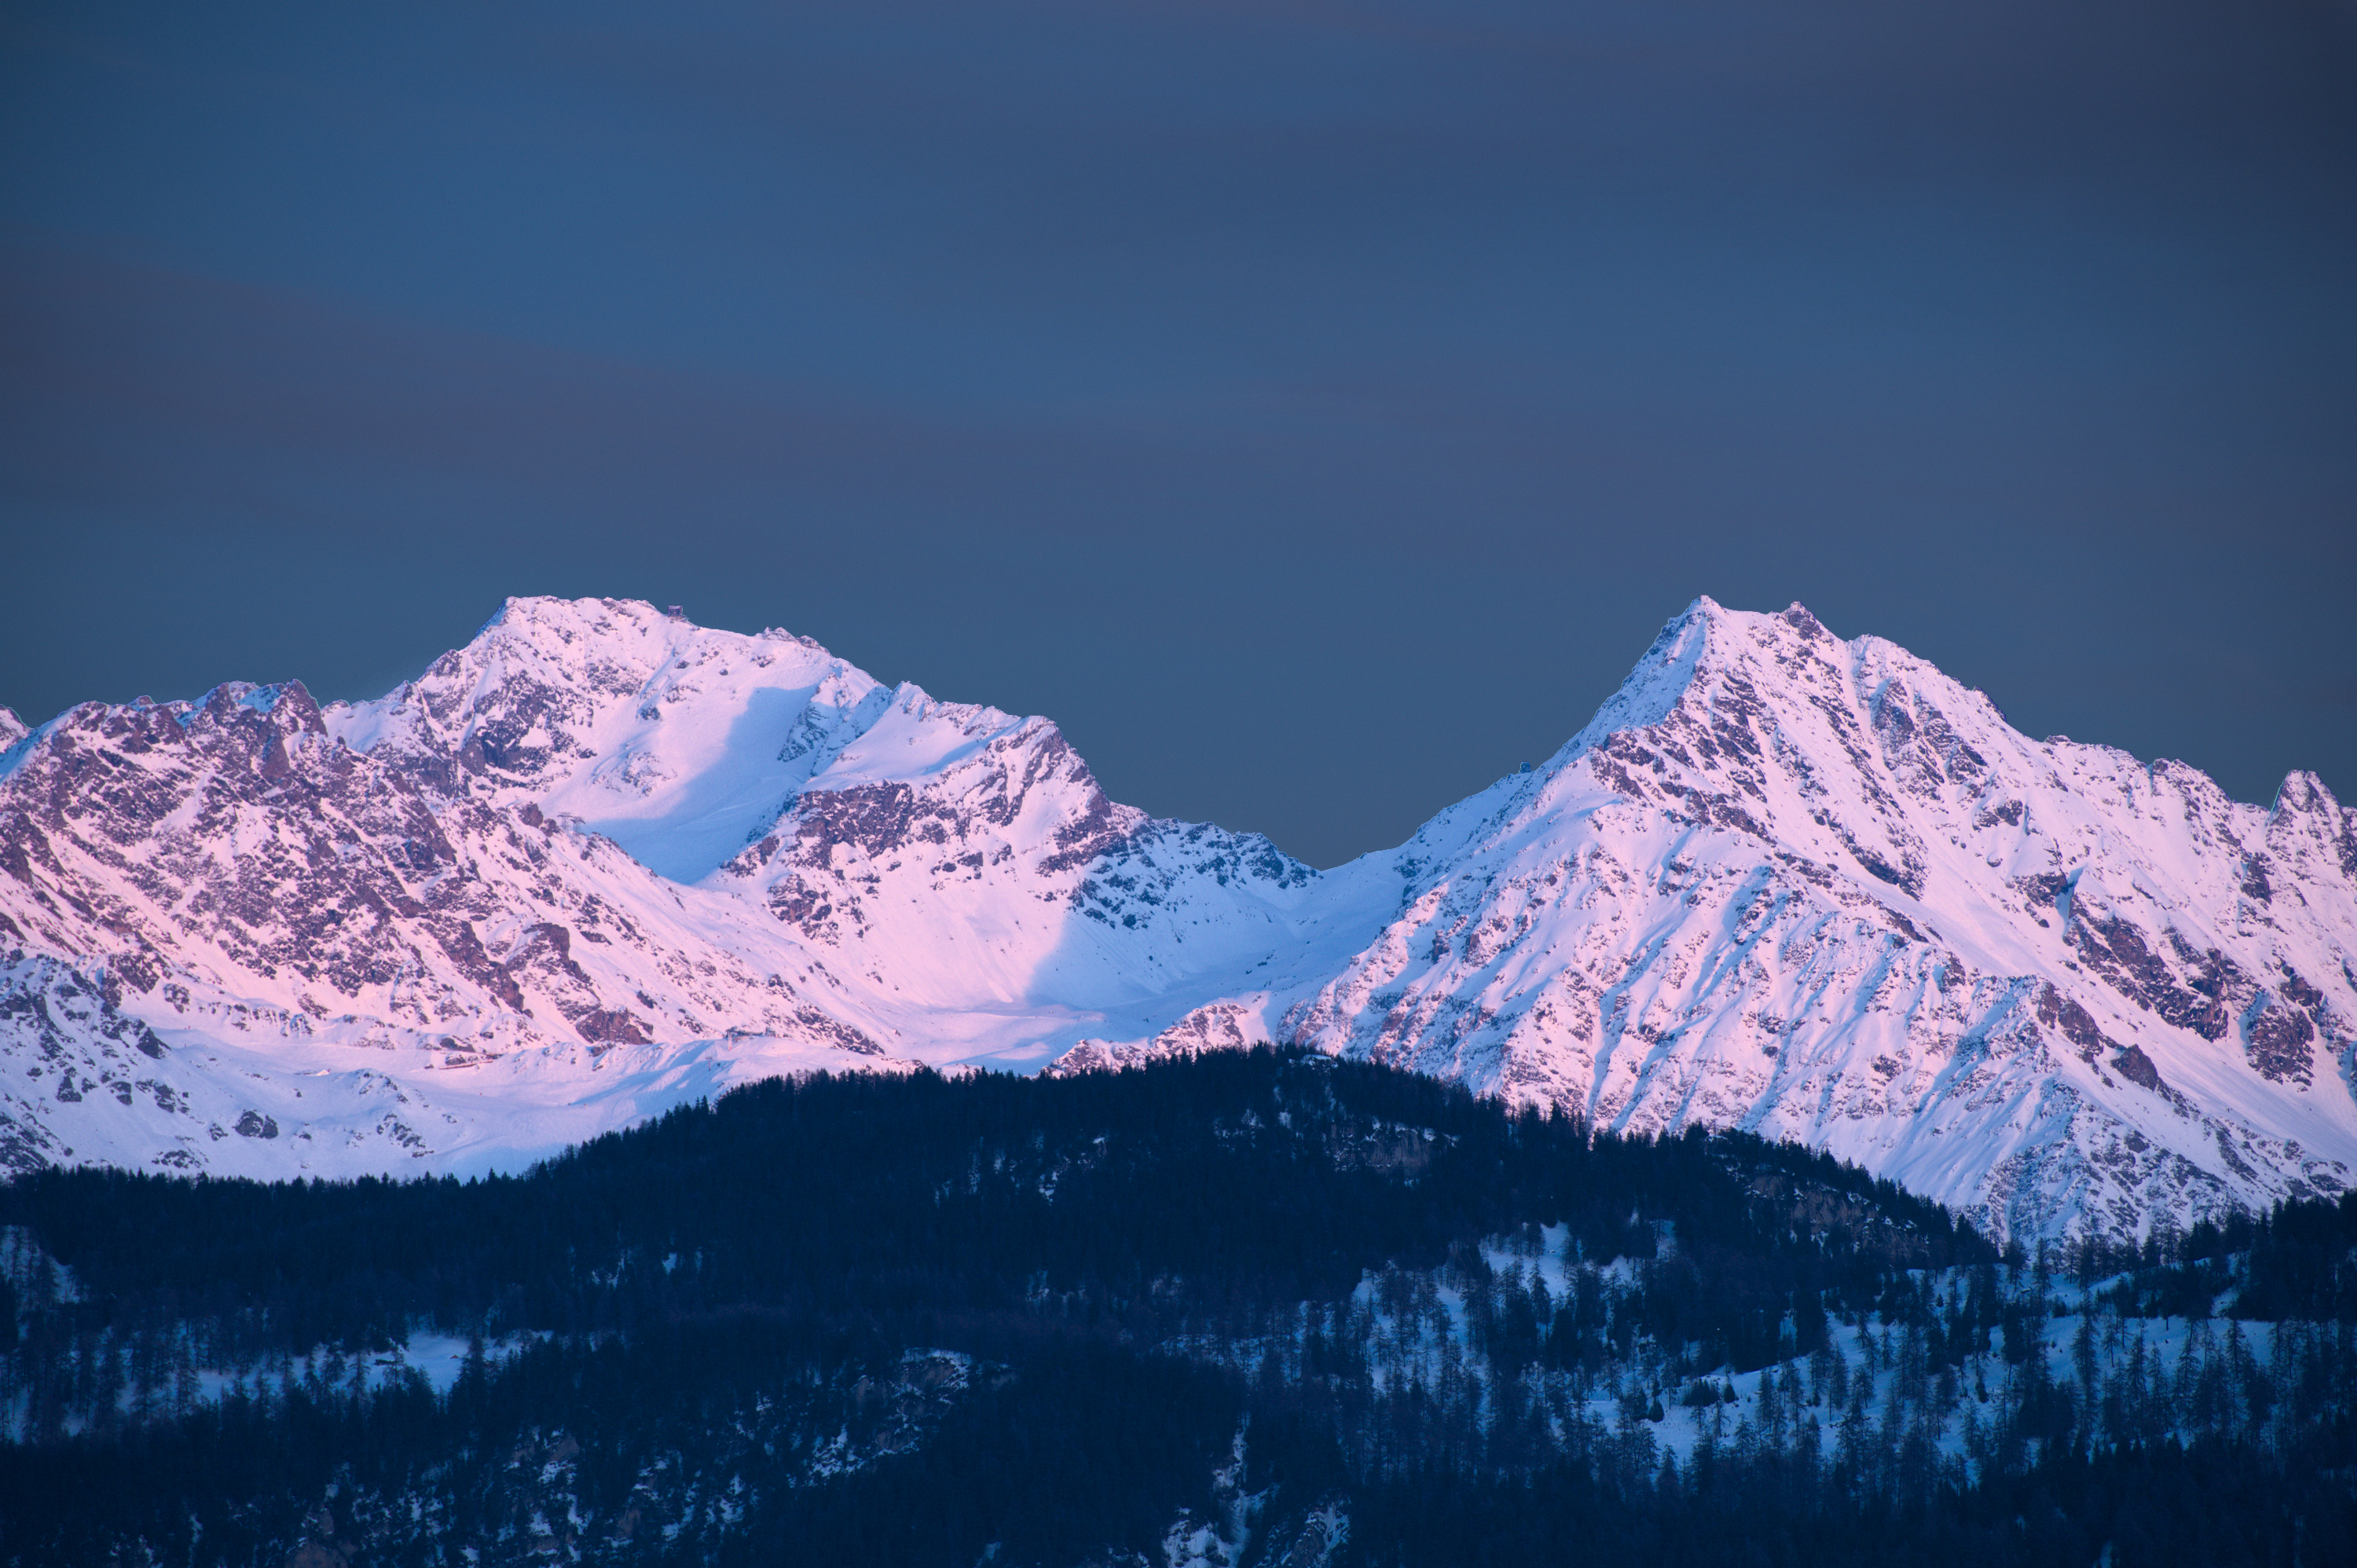
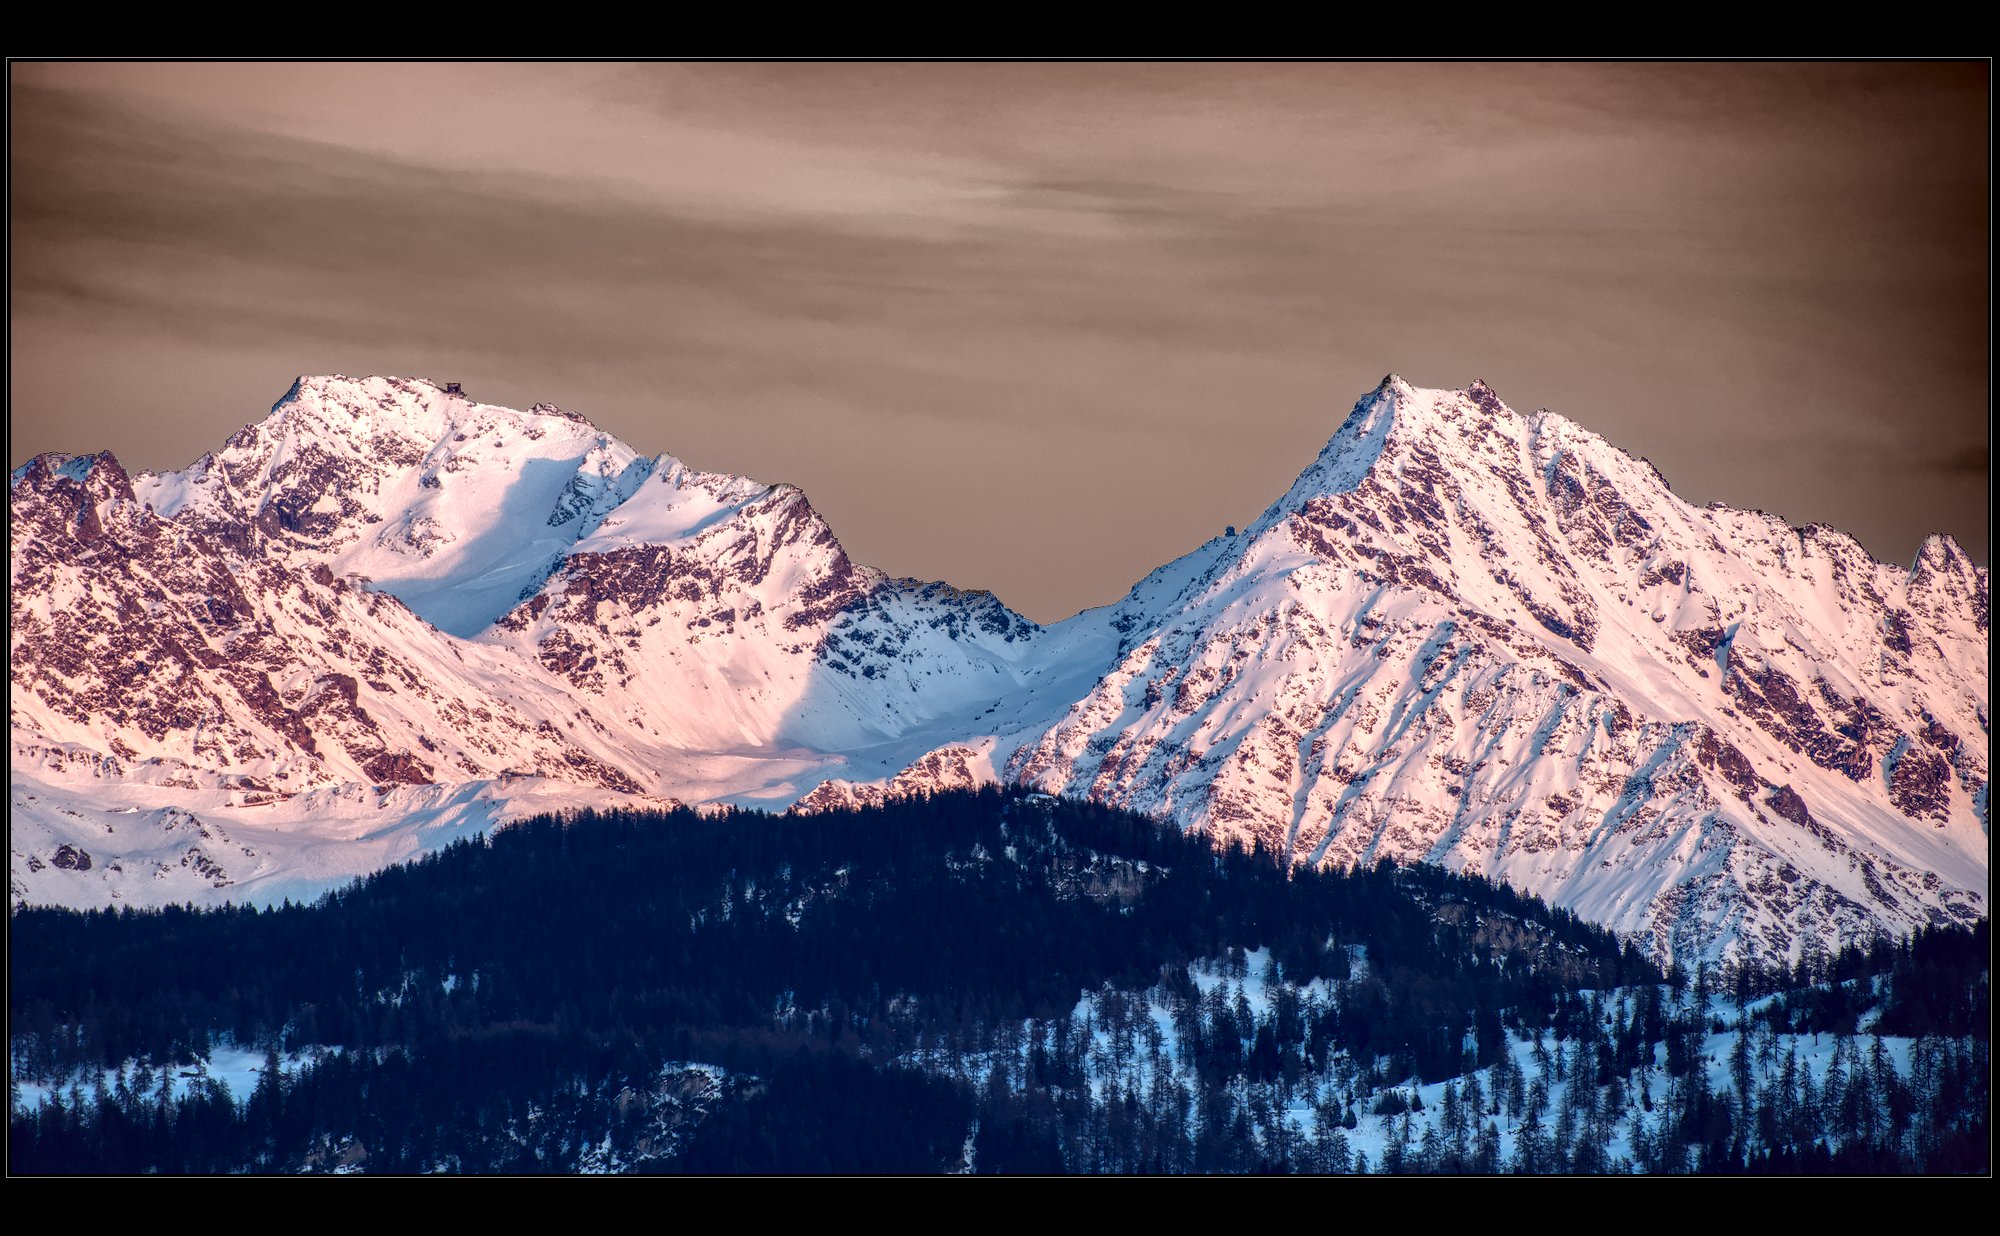
I went for a realistic color tone for the mountains.
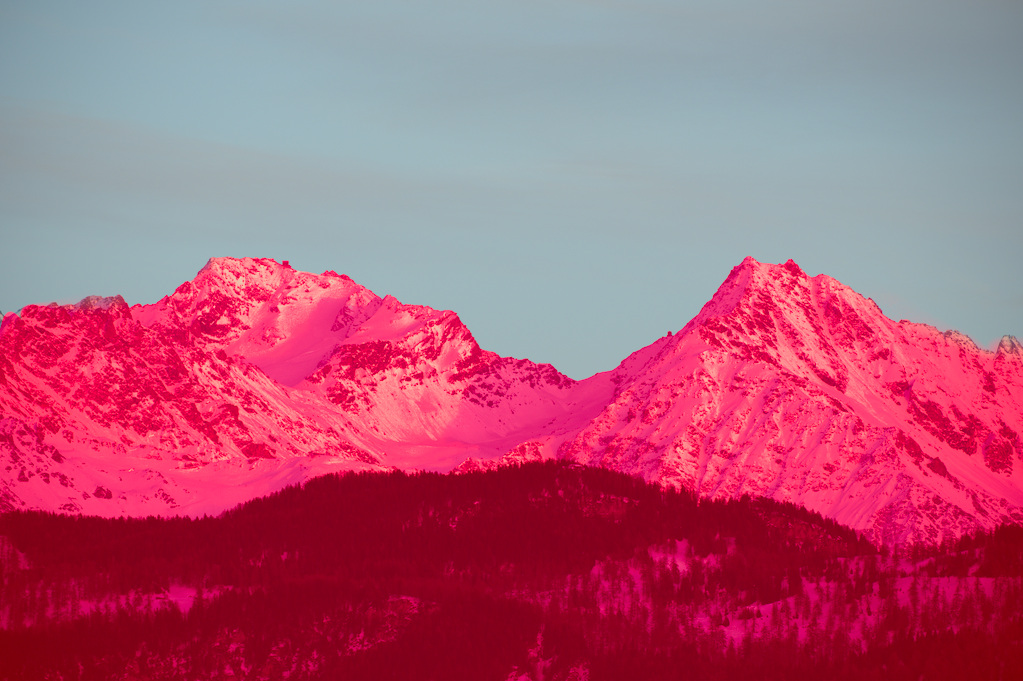
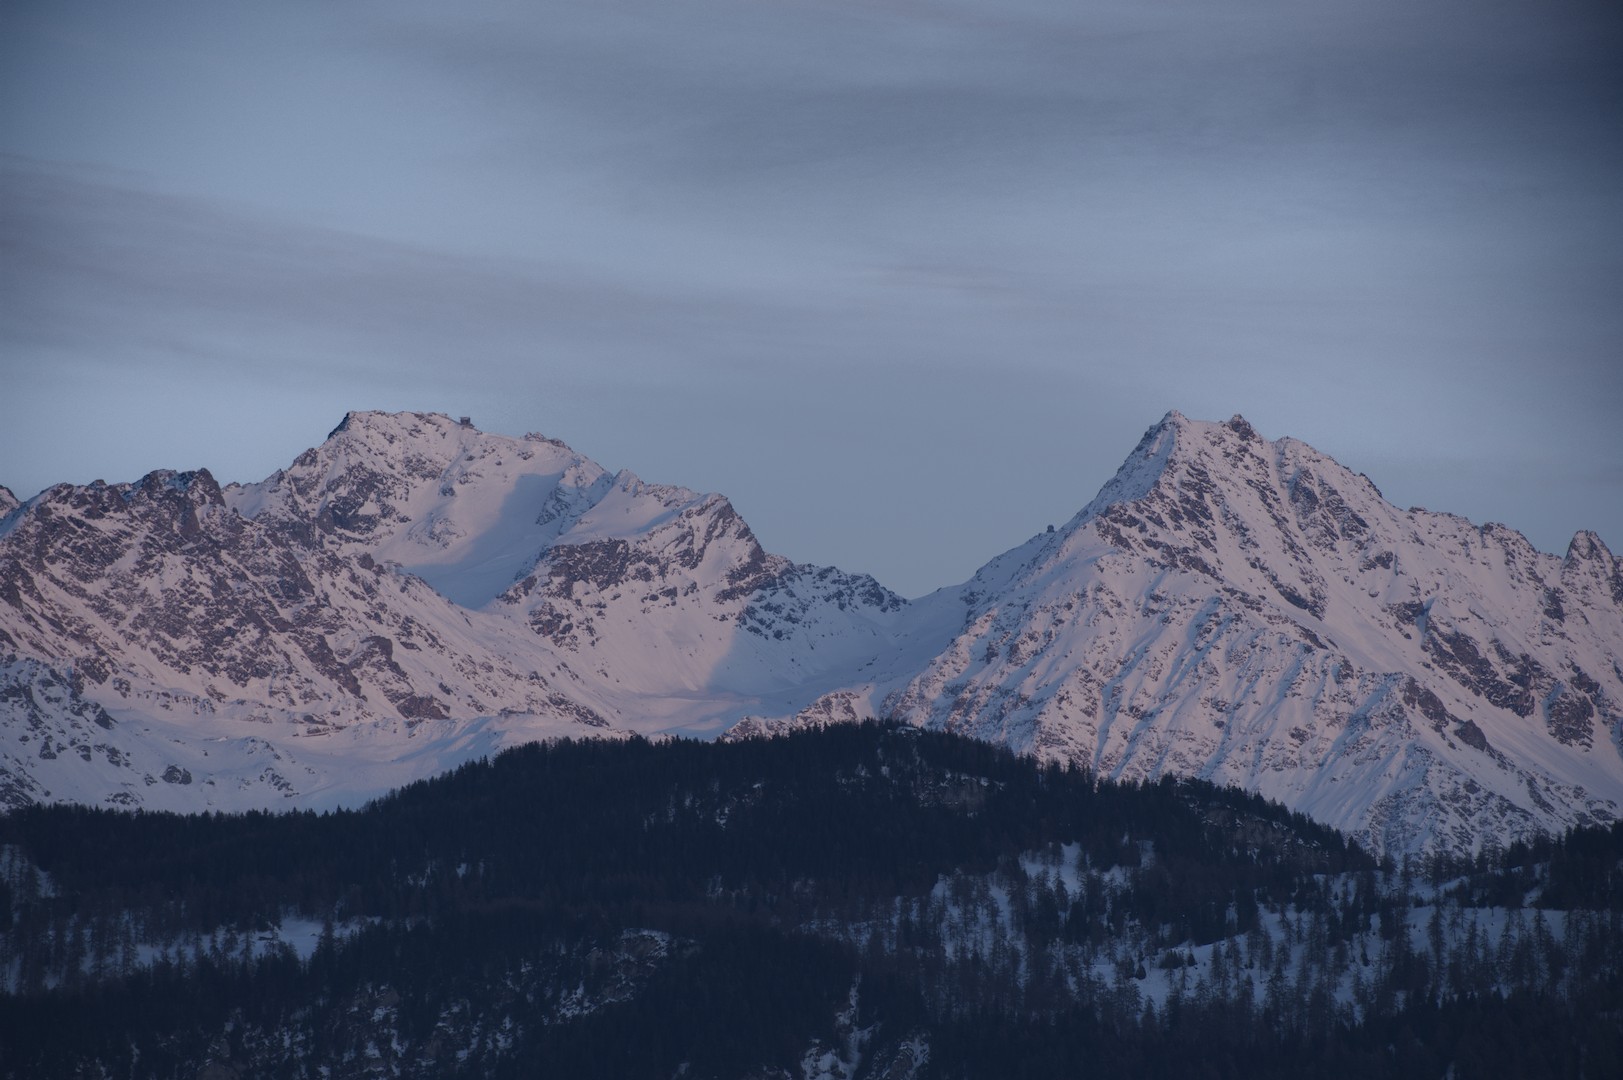
This is a simple drawn & parametric mask in Color balance rgb (2nd instance), with the parametric mask excluding some of the blue range. I didn’t spend enough time on the drawn mask (needed to exclude a portion of the sky).
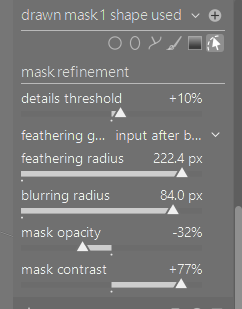
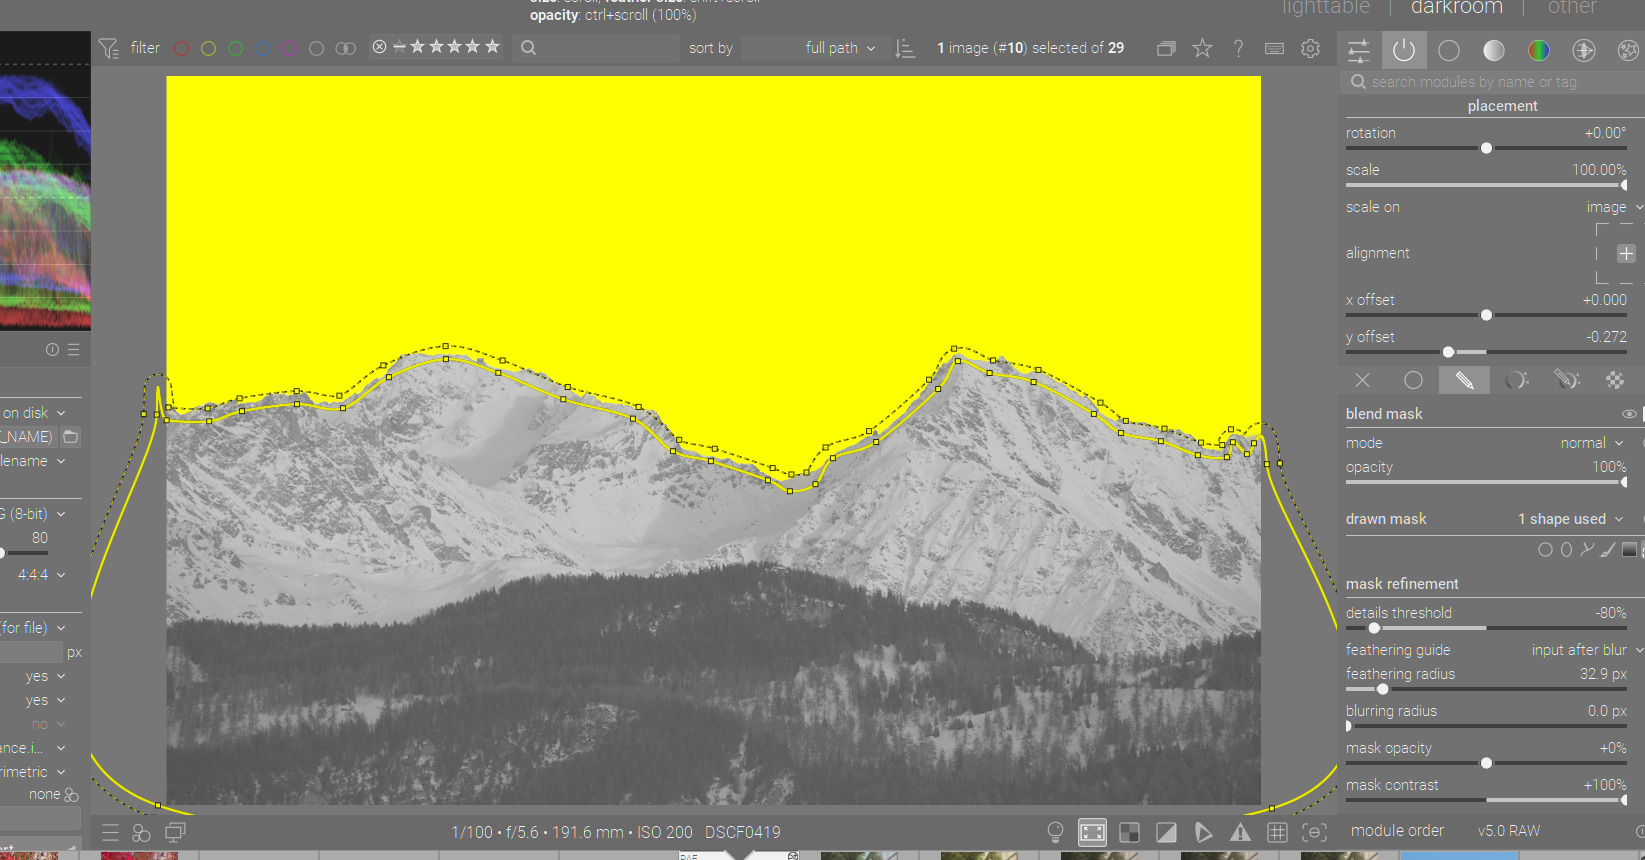
Nothing except an exaggerated local contrast gradient mask; low opacity, high contrast, very high feather and blur. Could probably be refined, but I think it’s one I would reuse a bit further down the line with exposure and the contrast eq.
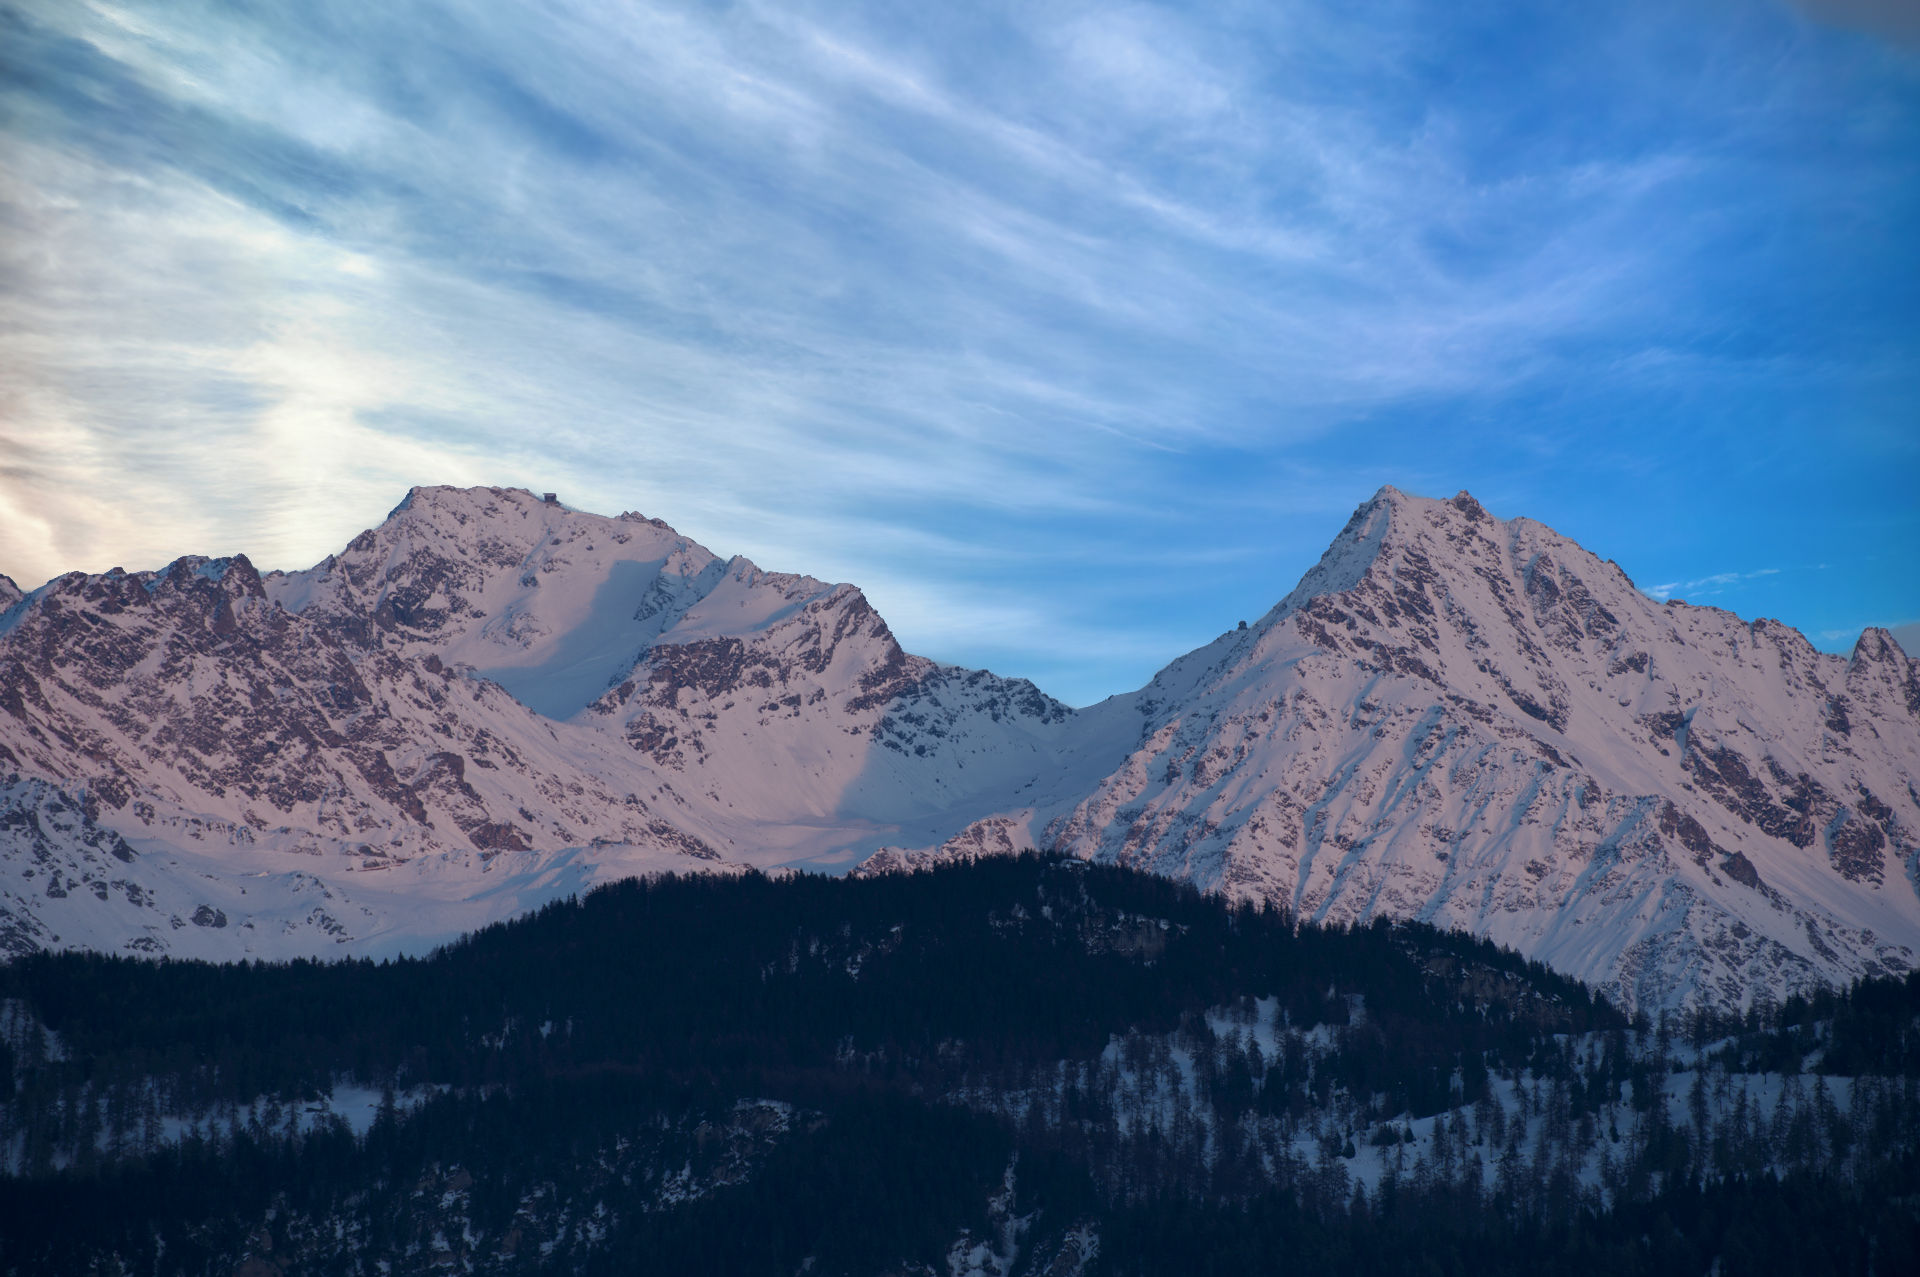
Found the reference sky from a free to share and use image search and blended with original to taste. Not hard in this case since the image sky was easily selected and removed.
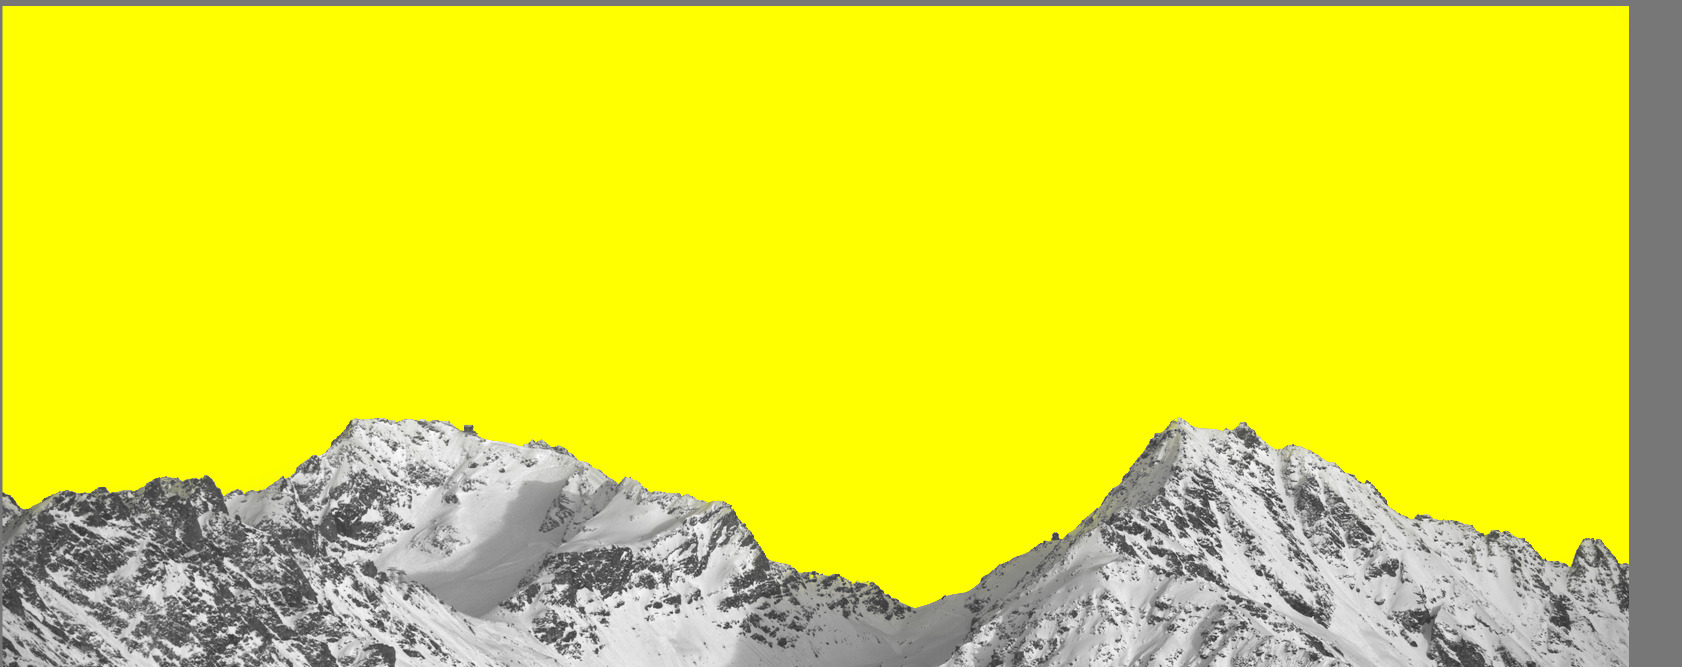
This is a classical use case for external masks created with a suitable tool - in this case, GIMP.
Start with a neutral rendering of the RAW file. Export as a PNG. Open with GIMP. Activate the Fuzzy Select tool. Set the selection mode to Composite and the threshold to 8.0. Click a few times on various parts of the sky. All that remains is to remove holes from the selection, fill it with white and the rest with black, save it, and use it as an external mask.
The question is, what do you want to achieve with masking? I usually rely on a combination of drawn and parametric masks and accept that it is not 100% perfect. But I don’t exchange skies or stuff like that. So usually it is ok to have not a 100% making. If that’s needed, I would prefer to do things in GIMP.
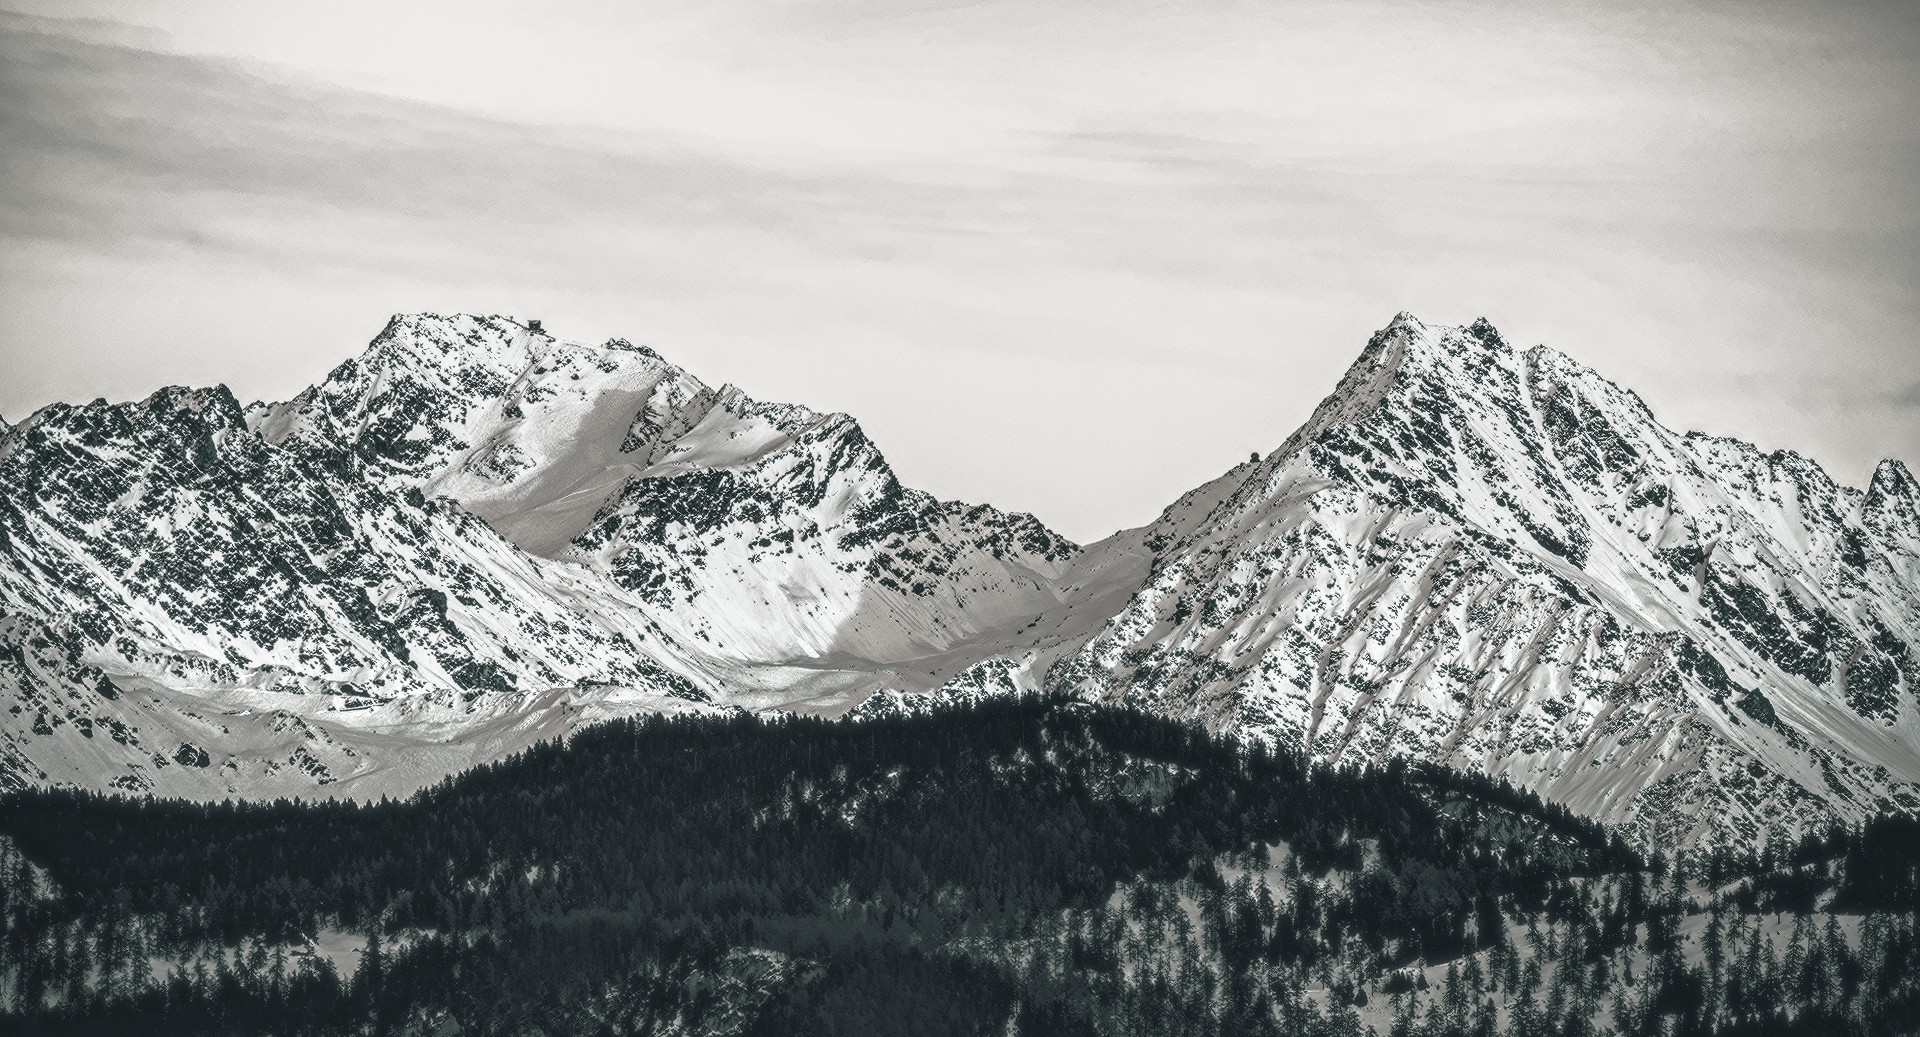
Treating this as a generic Play RAW this time, I went for the ultra-high-contrast look and masked the forest, not the sky. In theory, the sky and the mountain ridge would need separate masks, but in practice, the same look worked for both.
The mask for the forest was created in GIMP using the same technique as demonstrated in my previous comment and then shifted down by several pixels.
Here is the whole workflow in ART:
Tried to add contrast to the sky
Corrected the vignette (partially) so that the naive approach started working
Found, accidentally, that mountains look gorgeous under the same high-contrast treatment, but this destroys the forest
Created (in GIMP) a mask for the forest, used it twice - inverted and non-inverted
Desaturated and darkened the forest to match the overall look


