I think Sigmoid should be easier for a beginner with DT 5.
I have edited thousands of photos with a dt 2-x-version and I was happy with the result most times. So I know a little bit about editing, on the other hand I am very new beginner.
Sigmoid and Filmic are both the equivalent of Basecurve. They are all tone mappers that do fundamentally the same thing, just in slightly different ways.
At the point where he uses Filmic, you can just use Sigmoid, if you prefer.
Please keep in mind, a beginner can make a photo with a few edits a lot better as the original. A pro will still see a lot things what can be done. I am happy for the moment to get the photo a little bit better.
I have thousands of mobile phone jpg photos with plant documentations. The photo shows how the plant changes and that is why the photo was made, not taken to be a “beautiful” photo. If I would like to have an excellent photo I would have used a DSLR. But there are some “nice” photos whcih I want to improve a little bit.
Since the original is jpg from a mobile phone, I don’t expect too much.
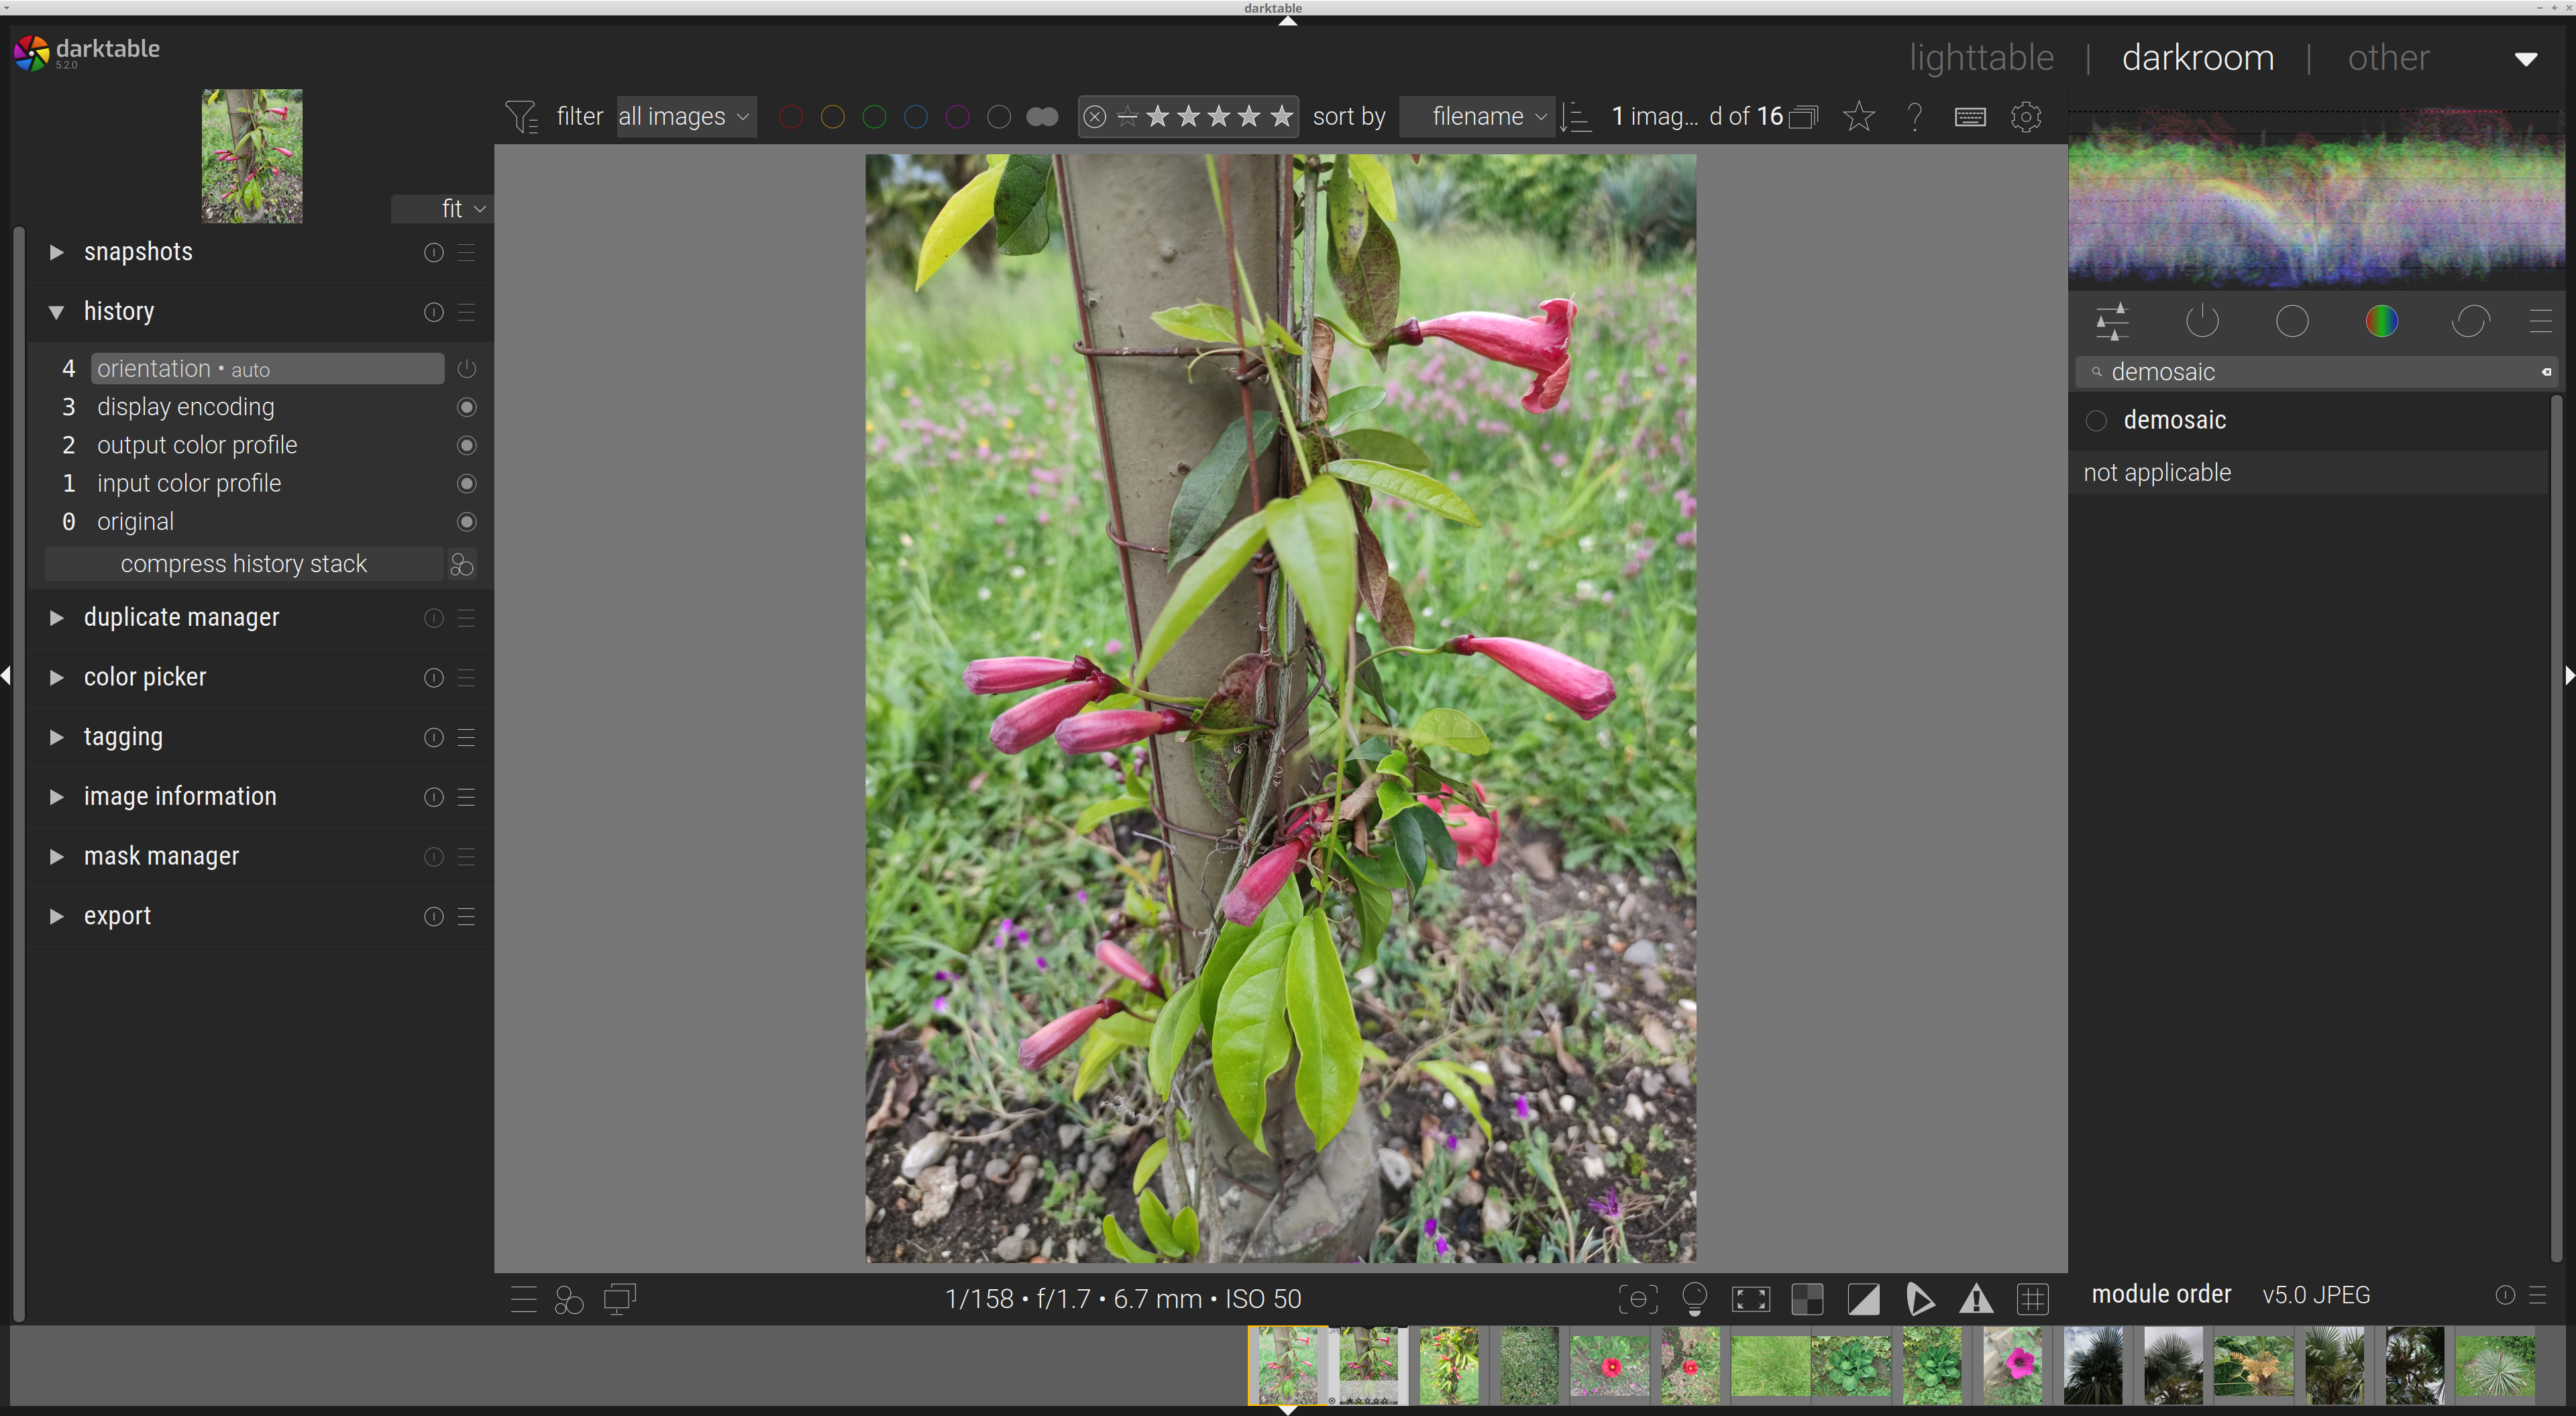
In that case, probably don’t use Sigmoid or Filmic. They are intended for processing raw files, not JPEGs. Basecurve is probably not ideal either. For basic color and contrast adjustments, Color Balance RGB should be your main tool.
Keep in mind that almost all tutorials assume that you’re editing raw files, which in some ways is very different to editing JPEGs.
If you use one of the standard workflows, darktable should not activate filmic/sigmoid/basecurve on a jpeg image, only on raw images.
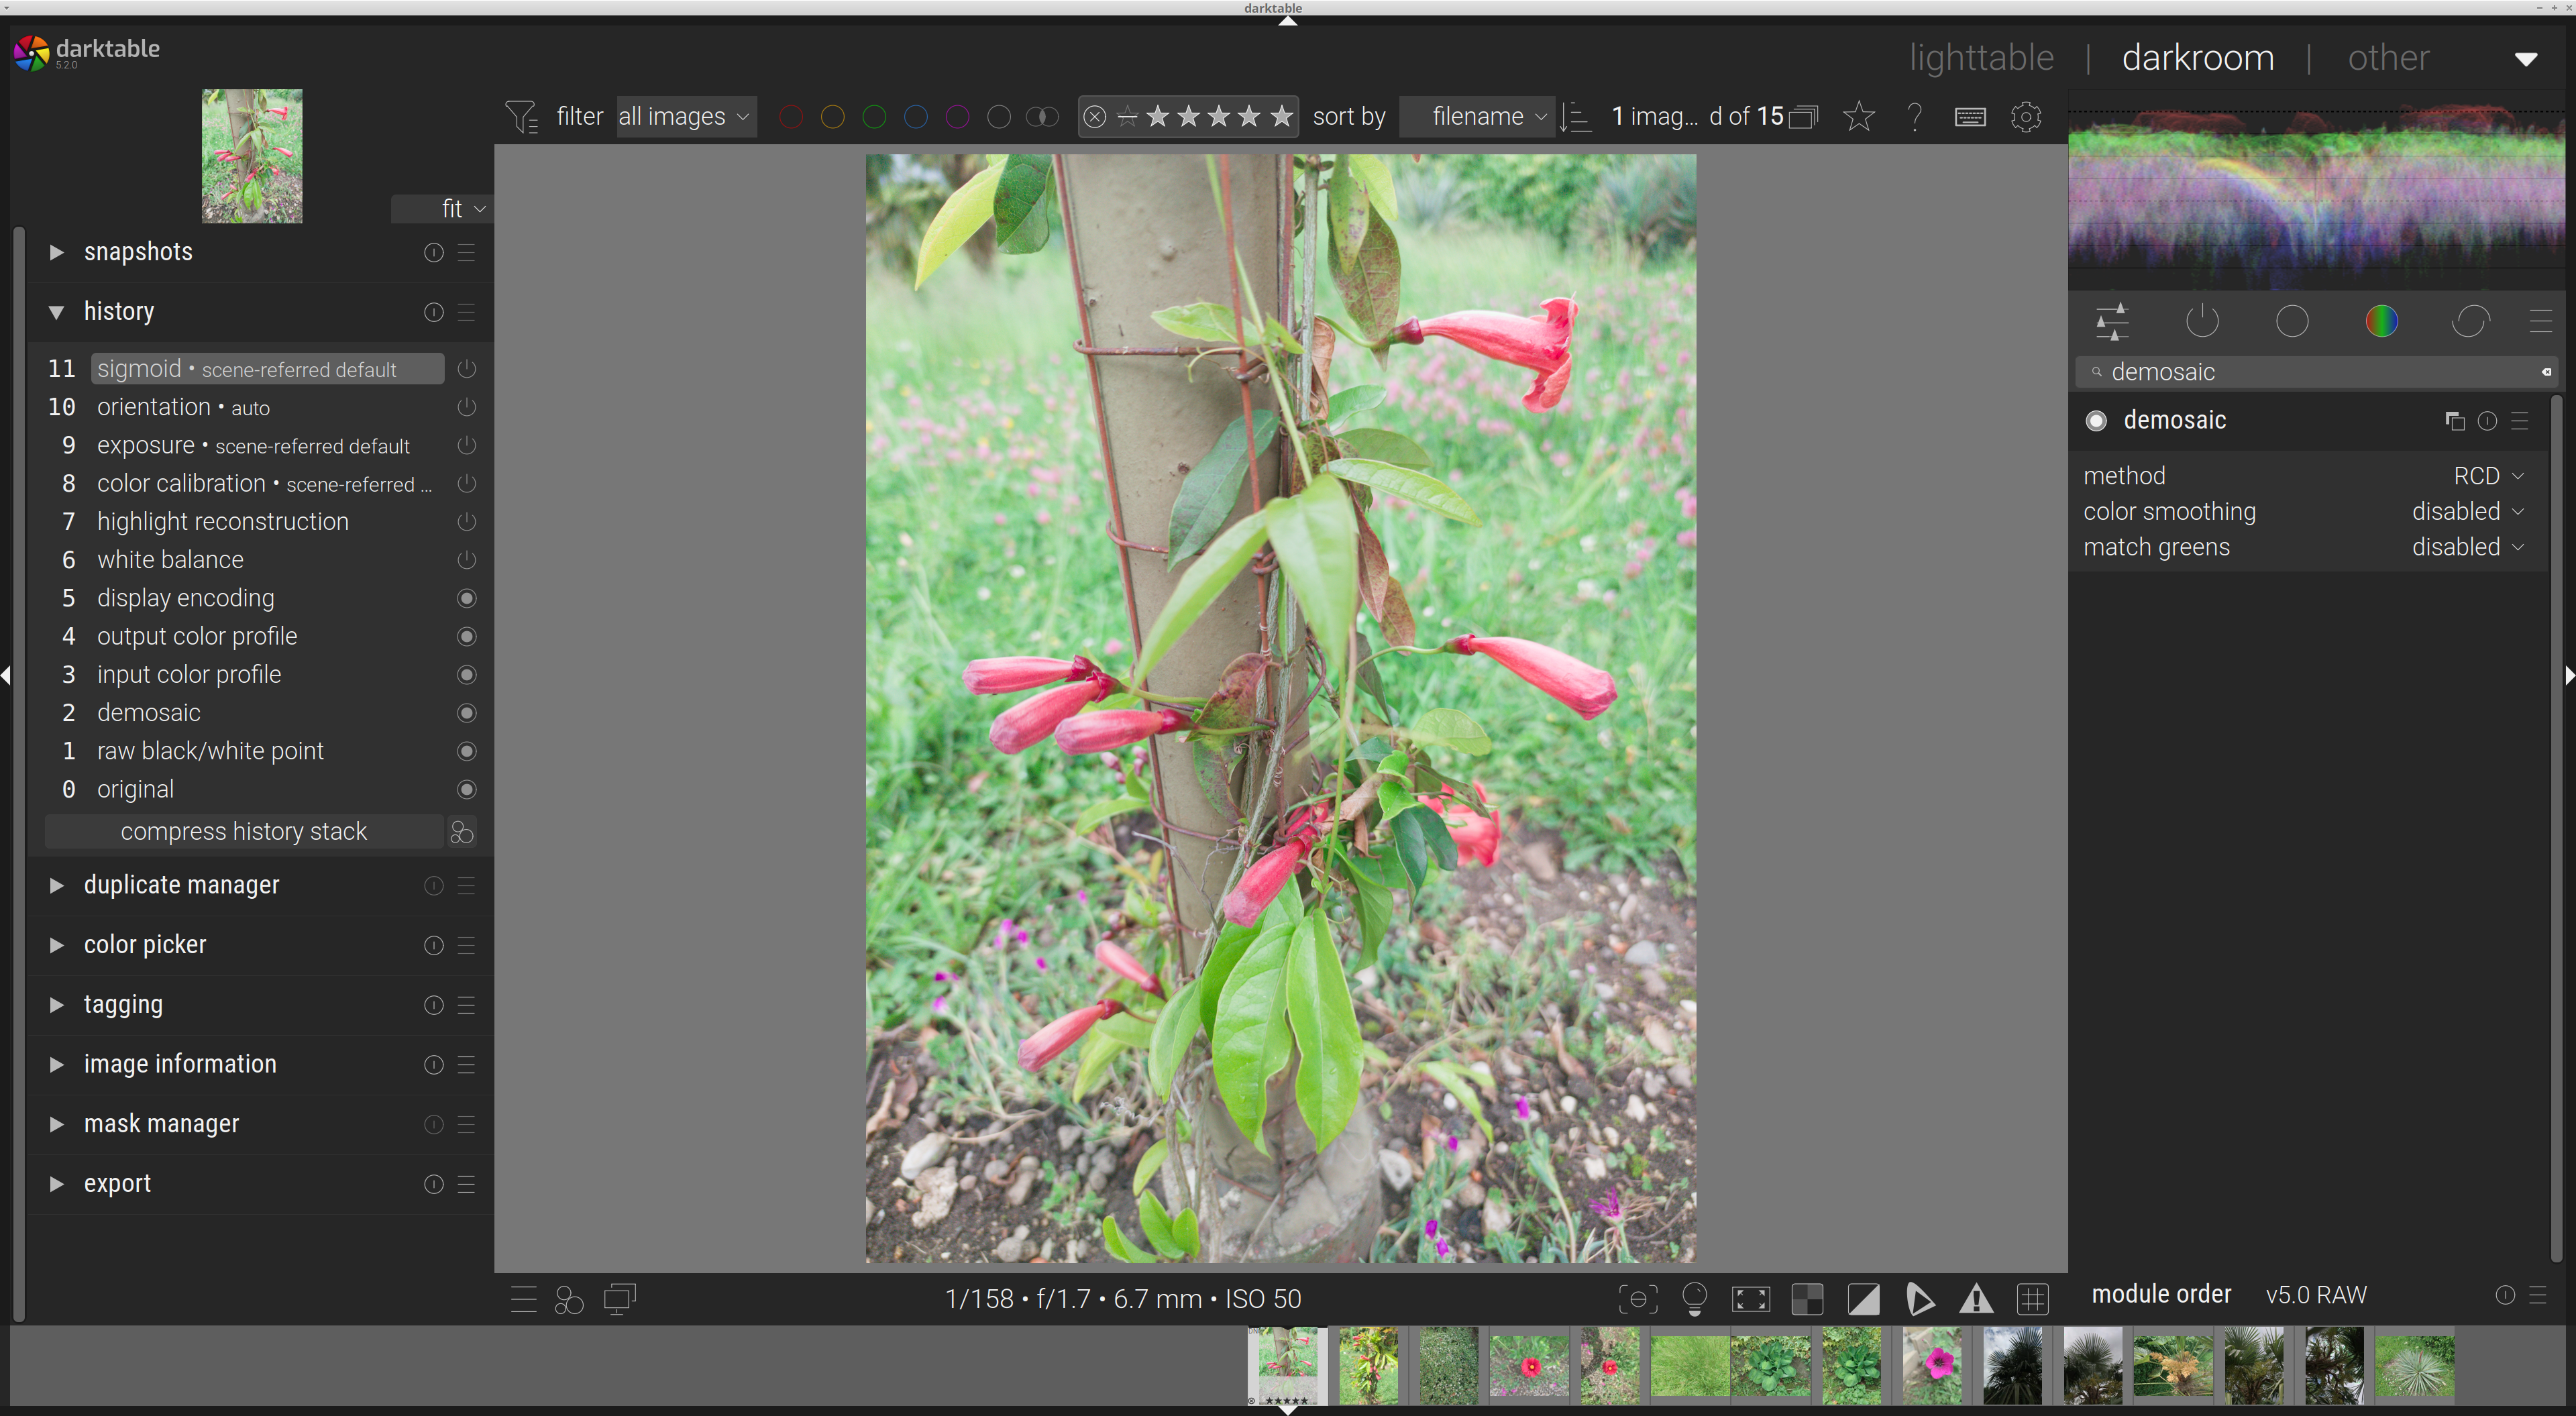
If your phone dngs are actually raw images, you’ll probably want to use sigmoid. But then you also will have “demosaic” activated. If “demosaic” is not automatically activated, there’s a good chance your image is not a raw image…
If you want, at dt_samples – Google Диск you will find some examples. There is always a dng file and a jpg file, taken at the same time. This is an option of Androids Proshot.
No need to download all, you have an online preview. Click on the folder name. Probably you see a file listing. On the right upper side there is a symbol for image preview.
These are examples which I want to optimize. It should get better, than the jpg of the camera, which is available for comparison.
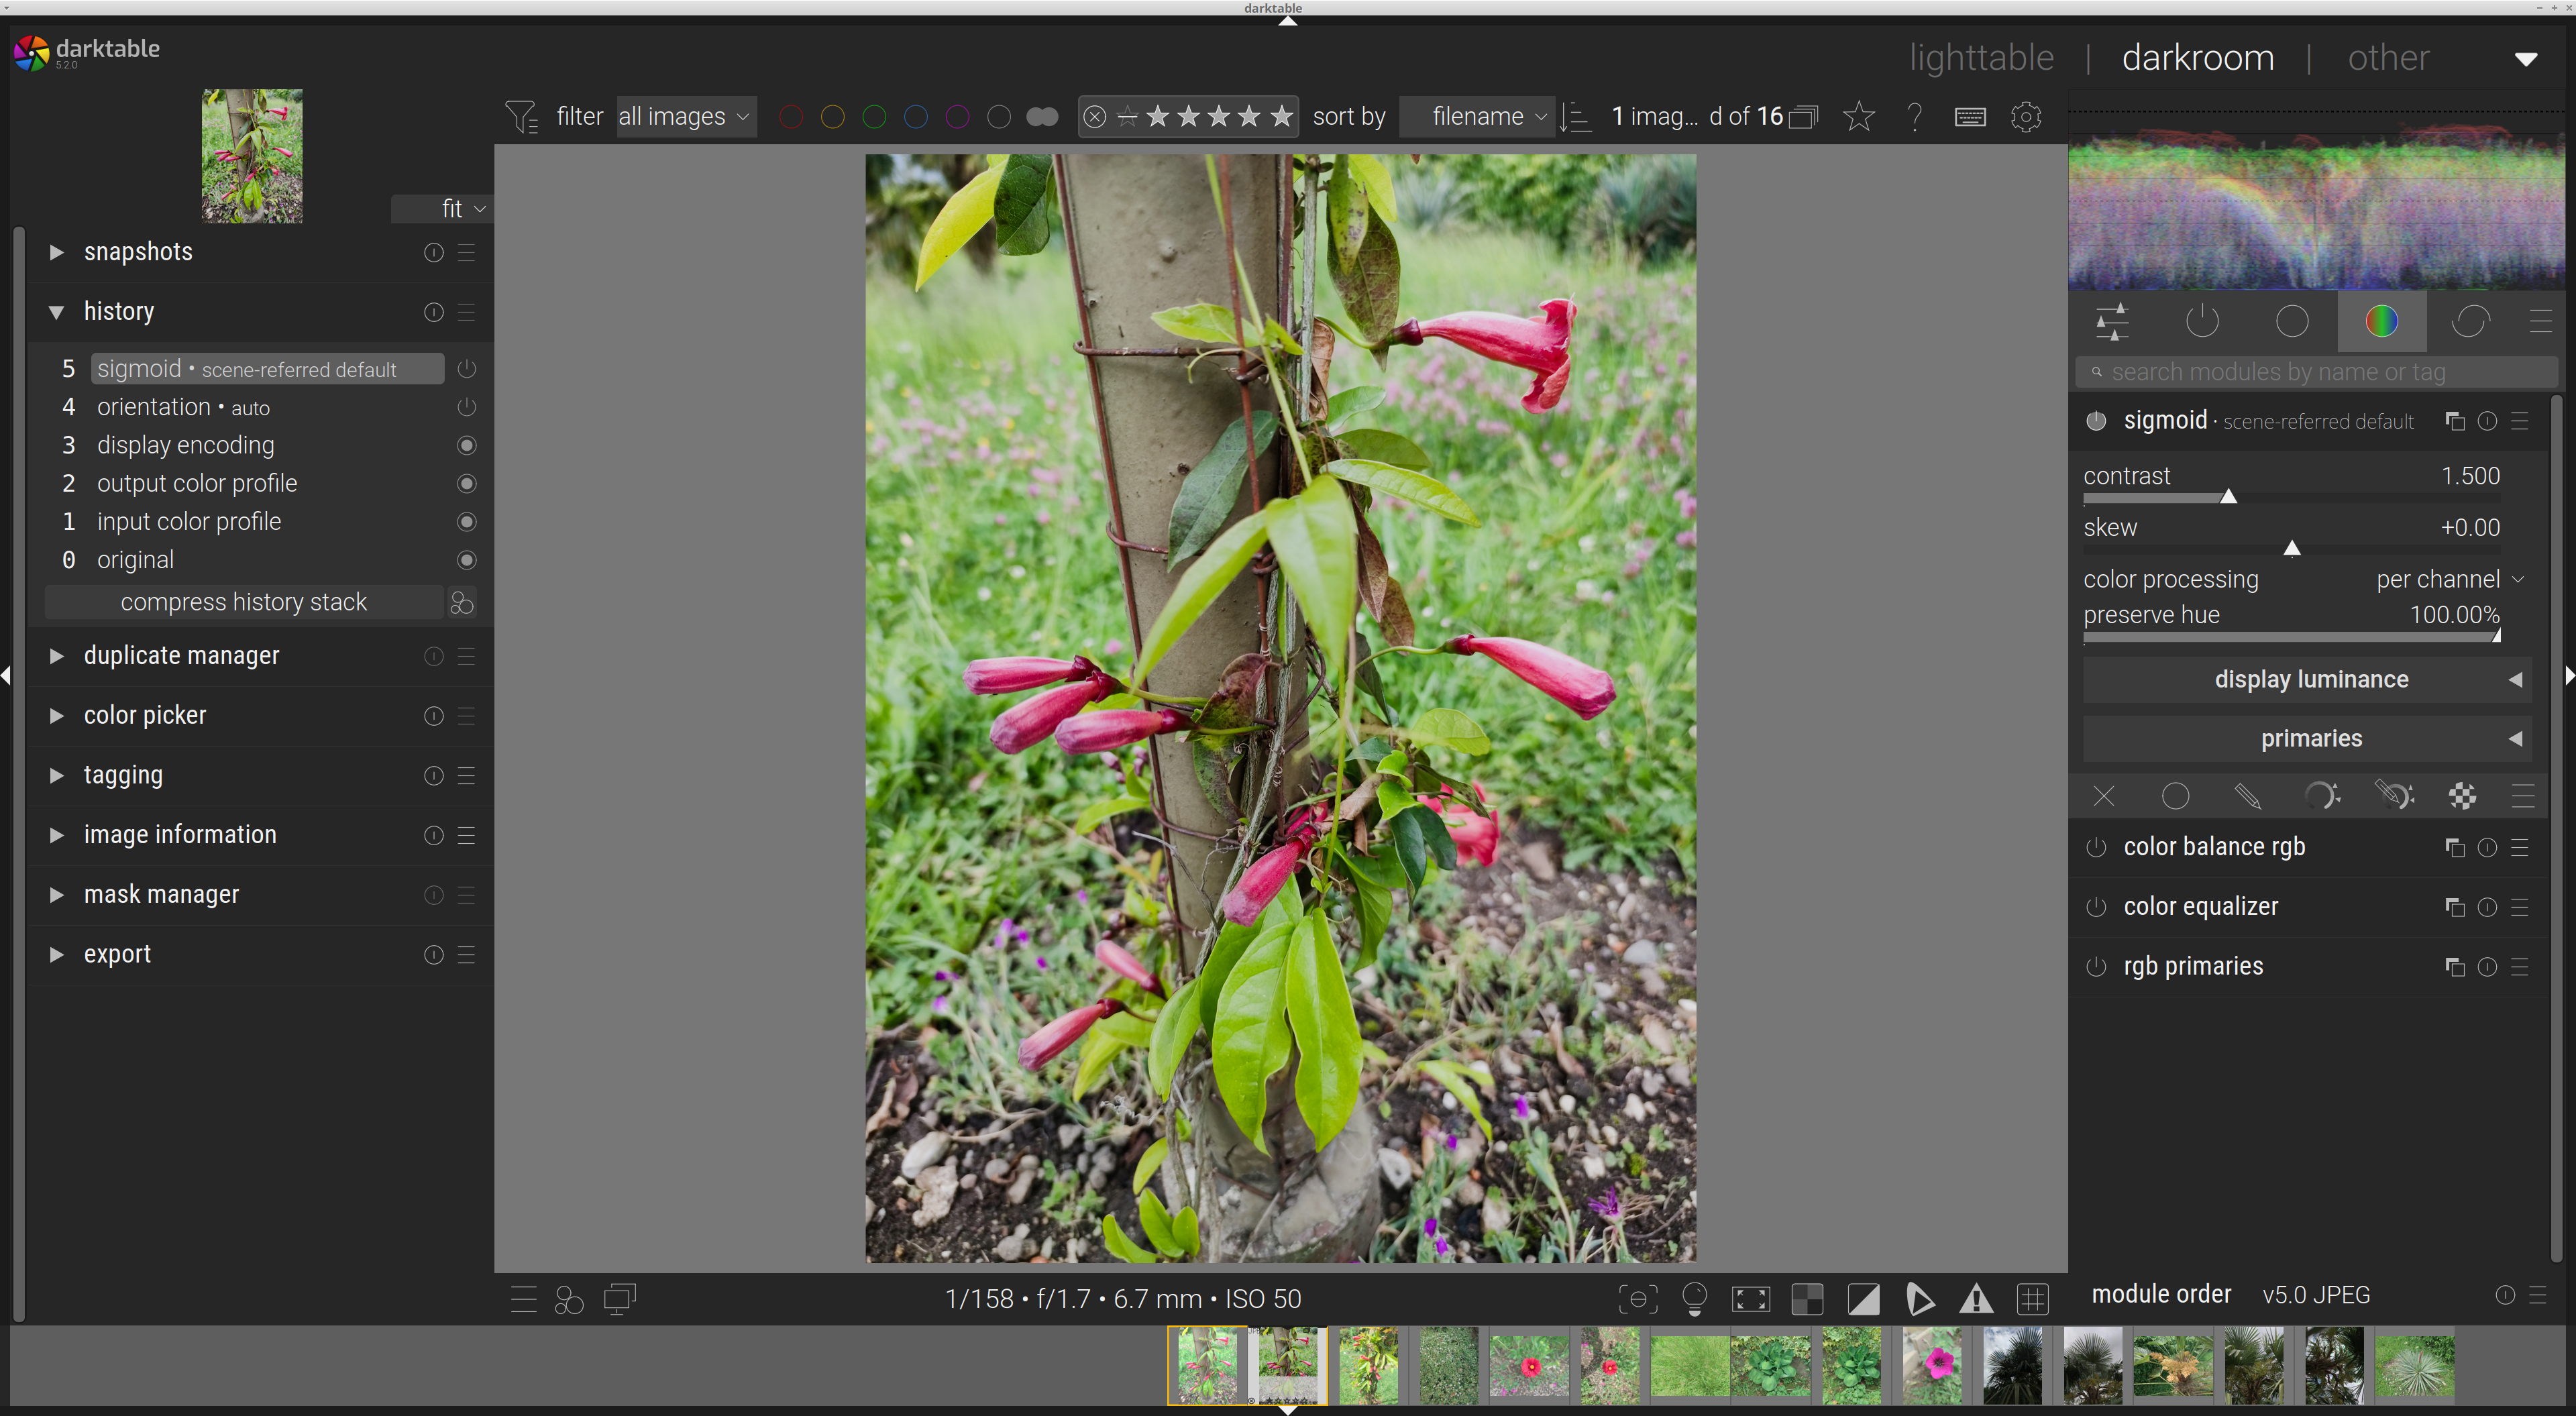
Tried the screenshot jpg with sigmoid. I like what sigmoid does with the jpg, not perfect, but better than the original.
Interesting I like more what sigmoid does with the jpg than with the dng. Let’s say something in the middle of both would be fine.
Note the jpg-photo is already optimized by the phone, so both files look different.
I am playing to learn dt 5. Normally it is useless to take dng with a mobile phone. 50MB for a mobile-phone raw-file doesn’t make sense normally. This is to learn only, if it makes sense to take shots in an emergency case as dng with a phone.
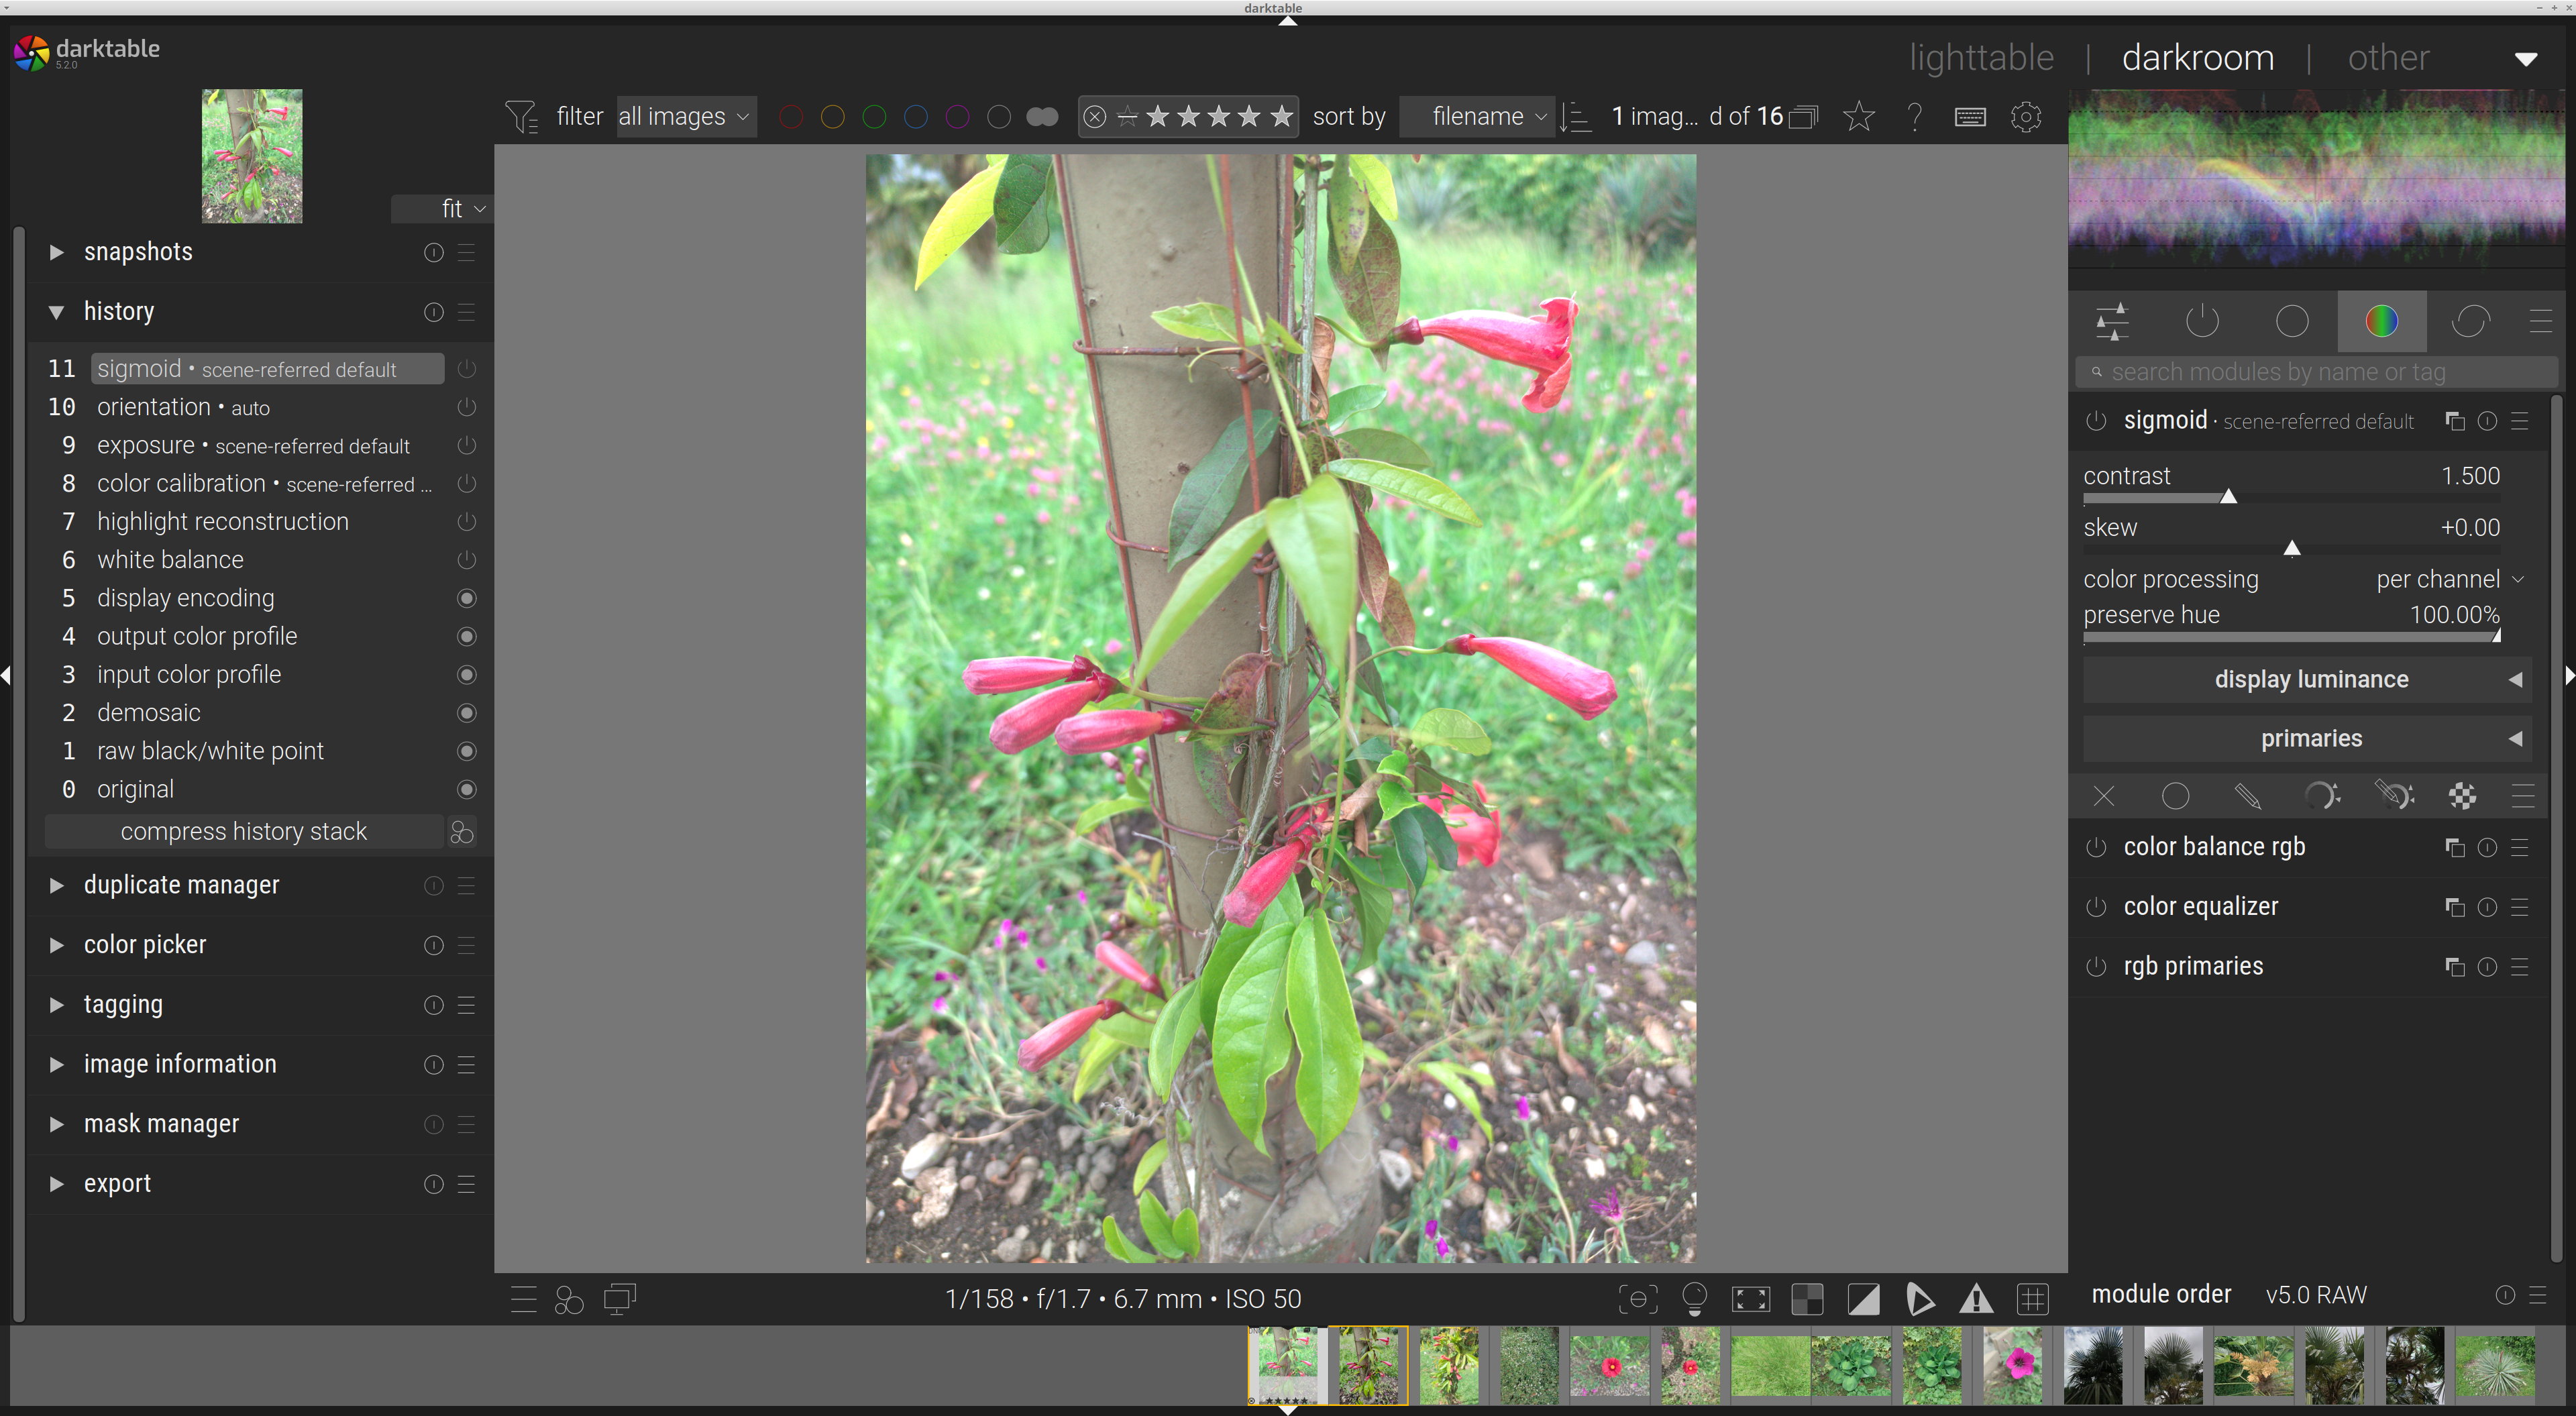
Sigmoid is a tonemapper and while it will impart changes on a jpg, the jpg is an 8bit file that is already tonemapped… in your first image if you look at the wave form you need to drop the black level substantially and tweak the skew and slope in sigmoid and then see where you are. From there you might want to do local color or contrast edits and then finish with some denoise and sharpening again if needed… all of that is done in camera on your jpg…
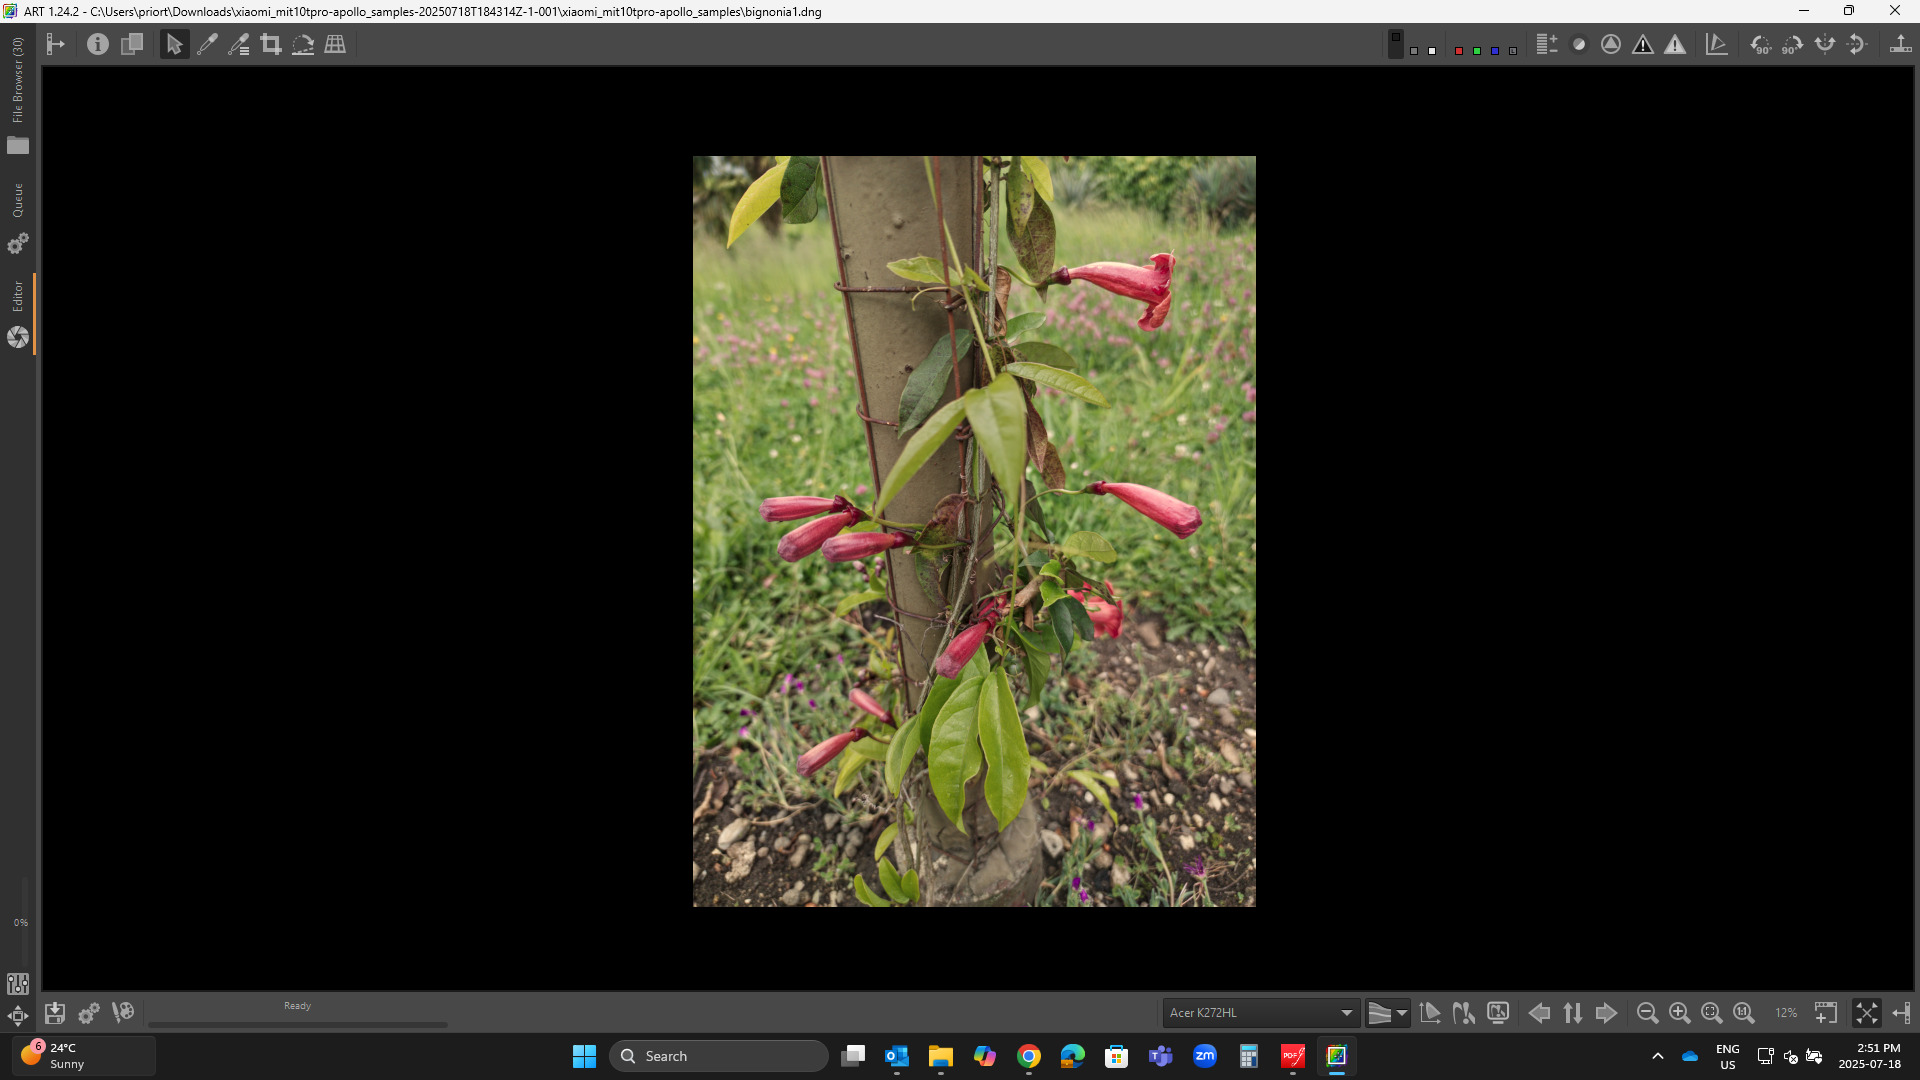
Anyway I am not on a PC with DT at the moment …but in ART which has ported the Sigmoid module and I do have access to that…here is your DNG with just default sigmoid in ART
I did it in ART…I would have to go back and check if anything else was enabled…I think capture sharpening and maybe local contrast might have been added and its a different editor/pipeline but if I had DT it would be easy to get the same result…just adding exposure in say multiply blend mode would likely make it look good…
If you look at the waveform its a side effect of dropping the black point…go into rgb color balance and drop the global luminance in the 4 way tab to get a nice black…you will see a big improvement out of the gate…
At the moment I am not so interested how I get an optimal result by tweaking the parameters for a special file.
I want to know which modules / options are recommended for my example files.
At the end jpg file editing from the phone is more important. If I want a good photo I am using my DSLR.
To make it clear, I want to spend only a few seconds when editing phone photos. With DSLR raw DNG editing takes as long as it takes, could be 15min. that I am playing, normally a photo is edited within 1 minute.
Well you have a high volume and no one size fits all is going to work so I think the best approach is edit one image to your satisfaction using it as a sort of key frame and then copy this to all similar images…move to the next key frame image edit and repeat. Phone images are highly processed already but whatever you do will vary with different sets of images so you need some flexibity