Hello again fellow photographers. In my effort to learn my camera I used my tripod in the wrong way. I love my camera - generally speaking - but it has a small crop sensor. So night photos are not it’s strongest point if you know what I mean… I went in a square with my tripod and my intention was to raise the exposure times more than I could handheld so that I “light up” the image keeping the ISO value at base. Big mistake as I learned the hard way… I introduced motion blur. My main concern is not so much people faces. Is the people passing by. Is there any way either in RawTherapee or in GIMP to make them “disappear”
DSCN4622.NRW (25.2 MB)
DSCN4624.NRW (25.2 MB)
from my composition in an elegant manner? I know that sometimes this effect is considered artistic. But I want to keep the general lightness of the image without them in the way. You know. Something like the so advertise magic eraser of the new Google Pixel 6.
Hi @JonnyBaz ,
Yes, there are ways — cannot remember whether it has a special name… Here is one description:
and here are more info to be found: photo gimp median remove people at DuckDuckGo
Have fun!
Claes in Lund, Sweden
First thing that comes to mind is: Hugin
It is advertised as a panorama stitcher, but it can also do a very good job aligning and averaging sets of images (a bracketing series).
One of its features, and of interest to you, is the option to partially/completely mask parts of one (or multiple) images. This would make it possible to remove “ghosts” and/or complete objects.
You do run into the same possible problem that Claes’ idea runs into: This works best with at least 3 images, more would be better. If you only have 2 images the program used might not have enough data to resolve the problem.
Another option might be to use ImageMagick (using convert with the -evaluate-sequence option). This also runs into the more-input-is-better issue, though.
PS: I changed this to Processing to give this topic a better chance of getting answered. RawTherapee cannot do this on its own.
Just remembered another phrase to search for
median stack gimp
/Claes
@Claes , @Jade_NL thank you both for your - right to the point - observations! The heal plug in maybe is more appropriate in my case. I have four images - to be precise - that I took from the same steady position with the tripod and the same angle. But they have been taken in manual mode with maybe half a minute difference one to another. So there are not “exactly” the same. Some people have been move a little bit to the right,a little bit to the left… You know what I mean. So I’m afraid that their slight movement perhaps introduce more motion blur. I don’t know if I’m right. There is a burst mode in my camera but that will force me to work with jpeg. Ideally I would prefer to work with RAW so that maybe I produce a large printable result as well. But if there isn’t something for RAW I will stick with GIMP. Whatever. I have watch a basic tutorial for layers with GIMP. If I dig deeper to their use maybe there is a way to align the close taken images in a way so that they have the right luminosity without artifacts from people on the move at the same time. Am I right?
Hi!
https://patdavid.net/2013/05/noise-removal-in-photos-with-median_6/
Look for the Removing people section
Movement in bracketing/series is often times inevitable (clouds, people, leaves all have a tendency to move). As long as the camera is on a (sturdy) tripod this isn’t that much of an issue, even if there’s a long time between shots.
Hugin does recognize this. Shooting a panorama, its core thing, comes with the same issues: You sometimes have to remove a moving car that is in one of the frames, for example. And as mentioned before, Hugin can also do stacking/aligning.
Same thing can be done using GIMP/Krita/Photoshop using layers, but you might have to do more manual labour to get things to come out nicely, especially when this is a bracketed series. This is probably what you will run into.
Things become much easier if you have multiple shots with the same settings. Then median stacking and evaluate-sequence are probably what you want/need to remove “ghosts”.
In the end you might have to combine some of the options mentioned in this topic.
Here is another one to have an idea. Very close taken one to another but not in a burst manner. I was experimenting with different shutter speeds.
DSCN4625.NRW (25.2 MB)
Here’s a really quick one (<10 minutes) to show what you can do with the 3 examples you posted (could not do this with the first 2 alone).
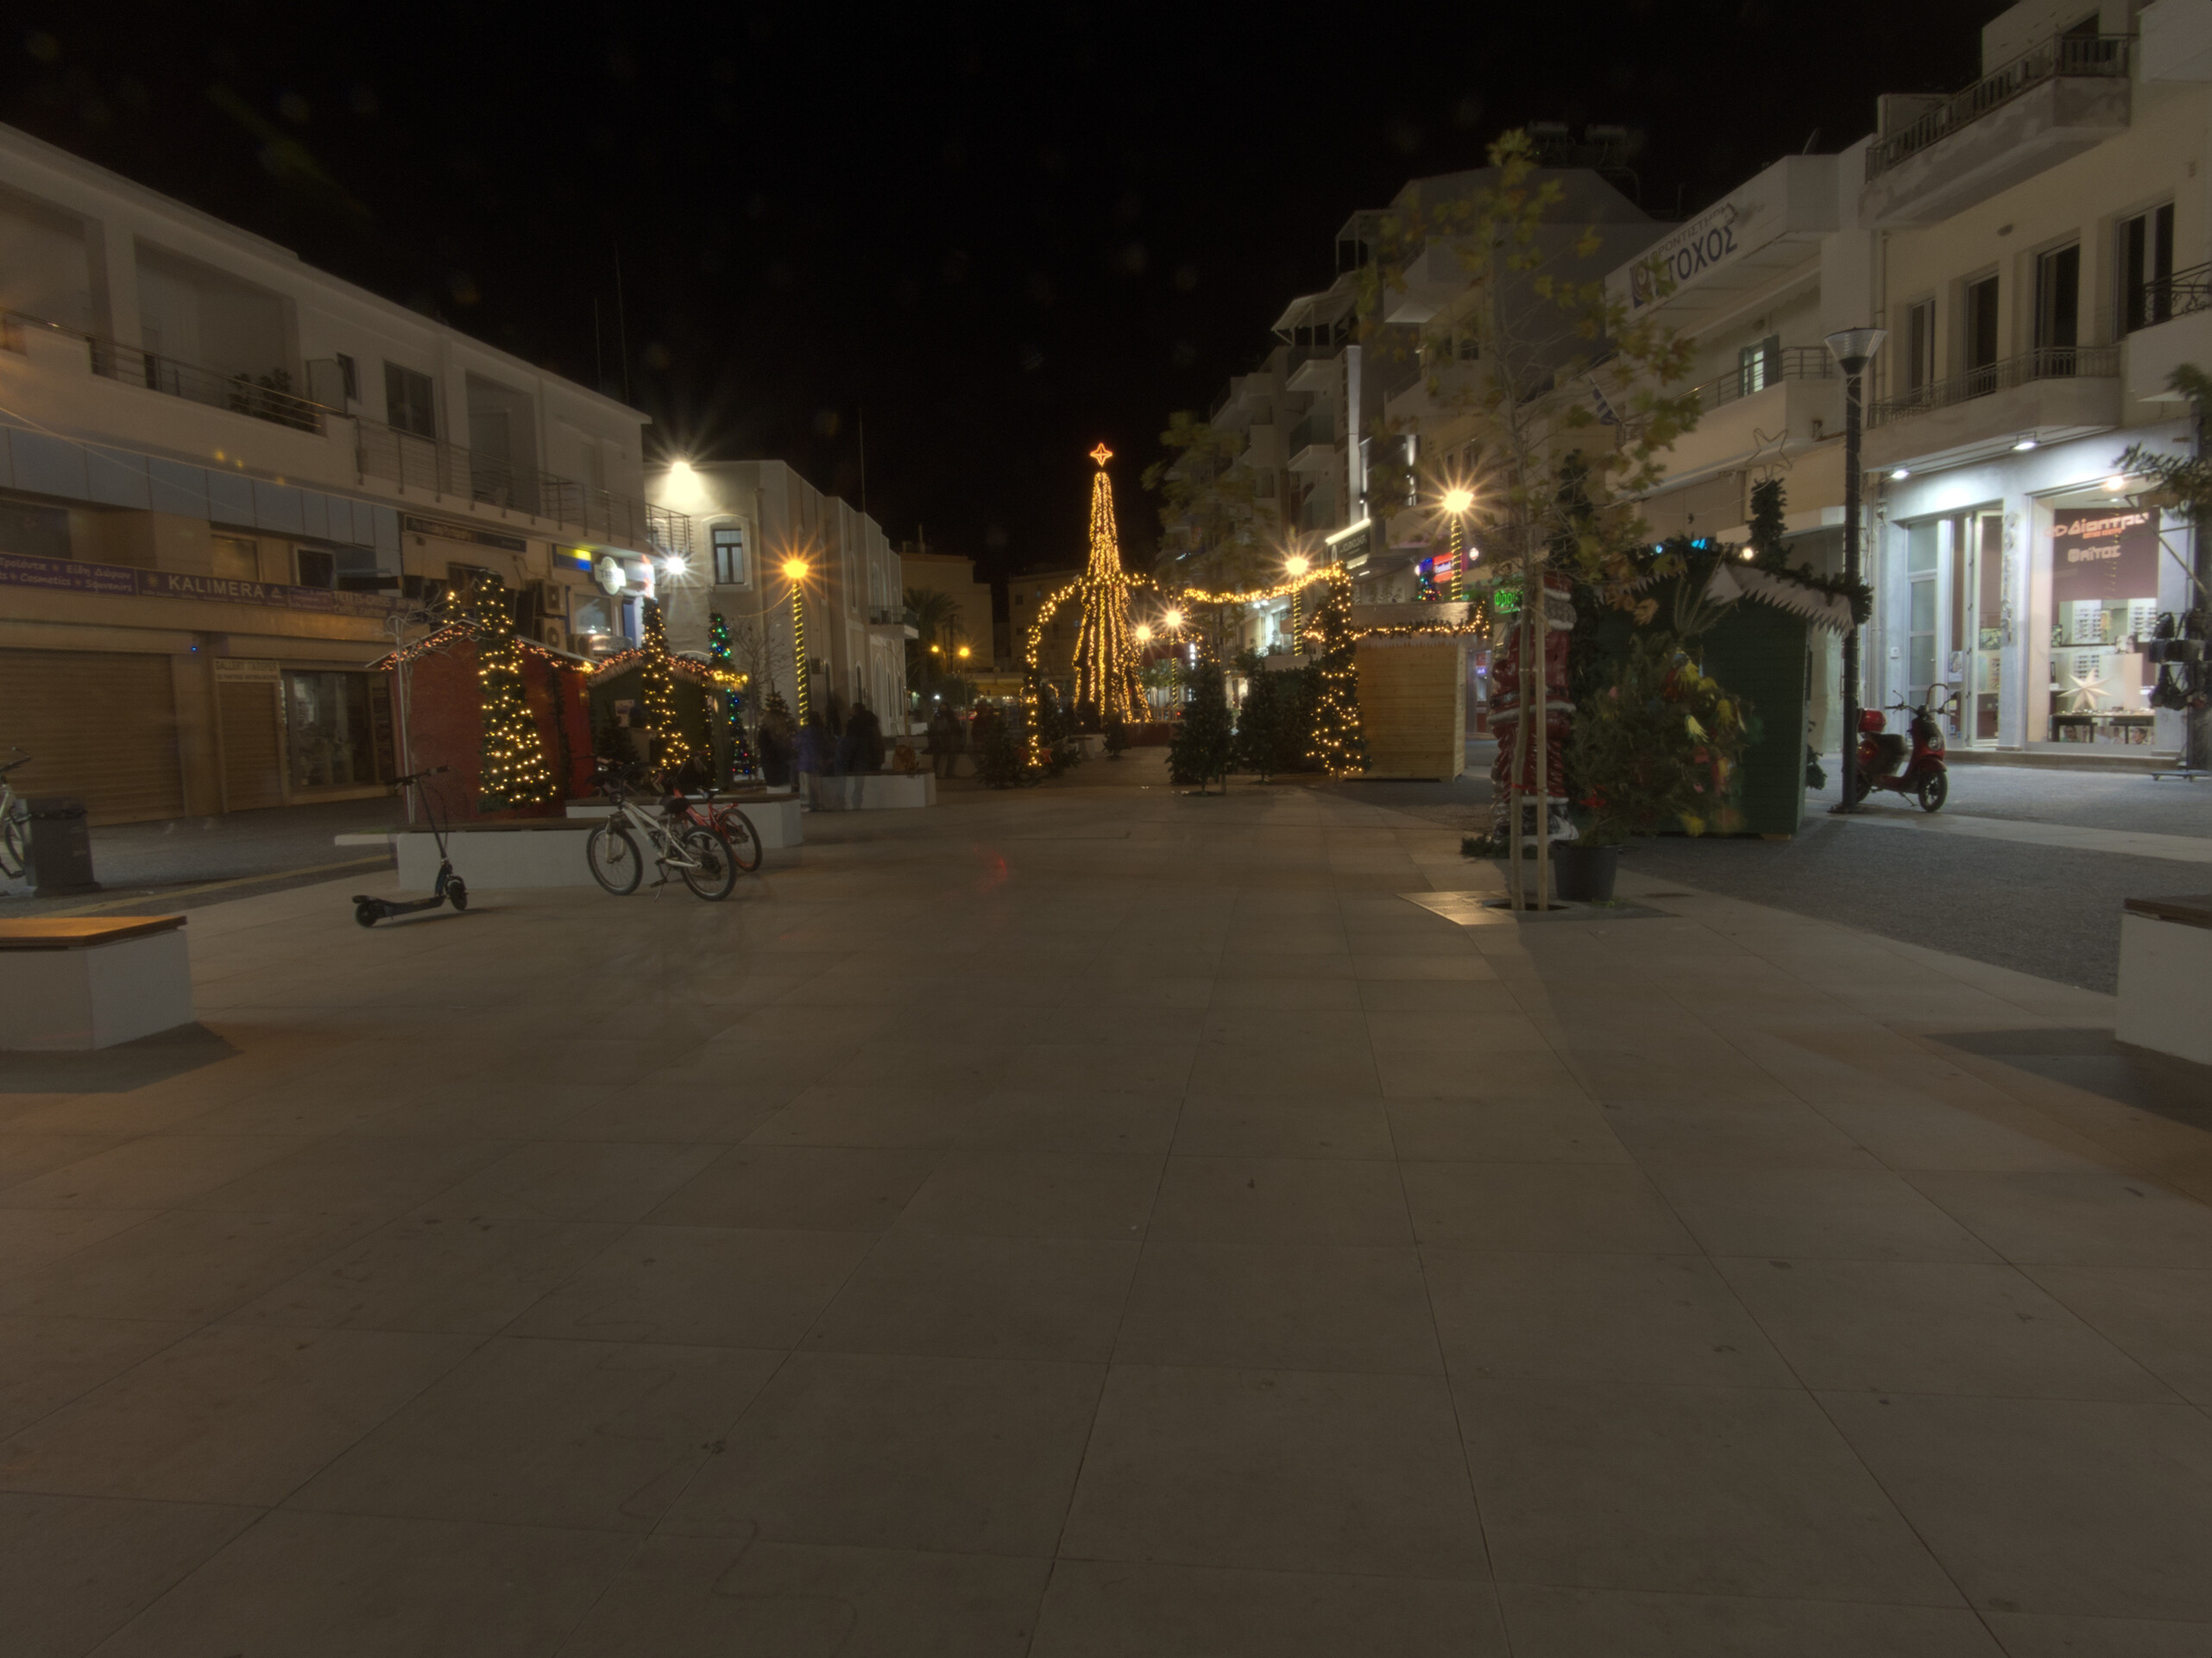
I only targeted the ghost on the right side next to the scooter (seen in 1 image), the people on the left by the bikes and electric thingie (different people seen in 2 images) and the red light trail seen in 1 image. I did this quick-and-dirty.
Using RawTherapee to go from RAW to tiff (and a minimal of adjusting) and Hugin to stack, align and remove the unwanted stuff. And then from tiff to jpeg.
If this was for real I would pull this into Krita and do some touching-up (there’s still a hint of the red light trail visible for instance).
Hello @JonnyBaz, just a side note. Photography is often about waiting - for the right light or the right moment. Your first photo was taken with a shutter speed of 1 second and there aren’t many people in the street. So I’m quite sure that you can retake this photo and wait for a moment without moving (walking) people, or dogs. That way you don’t have to repair your photo in postprocessing.
Another approach is to use longer shutter speeds, say 8 or 16 seconds. Just close your aperture with 4 or 5 stops and chances are that you won’t notice any ghostbusters at all.
@Jade_NL, well done!
@Jade_NL very good job!! 
@paulmatth I will try the second approach. My fstops are limited (f2.8-f8) but I will see what I can do.