Is there a way in GIMP to offset a color cast by inverting the image average color and merging it with original image? Like in this 2009 Photoshop tutorial:

I got stuck at the merging part in GIMP 2.10.10
Is there a way in GIMP to offset a color cast by inverting the image average color and merging it with original image? Like in this 2009 Photoshop tutorial:
I got stuck at the merging part in GIMP 2.10.10
Whoops, I found a better video that answers my question:

Thanks for that link. The guy behind that tutorial
is pixovert, and he has made quite a few interesting
Gimp tuts.
I like to add that this technique failed on my really, really badly bad cast 30 year old film negative scans. Here is a raw scan:
https://drive.google.com/file/d/1y9yXmGLCko-ip-M79SwAfUAgiklalNjb/view?usp=sharing
There isn’t one simple way to remove colour casts. It depends on the nature of your image and its distortion.
In some cases, you could say “Lasciate asciate ogne speranza, voi ch’intrate”. Translation: Hopeless.
Well, hope dies last. I get (under the circumstances) okay results when I use Channel Mixer and push up Green in the Blue Channel.
I do like the soft color over the grays. What you shown is that so many info has been lost.
Here is my attempt using GIMP 2.10. I modified the above tutorial in the following way:
Instead of using Blur>Pixelize, I just used the dropper and bucket painted a copy of the photo. Then, inverted the solid color image and used LCH(Color) blend mode instead of overlay mode. Then made another layer from visible and used curves and Hue-Saturation tab as to taste! Rescaled and exported.
EDIT: I realised that there is still some yellow tint to the above photo. I just merged all layers and repeated what I did before the second time to get:
Here’s my quick attempt with LAB editing on Krita 4.2 Pre-Alpha, at least the sand color and sky color is almost restorable to the original though more work would be needed. I’ll admit it’s way too saturated, but it’s a quick attempt, so…
gmic sample tiger [0] +negate. average_colors. fc. \${} blend[-2,-1] overlay,100%
Explanation:
sample tiger : use the tiger sample image[0] : duplicate it to be able to show the original and result side-by-side+negate. : invert the top image on the stack and save the result as a new imageaverage_colors. : calculate the average of the top image and put the result in the statusfc. \${} : fill the top image with the color vector in the status. Because I did this in bash on GNU/Linux, I had to escape the dollar sign. This may not be needed on other operating systems or shells.blend[-2,-1] overlay,100% : blend the top two images in overlay mode with 100% opacityHere is Mixer PCA at work. I didn’t do colour correction per se, but as you can see, moving 2 sliders already makes the image more palatable. It isn’t the easiest G’MIC filter to understand; partly why I don’t use it much. However, users who have spent more time with it seem to get good results.
PS I forgot to convert to the sRGB gamma and colour space. The G’MIC plugin works in that space and assumes all input to be in the same.
I used the same setting, but it only made colors worse on my end. Maybe a Krita bug.
P.S
I might have how the original image look like, all done with g’mic lab editing on krita, and krita lab editing. I have to say that I enjoy Krita LAB editing.
I PM’d the author of the file for the original krita file.
This is the result following @dan’s one-liner.
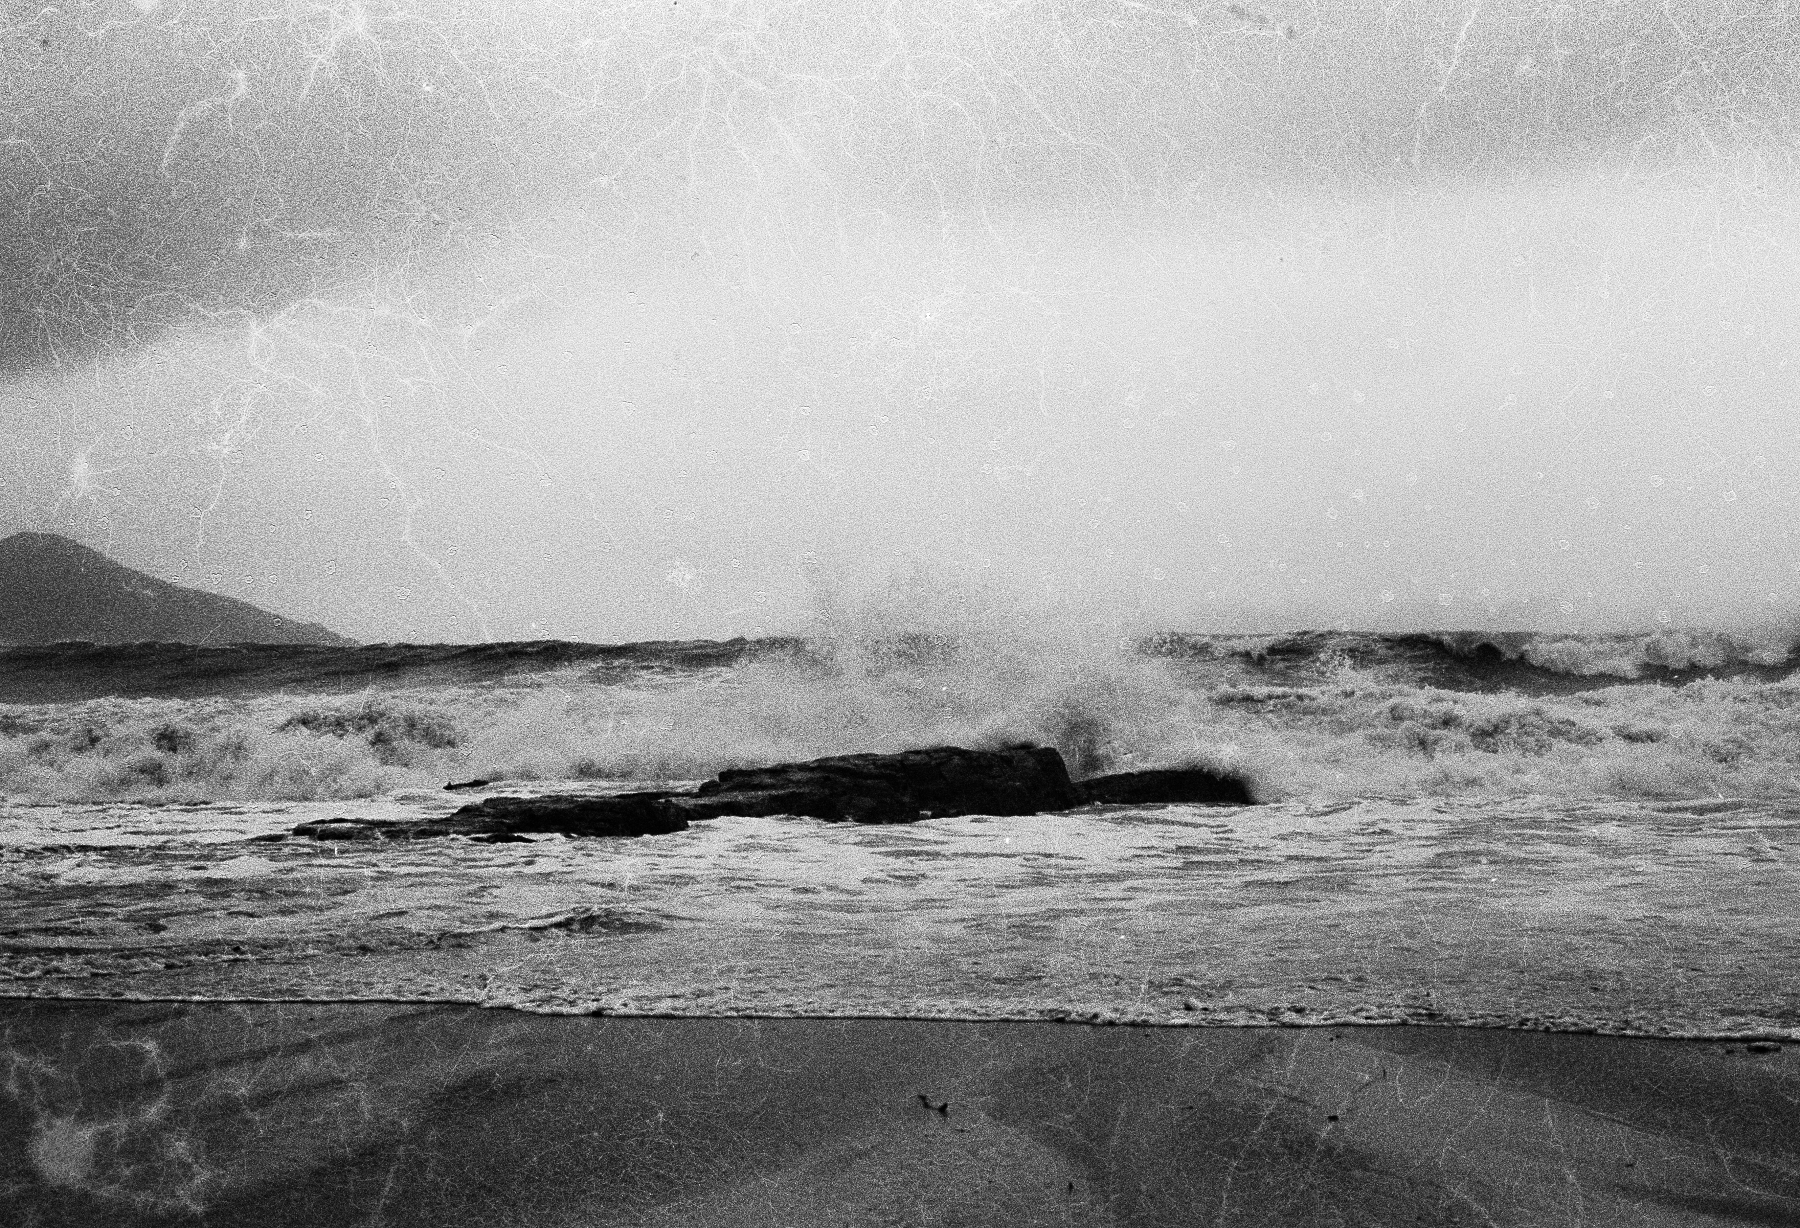
Perhaps the best thing to do would be to make a monochrome version and then colourize it by hand or by machine learning. There are a number of links to the latter on this forum. Here is my monochrome take on the beach.
Result from a random colourization algorithm.
The sky looks ok, too blue though on the cloud, but the lower end is better than my recent quick attempt. The bottom on the other hand is way too dark. But, I guess we can both agree that a combined approach of hand painting, color editing via color adjustment tool, and AI might be the answer. Overkill, but given the damage done, why not?
It is due to the distribution of tones in the monochrome. I could have regularized them a bit more.
I am more critical of the colours than you are. Personally, I would use this colourized image as a starting point for the colour restoration. The steps would be
1. Make monochrome with max tonal detail (PCA or norm seem suitable).
2. Colourize with GAN machine learning, trained with images related to input image.
3. Use it as a palette and subject reference for the colour restoration.
Maybe it helps scanning in 48 bit depth
I thought I just get a ‘sorry’, so much response… I like to get as close to reality as possible.
Shreedhar’s 2nd image gets sort of close (as far as I can remember). It was a really dull and grey day morning right after a typhoon. So there was no blue in the sky and the water had a sand color tint, from, you guessed it, the sand.
All the images on that roll have that strong yellow tint. It was a negative film (I think Kodak Gold, some consumer grade stuff)
BTW, the waves where nice and tempting, but too much debris in the water, looked really dangerous.
And here I was thinking that the beach wasn’t like that second pic and it’s just a badly damaged film.
Is this how it suppose to look like? https://tembeanami.files.wordpress.com/2011/06/sam_0584.jpg


