@bazza That can be done using a row shifter script or the warp command and some scanlines generator. I wouldn’t use a row shifter now because there’s a problem with image borders which I can’t seem to fix using a script.
@Reptorian Those formulae are good ideas and they can be adapted to work as examples for the mesh blend script and the CSG script. The ‘psychedelic’ one looks like it could have more parameters than just the two input pixels for the sine wavelengths, and that reminds me of an old exploration of blending mode parameters in a thread whose whereabouts I can’t remember.
@David_Tschumperle Great discoveries, I’ll update the filter list accordingly and maybe see what I can do with them.
Okay, now that I’m finished with modulo operations cli commands, I updated my reptorian.gmic via github. I also notified @Joan_Rake1 to see what he can do using those. You can see my earlier edit to see the effect of the modulo operations cli commands.
David, is the above the code behind plug-in : Degradations / Mess With Bits ?
When I tested the code in custom code applied to some of the channels, I found a couples of interesting results.
In particular when applied to Lab [Lightness] , CMYK [Key] , HSL [Lightness].
Would it be feasible to add to “Mess with Bits” a selector of the channel ?
I have only changed joan_rake.gmic from my own branch in gmic for testing purpose, and the main change I wanted to show is that I have added triangle wave function into cascading self-glitching. If all goes well, I’ll have to do a pull request modifying Joan_Rake.gmic file as he’s not here anymore.
Here’s a sample with smooth modulo also known as triangle wave
Also, to filter developers, I have modified modo cli a bit. I’ll have to update it though I don’t think anyone is using those yet. modf is usable, but modo should not be used. modf can be used for anything related to gradient editing when last variable is at 0. Because of modo, and modf, I can attempt to make a universal sawtoother. Here’s the code so far
#@gui Advanced Sawtoother : fx_modulo, fx_modulo_preview(0)
#@gui : note = note("This filter utilize various forms of modulo operations at once per different channels or multiple channels at once."), sep = separator()
#@gui : 1. Color Space Model = choice(0,"RGB-8","CMY-8","HSI-8","HSL-8","HSV-8","LAB-8","LCH-8","YUV-8","XYZ-8")
#@gui : sep = separator(), note = note("<b>Master Channel Editor</b>")
#@gui : Use Master Editor? = bool(1)
#@gui : 1. Edit Channel #1? = bool(1)
#@gui : 2. Edit Channel #2? = bool(1)
#@gui : 3. Edit Channel #3? = bool(1)
#@gui : 4. Edit Alpha Channel? = bool(0)
#@gui : 5. Treat Alpha Layers as the blend of each other instead? = bool(1)
#@gui : 6. Modulo Shift = float(0,-2,2)
#@gui : 7. Max End Value of Modulo Shift = float(255,0,512)
#@gui : 8. Modulo Shift Mode = choice(0,"Regular","Continuous")
#@gui : 9. Treat Modulo Shift as interchanging blending? = bool(0)
#@gui : 10. Modulo Division = float(1,0,1)
#@gui : 11. Max End Value of Modulo Division = float(255,0,512)
#@gui : 12. Modulo Division Mode = choice(0,"Regular","Continuous")
#@gui : 13. Treat Modulo Division as interchanging blending? = bool(0)
#@gui : 14. Regular Modulo = float(1,0,1)
#@gui : 15. Max End Value of Modulo Division = float(255,0,512)
#@gui : 16. Modulo Division Mode = choice(0,"Regular","Continuous")
#@gui : 17. Treat Modulo Division as interchanging blending? = bool(0)
#@gui : 18. Smoothness = float(0,0,32)
#@gui : sep = separator(), note = note("<b>Individual Channel Editor</b>\n\n")
#@gui : sep = separator(),19. Edit Channel #1 = bool(1)
#@gui : 20. Modulo Shift = float(0,-2,2)
#@gui : 21. Max End Value of Modulo Shift = float(255,0,512)
#@gui : 22. Modulo Shift Mode = choice(0,"Regular","Continuous")
#@gui : 23. Treat Modulo Shift as interchanging blending? = bool(0)
#@gui : 24. Modulo Division = float(1,0,1)
#@gui : 25. Max End Value of Modulo Division = float(255,0,512)
#@gui : 26. Modulo Division Mode = choice(0,"Regular","Continuous")
#@gui : 27. Treat Modulo Division as interchanging blending? = bool(0)
#@gui : 28. Regular Modulo = float(1,0,1)
#@gui : 29. Max End Value of Modulo Division = float(255,0,512)
#@gui : 30. Modulo Division Mode = choice(0,"Regular","Continuous")
#@gui : 31. Treat Modulo Division as interchanging blending? = bool(0)
#@gui : 32. Smoothness = float(0,0,32)
#@gui : sep = separator(), 33. Edit Channel #2 = bool(1)
#@gui : 34. Modulo Shift = float(0,-2,2)
#@gui : 35. Max End Value of Modulo Shift = float(255,0,512)
#@gui : 36. Modulo Shift Mode = choice(0,"Regular","Continuous")
#@gui : 37. Treat Modulo Shift as interchanging blending? = bool(0)
#@gui : 38. Modulo Division = float(1,0,1)
#@gui : 39. Max End Value of Modulo Division = float(255,0,512)
#@gui : 40. Modulo Division Mode = choice(0,"Regular","Continuous")
#@gui : 41. Treat Modulo Division as interchanging blending? = bool(0)
#@gui : 42. Regular Modulo = float(1,0,1)
#@gui : 43. Max End Value of Modulo Division = float(255,0,512)
#@gui : 44. Modulo Division Mode = choice(0,"Regular","Continuous")
#@gui : 45. Treat Modulo Division as interchanging blending? = bool(0)
#@gui : 46. Smoothness = float(0,0,32)
#@gui : sep = separator(), 47. Edit Channel #3 = bool(1)
#@gui : 48. Modulo Shift = float(0,-2,2)
#@gui : 49. Max End Value of Modulo Shift = float(255,0,512)
#@gui : 50. Modulo Shift Mode = choice(0,"Regular","Continuous")
#@gui : 51. Treat Modulo Shift as interchanging blending? = bool(0)
#@gui : 52. Modulo Division = float(1,0,1)
#@gui : 53. Max End Value of Modulo Division = float(255,0,512)
#@gui : 54. Modulo Division Mode = choice(0,"Regular","Continuous")
#@gui : 55. Treat Modulo Division as interchanging blending? = bool(0)
#@gui : 56. Regular Modulo = float(1,0,1)
#@gui : 57. Max End Value of Modulo Division = float(255,0,512)
#@gui : 58. Modulo Division Mode = choice(0,"Regular","Continuous")
#@gui : 59. Treat Modulo Division as interchanging blending? = bool(0)
#@gui : 60. Smoothness = float(0,0,32)
#@gui : sep = separator(), 61. Edit Alpha Layers? = bool(1)
#@gui : 62. Treat alpha as blending modes ignoring modulo operation? = bool(1)
#@gui : 63. Modulo Shift = float(0,-2,2)
#@gui : 64. Max End Value of Modulo Shift = float(255,0,512)
#@gui : 65. Modulo Shift Mode = choice(0,"Regular","Continuous")
#@gui : 66. Treat Modulo Shift as interchanging blending? = bool(0)
#@gui : 67. Modulo Division = float(1,0,1)
#@gui : 68. Max End Value of Modulo Division = float(255,0,512)
#@gui : 69. Modulo Division Mode = choice(0,"Regular","Continuous")
#@gui : 70. Treat Modulo Division as interchanging blending? = bool(0)
#@gui : 71. Regular Modulo = float(1,0,1)
#@gui : 72. Max End Value of Modulo Division = float(255,0,512)
#@gui : 73. Modulo Division Mode = choice(0,"Regular","Continuous")
#@gui : 74. Treat Modulo Division as interchanging blending? = bool(0)
#@gui : sep = separator(), note = note("<small>Author : <i>Reptorian</i>.      Latest update : <i>2018/08/18</i>.</small>")
fx_modulo:
_fx_modulo:

fx_modulo_preview :
Got some more updates - Now, a PNG filter is on it way to being born
Two new scripts, both based on DCT operations. The first one messes with the DCT transforms of entire images, while the second is another take on that JFIF one I was previously focussing on with a few new features.
(Edited) Updated the new JFIF script again, along with subsampling it now handles quality slightly differently. It also has the glitch punch card thing implemented but I’m not sure how to get it to work in the way that it should where the locations of broken blocks coincide for each channel. I was able to do this with the older script but I don’t yet know how to do it for this one.
@Joan_Rake1 You wouldn’t happen to know how to index square areas of image to #colors, would you? I’m gonna need it to update my transfer color for better stimulation of older systems. There’s also arbitrary stimulations I found in an android app named 8-bit photo lab.
@Joan_Rake1 Finally got around to testing the filters. Let’s see…
JFIF Effect 2 : With 32 GB of RAM - It takes me over a minute to finish. I prefer your original filter, much faster, and it works. I think I"ll past on this one.
DCT FSU on the other hand. I find it useful though hard to get a nice image out of it, but the lines may have some applications though I just can’t figure out its application.
EDIT: Figured out the DCT FSU, I really like how the patterns looks like. It could work well with blending modes on the final version.
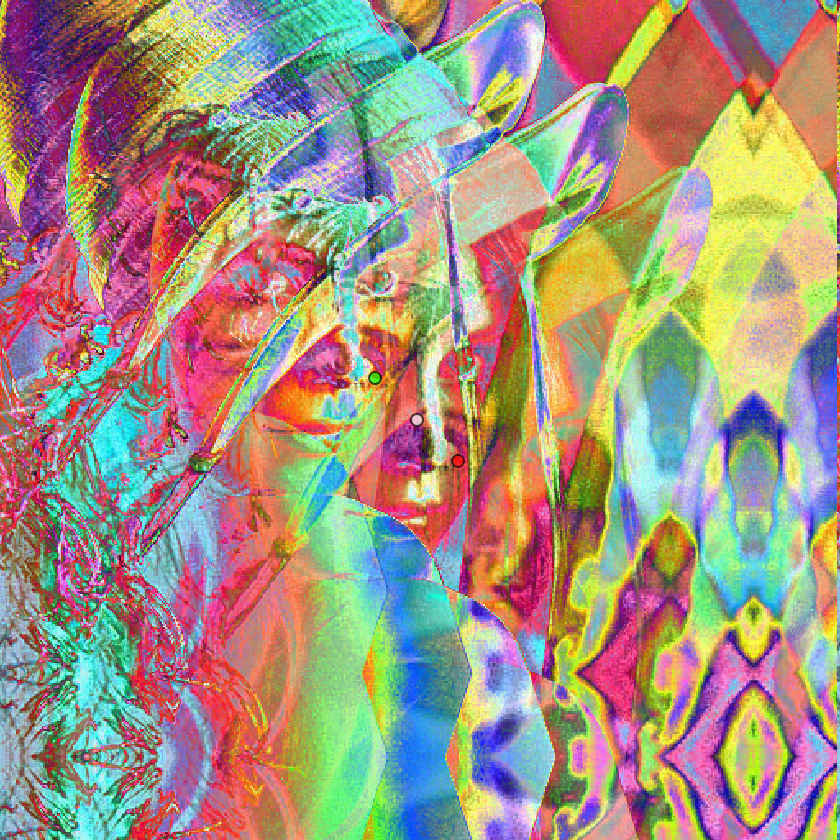
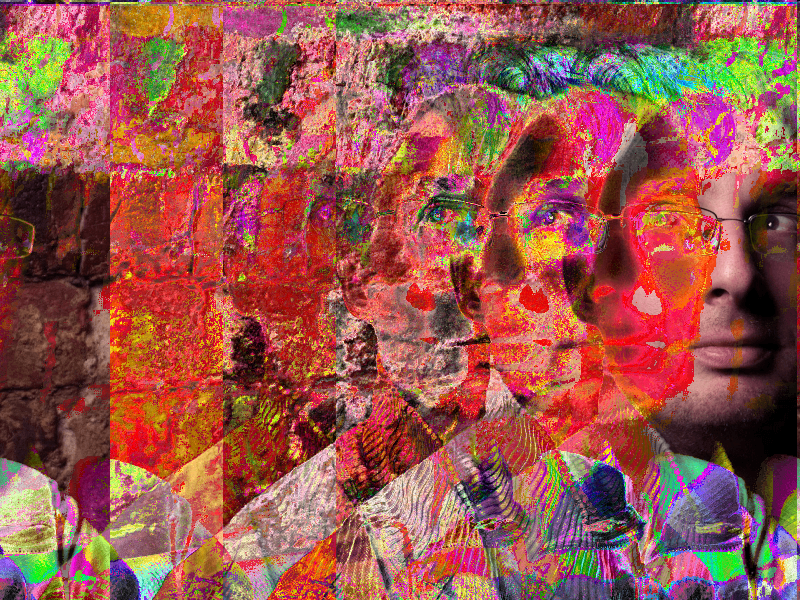
Here’s a test image of DCT FSU using a non-existent person -
By the way, I am attempting to make a cli command where you can apply commands per square of specified size. That would be good for glitch art, and it would be good for my pixel art command as many hardware have color restriction based on size.
And I just figured it out though it requires one to resize canvas, create a loop to keep certain areas, rotate all of those looped generated image, and apply the keep effect loop for those image. Then rotate them all again, and then assign your desired filter, and then append them altogether. That doesn’t sound so enjoyable to do. And I’m failing to resize by canvas rather than the image though I have a workaround using f"" to replicate the original image, and using w,h,depth,channel.
Also, I can’t seem to figure out how to keep a variable constant. Like iw = w, I want it to remain based on the original image.
1. If there is repeated rotation, you might not need to rotate so many times; only decide what the final position is, then rotate once. 2. If you need some sort of tiling, you have apply_tiles. 3. There is something called global variables. There is a large section on variables in the reference documentation.
Apply_tiles actually worked for me. Thanks. If I didn’t knew of apply tiles, then I would have a headache making the cli and going all the way to doing unnecessary work. Well, time for me to add stimulate hardware restriction i.e few colors per tiles on reduced colors transfer. I’ll keep in mind about global variables using the reference documentation when I’m ready to use them.
I knew that fill can break something in a interesting manner.
That’s something to do with the dimensions of the image changing while the number of pixels being used doesn’t. The fill command seems to prefer pixel indices rather than actual locations within the image. Here’s one way to replicate the effect:
ww={w}
hh={h}
dimx={int(100)}
dimy={int($ww)}
s c s z
unroll x resize $dimx,$dimy,100%,100%,-1
a c a z
Using this method it’s possible to change the order of the pixels to get different patterns as well as through changing the final dimensions.