Well. I may have just ruined myself. A comment I read a day or so ago made me wonder how far I can go by mainly leaning on ColorbalanceRGB. The answer: pretty far.
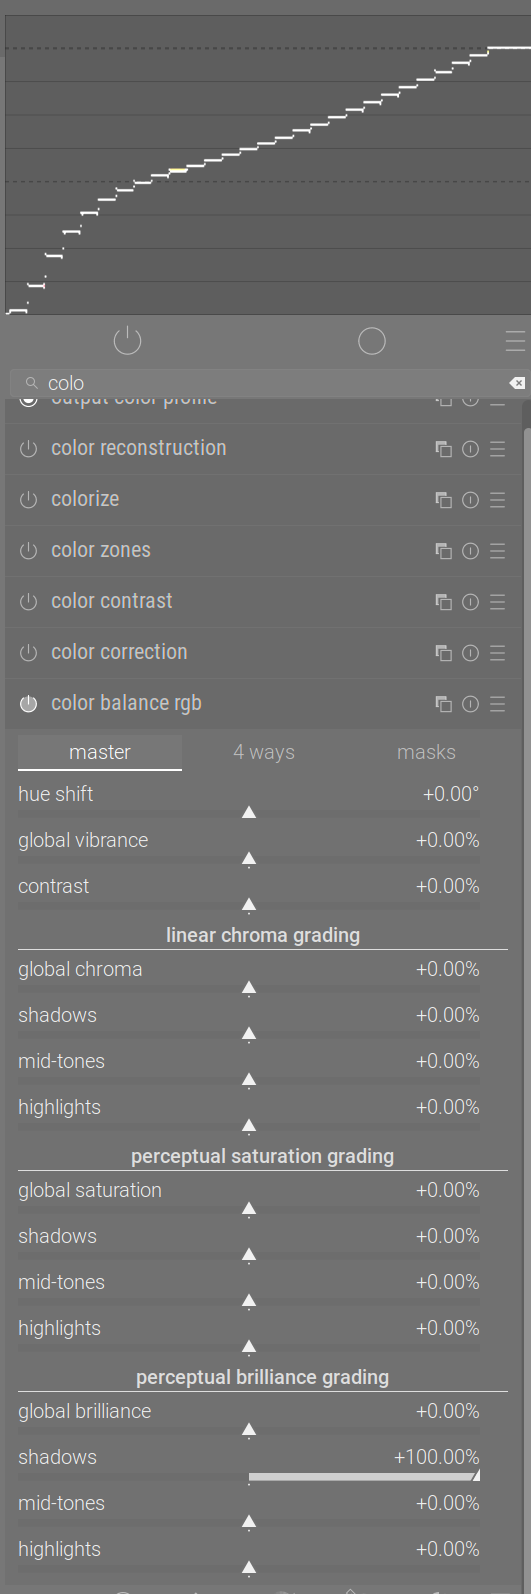
I took some old Play Raws and performed a very simple workflow. Sometimes I adjust White Balance, sometimes I don’t. Then I go straight to CBRGB, adjust global vibrance, global saturation, and global brillance. Then in the 4 Ways tab, I adjust Power and Shadows Lift. With some images, this is all I do.
But sometimes they need a little more, and I select the Local Contrast preset in Diffuse & Sharpen. Then maybe I apply Sigmoid, possibly adjusting skew.
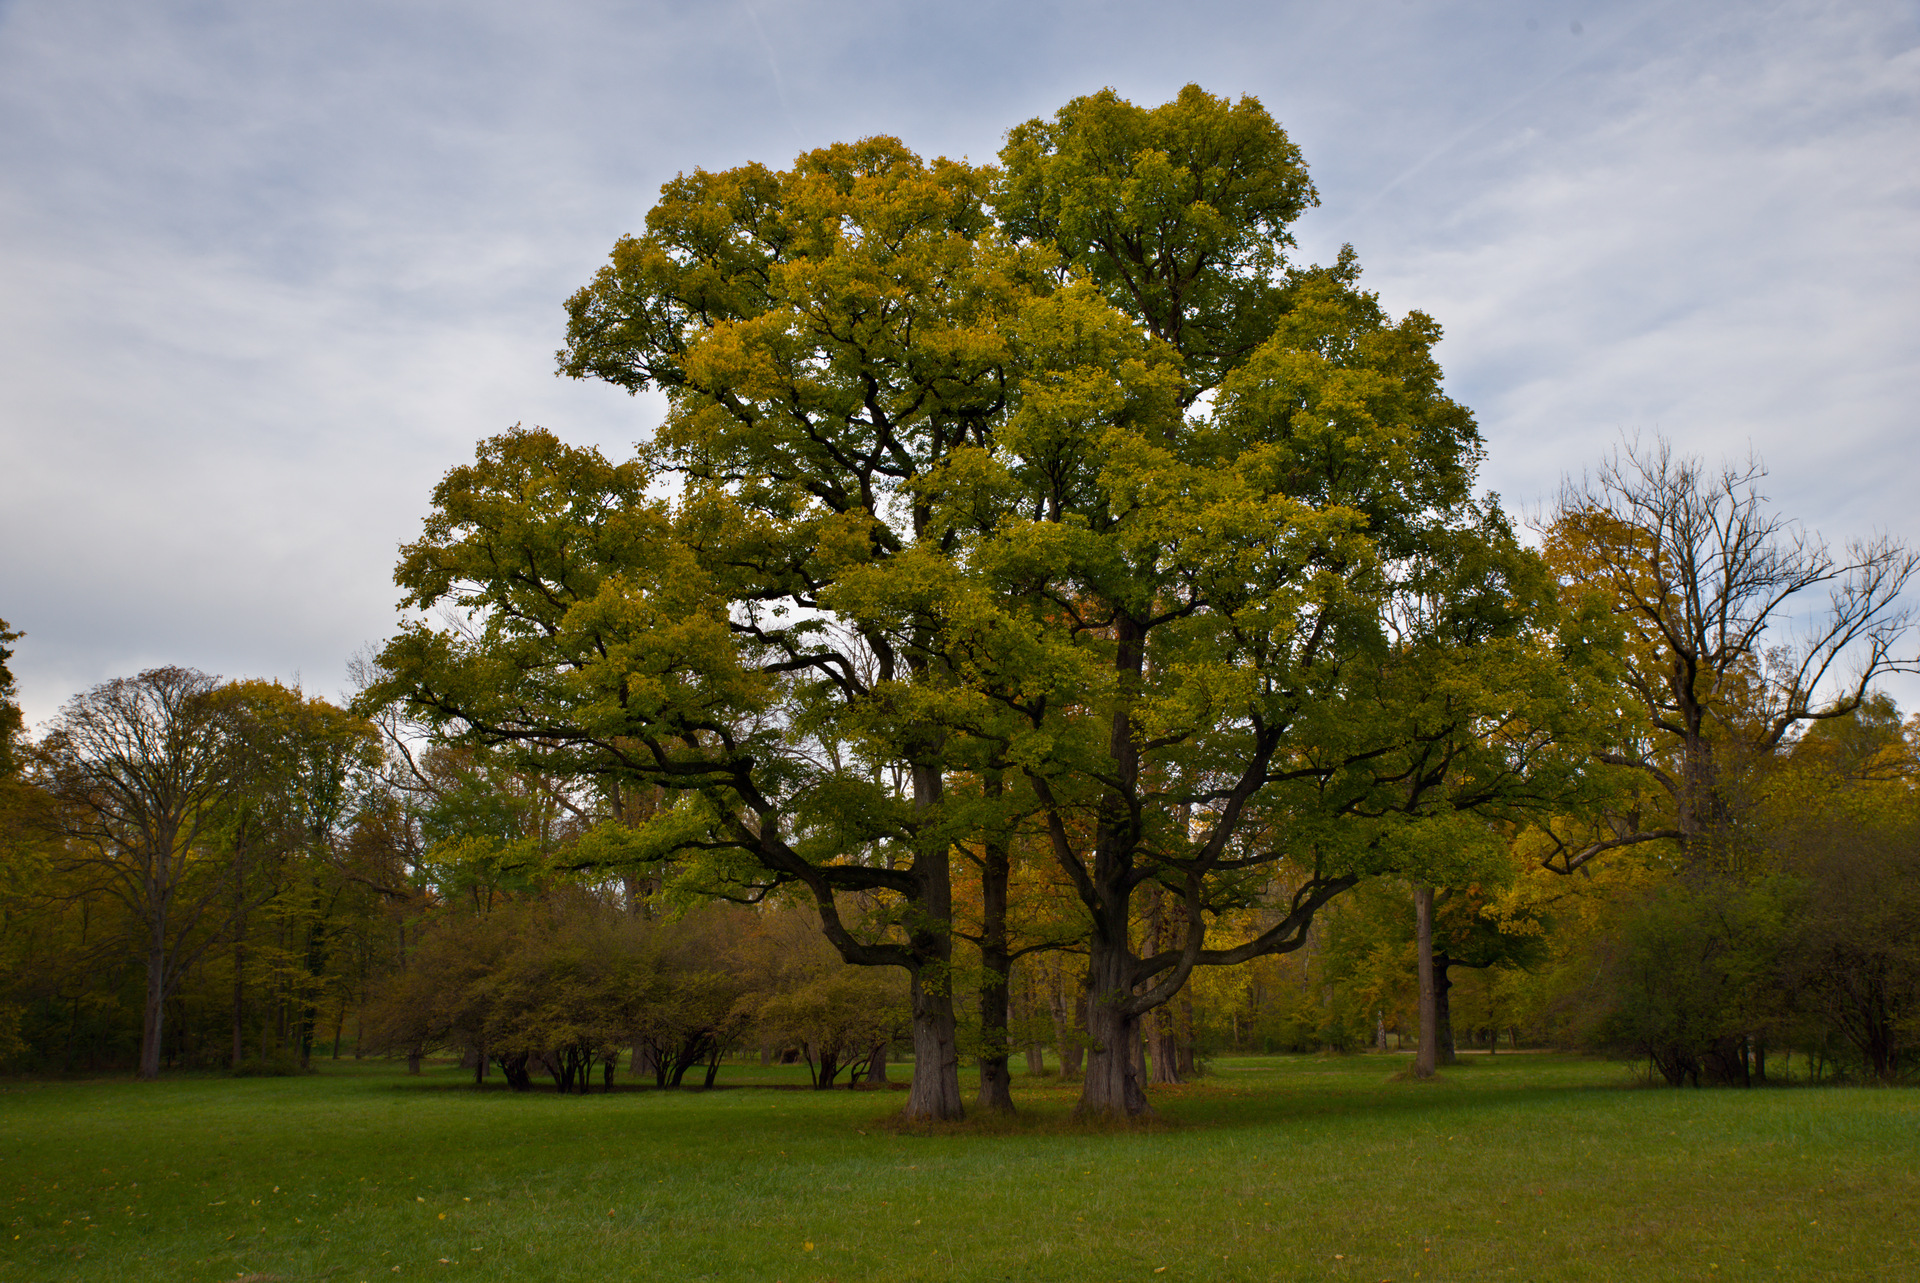
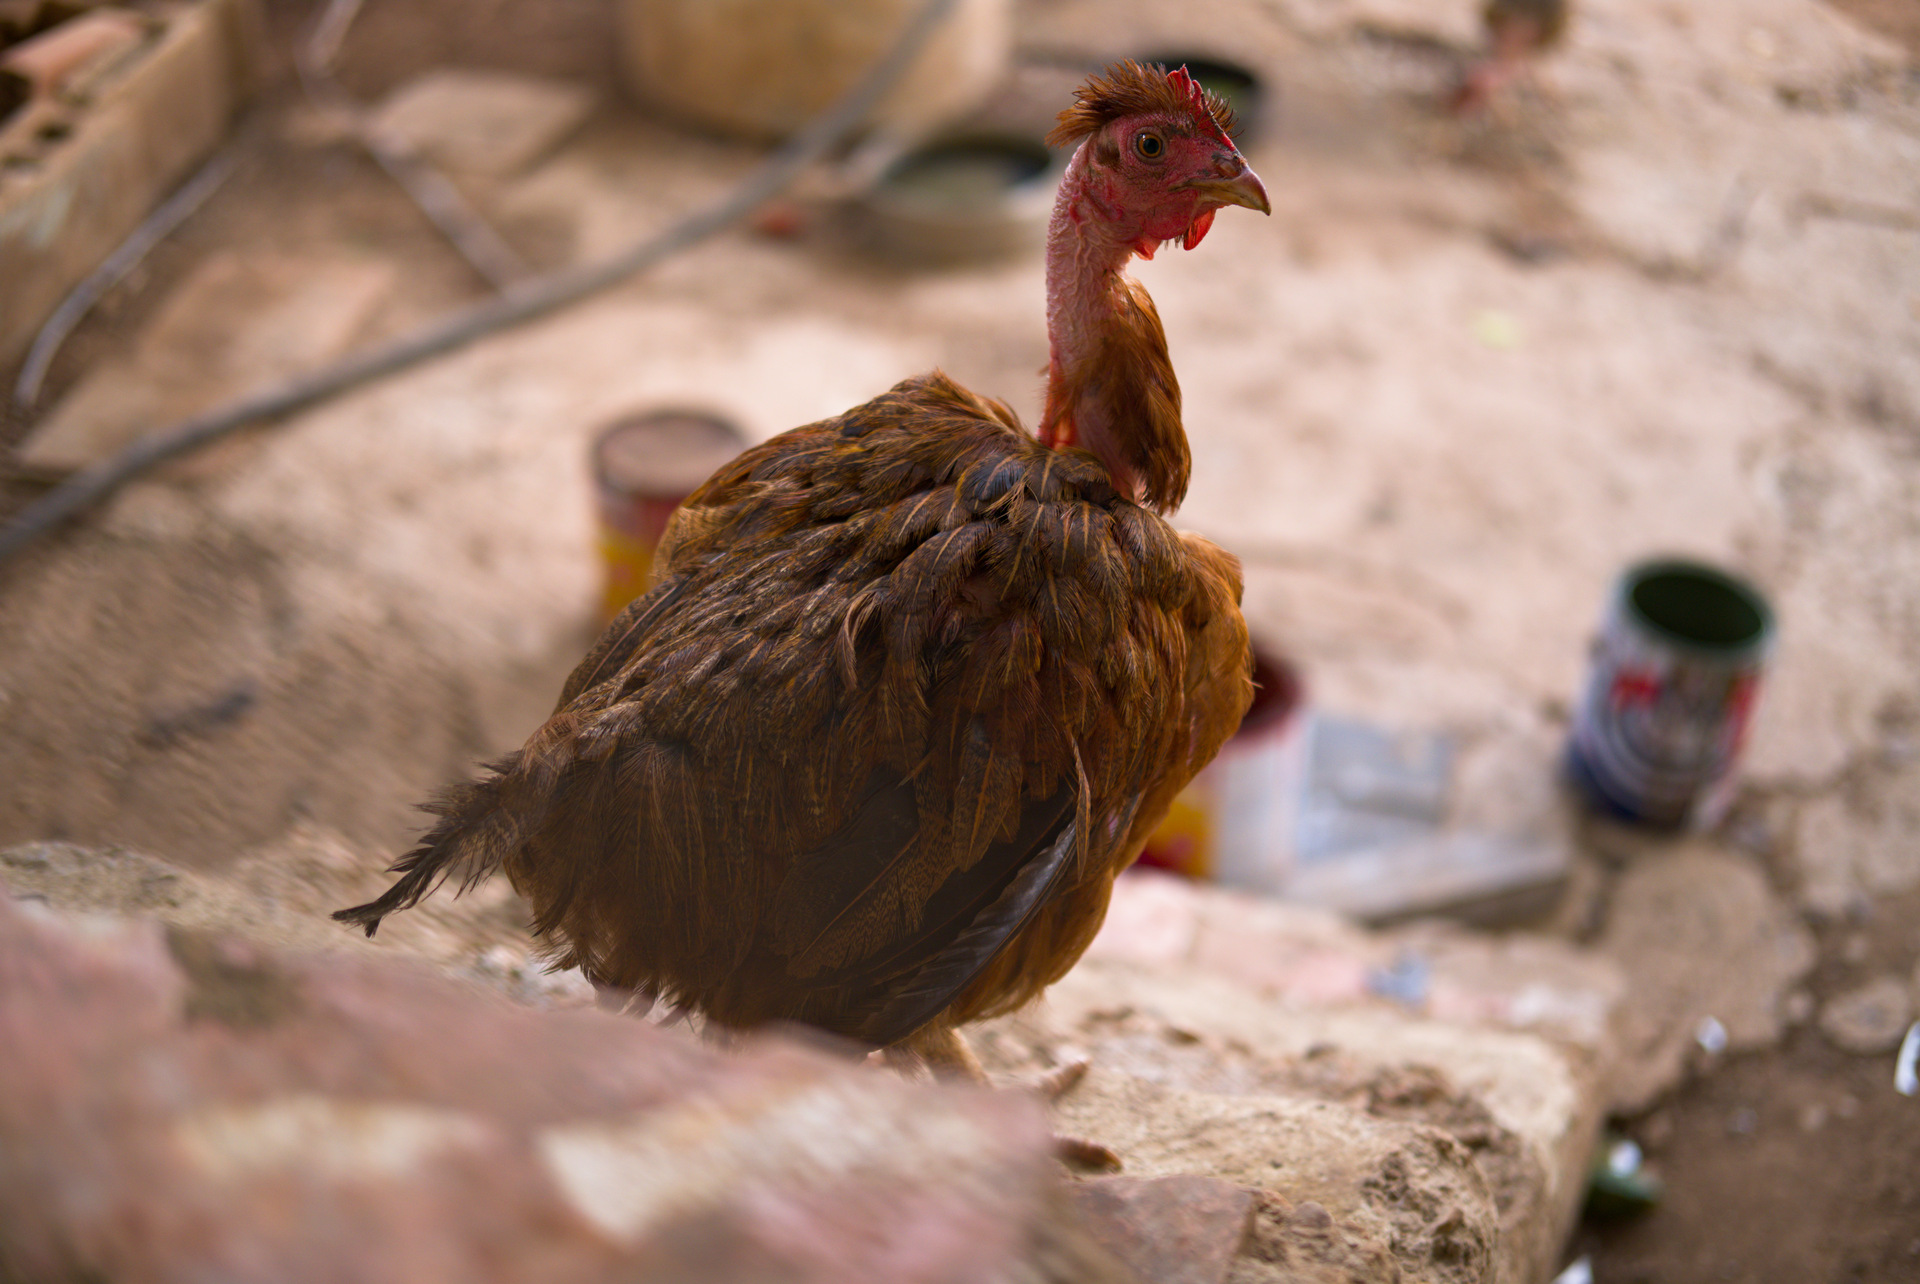
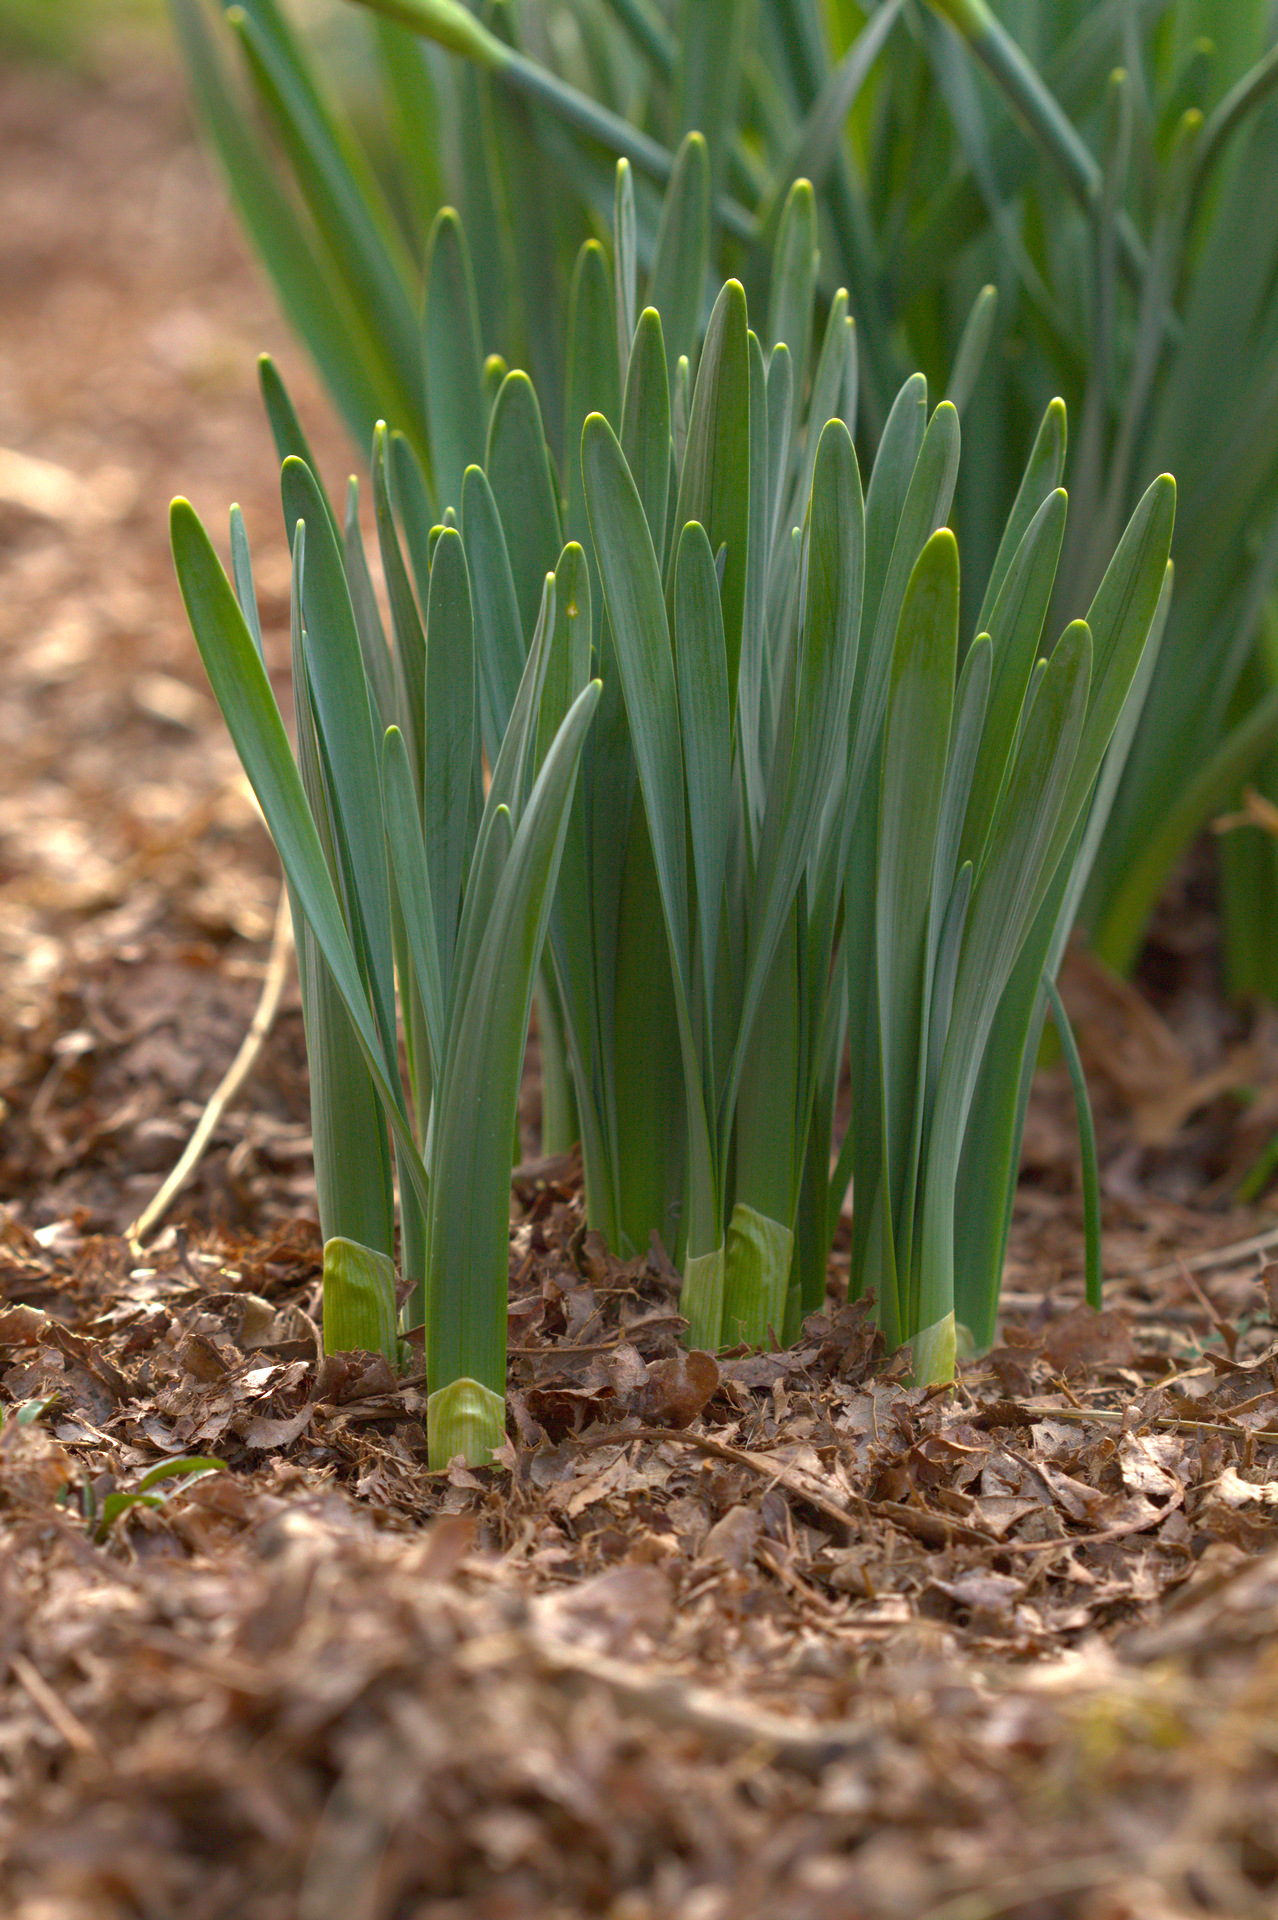
The results have been eye opening for me. Here are a couple of examples.
Sometimes I don’t go much further than the basic sliders from the first tab which I have on the quick access tab. Plus sharpening. Contrast I prefer to adjust in Sigmoid.
It is certainly one hell of a module, even without visiting the second and third tabs!
Your post is bang on. The more I learn about darktable the more I learn how powerful (and important) Color Balance RGB is to my workflow. I have created a preset that applies global vibrance/global chroma and some shadow/mid-tone percuptual saturation that ends up being applied to almost every photo. I then use the perceptual brilliance grading sliders while monitoring the waveform to adjust the contrast. The 4 way tab is sometimes used if needed but the initial steps in the master tab are often all that is required.
Its also worth playing with the contrast slider…just be sure to set the threshold fulcrums in the masking tab …the default use the whole image to set the pivot when you first use the picker but you can simply move the slider or select the area that will be the pivot and then all things above that will get brighter and all things below will get darker…you can really dial in the contrast and also the mask sliders can help too. Setting the white value for the normalization i find gives a better result too and then some small tweaks on the mask sliders can really help the changes you apply in the 4-way tab…
The mask stuff is pretty strait forward. It can be used to refine the areas targeted by the 4-way tab. The gray fulcrum is also pretty strait forward, lets say you set it by selecting a fairly dark area of your image then most of the image will be brightened by the contrast and only things darker that what you selected will be enhanced by darkening them…its a way to fine tune the contrast …much like you might do with a tone curve I suppose…
I only recently discovered the true power of the second tab. In particular, the four luminance sliders are smooth, gradual exposure adjustments. Offset to set a black point, power for the white point, and lift and gain for midtone balance.
For a long time I had thought these were exposure-masked adjustments, like the first tab. But in reimplementing them recently, I learned that they are indeed global tone-curve-like adjustments, but without any danger of introducing artificial flattening or lightness reversals, that so plague the traditional tone curve.
This has in fact simplified my workflow quite a bit, as most of the tone balancing is now done in this one module. Great stuff! (Look up DaVinci Resolve color grading tutorials to get an idea of how they’re supposed to br used)
I agree it is an amazing tool. I use it for many reasons including lifting the shadows, but I like to share the task of brightening shadows between multiple modules rather than having any single module doing all the heavy lifting.
But I like that you tried just working with this module and how it made you appreciate the modules ability. I am teaching a DT course at the moment and I reckon that will be a good approach to get the students to appreciate the power of this module. Thanks for the inspiration.
@Tim I have a unusual approach to editing. I set my initial exposure to optimise the highlights, which is the same as I do with camera’s exposure. I then need to recover the shadow details later using various modules including color balance rgb, shadow and highlights, tone equalizer and sometimes additional instances of exposure. But retaining dark shadows is important so I understand what you are saying.
@s7habo Boris has a video where he did an edit essentially only using this module to illustrate the potential features…its the older verson of the module and its before Boris started to narrate the video’s but it just shows the power… https://www.youtube.com/watch?v=tsg9UrnLgiQ
interesting to start from color balance rgb, I use the first tab a lot but rarely the 4 ways, I find it hard not to overdo it, but I don’t mask, just pull sliders around to affect the whole image.